Test Setup
We will use our standard AIO test rig which you can read more about in its introduction article. We will set up each cooler in the same manner with the radiator attached to the case and the fans blowing into the radiator. The water blocks will be mounted per the manufacturer’s instructions except that we will use Arctic Cooling MX-2 thermal paste (2019 Edition). We will also compare it to the other coolers we have tested thus far.

Installation
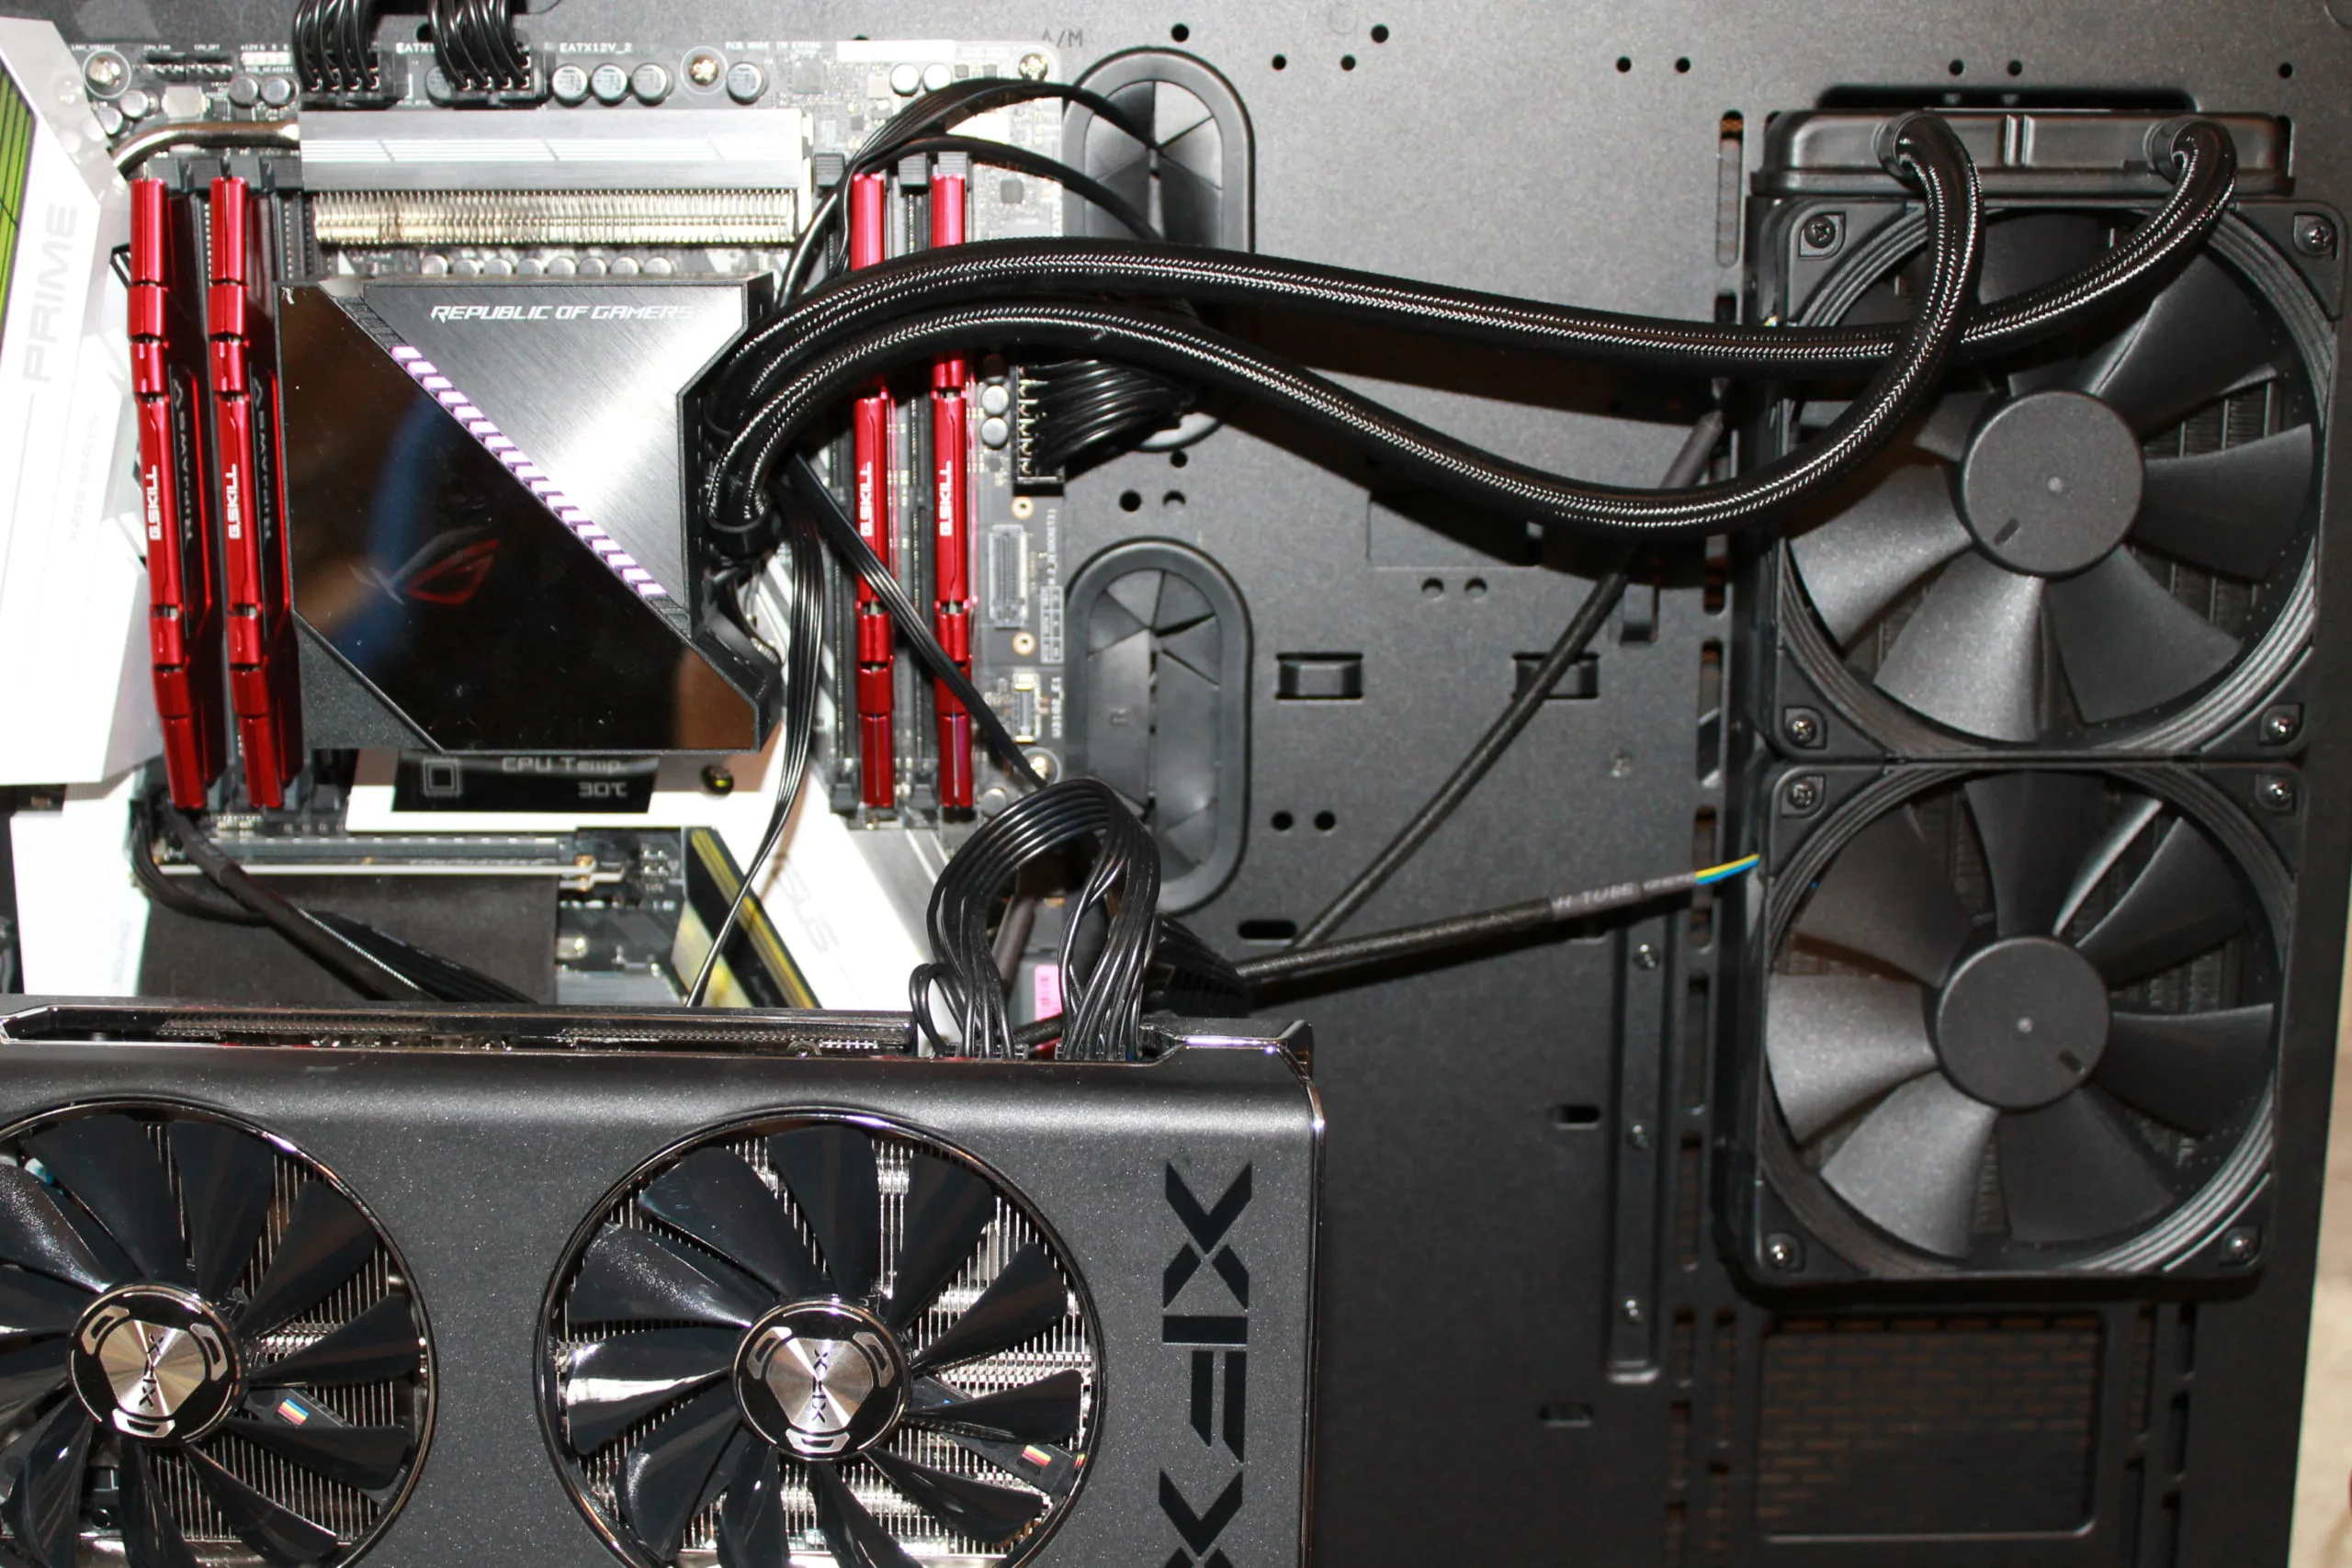
Installation on our testbed was fairly straight forward but almost turned into a stretch with the water tubes only being 380mm long. Ultimately it fit just fine on our testbed, but all of the other AIOs that we have reviewed have 400mm length tubing.
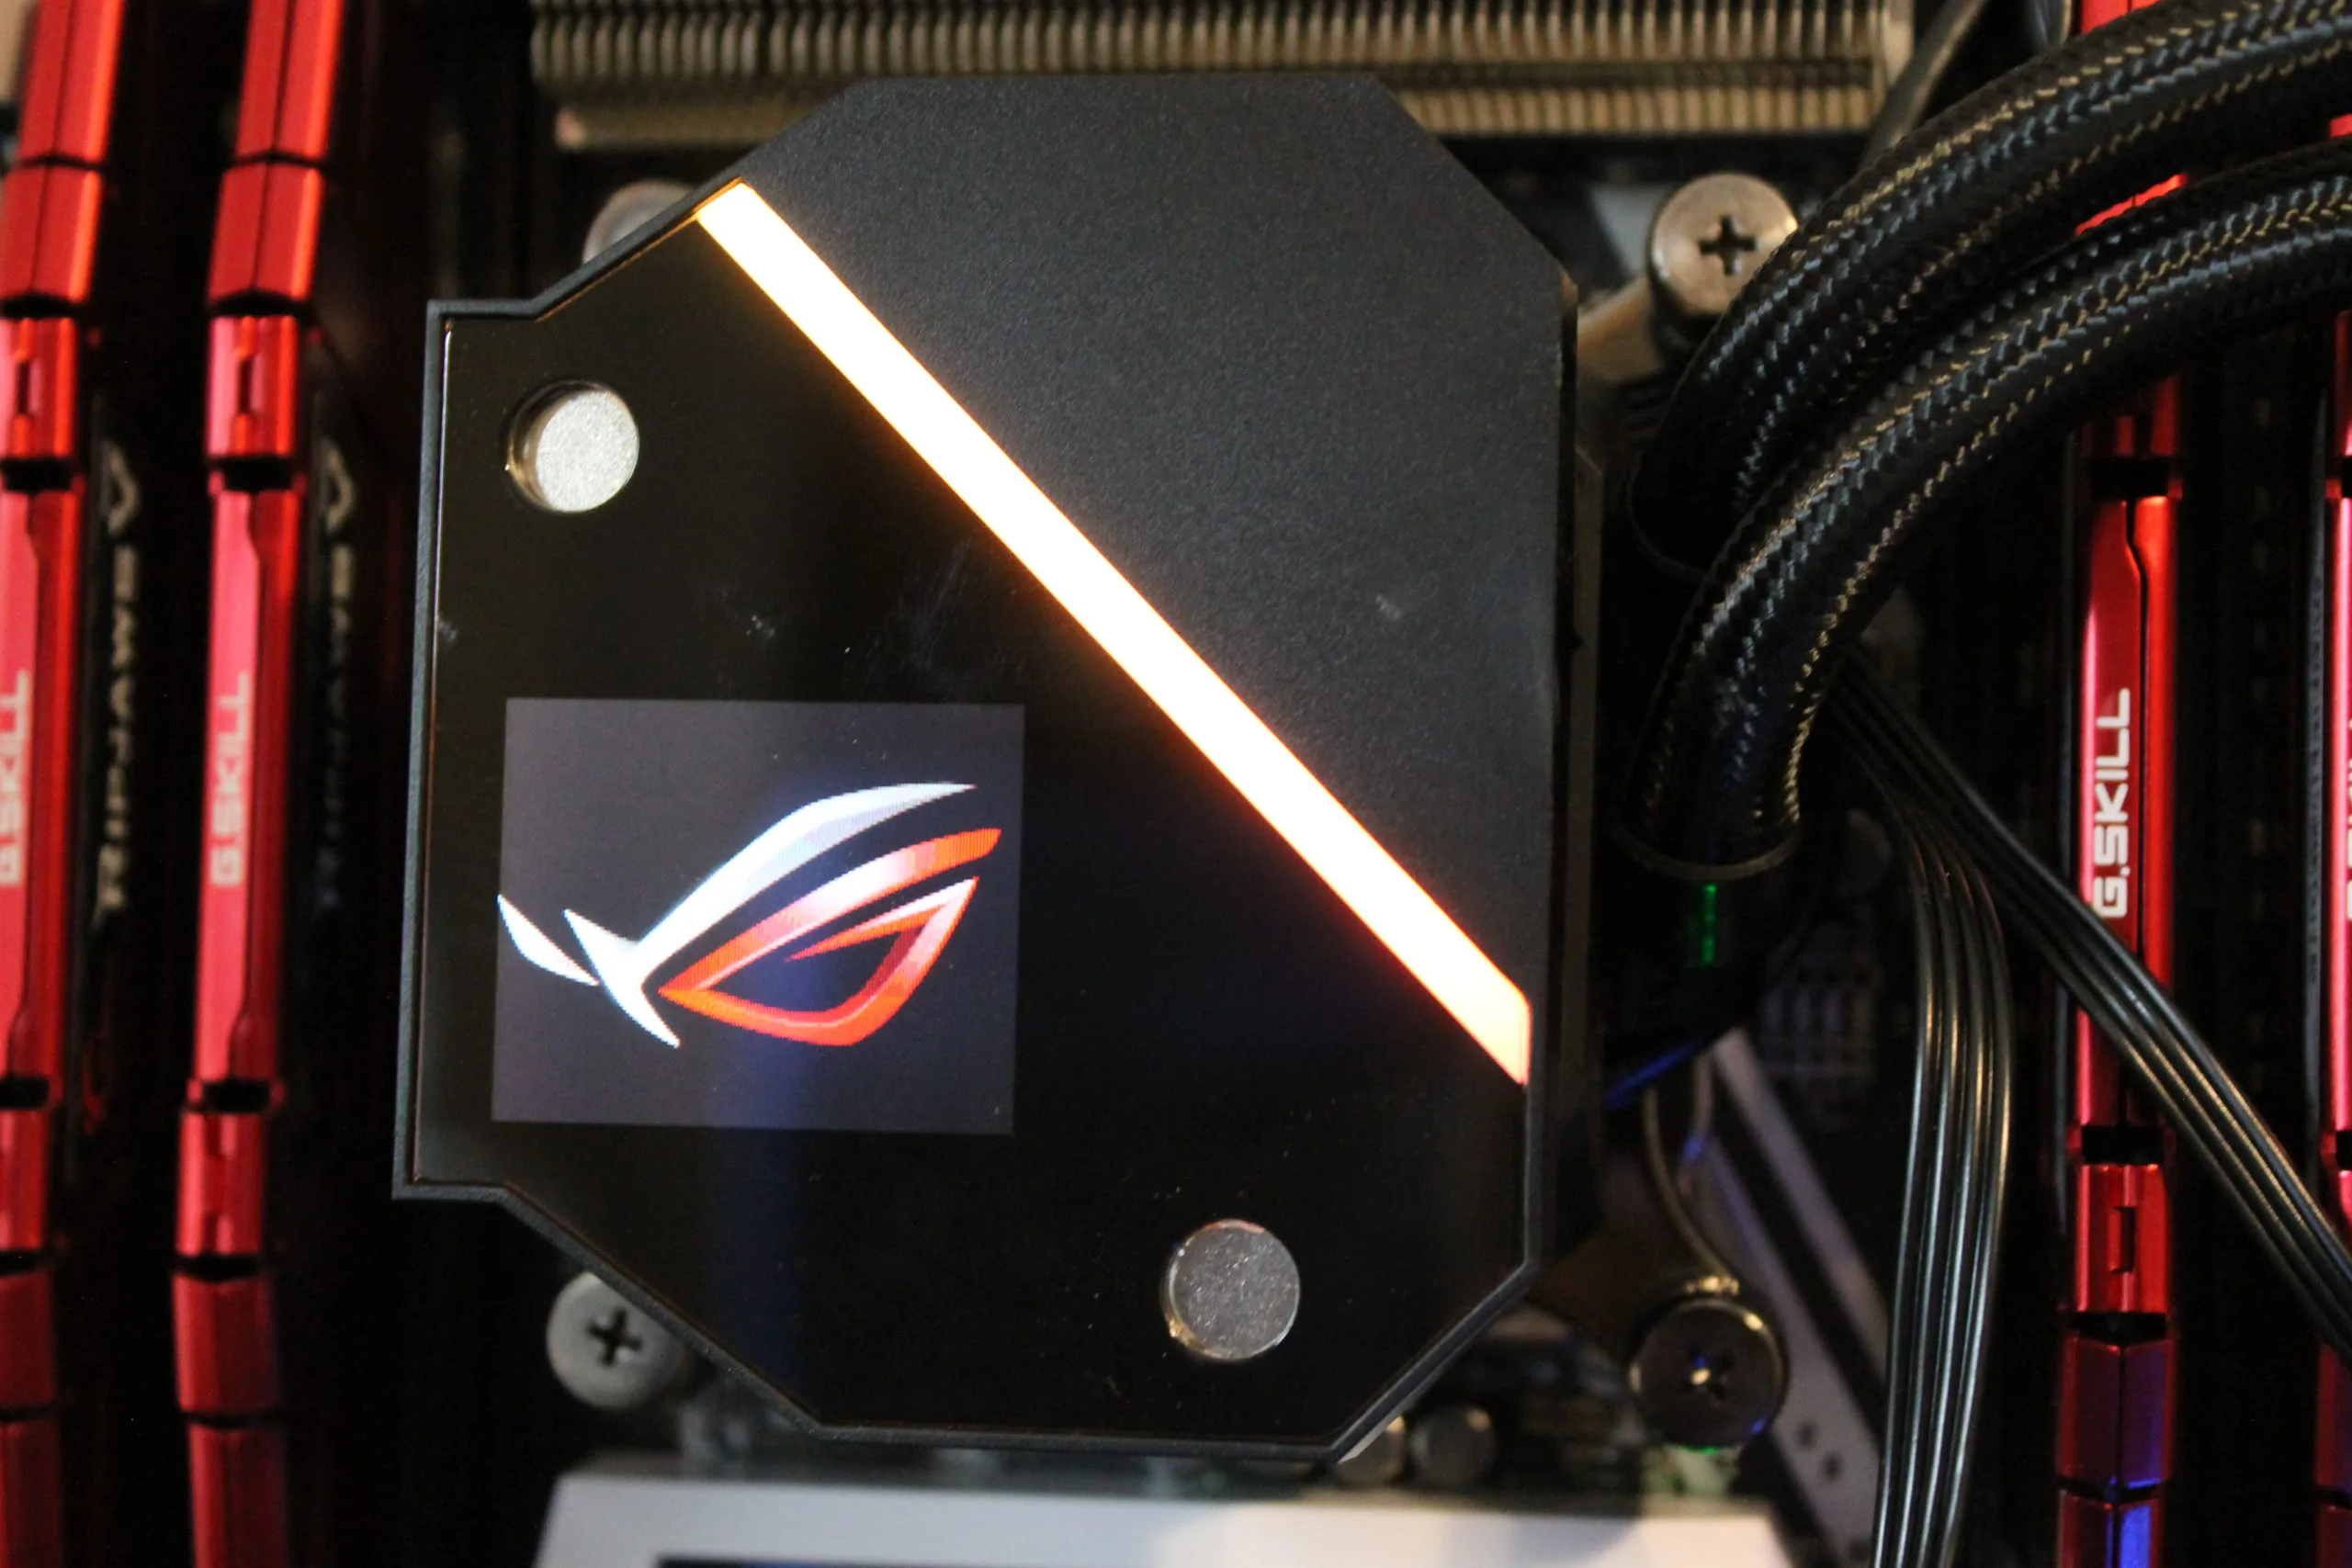
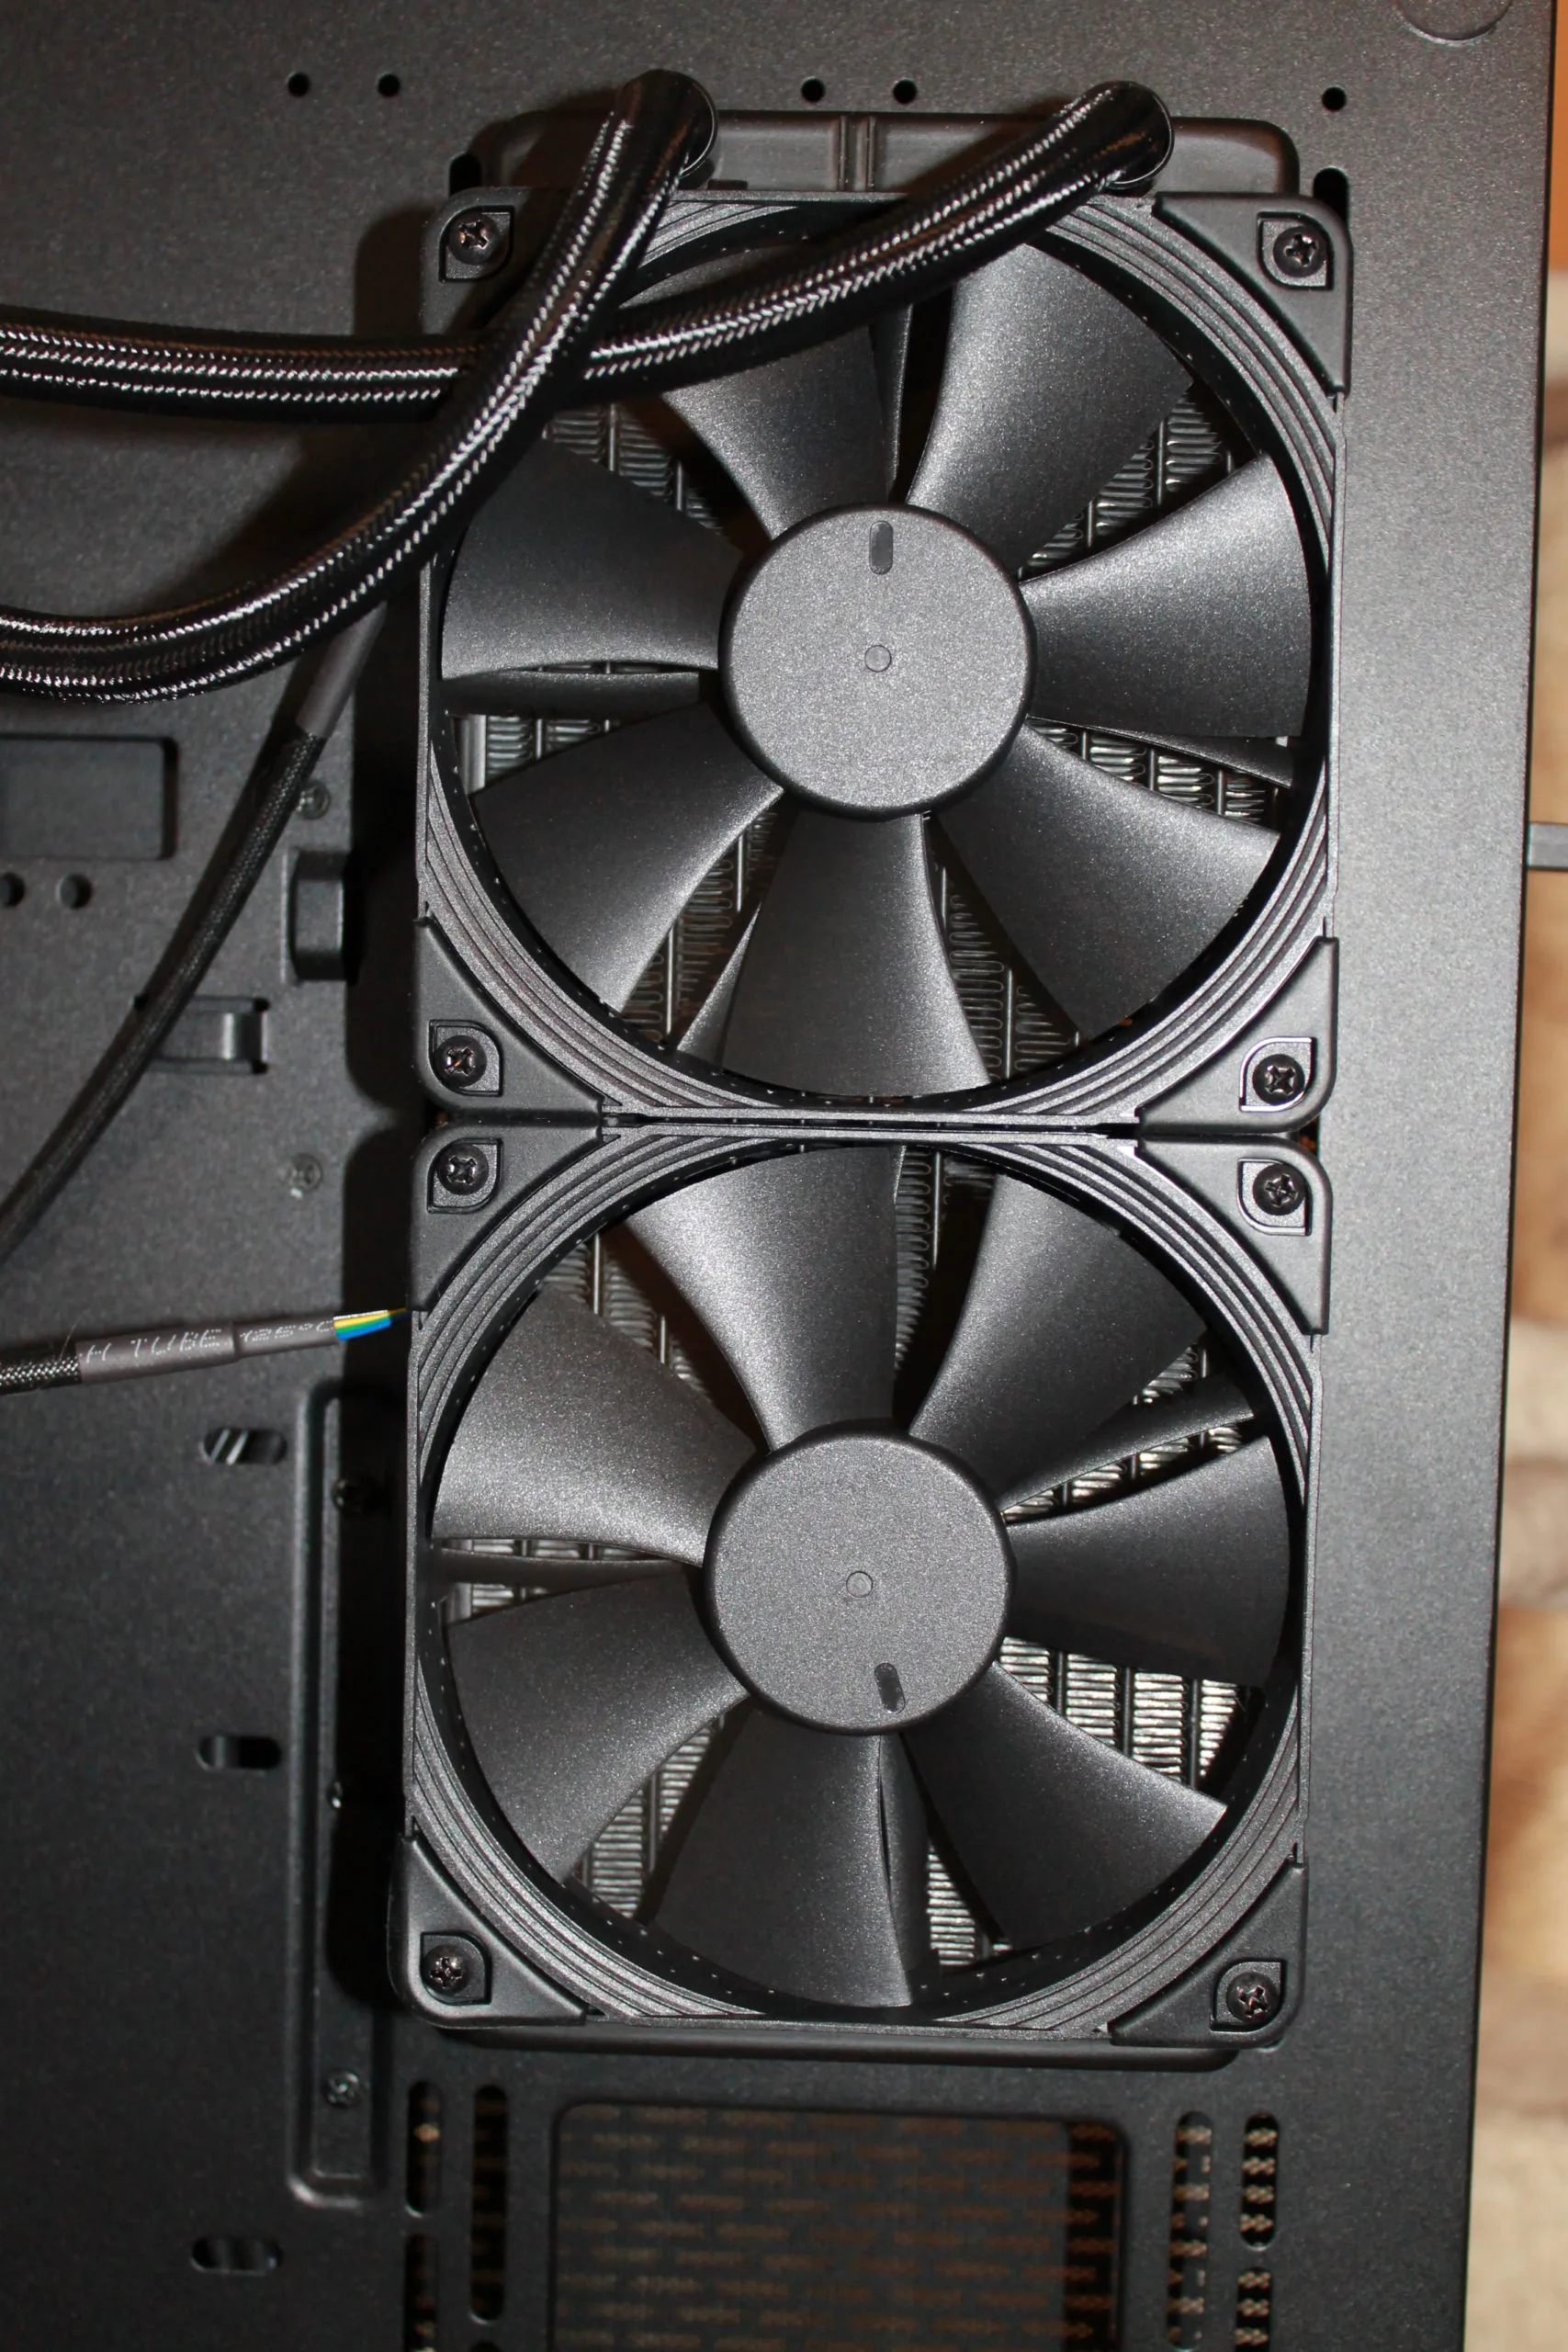
We bolted the radiator on to the case and then put on the water block. The cube shroud is removable which makes it a lot easier to work with the tubing and get the water block mounted and then snap the shroud on to the top.
With everything comfortably situated, let’s start seeing what kind of numbers the ASUS ROG RYUJIN 240 can put up today!