Case Exterior & Interior
Exterior
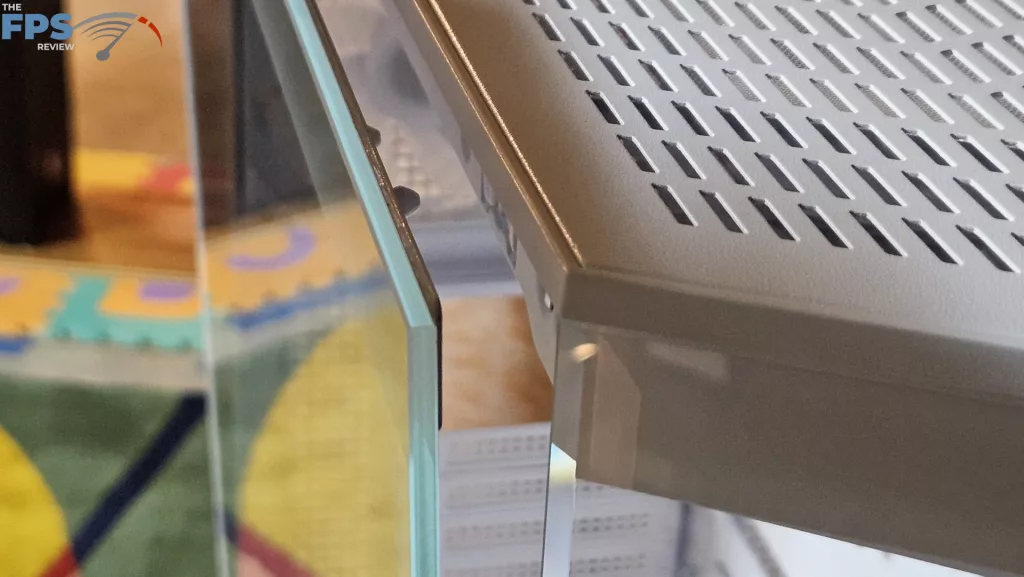
The exterior of the MSI MAG PANO 100R PZ is a mixture of tempered glass and powder-coated metal. There are also some portions of the front frame and case stand that are plastic. The front of the case is beveled glass in a plastic framework. On the left side, two bevels meet to form the junction of the front and left side panel. The fit and finish is perfect, making the junction look seamless. The left side panel is framed with tempered glass.

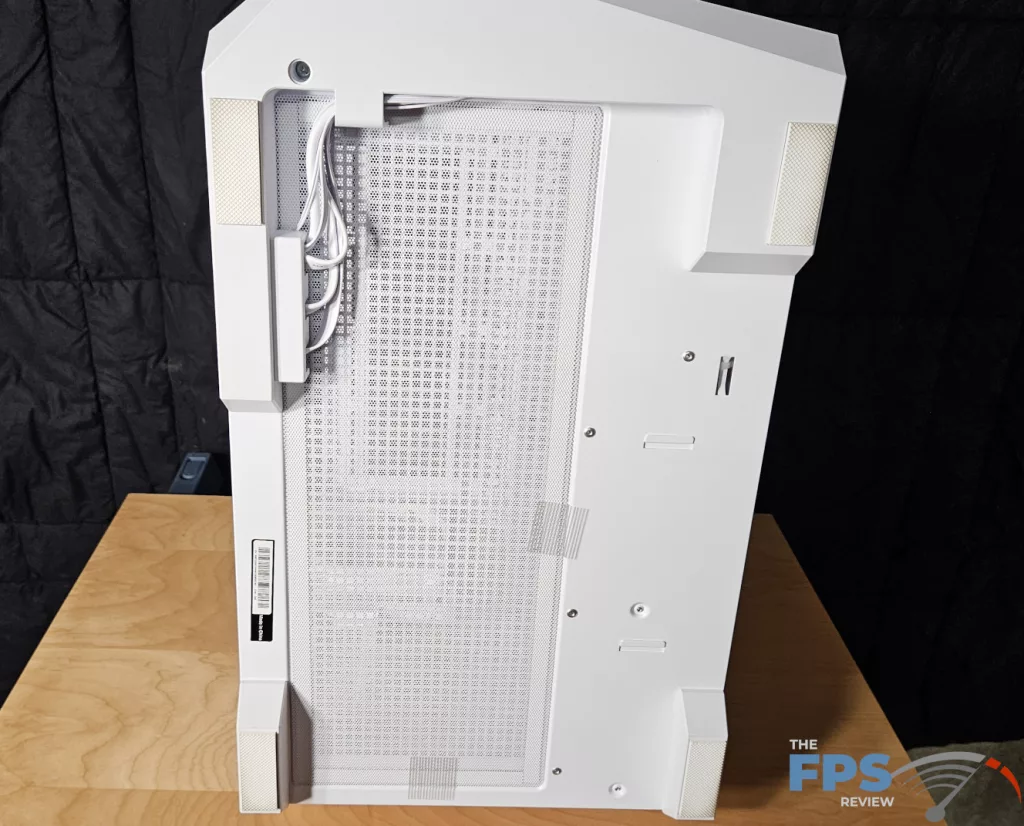

The rear of the case is pretty standard, housing the exhaust fan, the rear I/O slots, the motherboard rear I/O panel, and the rear of the PSU. The rear case I/O is changeable for horizontal or vertical video card mounting. The right side panel is a metal mesh. This panel has nearly 100% coverage on the back by a removable dust screen.
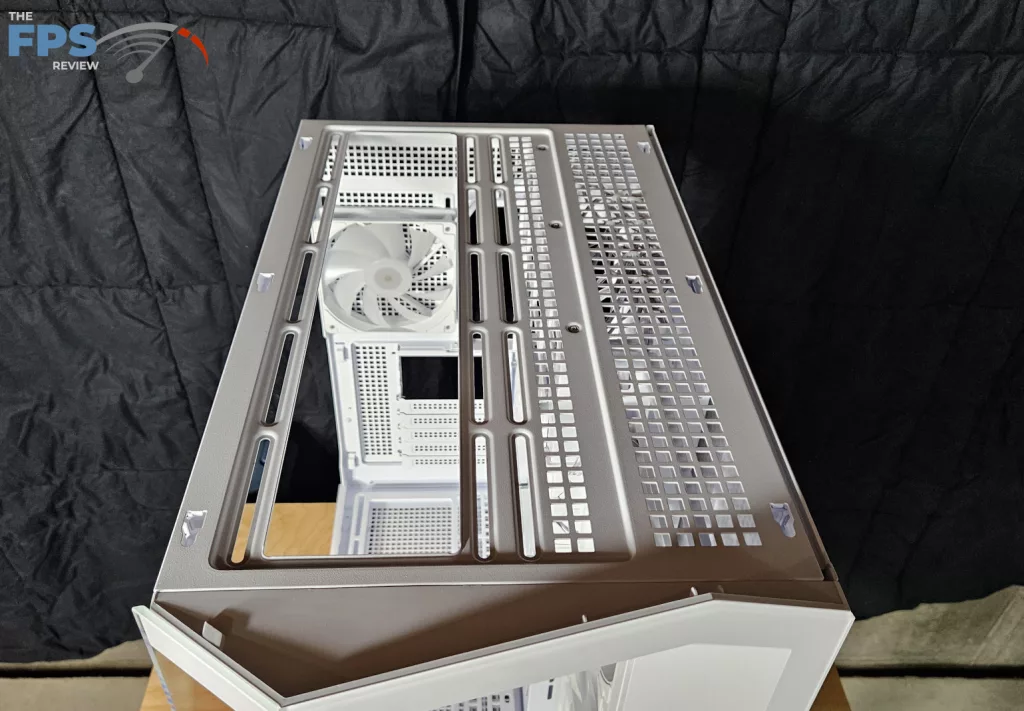
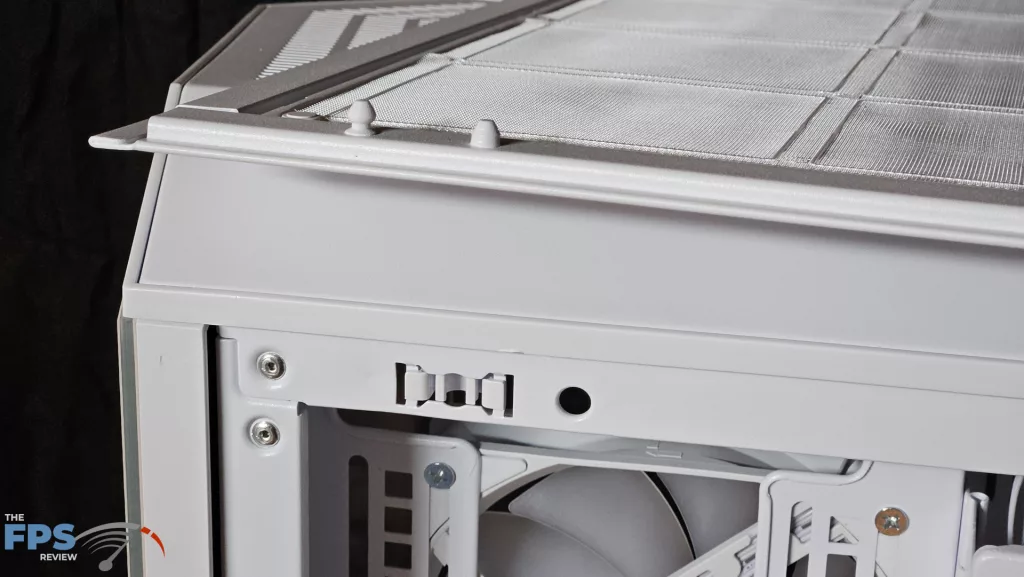
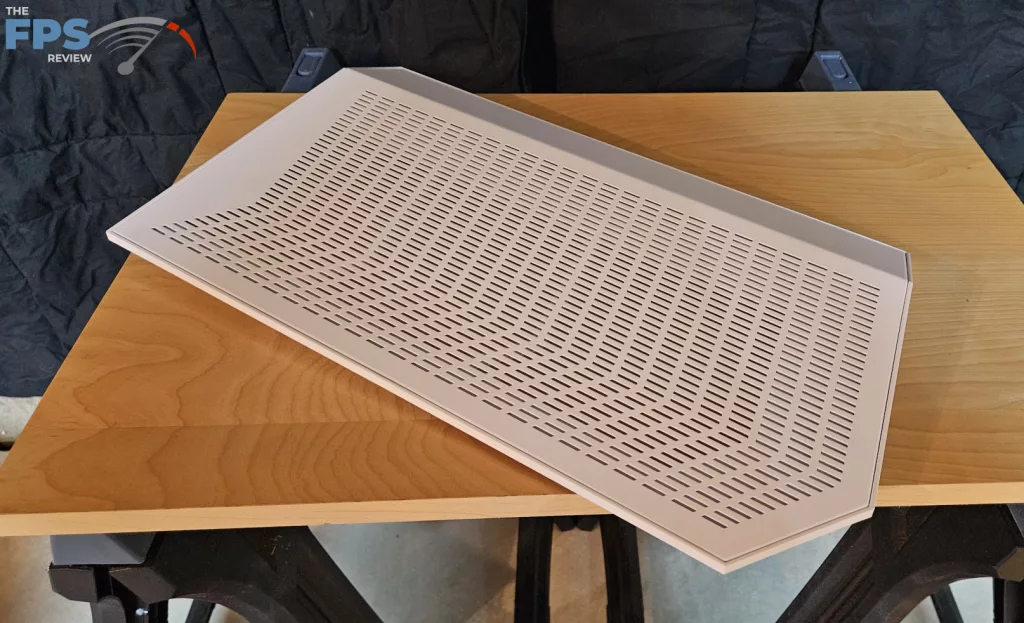
The top of the case is a beveled metal. It slides off to allow access to the fan/radiator mount. The top has a full, permanently mounted dust screen. The side panels and front of the case are attached by some sort of “push-pin” mechanism that is slightly different for each panel. They do fit very firmly with a solid “click”. The top simply slides into place and is held by rear thumb screws.
Interior
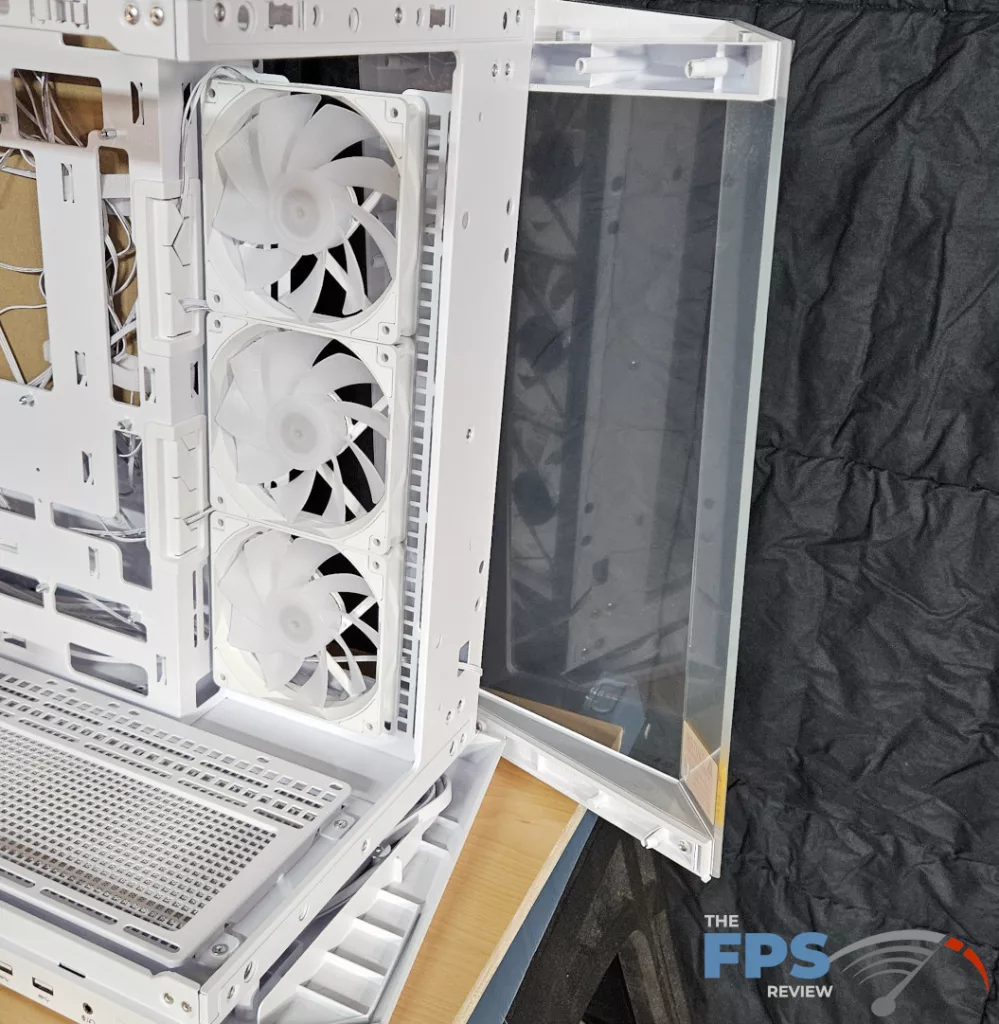
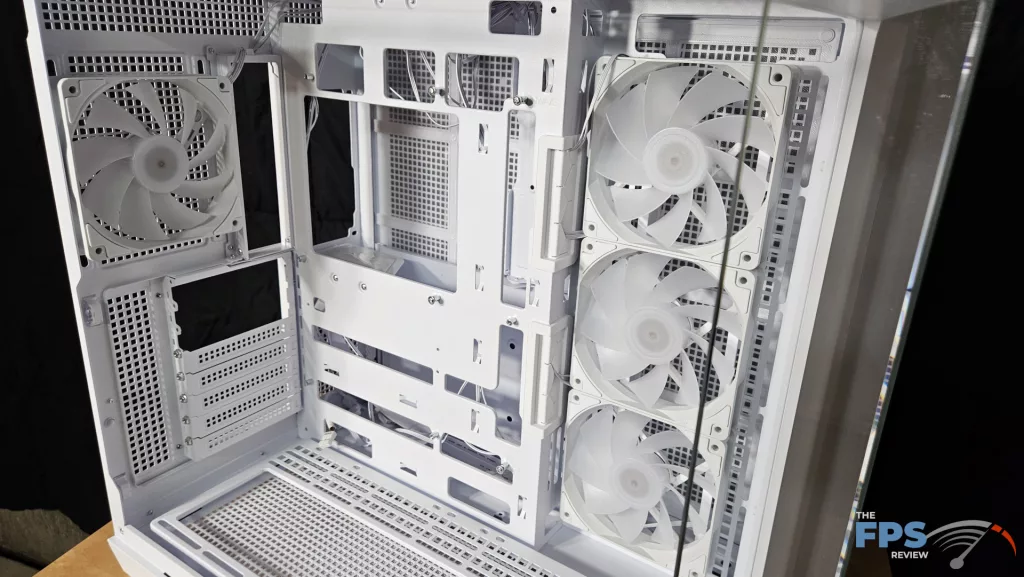
The interior of the MSI MAG PANO 100R is spacious. There is more than enough room to work simply by removing the side panels. If you aren’t satisfied with that, the front glass panel can also be totally removed. Starting at the top, there is a fan/radiator mount for a 360 or 280. Due to the rather shallow top, the fans and radiator need to be fully inside the case. On the left-front is a fan/radiator rack that has the three MAG F120 fans installed. This rack has adequate space to mount a push-pull 360 or 280 combination.
The case bottom also has a removable fan/radiator rack capable of mounting a 360 radiator. The rear panel has room to mount a single 120mm fan, which comes installed. The overall dimensions of the interior are: 18 1/4 x 11 1/4 x 18 3/4 inches (H,W,L). This will allow up to 18-inch GPU length and 6 1/4 inch GPU width. The beauty of the case is that none of this space is taken by cables or wires, leaving a lot of real estate for hardware.
Motherboard Tray
The motherboard tray is purpose-built to provide ample space for the Back-Connect motherboards of Project Zero to easily and neatly find the PSU and I/O connections. There are no fewer than 16 slots that allow access to the PSU compartment just behind. MSI provides velcro strapping for cable management as well as multiple stamp-outs to place zip ties. Where the tray juts outward near the front of the case, you can see rubber grommets. There is no issue with cable length here. As we stated earlier, the tray allows mounting of a MATX or full ATX motherboard. The area is very uncluttered and spacious.
PSU compartment

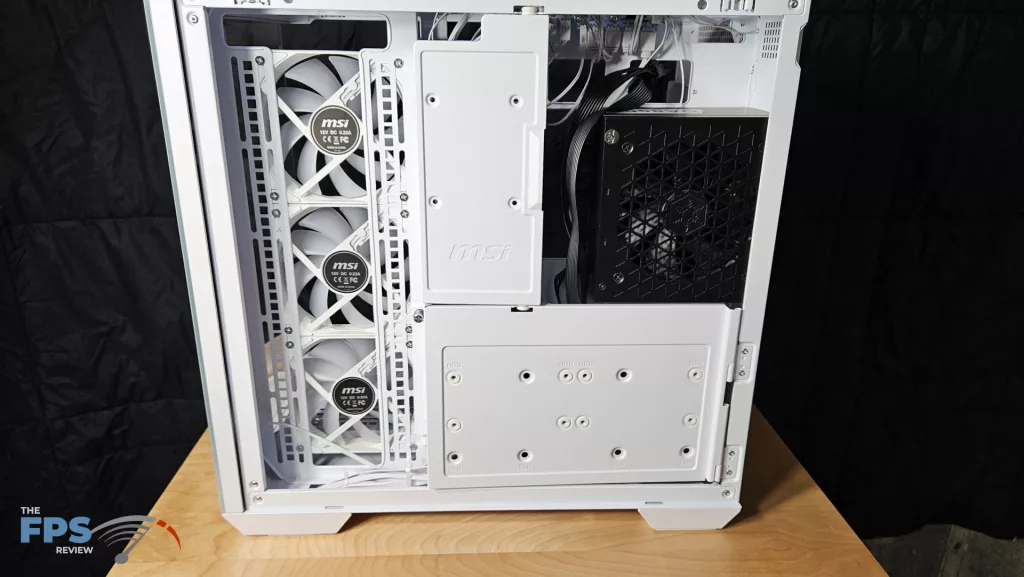
The PSU Compartment is another of the MSI MAG PANO 100R PZ designs that completely complements the process of a crisp, clean PC build. The PSU is mounted in such a manner to give plenty of space for cables as well as to route connectors and excess wiring. Our Silverstone DA850 PSU was a perfect size for the space, leaving a generous amount of room on all sides. As we stated, all cables reached their connector without a problem.
The PSU sits on a small platform and is screw-fastened to the case in the rear. The small doors close easily to conceal the PSU cables. Each door has mounting holes for the standard 2.5-inch SSDs if you choose. The bottom of the compartment is wide enough (3 3/8 inches, 87mm) to allow placement of a custom loop pump if you are so inclined. (You would most likely need to use a pump-top reservoir)
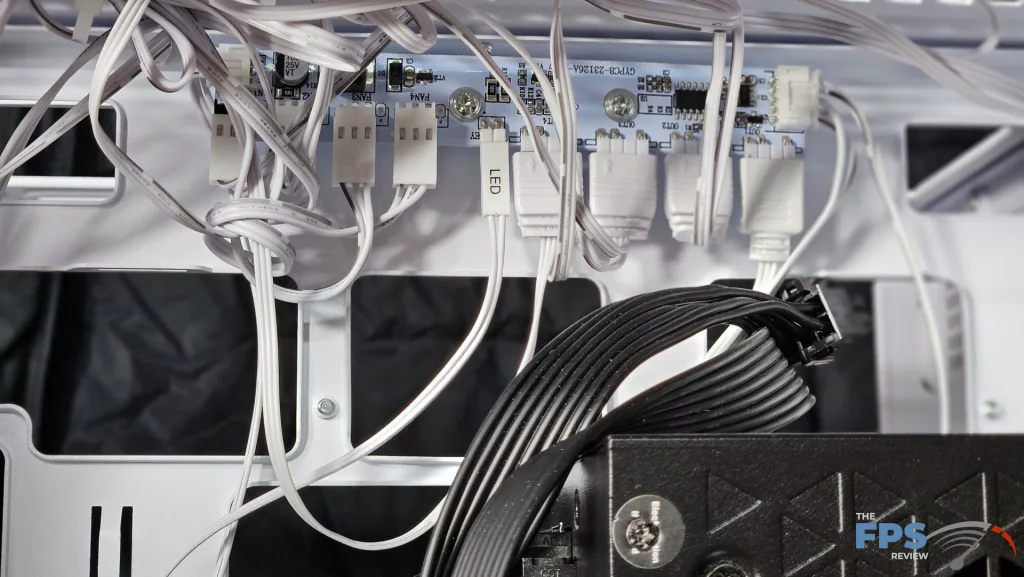
At the top of the PSU compartment, MSI has mounted a 4:1 fan controller and RGB hub. This piece allows control of fan cycle and RGB from The MSI Center software, or the RGB may be controlled by a small switch on the front I/O panel.
I/O panel
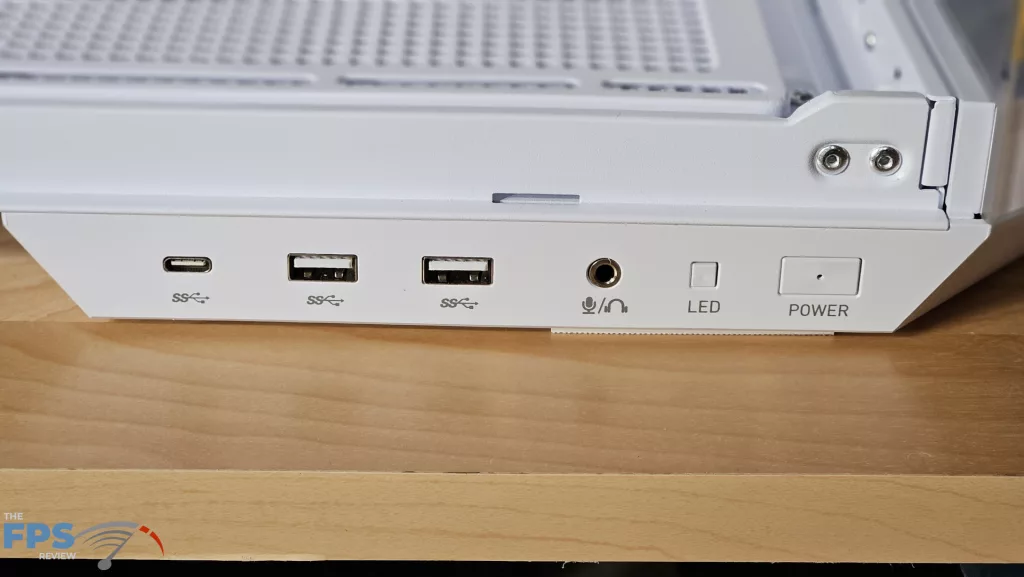
The I/O panel for the case is found on the lower left. ( and yes, technically on the exterior of the case) It is a rather slim piece of plastic that doubles as part of the stand for the case. All the wiring is neatly placed in a track running under the case and routing up inside the rear compartment. This is a very clever way to keep the cables well concealed, considering the length needed to reach the motherboard connections. You can see from left to right: USB-C 20Gb/s, two USB-A 3.1 5Gb/s, 3.5mm audio/microphone, the RGB control switch, and finally the power switch.