BIOS
As I always do, I check with the manufacture to see if there is an updated BIOS prior to doing any testing. I found that this motherboard had a newer BIOS and downloaded and flashed to the latest B55AG201.BST BIOS. So, if after reading this review you decide to purchase this specific board, be sure to jump on BIOSTAR’s download page and get the latest BIOS.
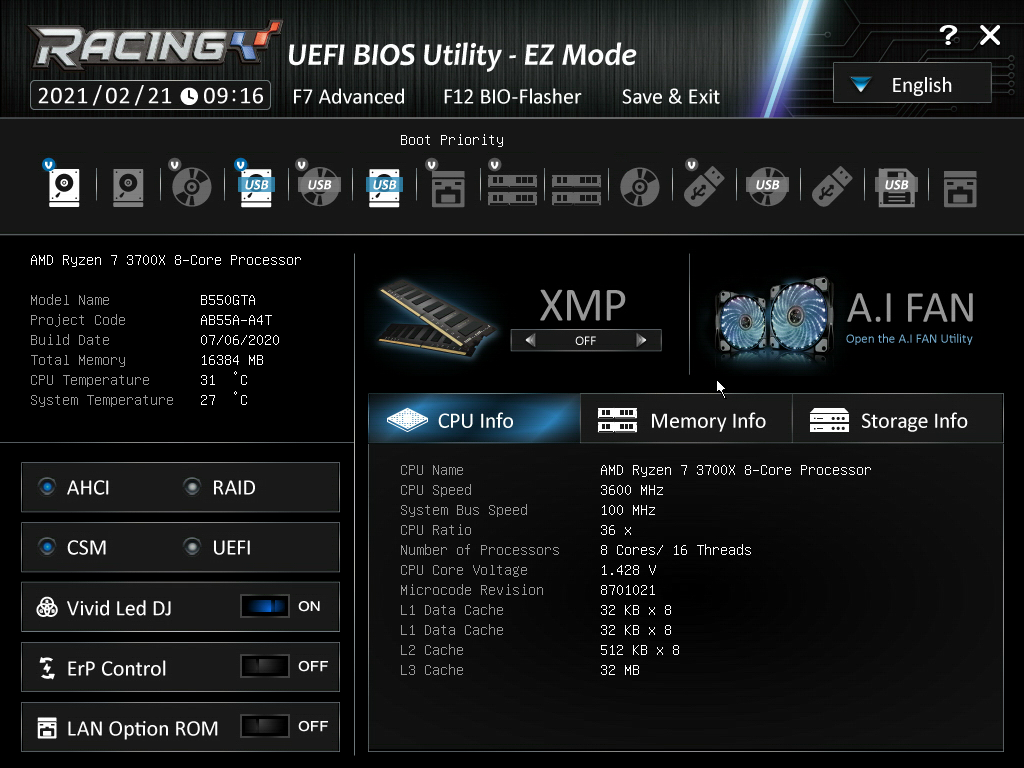
Like most motherboards, you can enter the BIOS during bootup by hitting the Delete key on your keyboard. Once you enter the BIOS you are greeted with “Easy Mode.” Like almost all newer motherboards, F7 will put the BIOS in Advanced mode. The advanced mode can be done by hitting the F7 or using one’s mouse.
Easy Mode, as one would expect, really doesn’t allow for many changes in the system. EZ mode is more of an informational area than being able to tweak the system. There are a few things to note in this mode though. You can enter your hardware monitor, BIO-FLASHER, XMP, and A.I FAN, along with a few extra points of interest.
One doesn’t really get into the meat of the system until you enter the advanced mode of the BIOS. Here is where a person is able to really start delving into overclocking, fan controls, and the advanced motherboard settings. This is also where you are able to set up memory timings and settings.
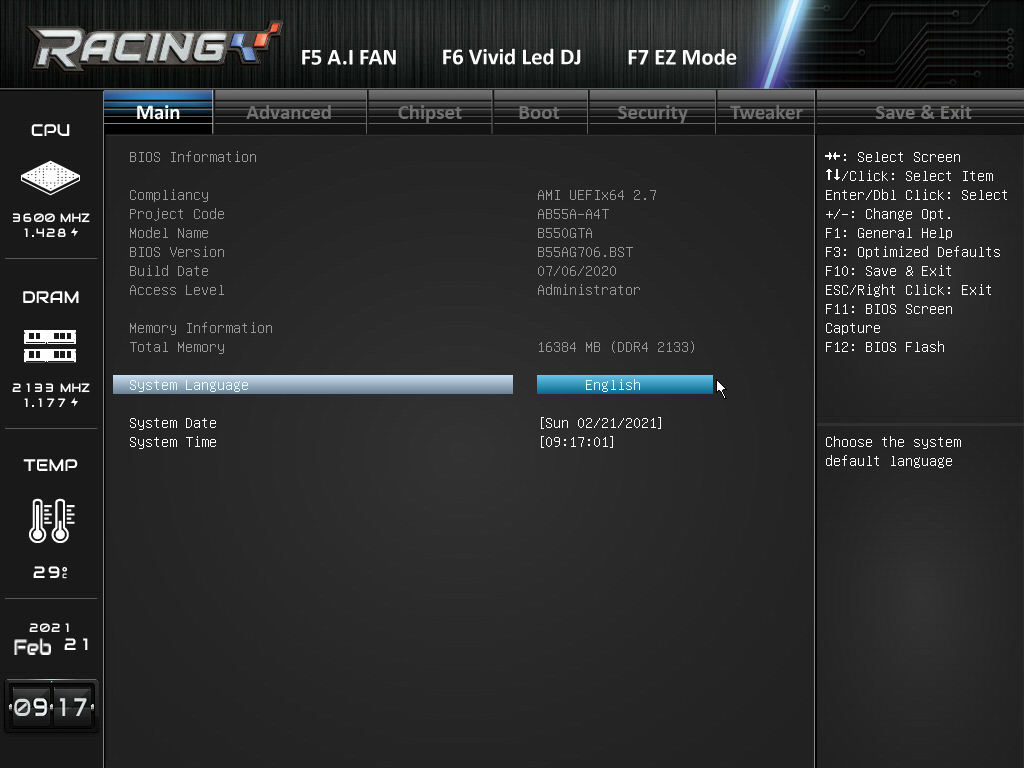
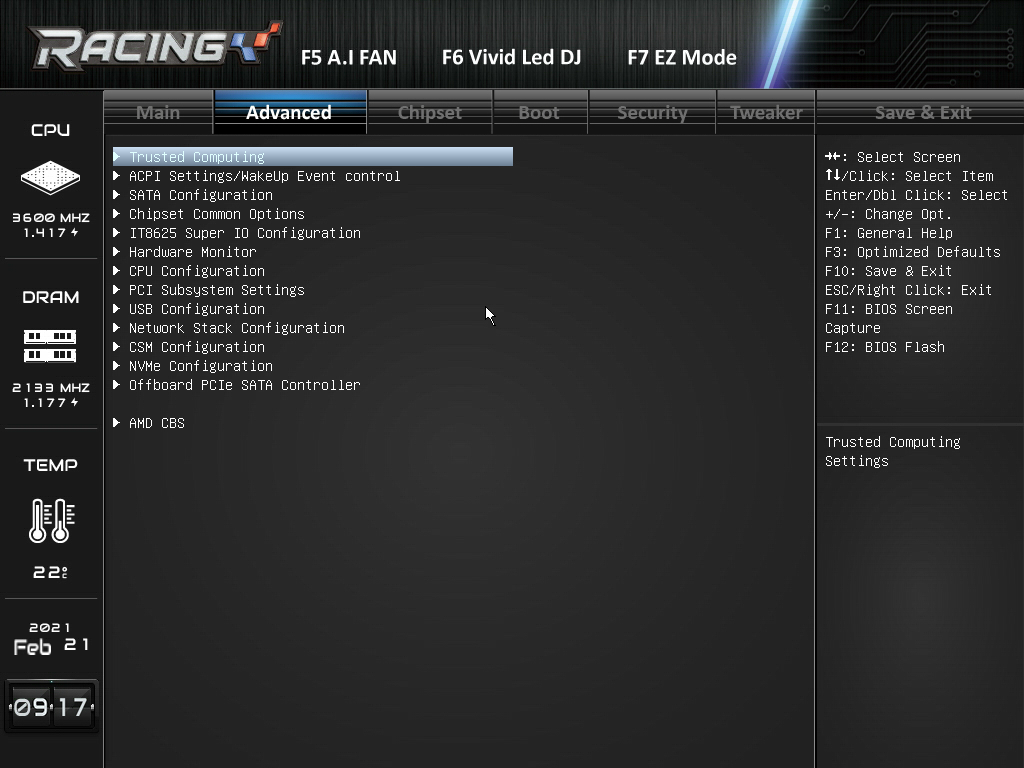
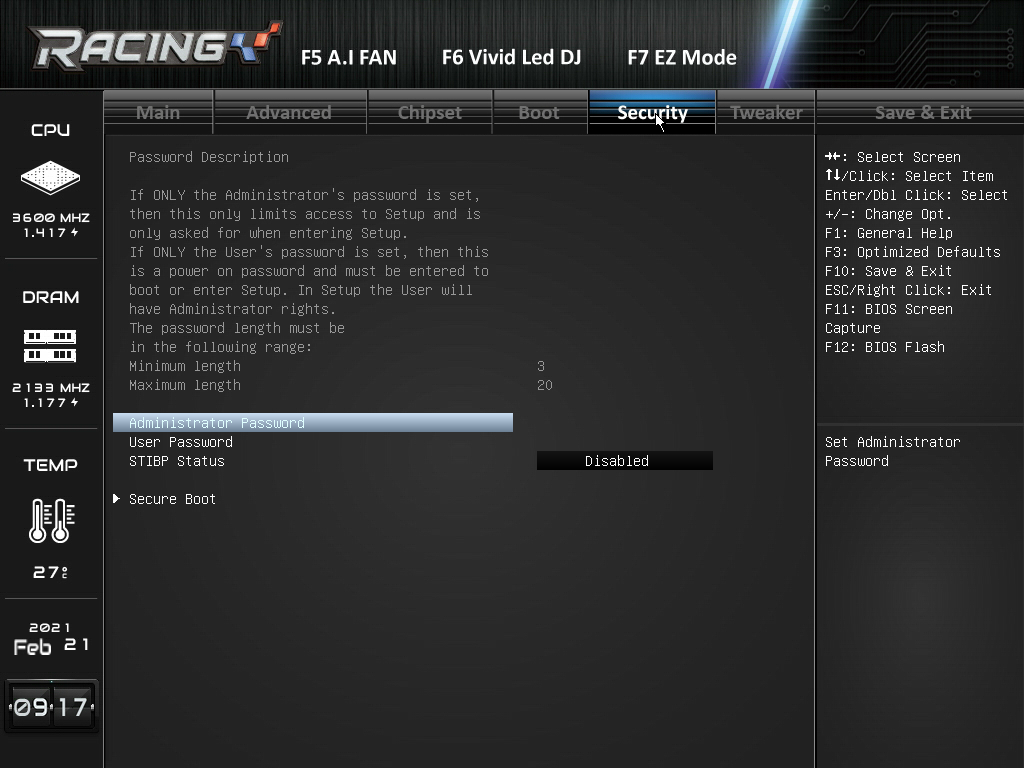
Under the advanced settings, we see several different items of interest. On the left side, we can see our current settings with the CPU and memory along with the current CPU temp. It also displays the current time and how long the motherboard has been posted. At the top row, we see Main, Advanced, Chipset, Boot, Security, Tweaker, and the Save & Exit tabs. Above that, we see the F5 A.I FAN and F6 Vivid Led DJ. These two I’ll get into a little bit later. We also see that we can enter the EZ Mode from here as well.


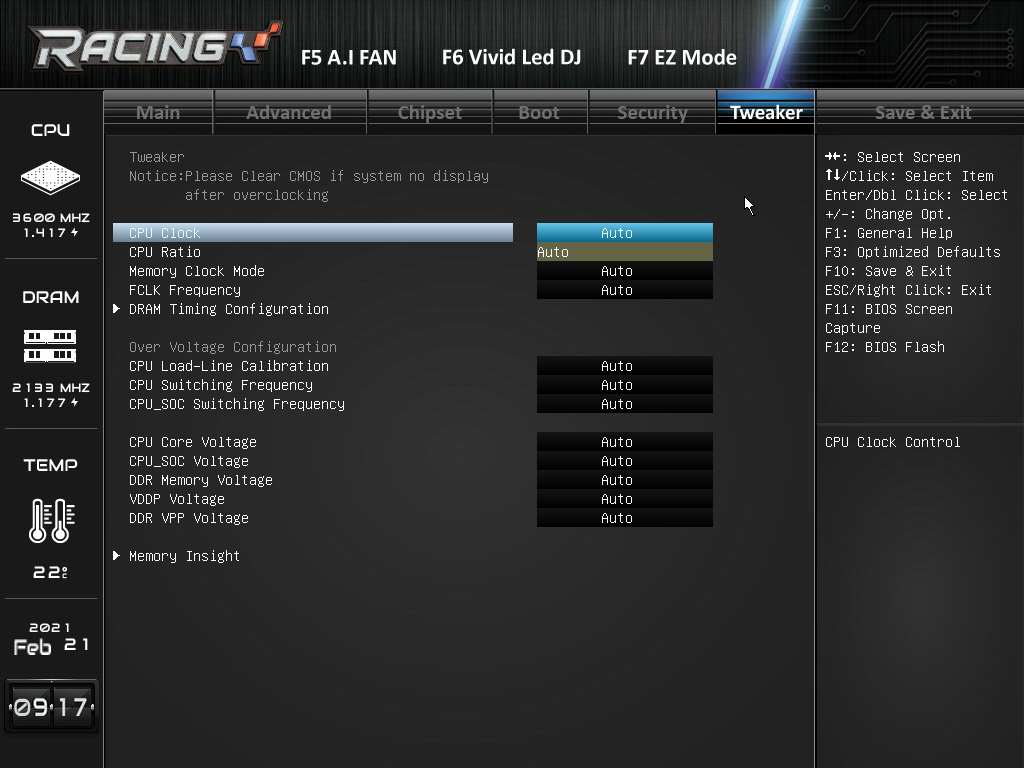
One of the main things I want to discuss is the Tweaker screen. This is where a person can really start making settings for overclocking and tweaking your system to your liking.
Word of CAUTION! Be very careful and be sure you know what you’re doing before messing around in this part of the BIOS!!! If you set the wrong settings, you can damage the board, chip, and/or memory.
Within the Tweaker page, a person can set the CPU clock, CPU ratio, FCLK frequencies, and DRAM timings. On this page, you are able to also control the CPU core voltages and memory voltages. Again, be careful when adjusting the voltages both with the CPU and memory.
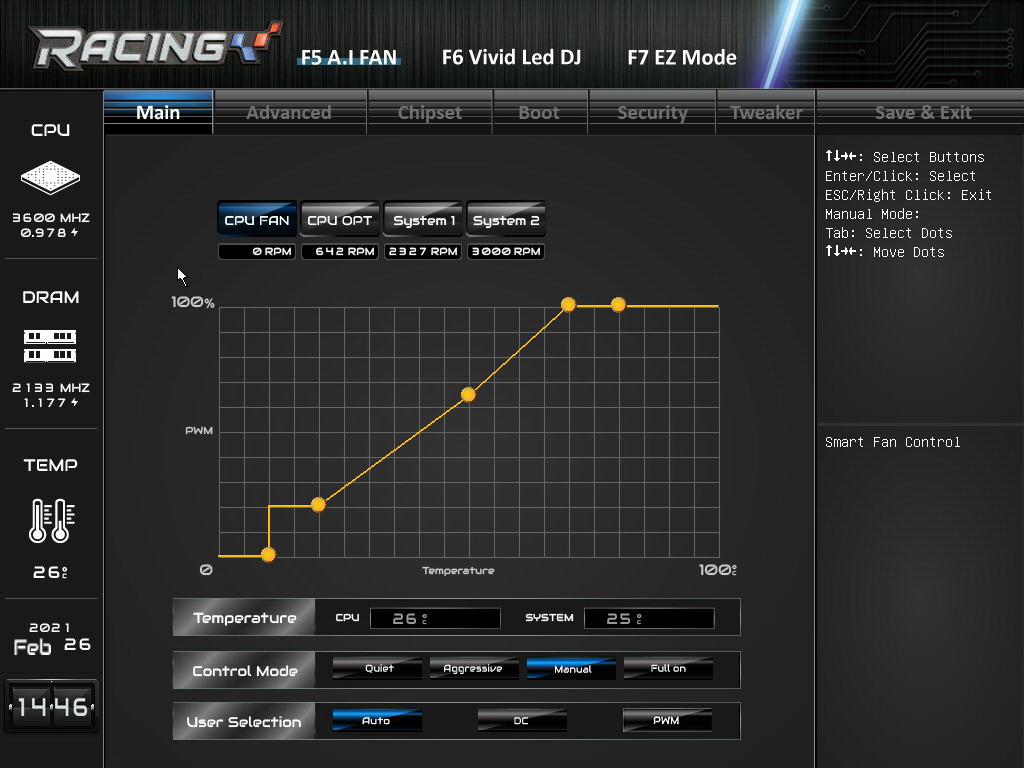
Now let’s discuss a couple of the BIOSTAR exclusive features in the BIOS. First is the A.I FAN. On this feature, the user can adjust the onboard fans. You are able to adjust the CPU fan, CPU optional fan (water pump), and system fans 1 and 2. You are able to set for temperatures or you and set them to Quiet, Aggressive, Manual, or Full on. This makes it handy for overclocking.
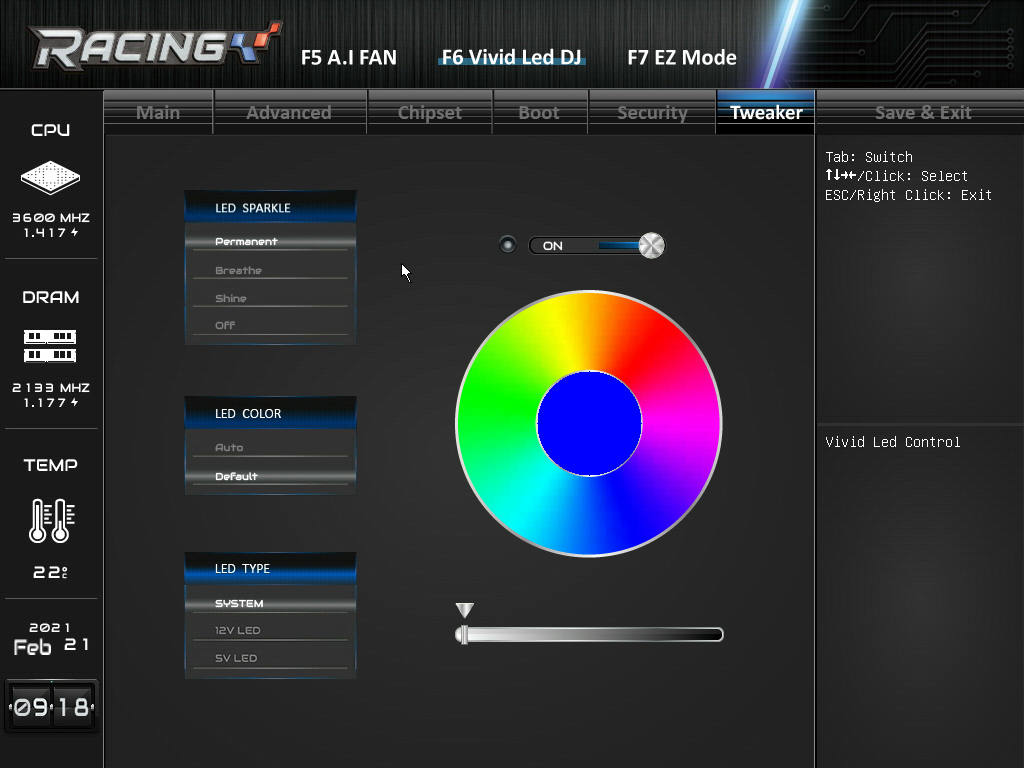
Next, let’s take a look at BIOSTAR’s Vivid Led DJ. As the “DJ” would indicate, this is where you have complete control of the RGB lighting within the system including the rear I/O port cover, pump, liquid cooling, and system fans. Kind of a nice touch on this motherboard. It includes a complete spectrum of the colors as well as how you want the lights to respond.
You can also set the LED TYPE. You can set the system, 12-volt and 5-volt LED’s. You can also set the LED COLOR to default or auto.