Construction Quality
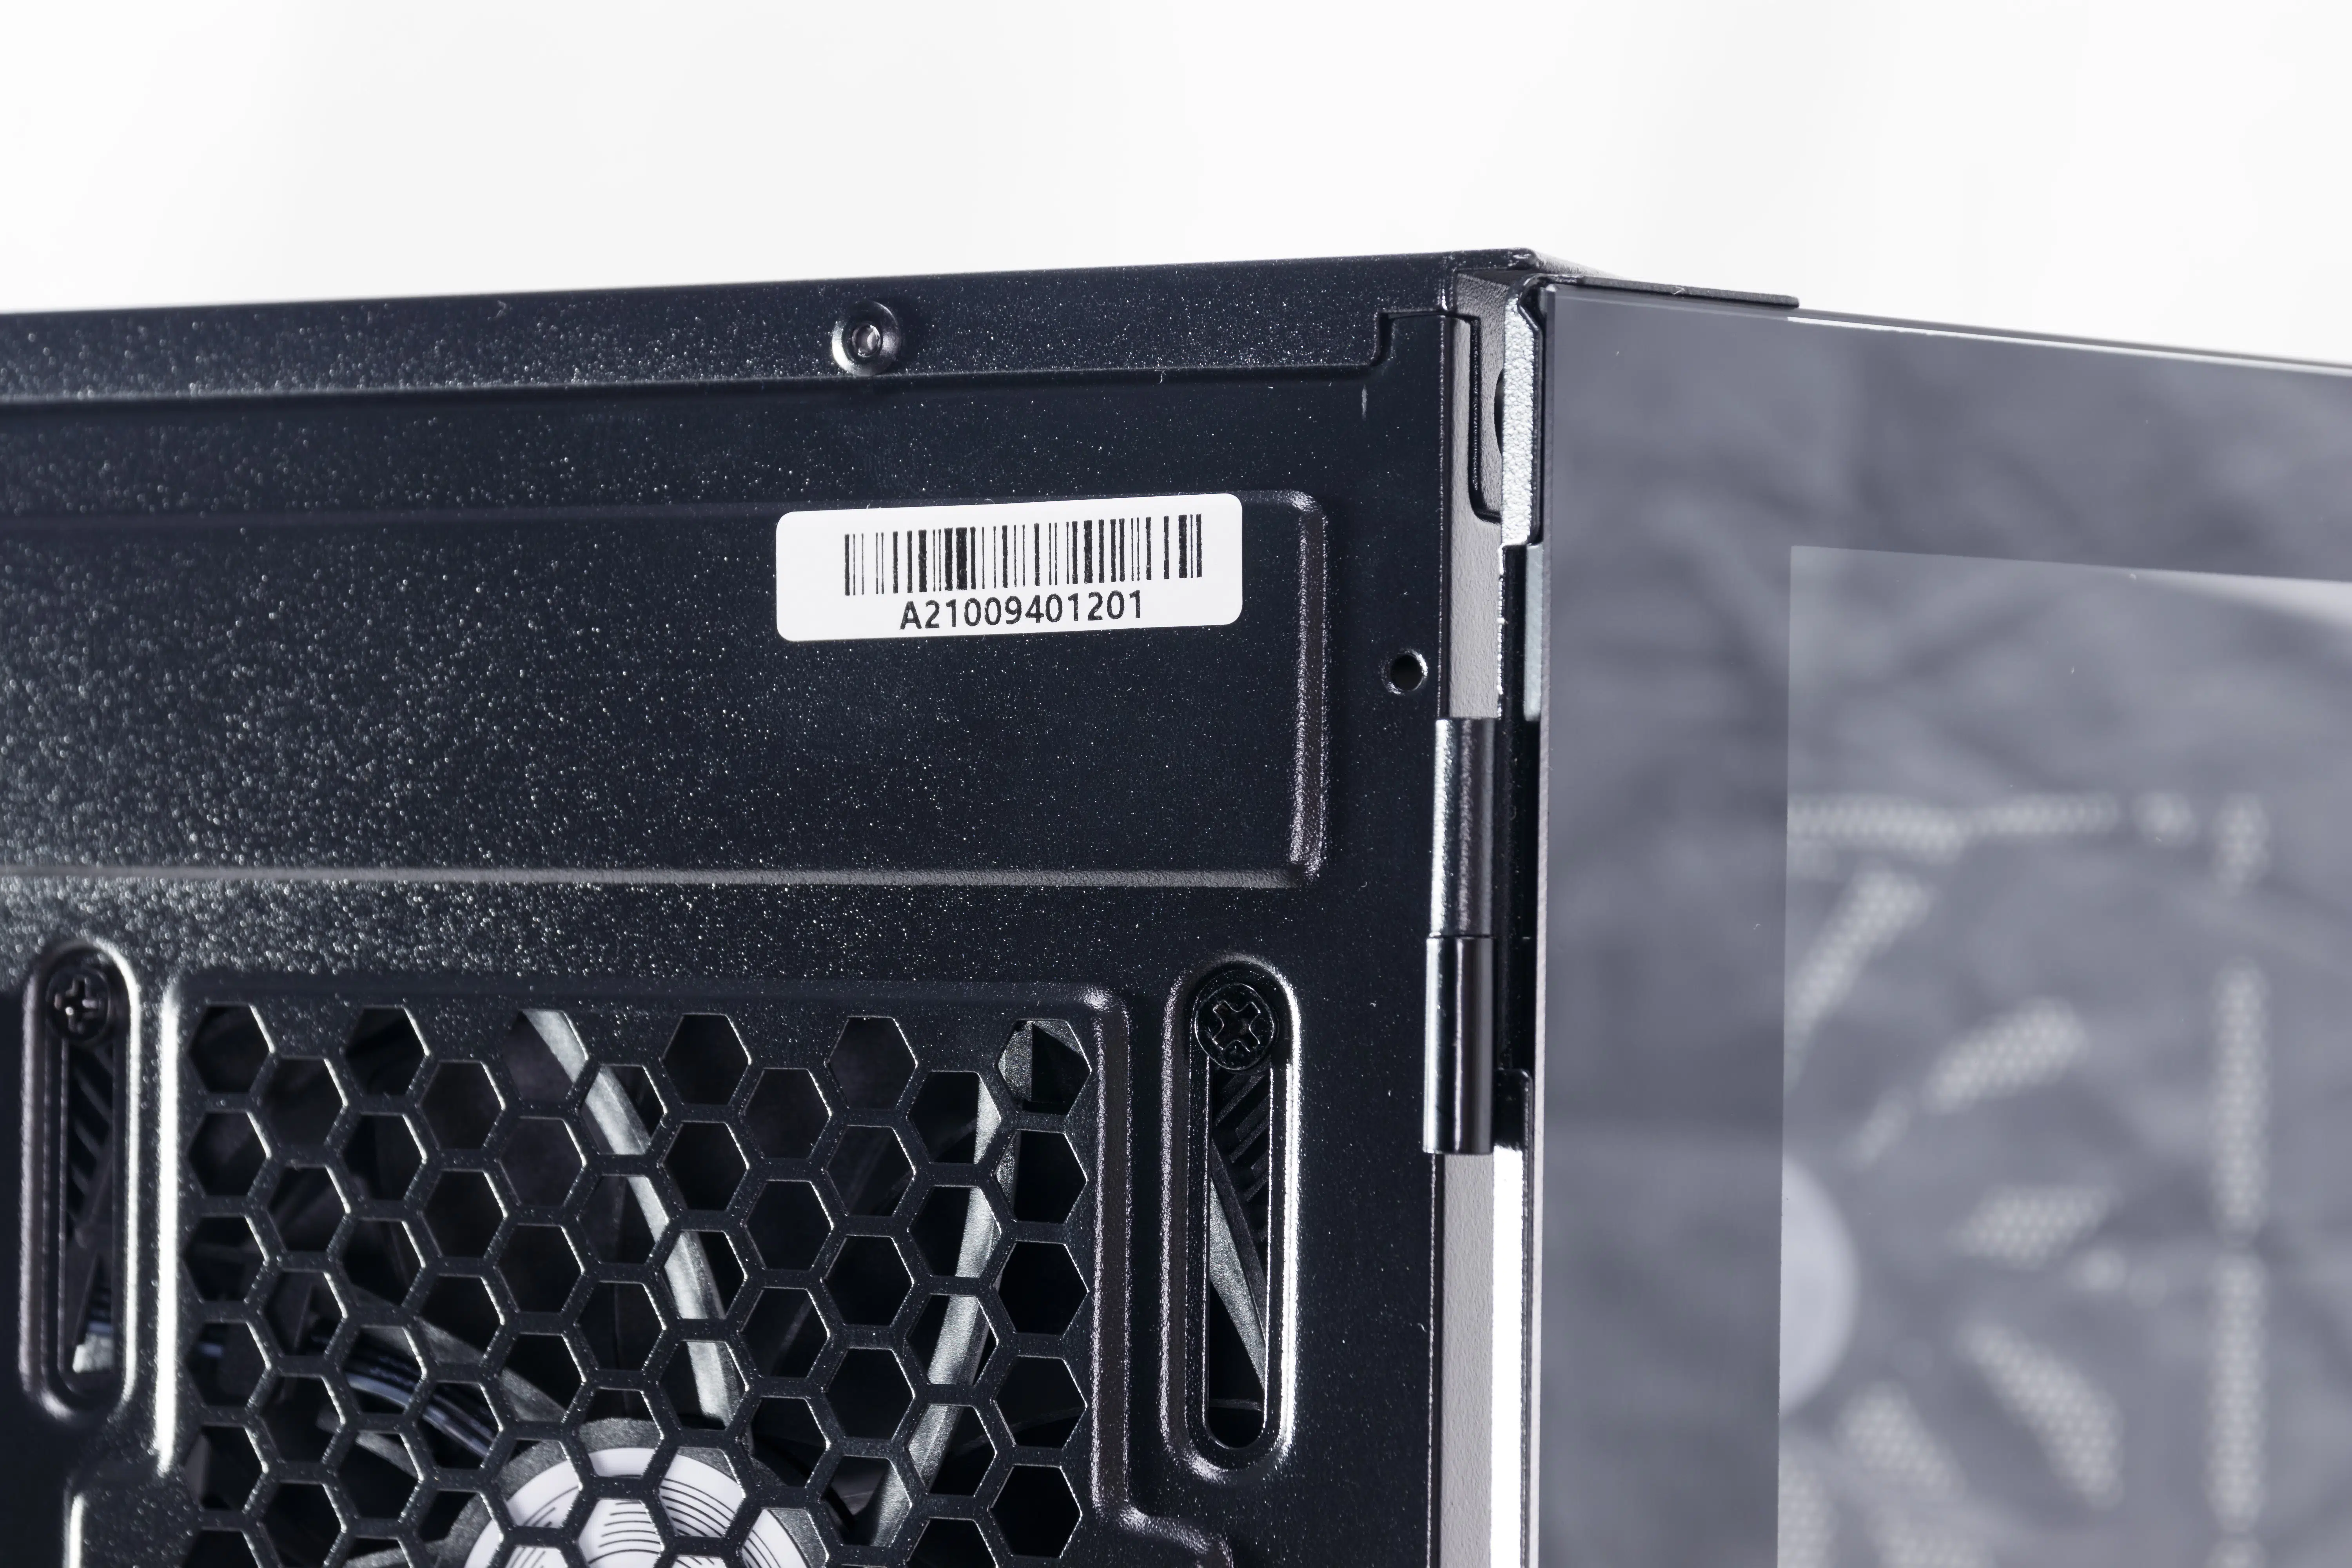
Overall construction quality is very good. The Montech Air 1000 Lite is sturdy despite the prolific use of mesh throughout the case, with the fit and finish on the removable glass side panel, the right-side panel, the case front panel holding the popup filter, and the fan mounts behind are all done to tight standards. Montech has used quality screws all around and we’re definitely fans of the captive screws on the right-side panel and screw-less design of the hinged glass panel.
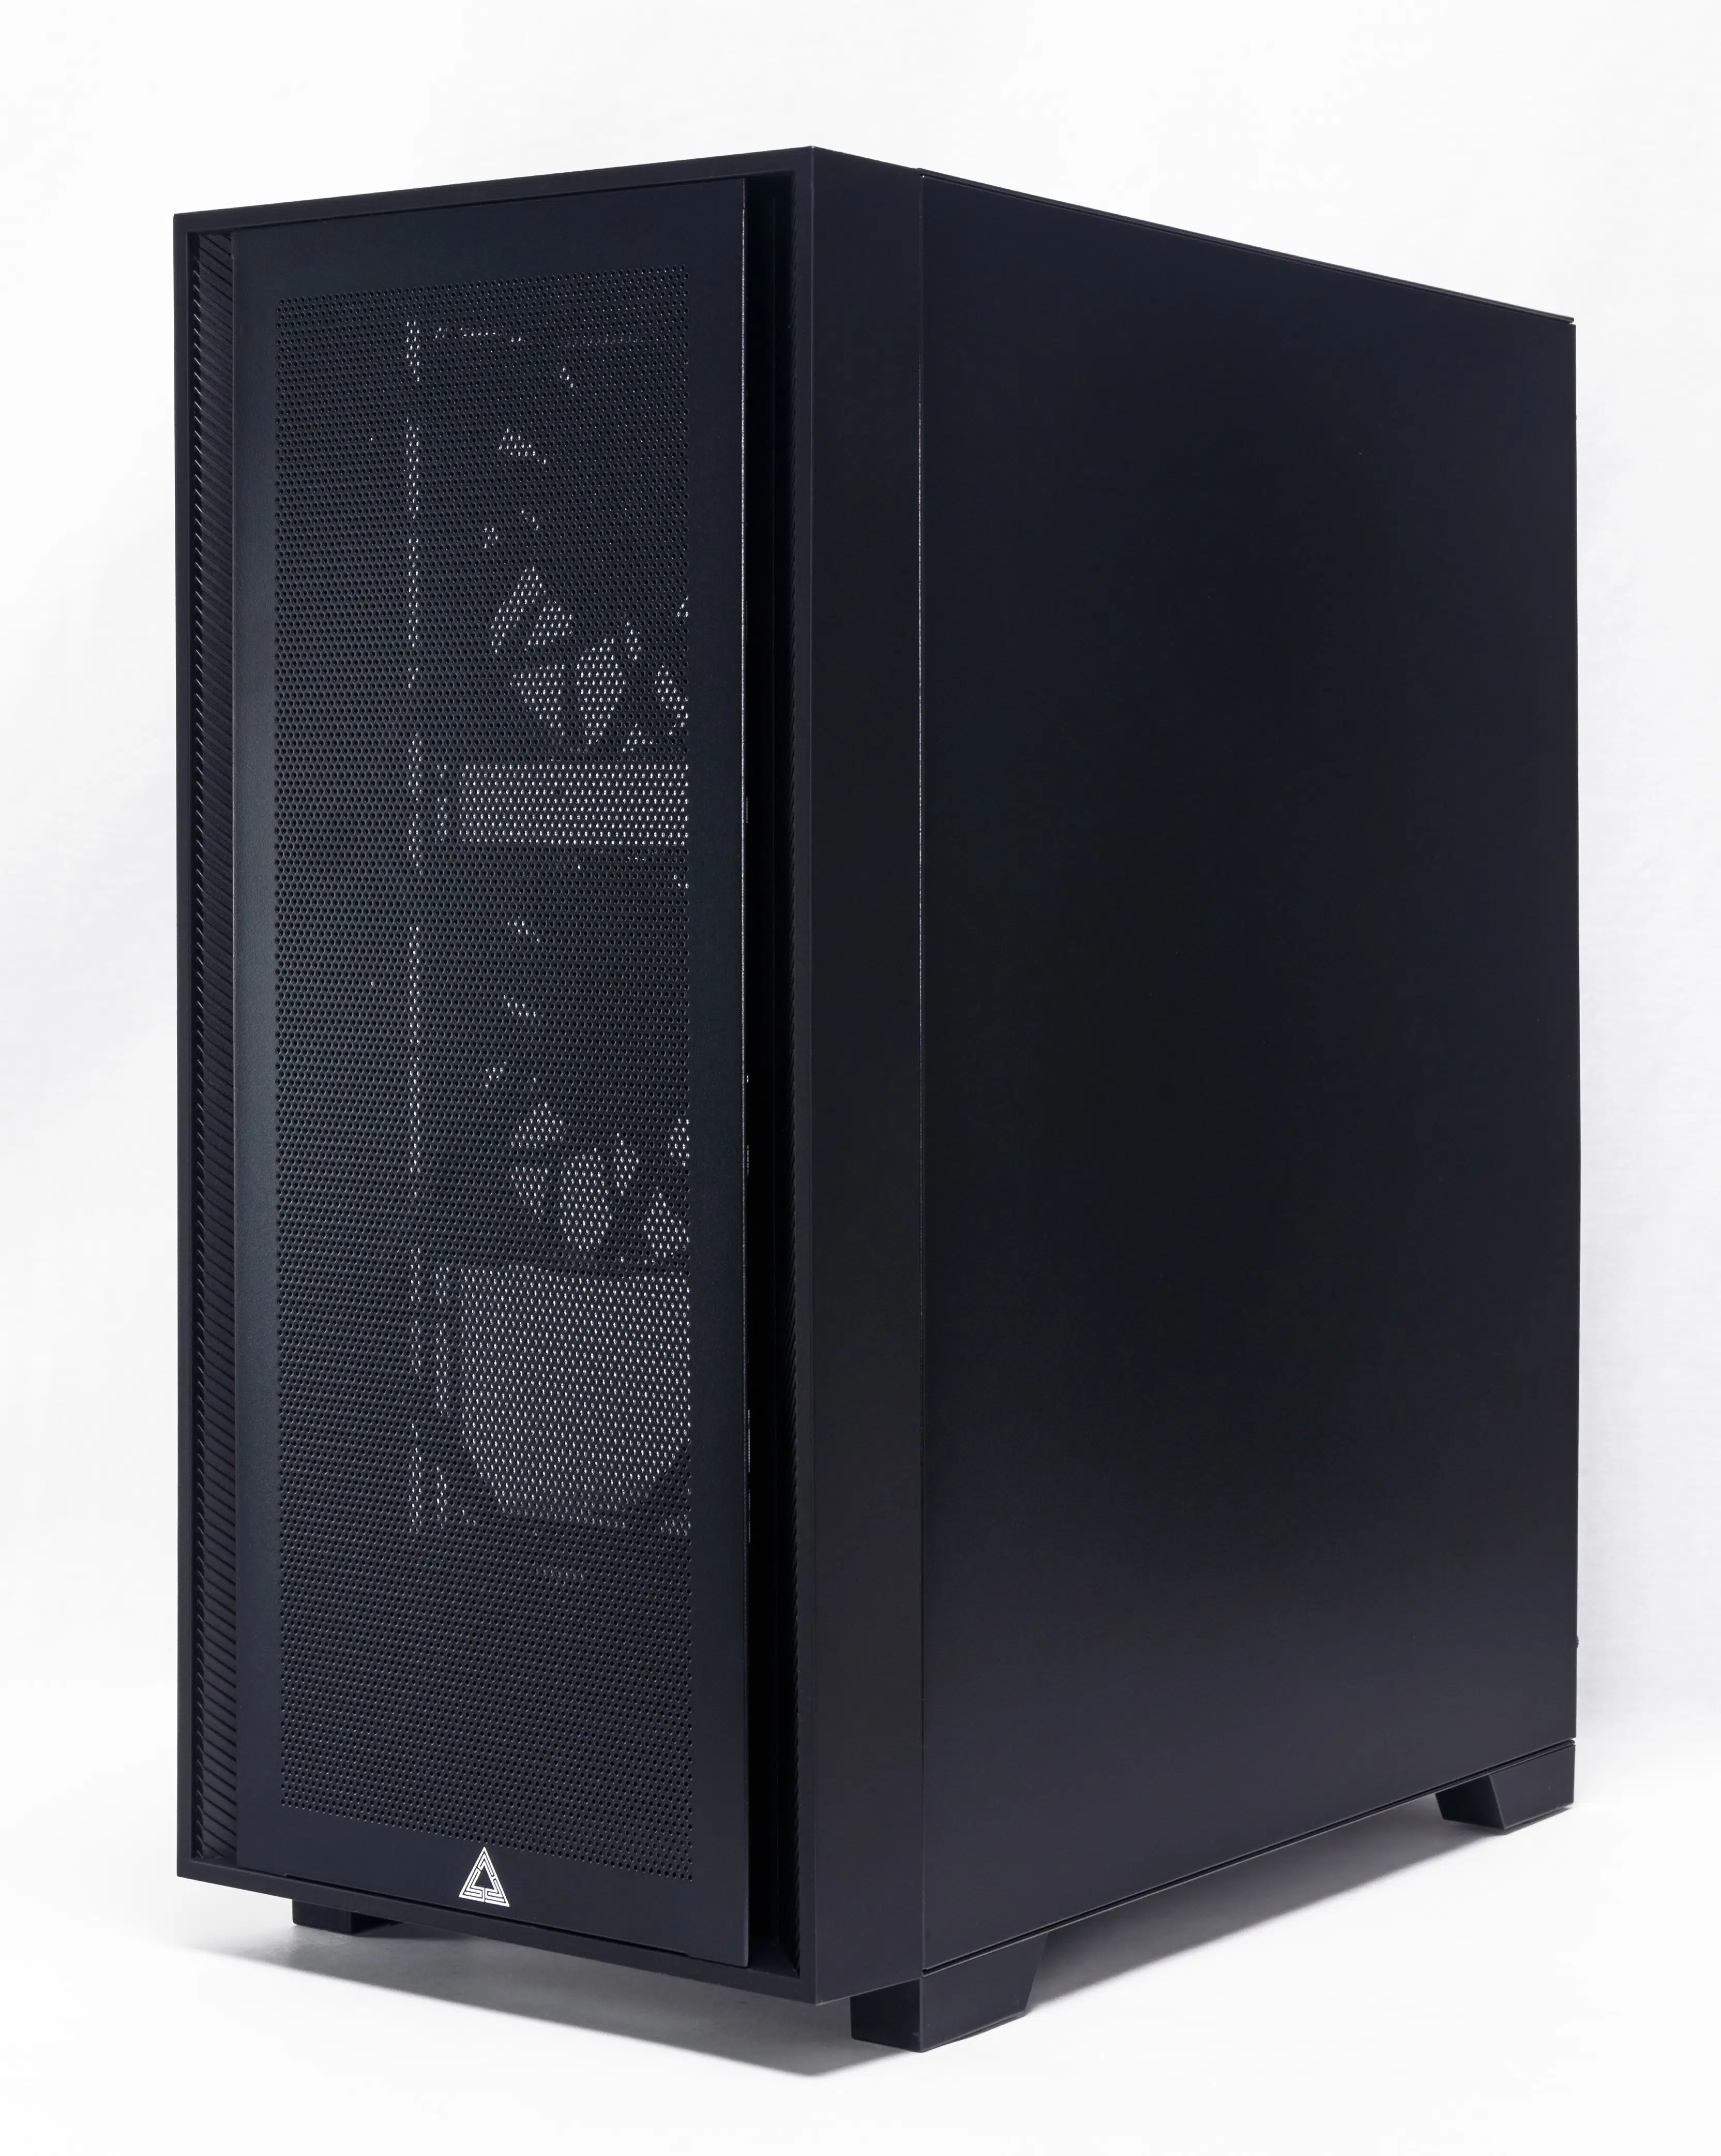
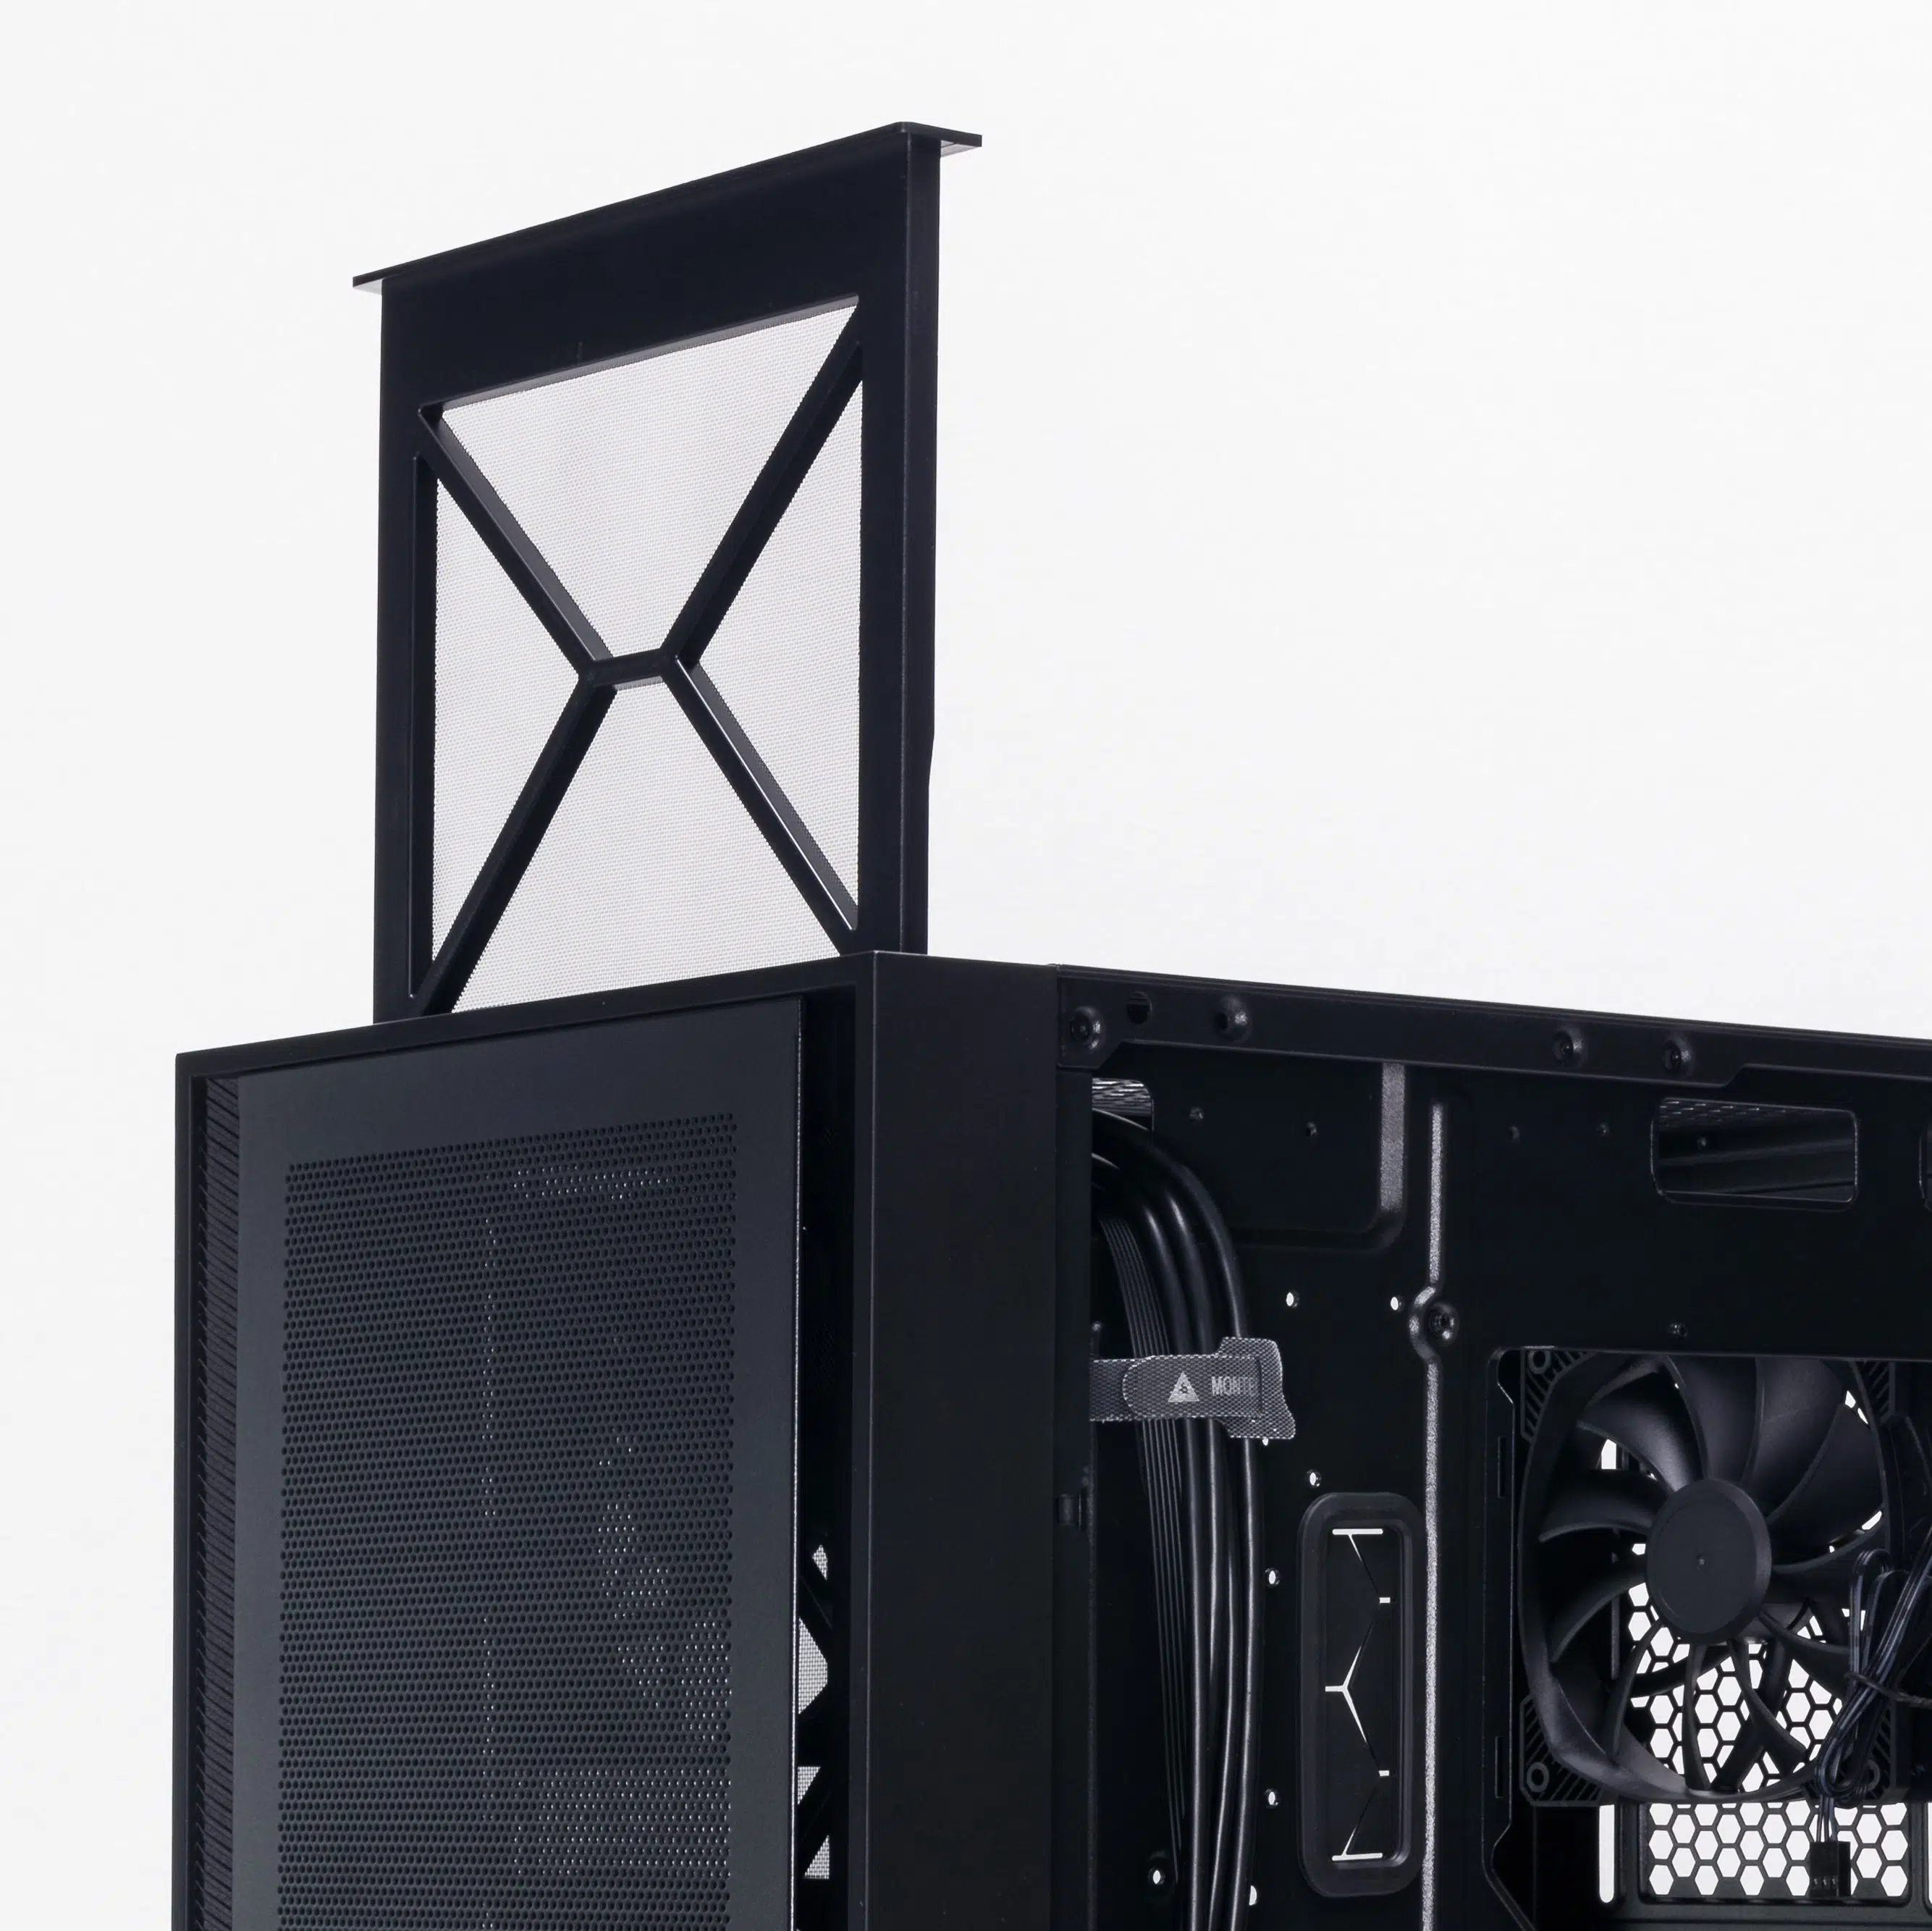
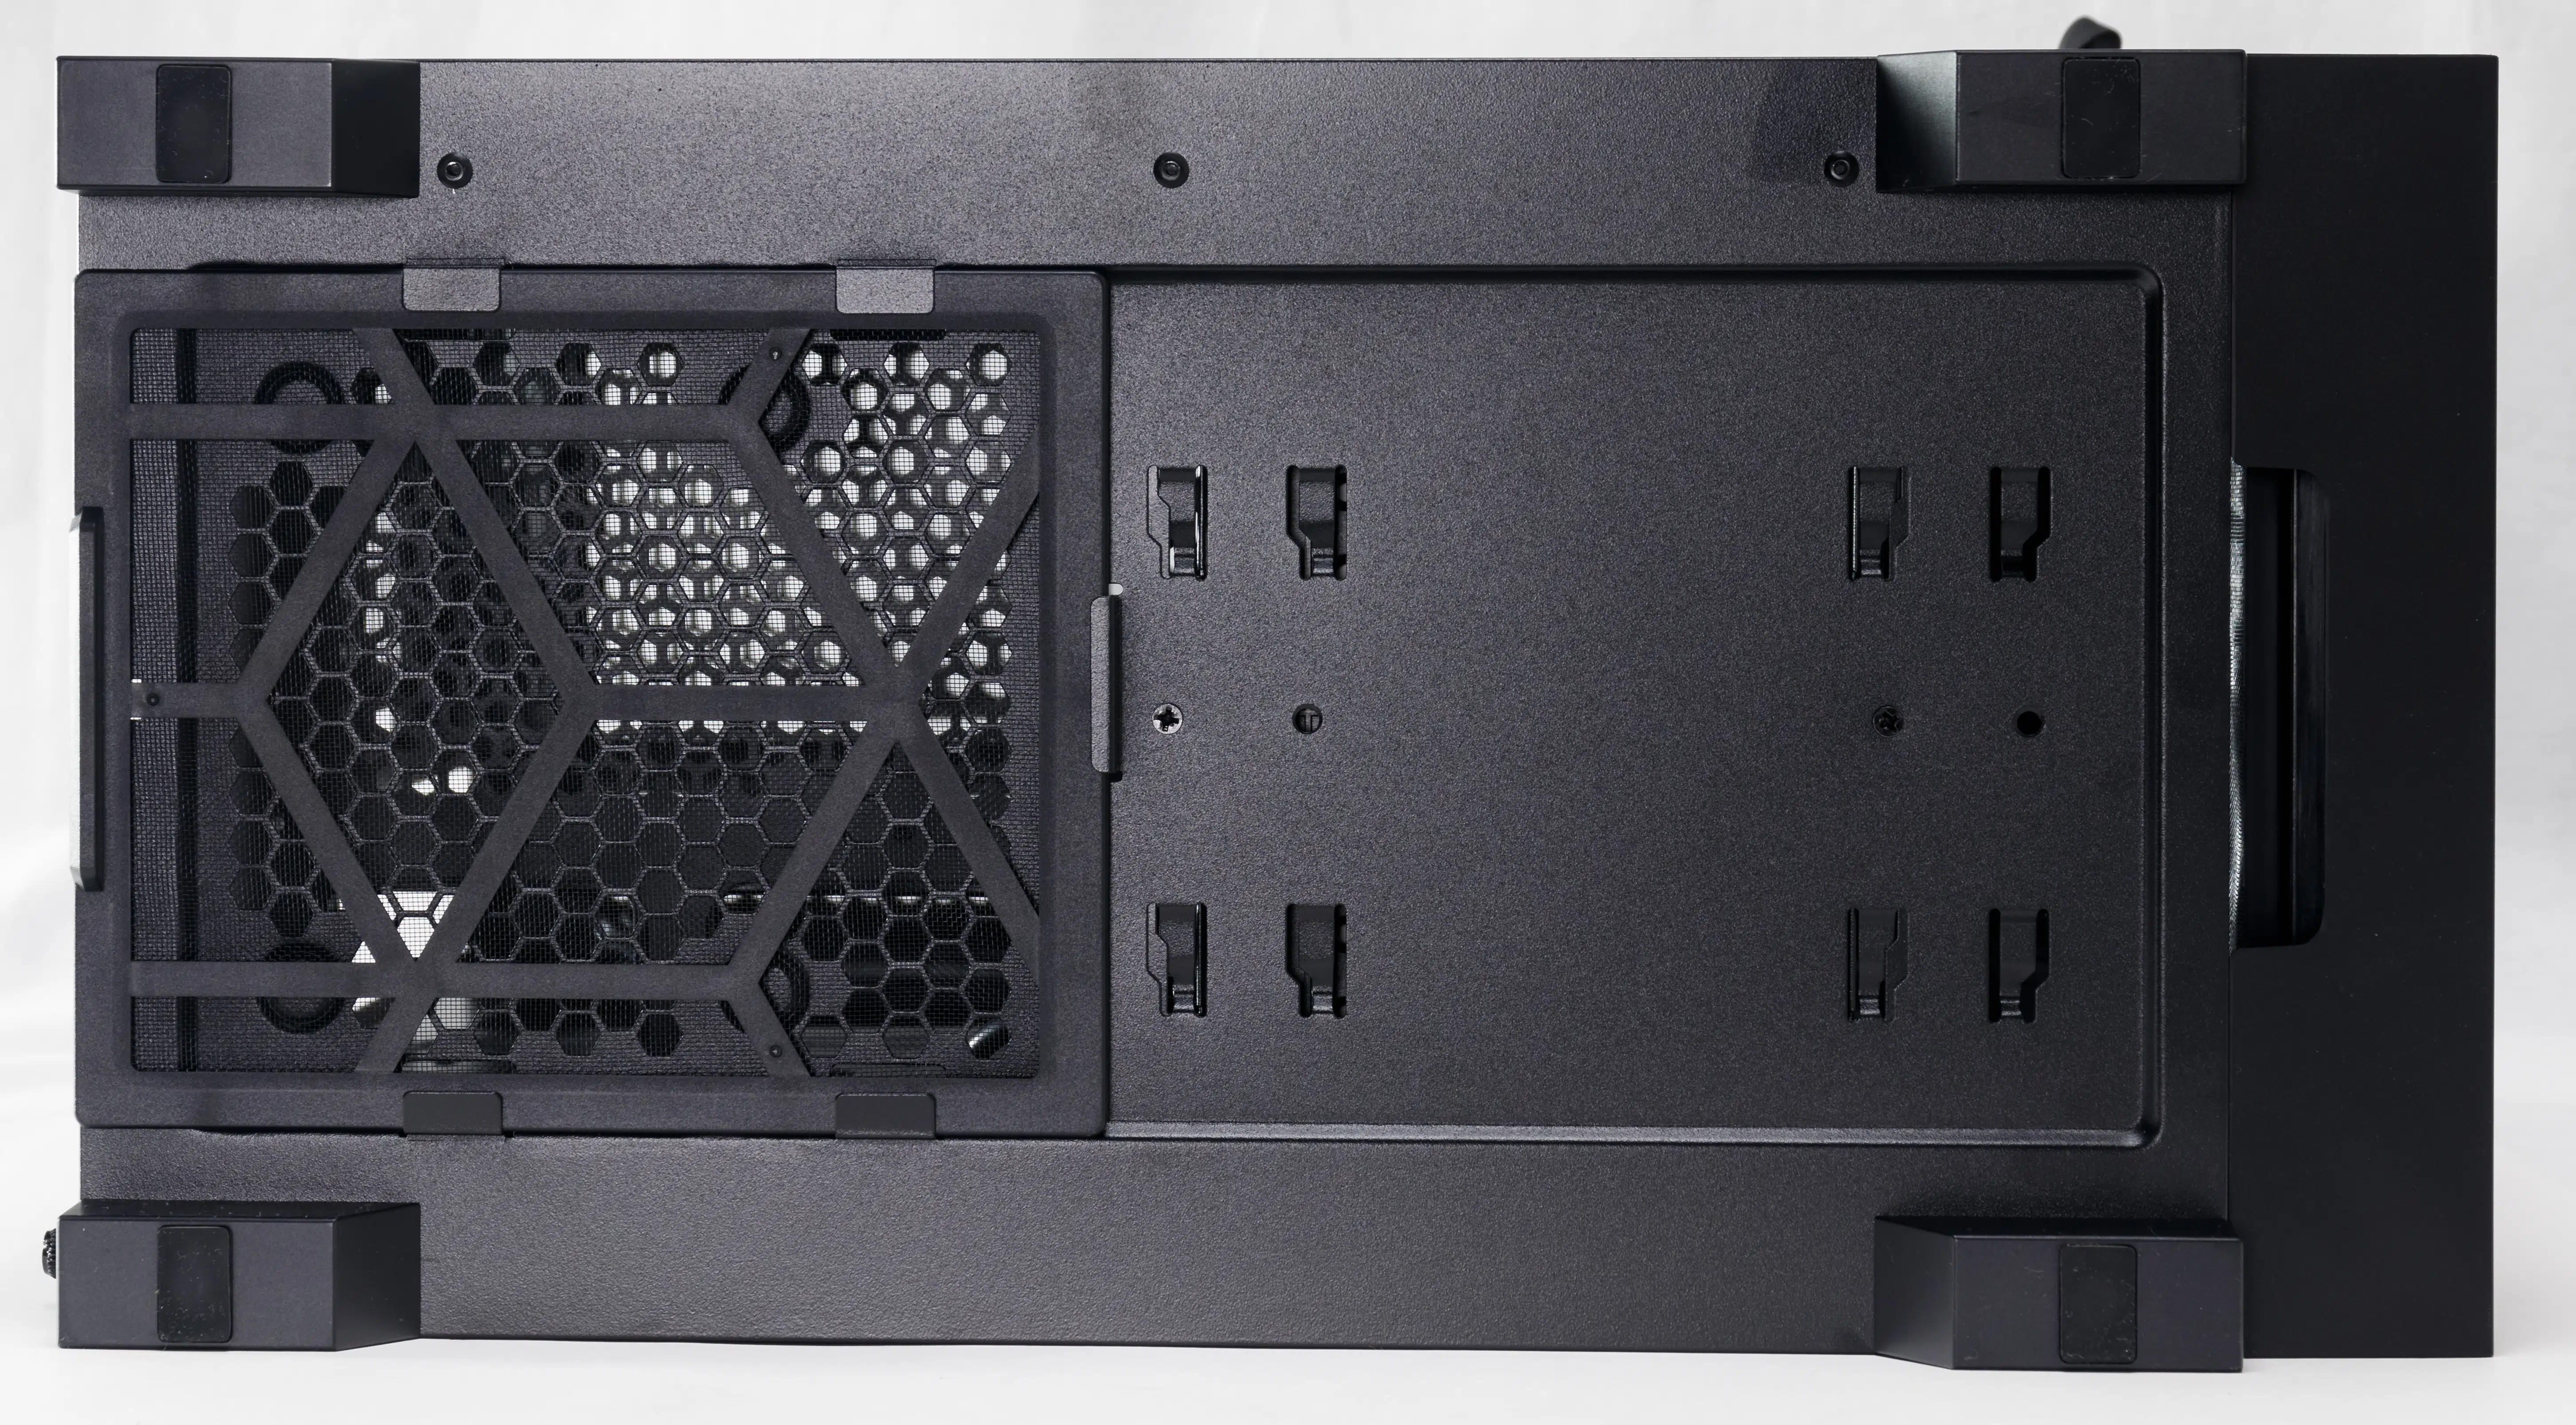
Speaking of filters, Montech has provided filters for all three potential intakes – in the front, the top, and the bottom below the PSU.
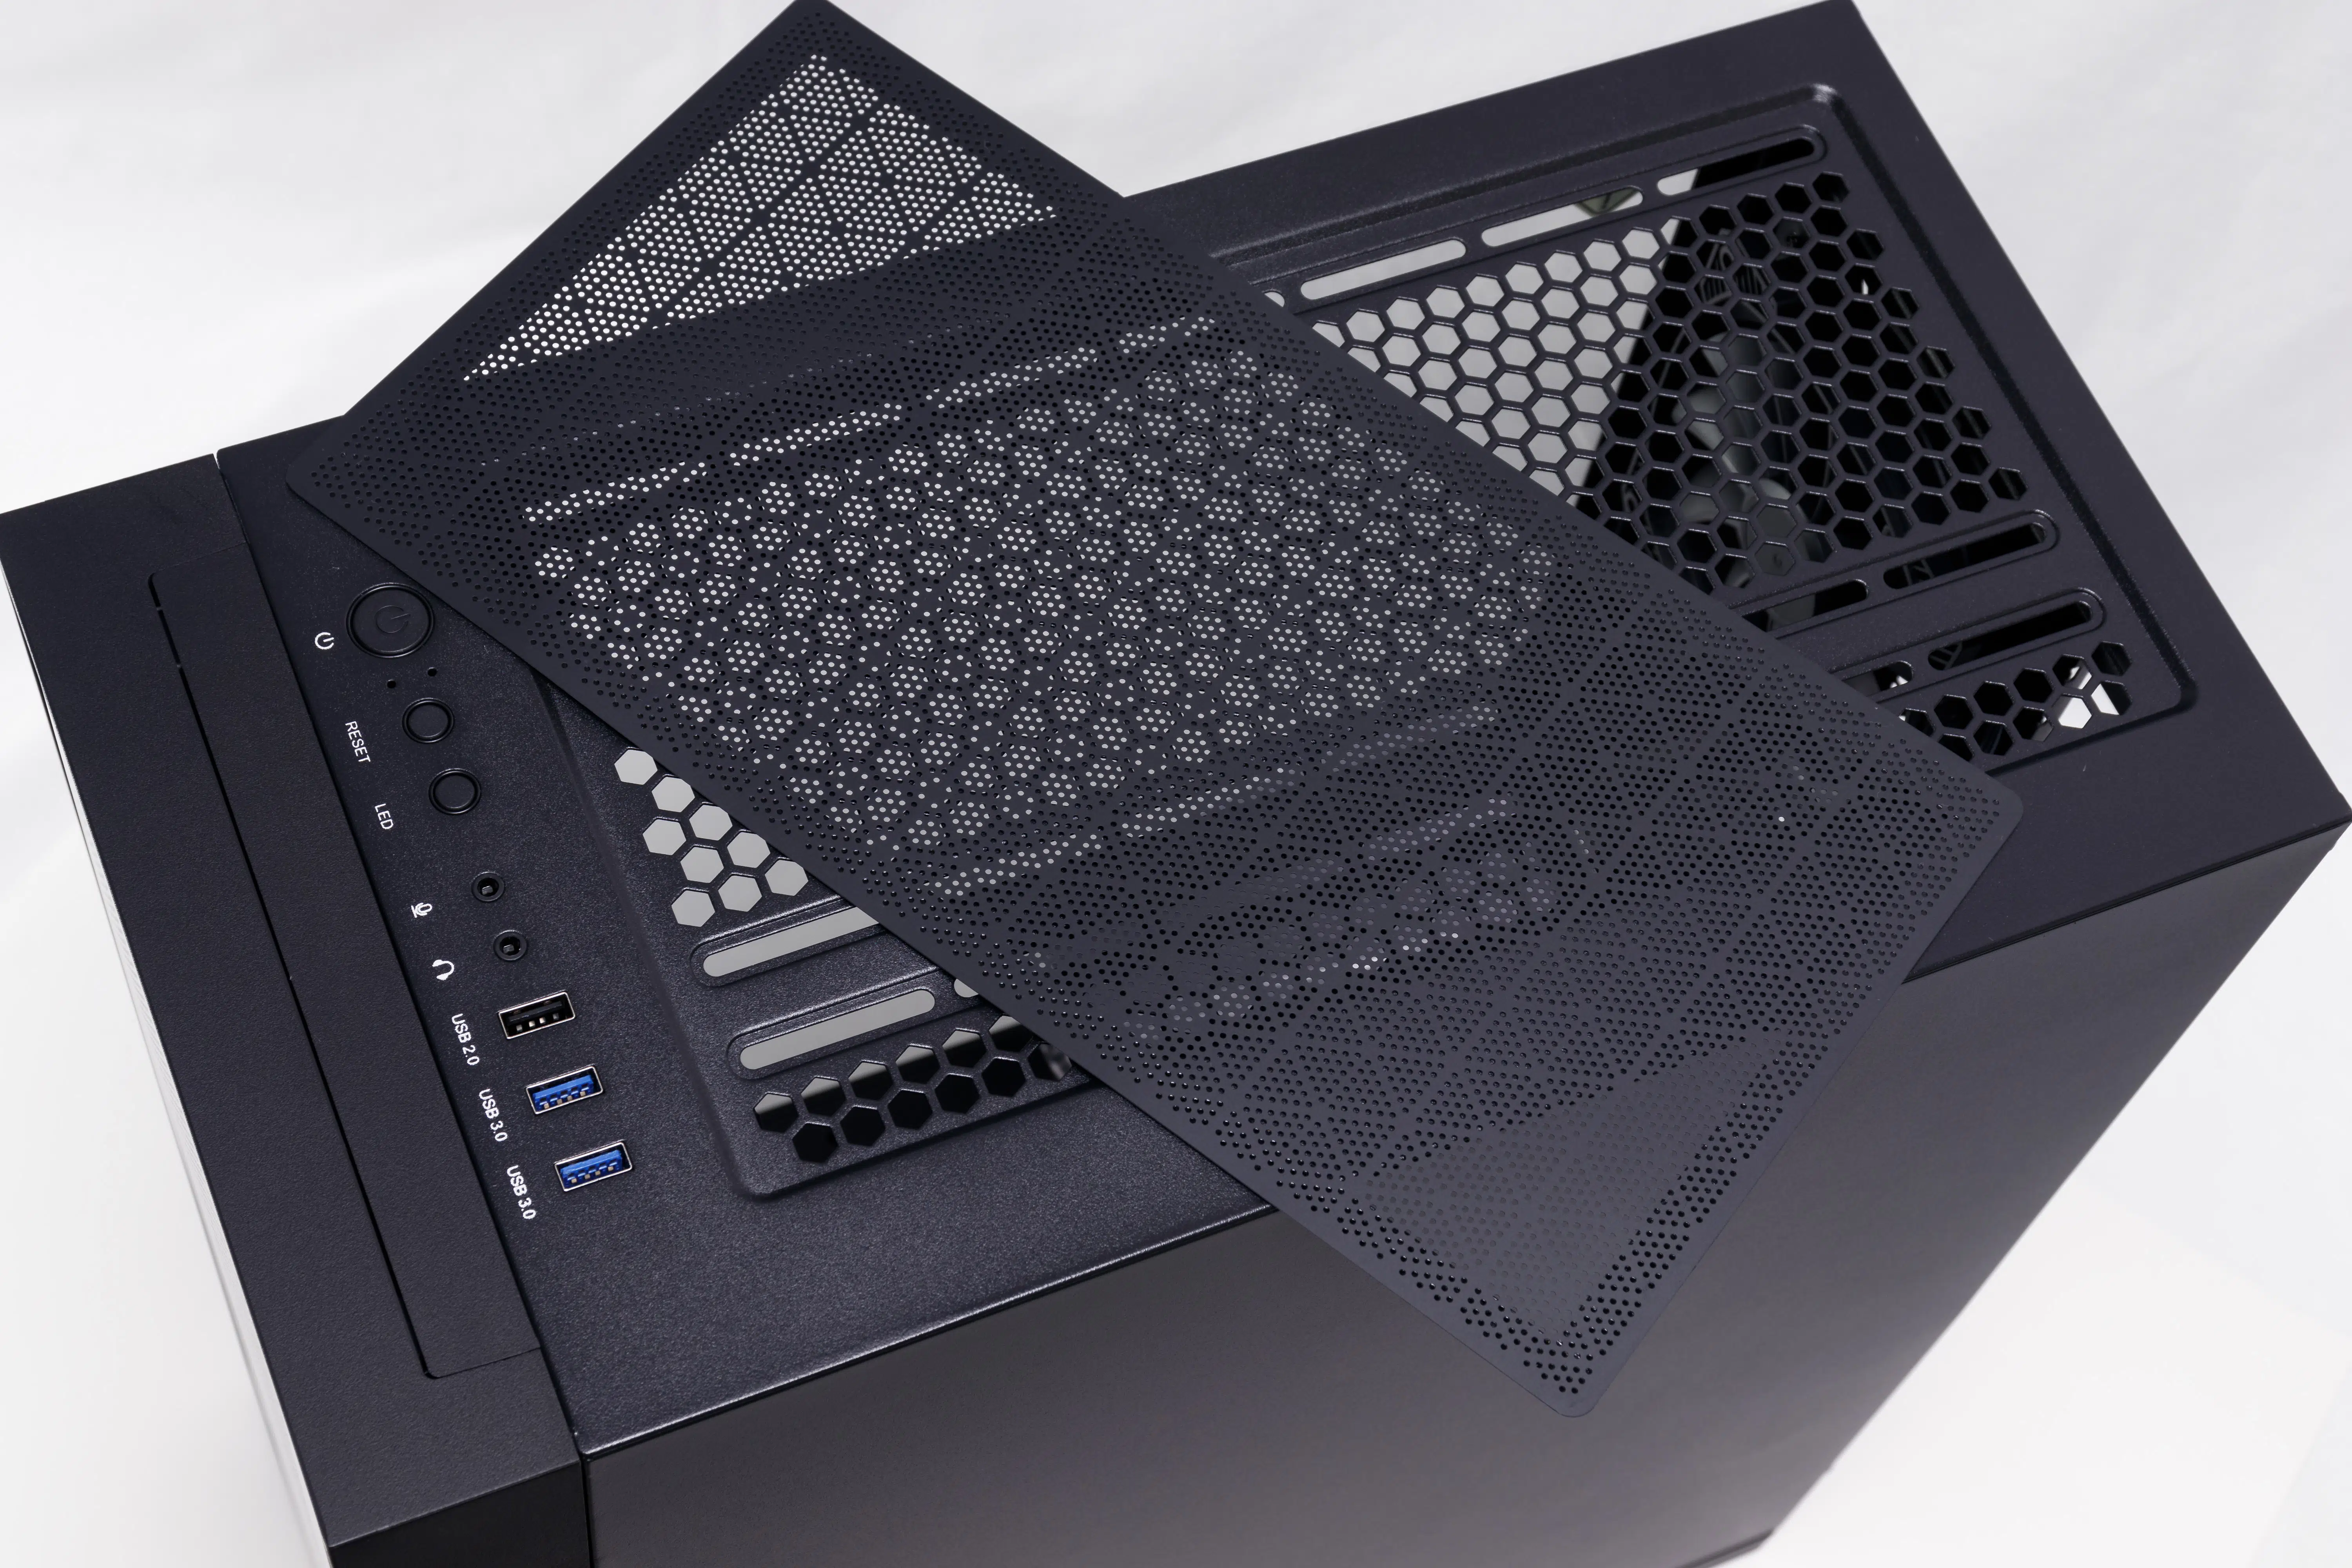
Also very welcome are the three quality fans that Montech includes pre-installed in the Air 1000 Lite. Montech’s fans push a good amount of air while remaining inaudible at idle and inoffensive when spun up. These are DC fans and do not provide any lighting, but definitely get the job done and done quietly.
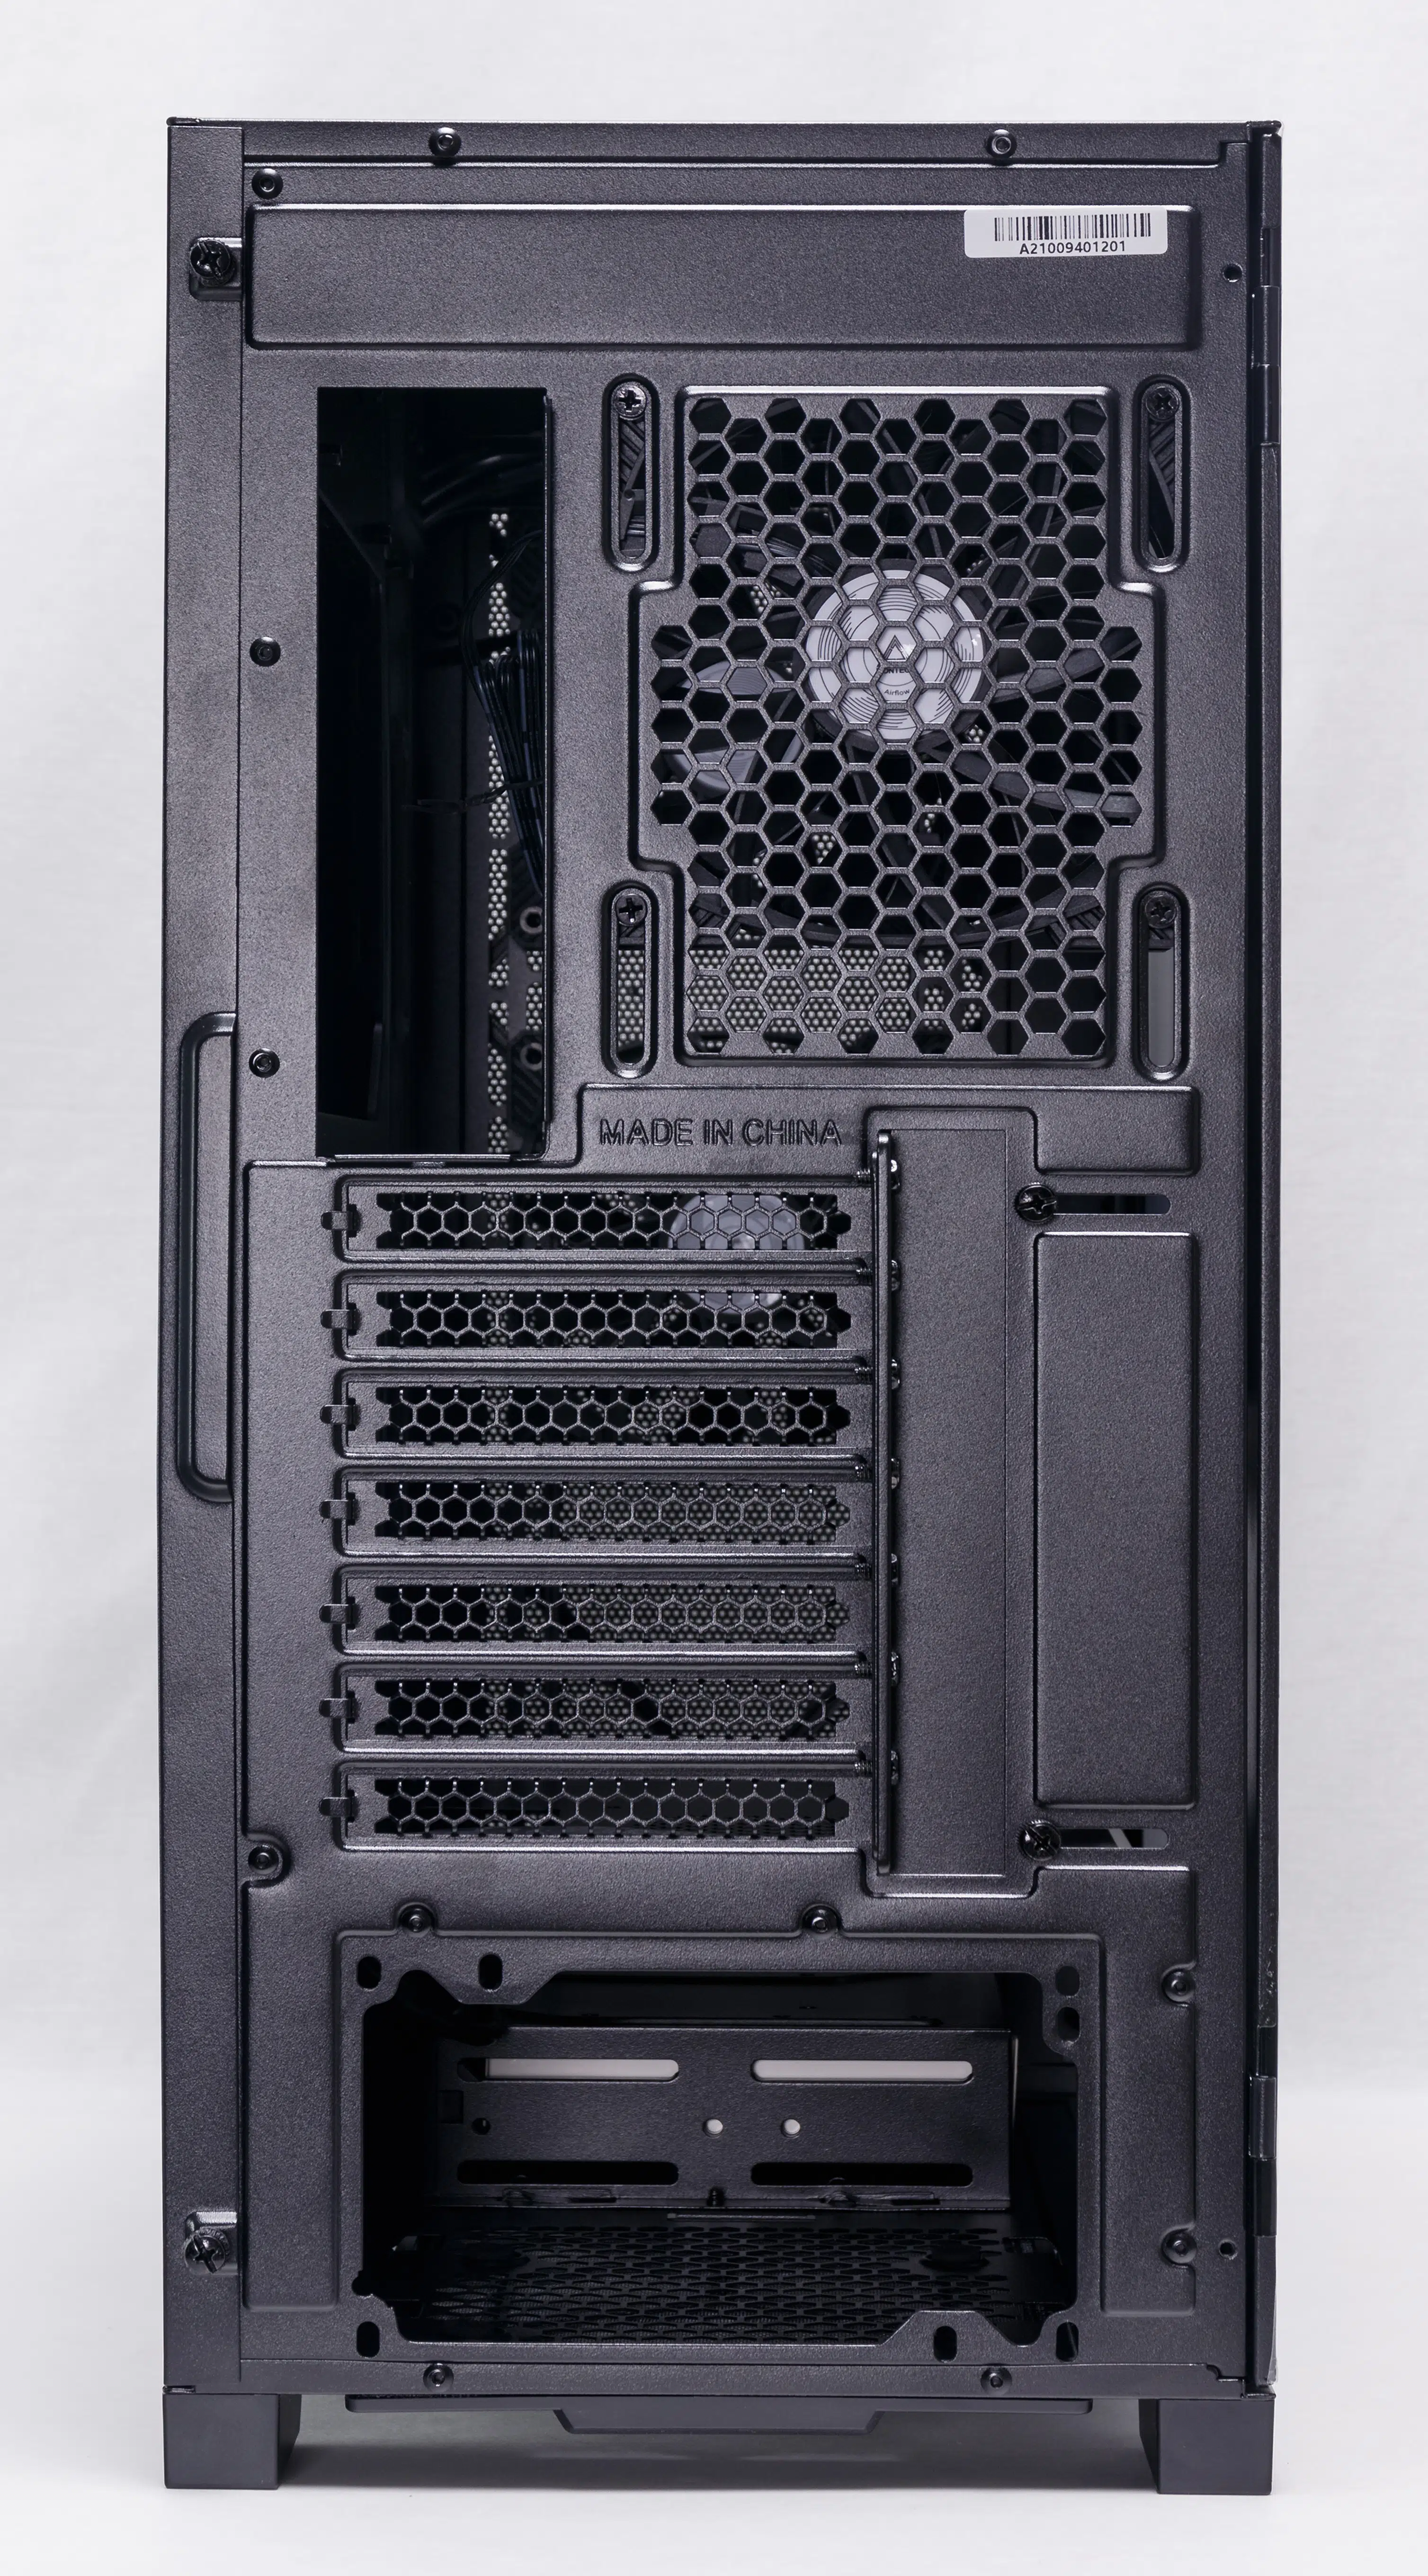
The only real quality concerns we have are with the back panel, which does flex during add-in card installation and the add-in card retainer which seems to serve no real purpose. Montech did fabricate the retainer with holes for the included add-in card screws, but having to fiddle with the retainer every time a card is installed or removed can be a bit tedious.
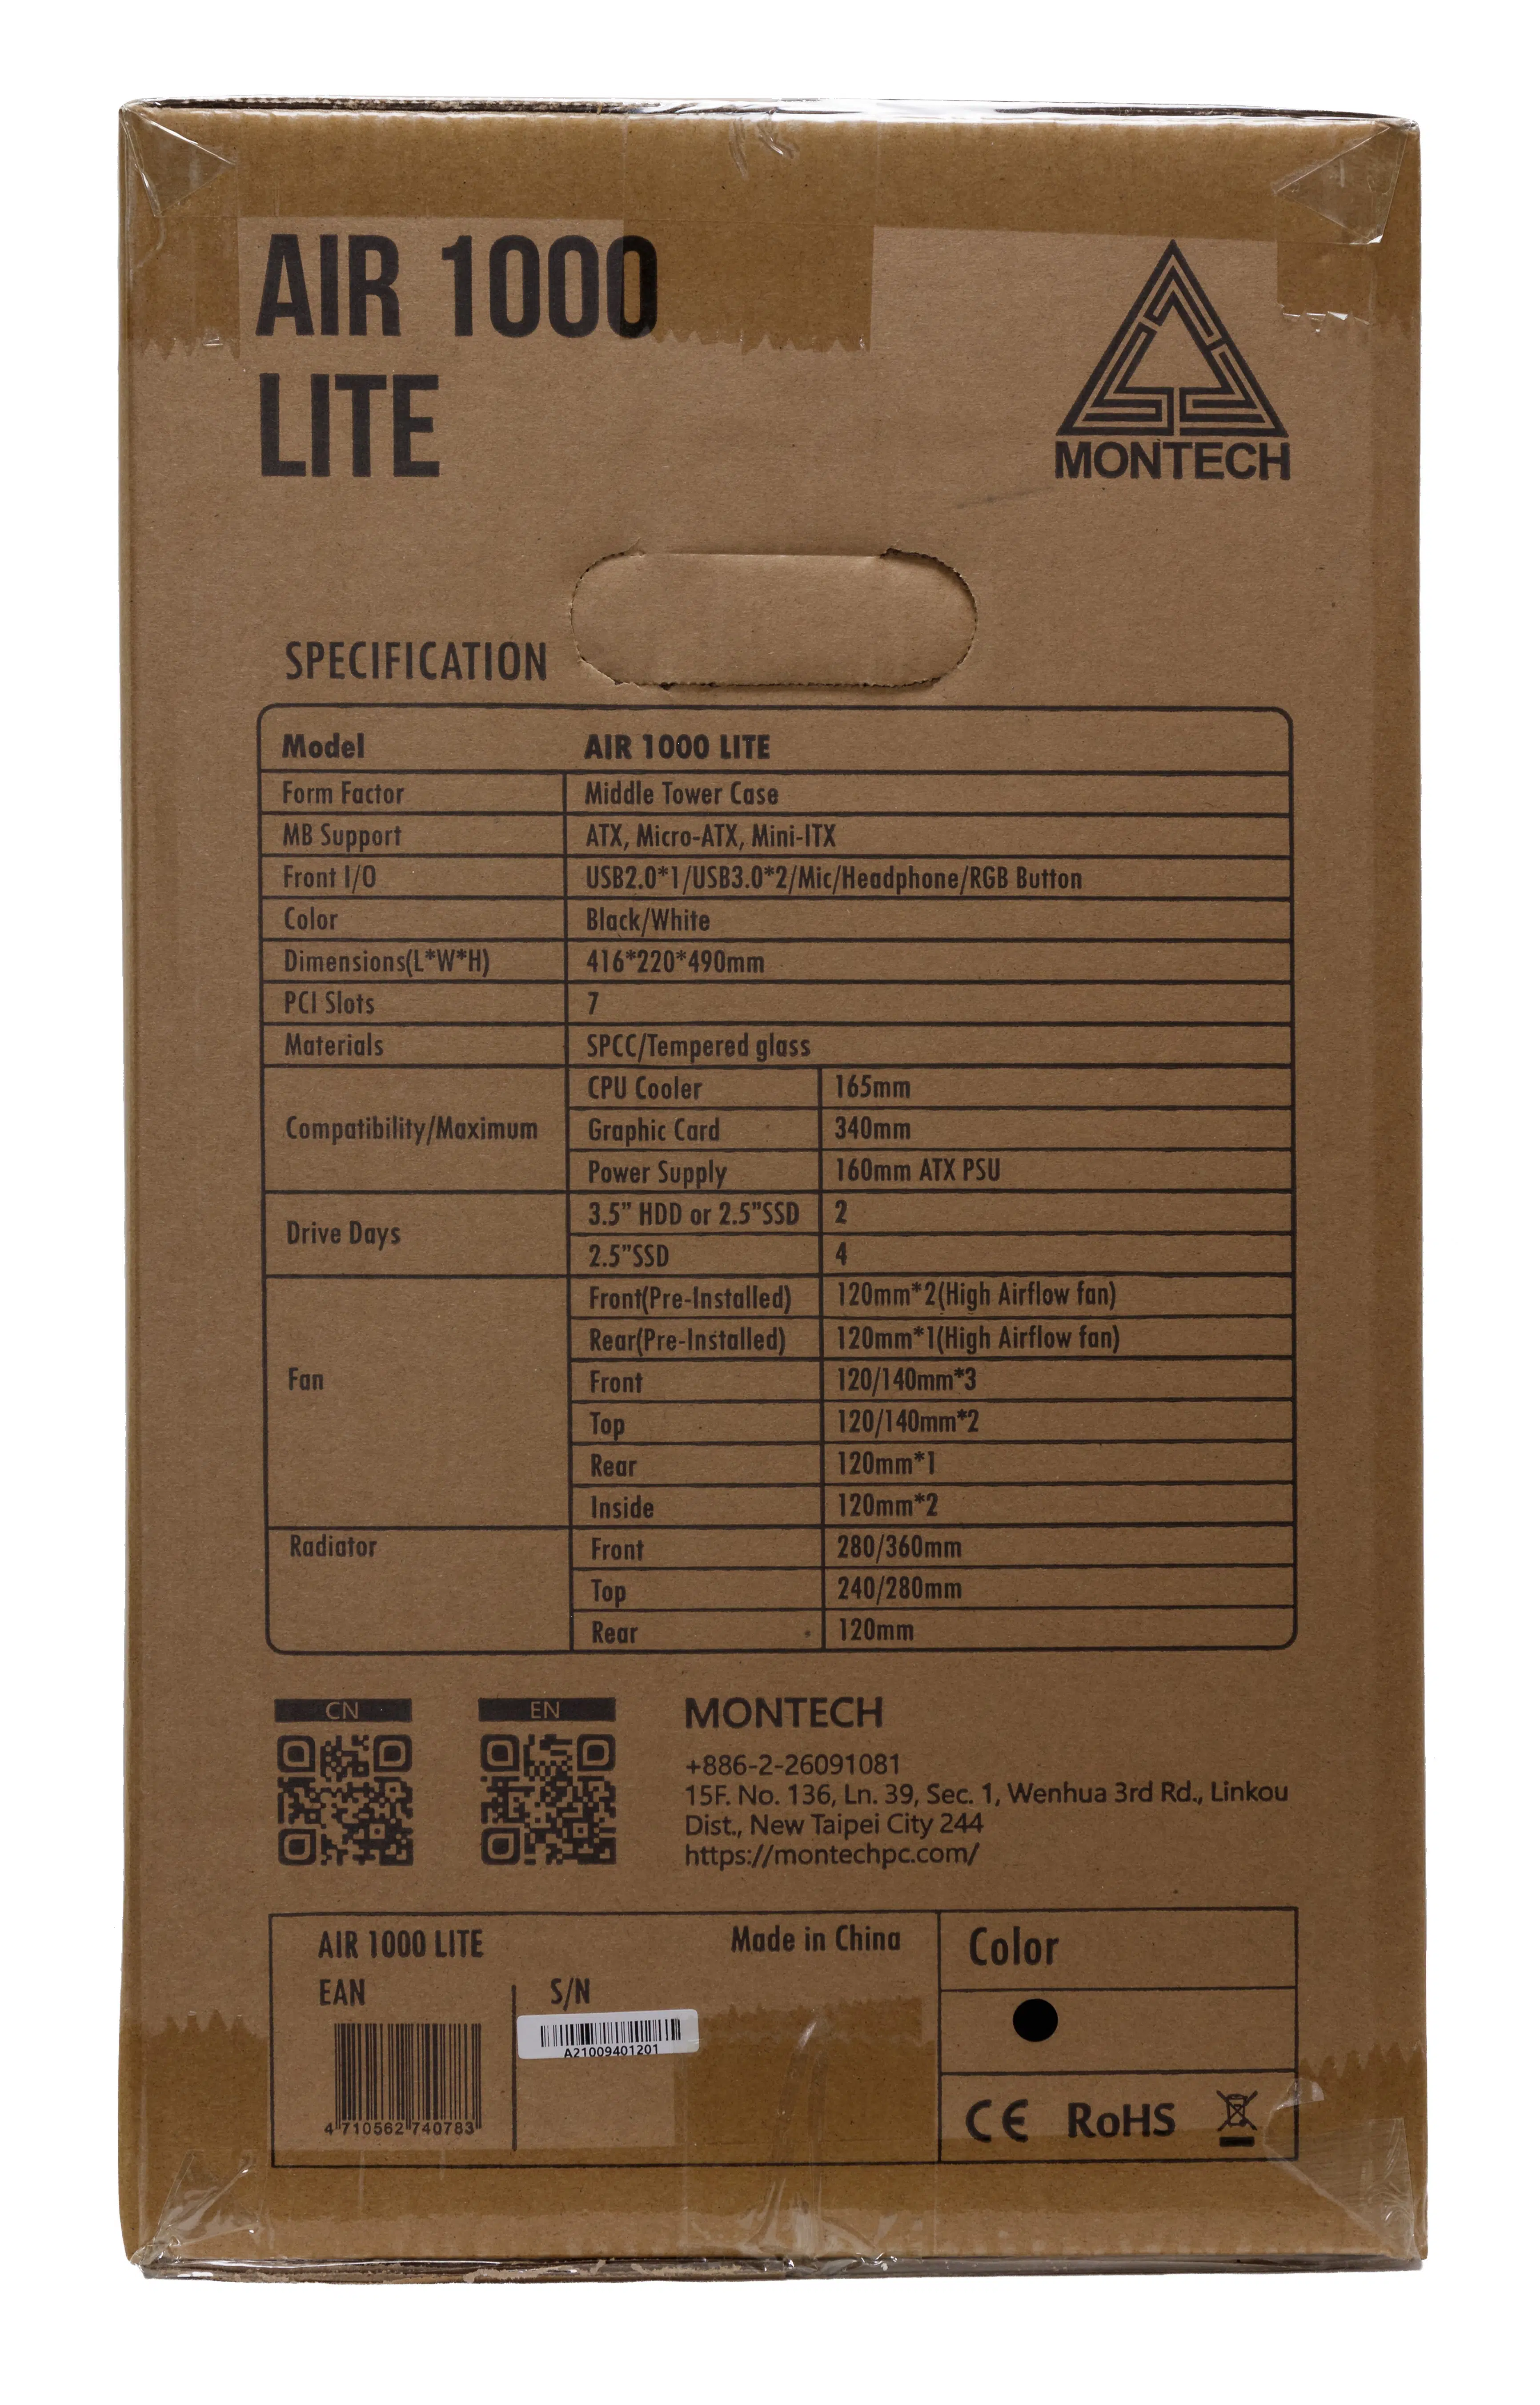
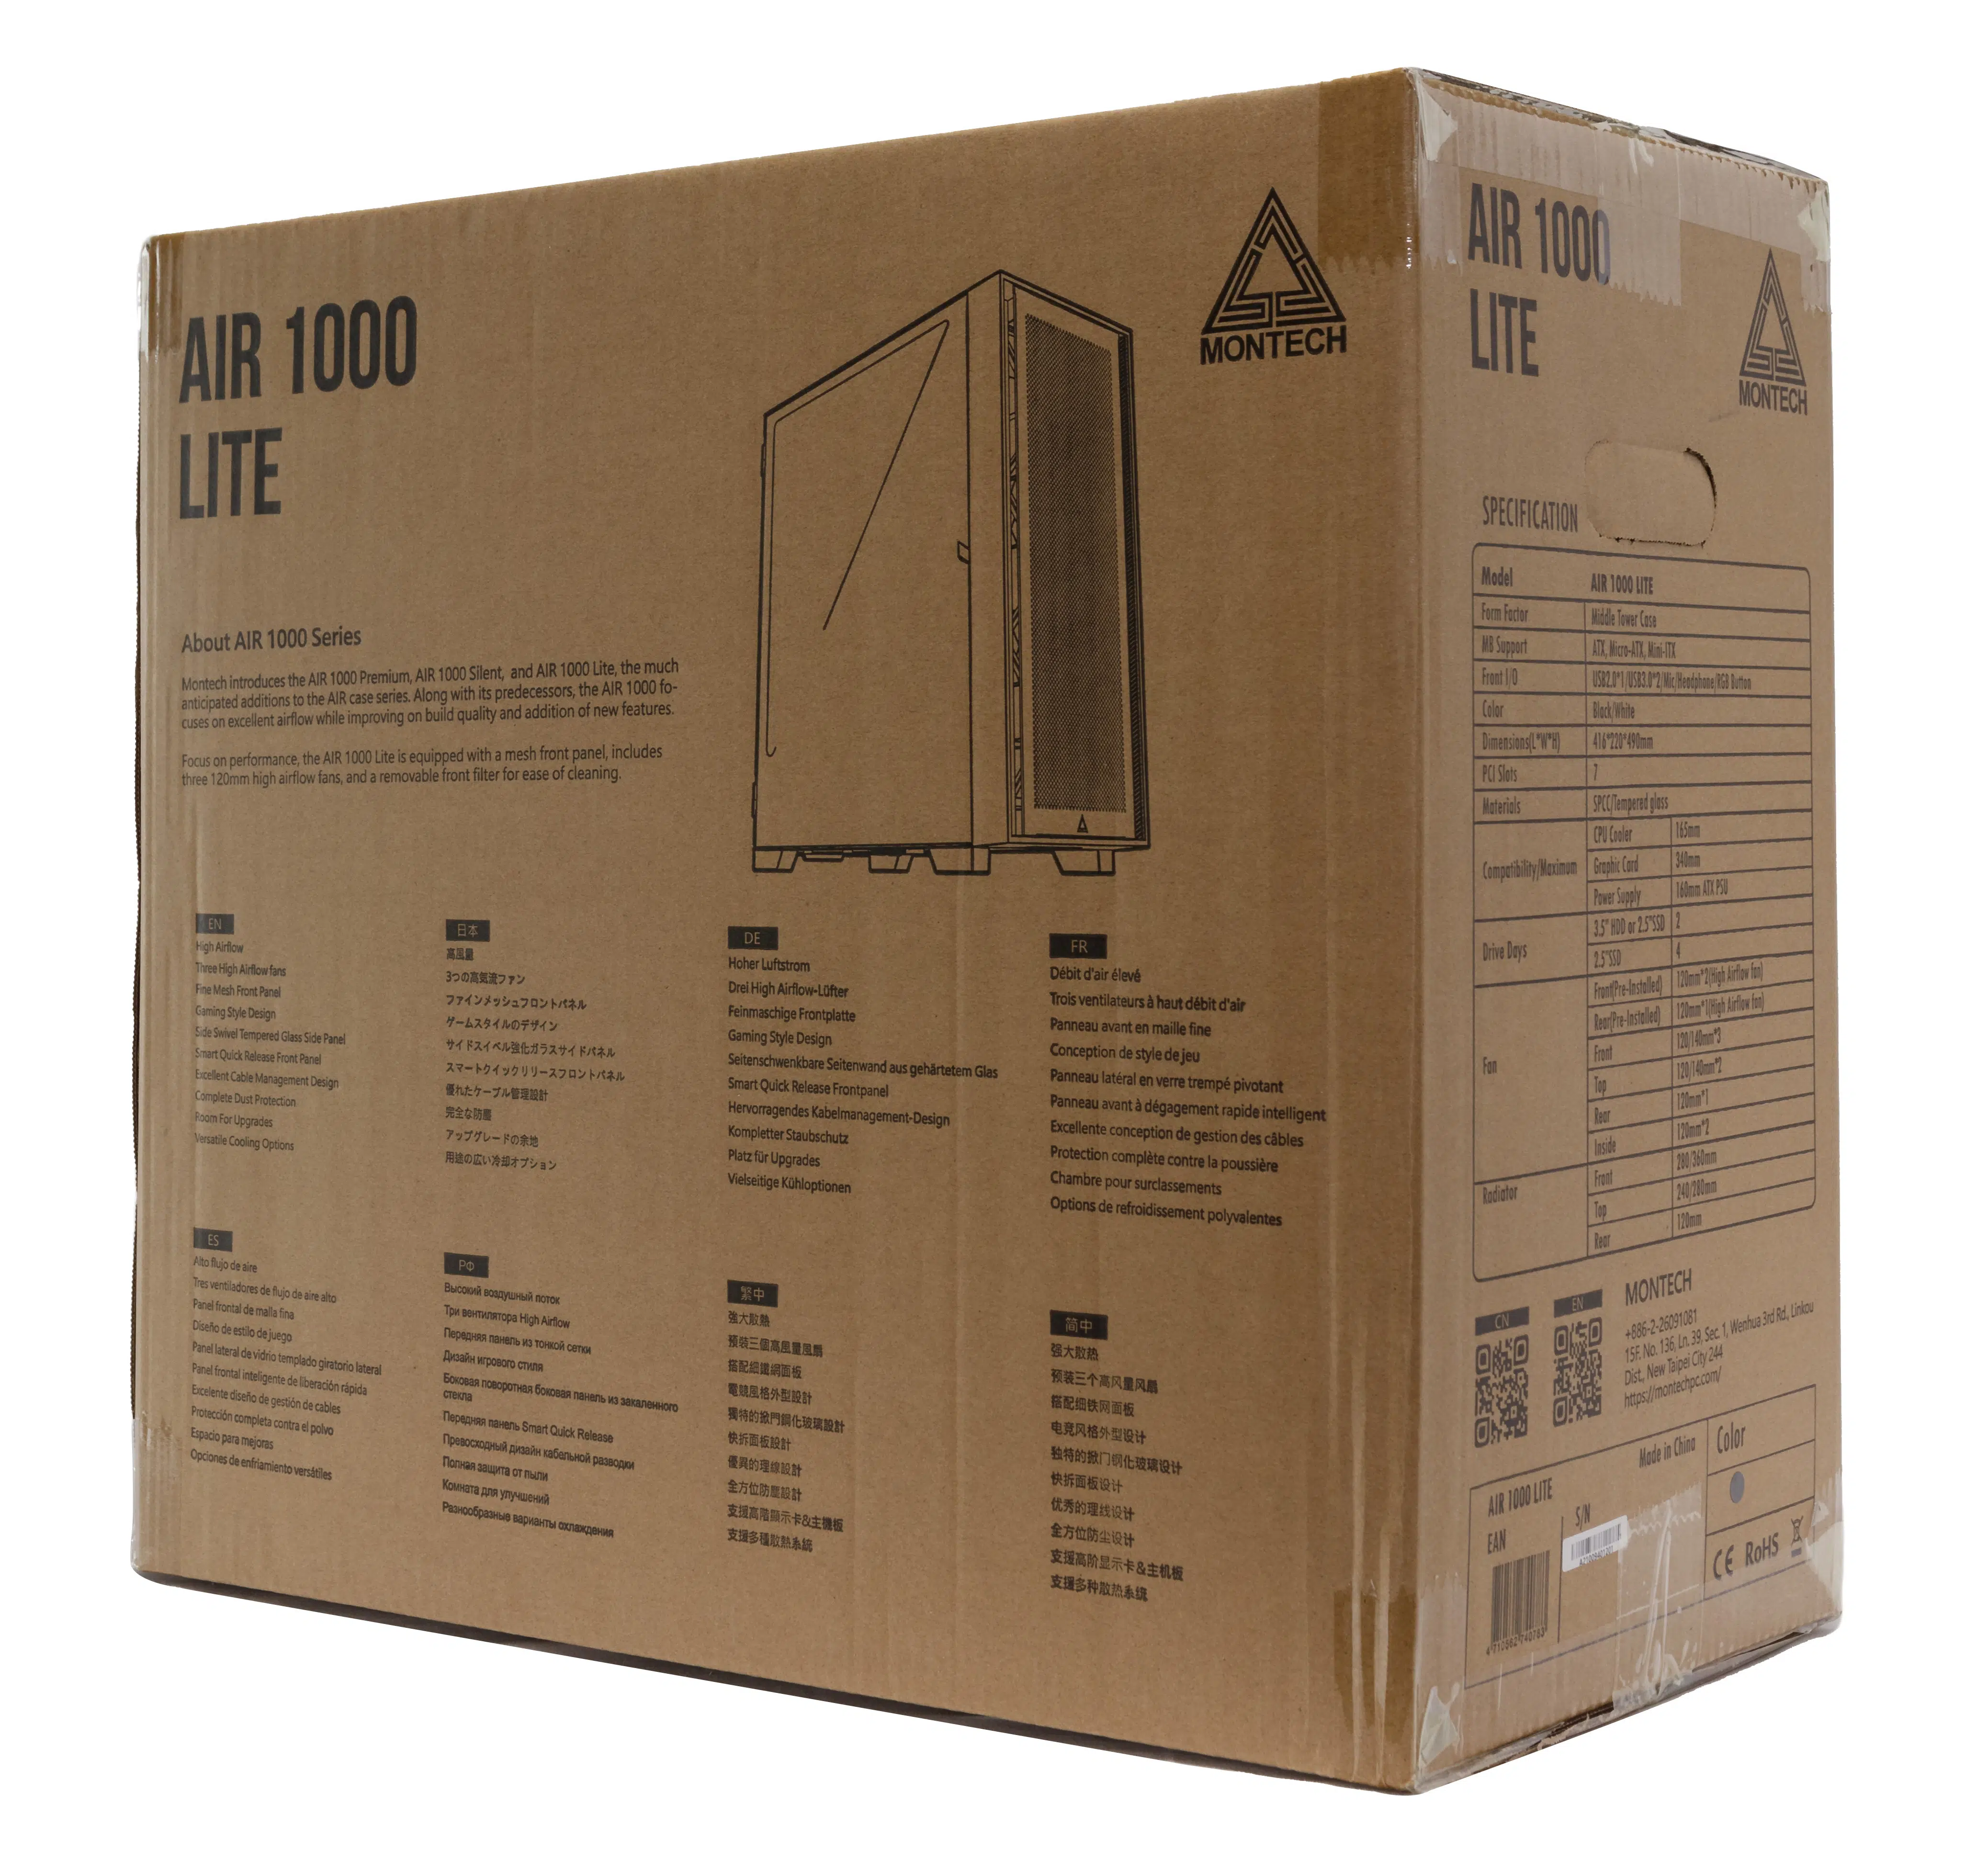
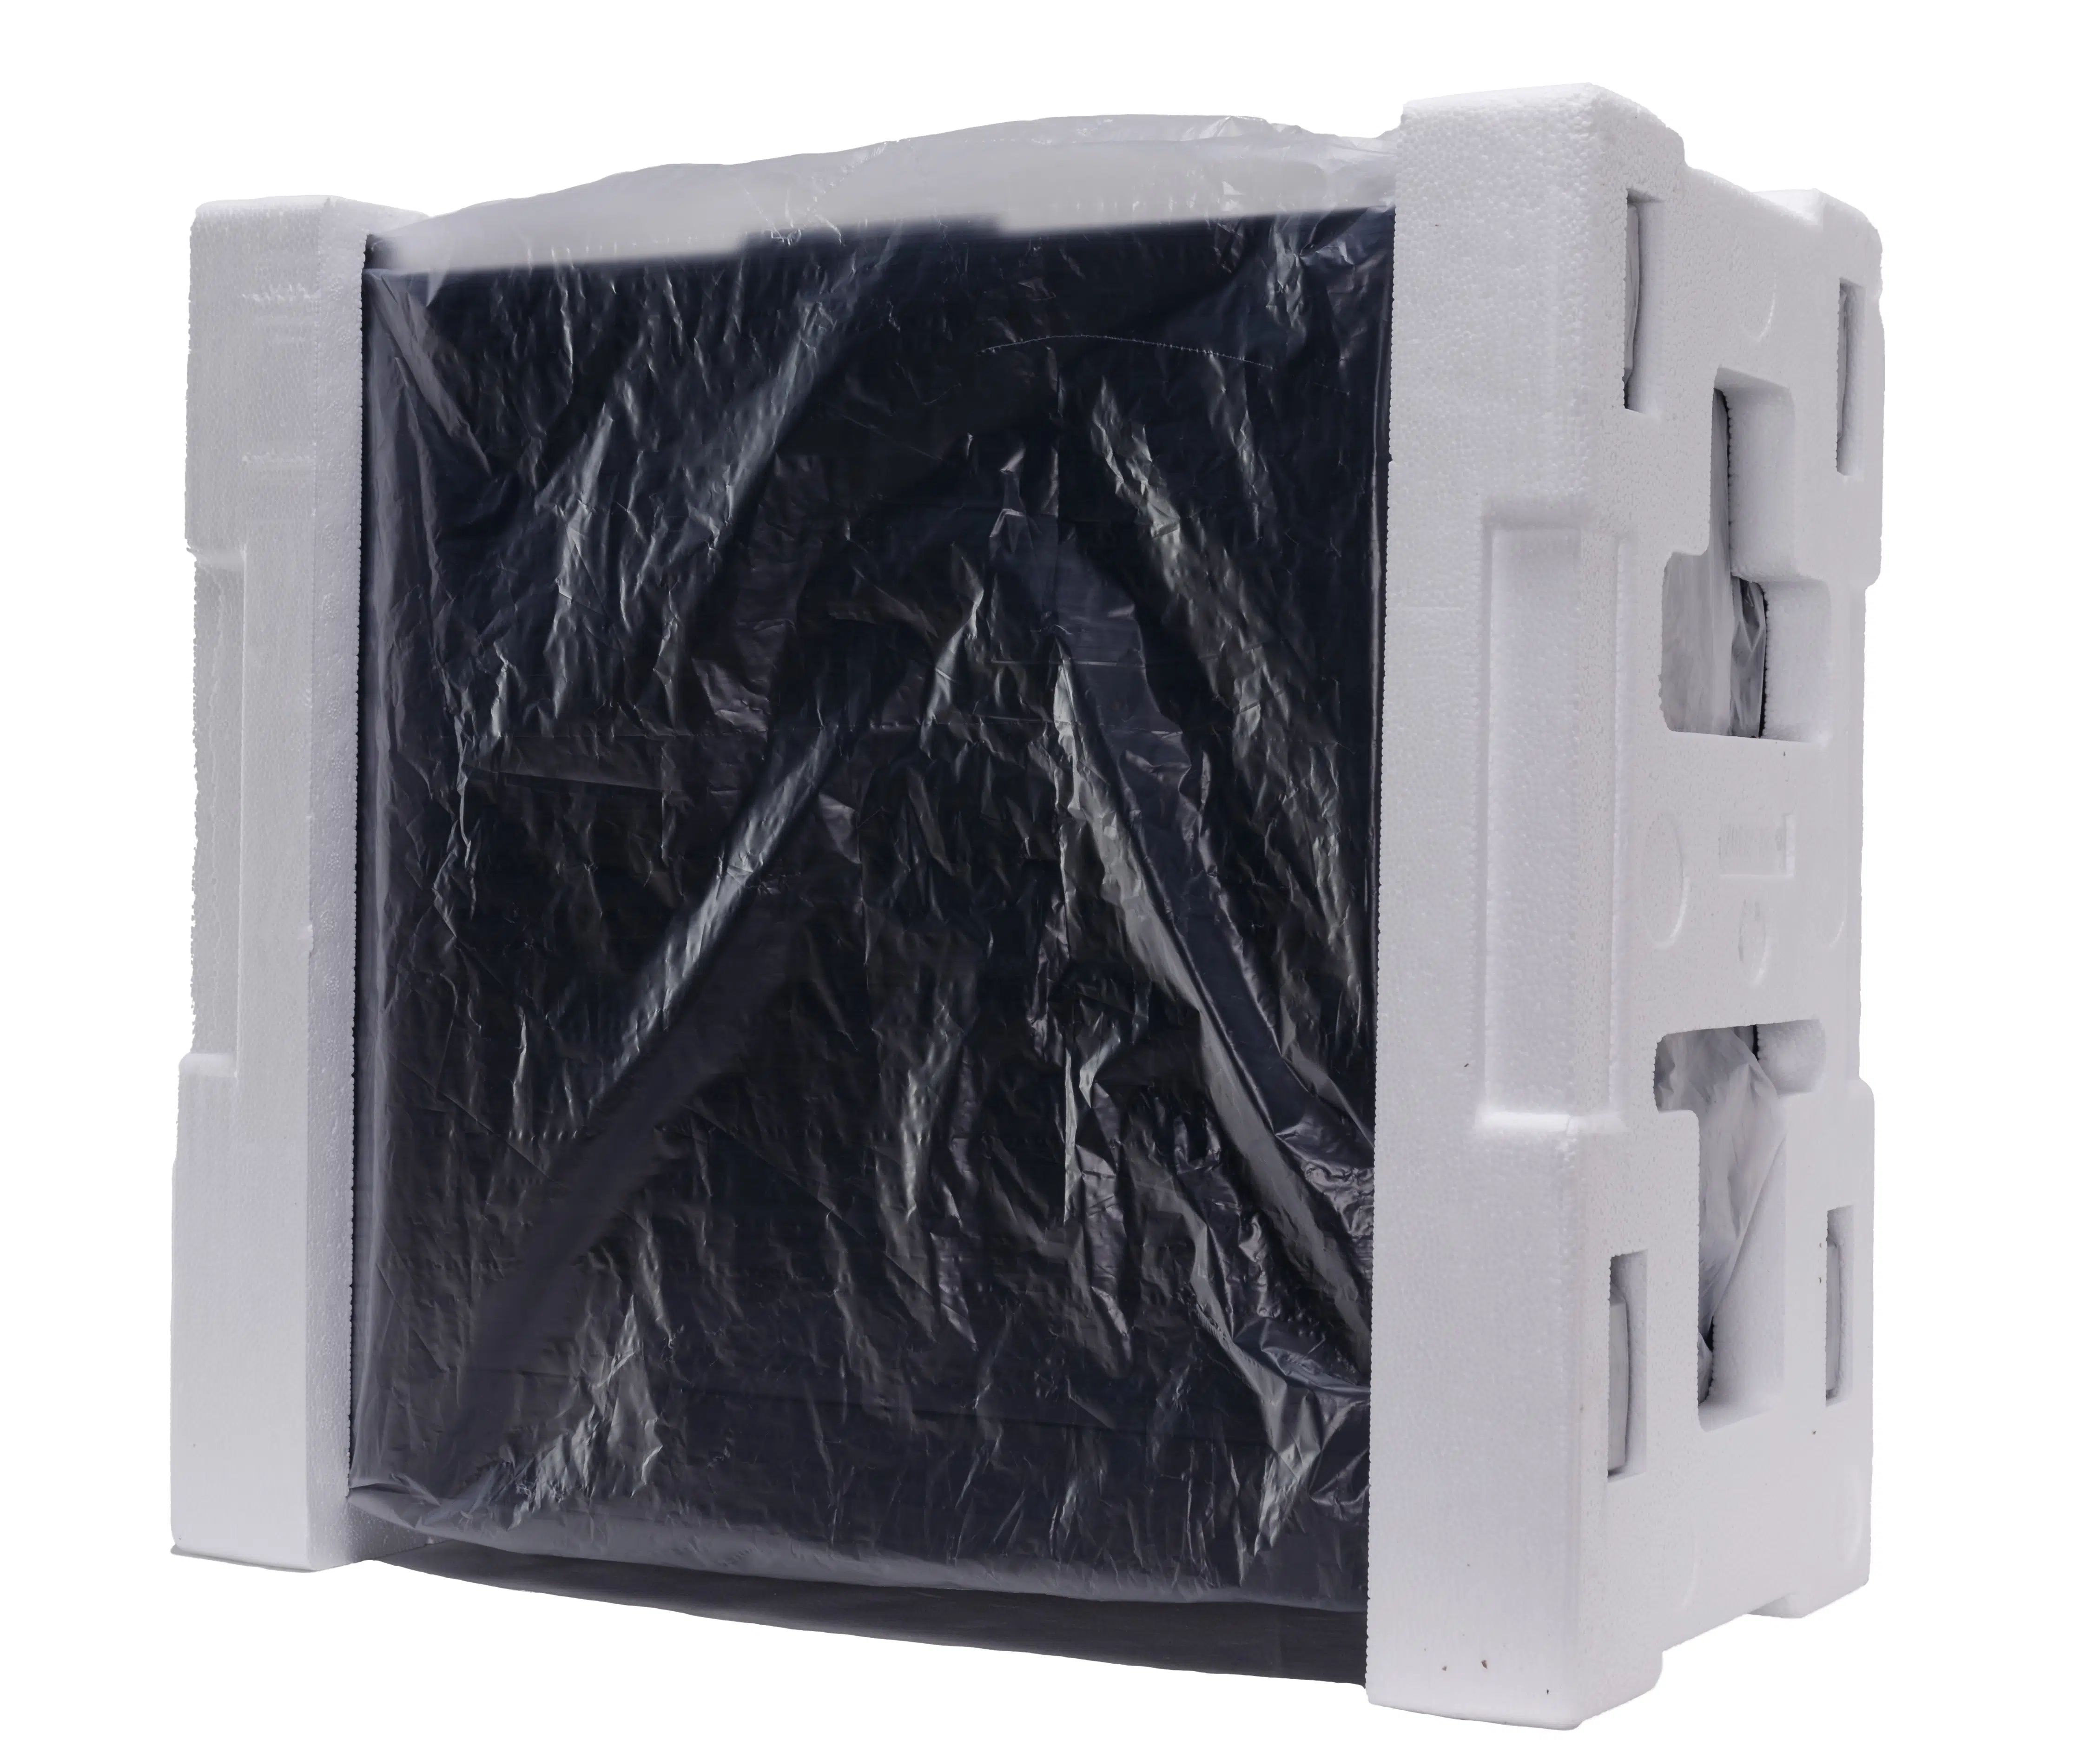
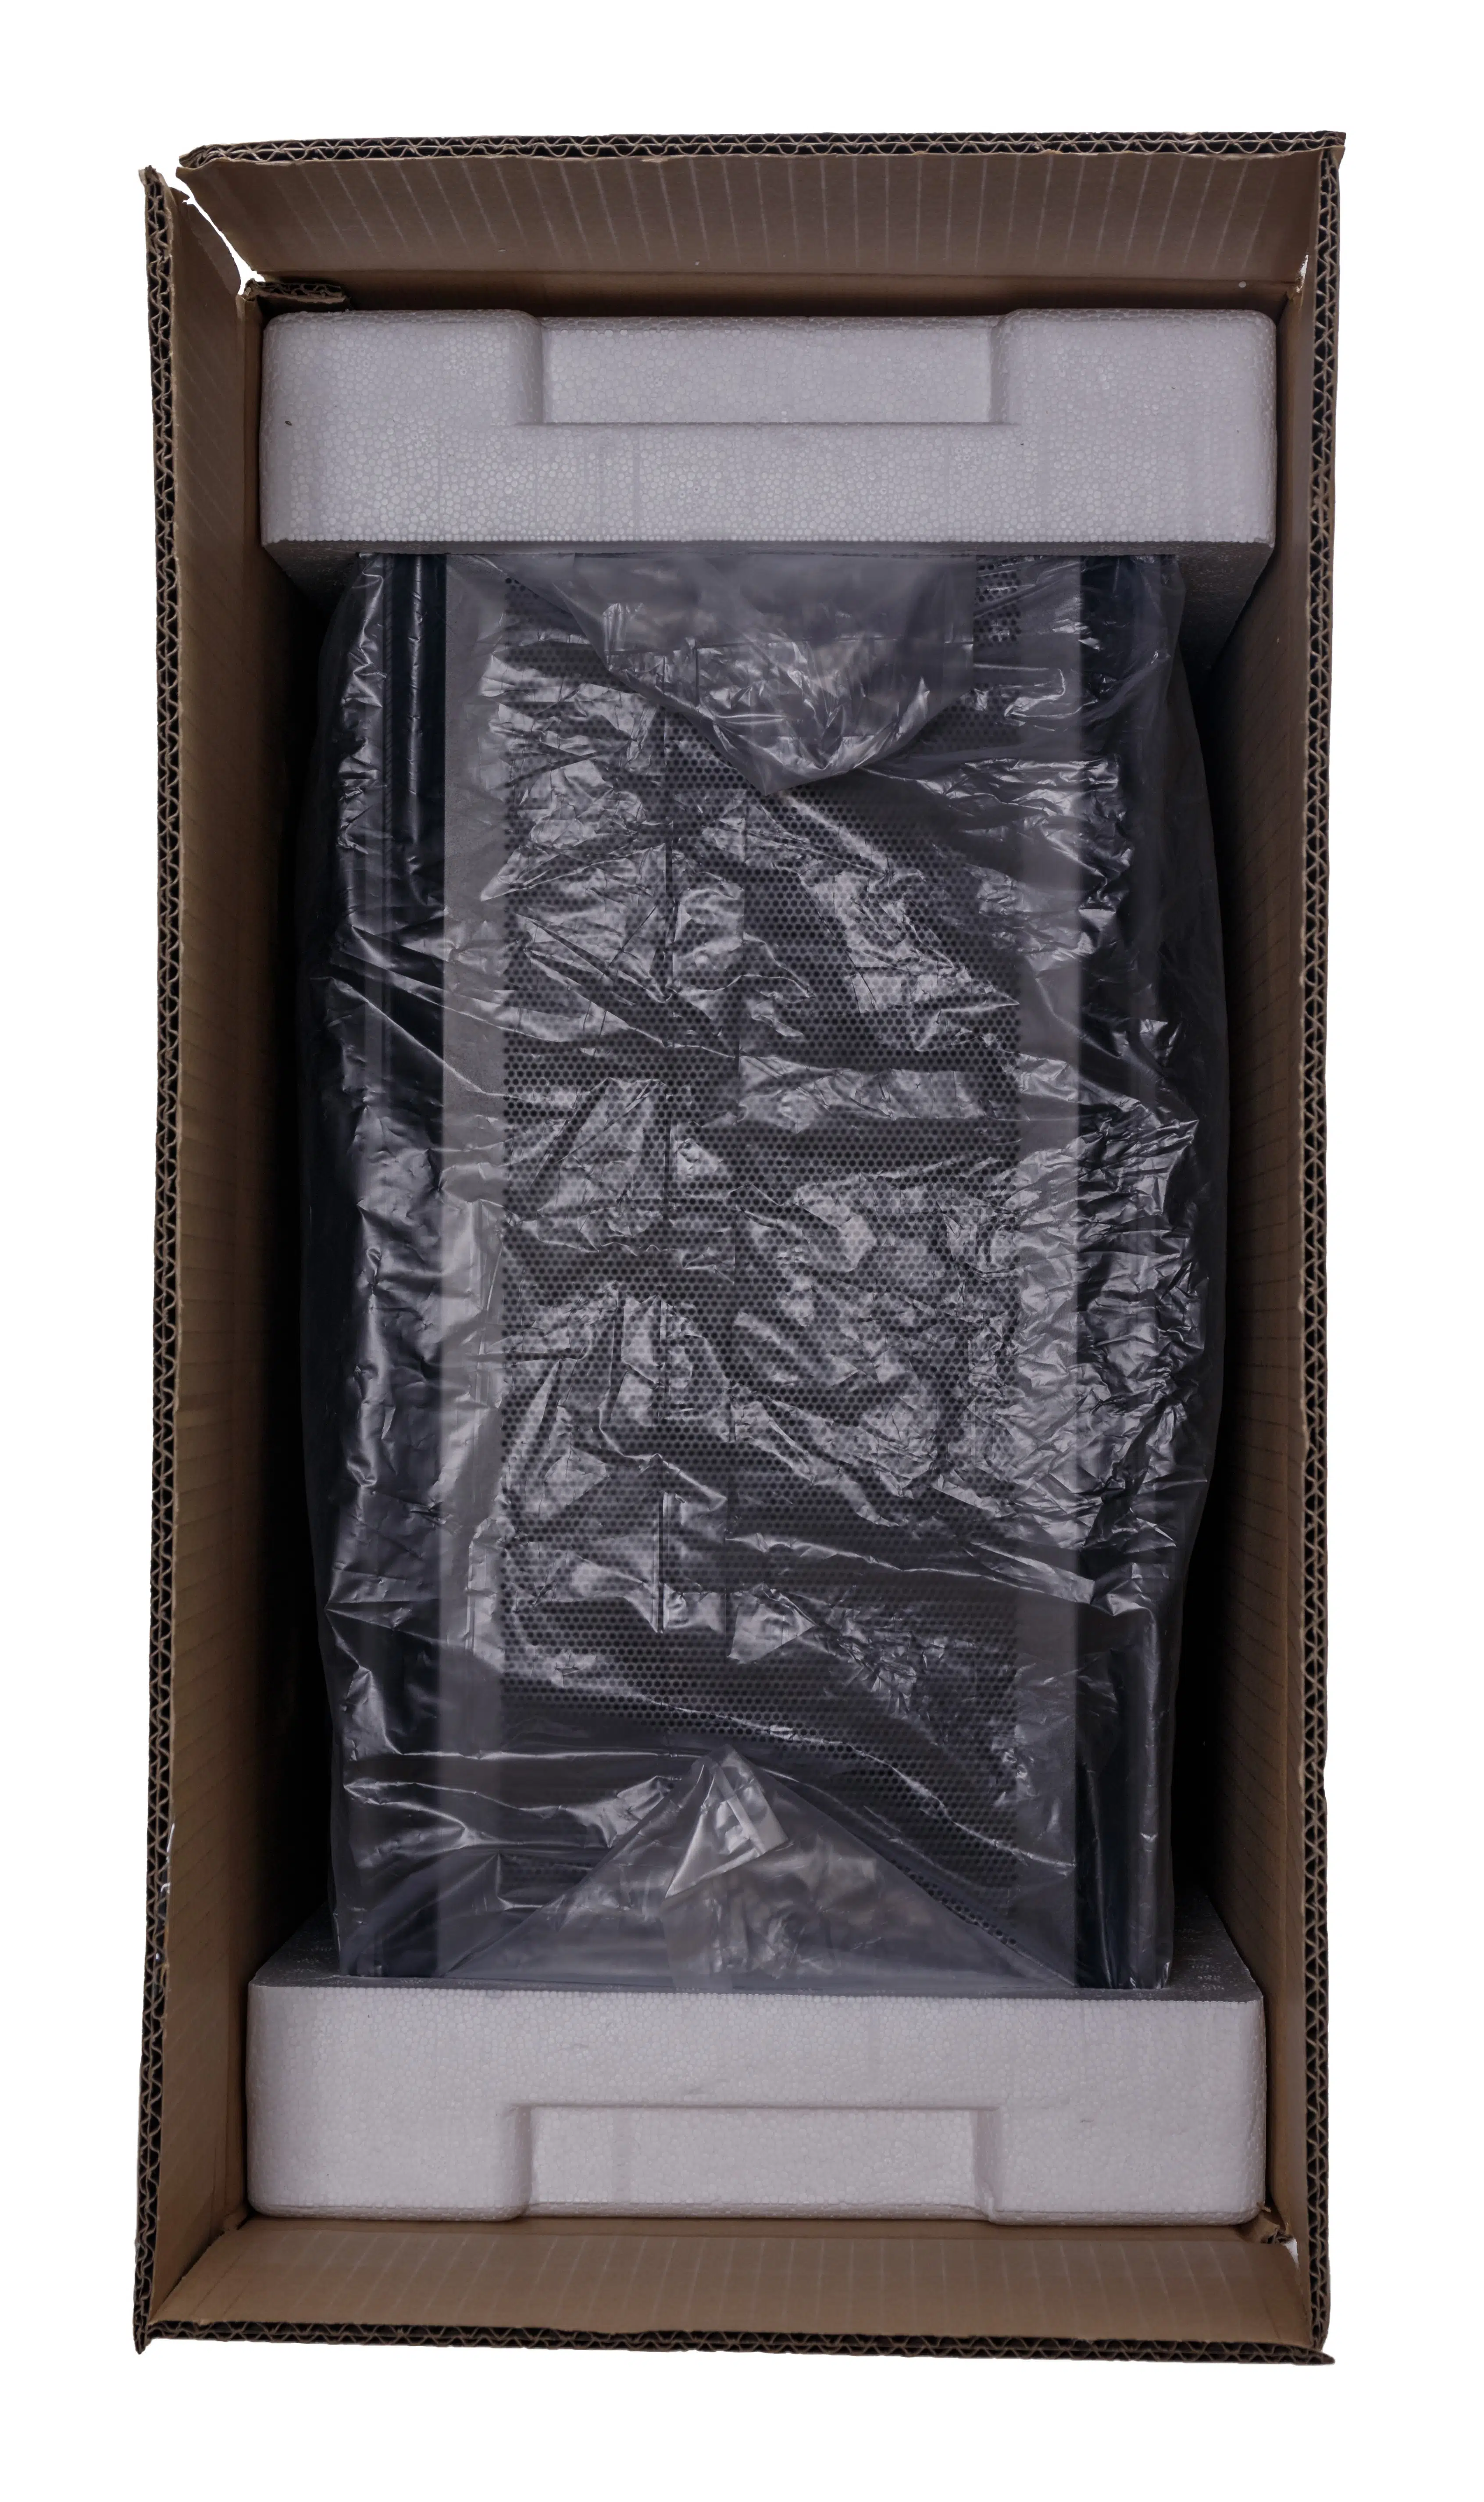
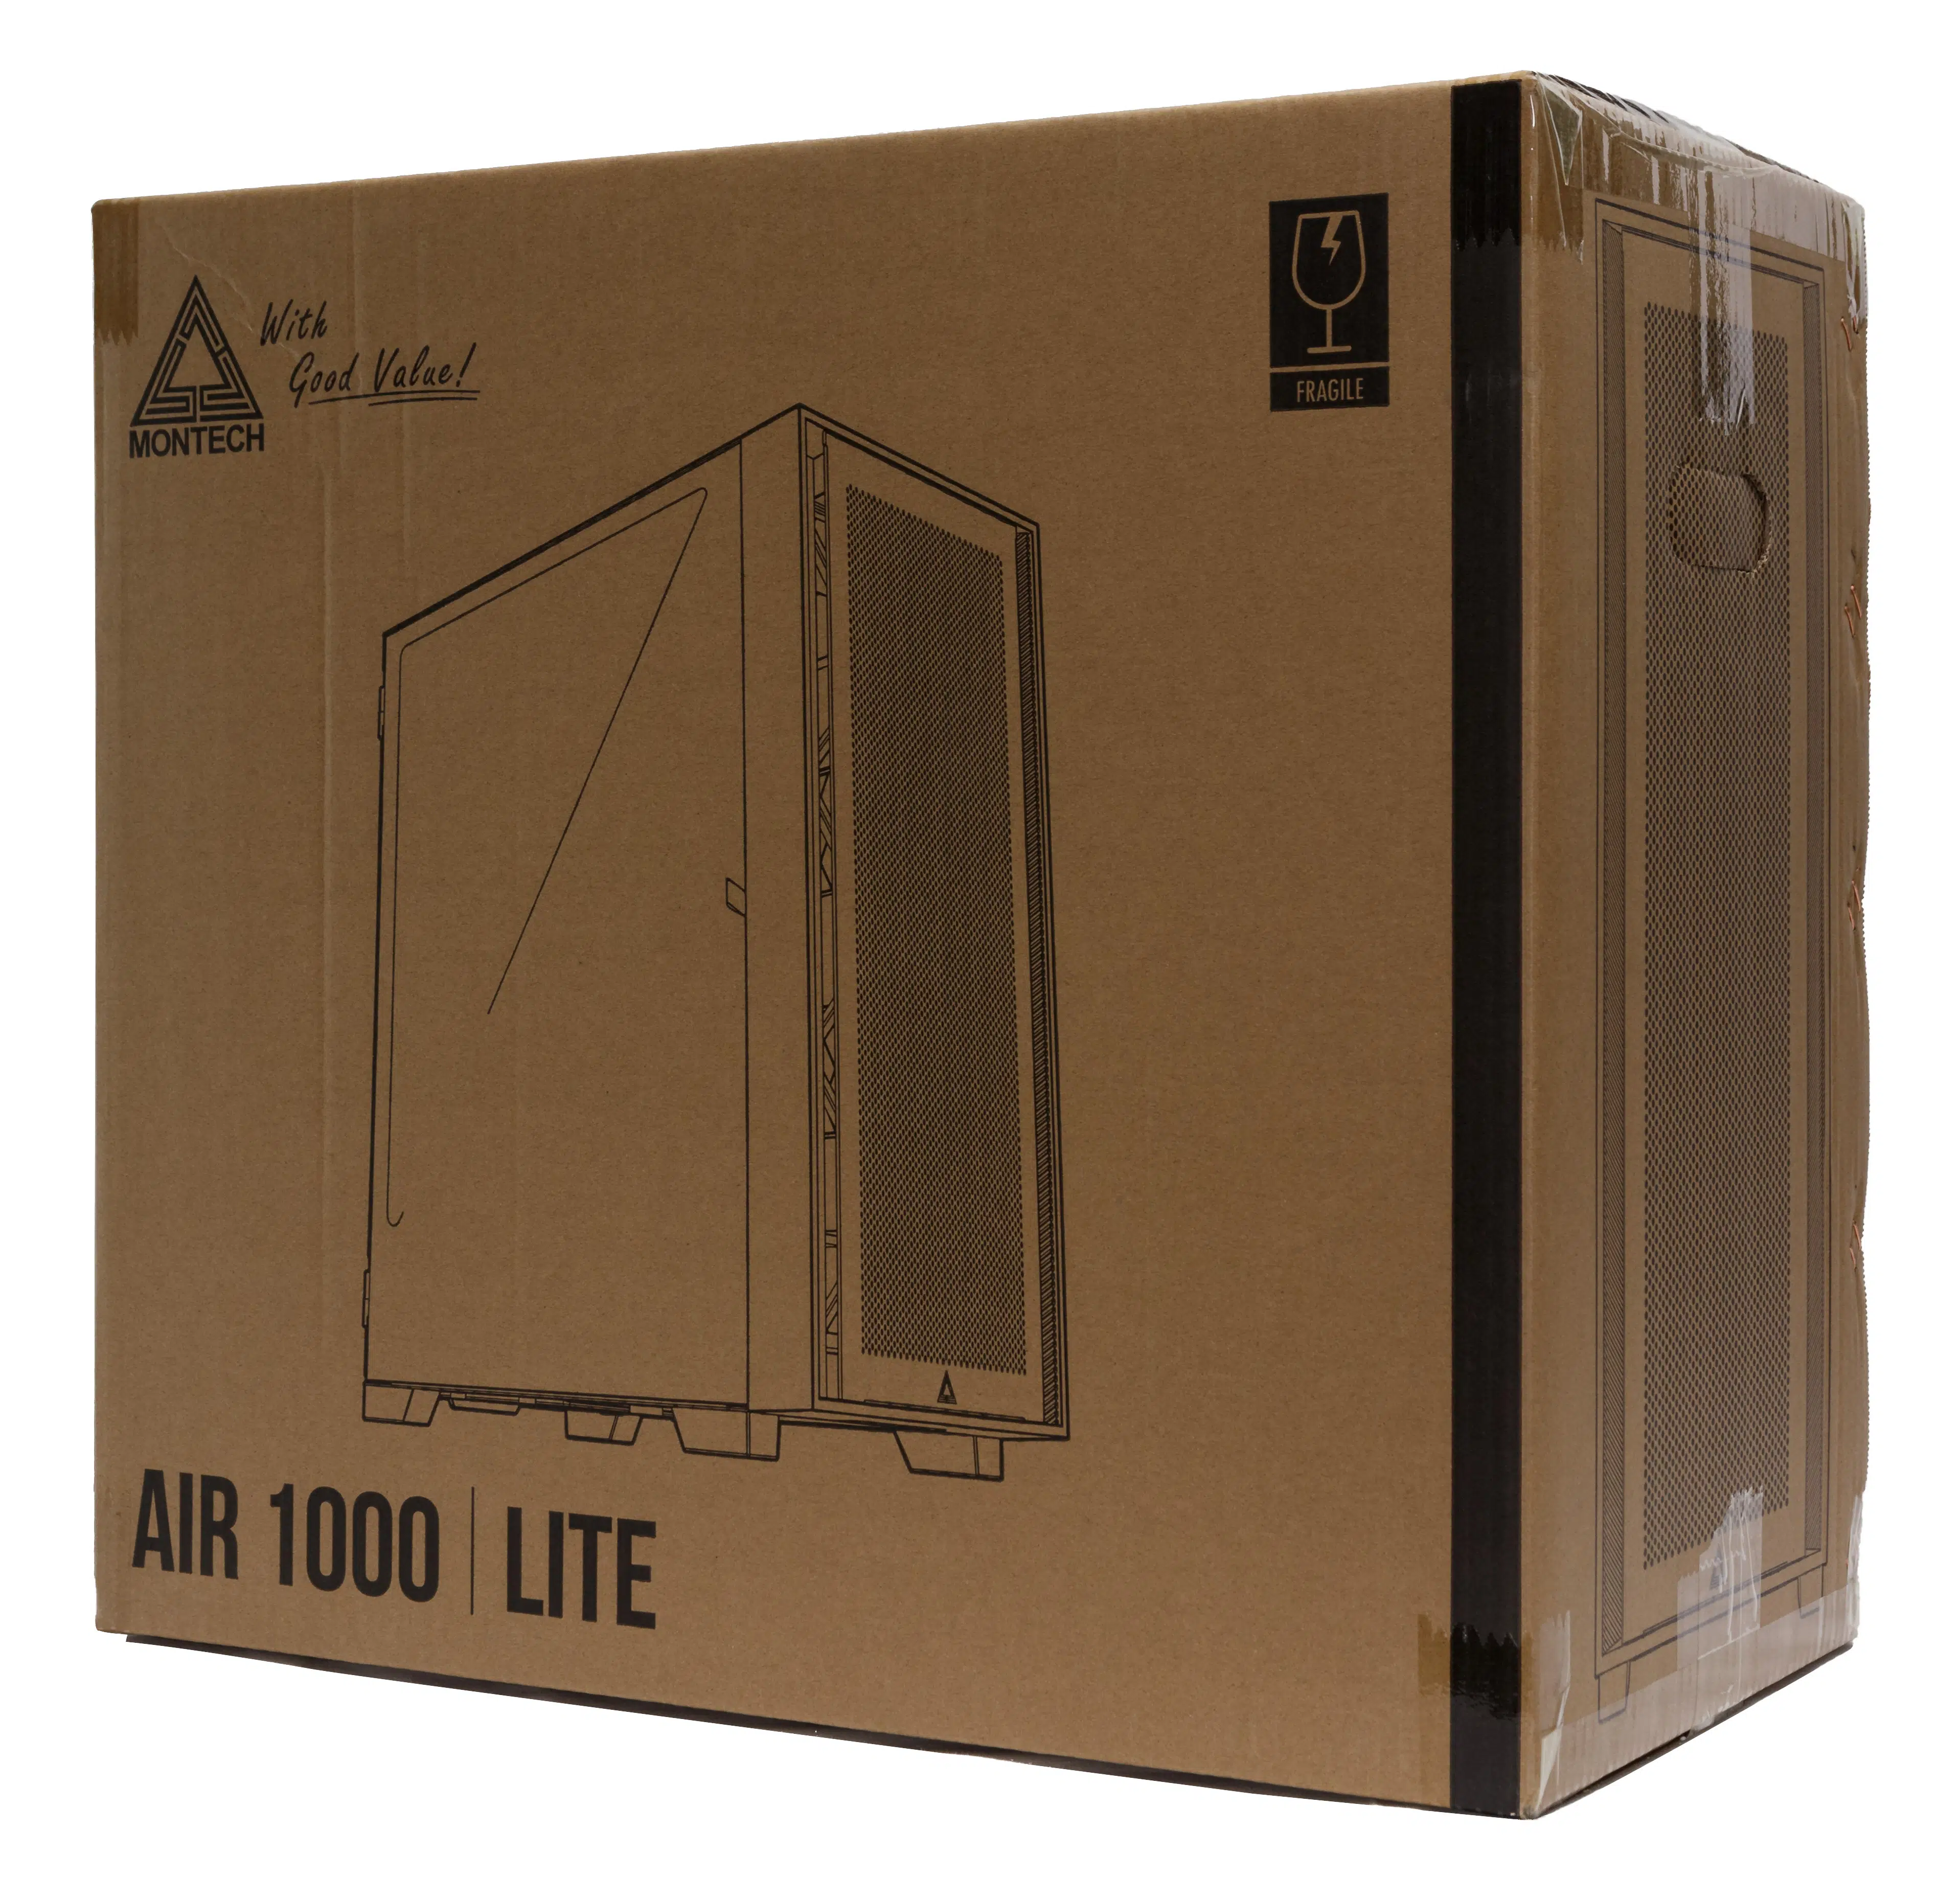
Packaging
The Air 1000 Lite used for this review was shipped directly from Montech. Packaging and protection of the case are as we’d expect from a company that intends to ensure that purchasers receive their products in the intended condition.
Cooling Potential
Montech’s Air 1000 Lite supports fans and radiators in every position that could host them. 120mm and 140mm fans and radiators are supported in the front and the top with a single 120mm position in the rear. The three included 120mm fans will provide adequate cooling for an overclocked mid-range build or a higher-end build left at stock, while the additional fan mounts allow builders to install additional fans as well as radiators if needed.
While the front panel is somewhat restrictive to airflow as noted by other reviewers, and Montech has stated that they will provide an updated front panel upon request by verified owners of the Air 1000 Lite, we did not find the front panel to be so restrictive as to necessitate the use of additional fans when running at stock, nor to resort to running with the front panel and its air filter entirely removed.
Installation Notes
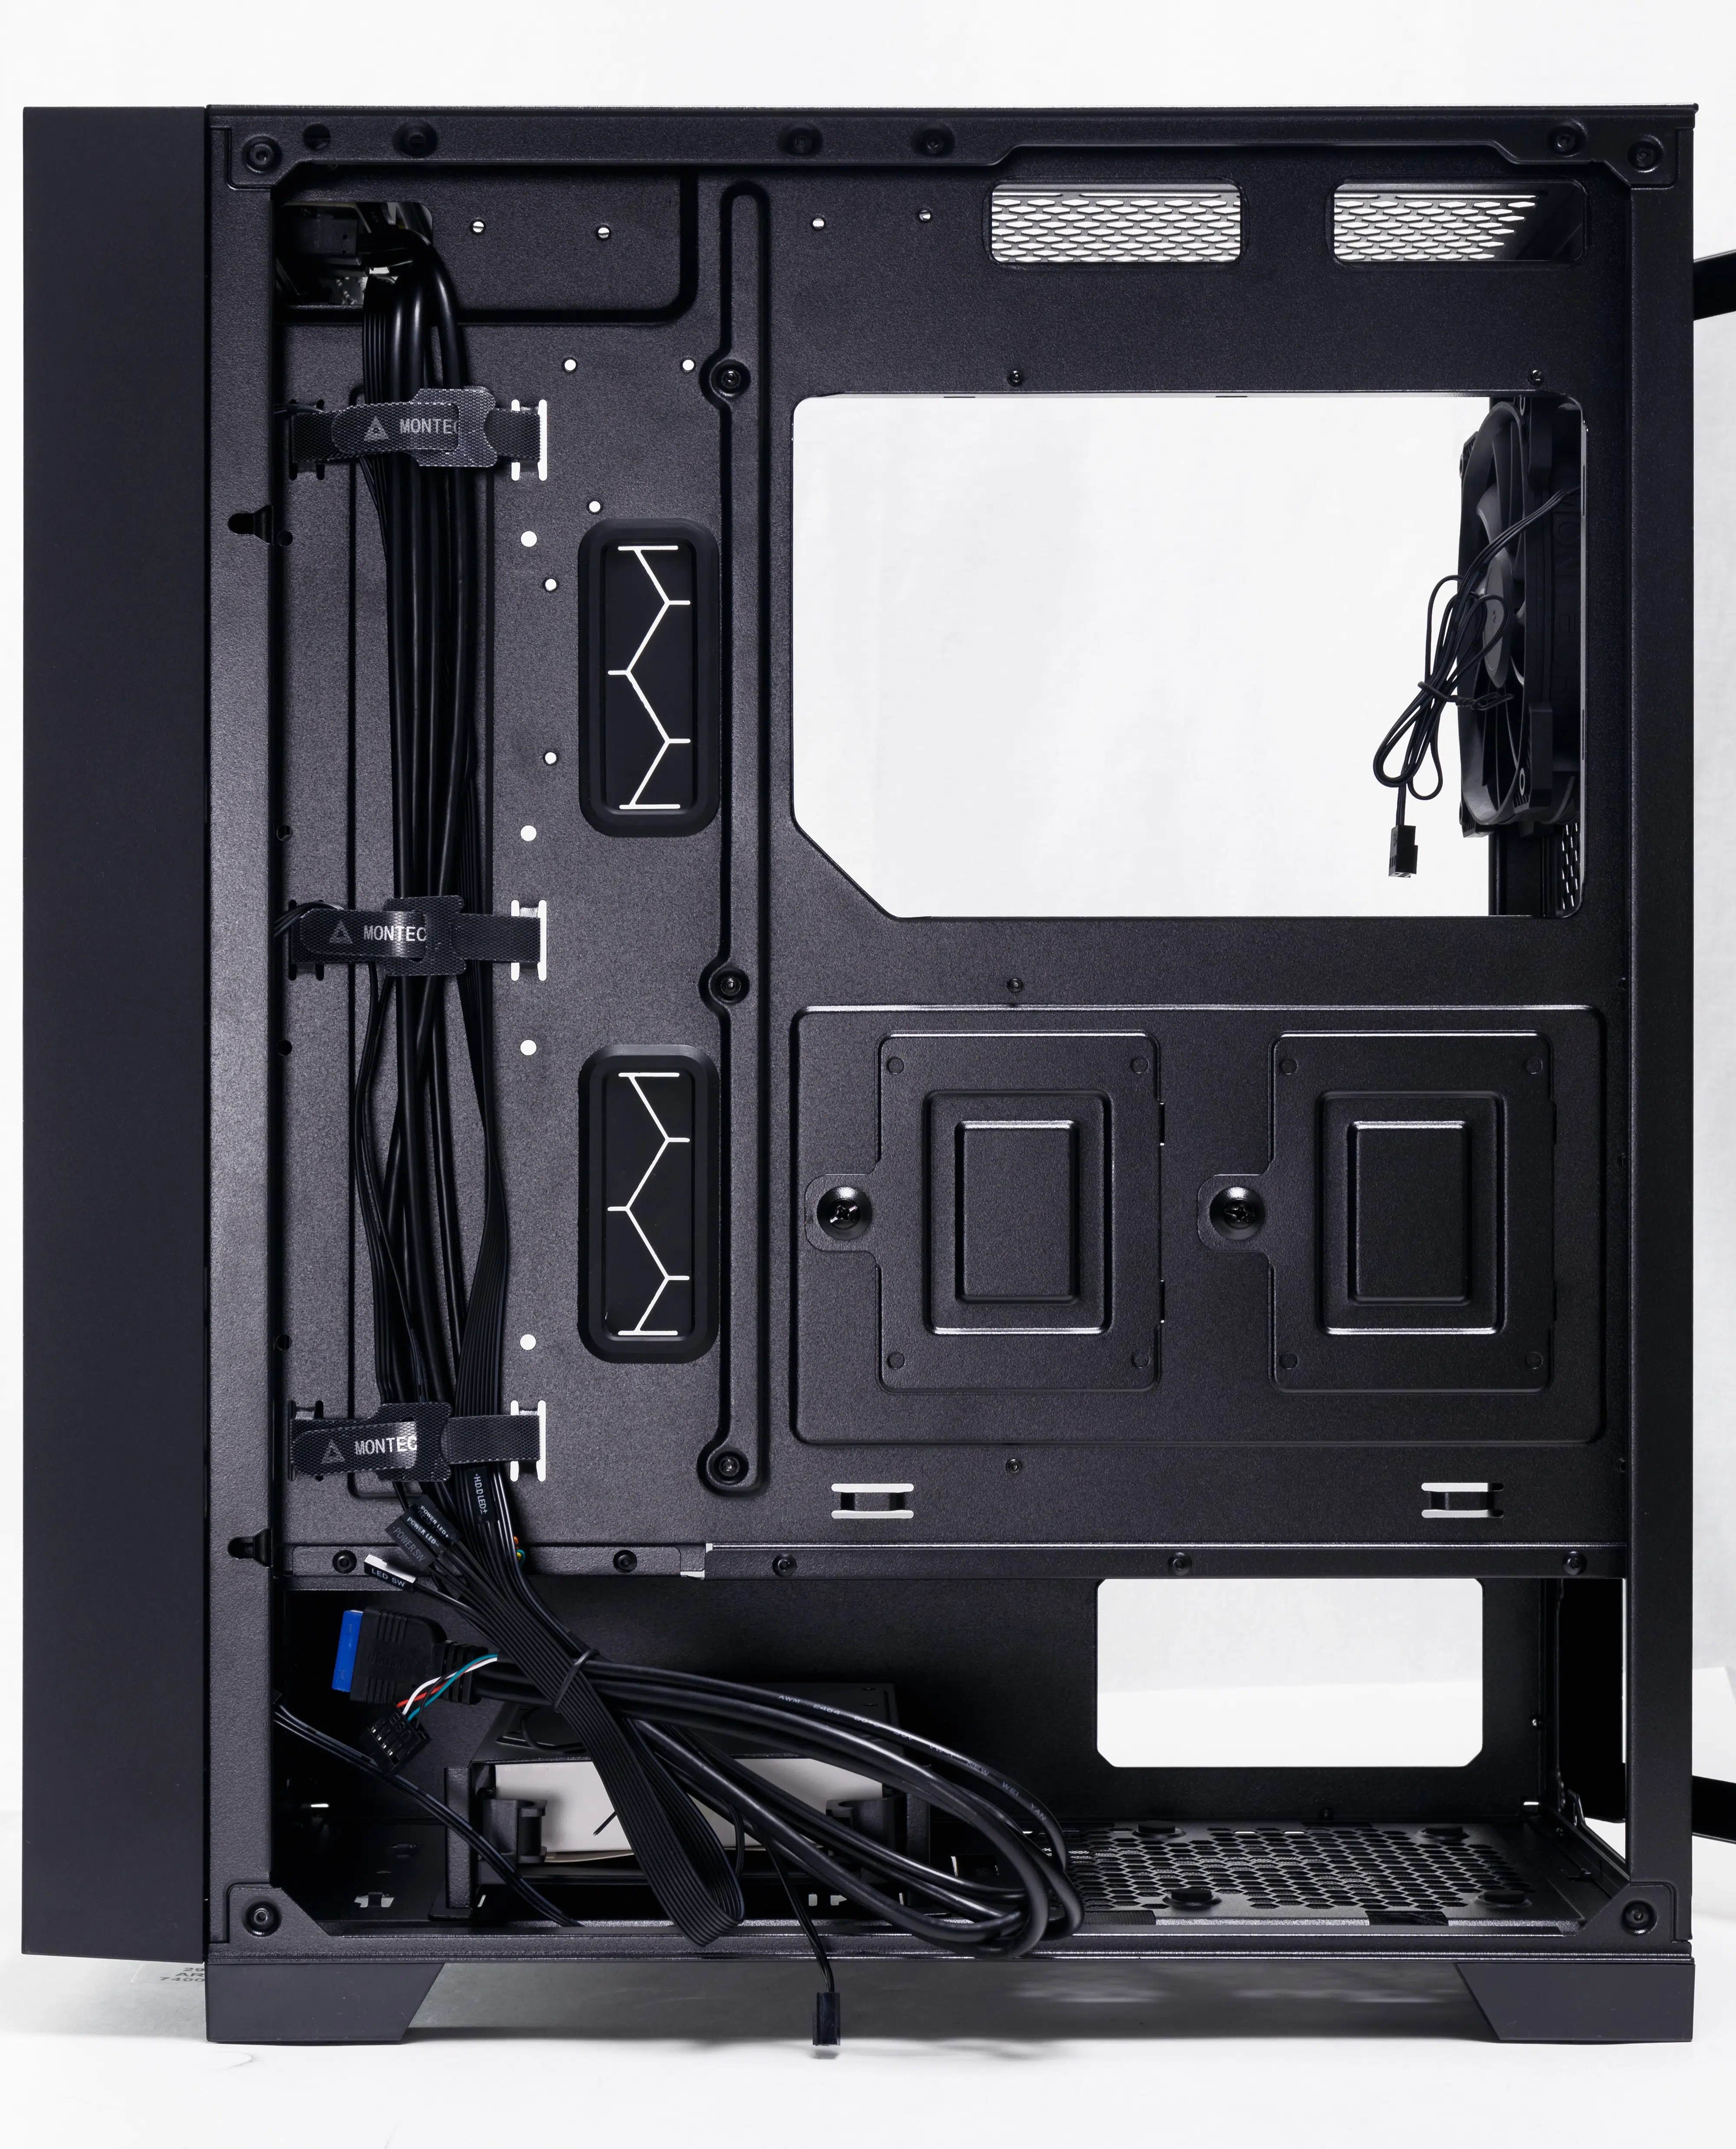
Installation went very smoothly. Montech has pre-routed the front panel cables along the front edge of the motherboard tray backside and neatly secured them with velcro straps. Aside from one instance of a cable cutout grommet coming loose when passing through a bulky ATX 24-pin cable, the Montech Air 1000 Lite had everything right where we needed it and otherwise provided no interference.
The stock cable routing also worked well for the build and did not need to be modified. Montech’s solution of using three velcro straps is simple and effective, and the straps are easily adjustable and have plenty of slack for securing more cables if needed.
We did have one frustration stemming from the power supply positioning. Montech has centered the power supply mounting, which while not a problem in and of itself, does result in a bit too much restriction to the cable routing cutouts above it. With an ATX-spec PSU installed, typical leads running to the bottom edge of the motherboard like HD Audio, USB, fan, and RGB leads, will need to be run without the power supply fixed into place. The gap left with the power supply installed is just a millimeter or two too small for these connectors to pass through.
Our Build Recommendation
- Install any radiators for water cooling
- Install any additional fans
- Install memory, CPU, air CPU cooler if used, and the CPU 12v leads into the motherboard
- Install the motherboard into the case
- Run the fan power leads and any lighting cables to their appropriate headers and secure them loosely to the back of the motherboard tray
- Run any remaining front-panel connections to the bottom of the motherboard along with any other cables needed, loosely securing along the way
- Run the remaining power supply leads for GPU(s), 24-pin motherboard header
- Connect all power supply leads while the power supply is still outside the case
- Install the power supply
- Route the power supply leads along the back of the case and secure
- Fully secure all other leads