Introduction
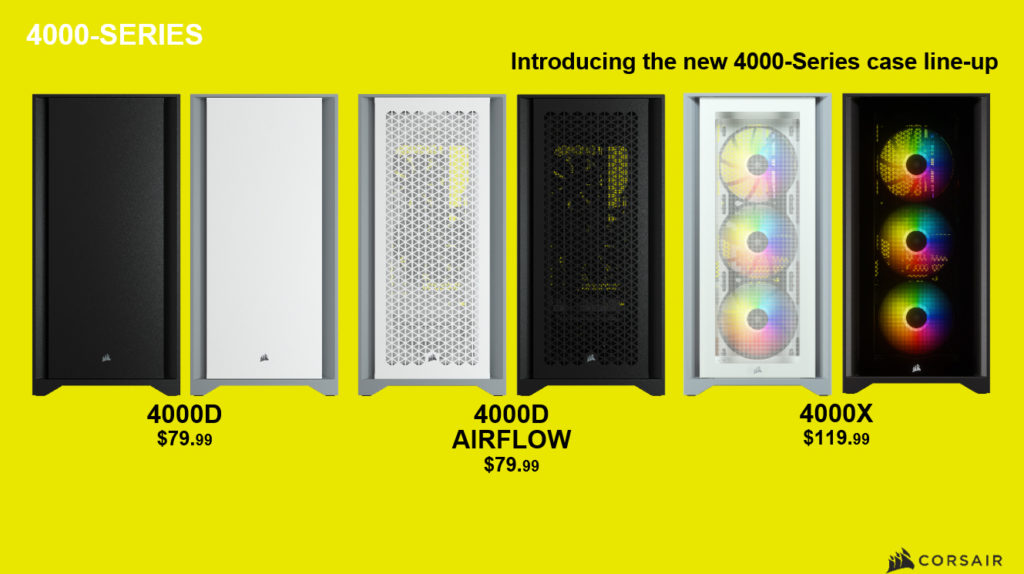
On the test bench today, we have a brand new case design by CORSAIR. The 4000D Tempered Glass (CC-9011198-WW) case is part of a new case line up from CORSAIR. There are three cases in this new line up that include two other cases. The iCUE 4000X RGB Tempered Glass (CC-9011204-WW) and the 4000D AIRFLOW Tempered Glass (CC-9011200-WW) . We will be reviewing the 4000D Tempered Glass ( CC-9011198-WW) case. This case has a solid front panel and two CORSAIR AirGuide fans instead of the CORSAIR AirGuide RGB fans the iCUE 4000X RGB comes with. All three case designs come in black or white.
Unboxing
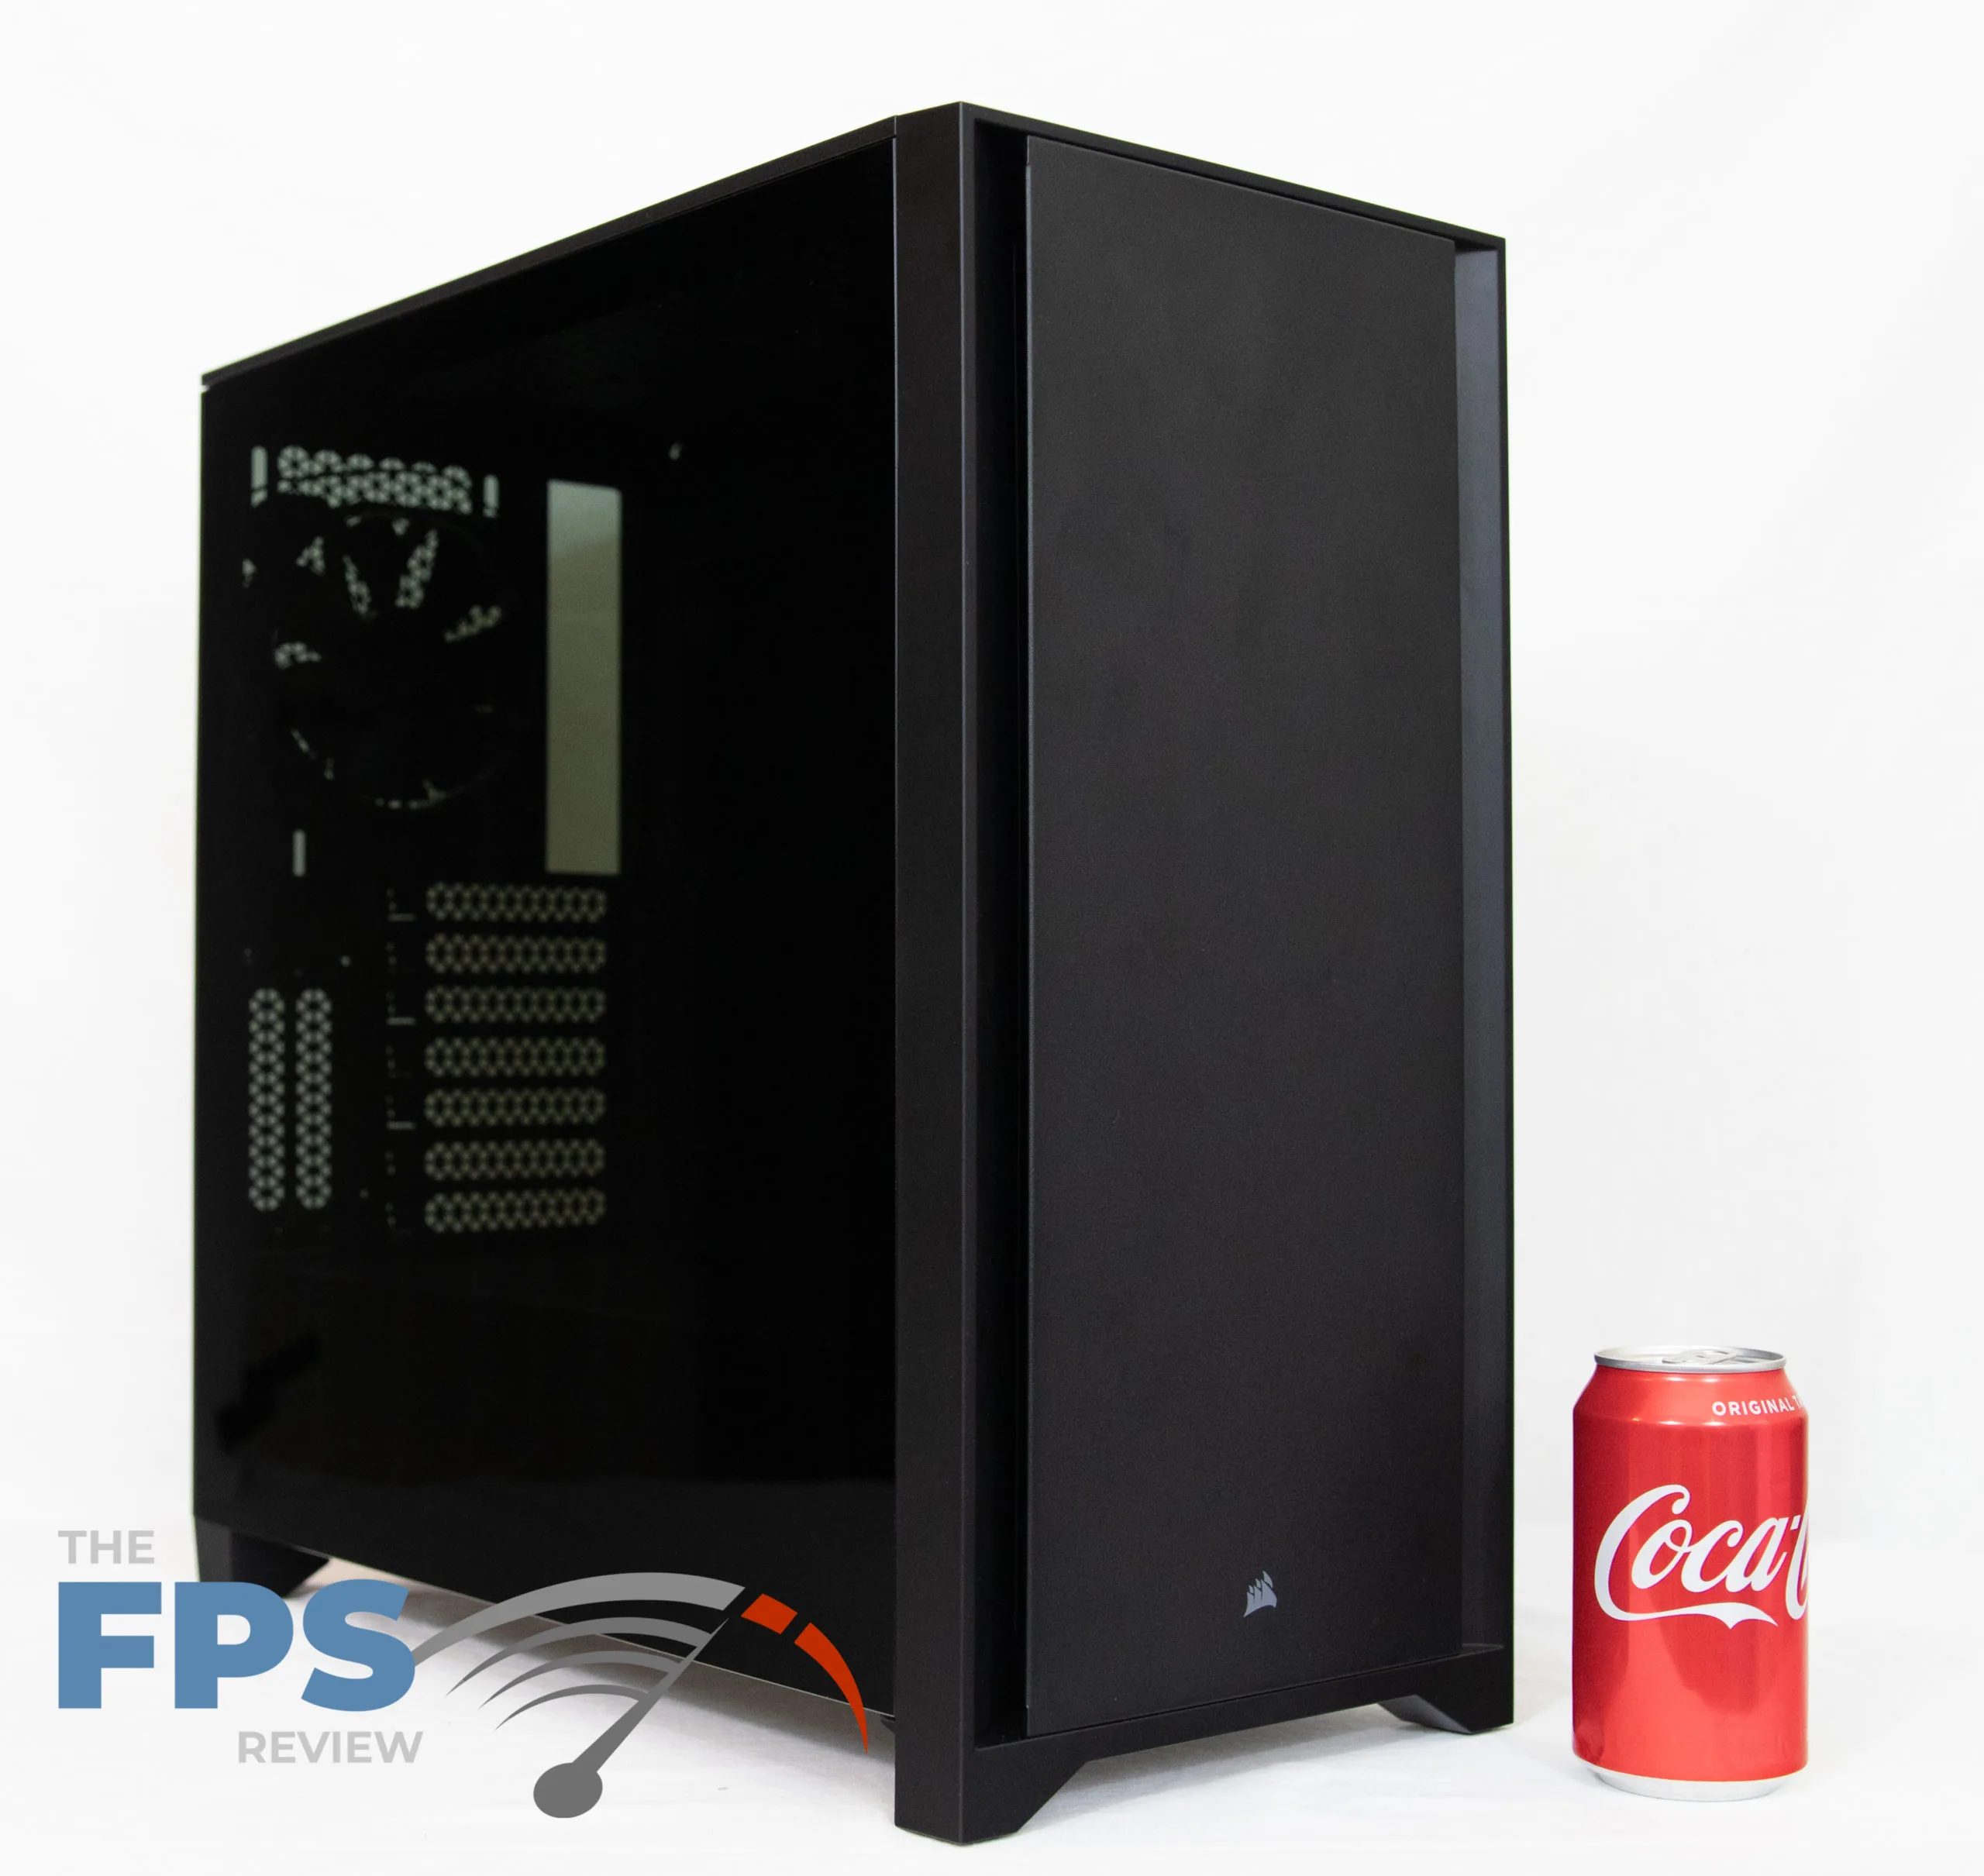
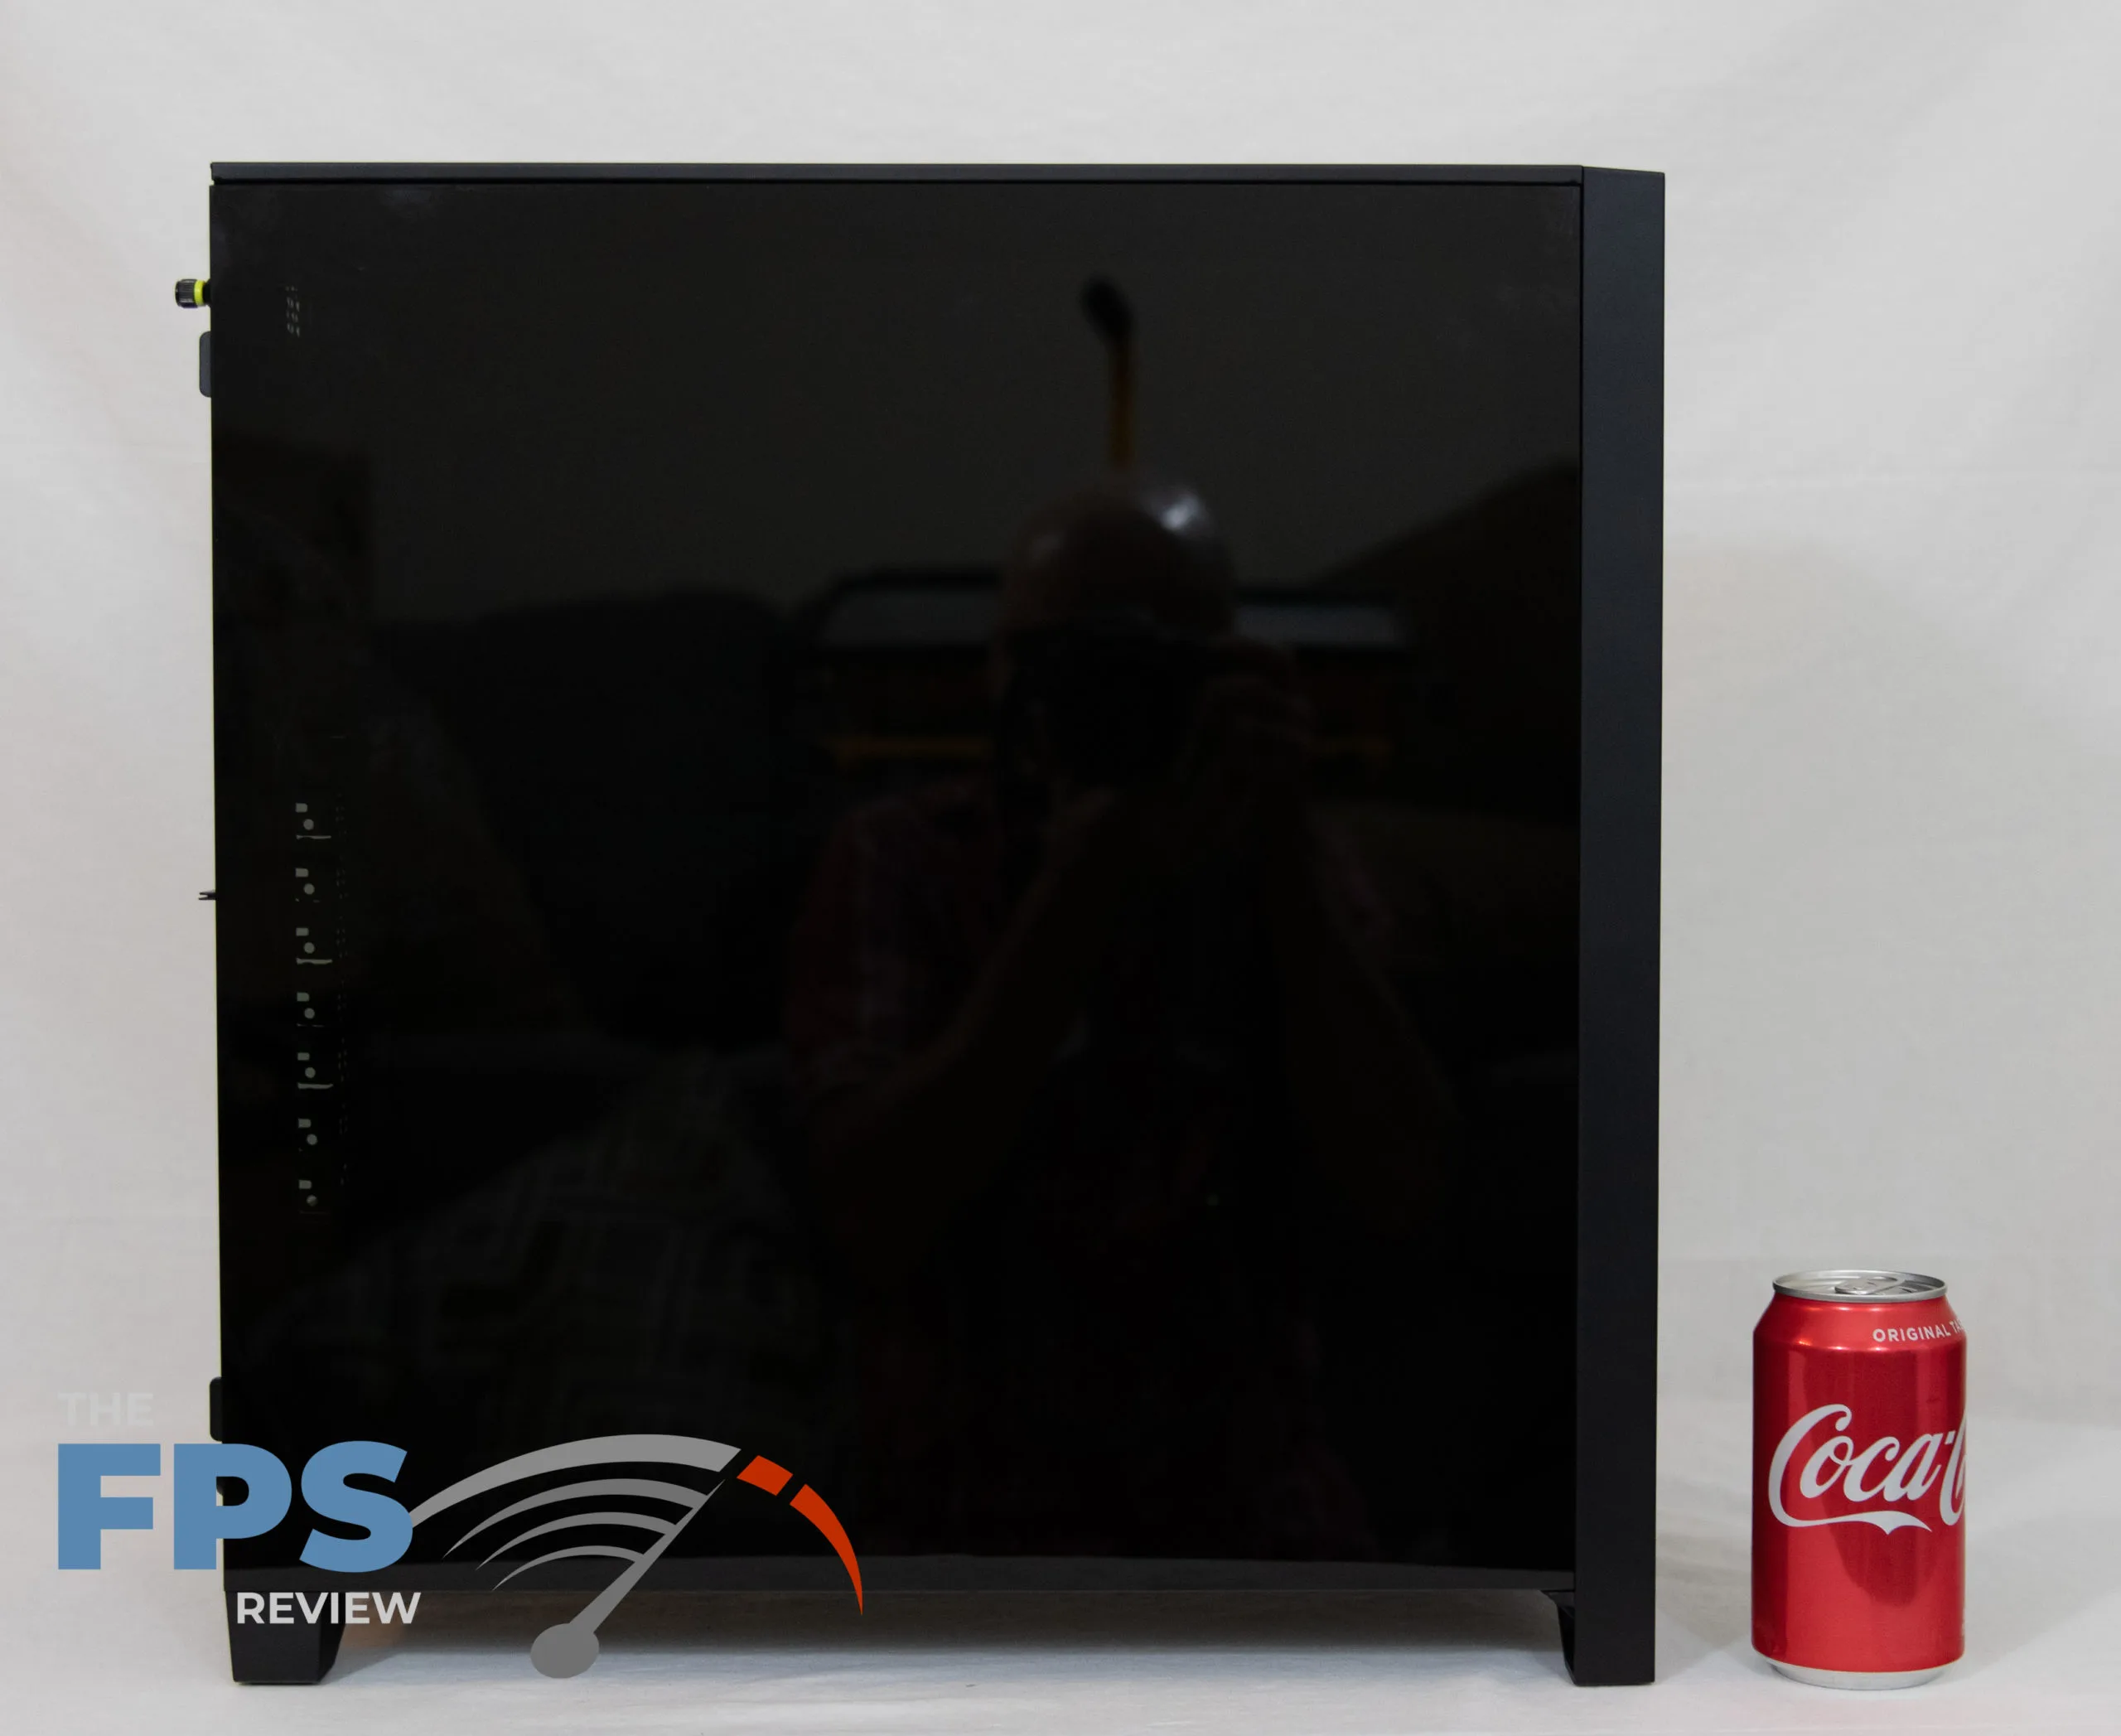
After unboxing the case and pulling it out I immediately noticed it was not very light. This usually means the case is going to be robust and study. Most of the weight was due to the tempered glass panel on the side which looks nice. It is darker than most side panel windows, but the entire panel IS the tempered glass.
The case itself is a stout 230mm wide. This led me to believe the case may have some decent cable management features. Coming in at $79.99 on Amazon I feel like this is an excellent deal for what you are getting.
Taking It Apart
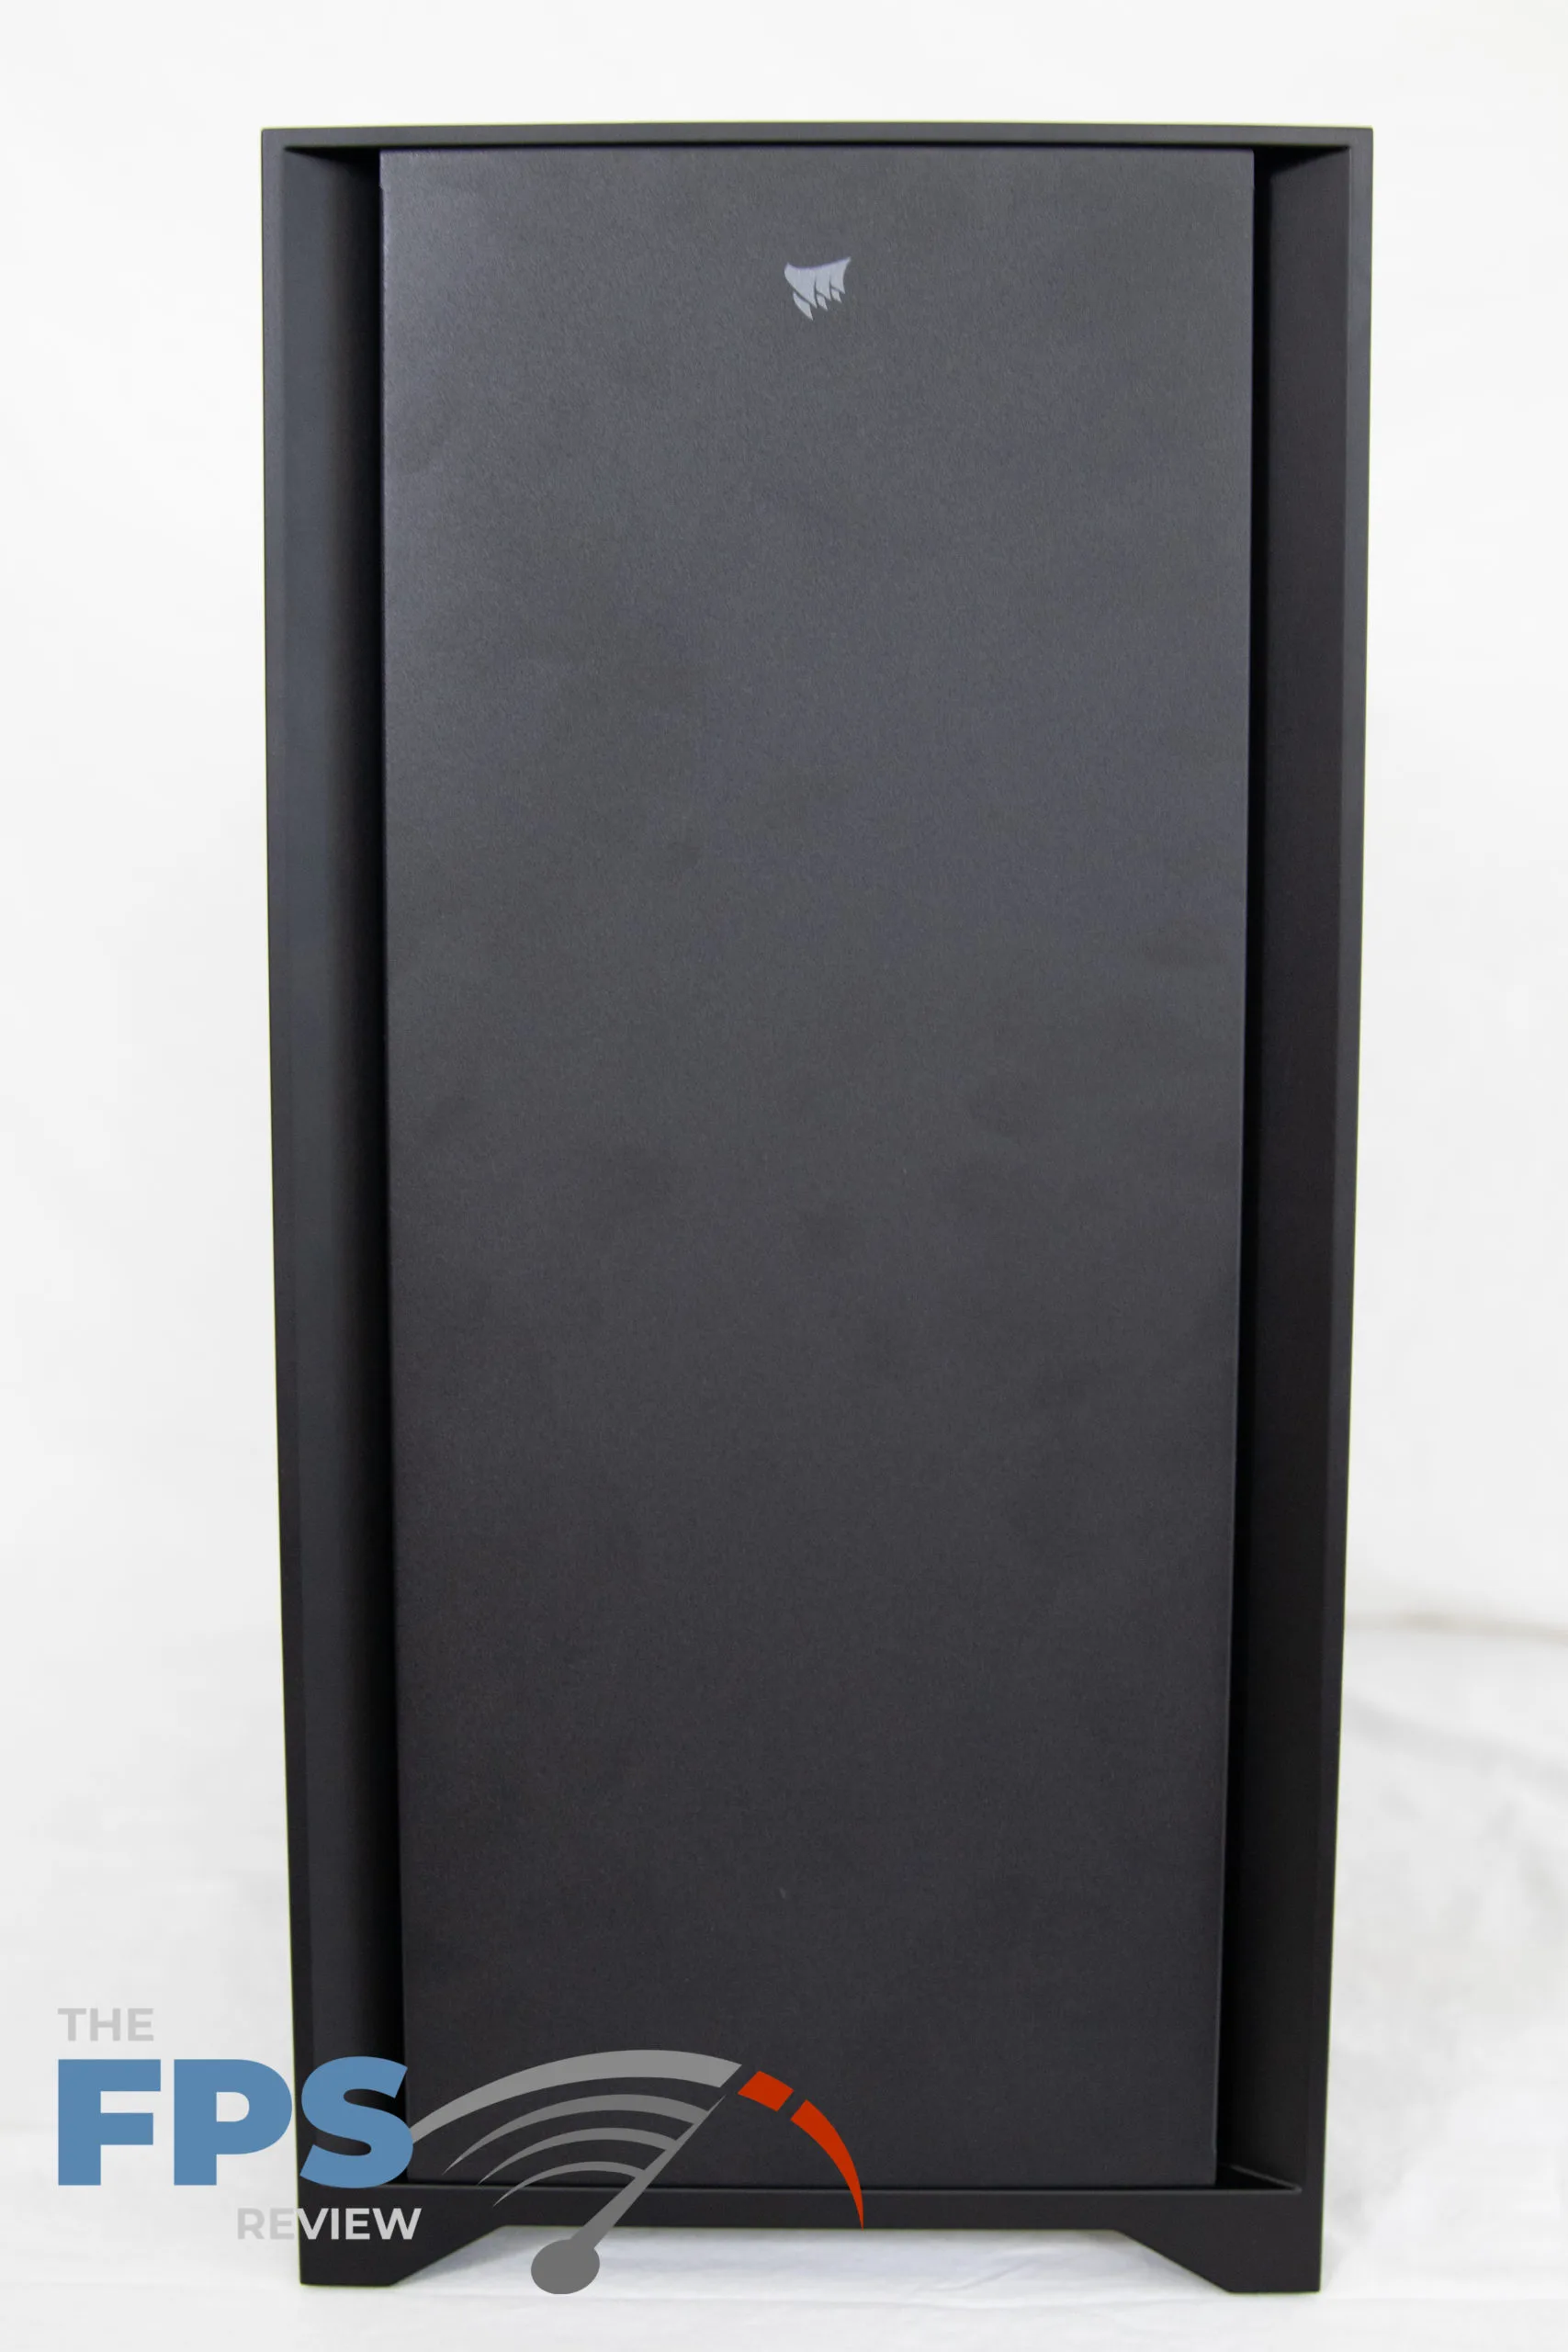
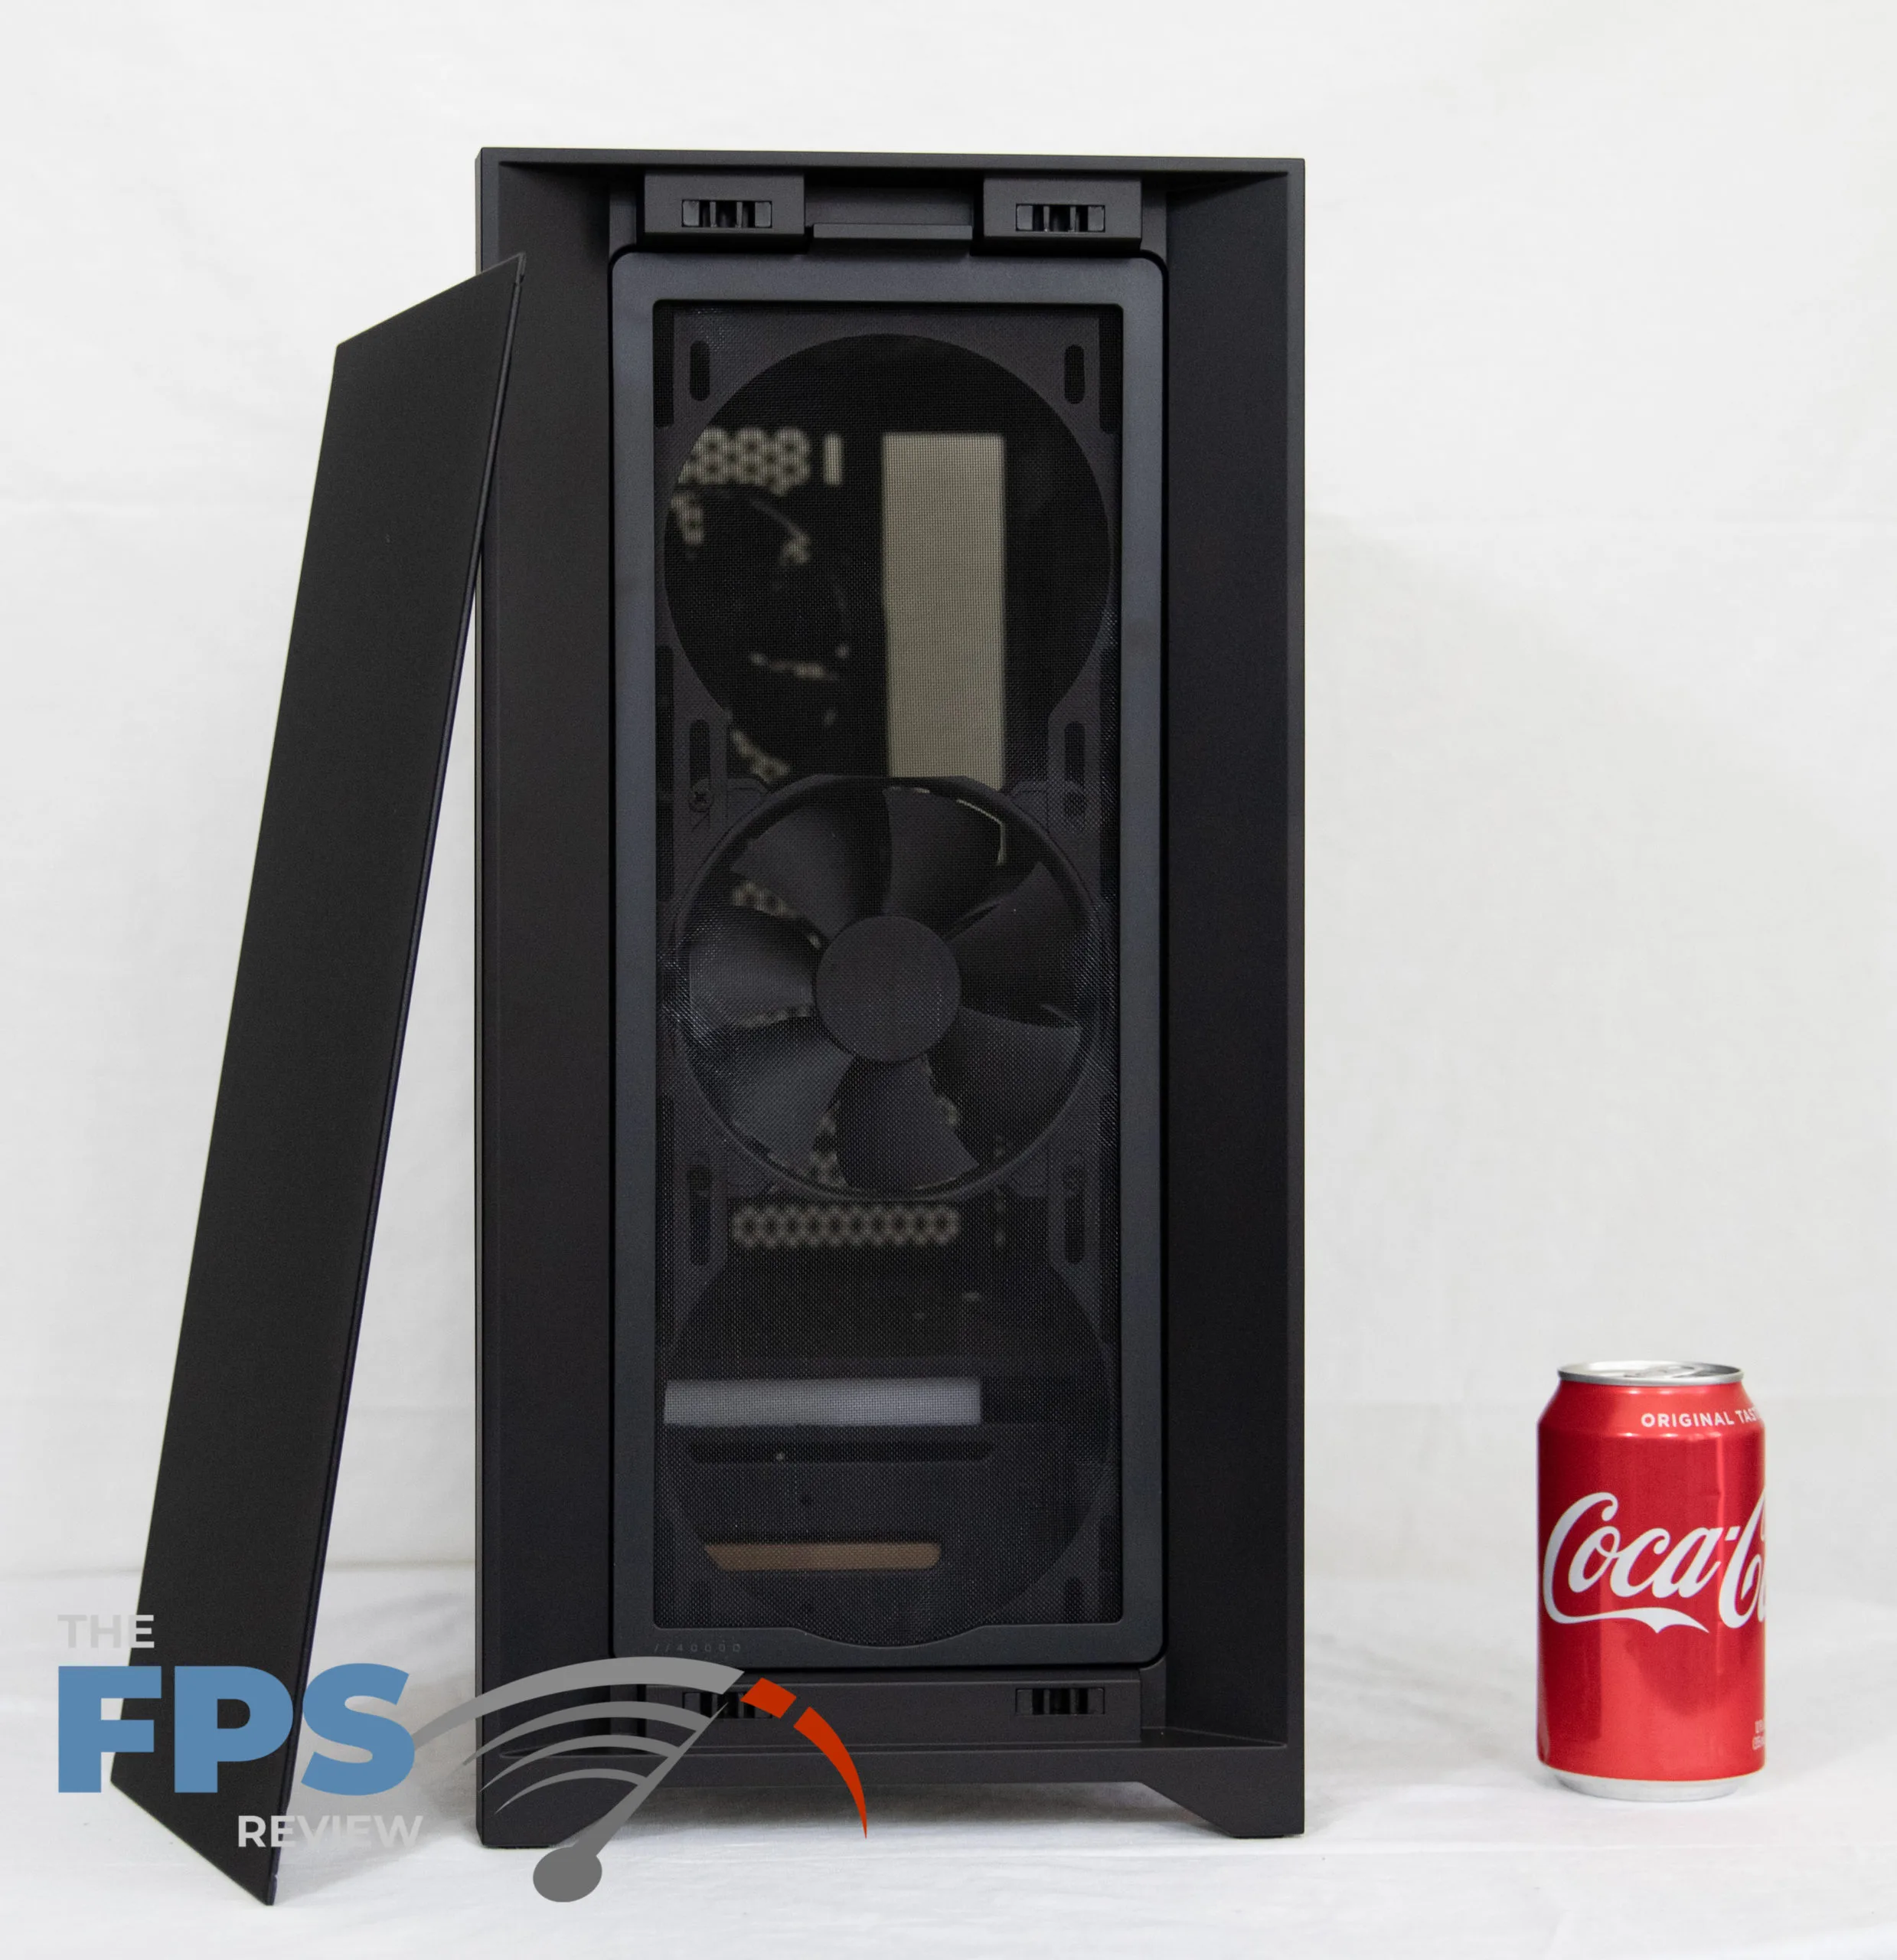
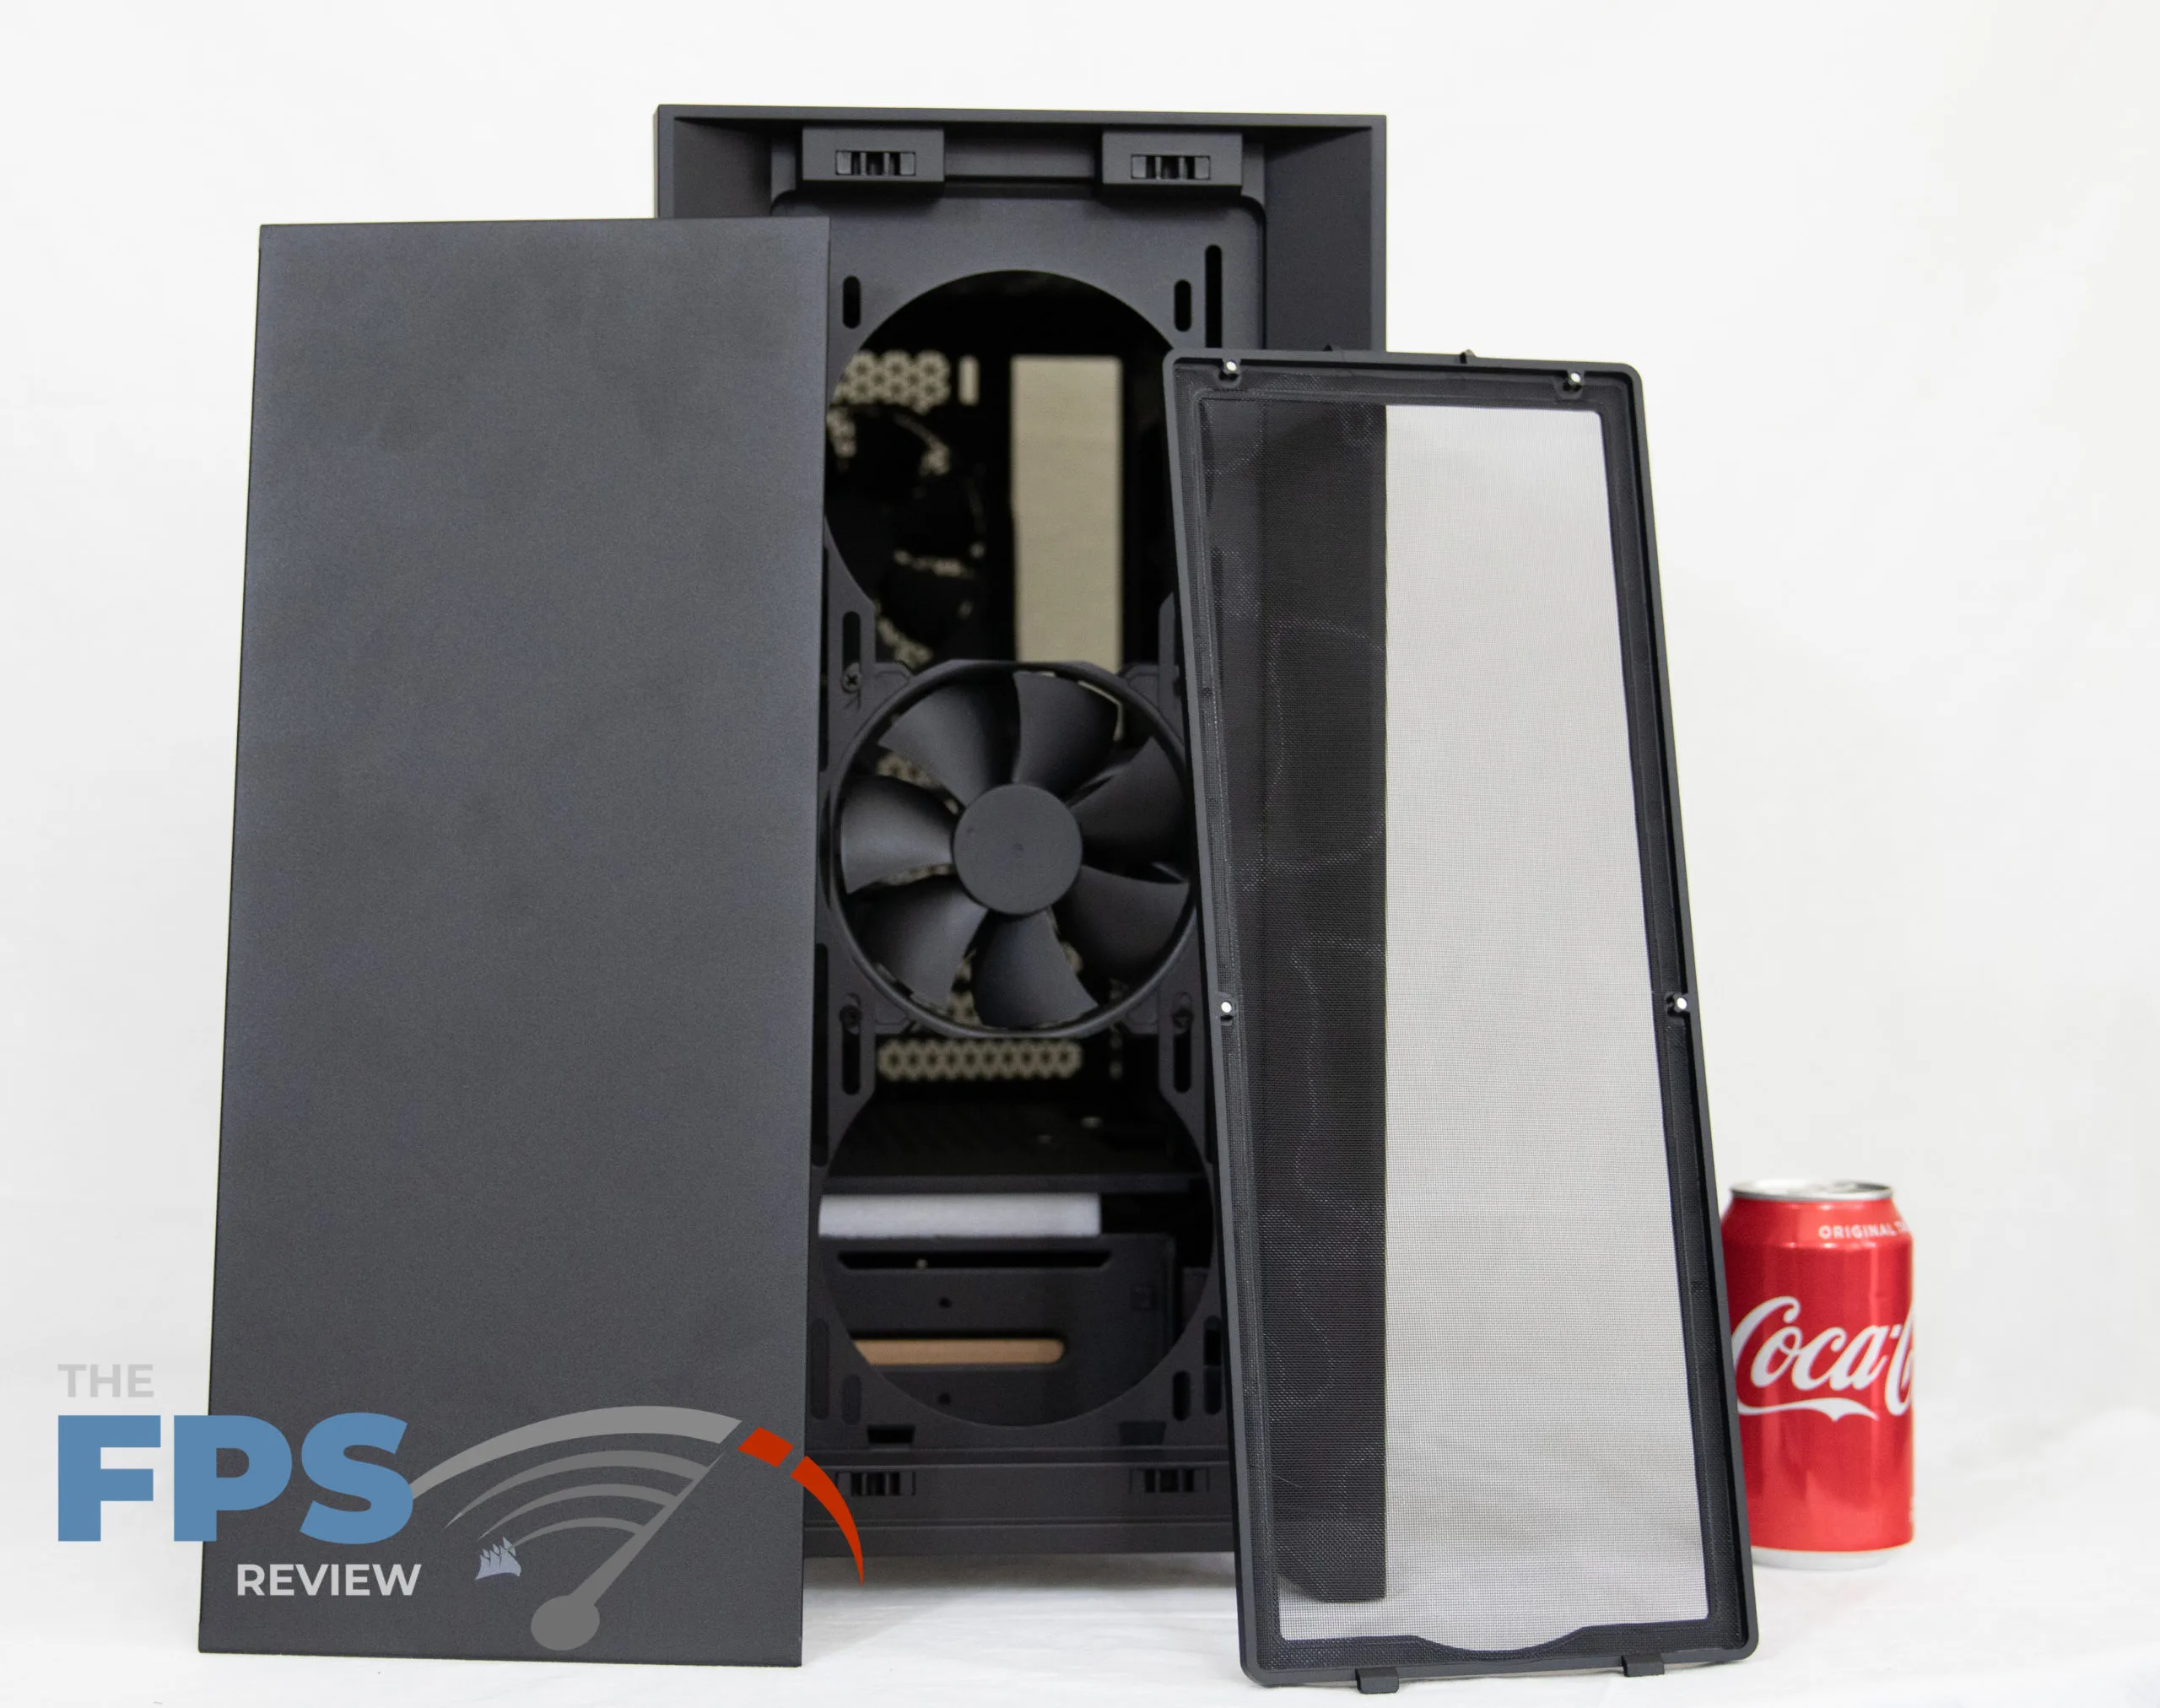
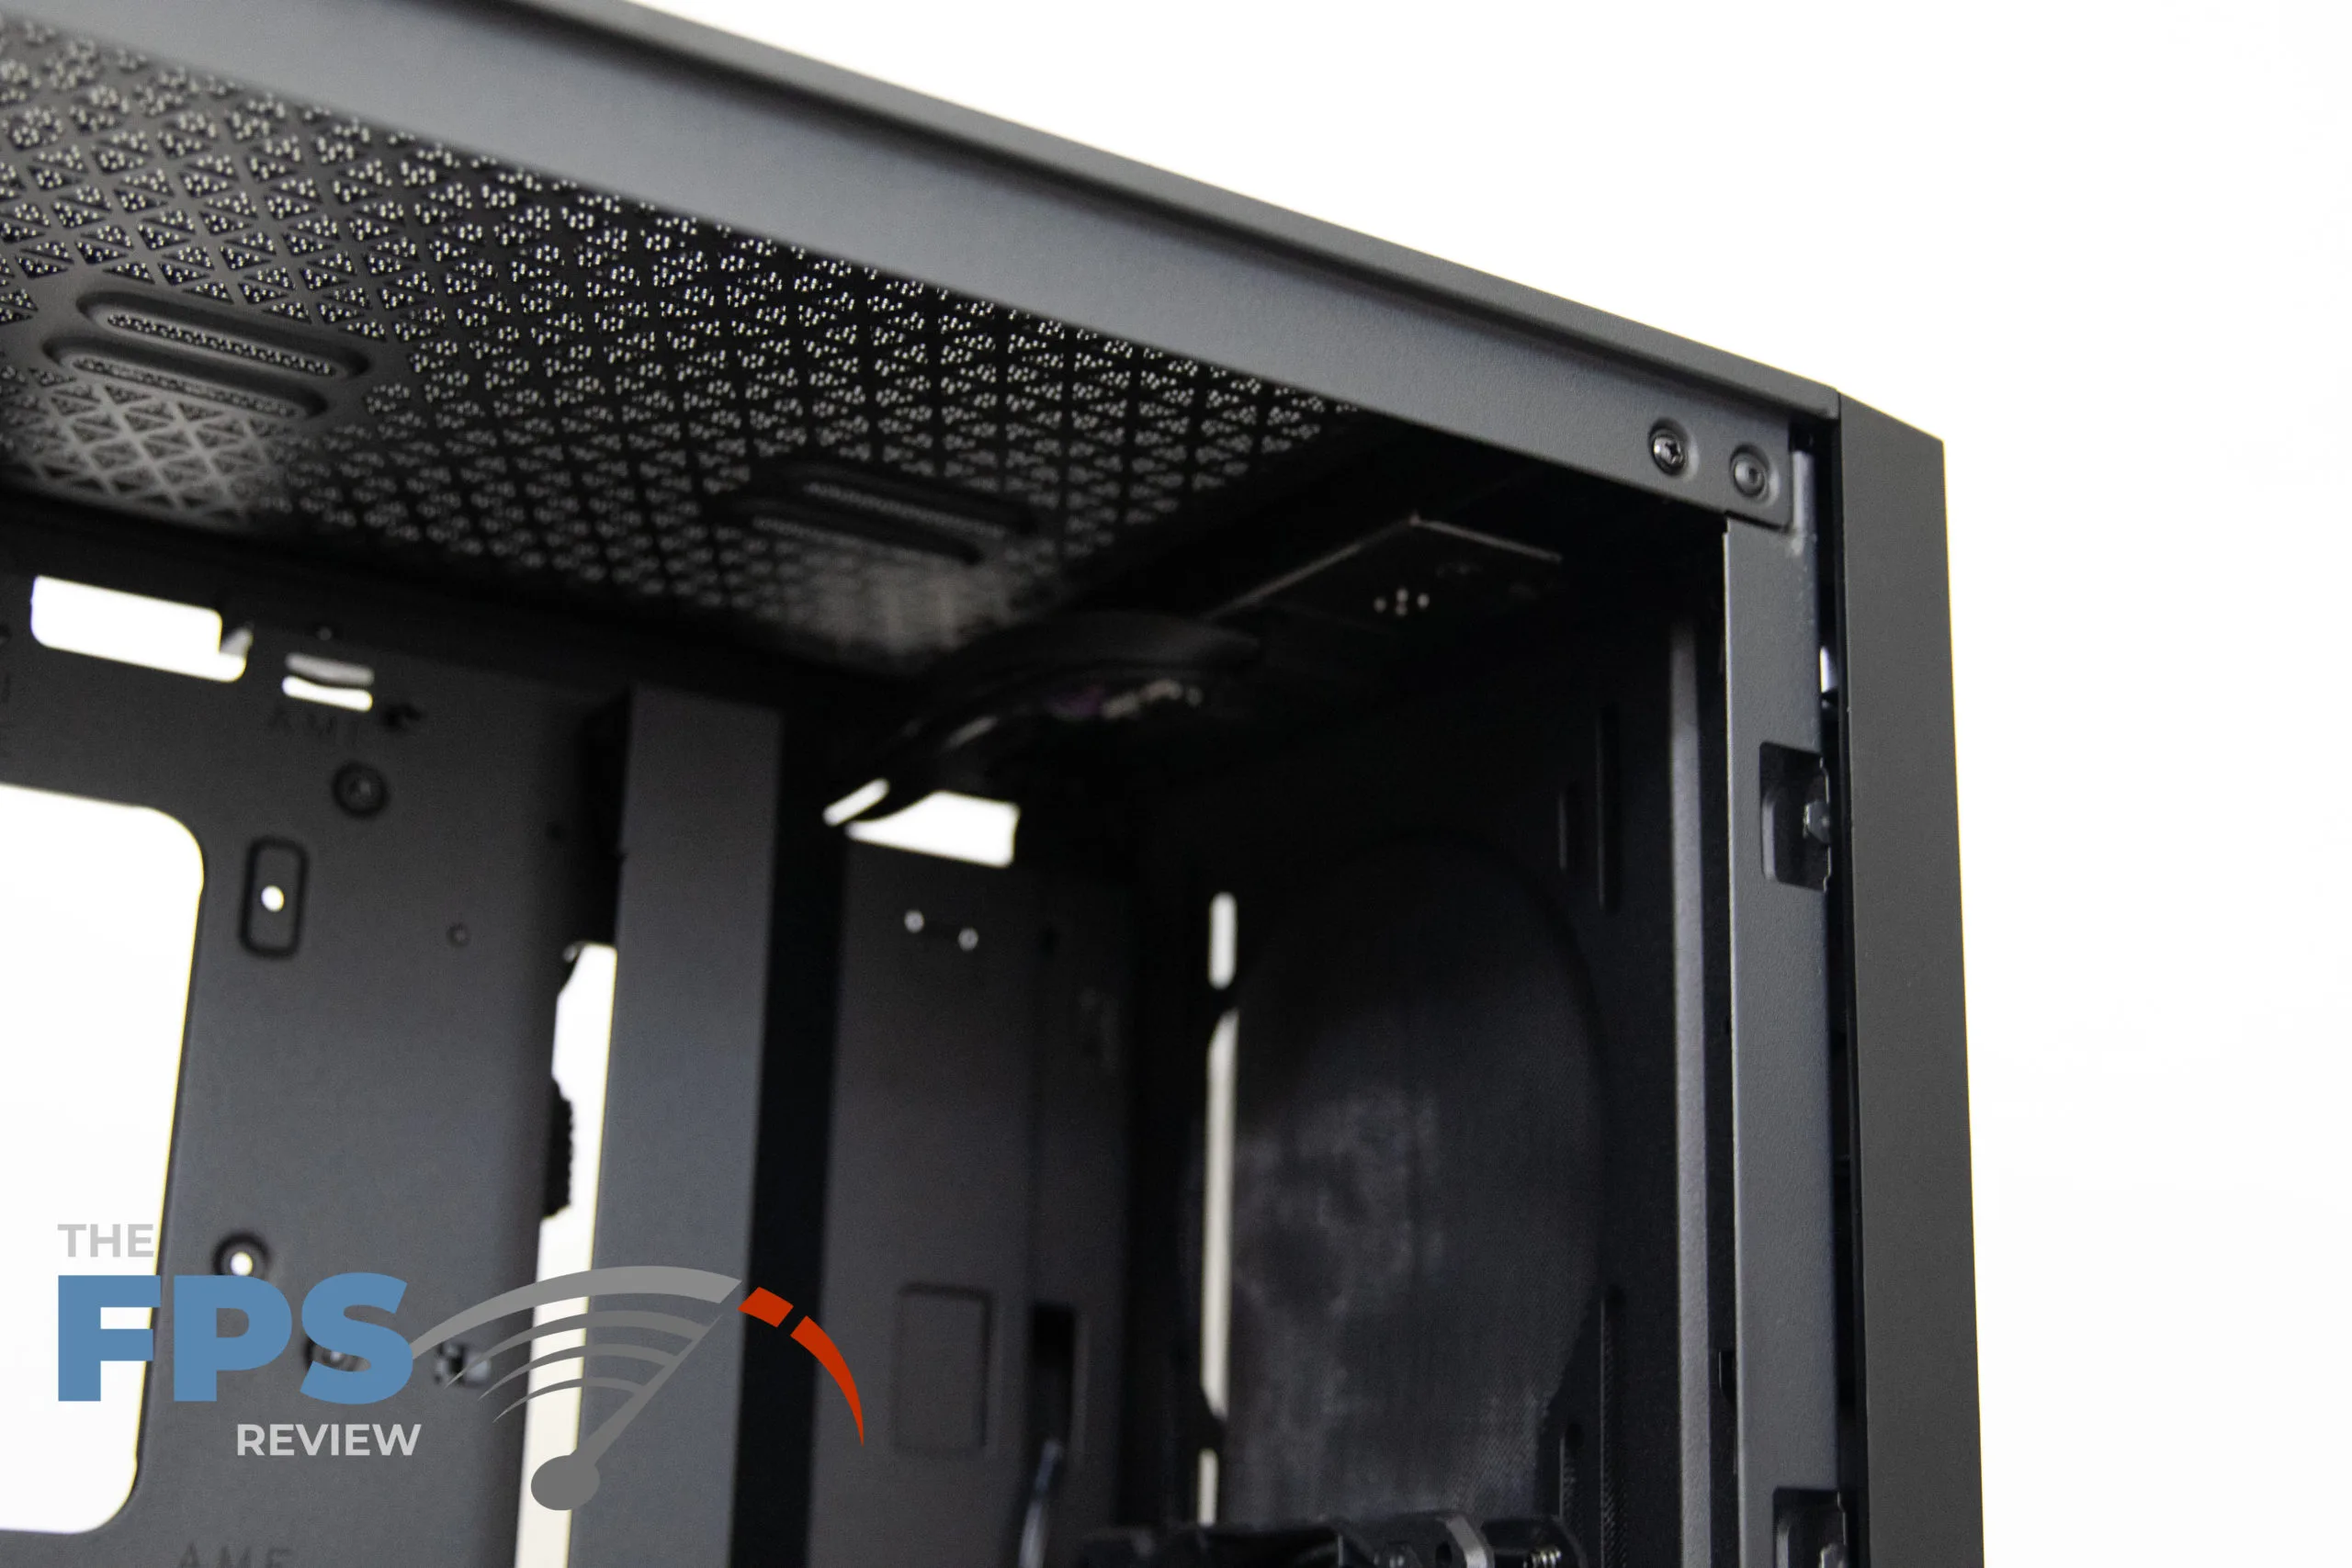
First off, the side panel is made of tempered glass as mentioned before. Full panel, all glass. You also get two CORSAIR 120mm AirGuide fans preinstalled in the front and rear of the case. The front panel is designed to cover the front but allow air to flow around the edges. This implies the case should be near silent operation while in use. Behind the front panel, which easily snaps off, are locations for 3x 120mm fans or 2x 140mm fans in the front. Plenty of space for radiators from a custom loop or AIO cooling solutions up to 360mm.
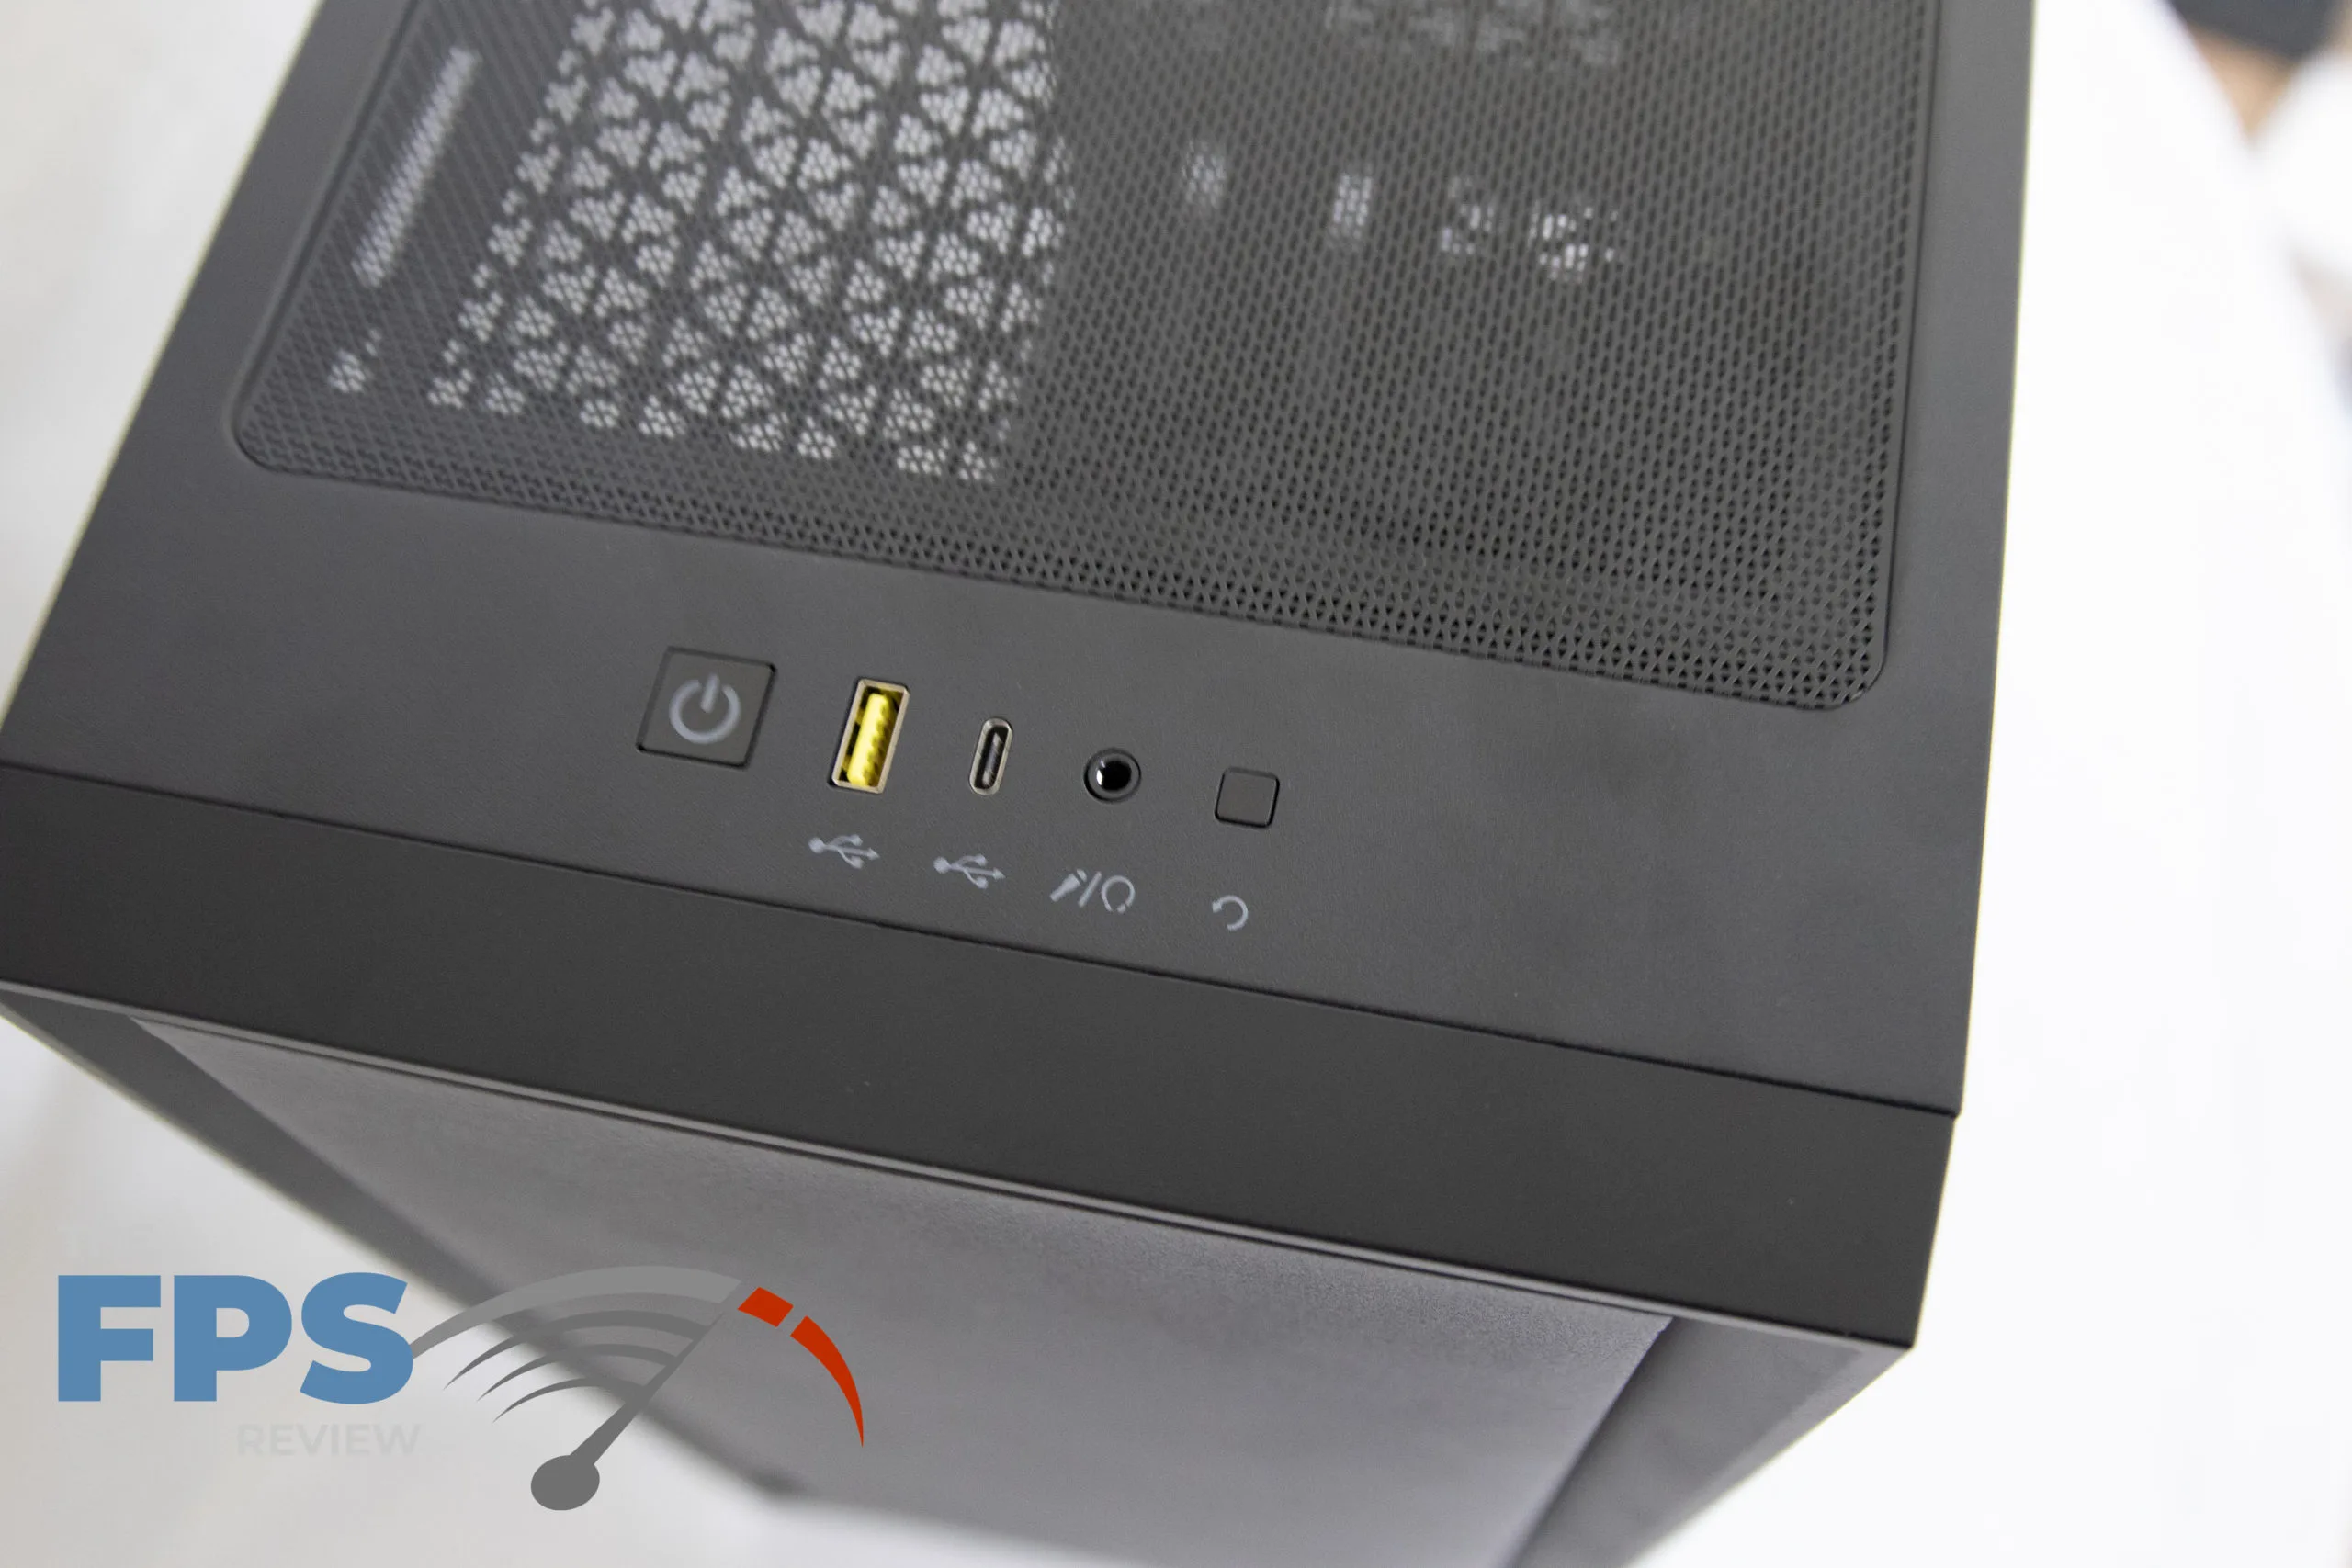
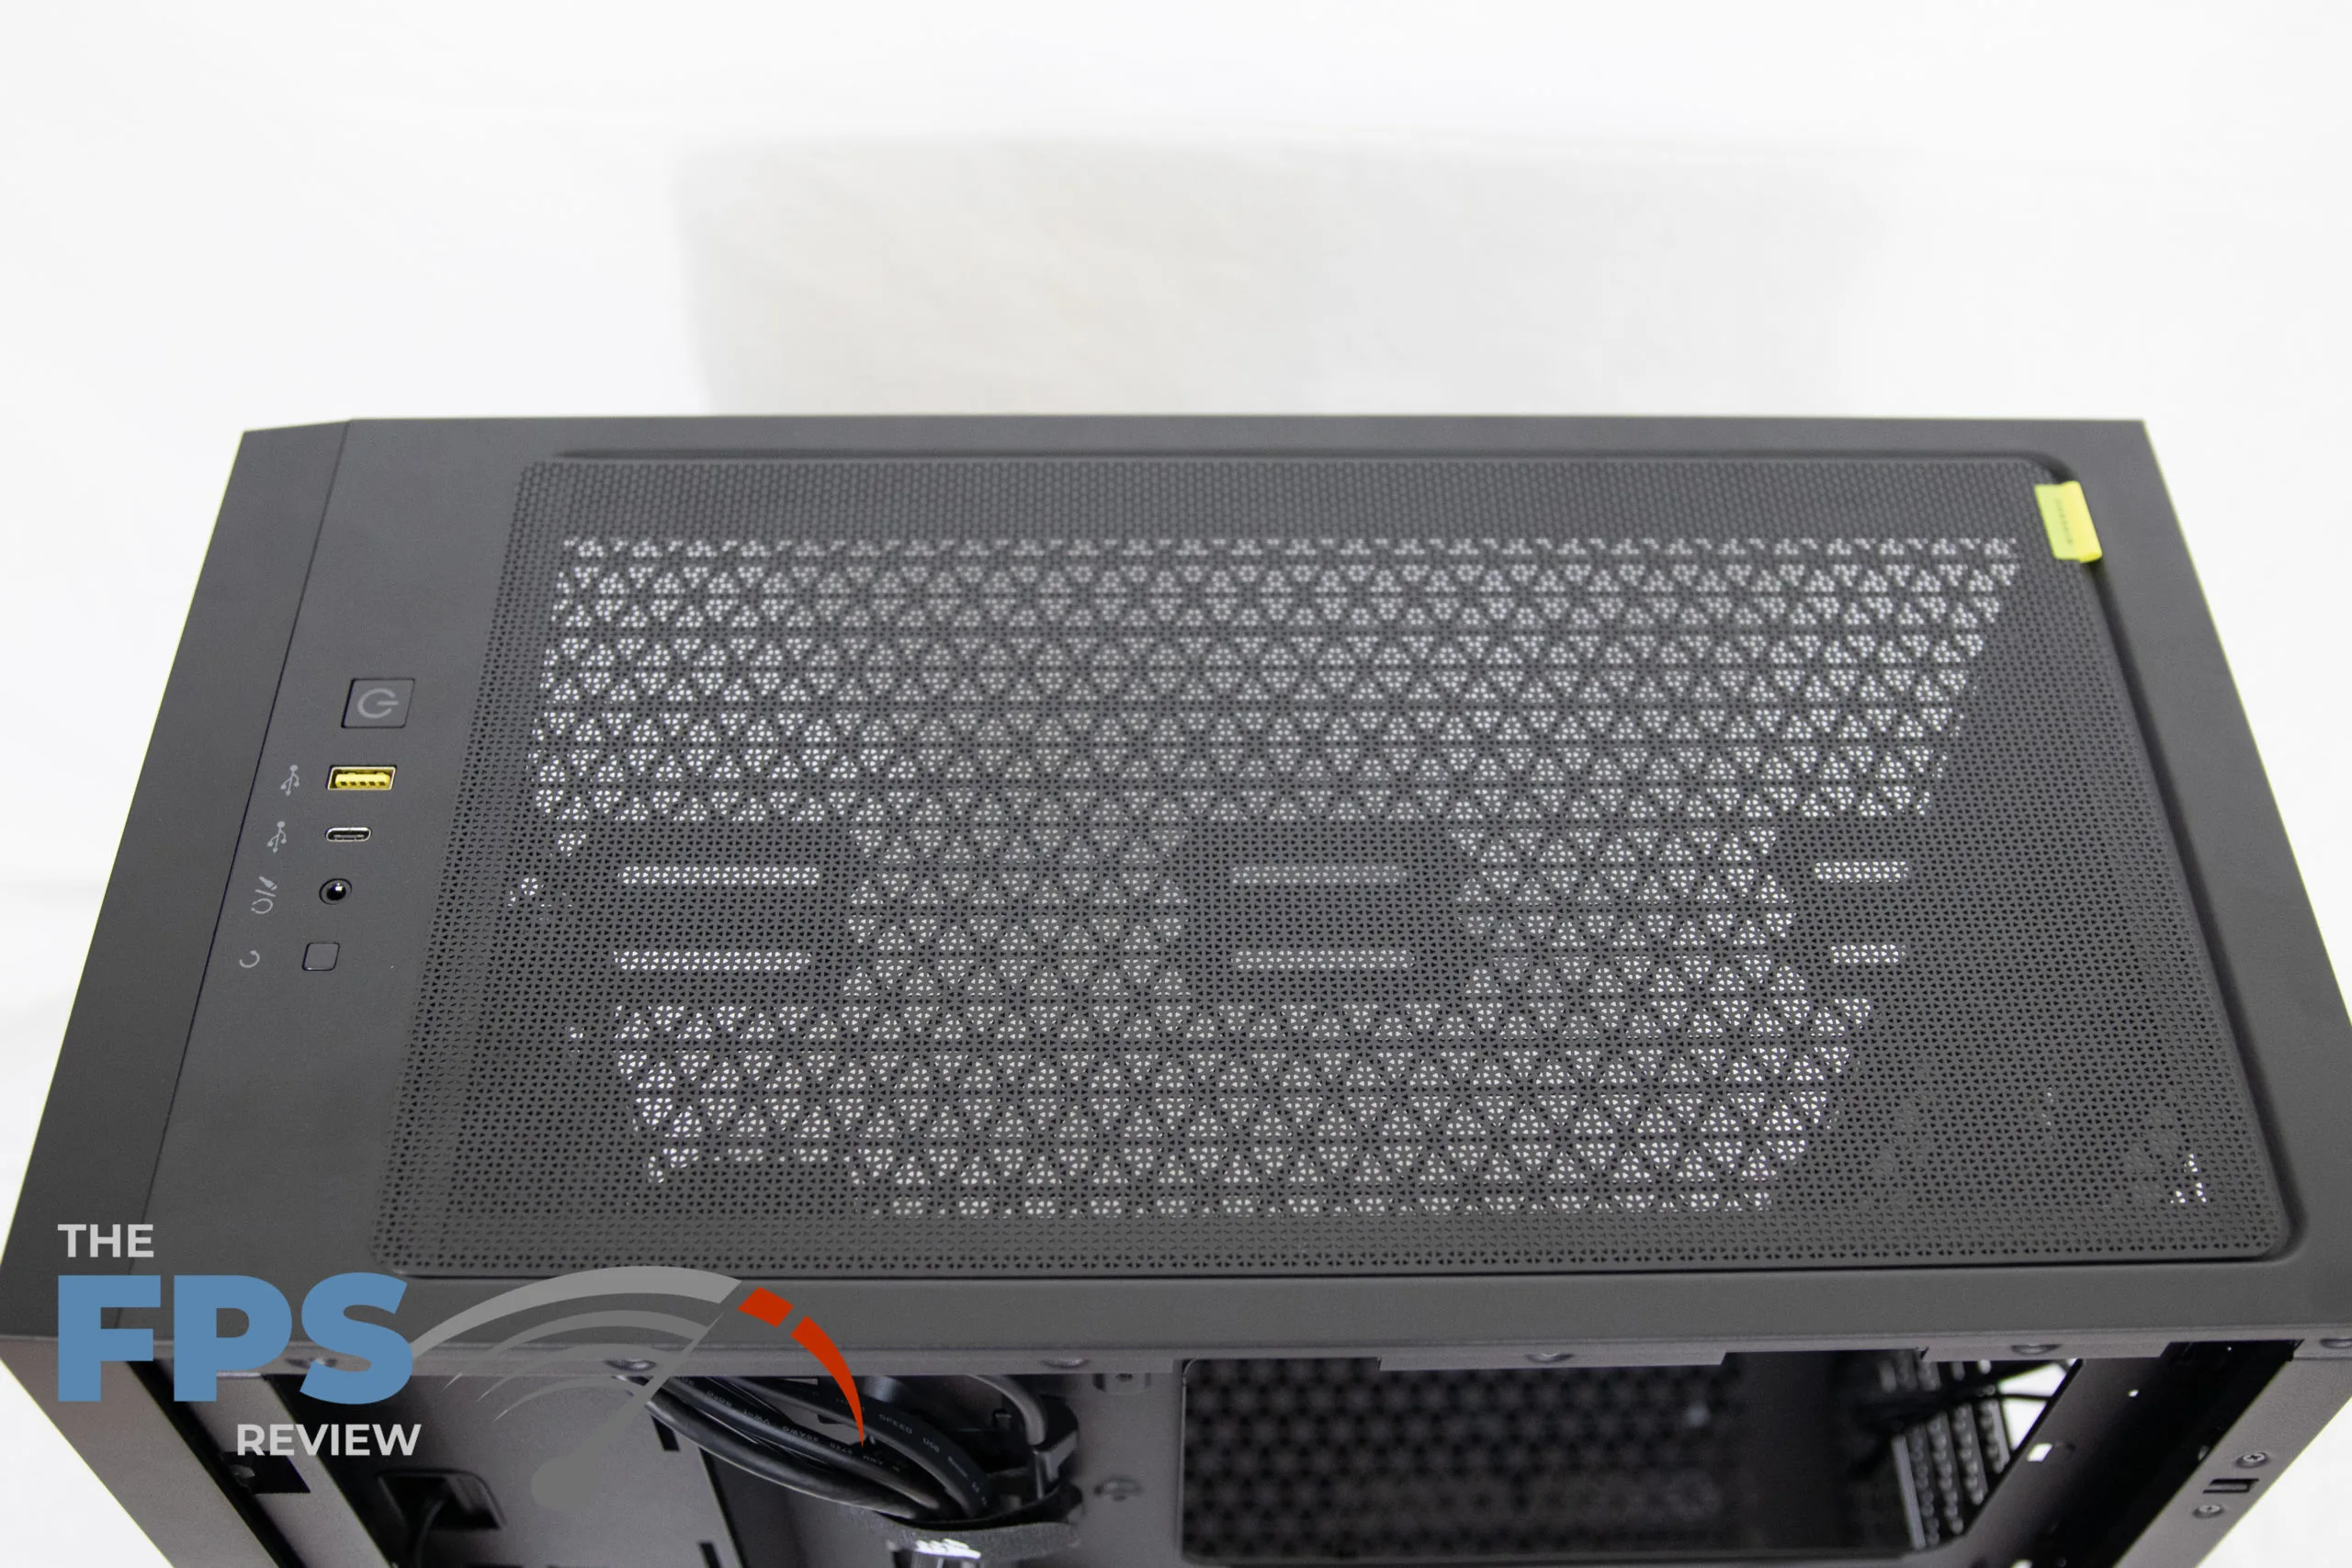
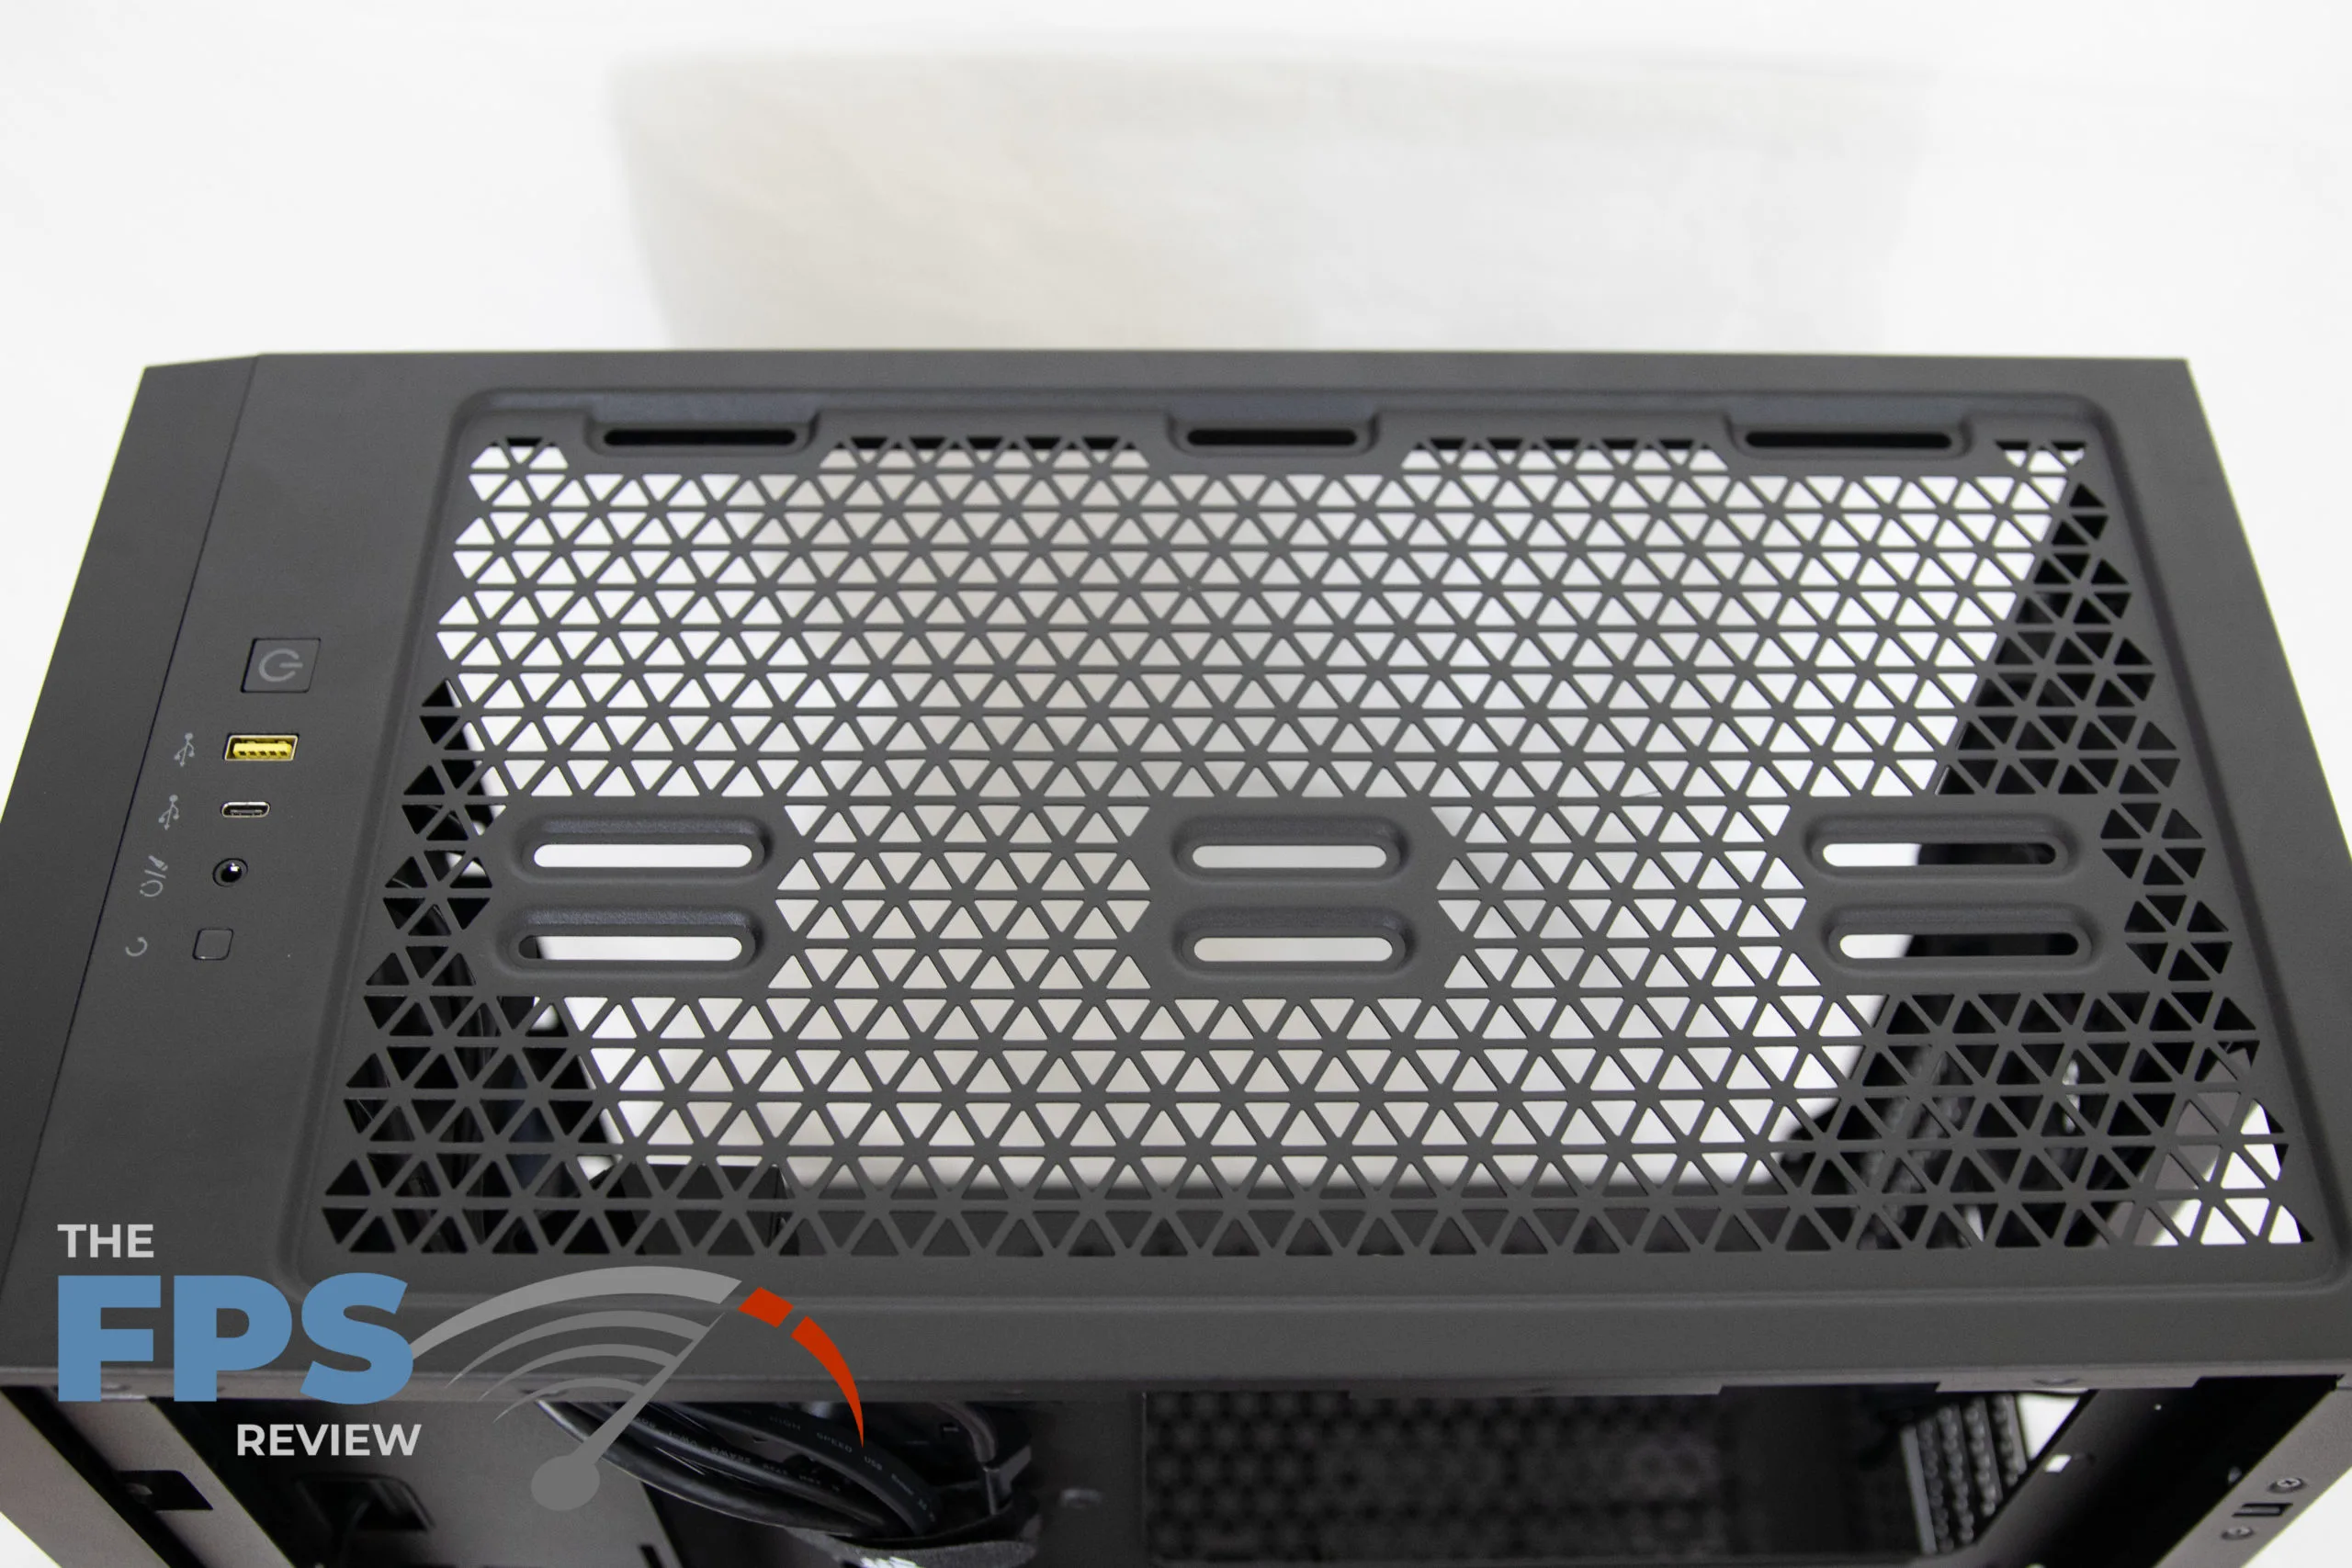
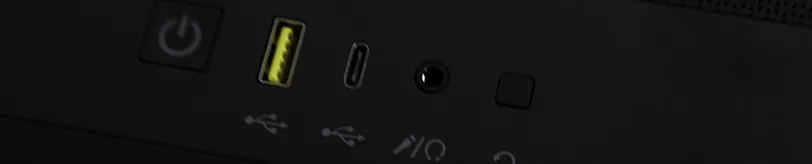
On the top of the case is a magnetized filter mat that sits on the top behind the control panel. The control panel has your usual power switch and reset switch. The power switch has a built in LED letting you know the system is on, but it does not have an HDD activity LED. It has a 3.5mm audio/microphone jack and two USB ports. The USB ports consist of one USB 3.0 Type-A port and one USB 3.1 Type-C Port. I feel they had room for a second Type A port since most of your peripheral devices are still USB Type A and not the new USB Type-C. Personally I do not mind; I hardly ever have anything to plug into those ports anymore except my phone when I need to charge it or transfer pictures. Being a Pixel 3 XL user, I can easily use my stock cable to plug my phone into the PC. That is the only thing I own with a USB Type-C cable though. I would much rather more USB Type-A ports on the front.
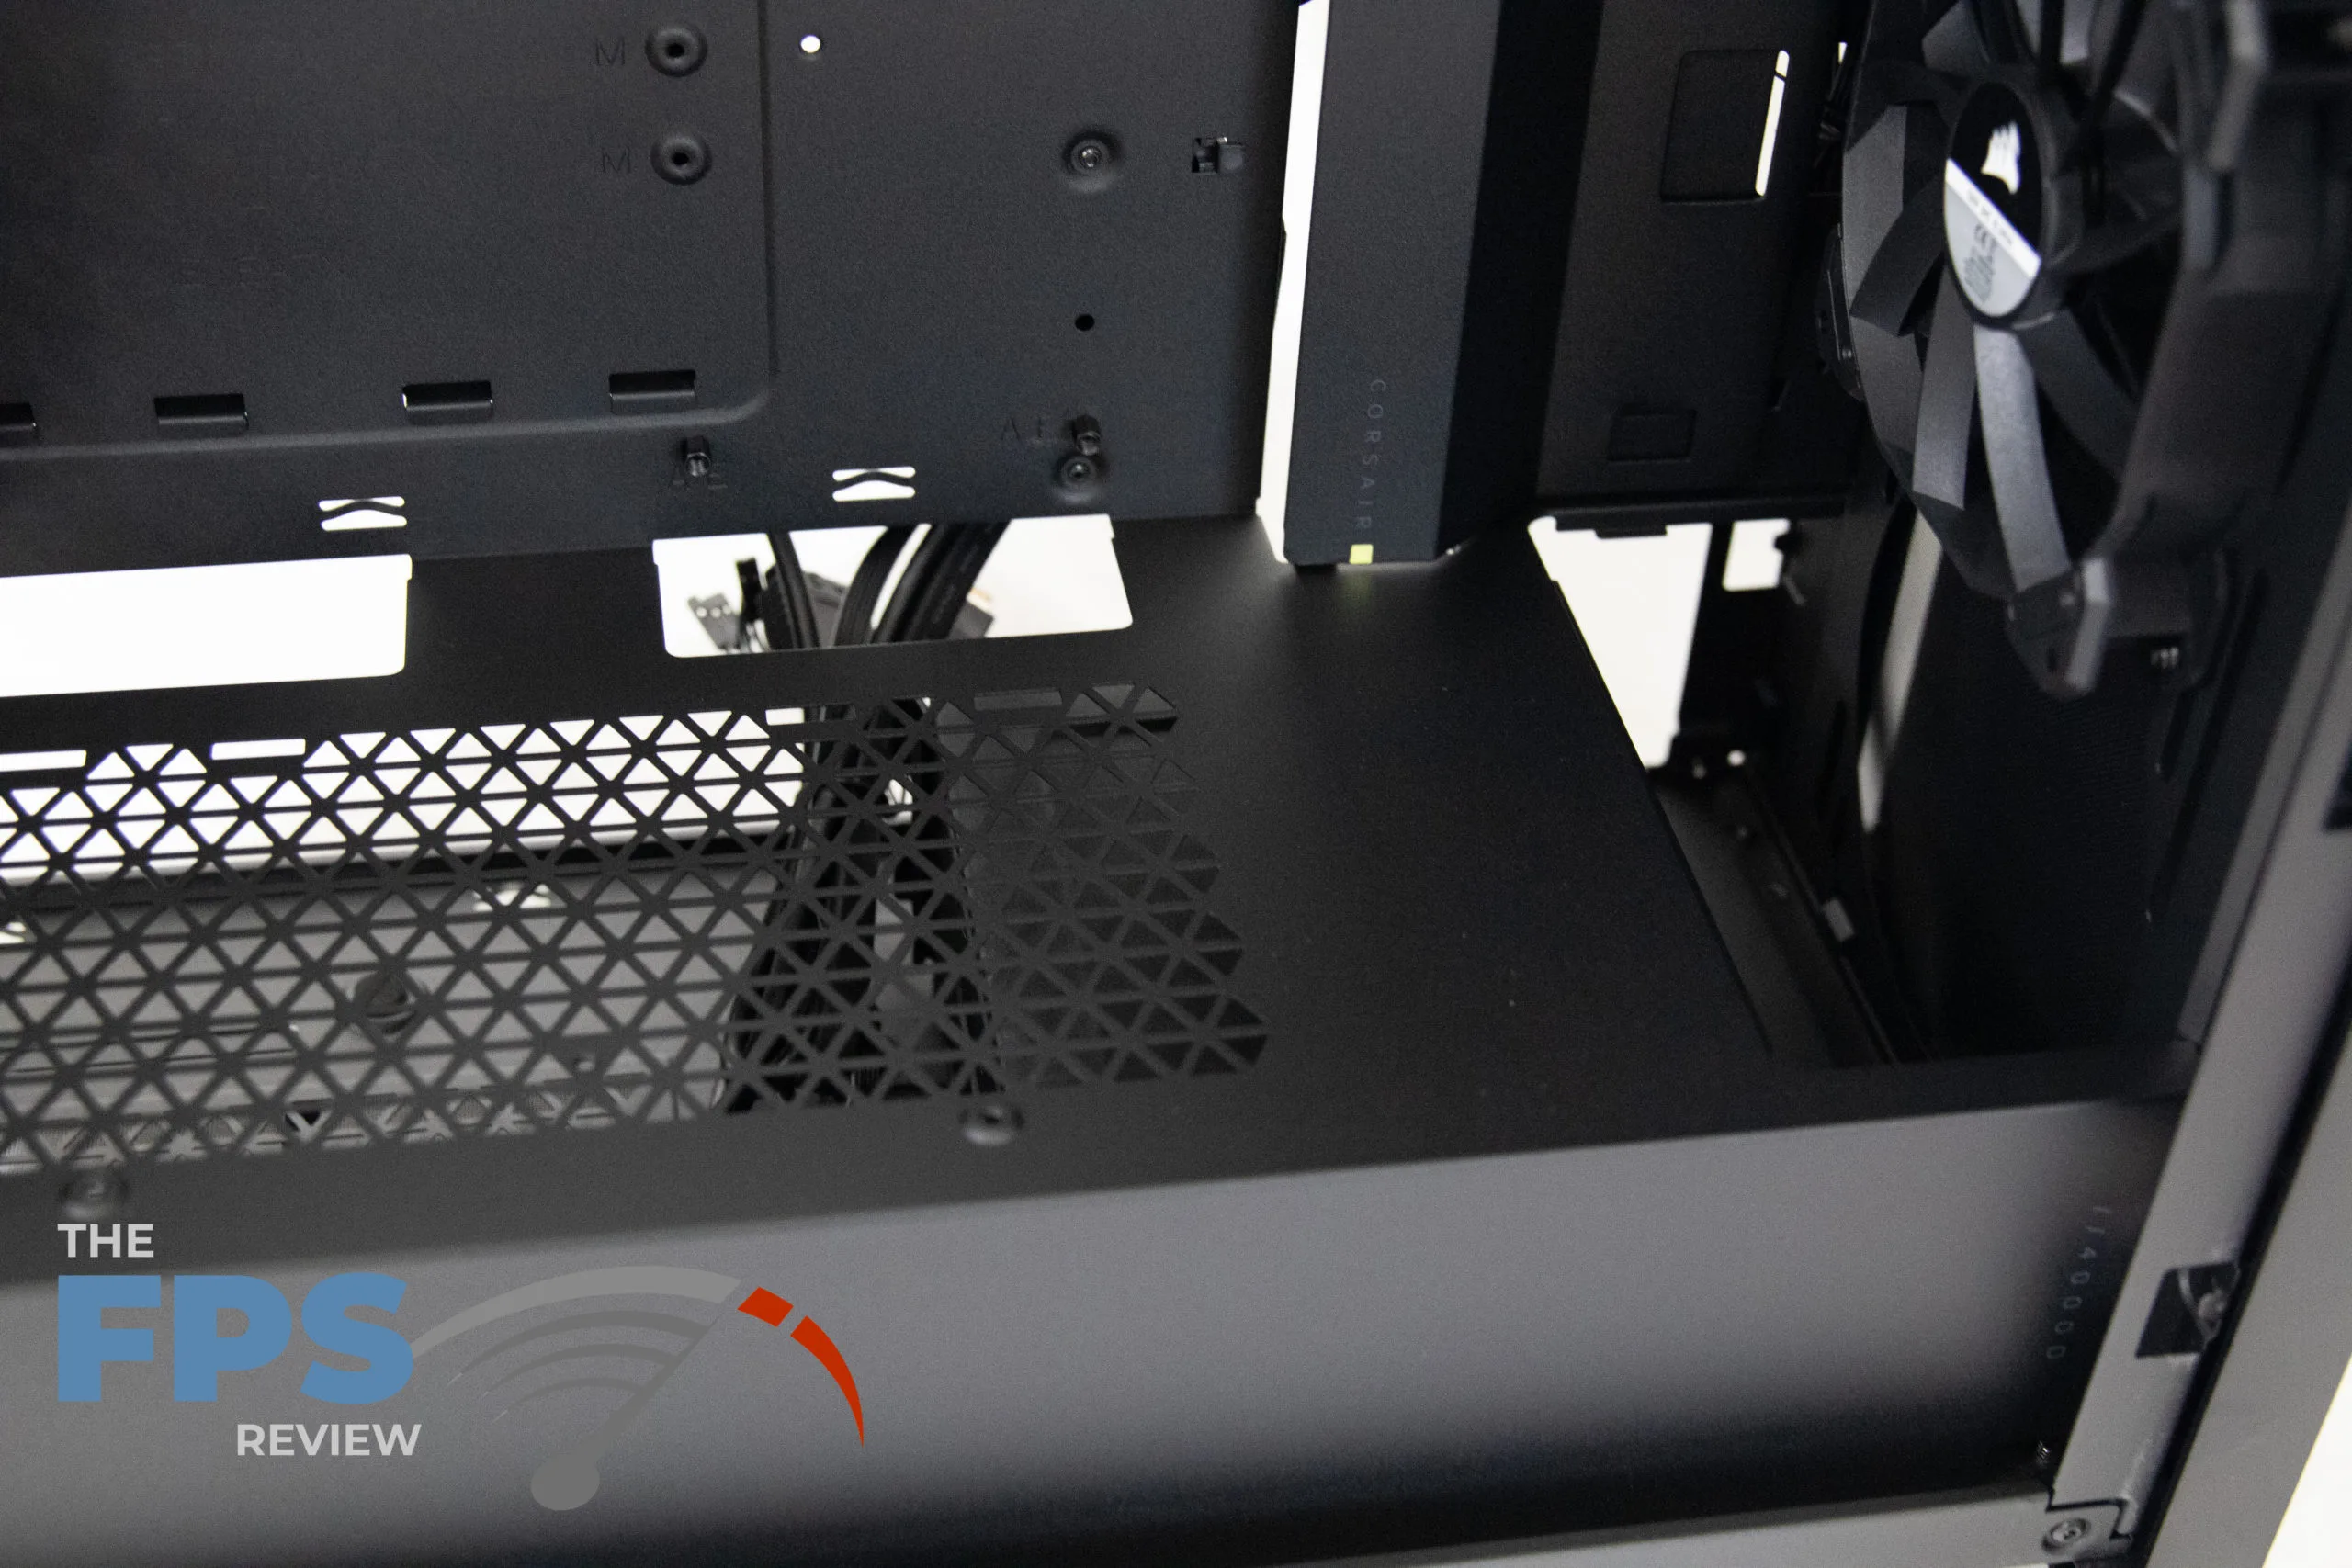
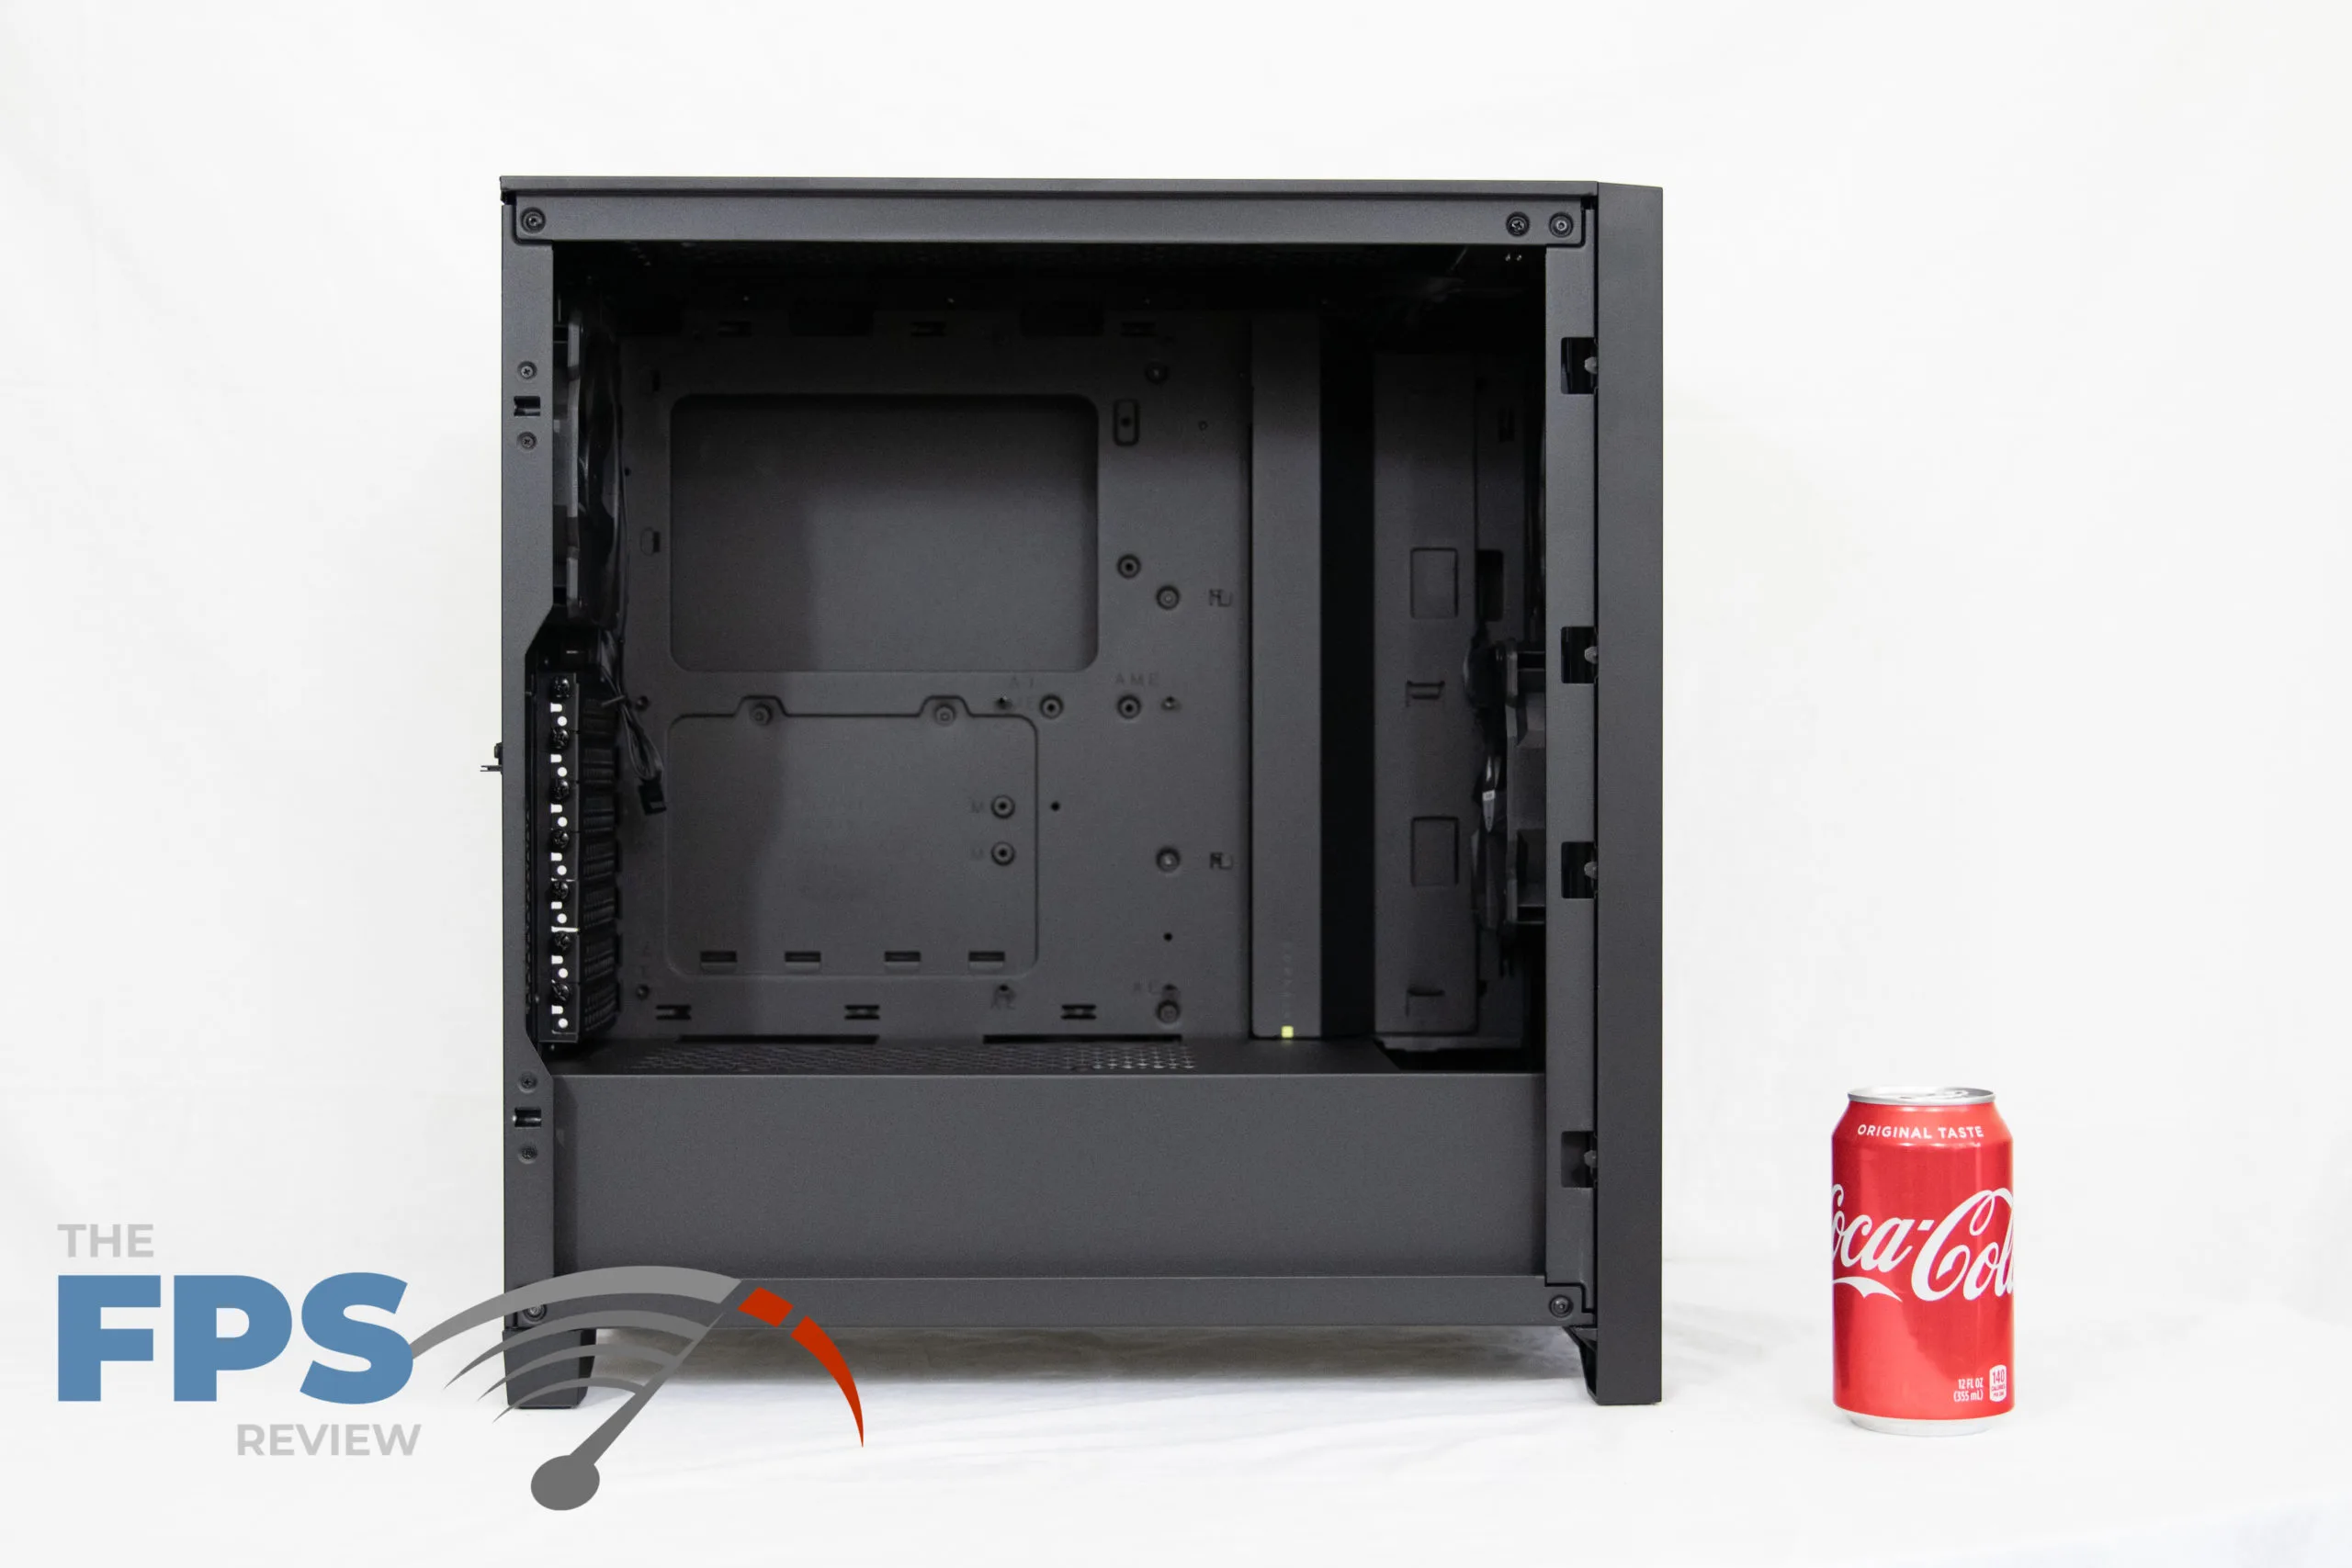
We Opened the case up and saw that the inside is slightly different than most cases. Instead of unscrewing the side panel on the rear and then sliding the panel back before pulling it the side panels snap into place. You have to slightly tug on the rear part as if it’s a door you are opening to get the panel off. Inside we notice the case has two main compartments at the top and bottom. The top compartment is for the motherboard and the bottom compartment is separated by a wall for your PSU and HDD/SDD mounts. The top part of the case is open with mounting locations for 2x 120mm fans or 2x 140mm fans.
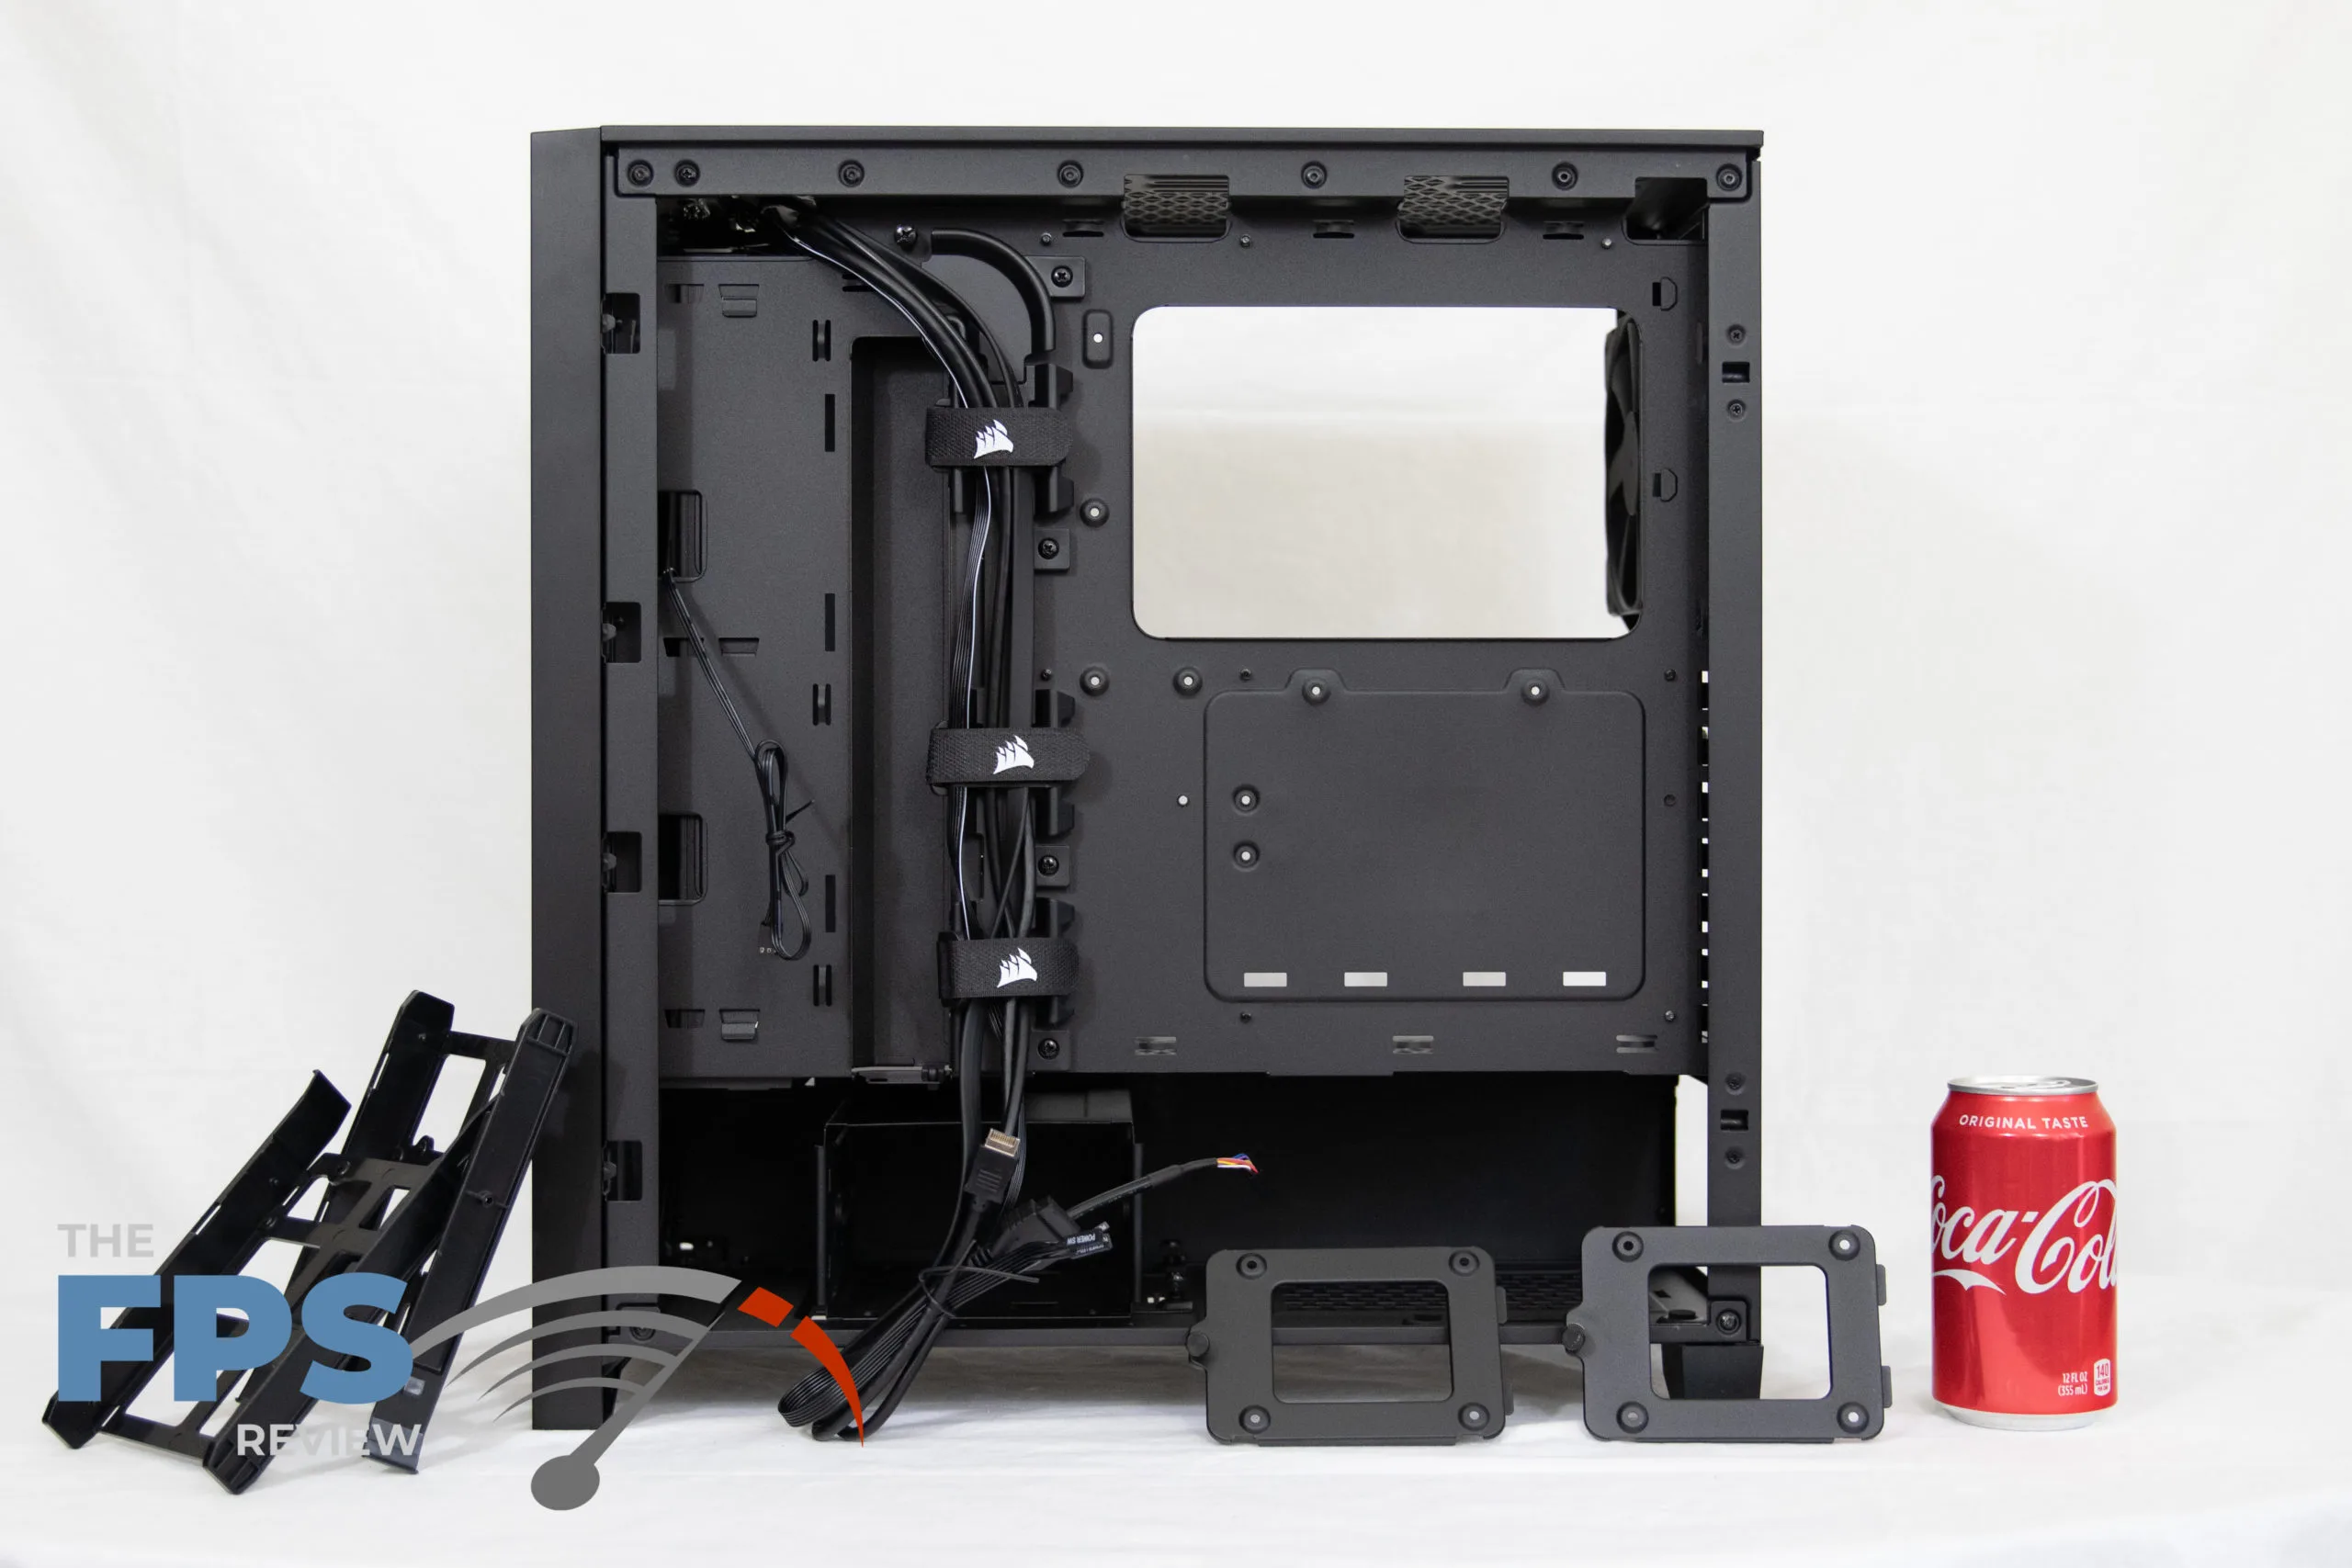
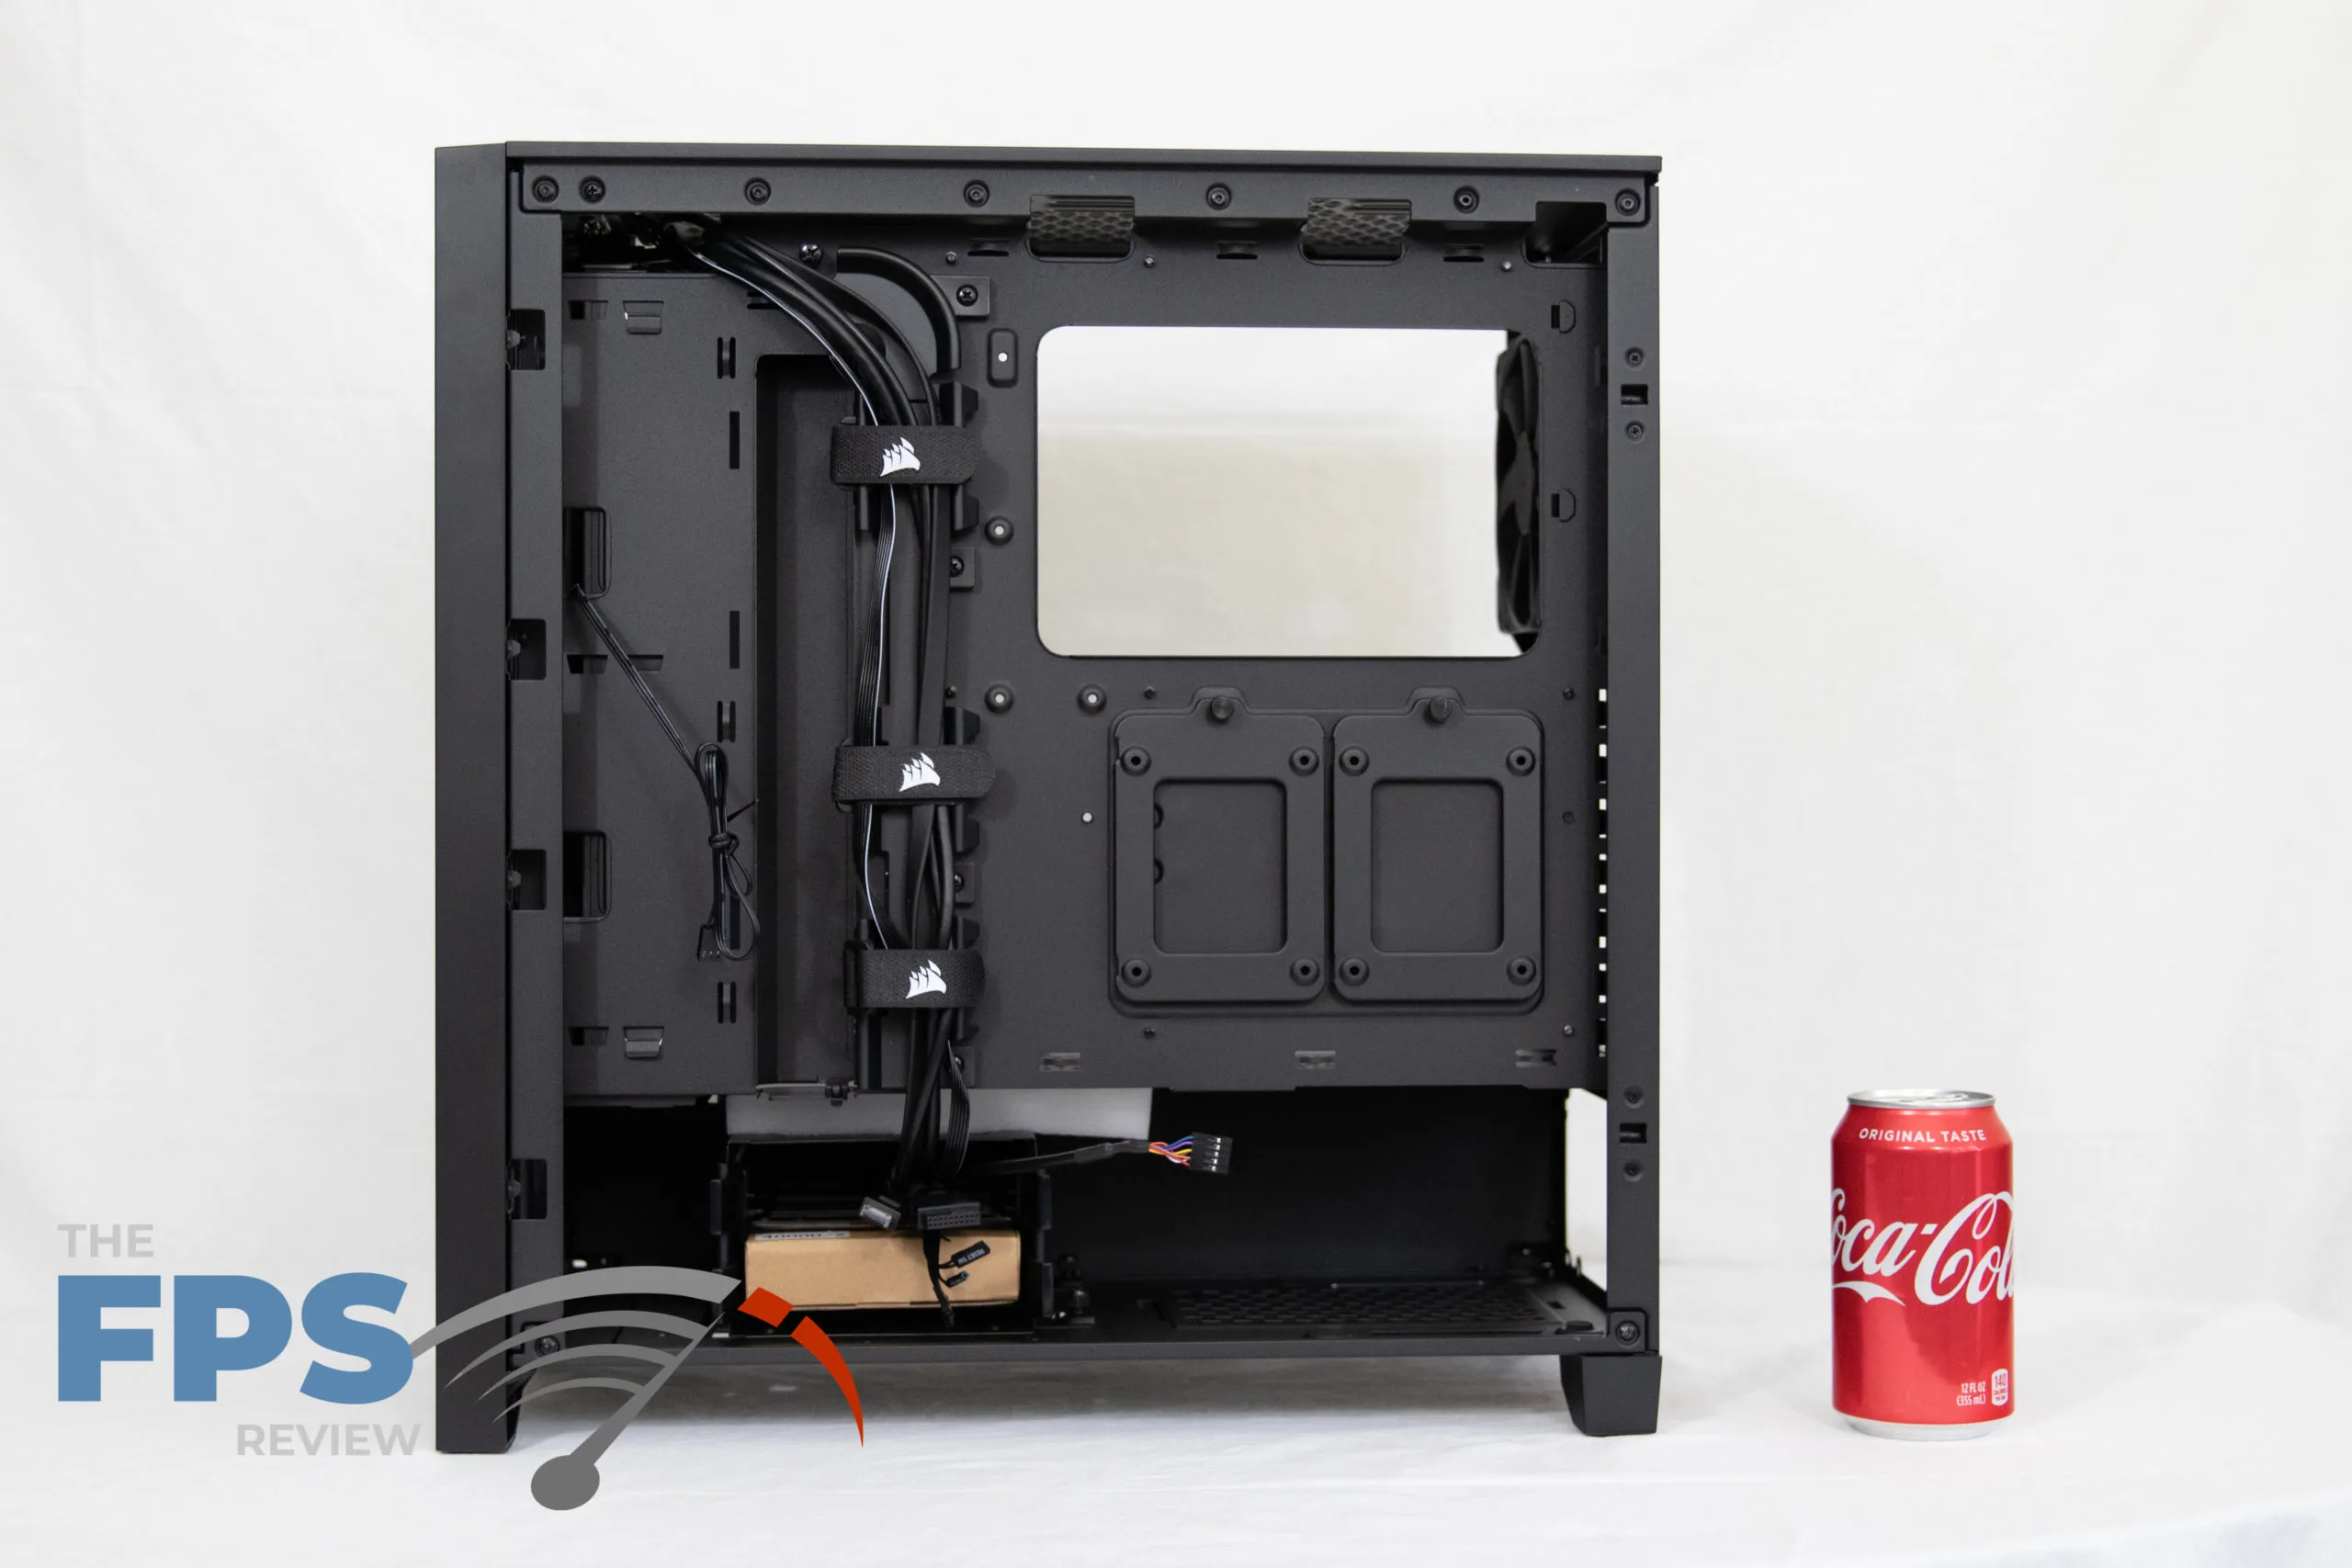
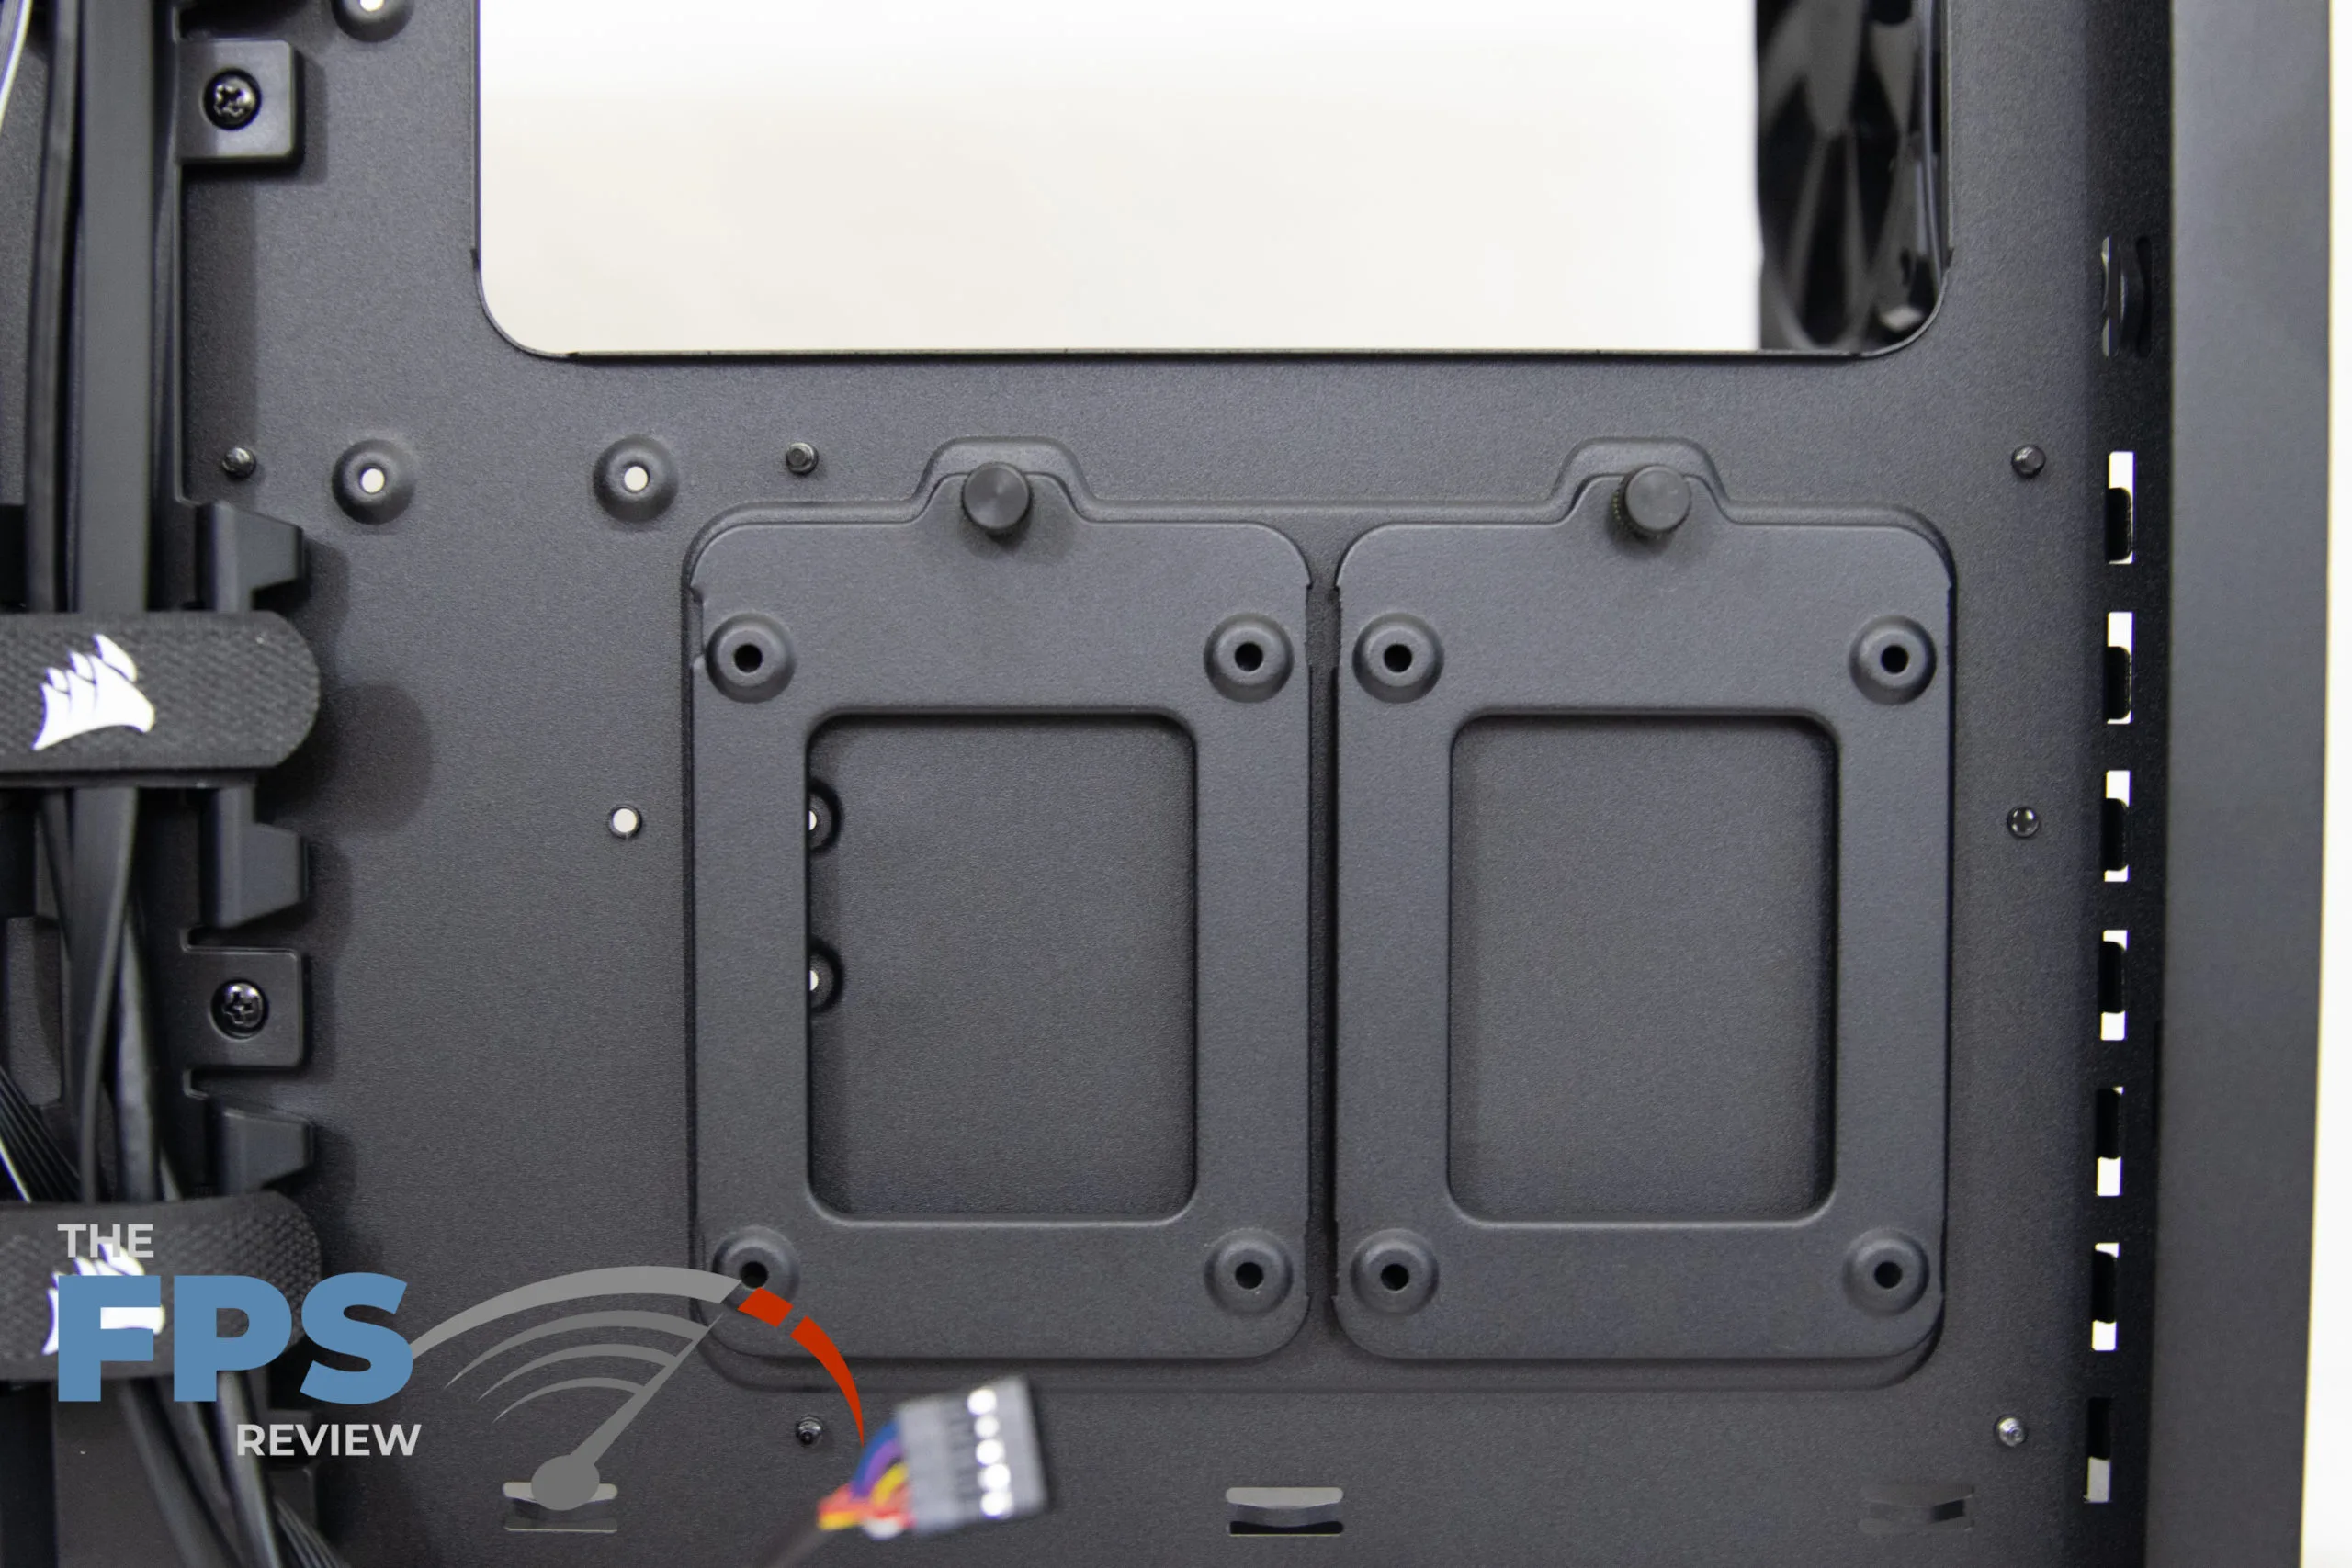
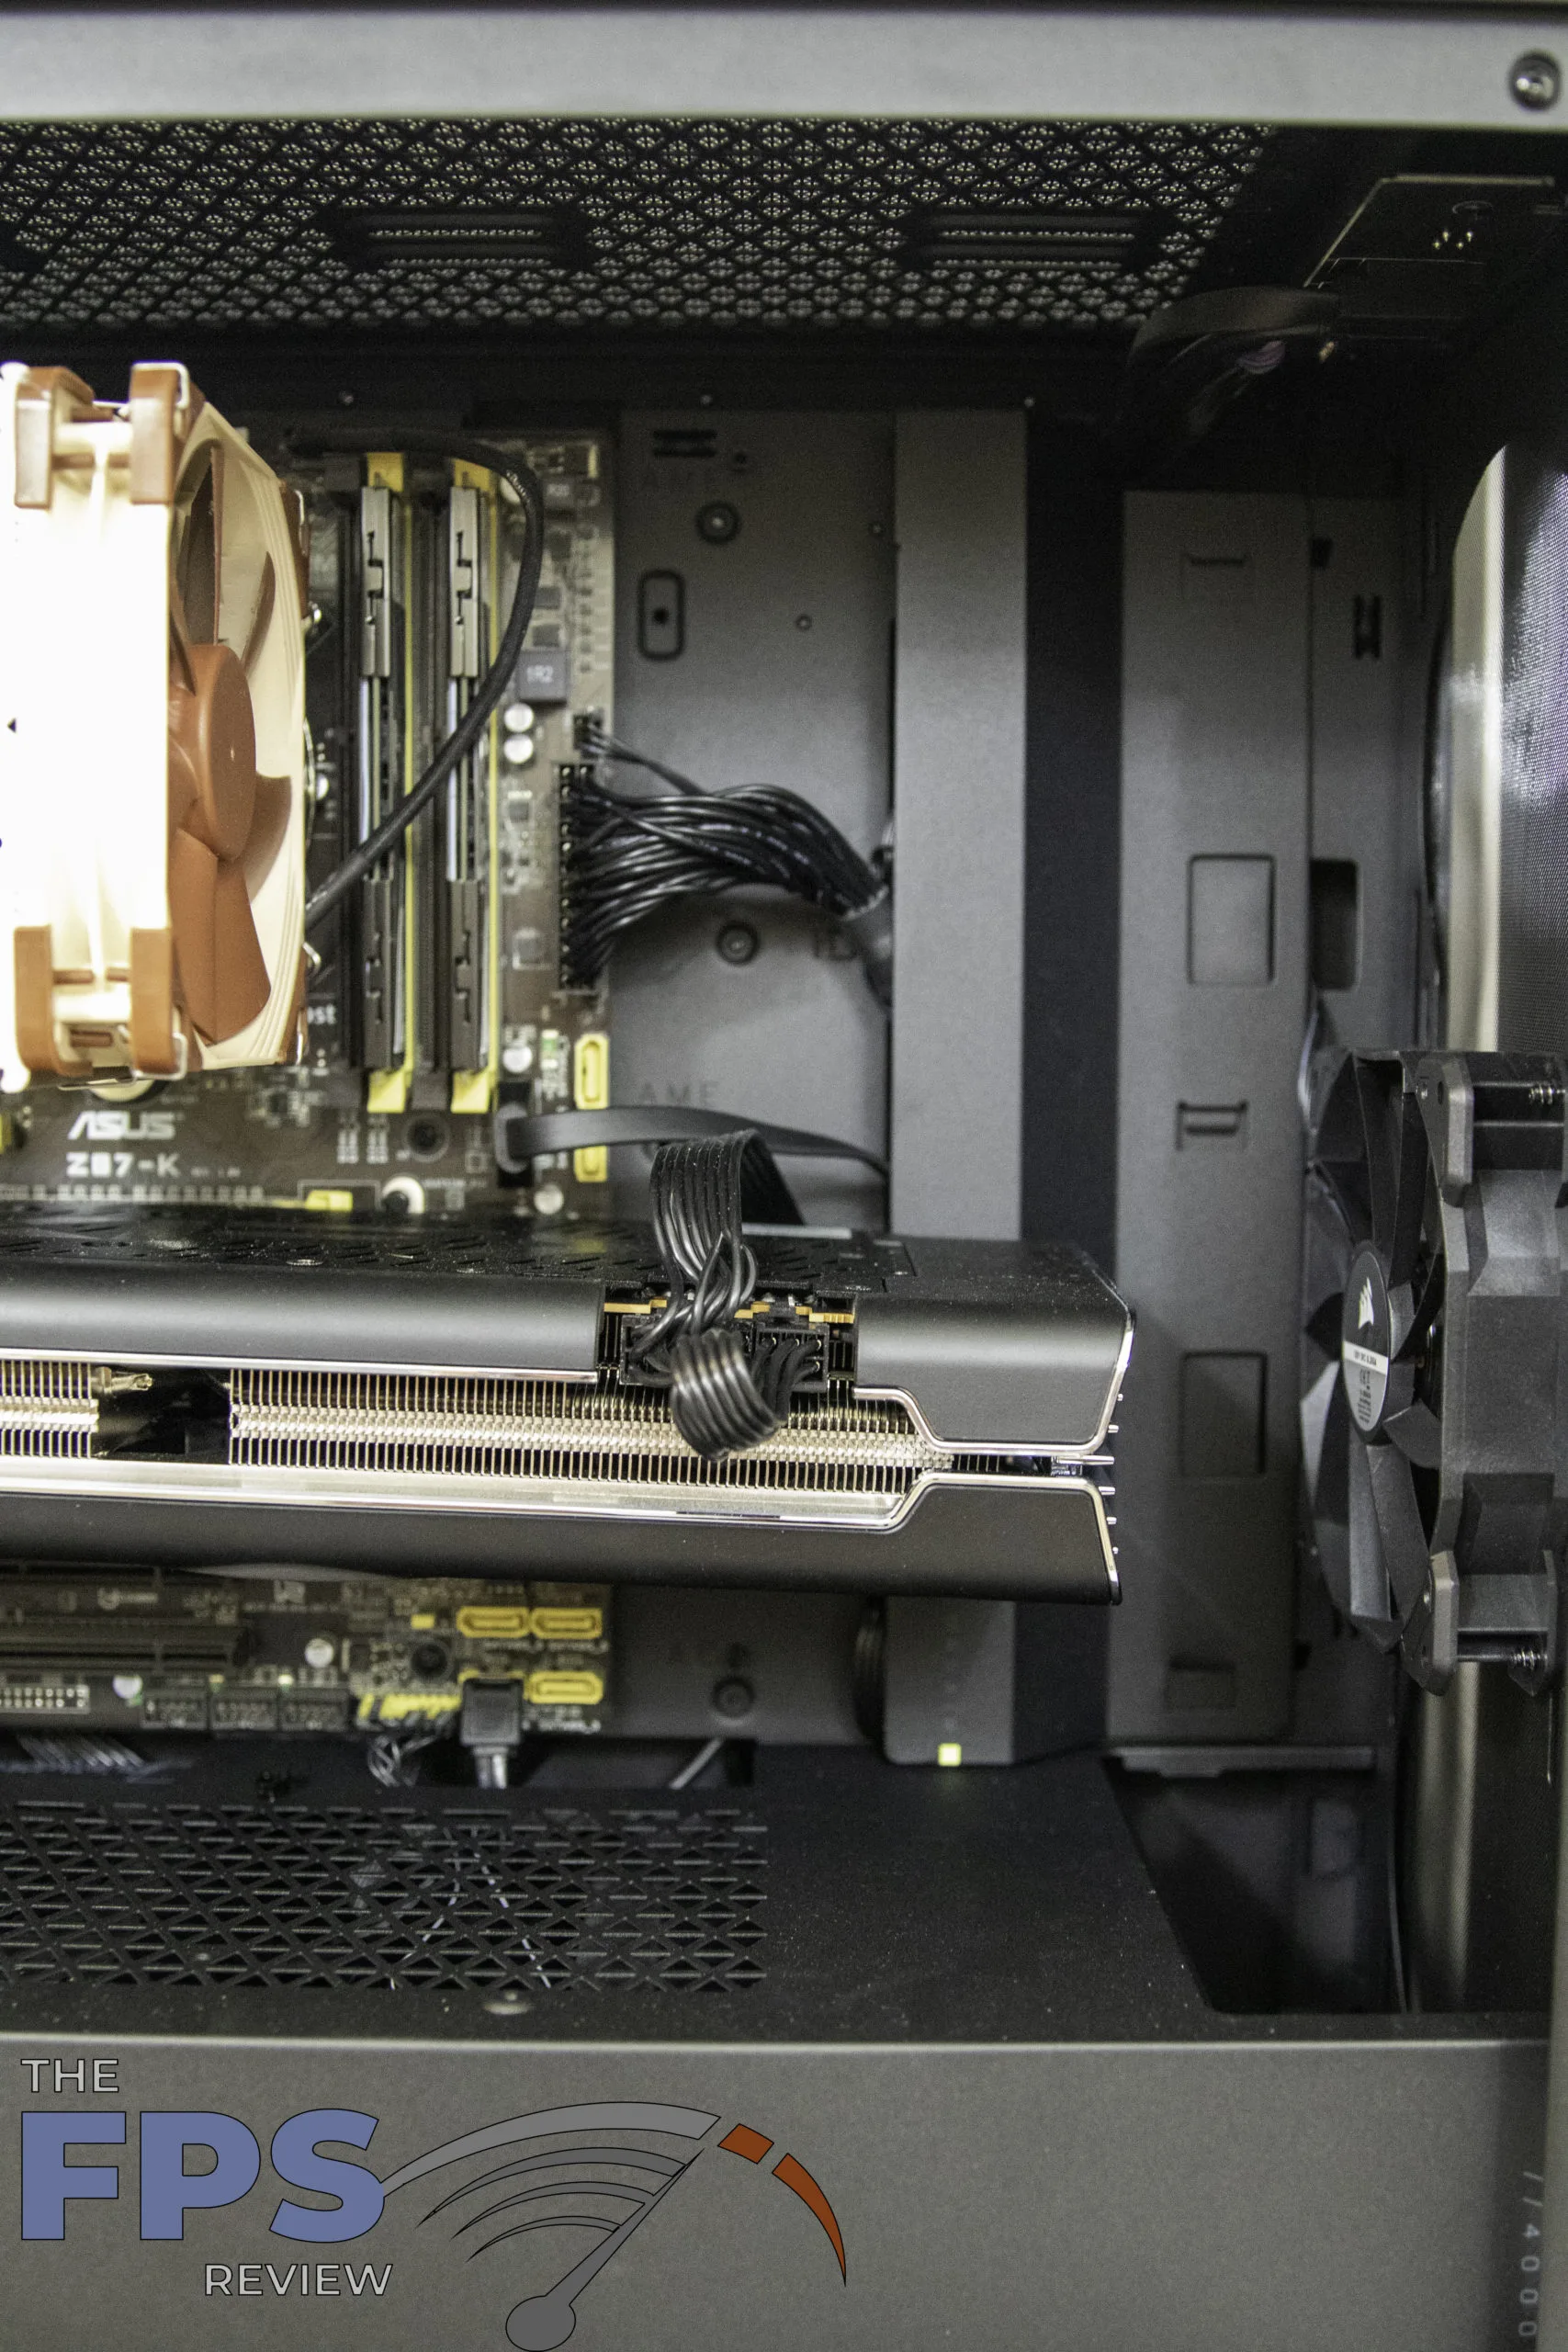
The motherboard tray has a wide opening where the CPU sits for easy rear access while the board is installed. This came in handy as I had to replace the CPU cooler after the board was installed. I did not have to remove the motherboard to install the new CPU cooler backplate. There is also a raised metal panel that sits in front of the tray to shield the view of your cables. Behind the motherboard tray is around 25mm of cable storing space as well as two 2.5” SSD mounts behind the tray.