Test Setup
We will use our standard AIO test rig which you can read more about in its introduction article. We will set up each cooler in the same manner with the radiator attached to the case and the fans blowing into the radiator. The water blocks will be mounted per the manufacturer’s instructions except that we will use Arctic Cooling MX-2 thermal paste (2019 Edition). We will utilize ASUS AI Suite 3 to control fan speeds, setting the fans at a fixed RPM for each test. We will also compare it to the other coolers we have tested thus far.
<system setup picture>
Installation
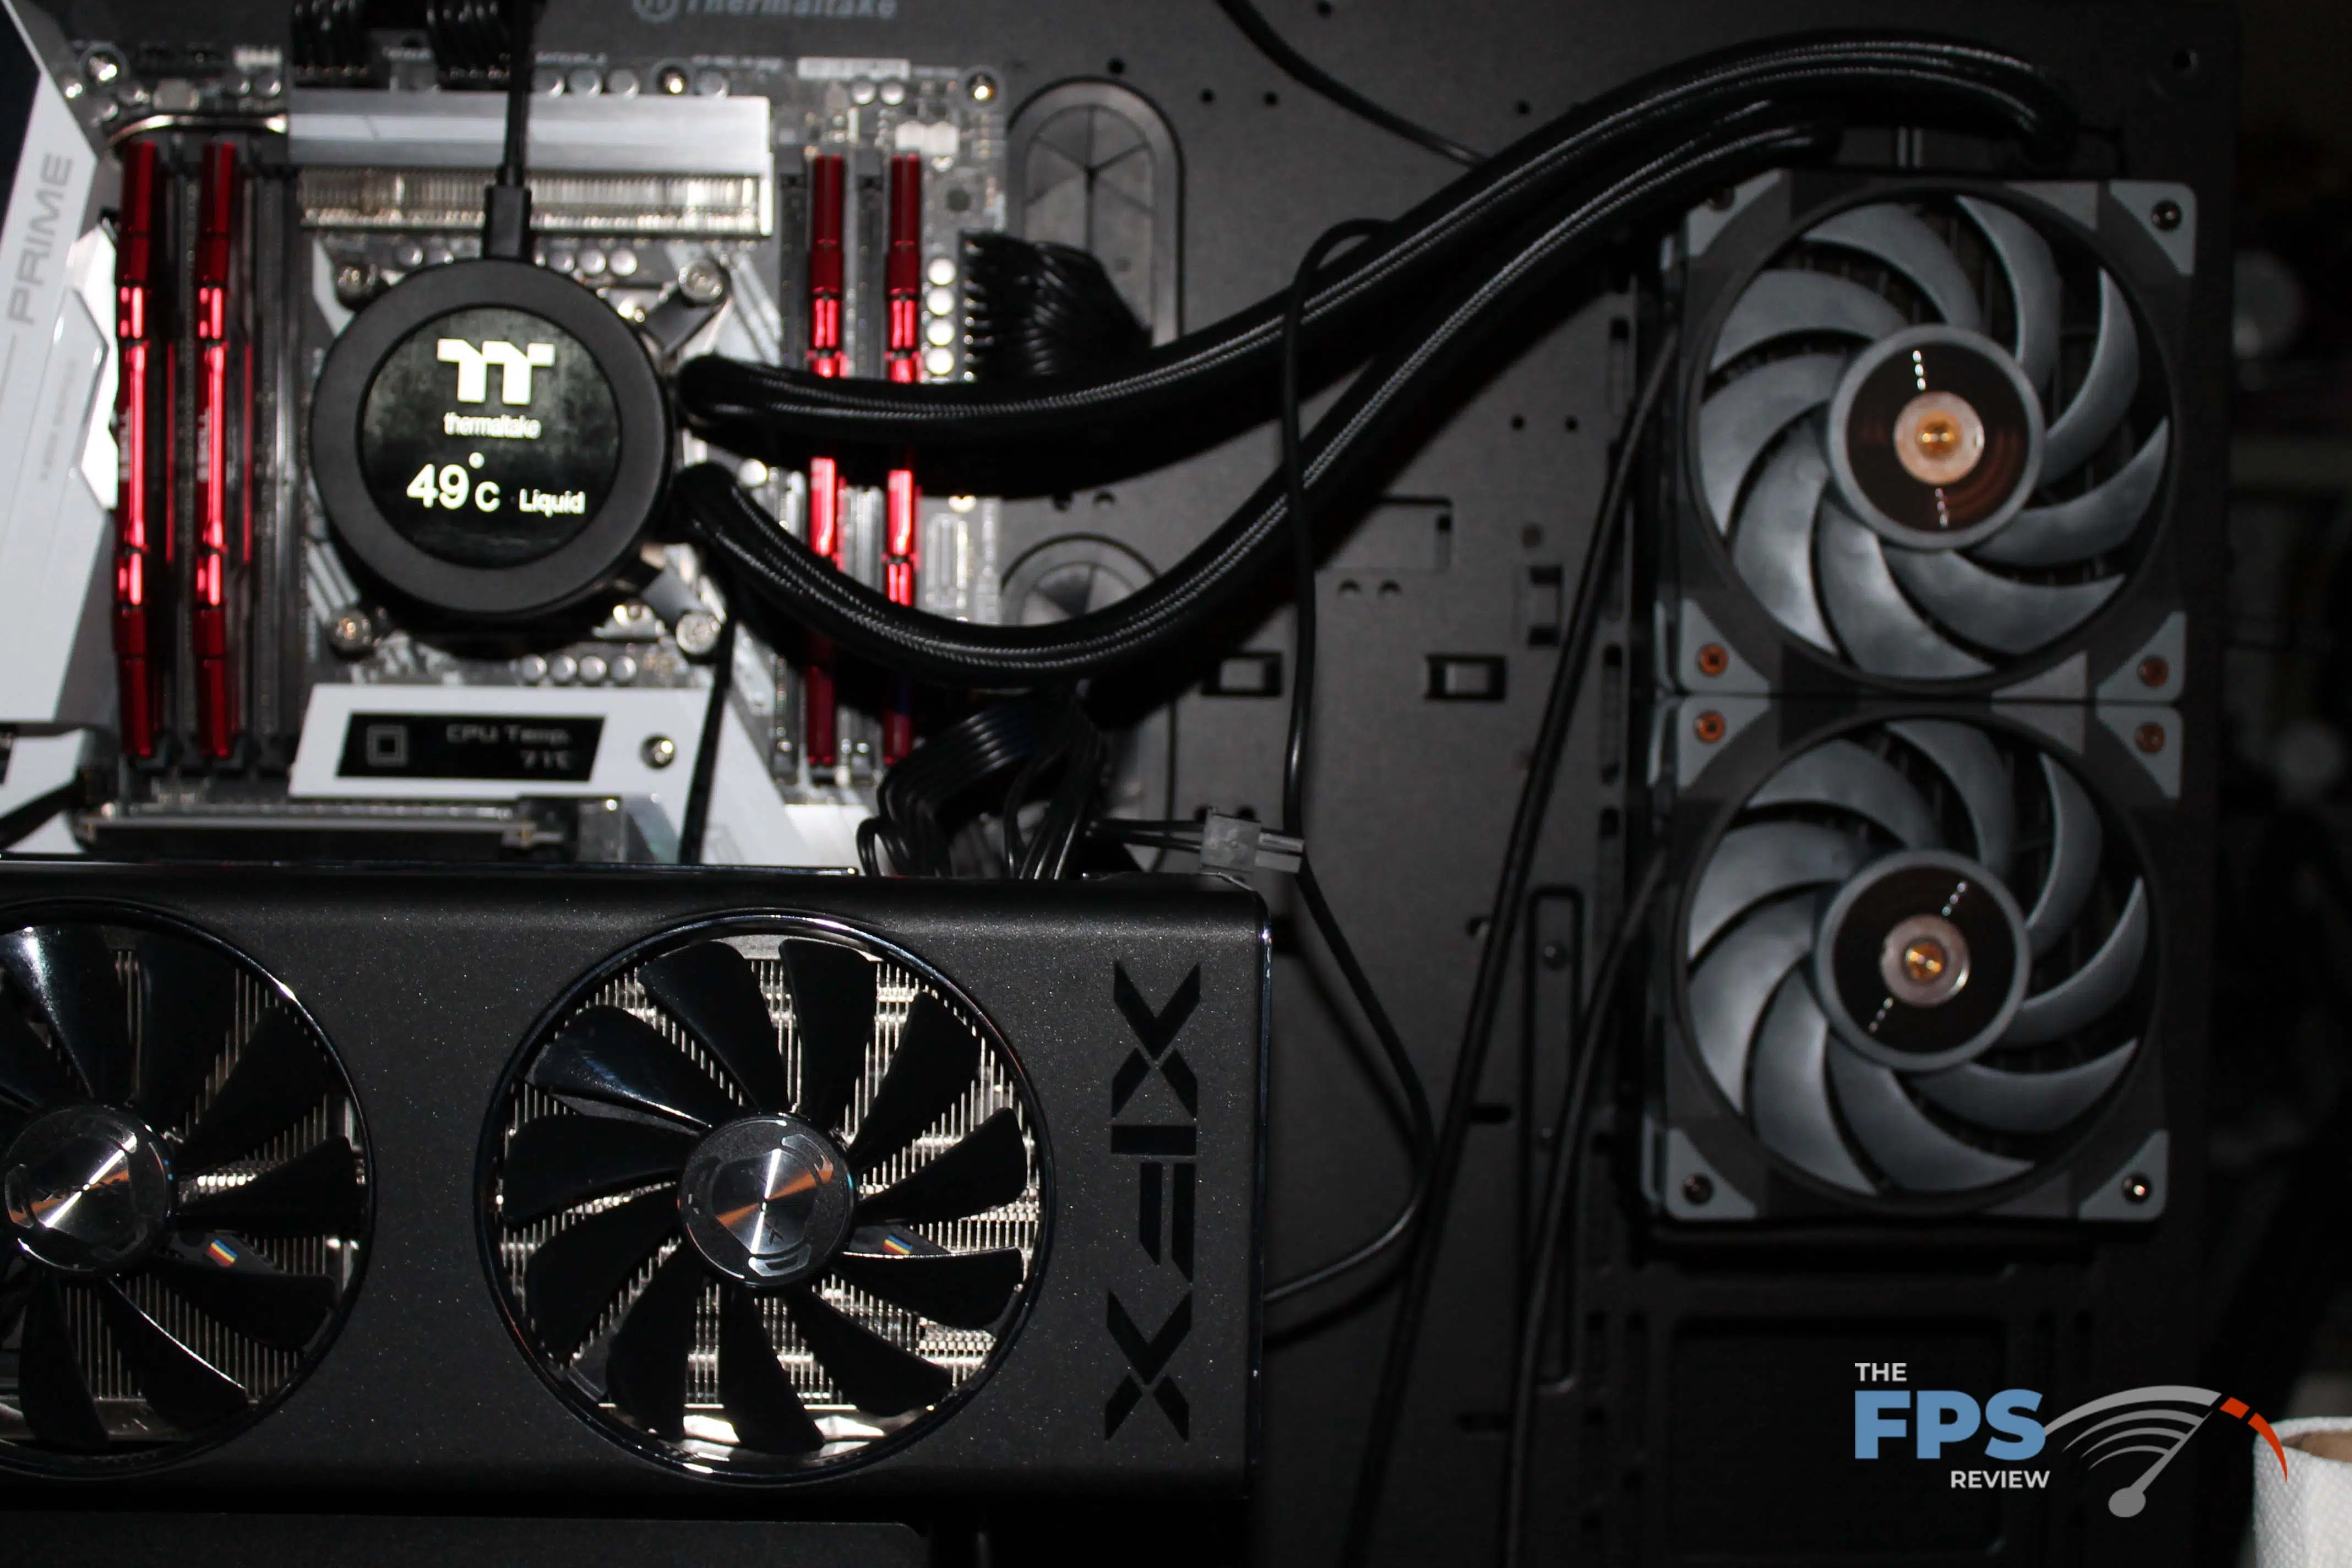
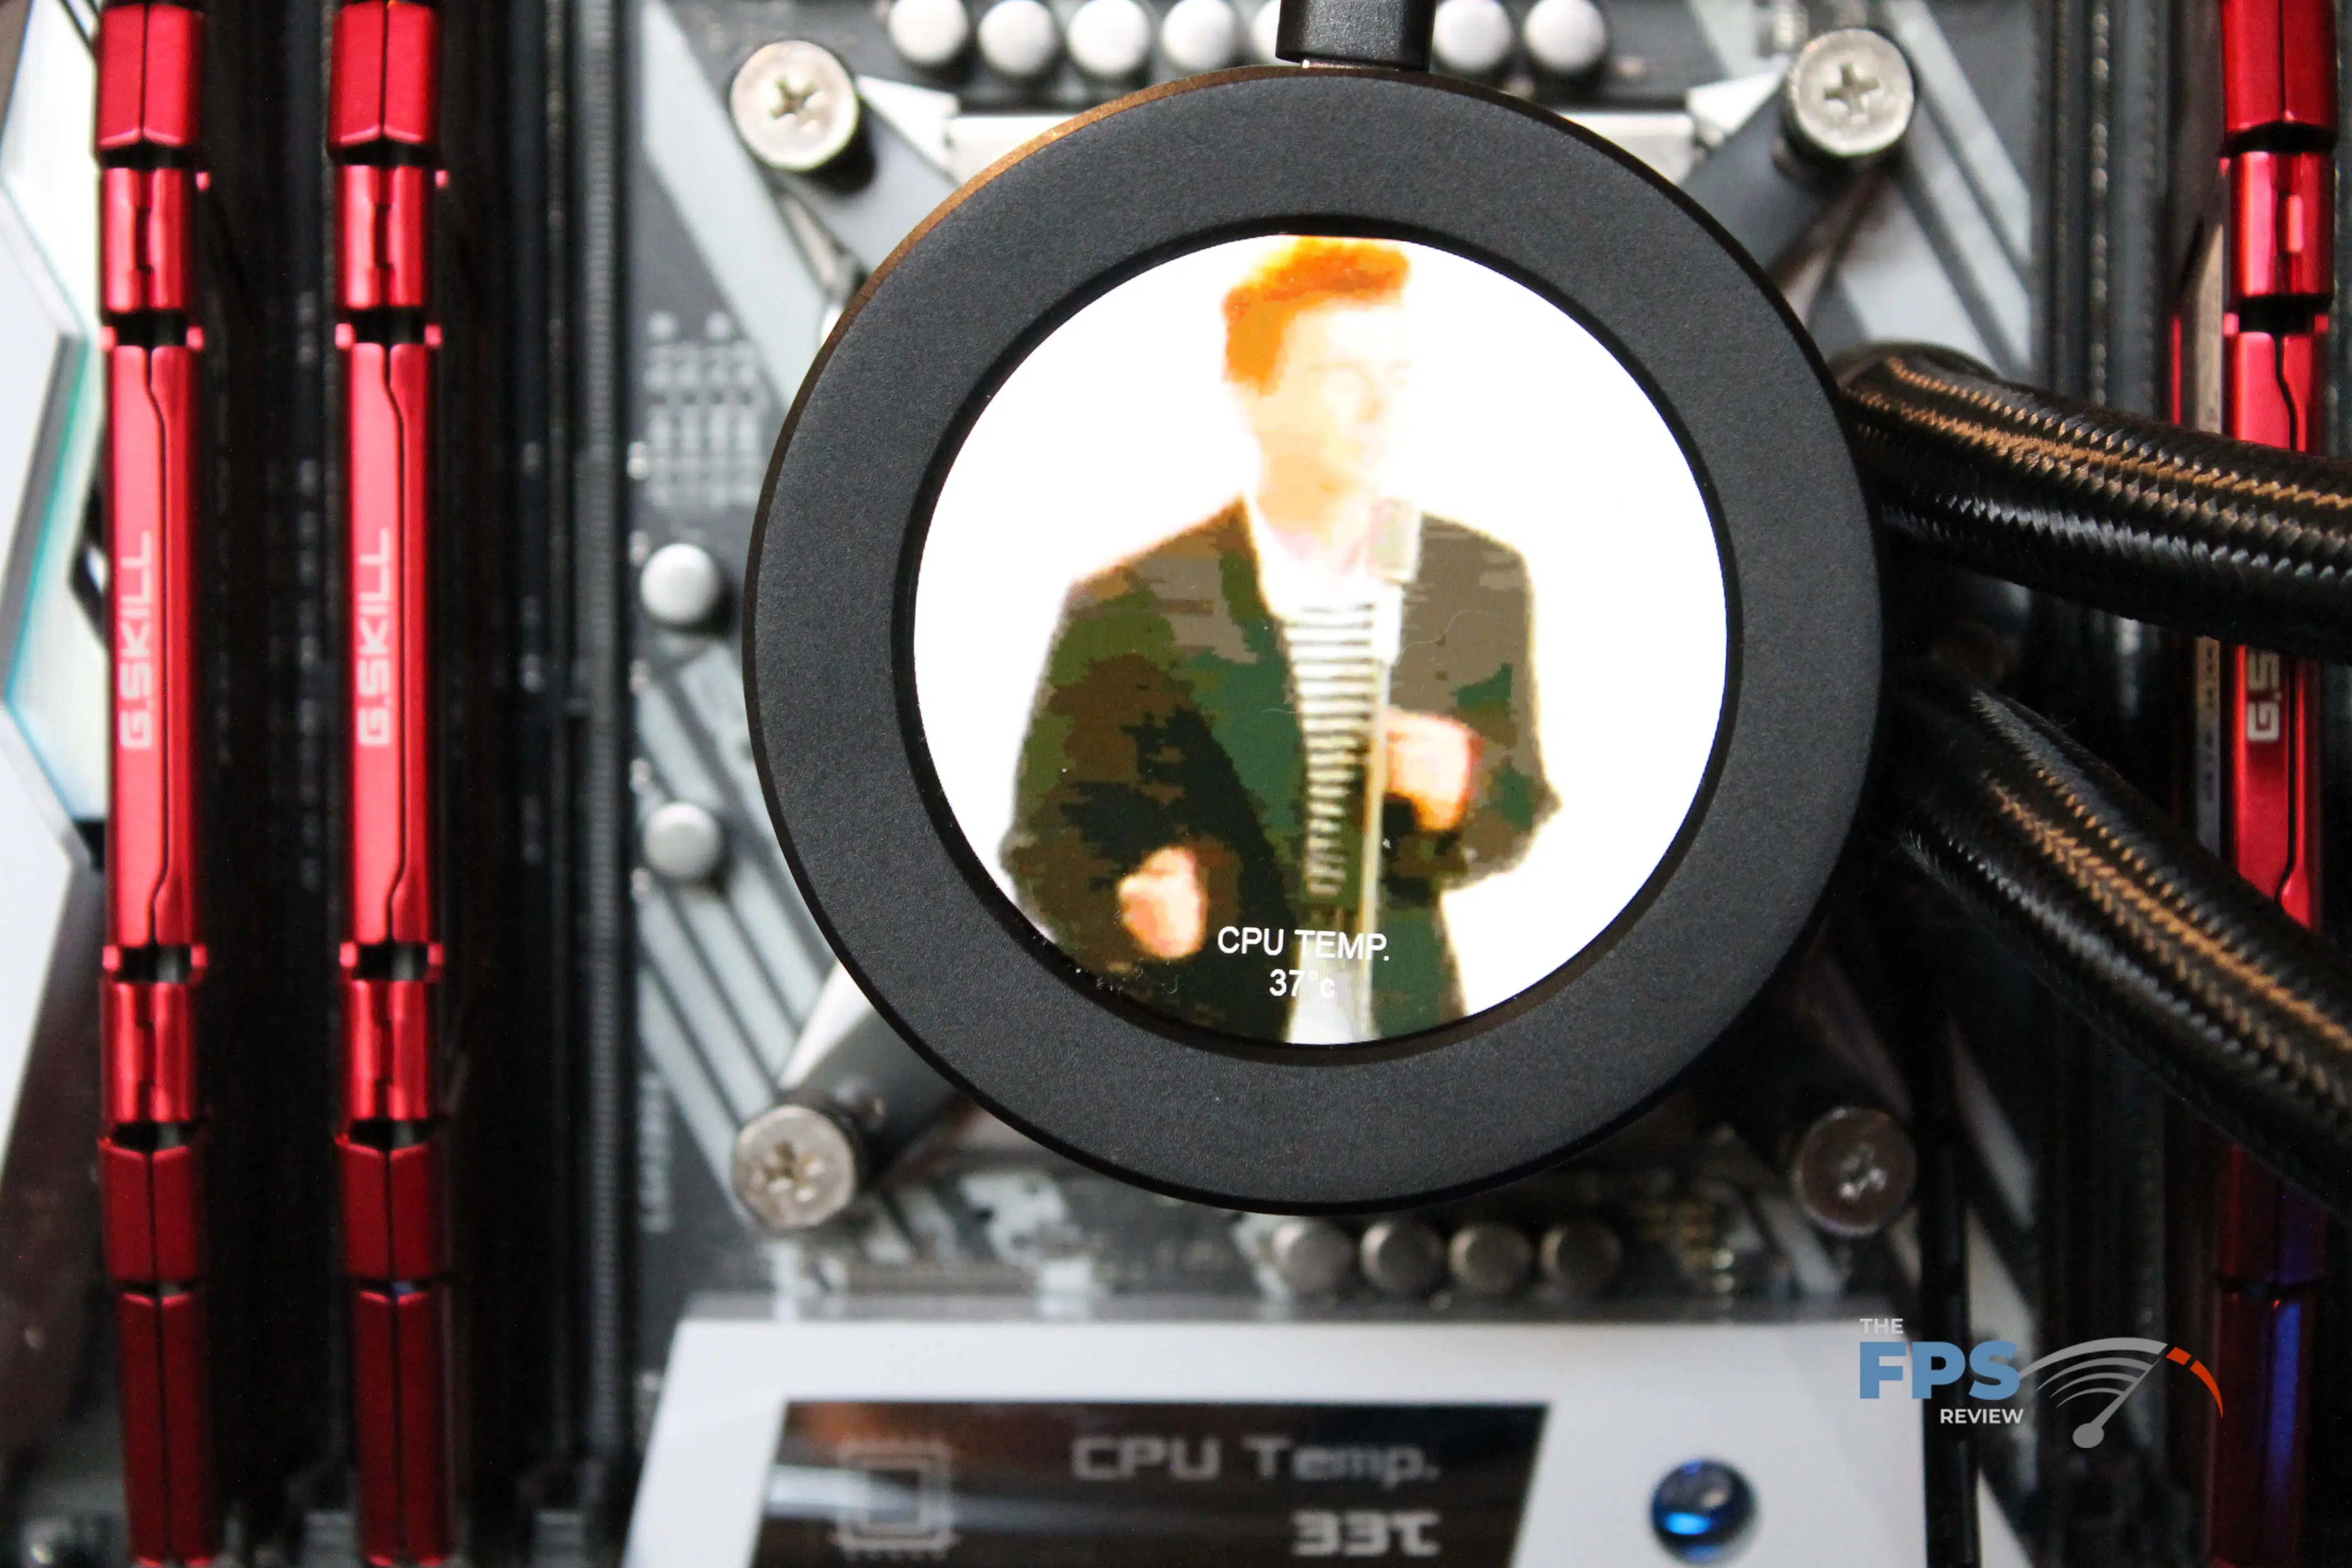
Installation of the Thermaltake TOUGHLIQUID Ultra 240 was straight forward event and had us up and running fairly quickly. If you elect not to use the TT RGB Plus software to configure the AIO screen, then you will end up with the TT logo and the coolant temperature for the AIO displayed in greyscale by default.
For the fan wiring, the 35 inch long fan cables and included PWM fan splitter made quick work out of getting those hooked up, and the pump lead fit right into our AIO pump header. However, to power up the screen, we had to sacrifice a USB2 header on the motherboard (which isn’t the end of the world), but then the manner it plus into the screen can be a bit awkward from a wire routing perspective.
Discussion (2 replies)
Join Discussion →Thank you for the great review David!
So basically.. What you're telling us is, the unit Rick-Rolled you?
I was just trying to demonstrate the full capabilities of the product to our wonderful readers ?