Exploring The Cavernous Interior
The HAF 700 is divided into chambers, chiefly one in the front for the motherboard, fans, and radiators, and one in the back that houses the power supply, removable drive cage, and cable routing channel.
Motherboard support ranges from ITX to EATX and SSI EEB boards of up to 12” by 13” (305mm by 330mm) in size, and Cooler Master has added a second column of rubber grommets to support cable routing for larger boards, or perhaps stiff cables, as we put them to use with the 20-pin USB 3 leads.
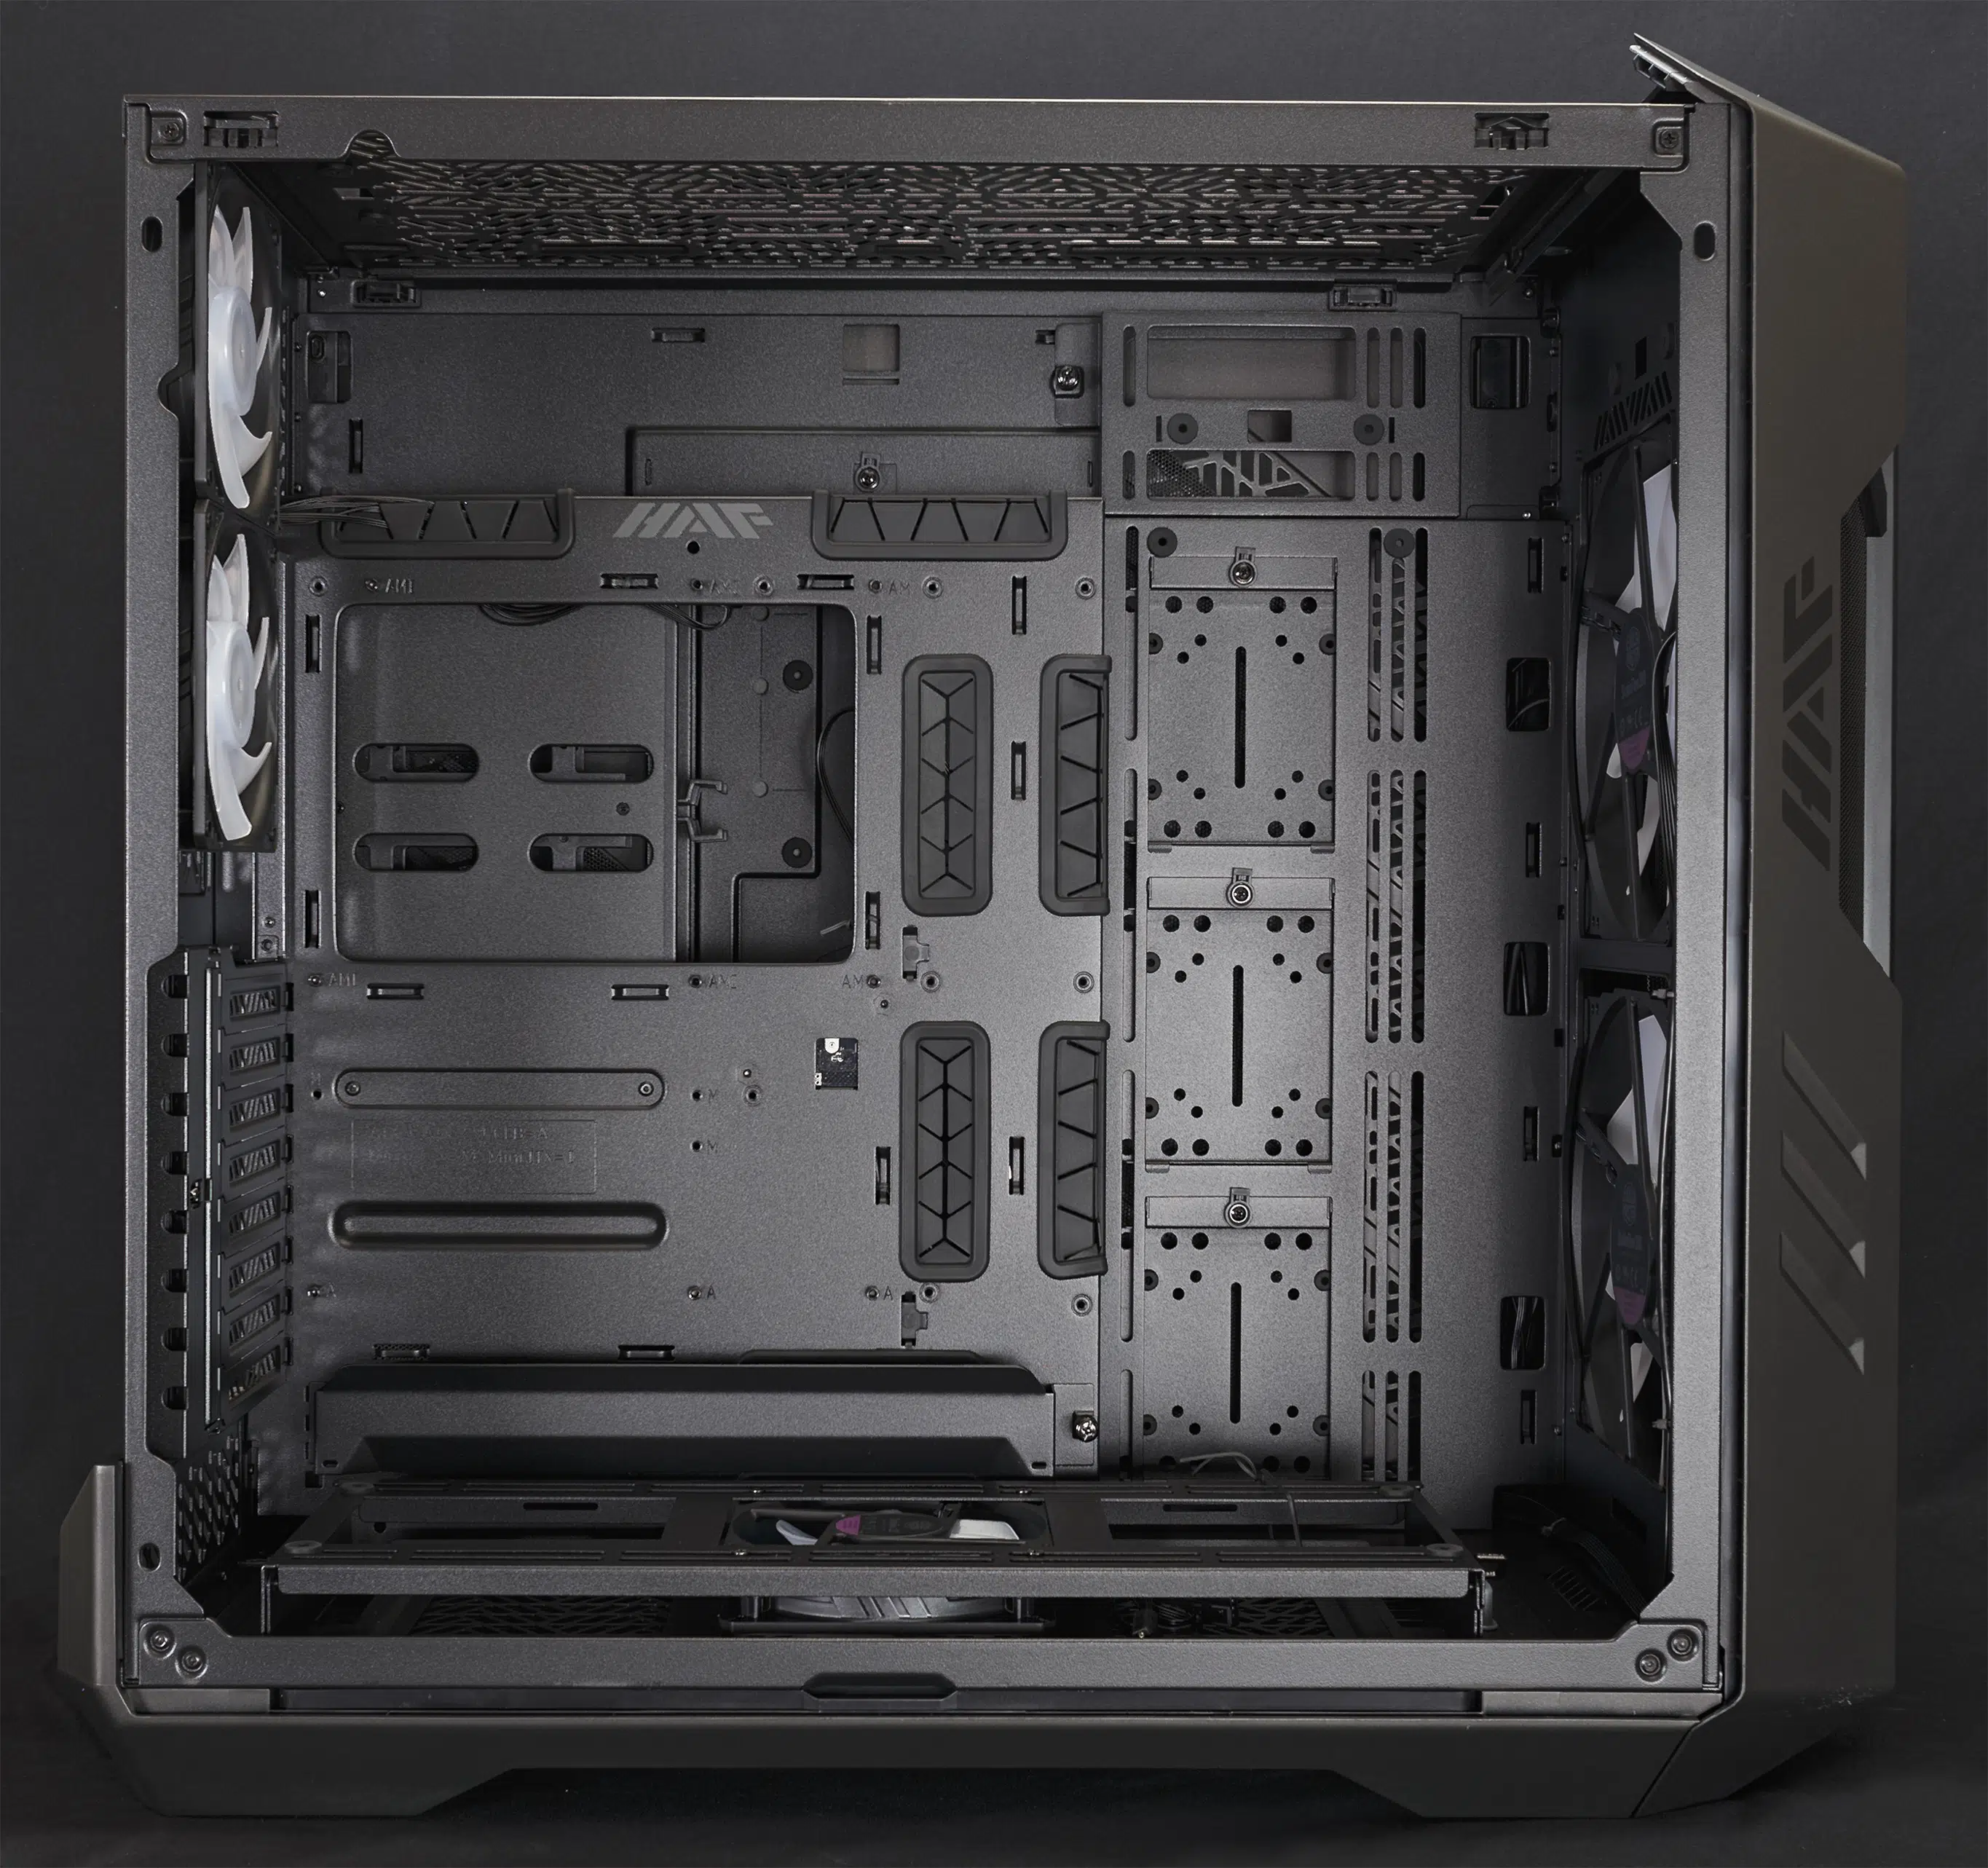
And even with all that space, the motherboard tray sits on a literal island in the middle of the HAF 700. Our ATX motherboard, which is 12″ by 9.6″ (305mm by 244mm), is dwarfed by Cooler Master’s latest creation.
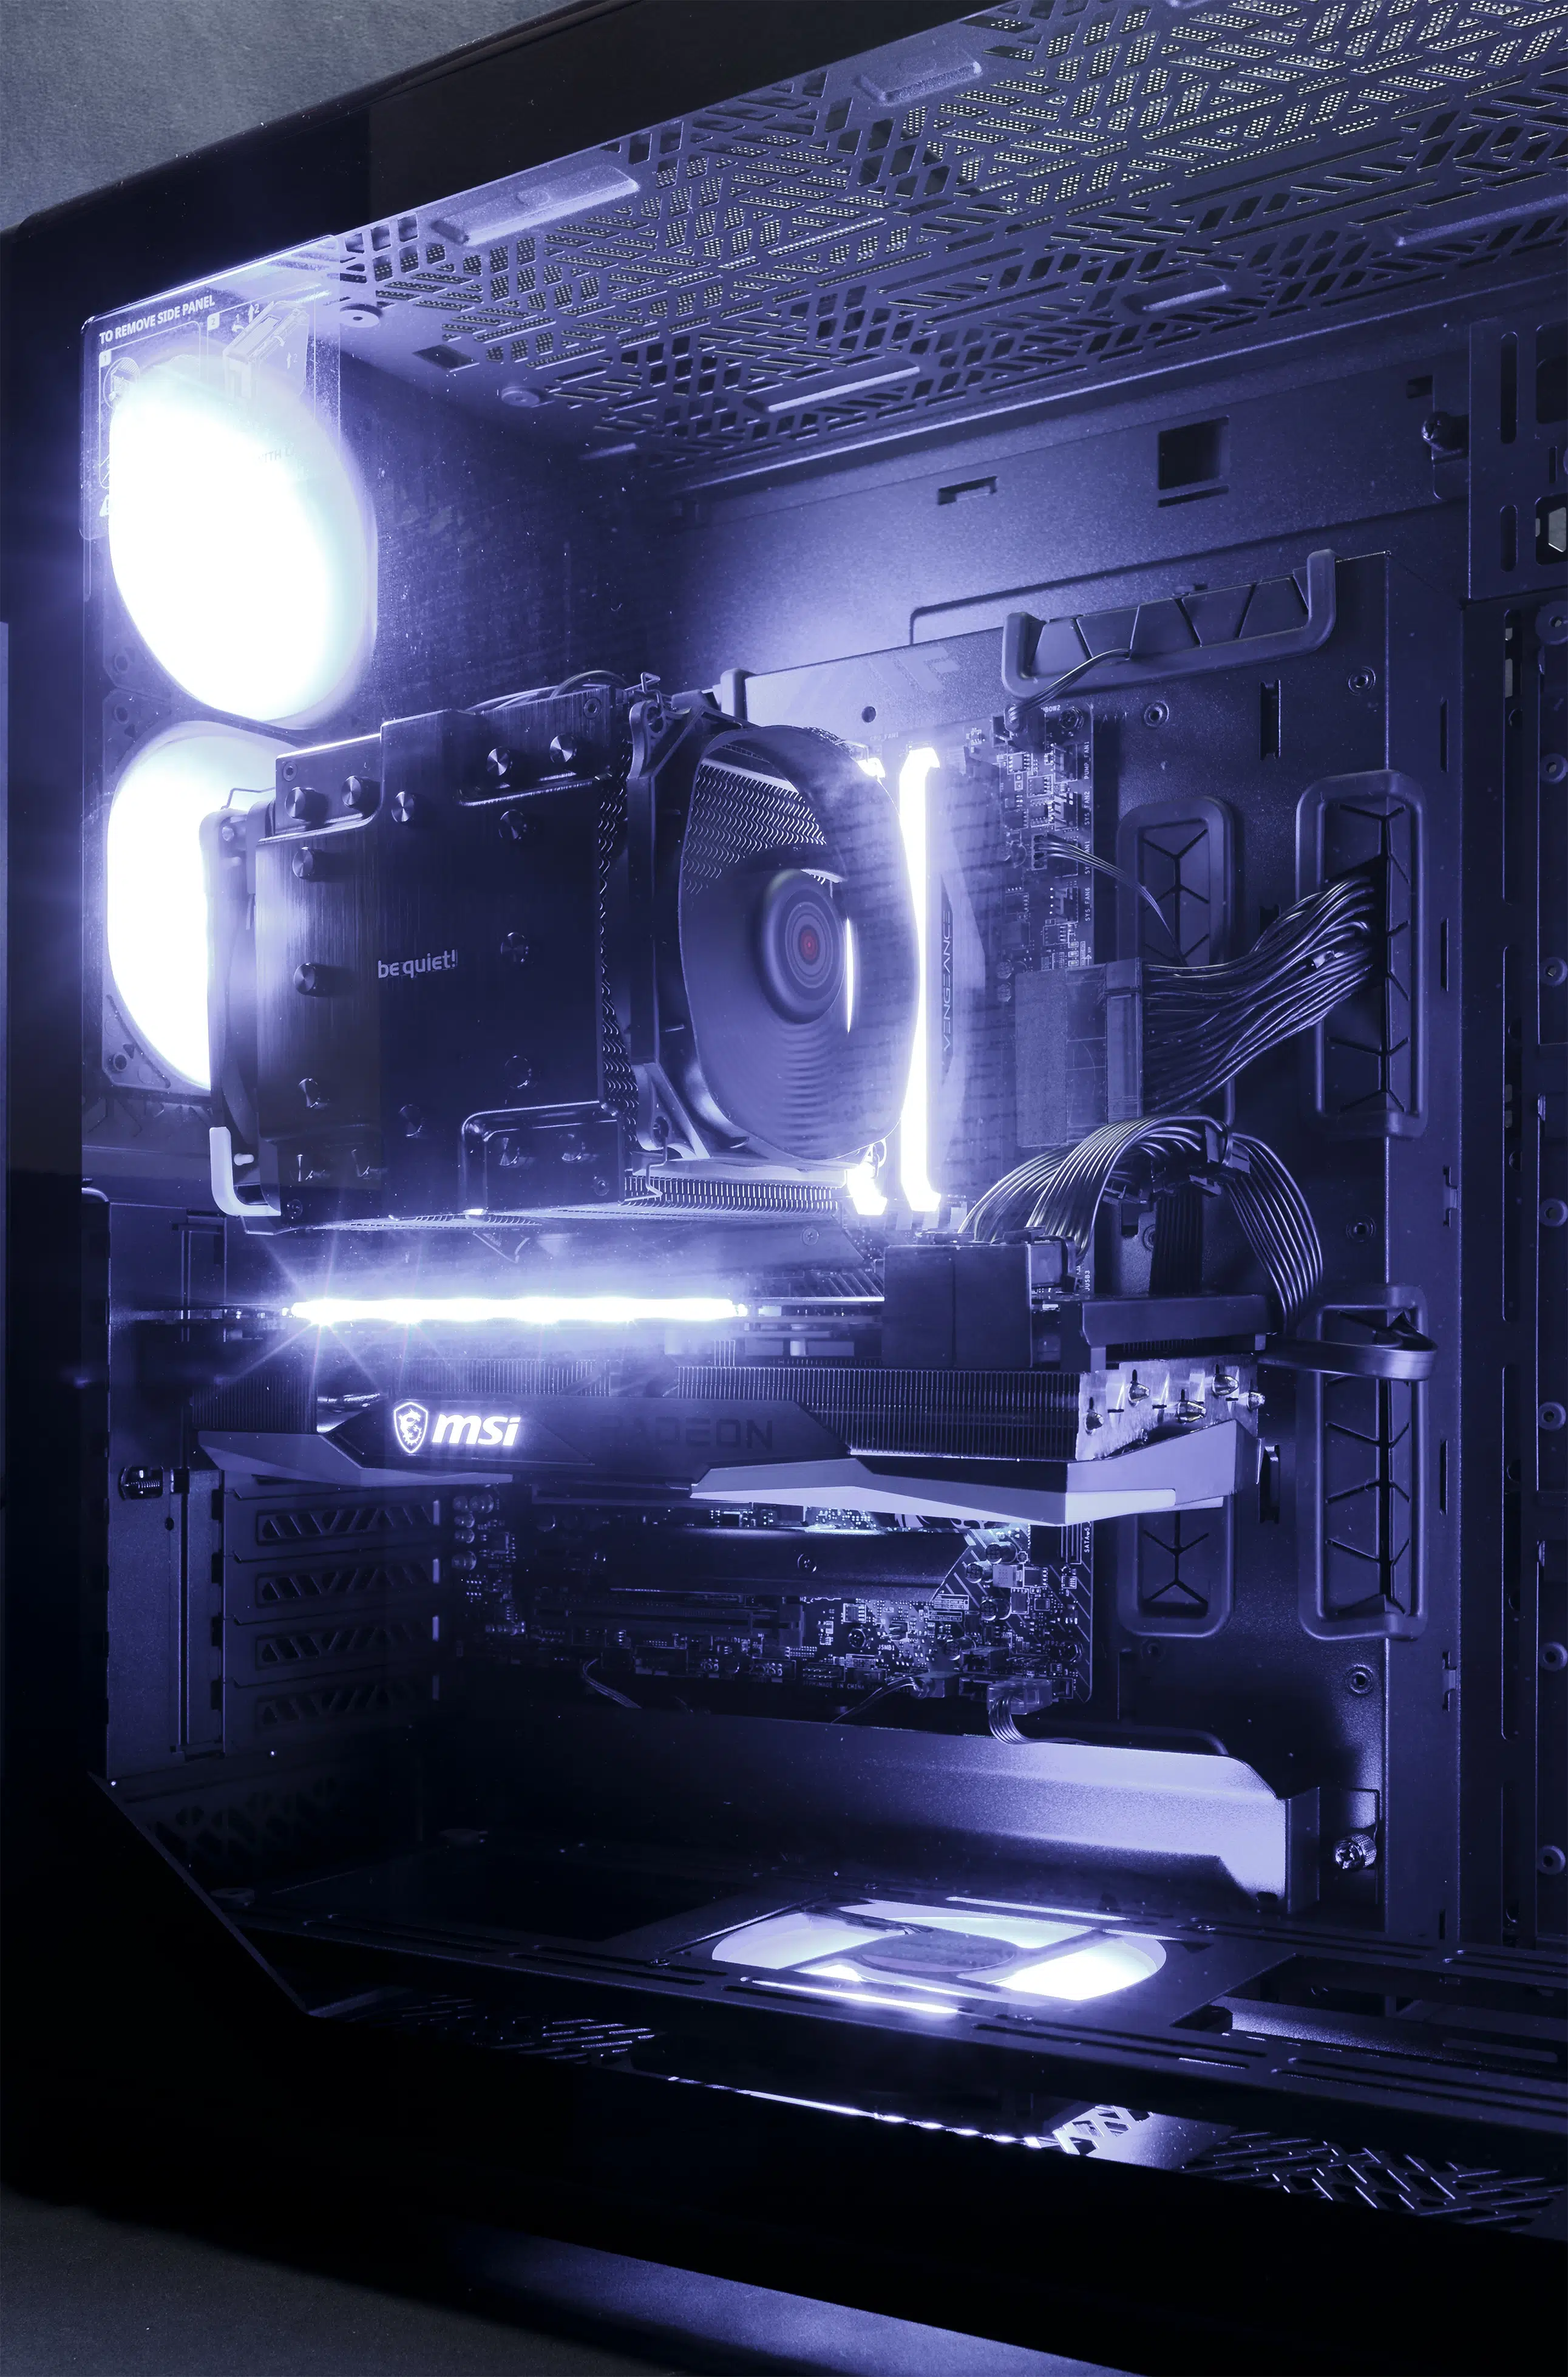
For air cooling, CPU coolers of up to 166mm are supported, easily fitting the beefy be quiet! Dark Rock Pro 4, while Cooler Master claims that any modern size GPU can fit horizontally or vertically, and ATX or SFX PSUs up to 200mm can fit in the rear chamber. Cooler Master also claims 90mm to 101mm of space behind the motherboard tray for cable routing, which will definitely come in handy for users looking to put the cooling ability of the HAF 700 to the test.
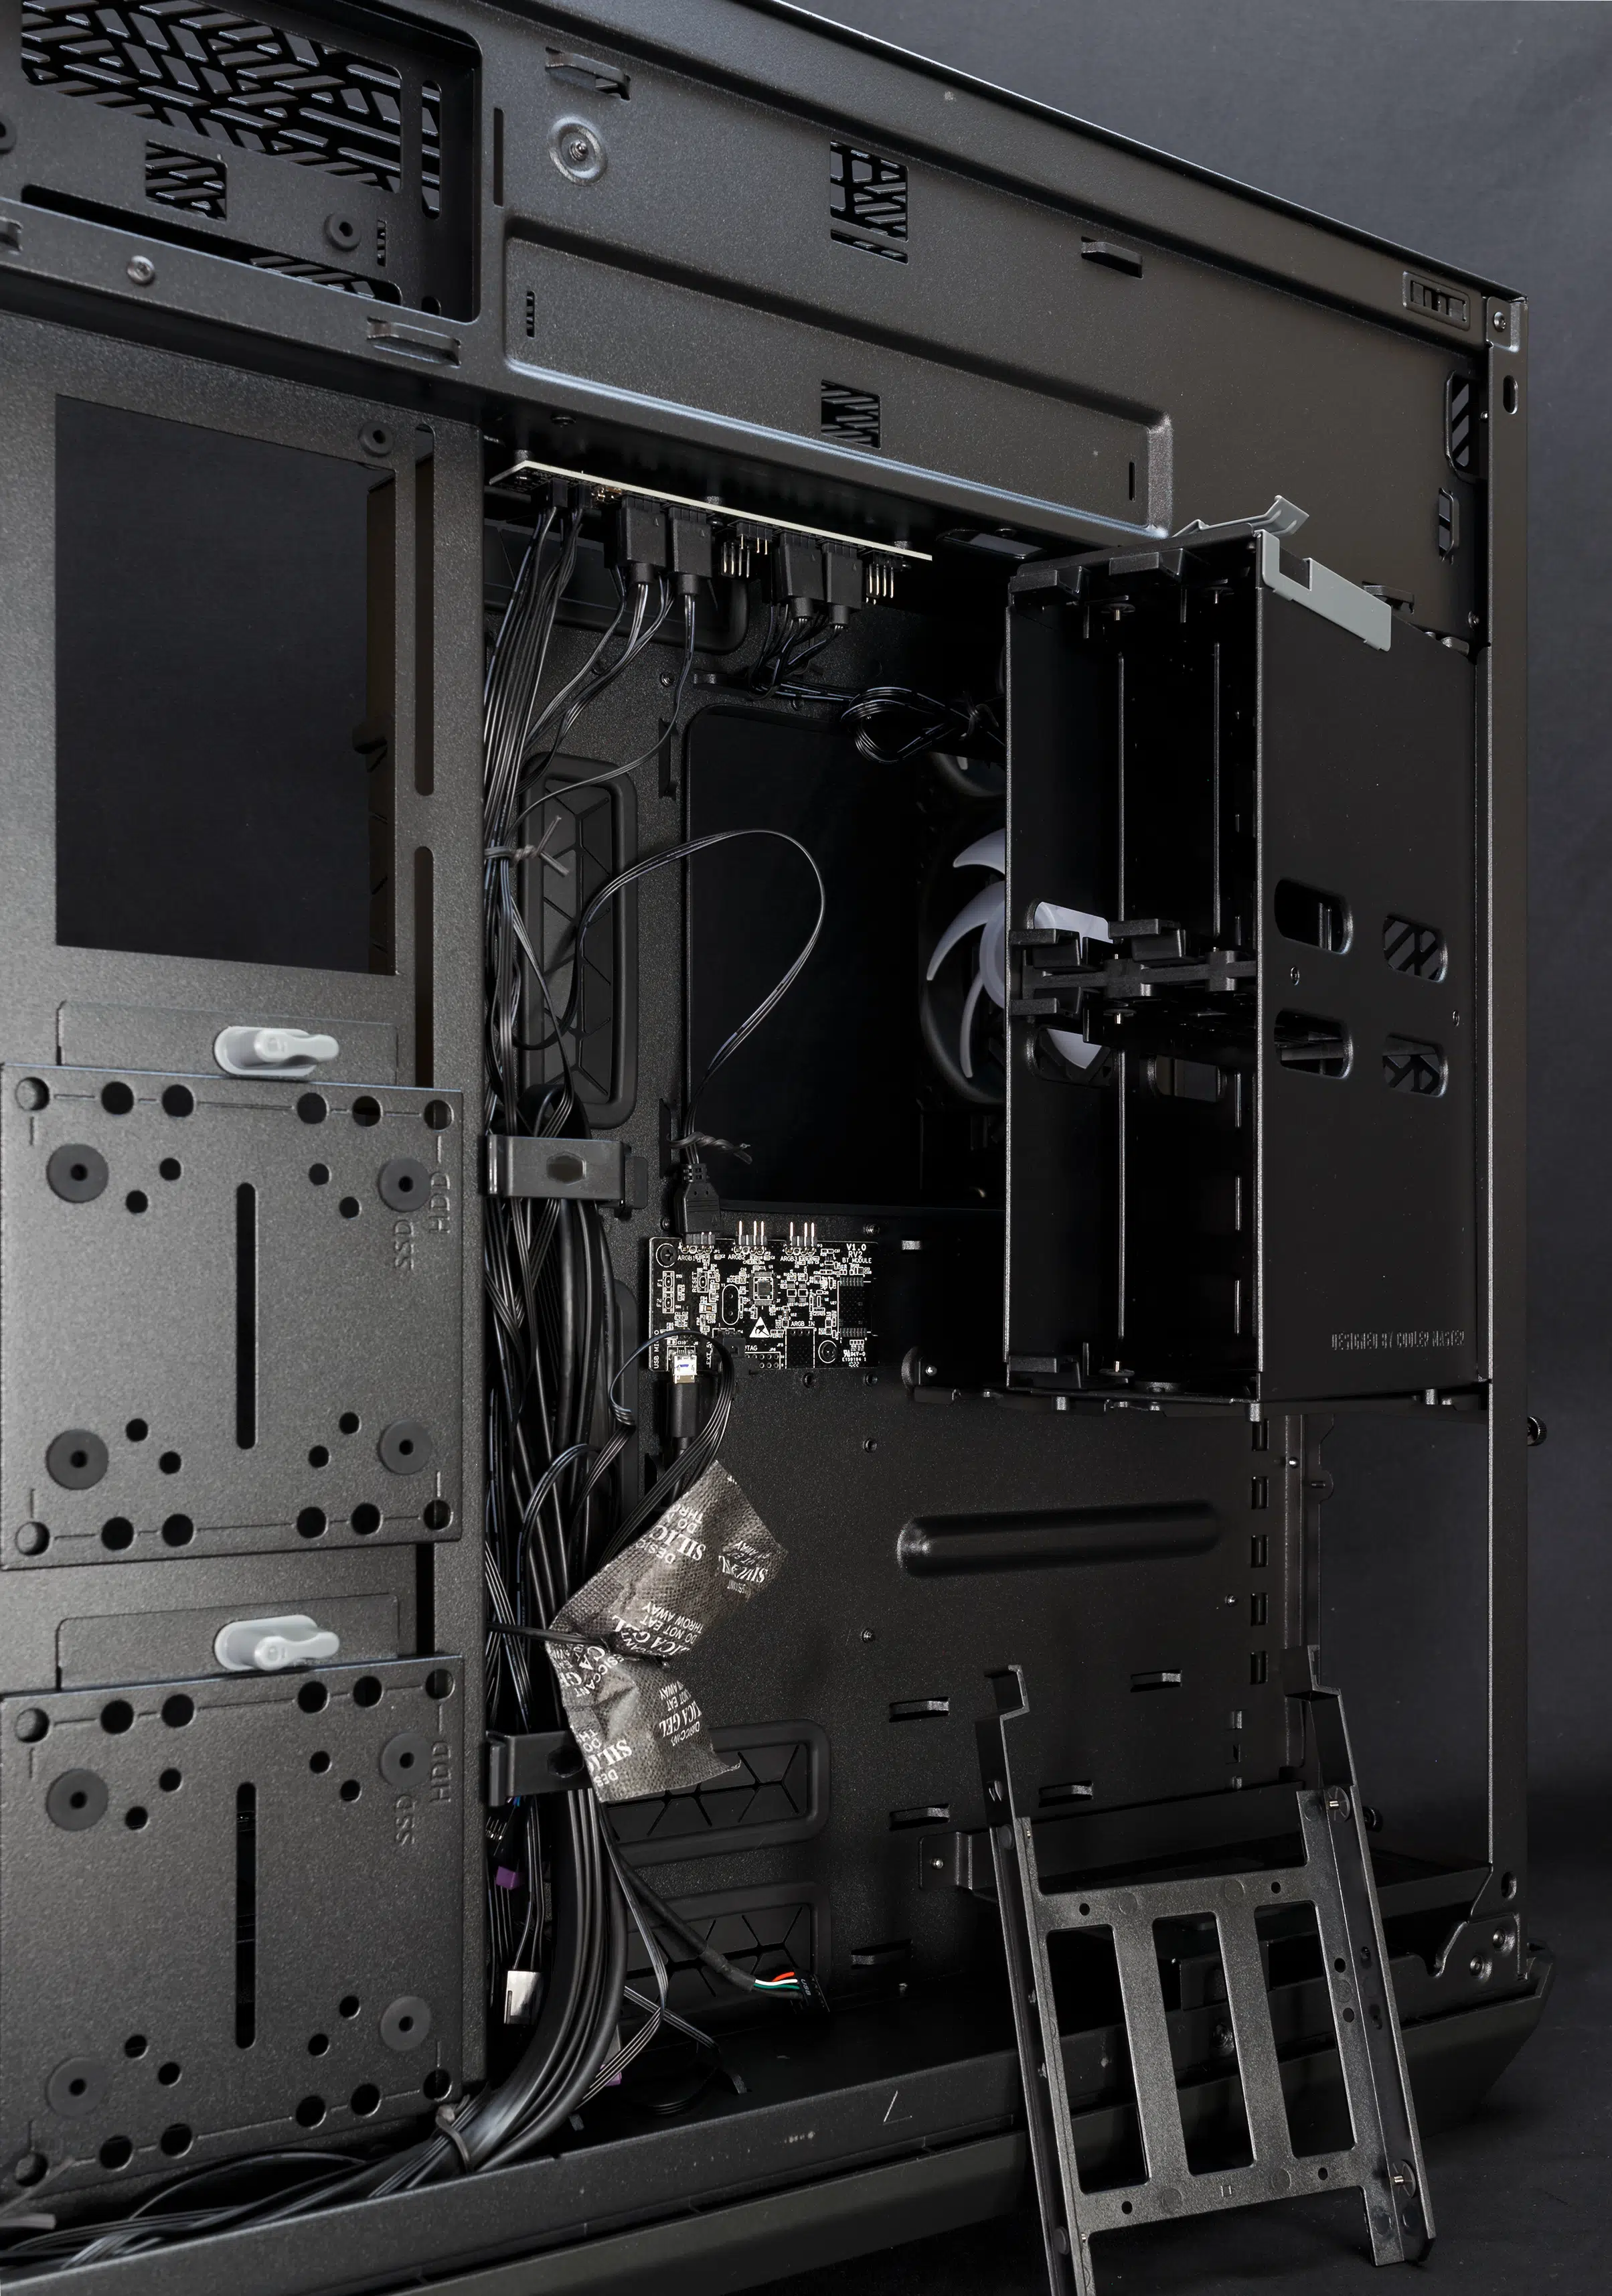
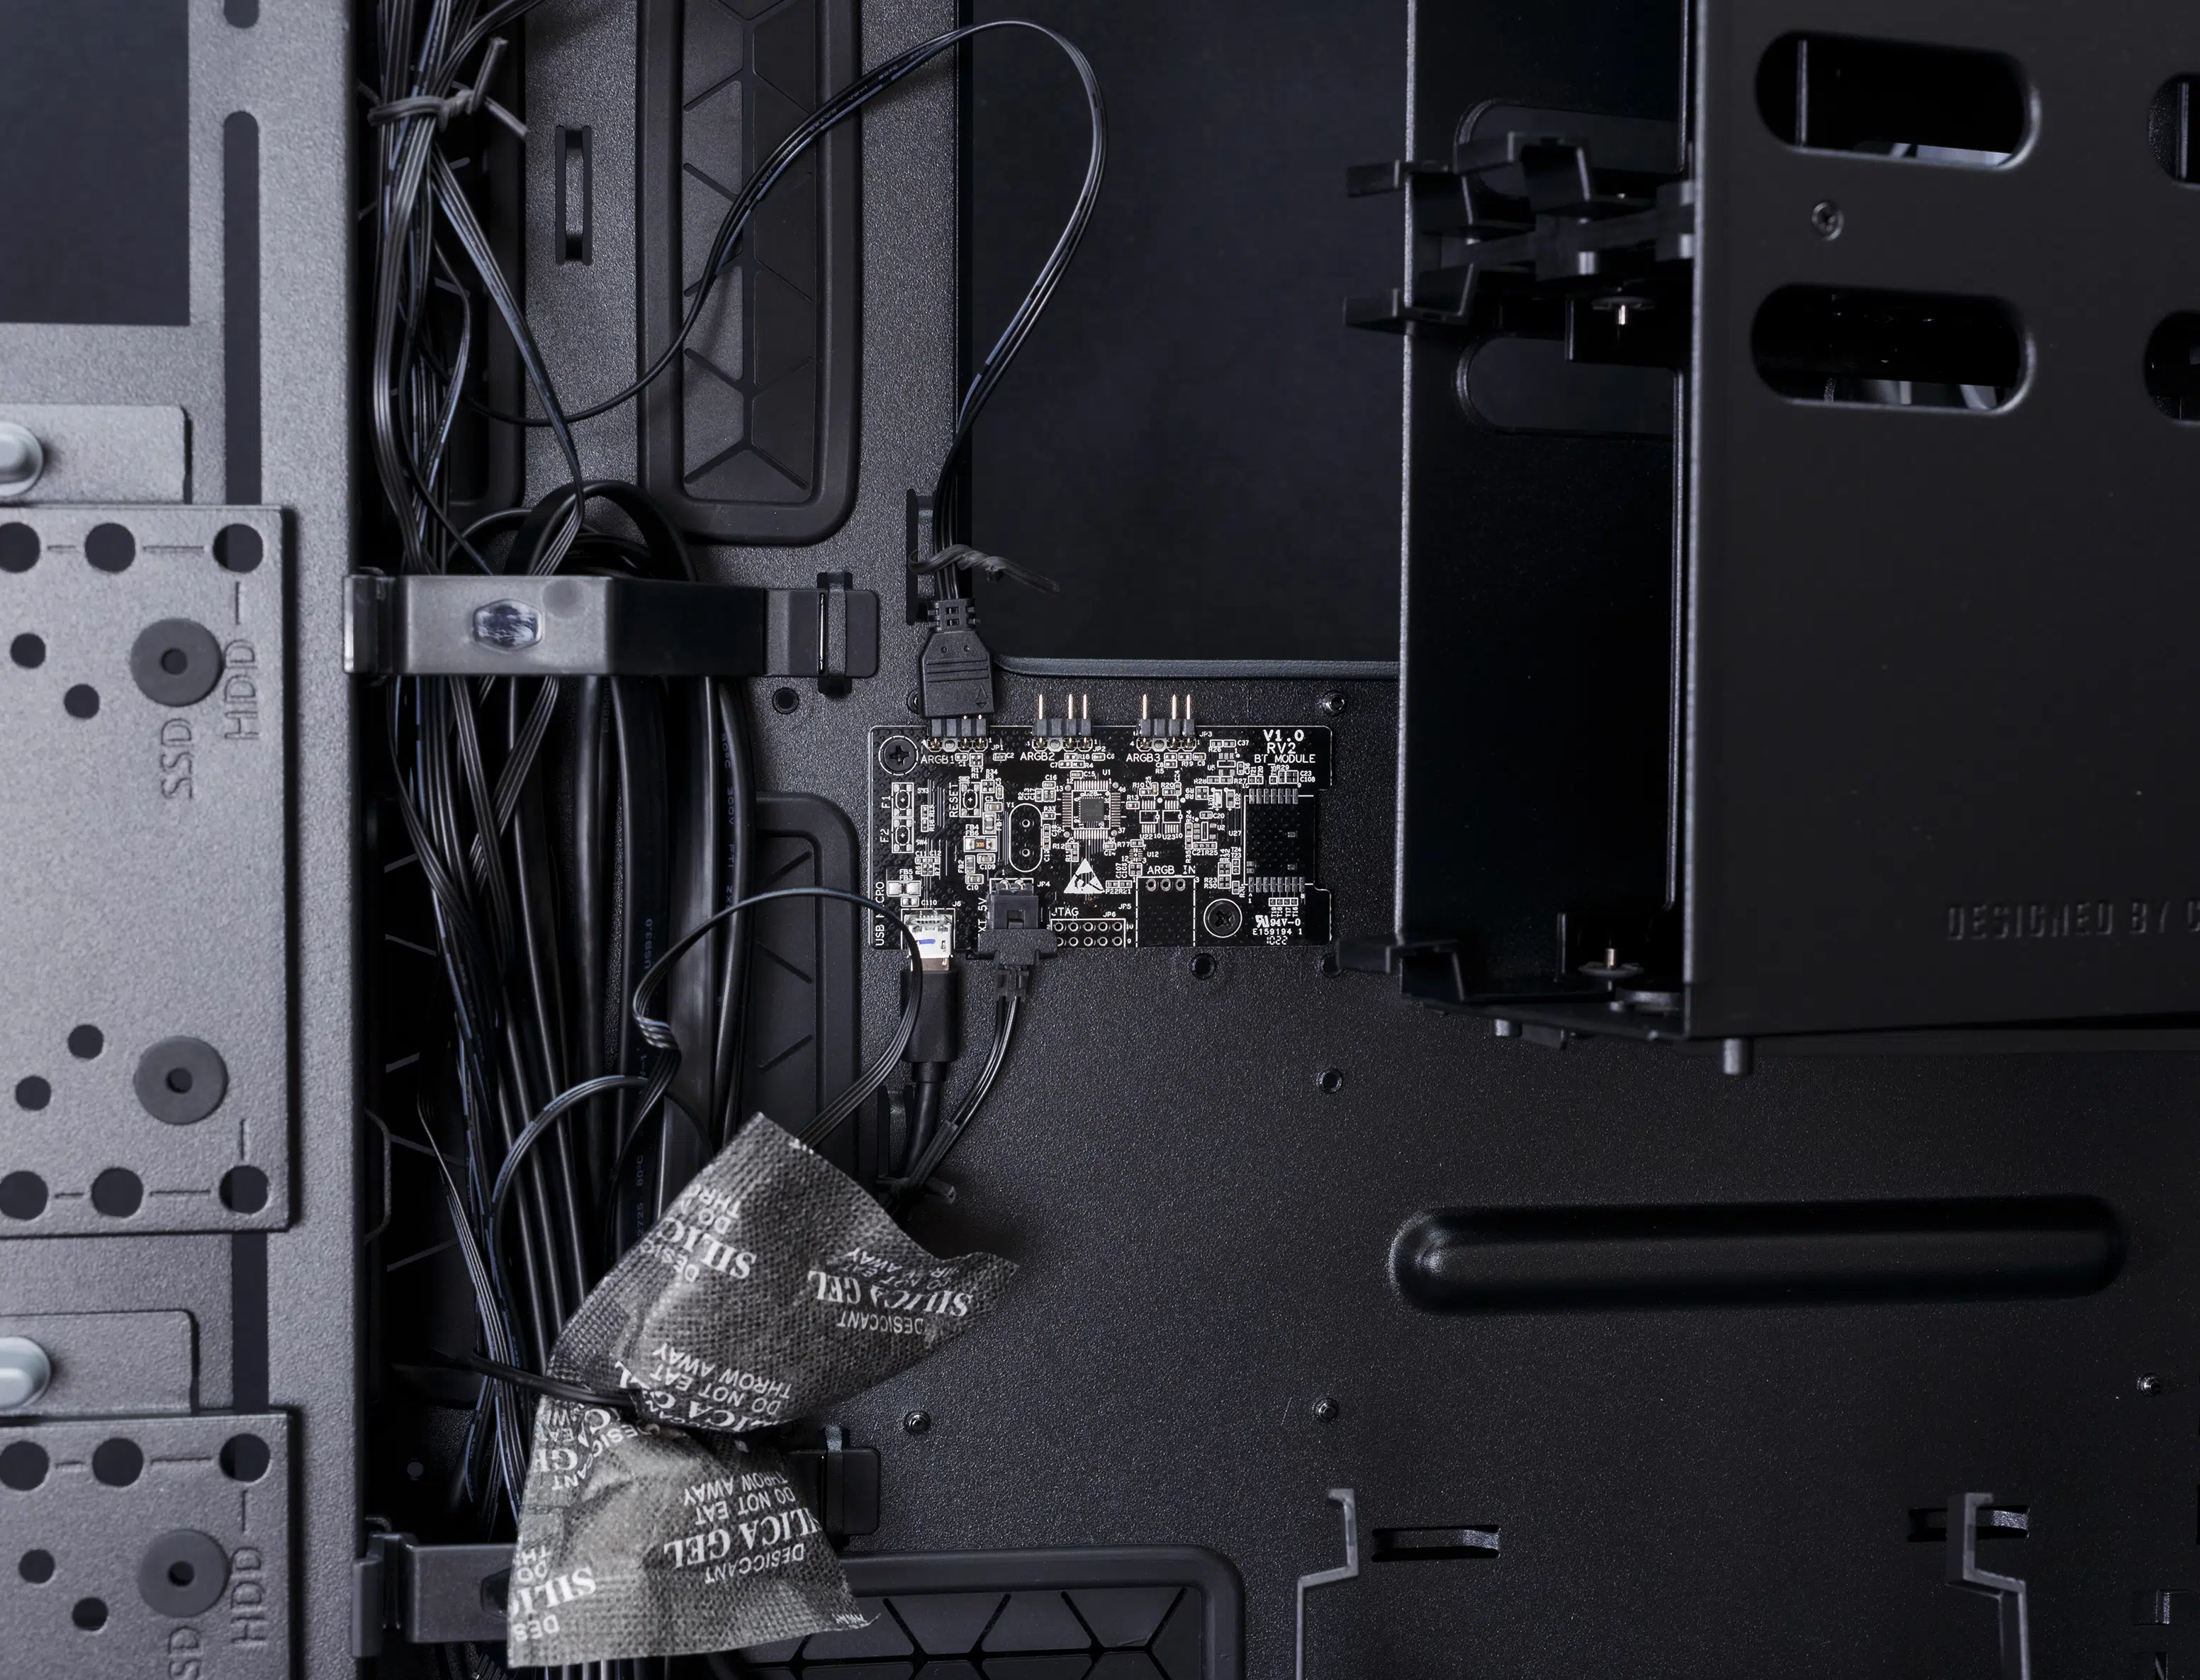
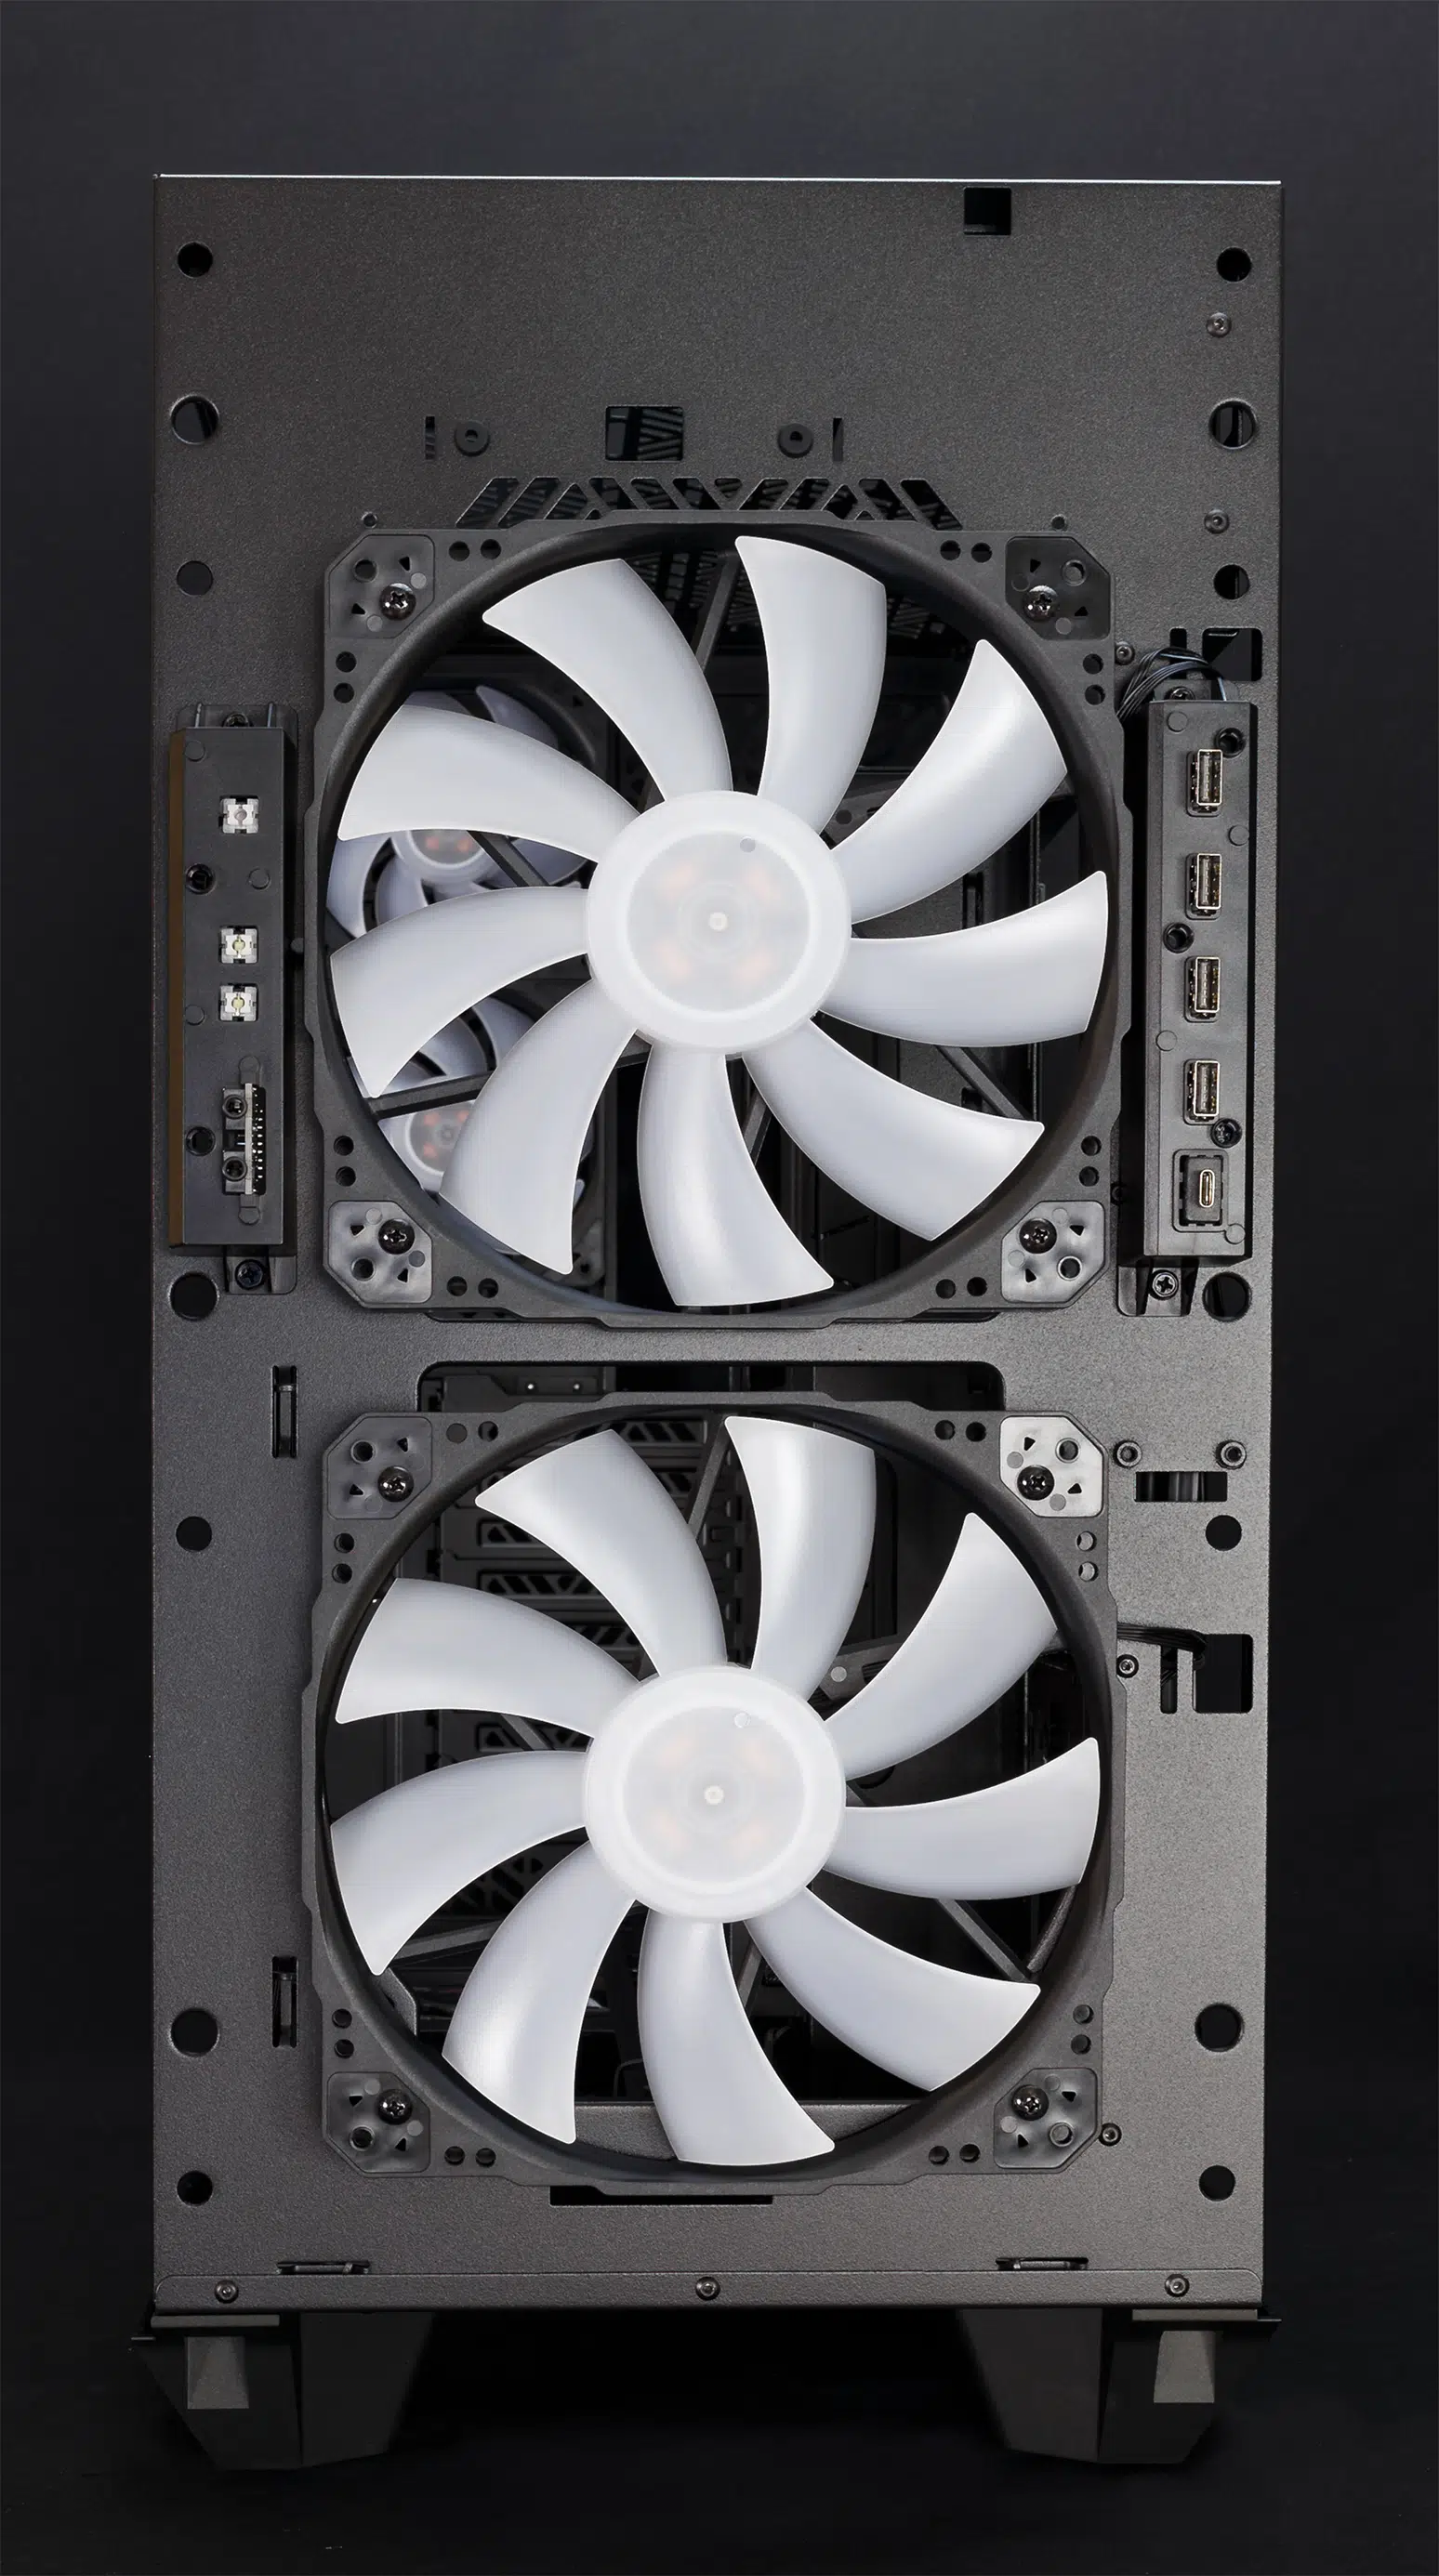
Also tucked behind the motherboard tray is a powered fan and ARGB distributor. Five ARGB headers and seven DC or PWM headers can be utilized for cooling and lighting, and for systems that do not feature an ARGB controller, Cooler Master has included a USB ARGB controller that is compatible with their MasterPlus+ software.
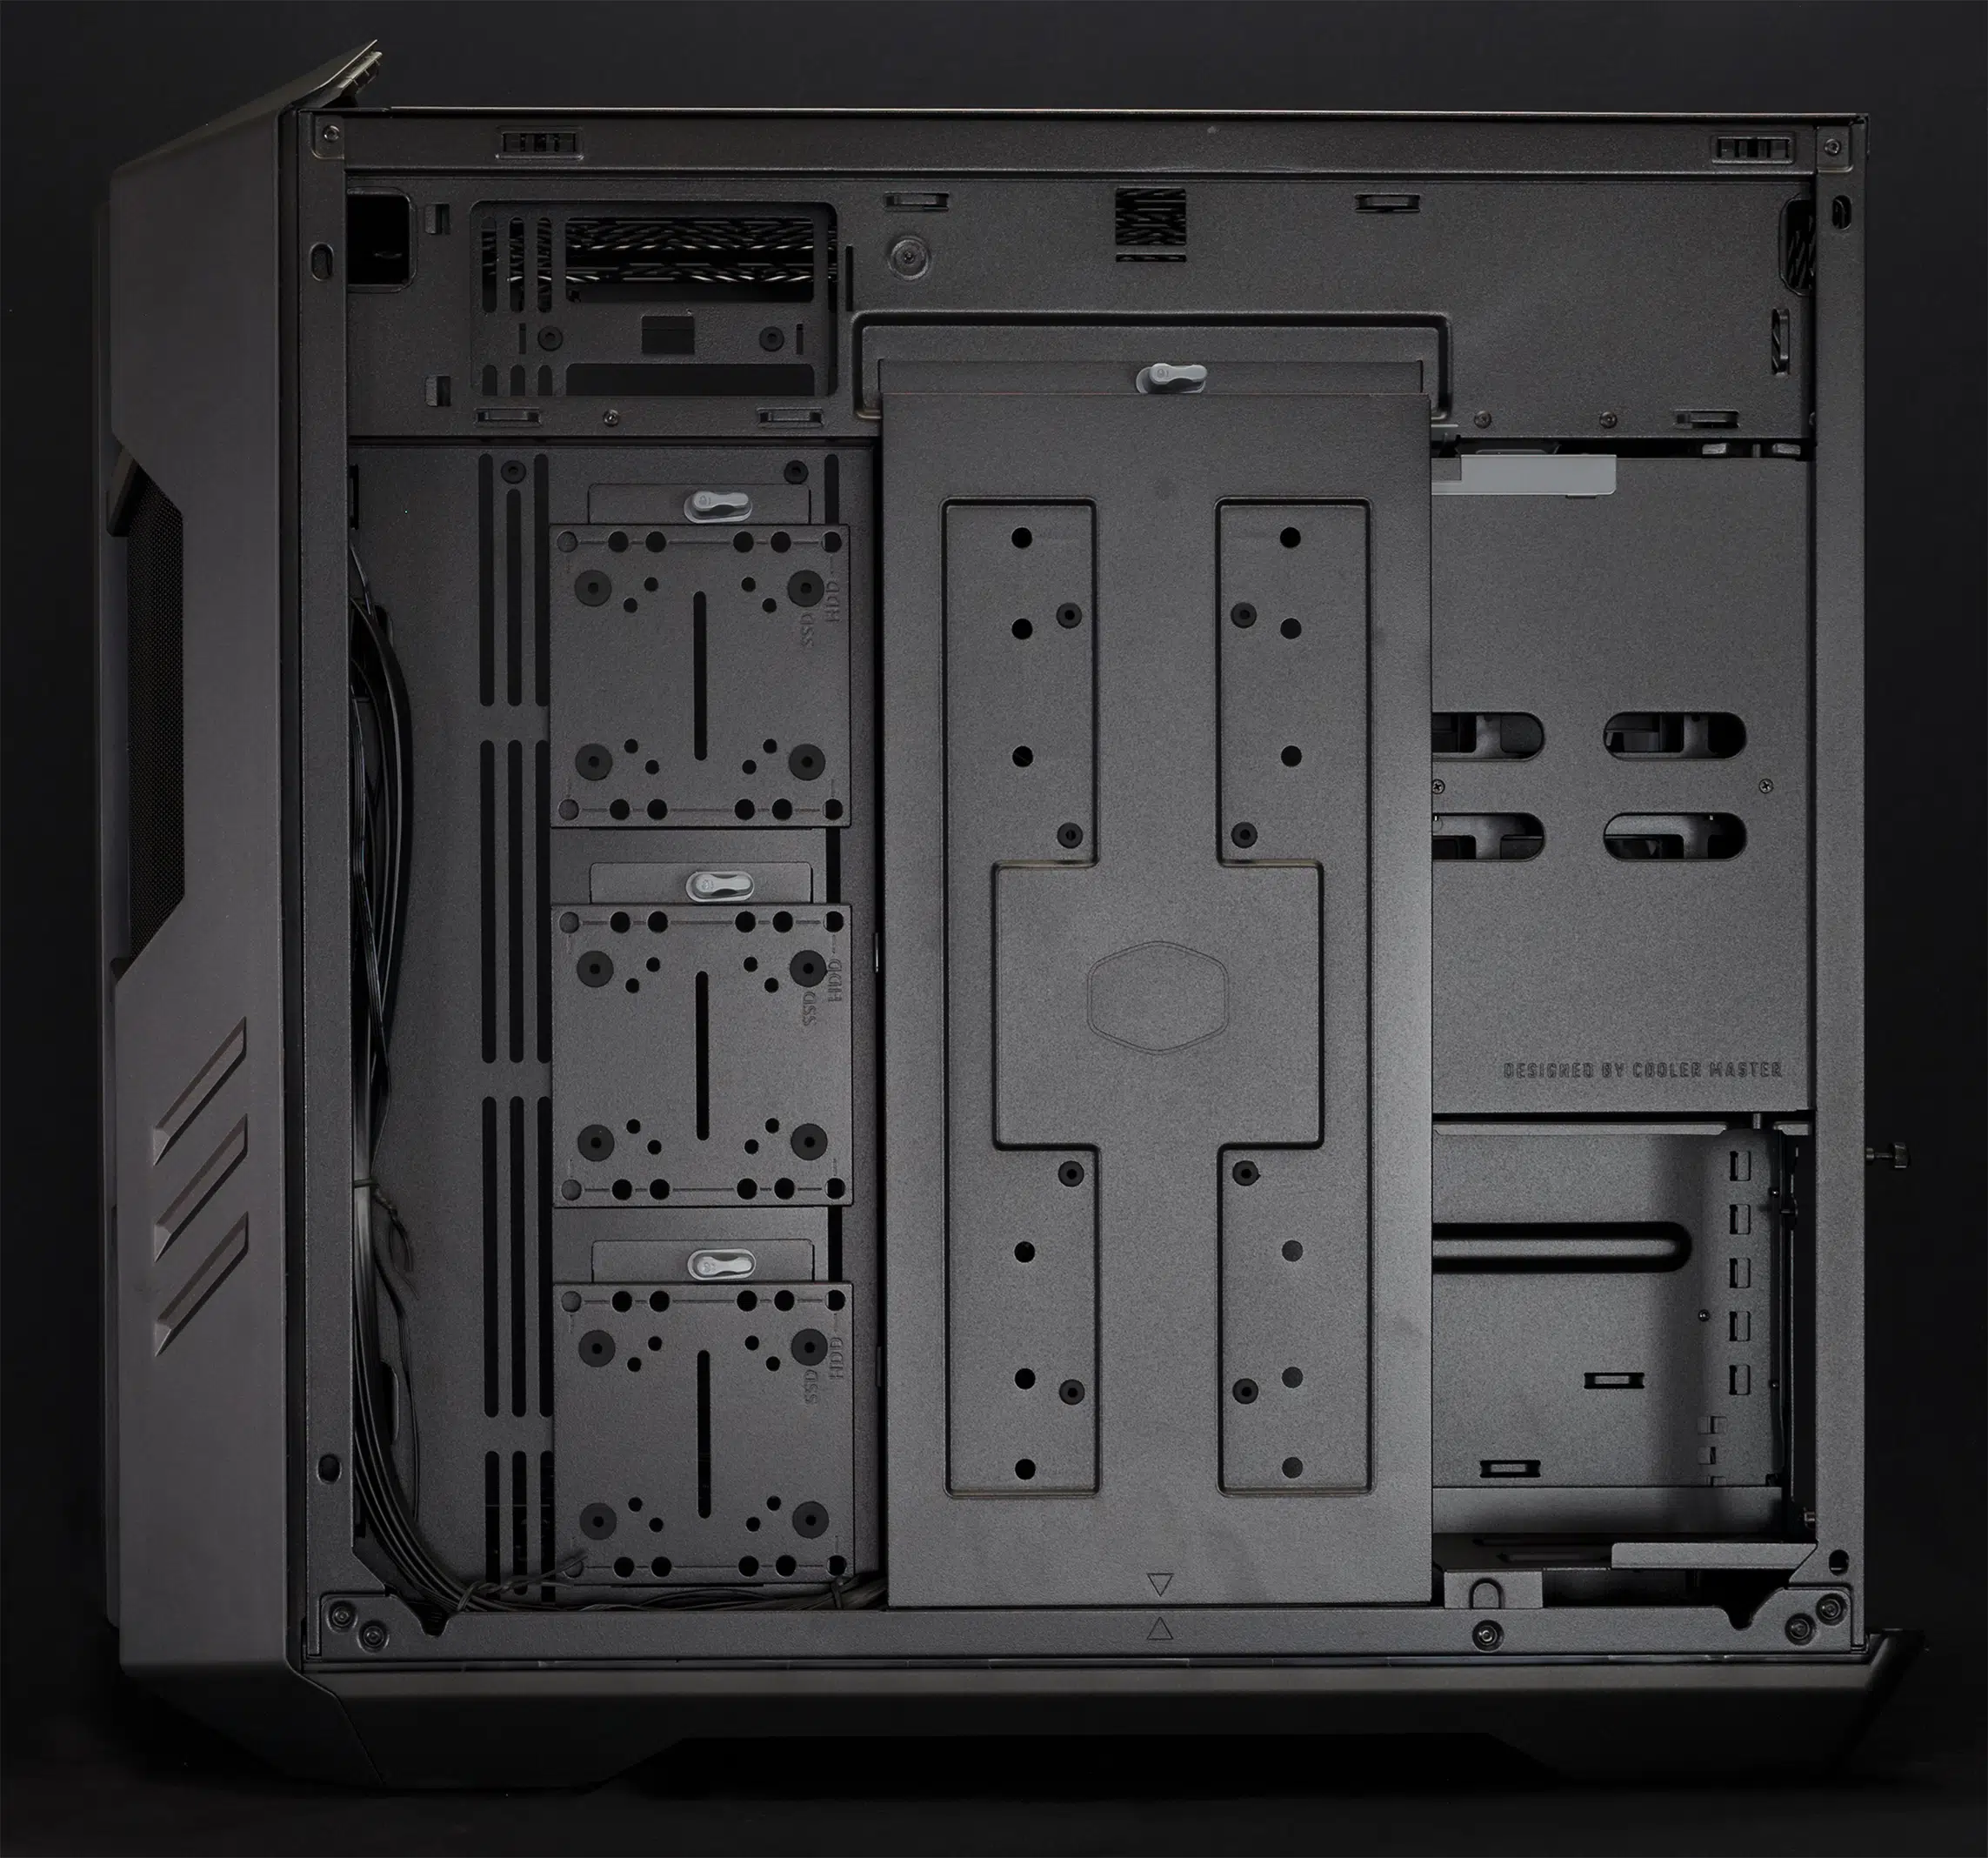
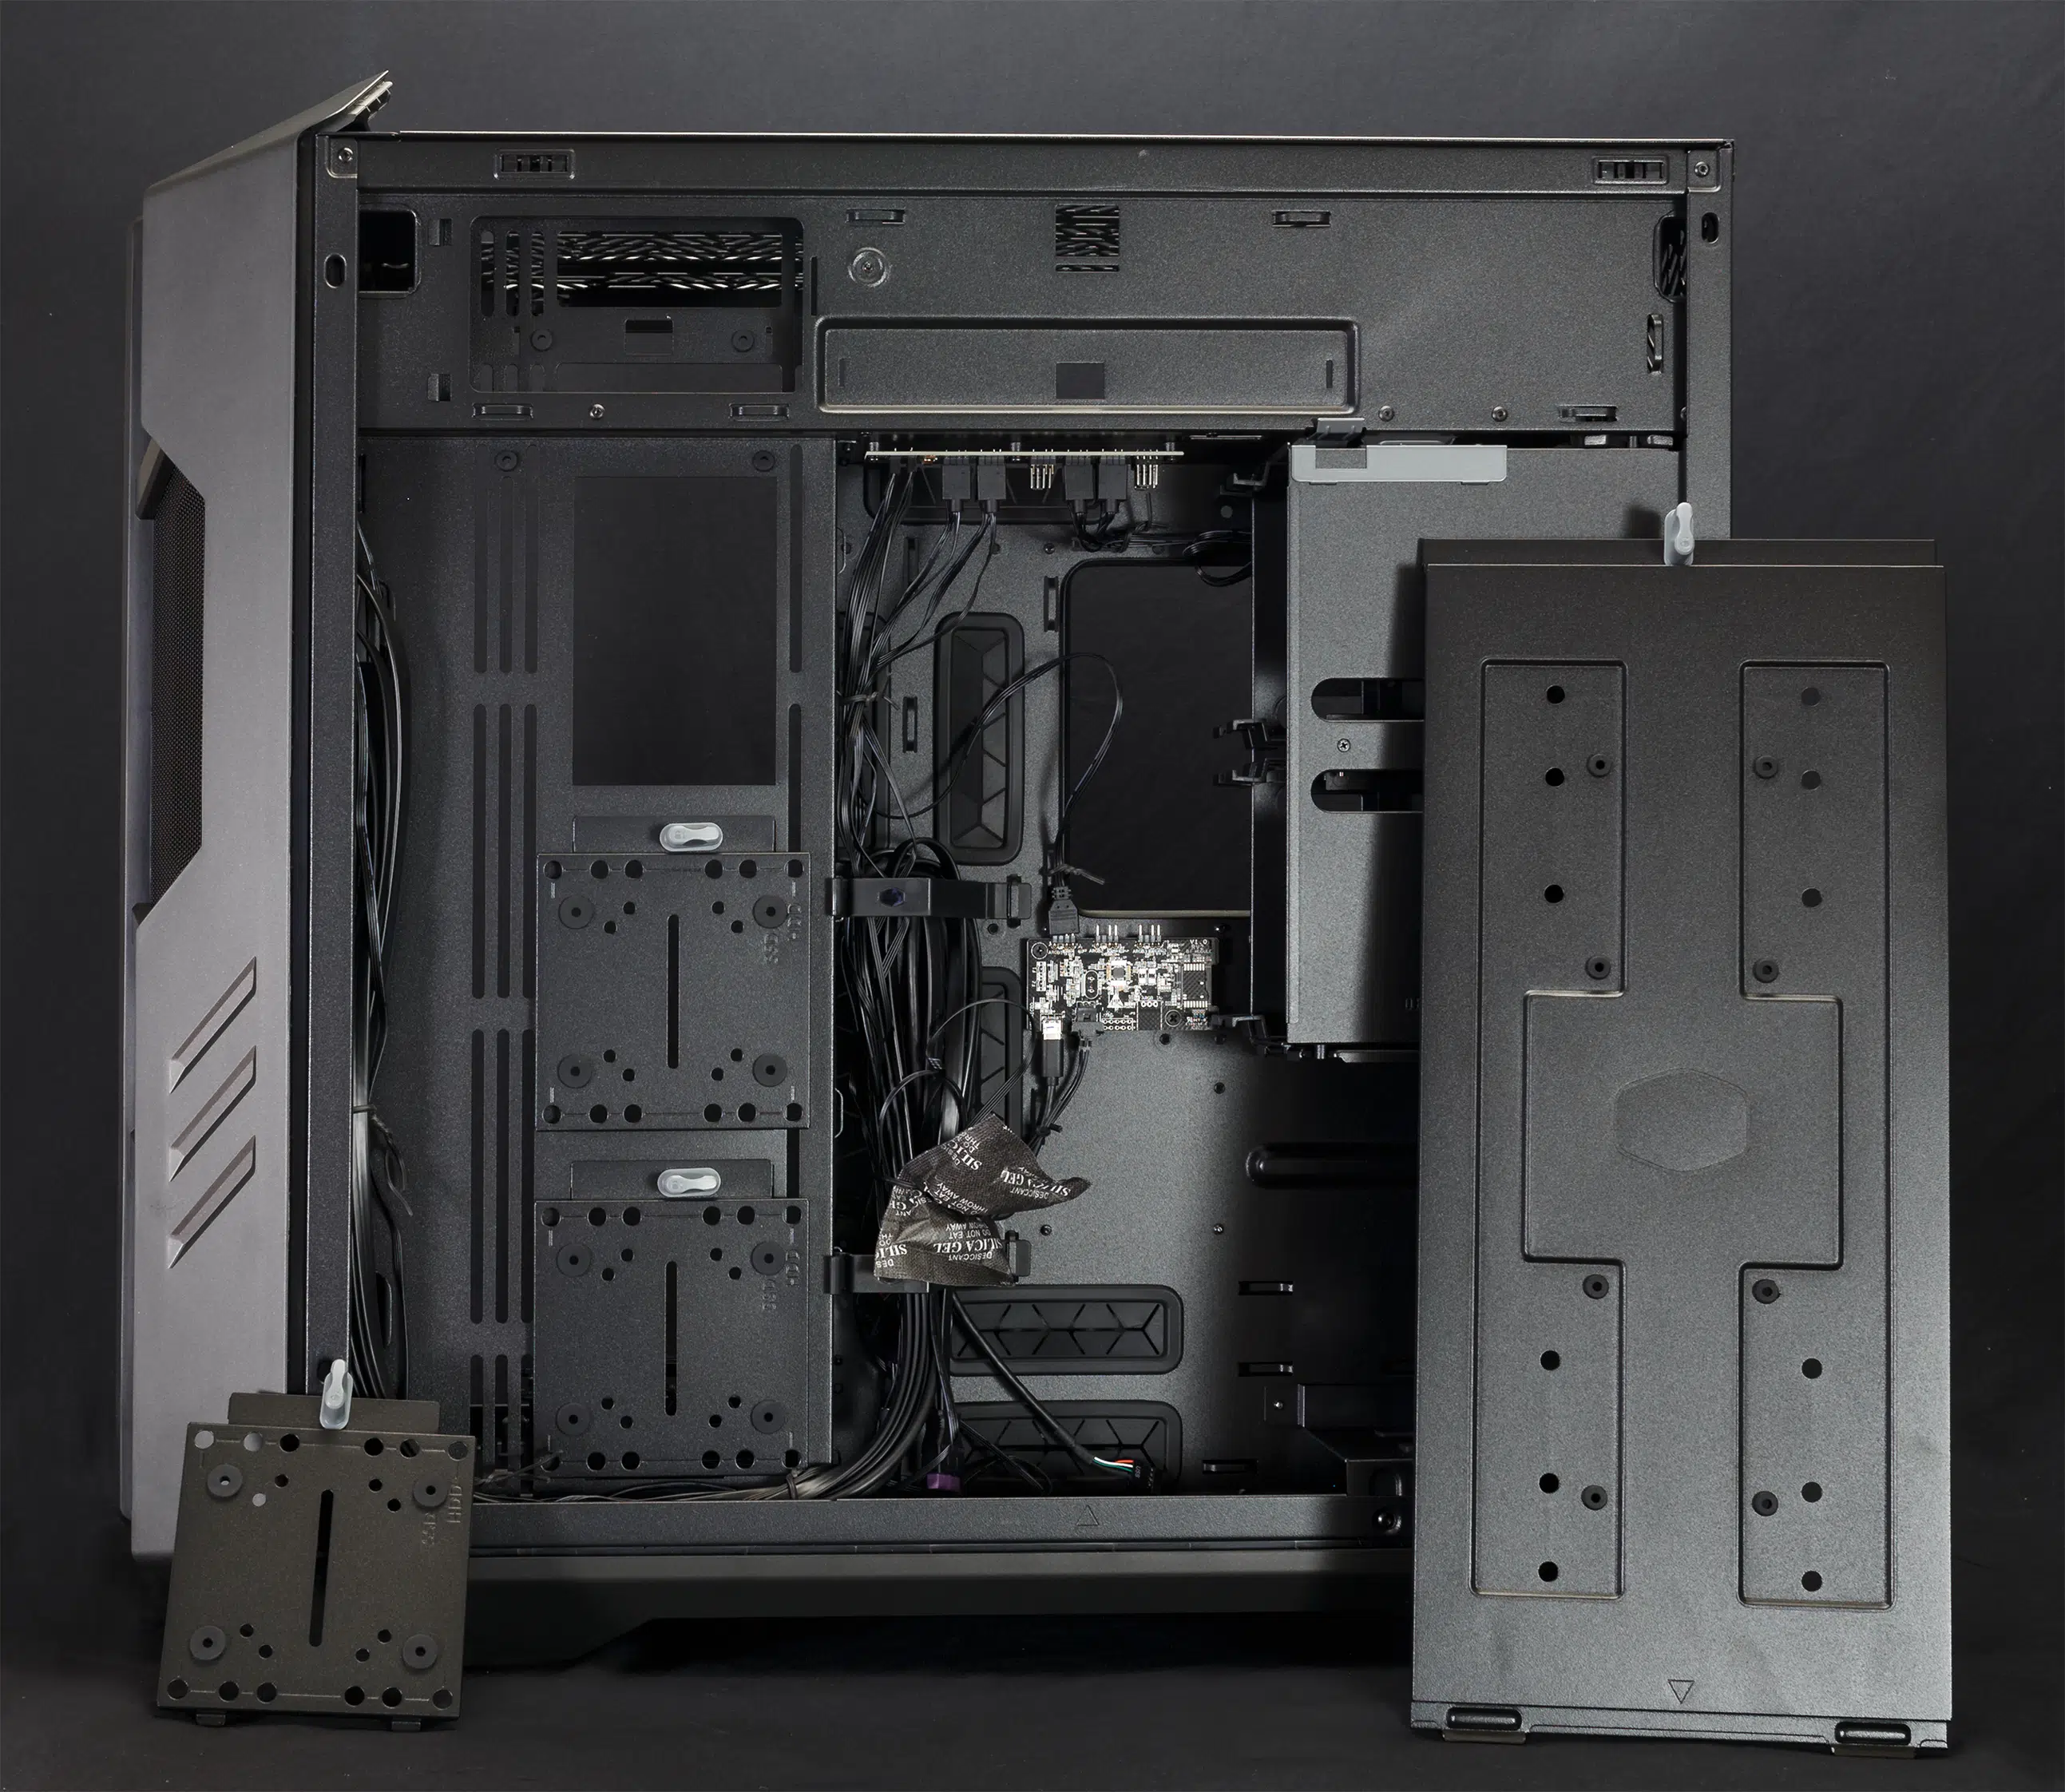
For storage, Cooler Master has outfitted the HAF 700 with a removable drive cage that can fit four 2.5″ or 3.5″ drives. 3.5″ drives can be installed into the toolless trays, while 2.5″ drives require screws. The trays can be accessed by pulling a lever and swinging the whole cage out – and the cage can be completely extracted if needed.
Tempered Glass Panel
The expansive tempered glass side panel uses a tool-free design and looks quite nice. Unlike the HAF 500, the panel is easy to remove and reinstall, which we attribute to the top panel being used as an additional retention level. As the top panel locks the two side panels, it must be removed first and secured by a thumbscrew at the back. This leads to a clean look while imposing an extra step when needing to work inside the HAF 700, and also inspires confidence in the security of the glass.
Front I/O Panel
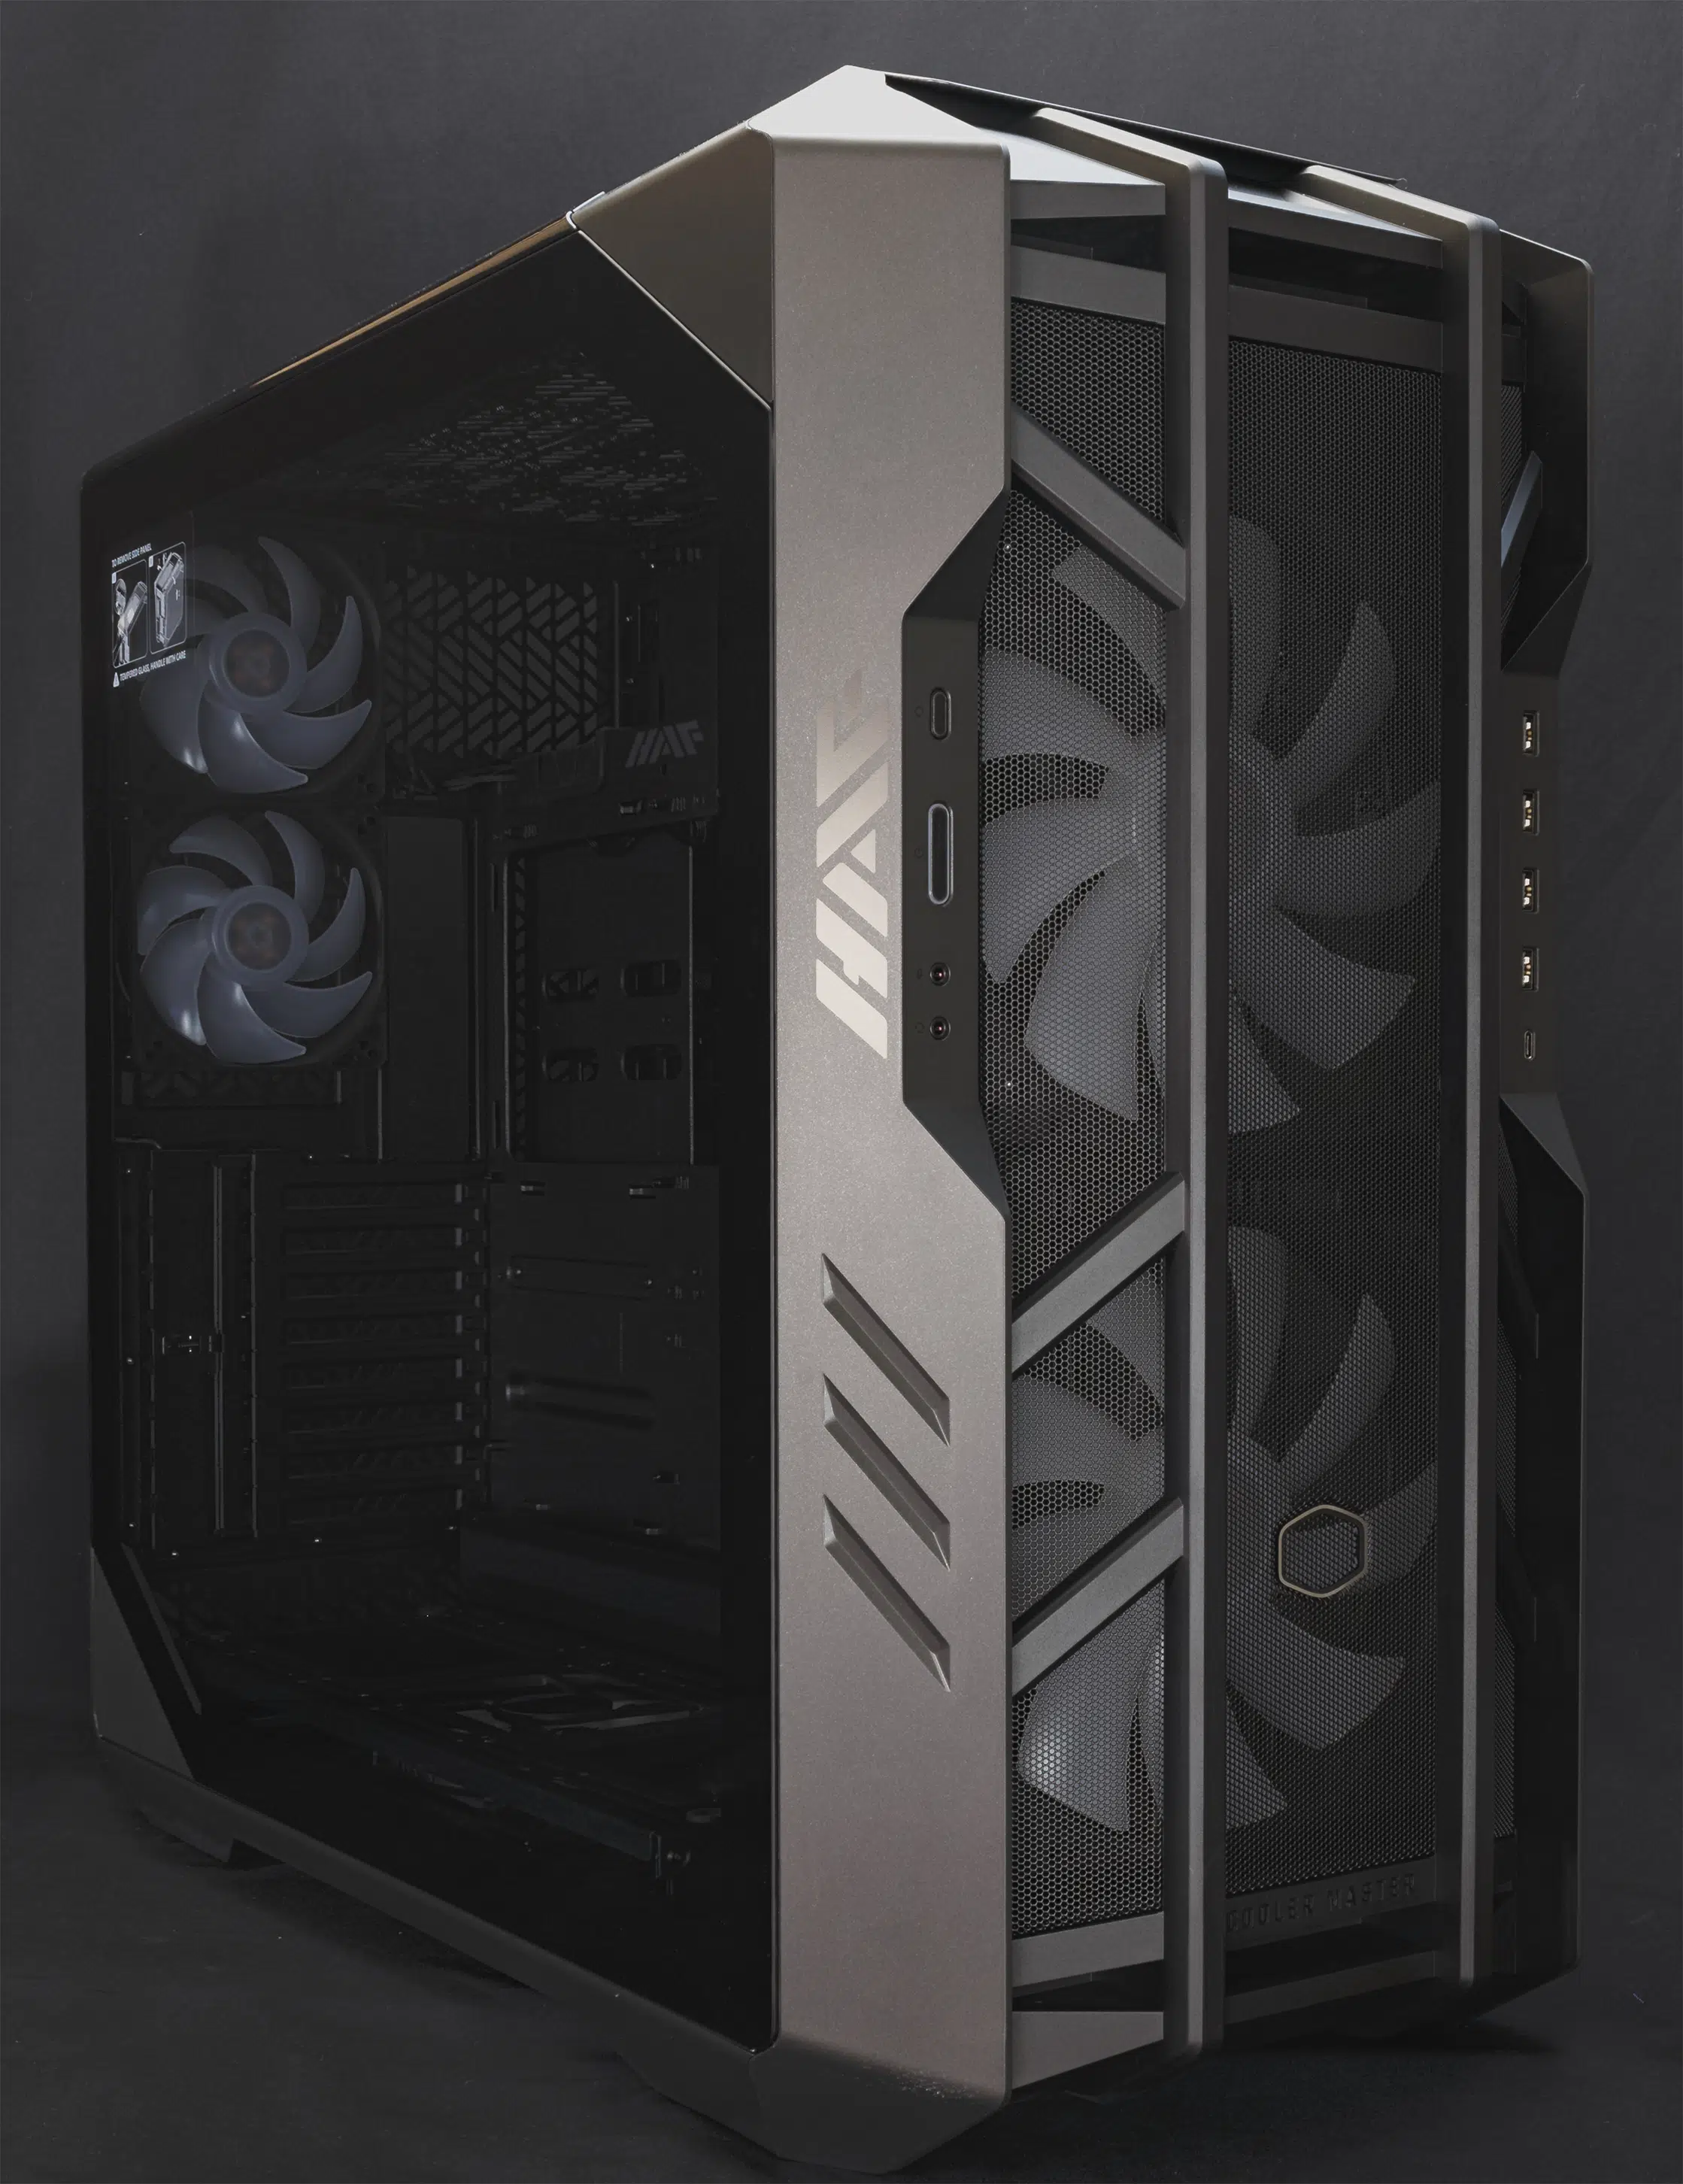
As with the HAF 500, the HAF 700 has a modern set of I/O ports, but also brings the number of type-A USB ports to four, up from the standard two. These are USB 3, so there are two 20-pin leads that need to be plugged in. Our MSI Z490 Carbon only has one such port, so potential users are advised to check their motherboards and to consider the use of an add-in card if needed.
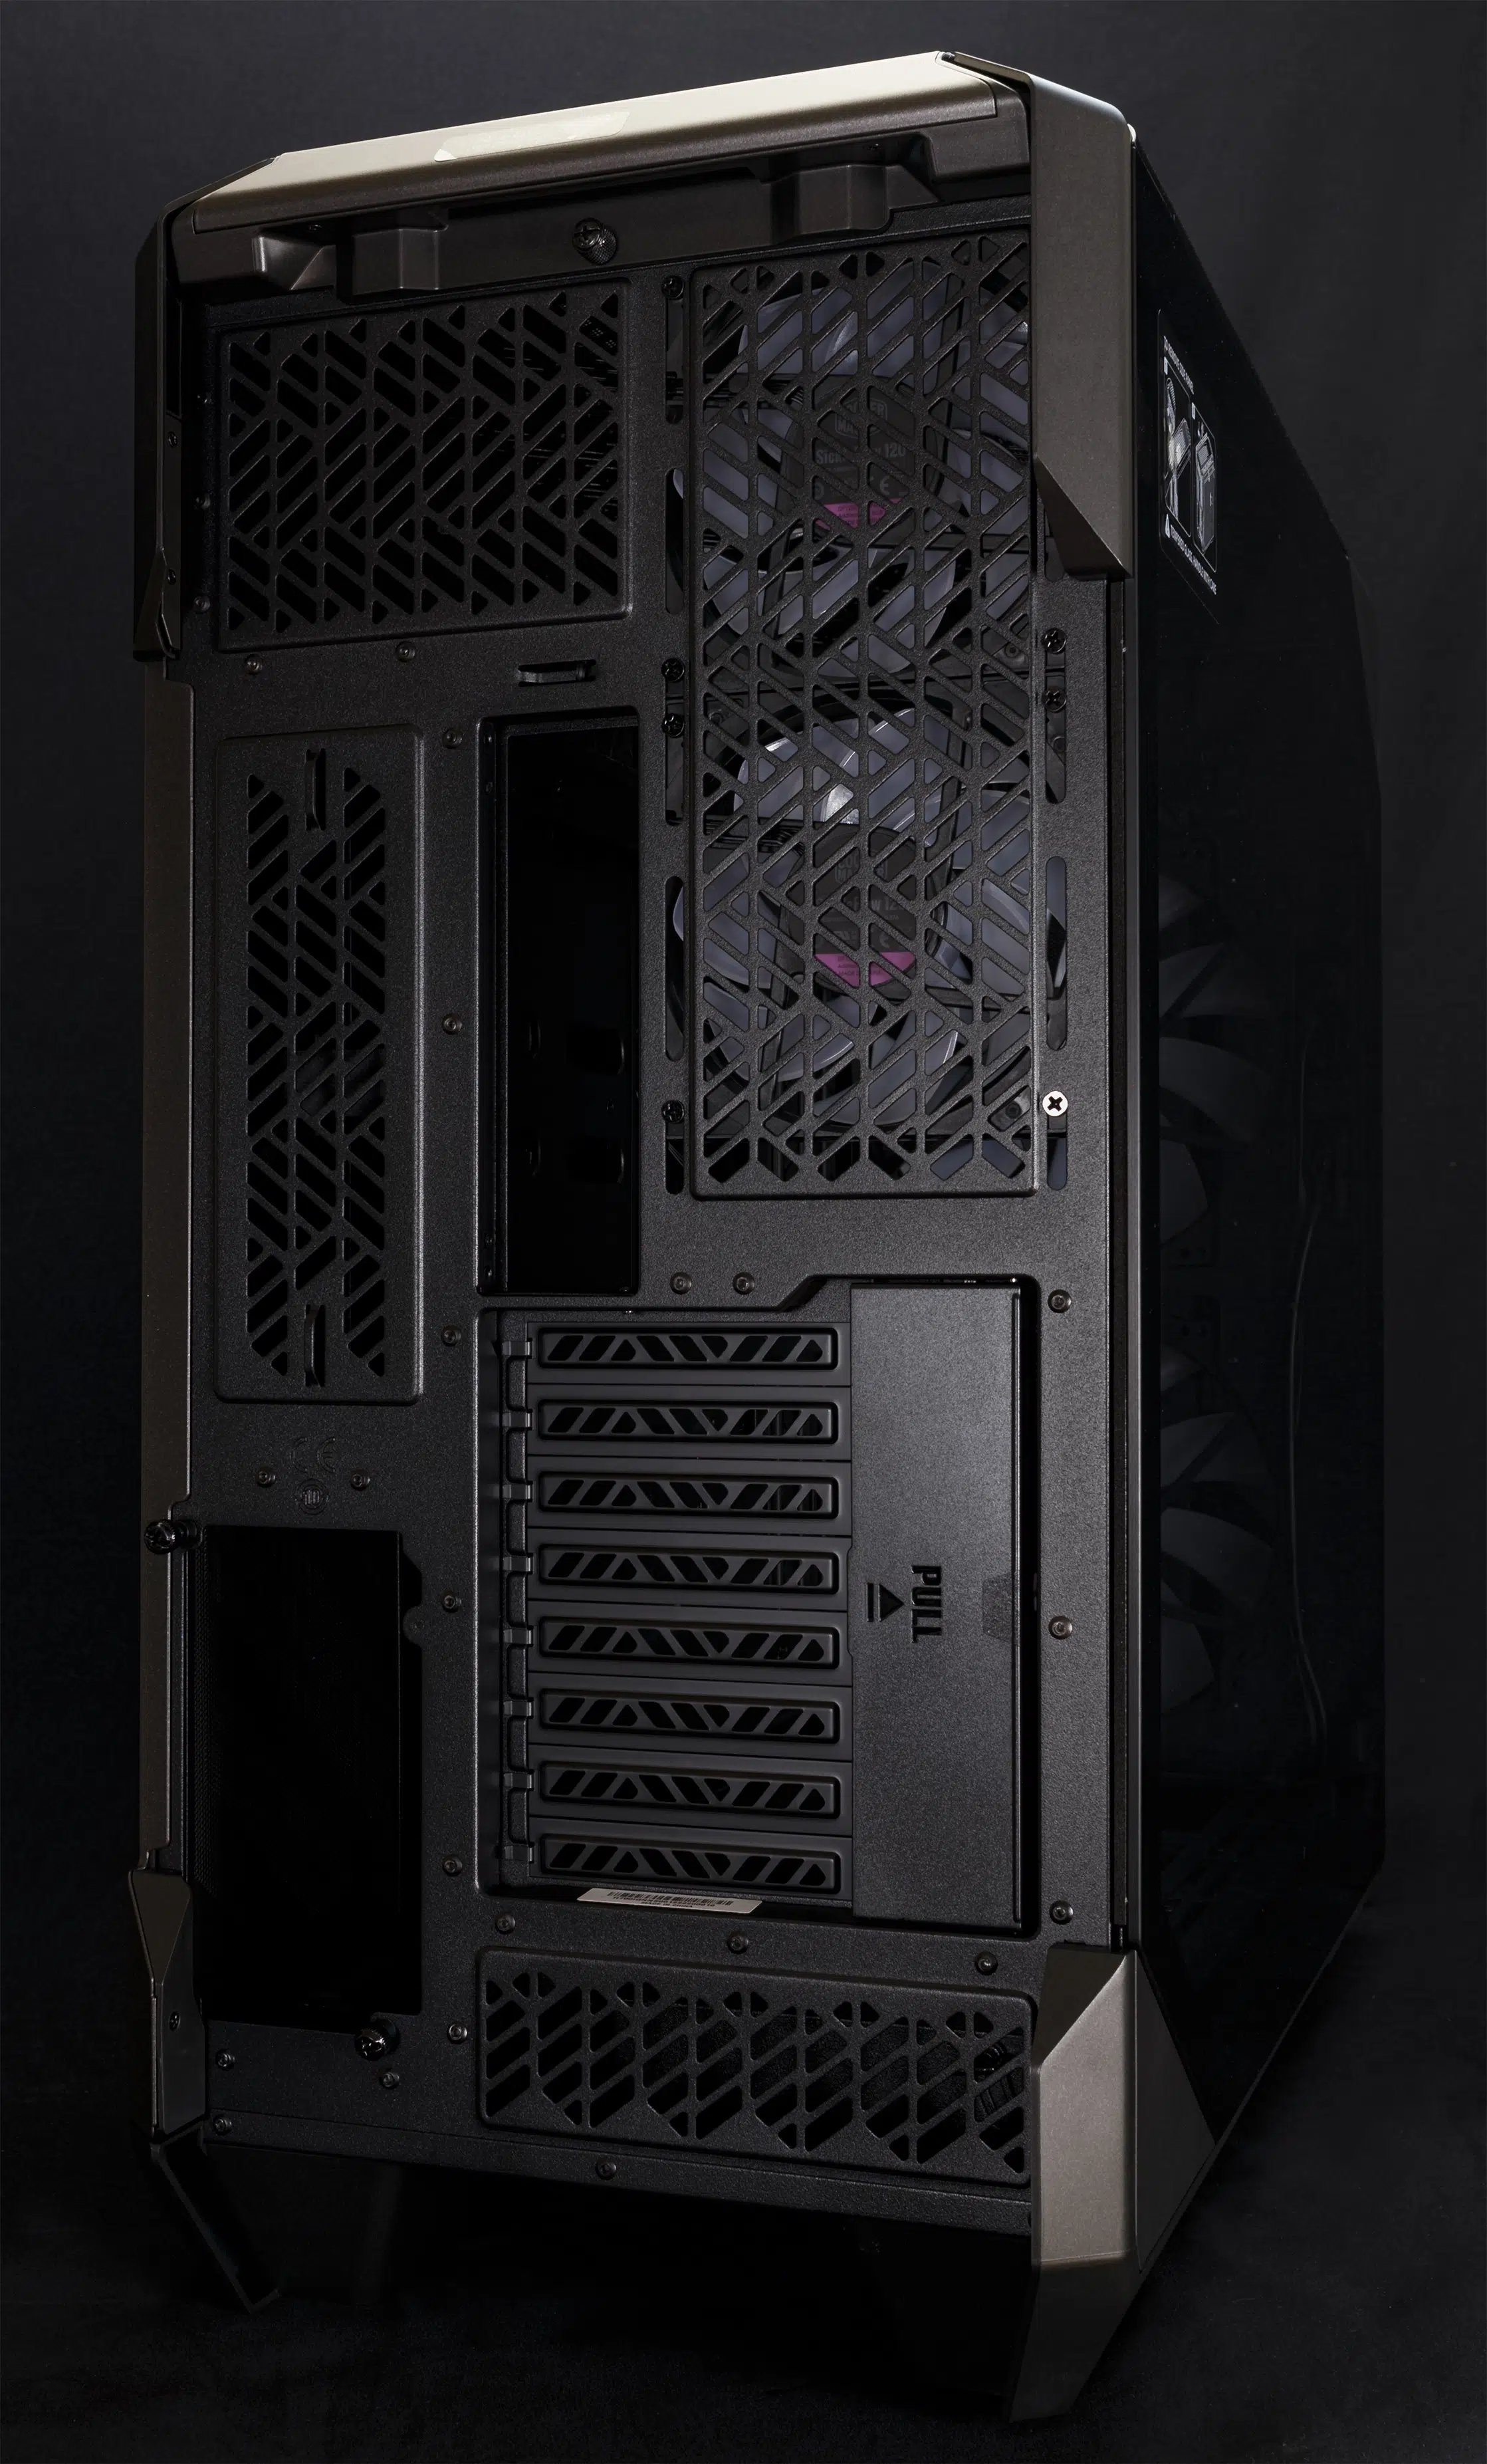
Case Front and Rear
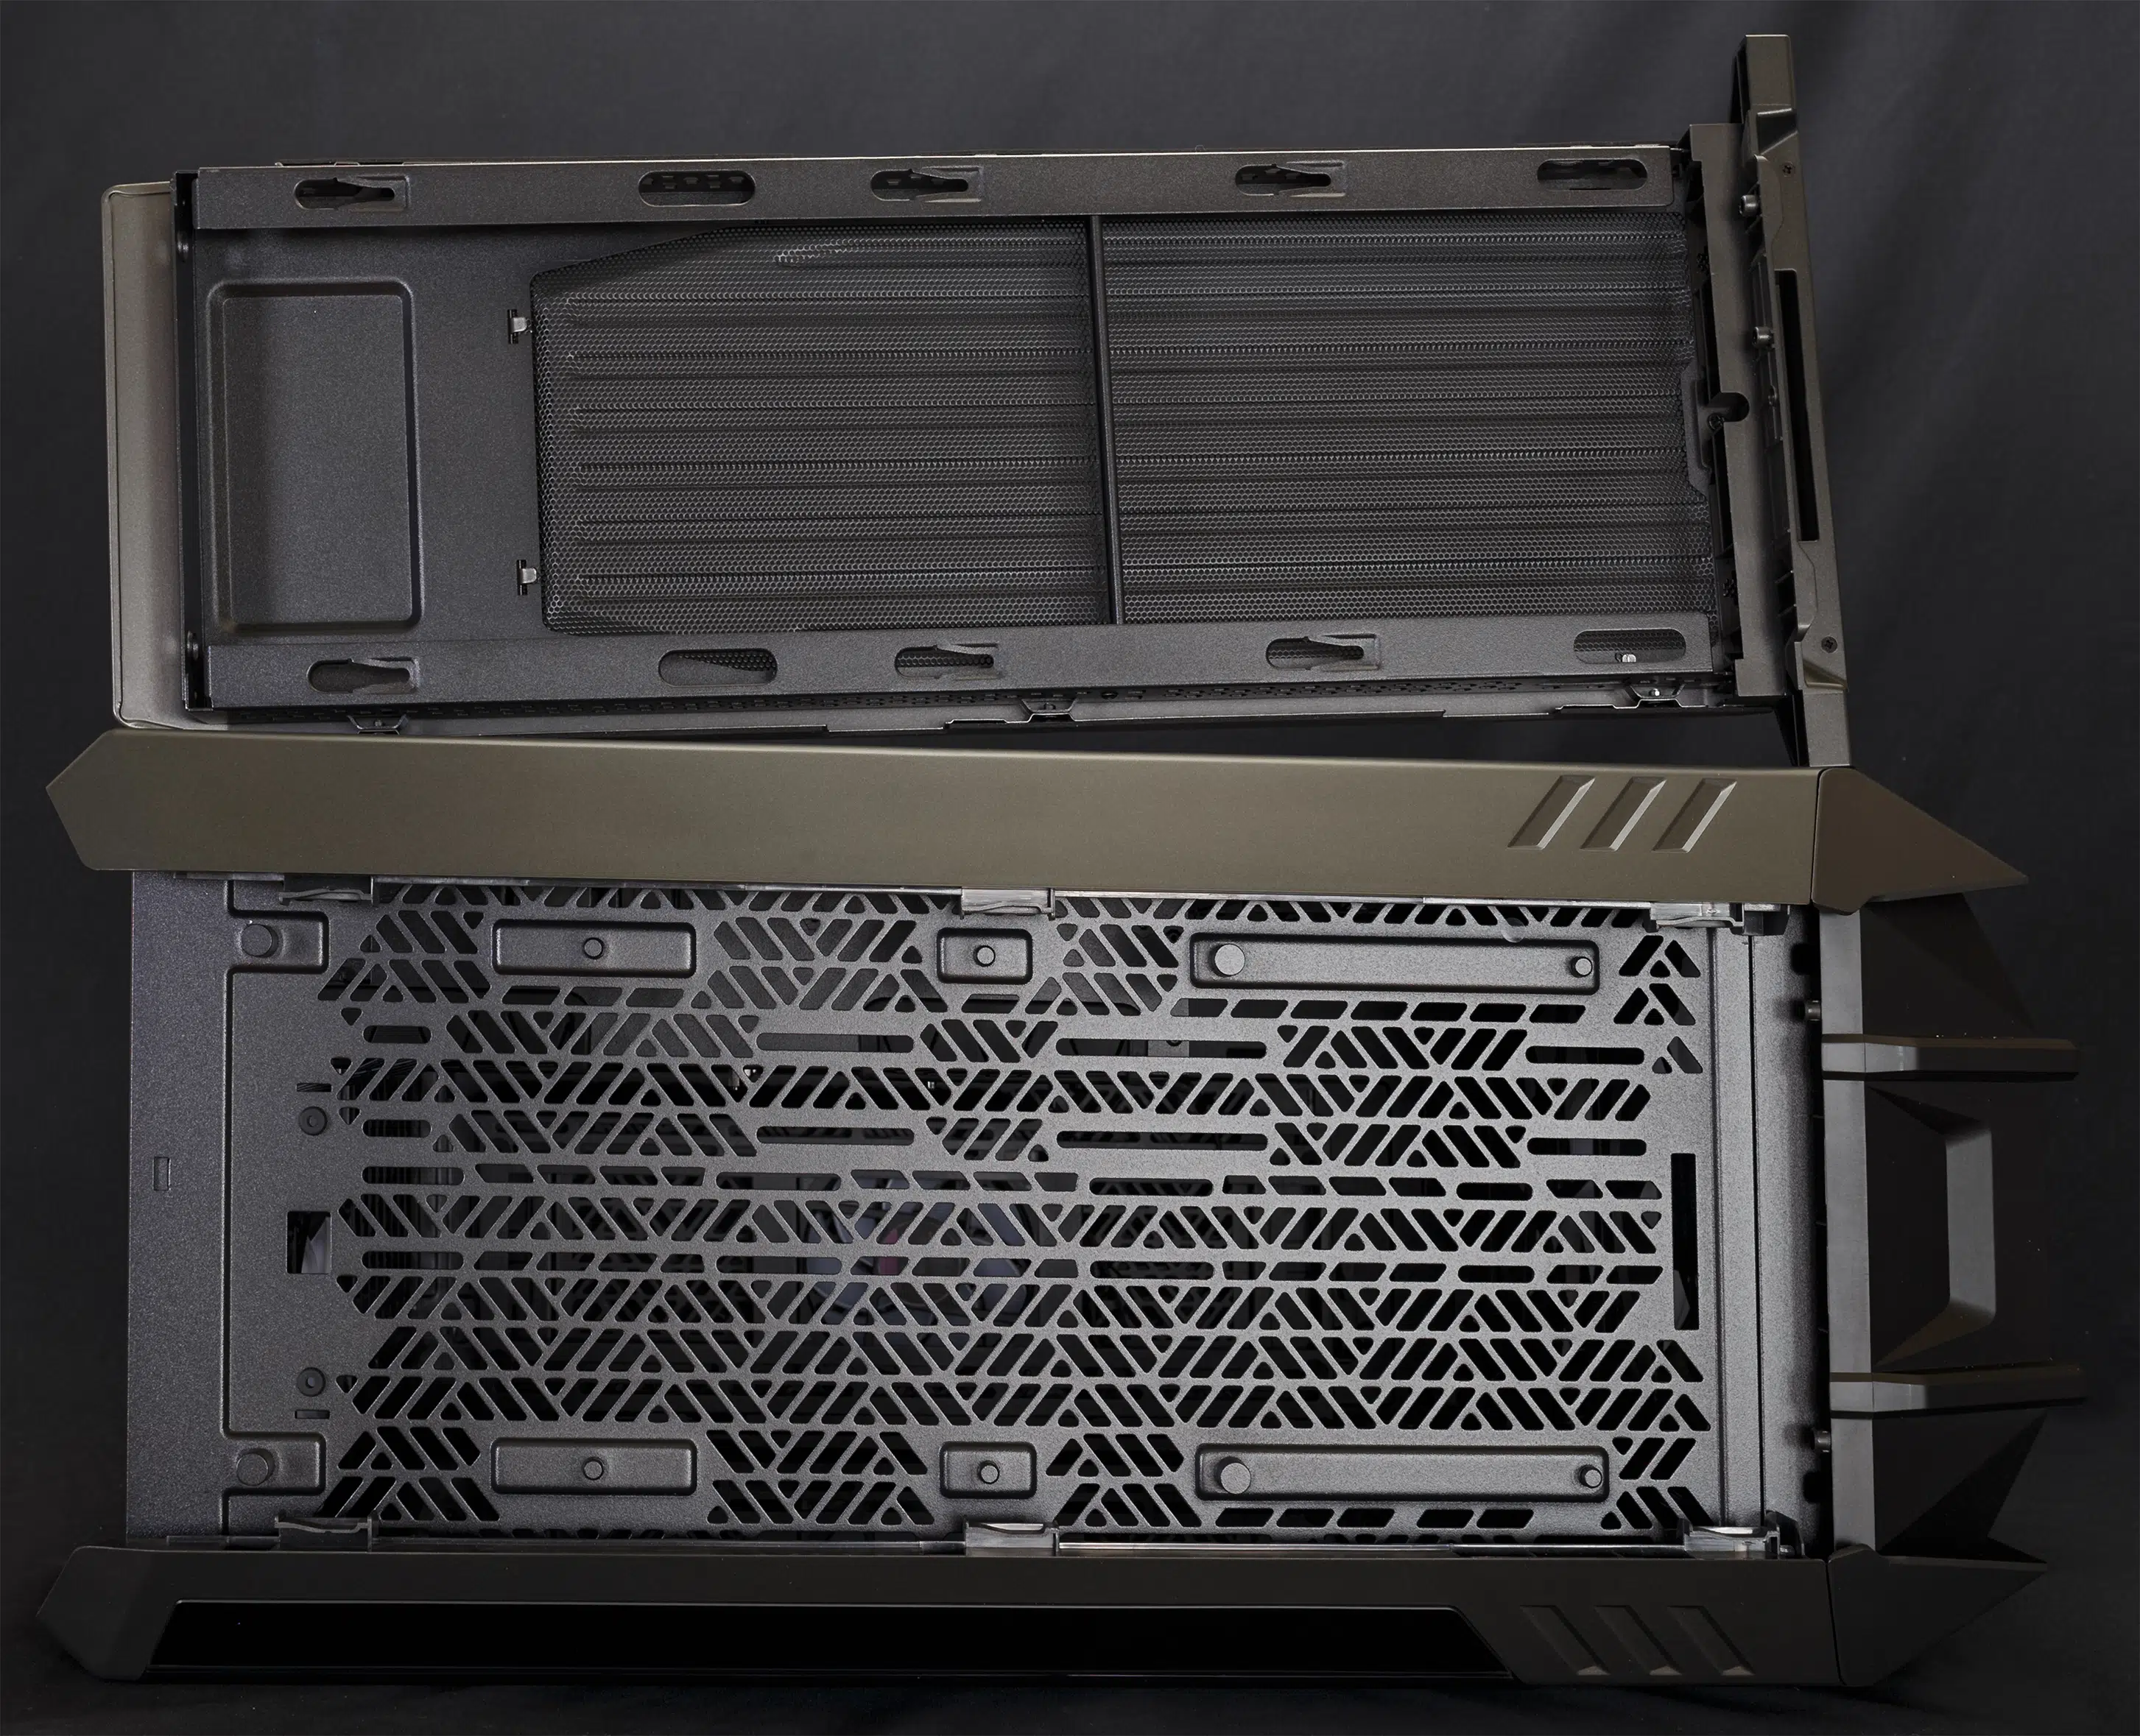
The front panel of the HAF 700 is removable, and like the HAF 500 has no connection to the rest of the case. There is a latch on the bottom of the front panel that must be pressed to pull the panel off, and like the way that the top panel serves as a retention mechanism for the large side panels, this adds a level of security for the front.
The front panel provides a generous cavity for the two SickleFlow 200mm fans, and once the panel is off these fans are completely exposed. Unlike the front fan mounts of the HAF 500, Cooler Master has left these mounts unrestricted by adding 120mm and 140mm mounting positions behind the 200mm fans. Instead, for users that wish to use the front of the case for radiators – or to use alternate fan sizes – the tiltable fan mount that ships on the bottom of the case can be moved to the front.
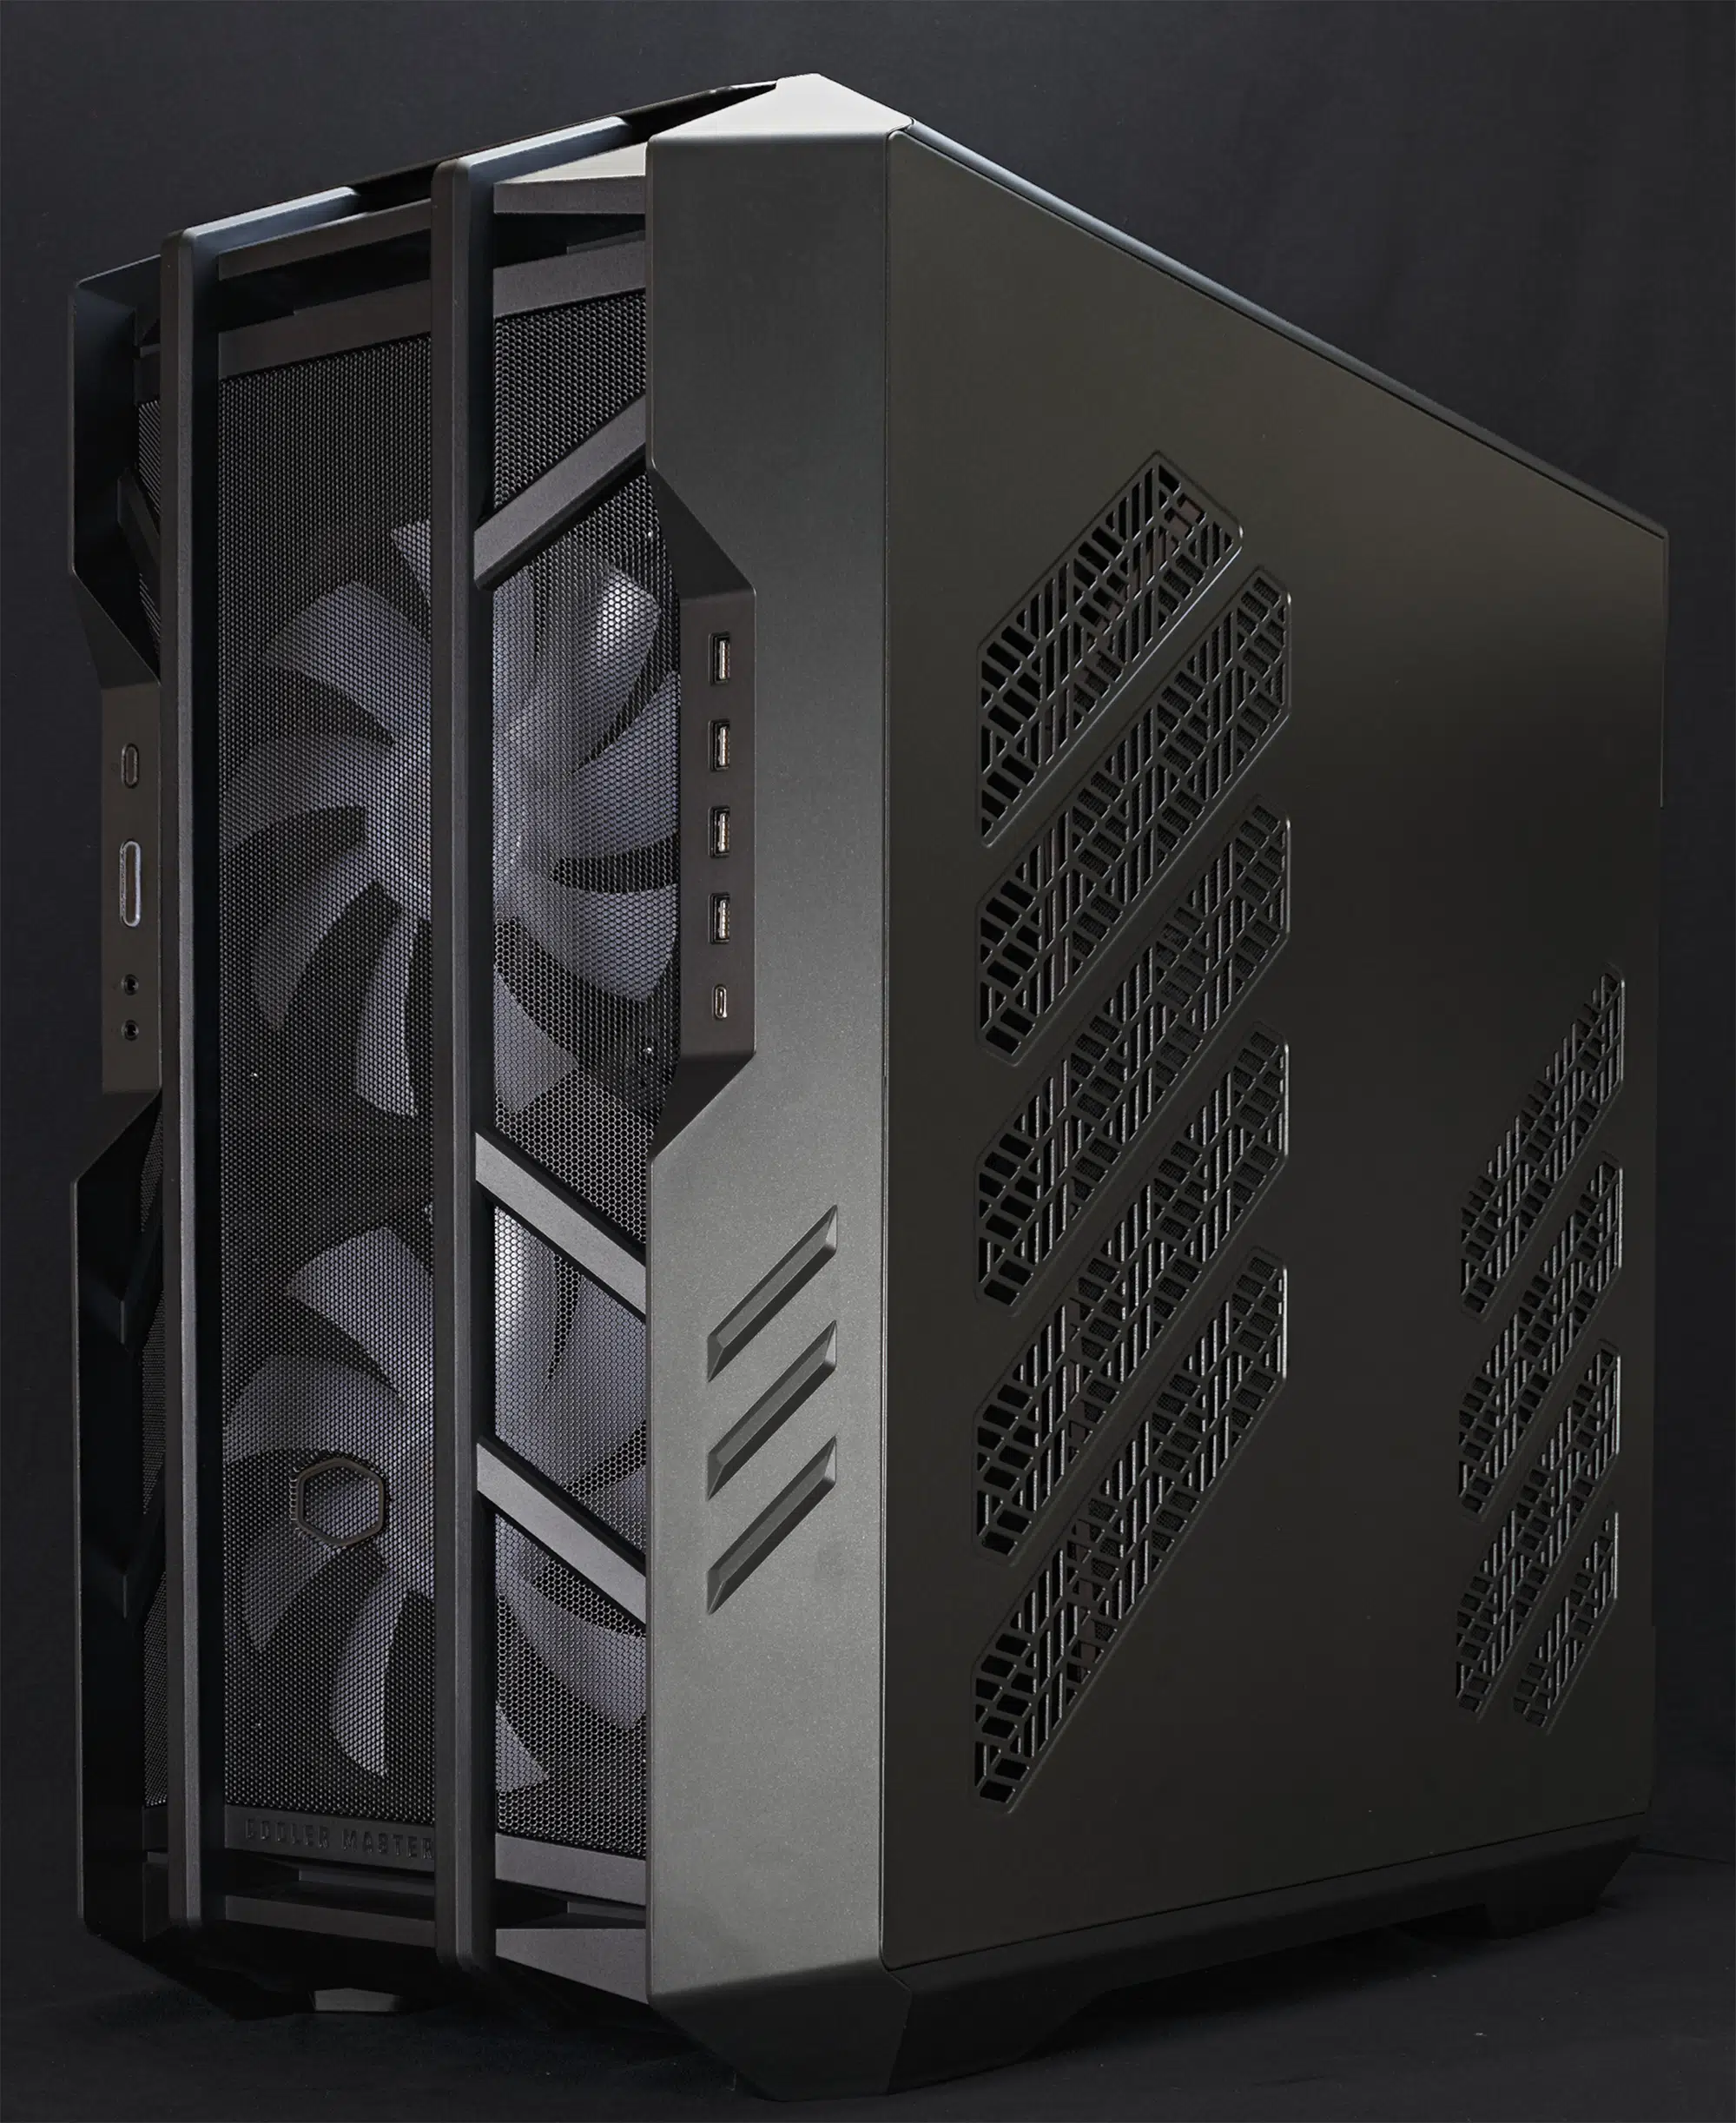
Moving around the back, the extra width of the HAF 700 becomes apparent. In order to make room for a separate PSU chamber, Cooler Master widened the case by about four inches (about 100mm). Also apparent is the extra height, which Cooler Master has utilized to support two 120mm exhaust fans. Finally, the HAF namesake shines through as three sections of stamped cutouts ensure free airflow.
Our Build Recommendation
- Remove the top panel, side panels, internal cable routing panel cover, and HDD cage, in that order
- Install any radiators or AIOs for water cooling
- Install any additional fans
- Install memory, CPU, air CPU cooler if used, and the CPU 12v leads into the motherboard
- Install the motherboard into the case
- Run the fan power leads and any lighting cables to their appropriate headers and secure them loosely to the back of the motherboard tray
- Run any remaining front-panel connections to the bottom of the motherboard along with any other cables needed, loosely securing along the way
- Run the remaining power supply leads for GPU(s), 24-pin motherboard header
- Connect all power supply leads while the power supply is still outside the case
- Install the power supply
- Route the power supply leads along the back of the case and secure
- Fully secure all other leads
Discussion (6 replies)
Join Discussion →It looks like my View 51 TG. I think that's a format a lot of companies are switching to.
Yup - ASUS' new case is dual-chamber, and looks a lot like Lian Li's O11 lineup as well. Works if you're not terribly worried about footprint!
Nice review. I enjoy a large case to work in like my 7000D, so this gets my attention. It's nice to see CM offer something similar to the HAF 700 EVO, but with a much cheaper price tag. I looked at the C700M a year or so ago, but what turned me off of CM and that case was all the negative reviews for build quality and/or quirks. Even the HAF 700 EVO basically gets those same reviews based on some searches I've done. It's nice to see that this case is built well, so maybe CM has stepped up their game a little recently.
We didn't get a chance to review the HAF 700 EVO - and from what I can tell, the HAF 700 seems to be a 'de-tech'd' version of that case.
However, Cooler Master could easily have given the design a onceover to address criticisms. For my part, the HAF 700 had no issues with build quality, and no quirks that stood out negatively, other than the size, obviously :).
Thanks, @LazyGamer for the great review. I'm not going to be jumping ship from my Carbide but something like this might be on the horizon for the next build. I like how you can put 2x360 mm radiators side-by-side. That's a detail now on my radar with the latest build.
It's a wide one...