UEFI/BIOS
The GIGABYTE X870E AORUS ELITE X3D is unique in that it is equipped with a 512Mb BIOS chip versus the more common 256Mb. This extra capacity allows GIGABYTE to equip the BIOS with the Wireless drivers to aid with installing Windows 11. GIGABYTE has also redesigned the BIOS format, using fewer headers and a simple one-click system for selections. Otherwise, this BIOS is a standard AMI BIOS, entered in standard fashion.
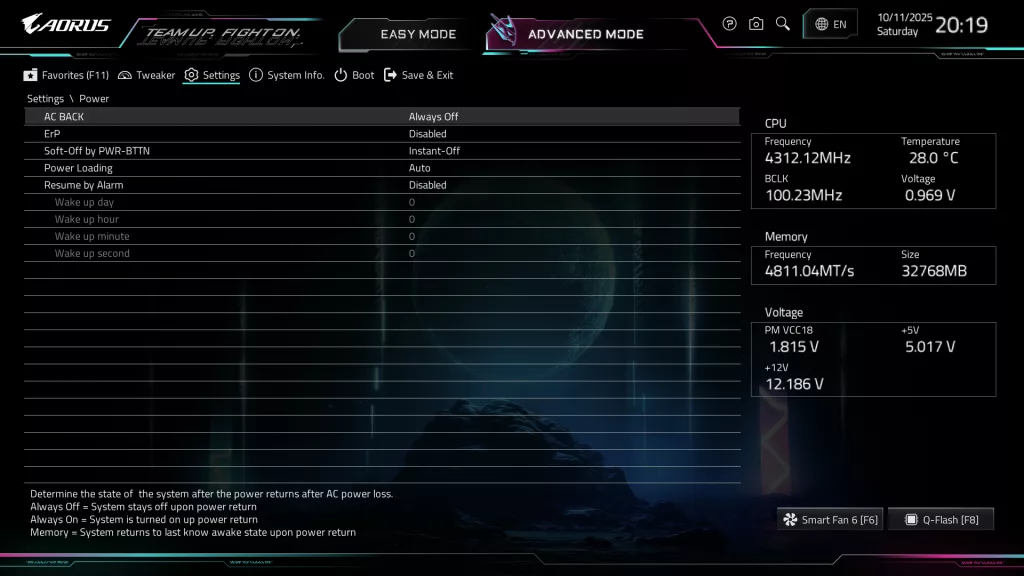
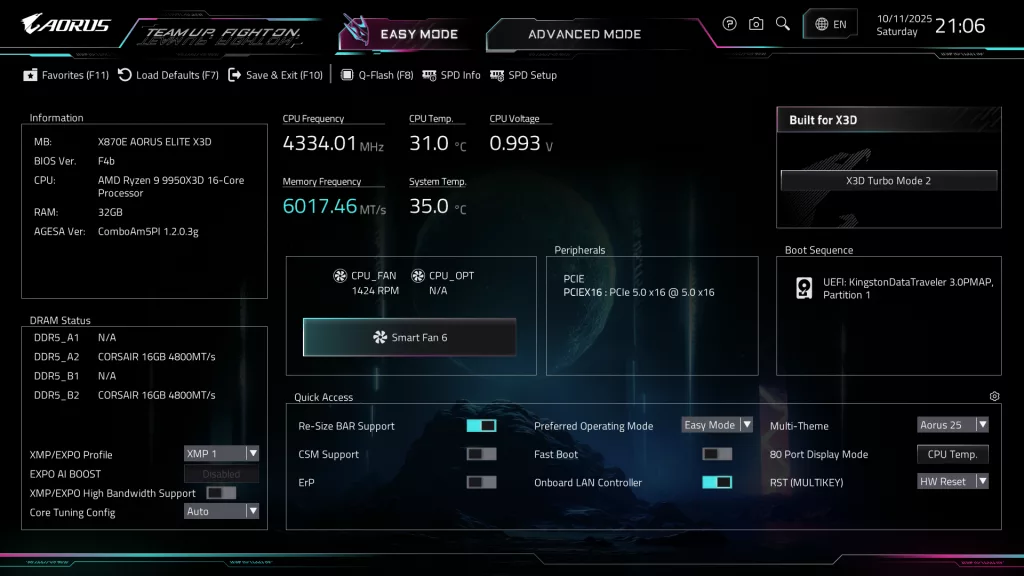
The UEFI/BIOS has the common “Easy and Advanced” modes. The home page of choice can be selected from the Easy Mode menu. All in all, the design of the BIOS, ease of selections, location of menus, and look are very refreshing. The BIOS is very responsive, things are easy to find, and the design is easy on the eyes. The Easy Mode has a selection of basic menus, but quite honestly, most of what you need.
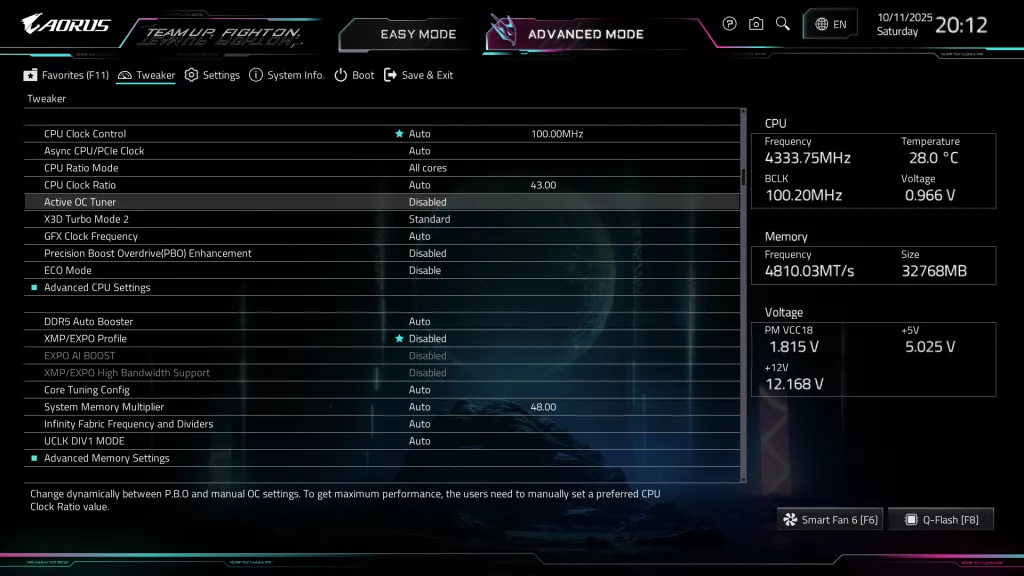
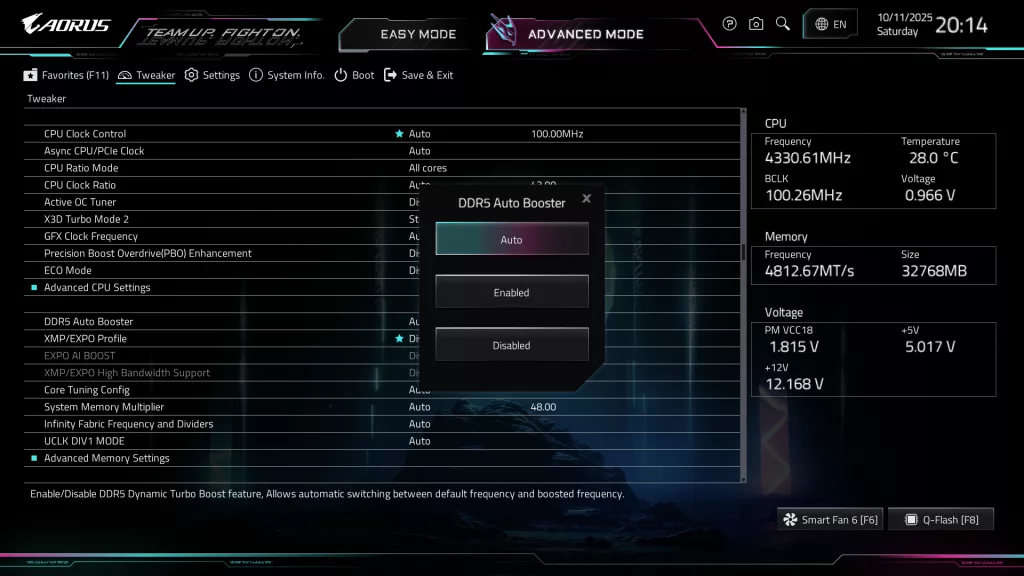
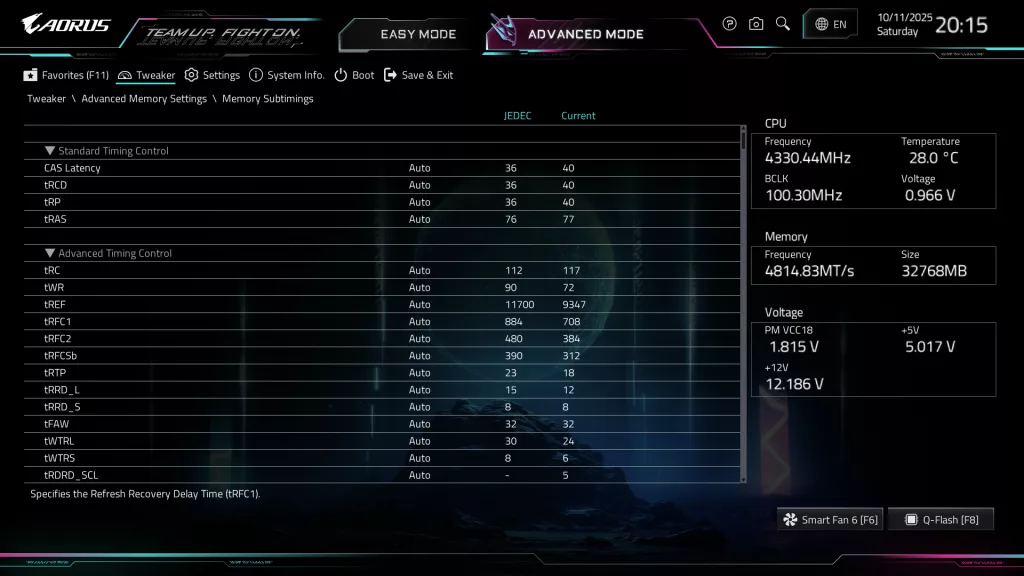
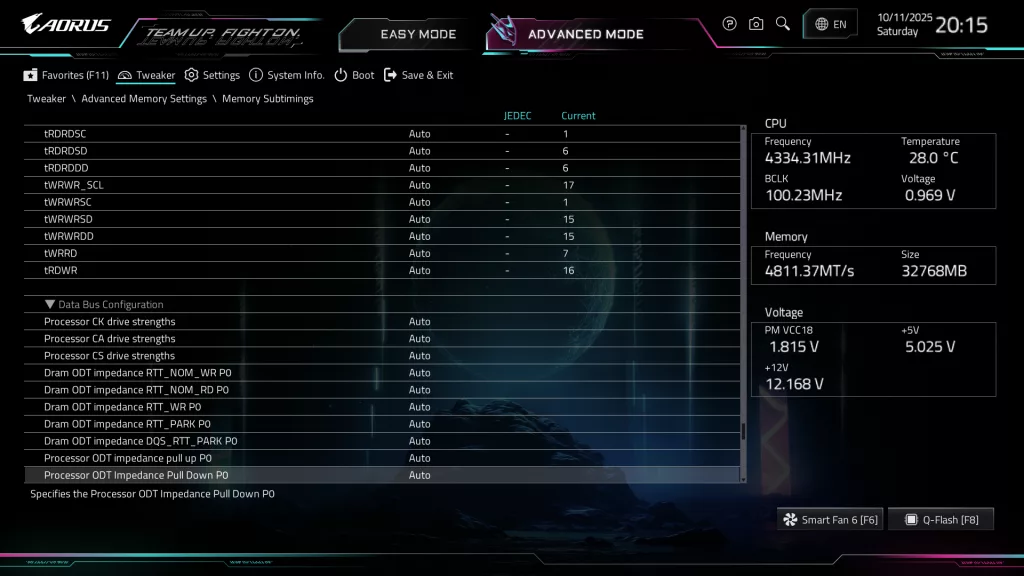
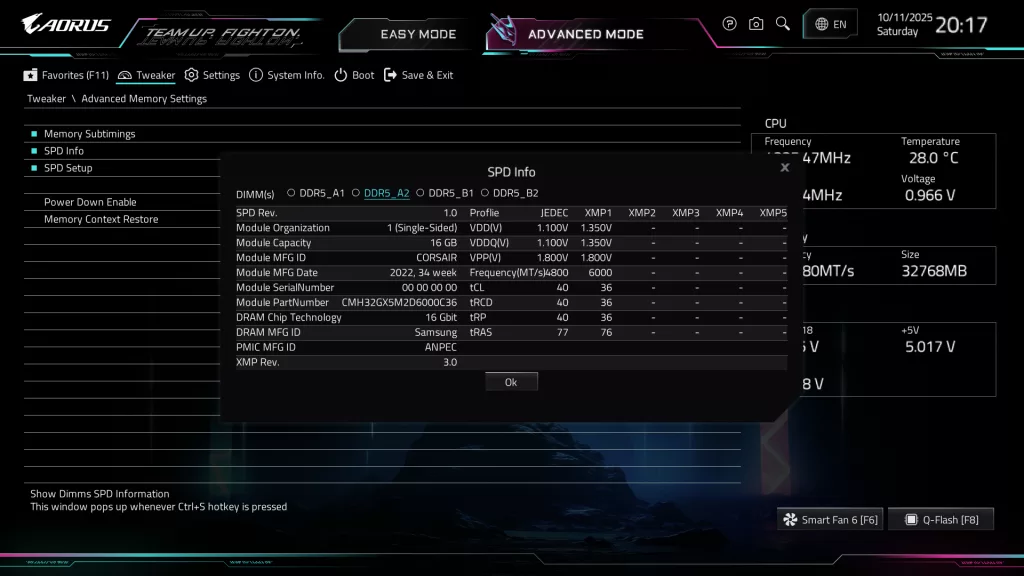
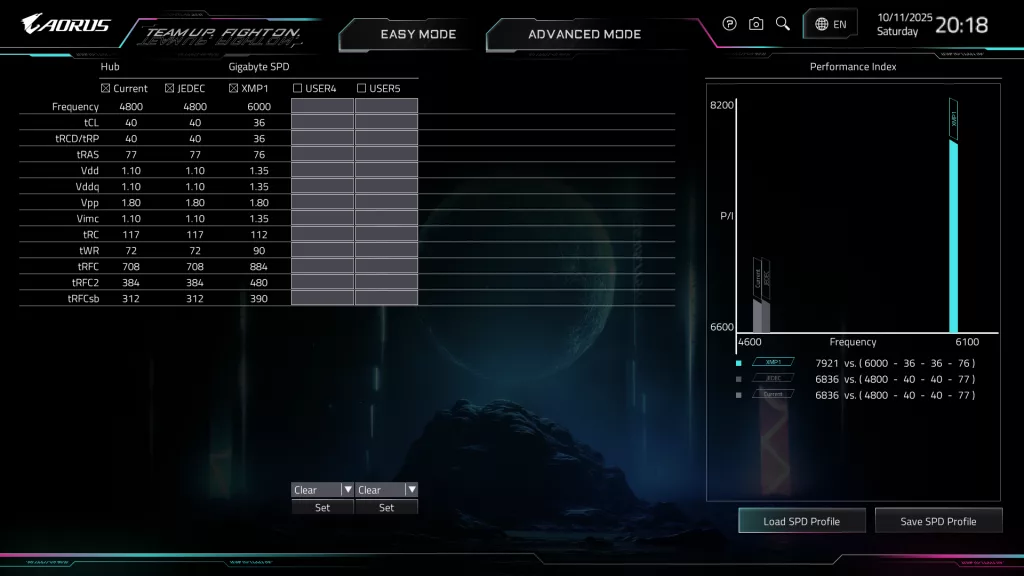
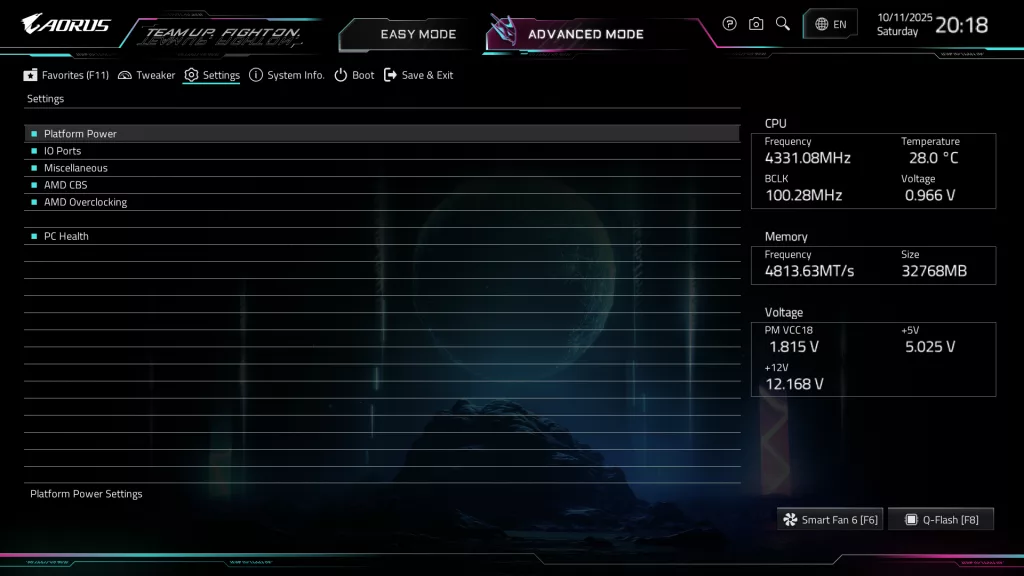
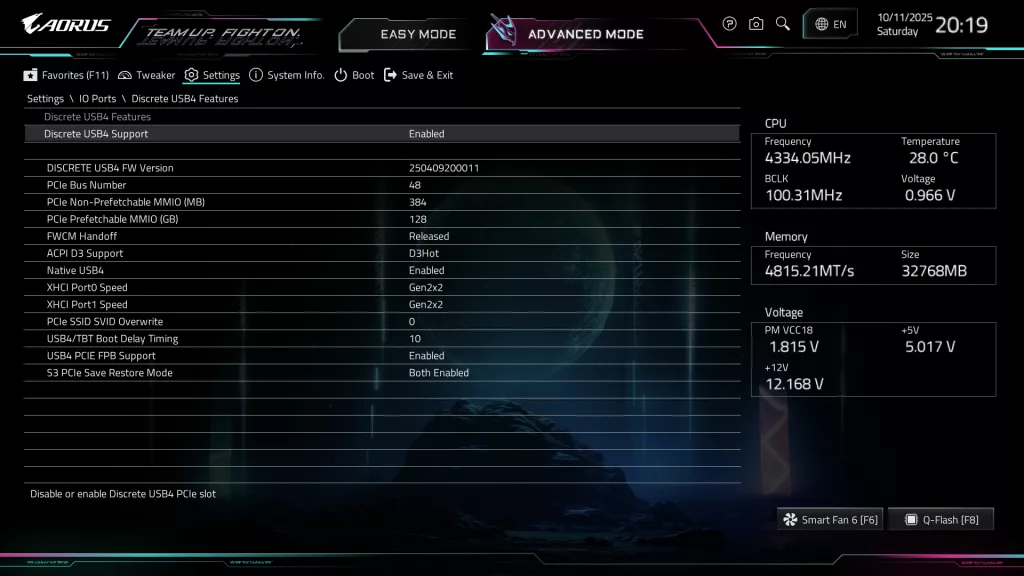
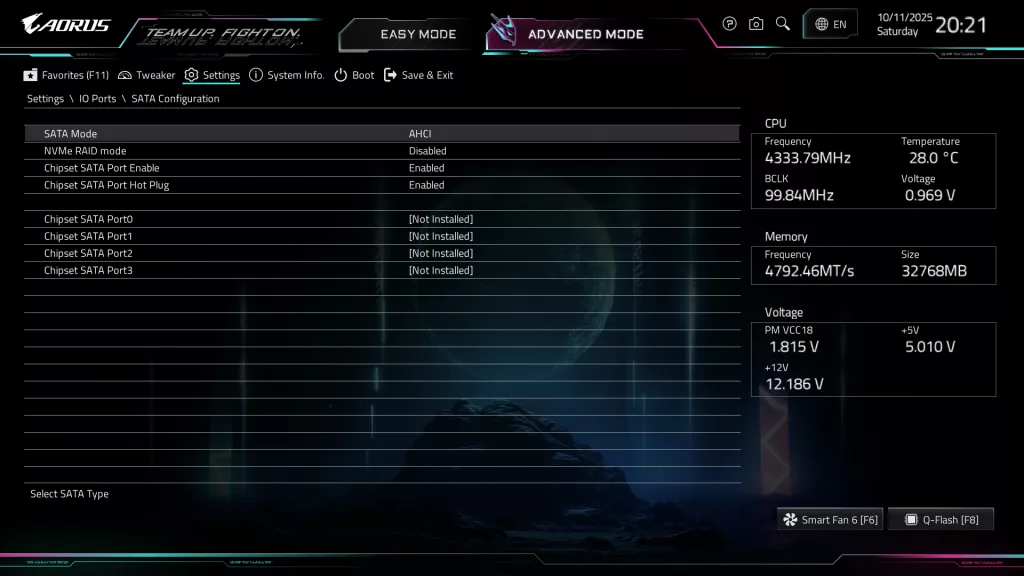
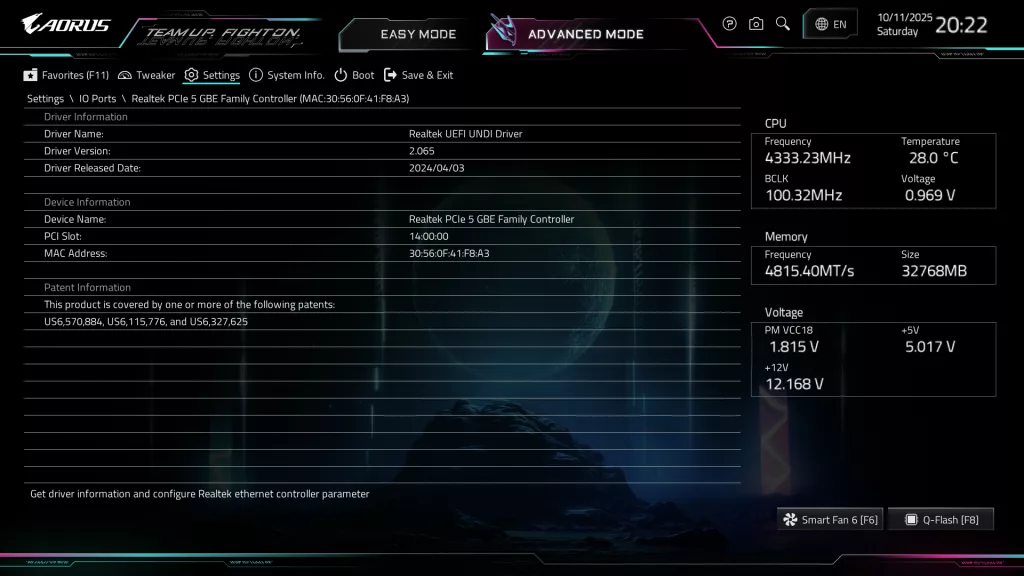
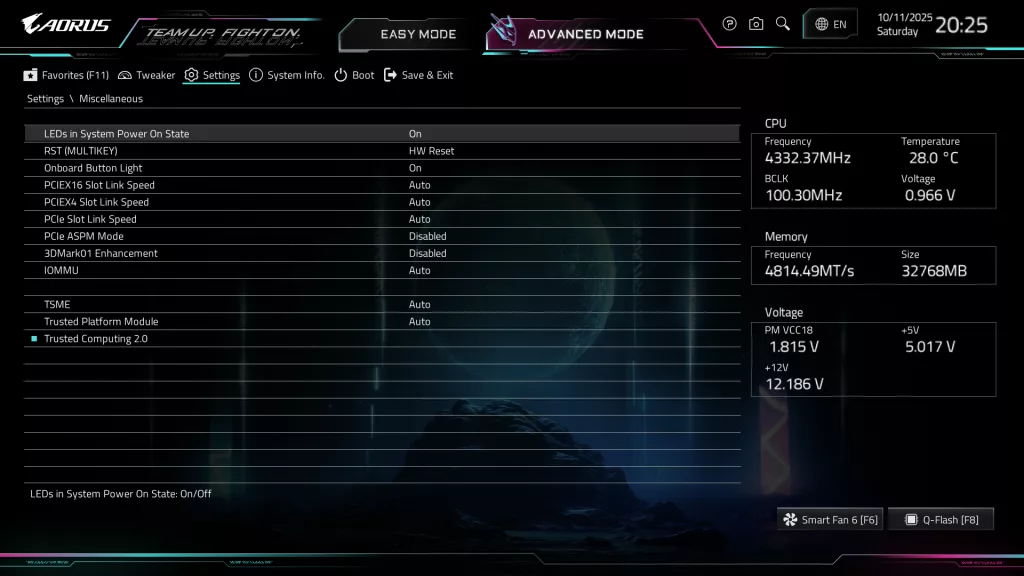
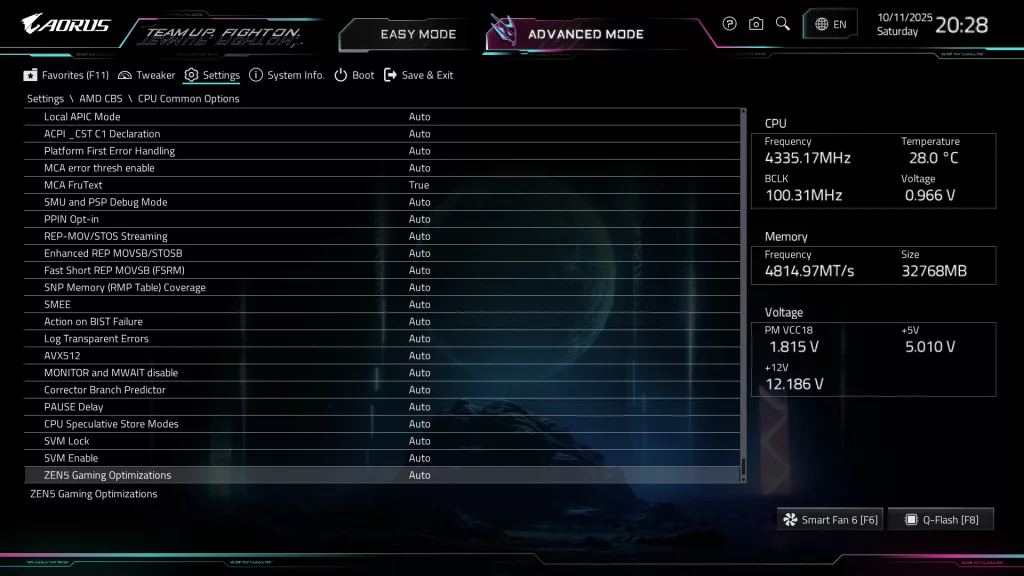
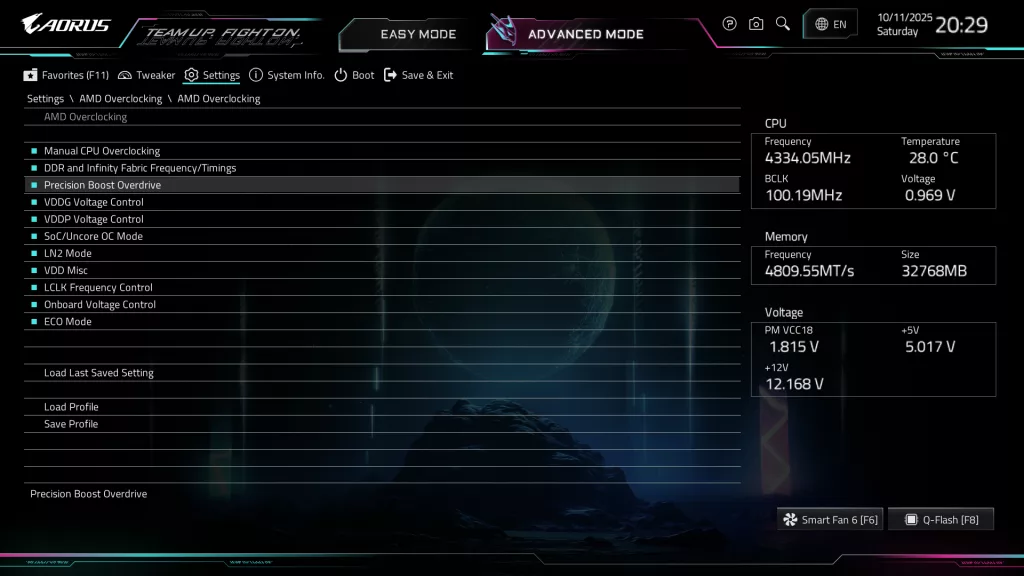
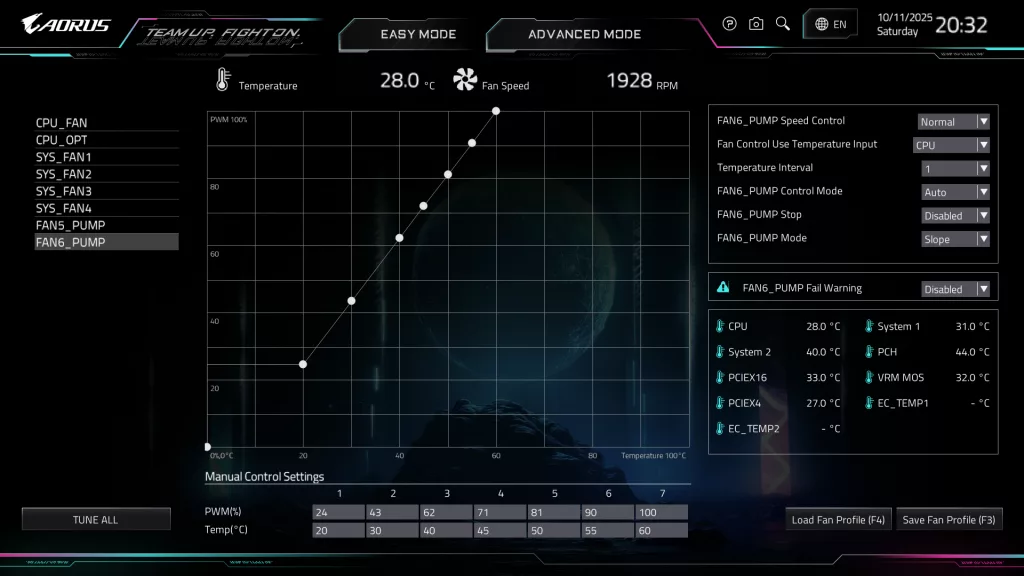
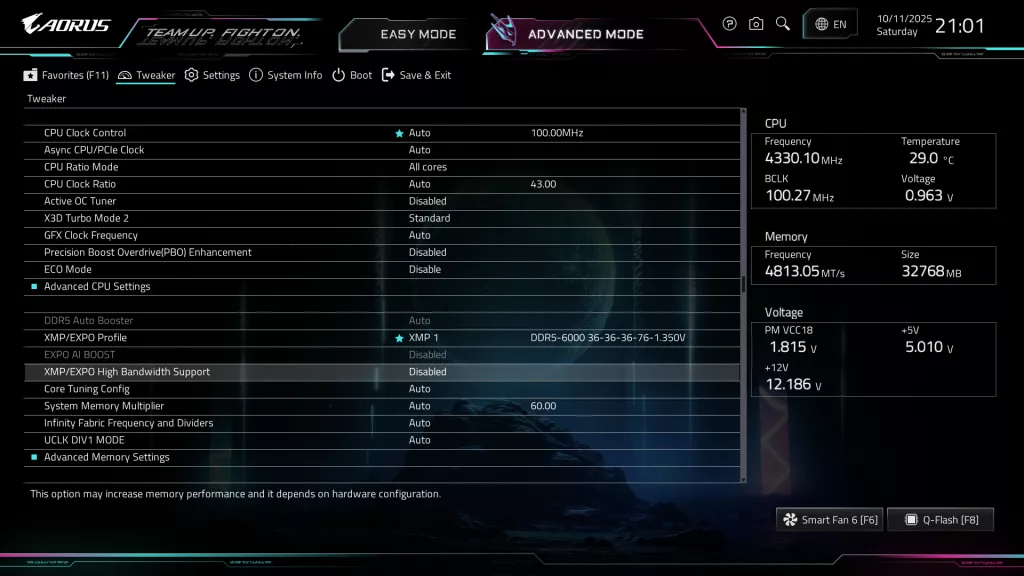
Memory tuning via EXPO and setting X3D Turbo mode 2 are both available, as well as Smart Fan6. Advanced mode headings have been simplified to “Tweaker, Settings, System Information, Boot and Save, and Exit.” Both “Tweaker and Settings” are now quite vast, but it is quite easy to understand and find what you are looking for. “Tweaker,” as you would guess, includes the setting menus for CPU and Memory overclocking, while “settings” takes you into all the motherboard options.
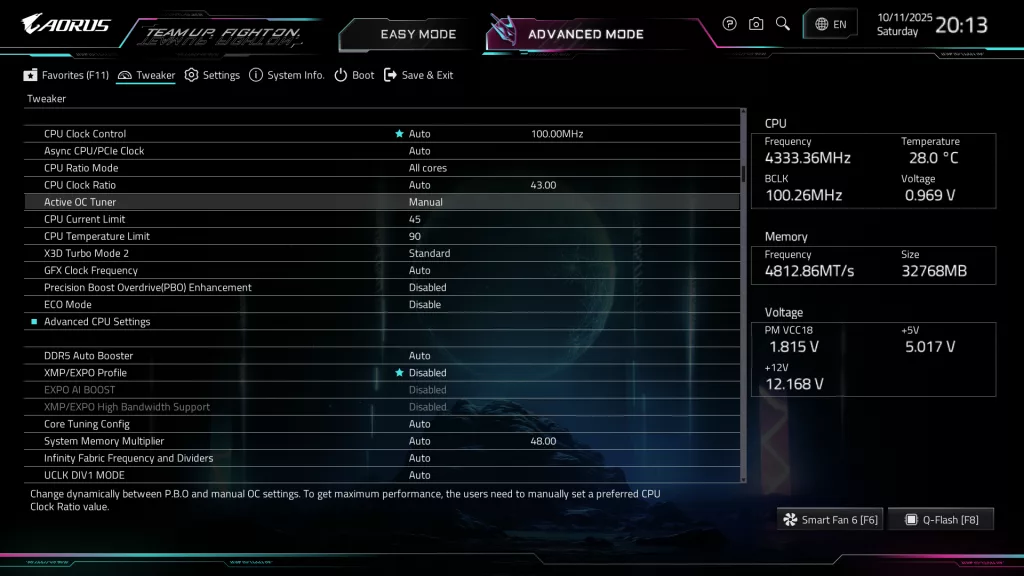
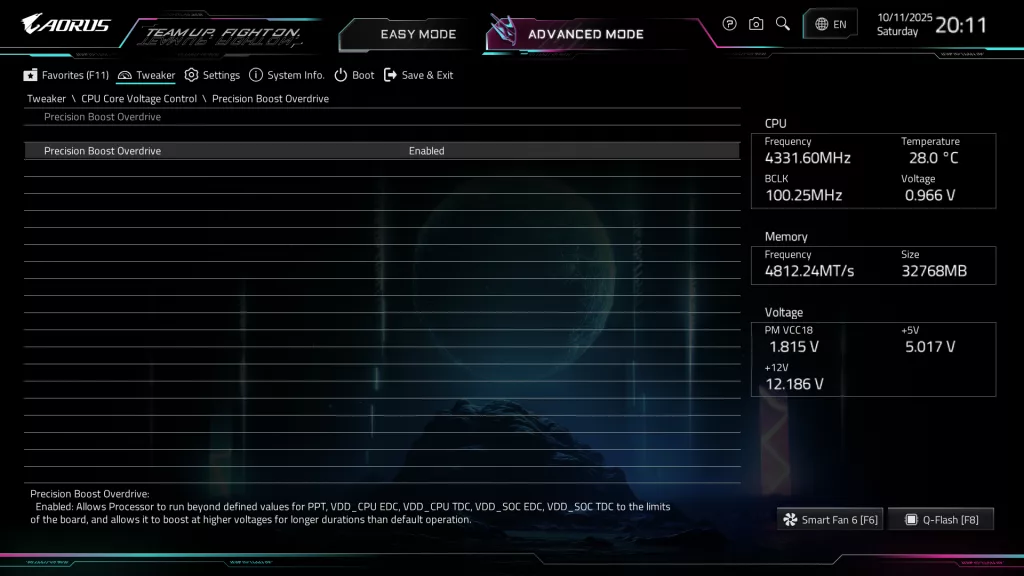
The new X3D Turbo Mode 2 can be found on both the Easy and Advanced mode menus. A simple click allows you to set Standard or Default, Maximum Performance (geared to desktop software), or Extreme Gaming. Once chosen, the “Mode” does the work. About the only thing we did in the BIOS manually was to enable memory Expo/XMP. You may still adjust literally hundreds of memory or CPU settings manually in the Tweaker menu and also manually enable Precision Boost Overdrive.
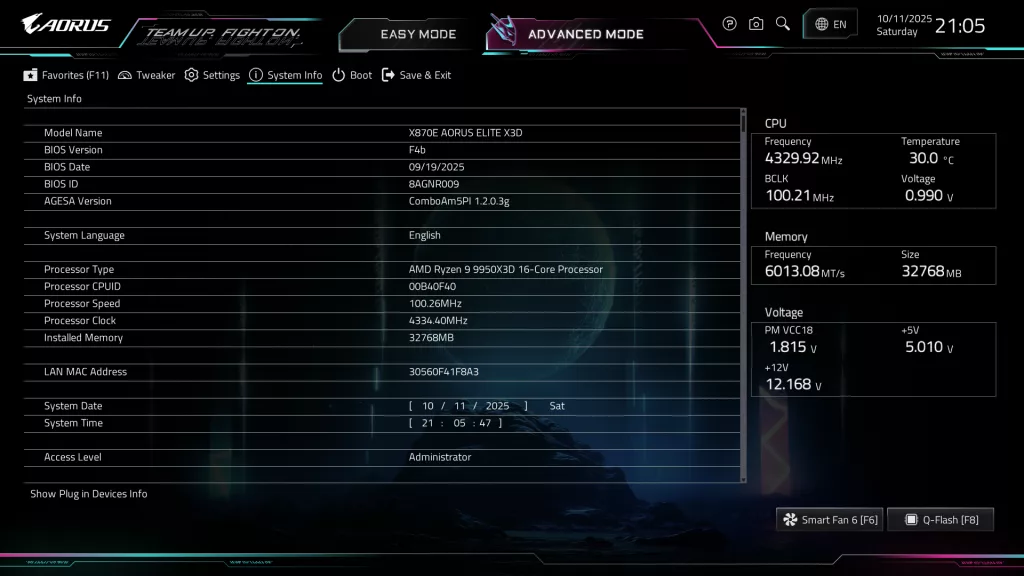
The GIGABYTE X870E AORUS ELITE X3D came to us with BIOS F1 dated 14 AUG 25. The most up-to-date version is F4b dated 19 SEP 25. We used the on-board Q-Flash to flash the latest edition. Q-Flash is quite straightforward, needing only the unzipped BIOS version on a flash drive. Once inside the BIOS, choose Q-Flash (F8) and follow the prompts. The software locates the BIOS version and does all the work. You may also use Q-Flash-Plus from the I/O panel. This method only requires the flash drive and the power supply plugged in and turned on.