BIOS
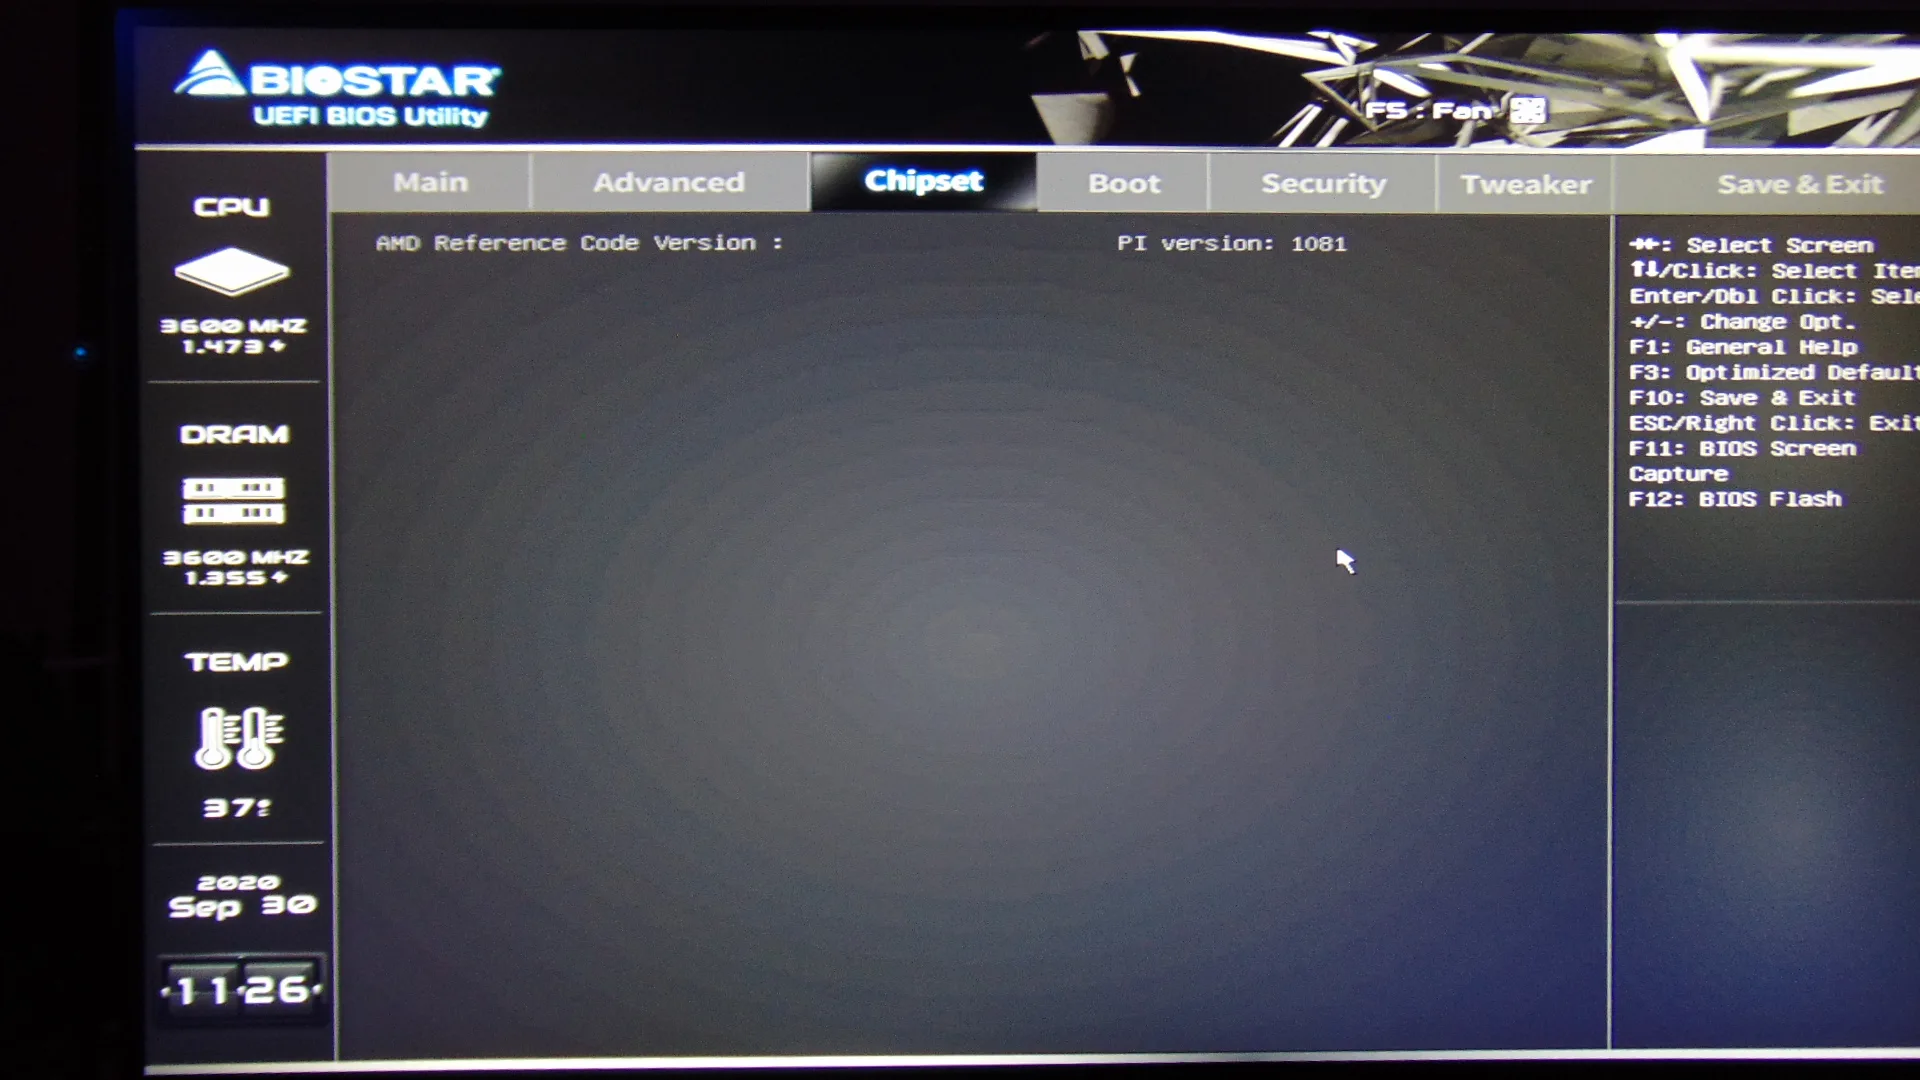
We did update our BIOS to the latest version prior to testing. These screenshots are from the most recent B55AS907.BSS BIOS file, the build date is 9/07 and it was released on 9/07. It uses AGESA ComboAM4v2 PI 1.0.8.1 version. This is an AMI UEFIx64 2.7 BIOS.
As we’d expect for this budget motherboard, the BIOS is extremely simplified. In a way this makes it easy to operate, you just don’t have to worry about diving into more advanced settings or obscure settings. However, it still has everything you need to do more than basic overclocking, which is nice. You still get all the B550 chipset options and the special AMD CBS overclocking options. Therefore, because of the chipset, it really is feature-rich in options if you dig in.
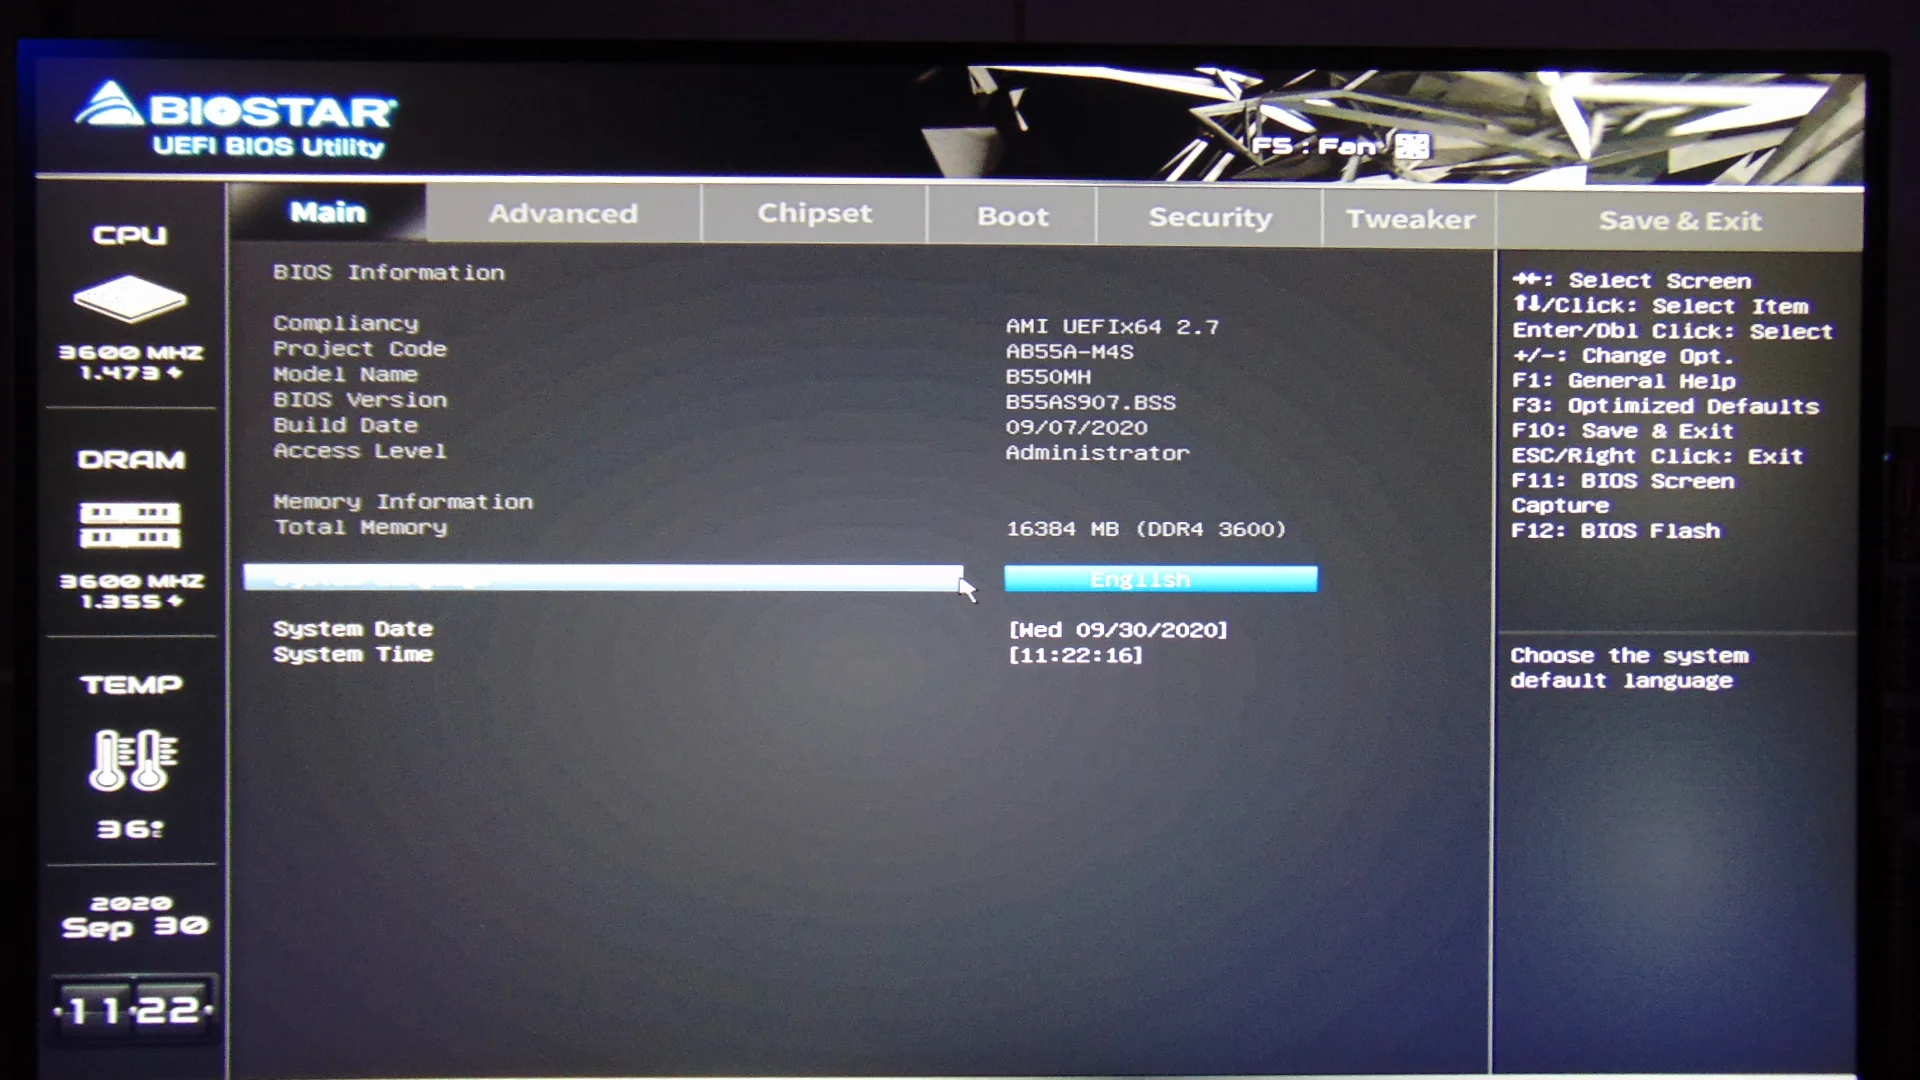
The first screen you come is the Main tab which gives you this information on what BIOS version you have installed and set the time and date and an overview of the memory. On the left side of the screen, you see a quick status update of the CPU frequency and voltage, DRAM frequency and voltage, CPU Temp, and Date and Time. These squares cannot be clicked on, they are static and follow every page of the BIOS. This just gives you a quick glance that everything is operating as it should.
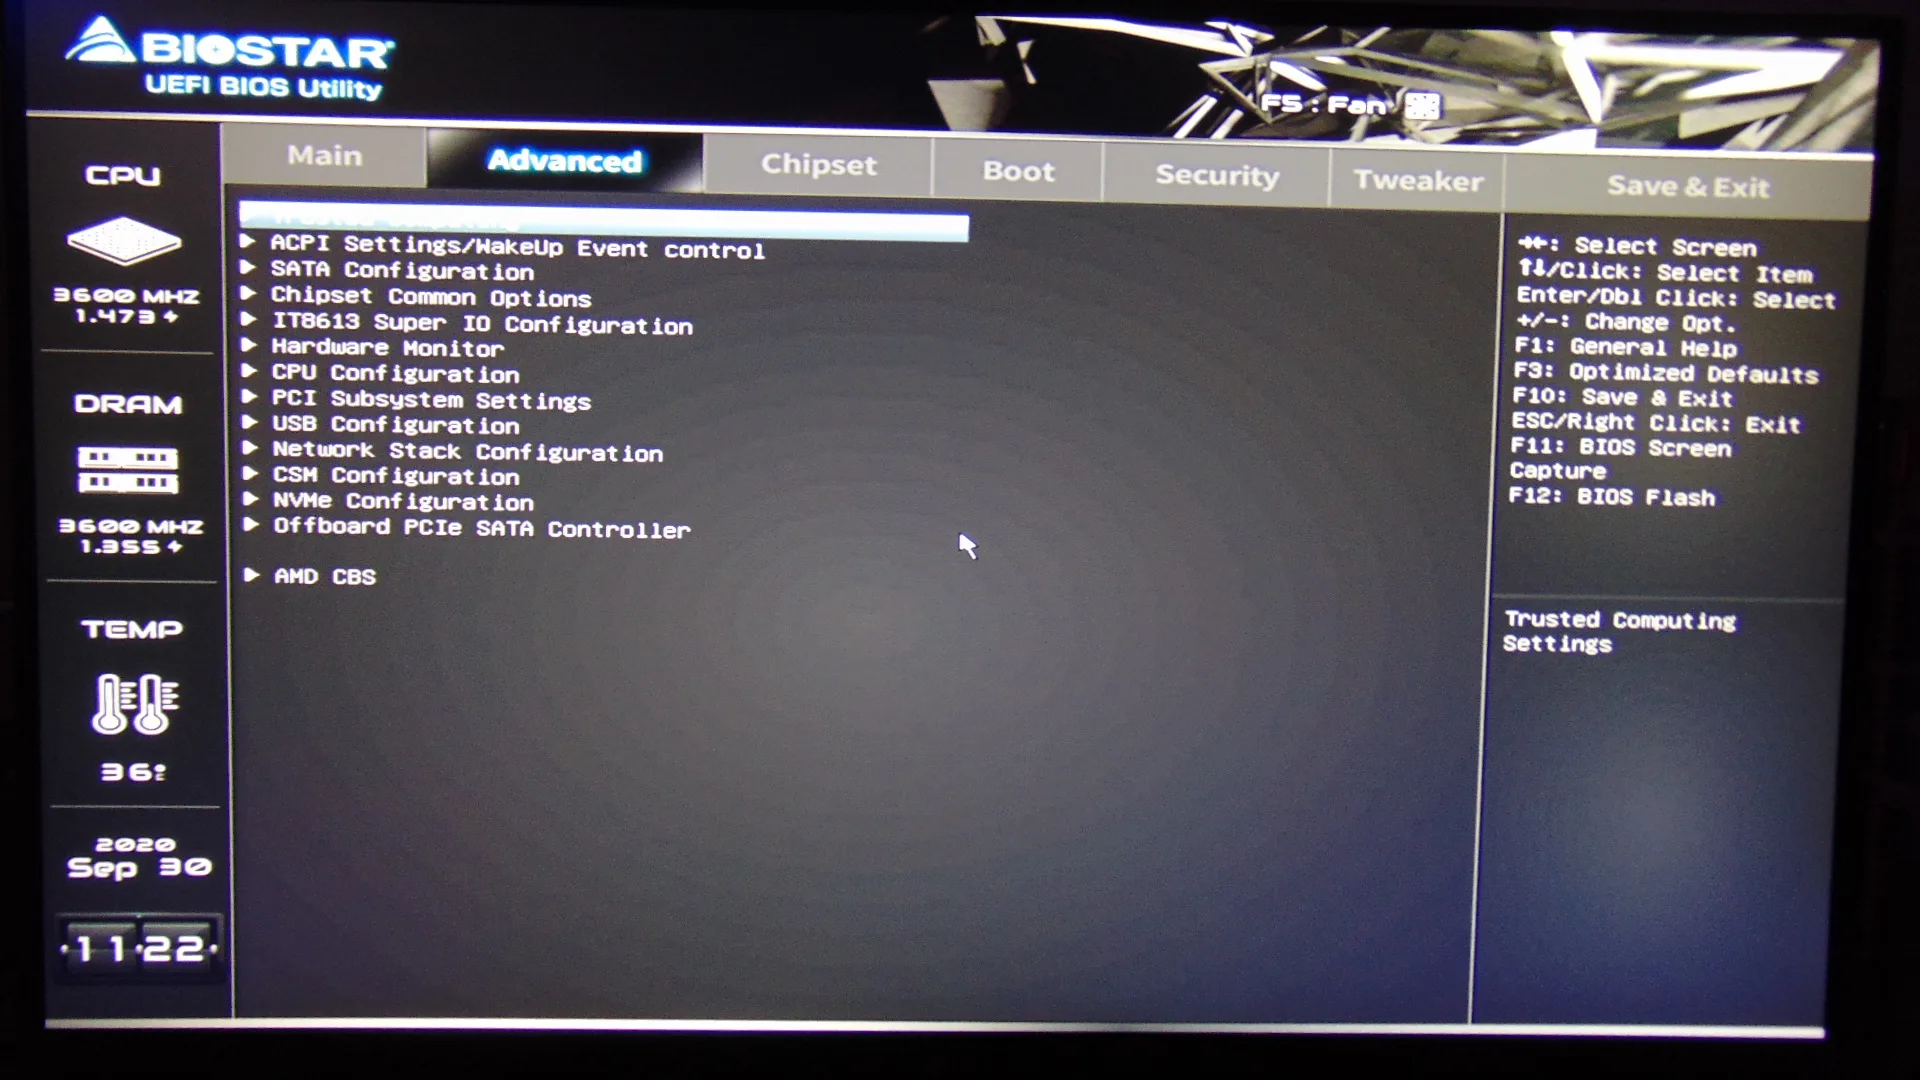
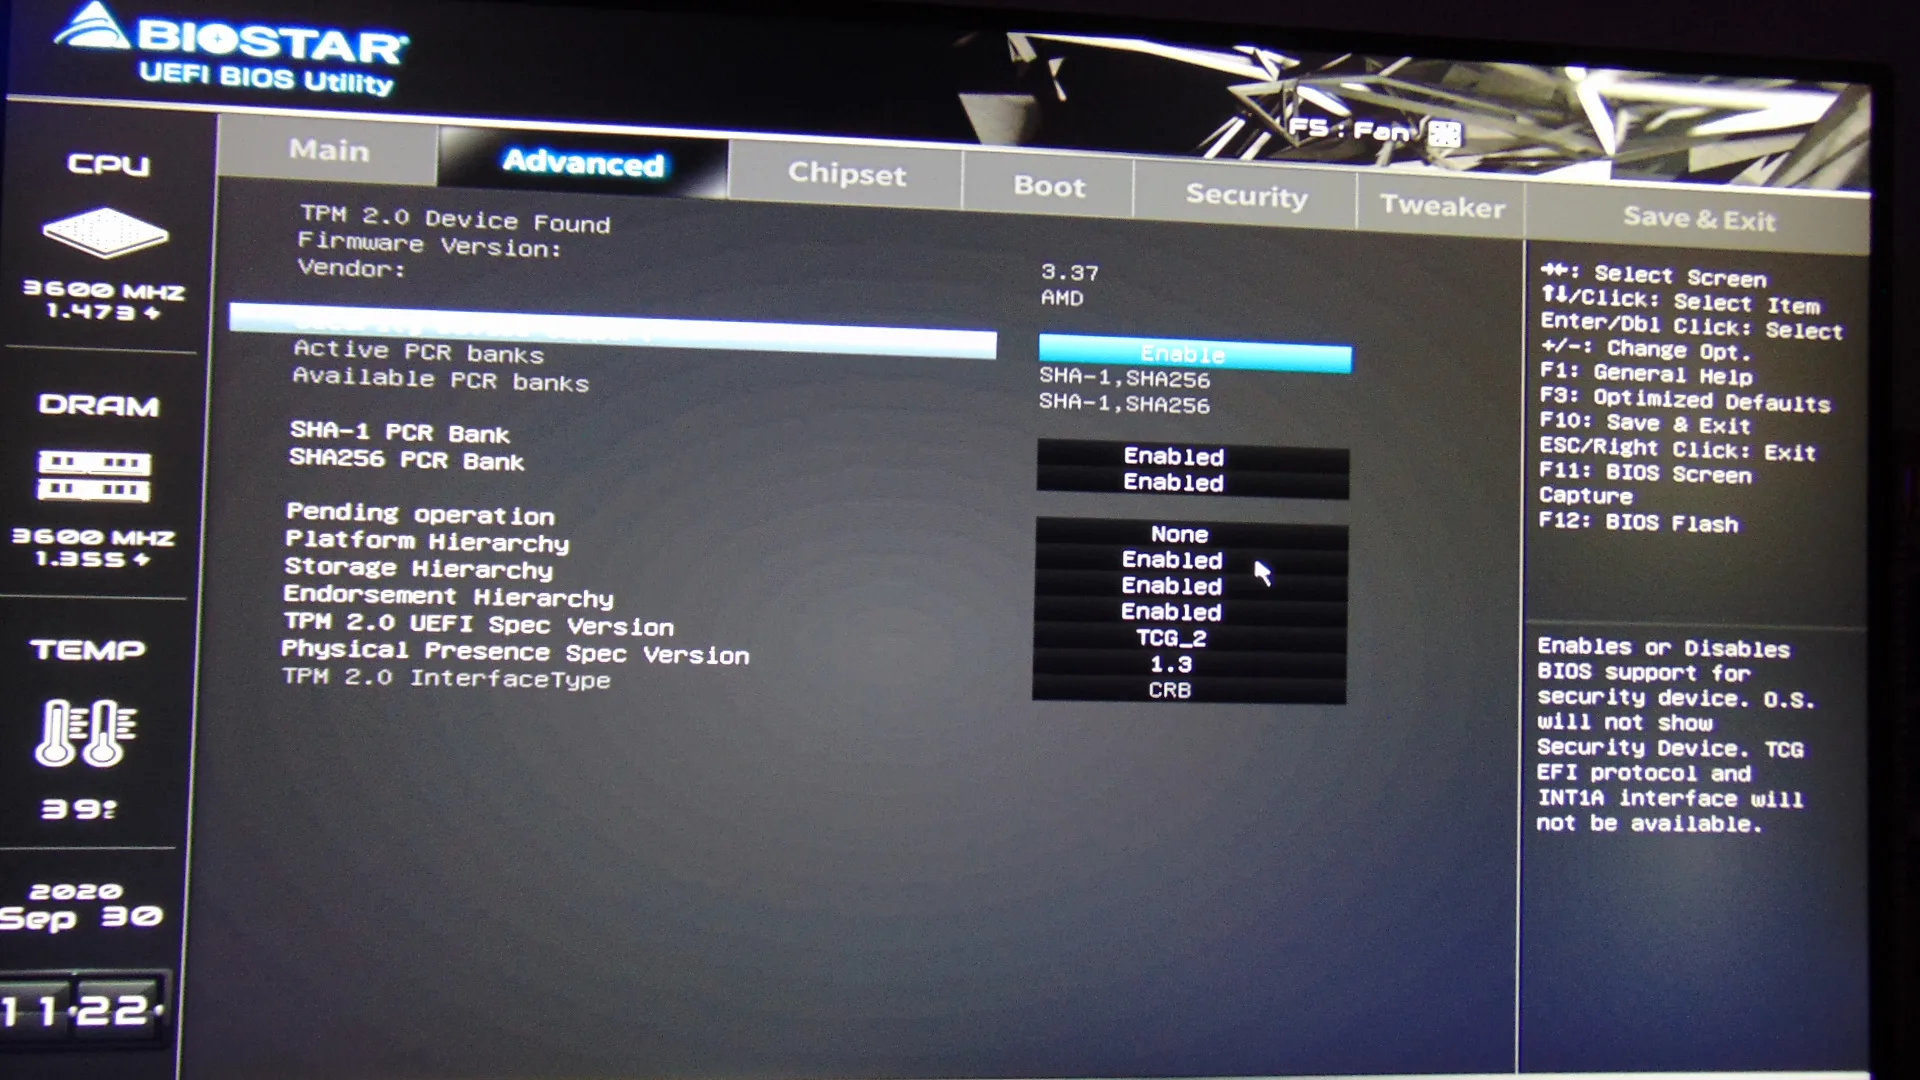
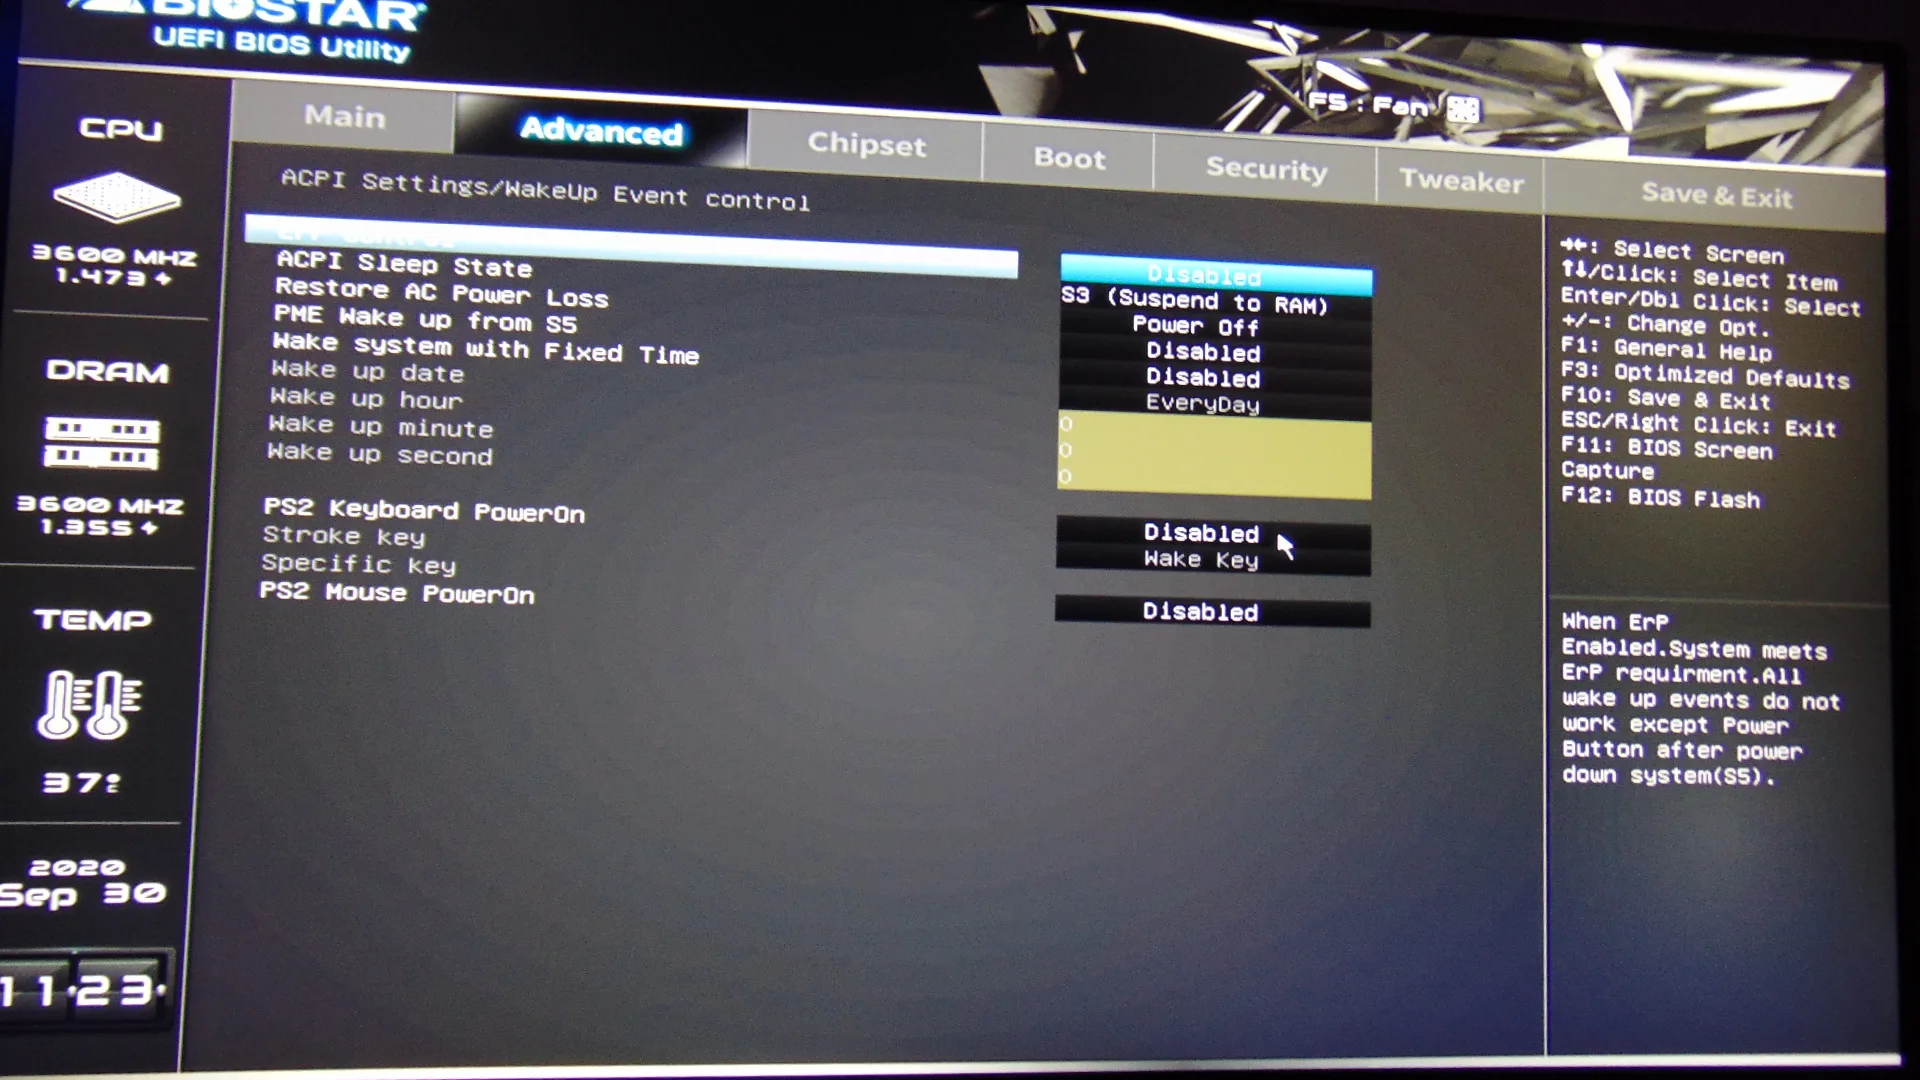
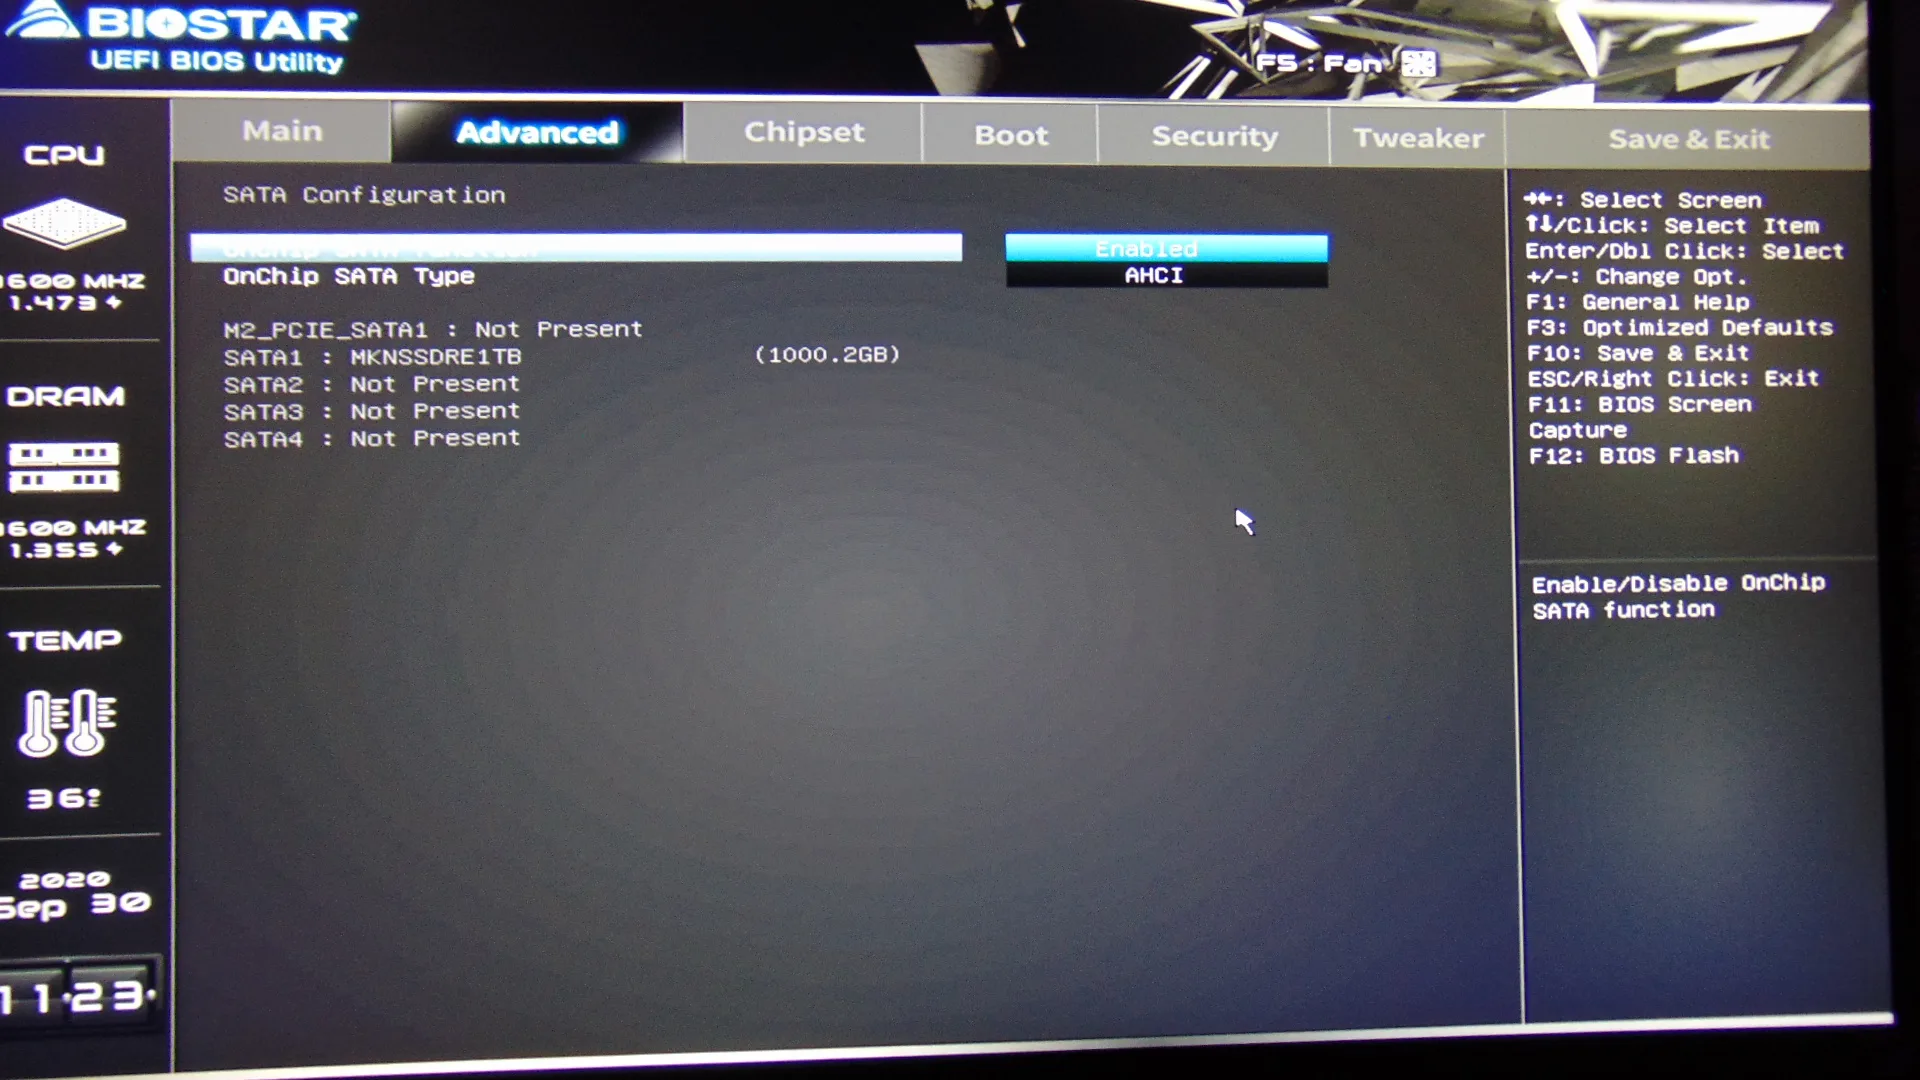
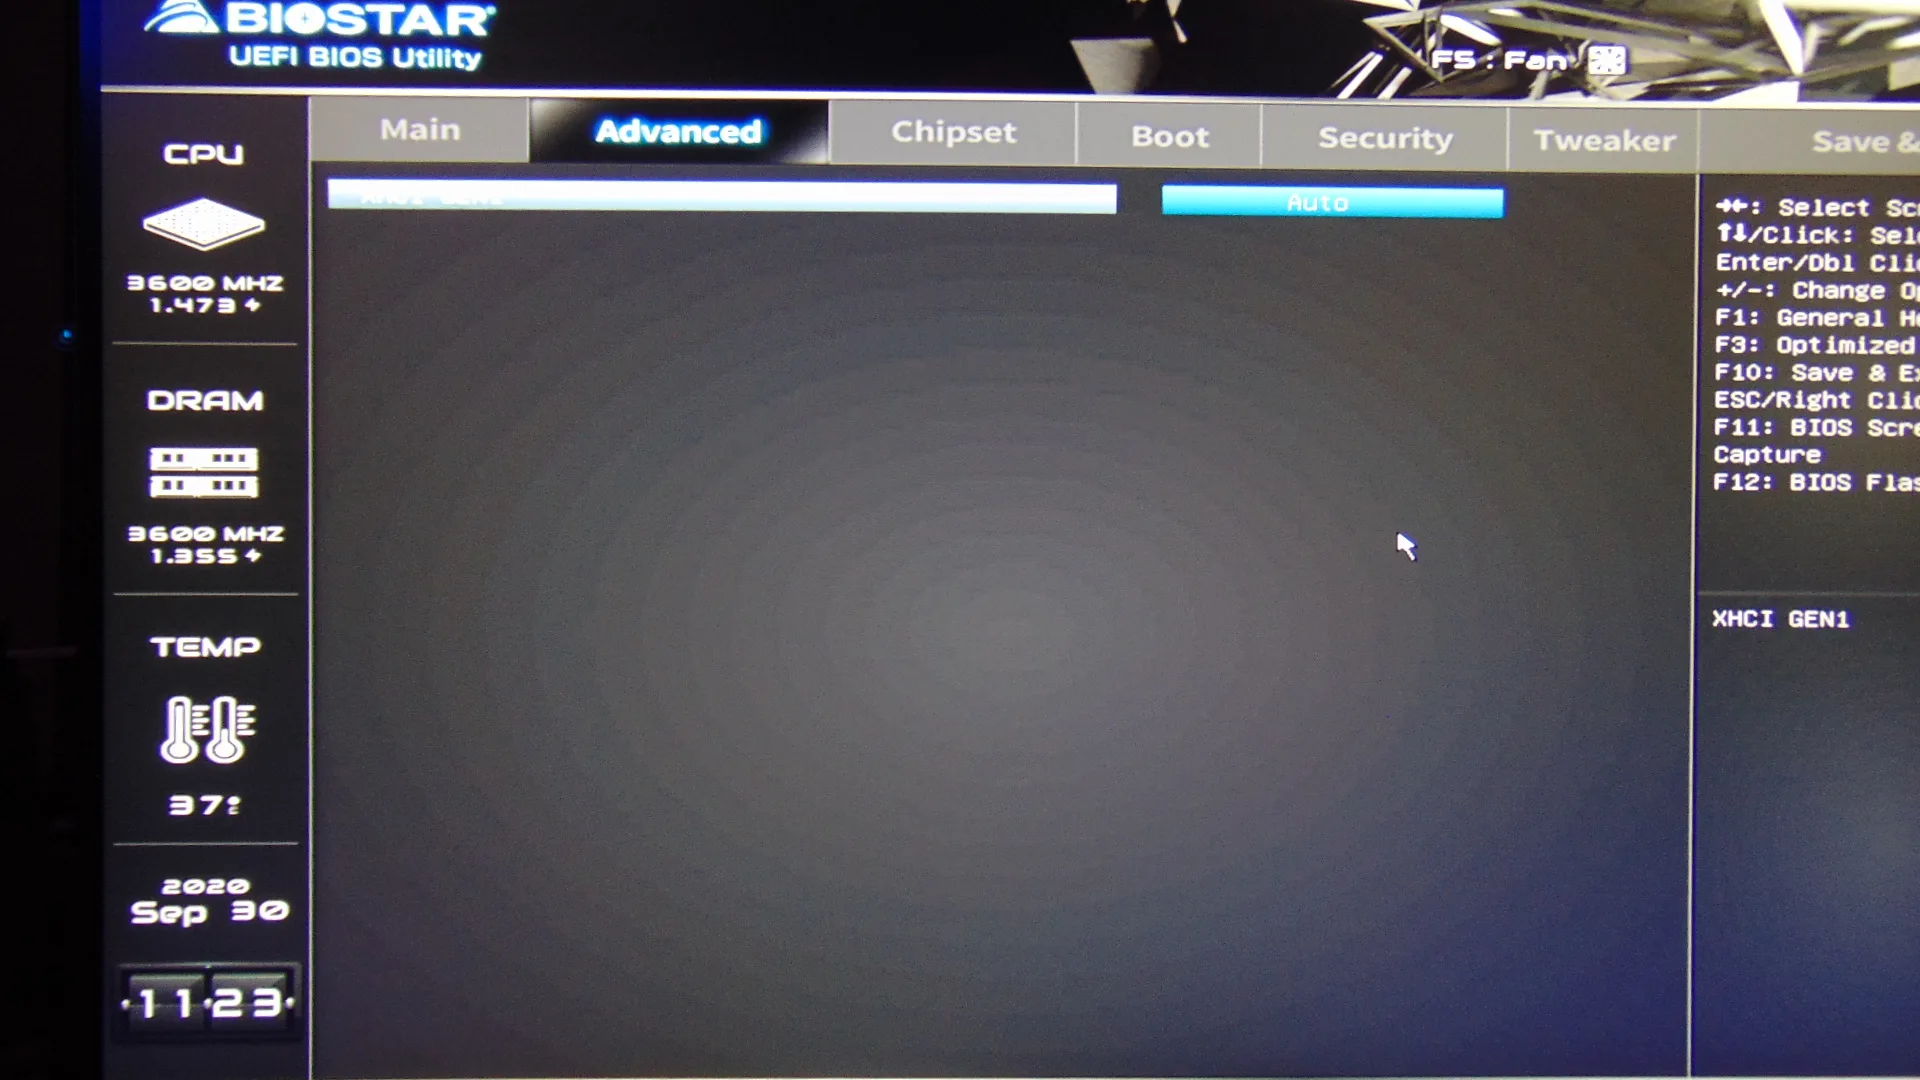
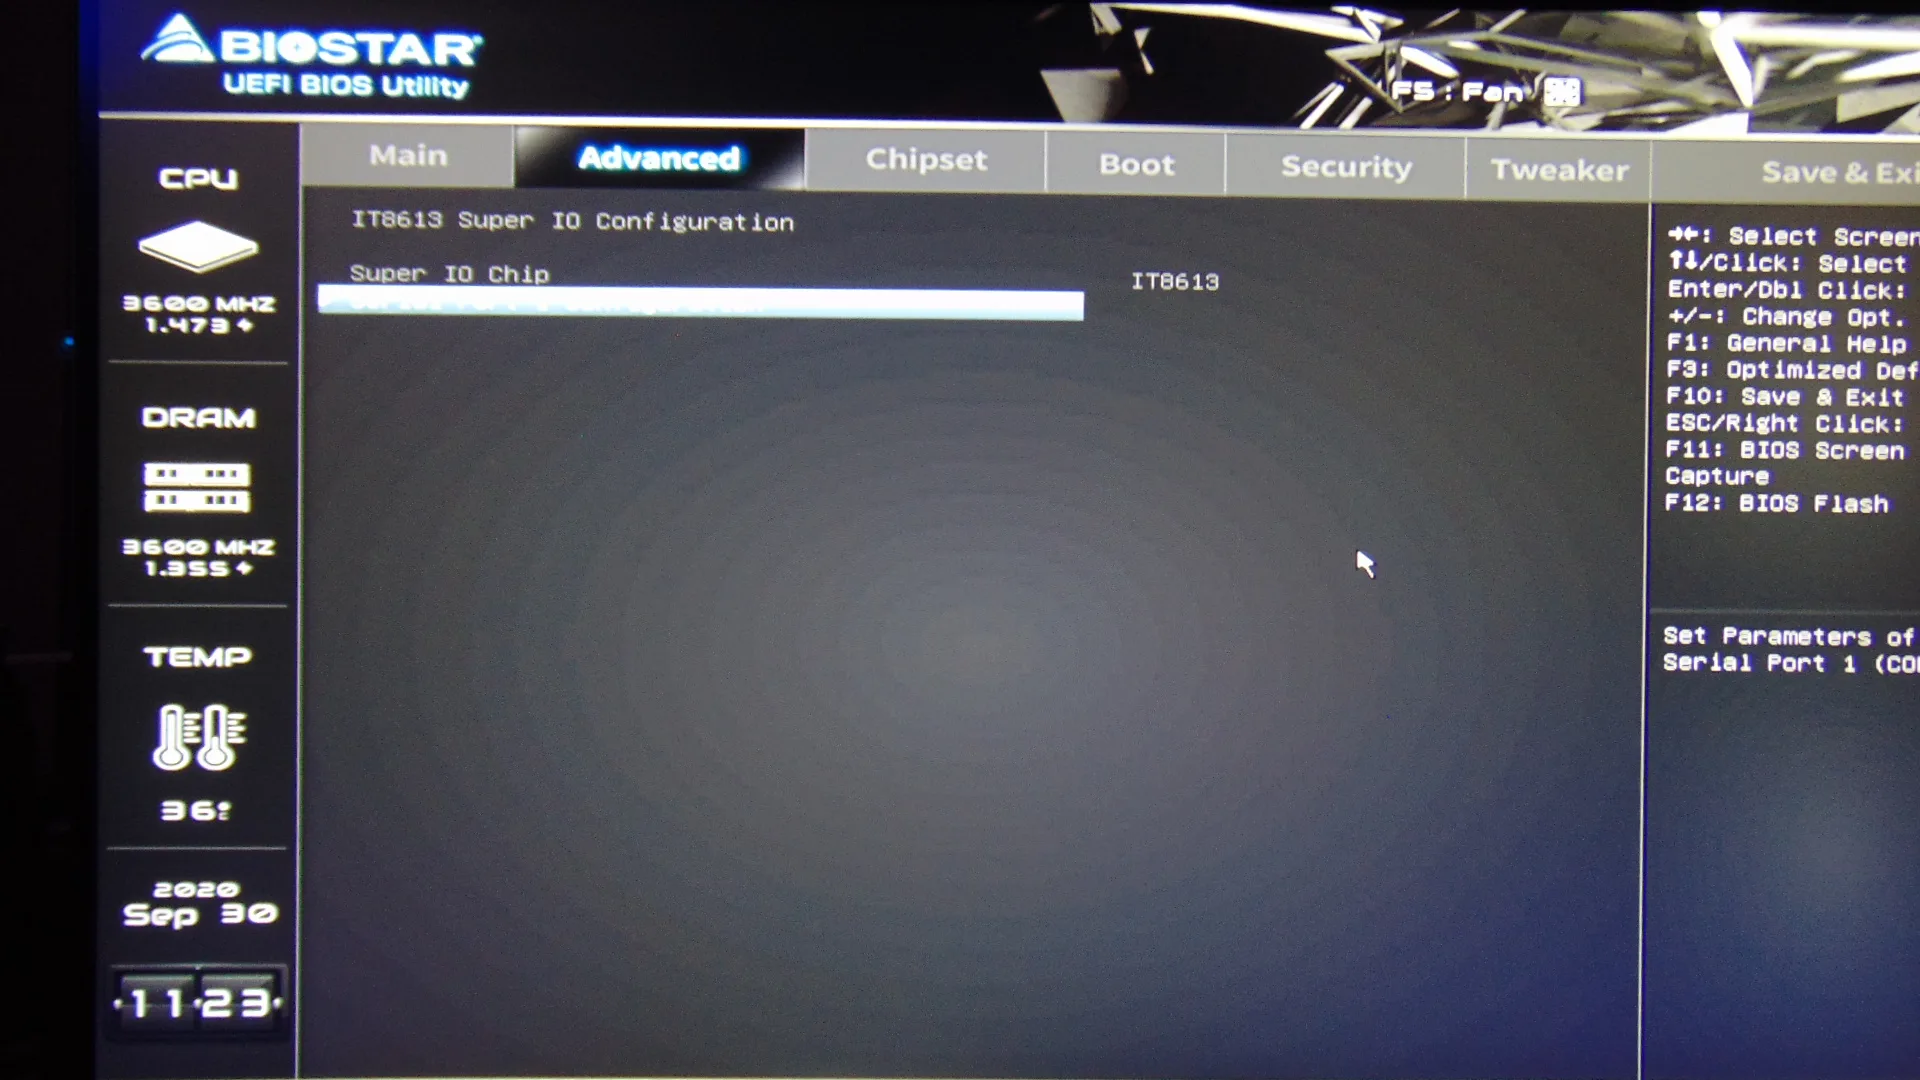
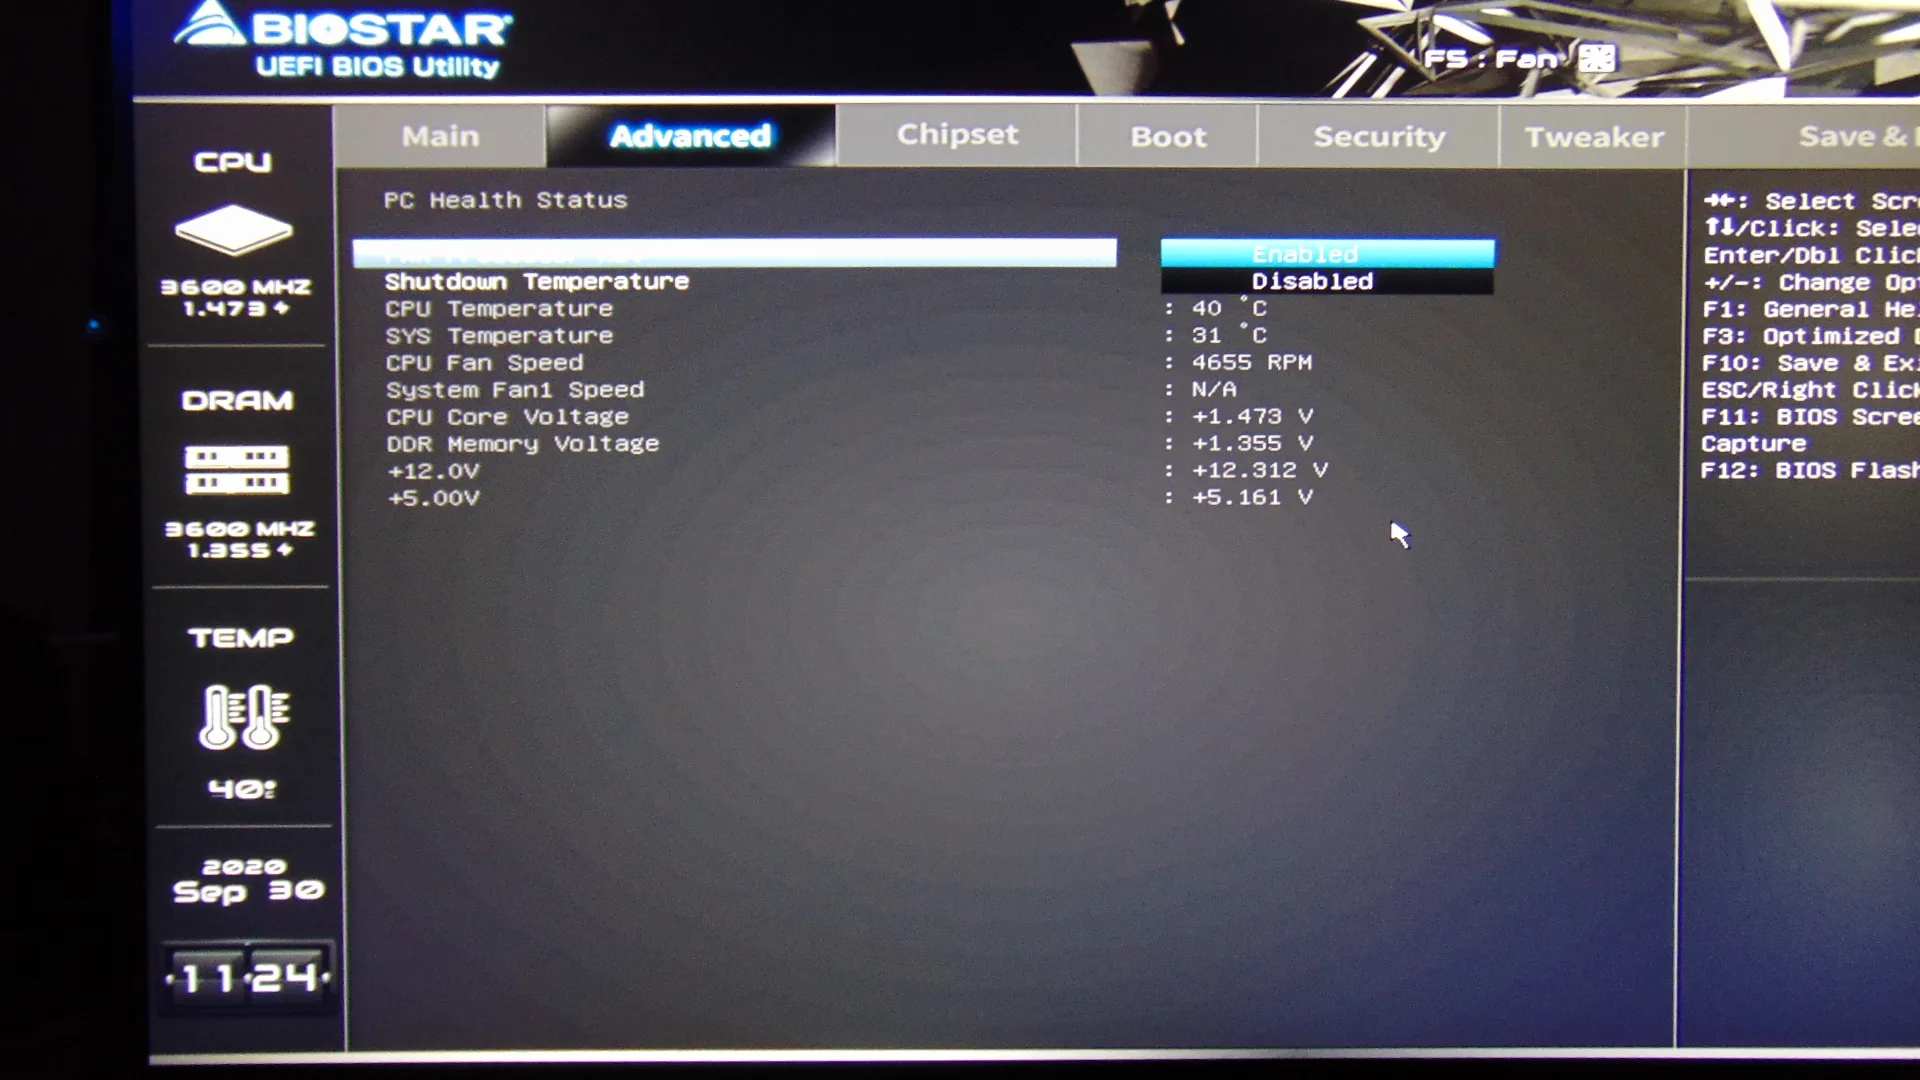
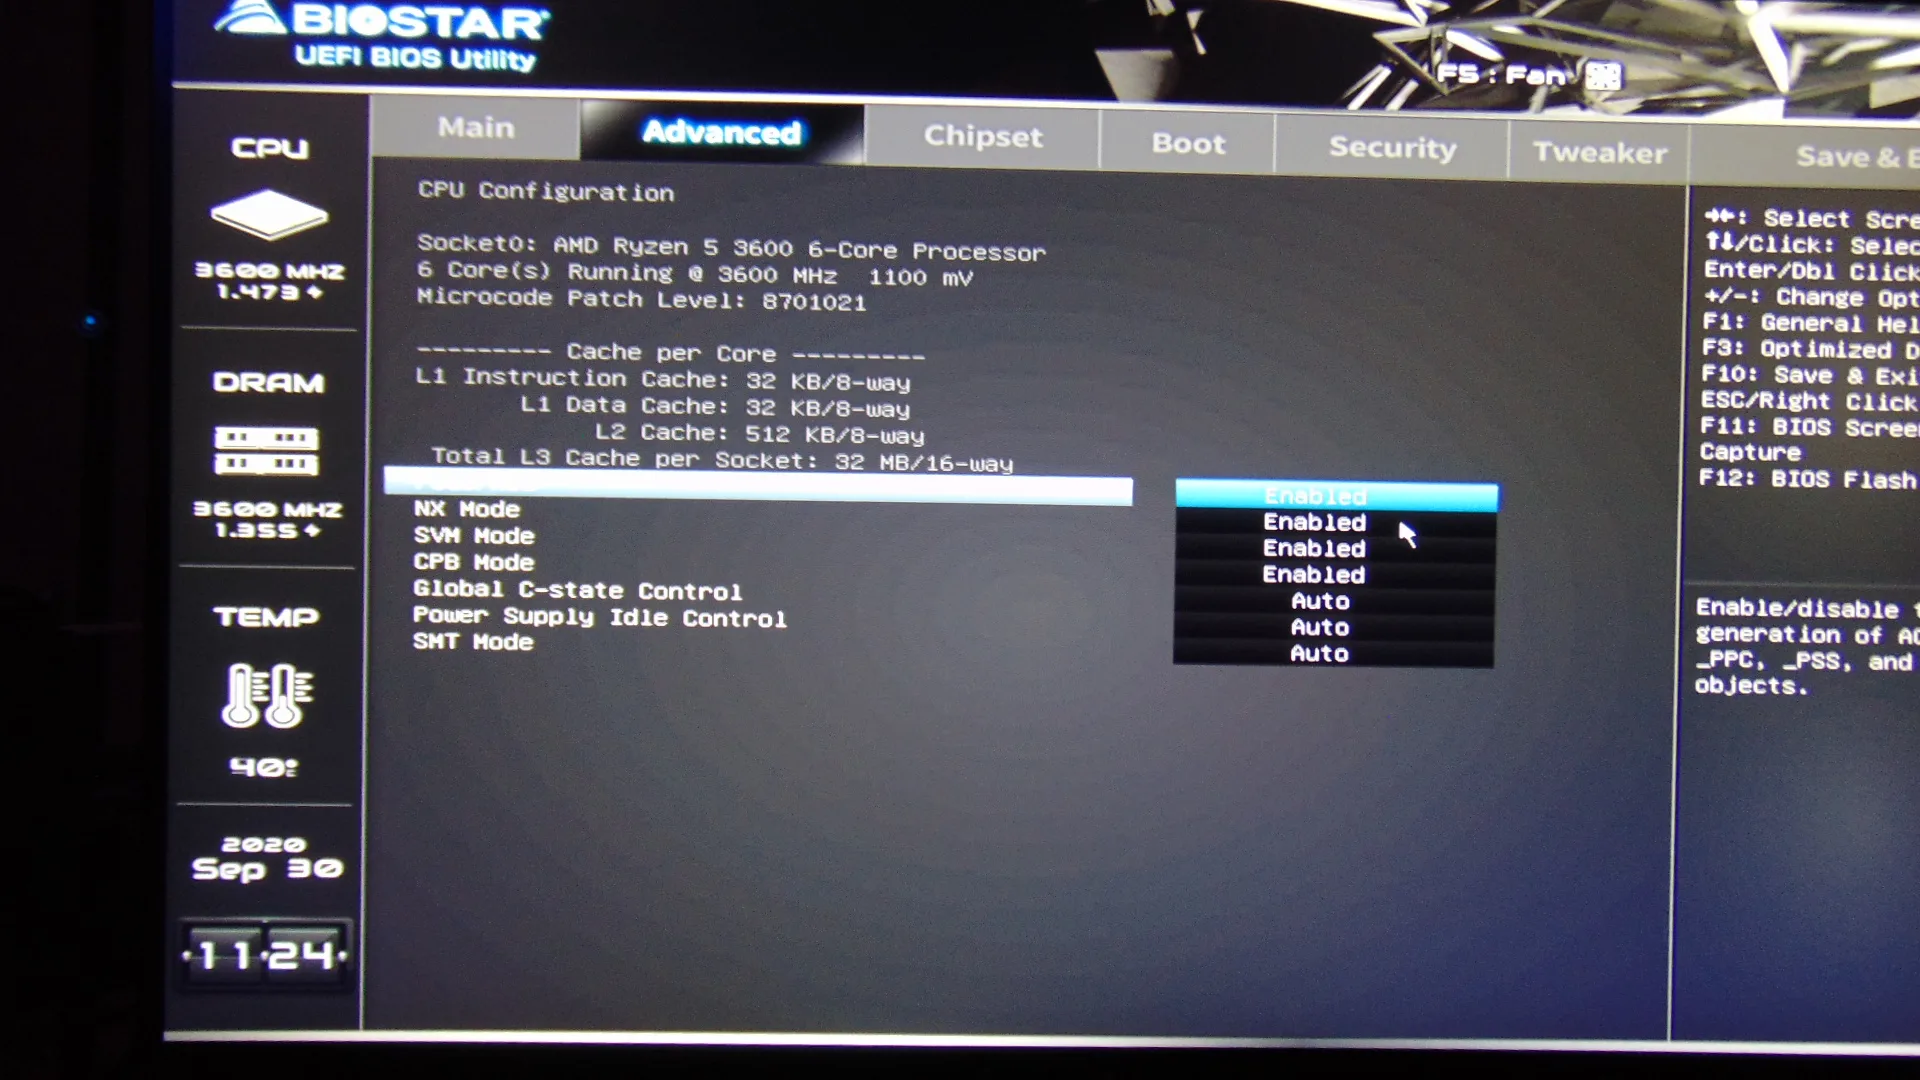
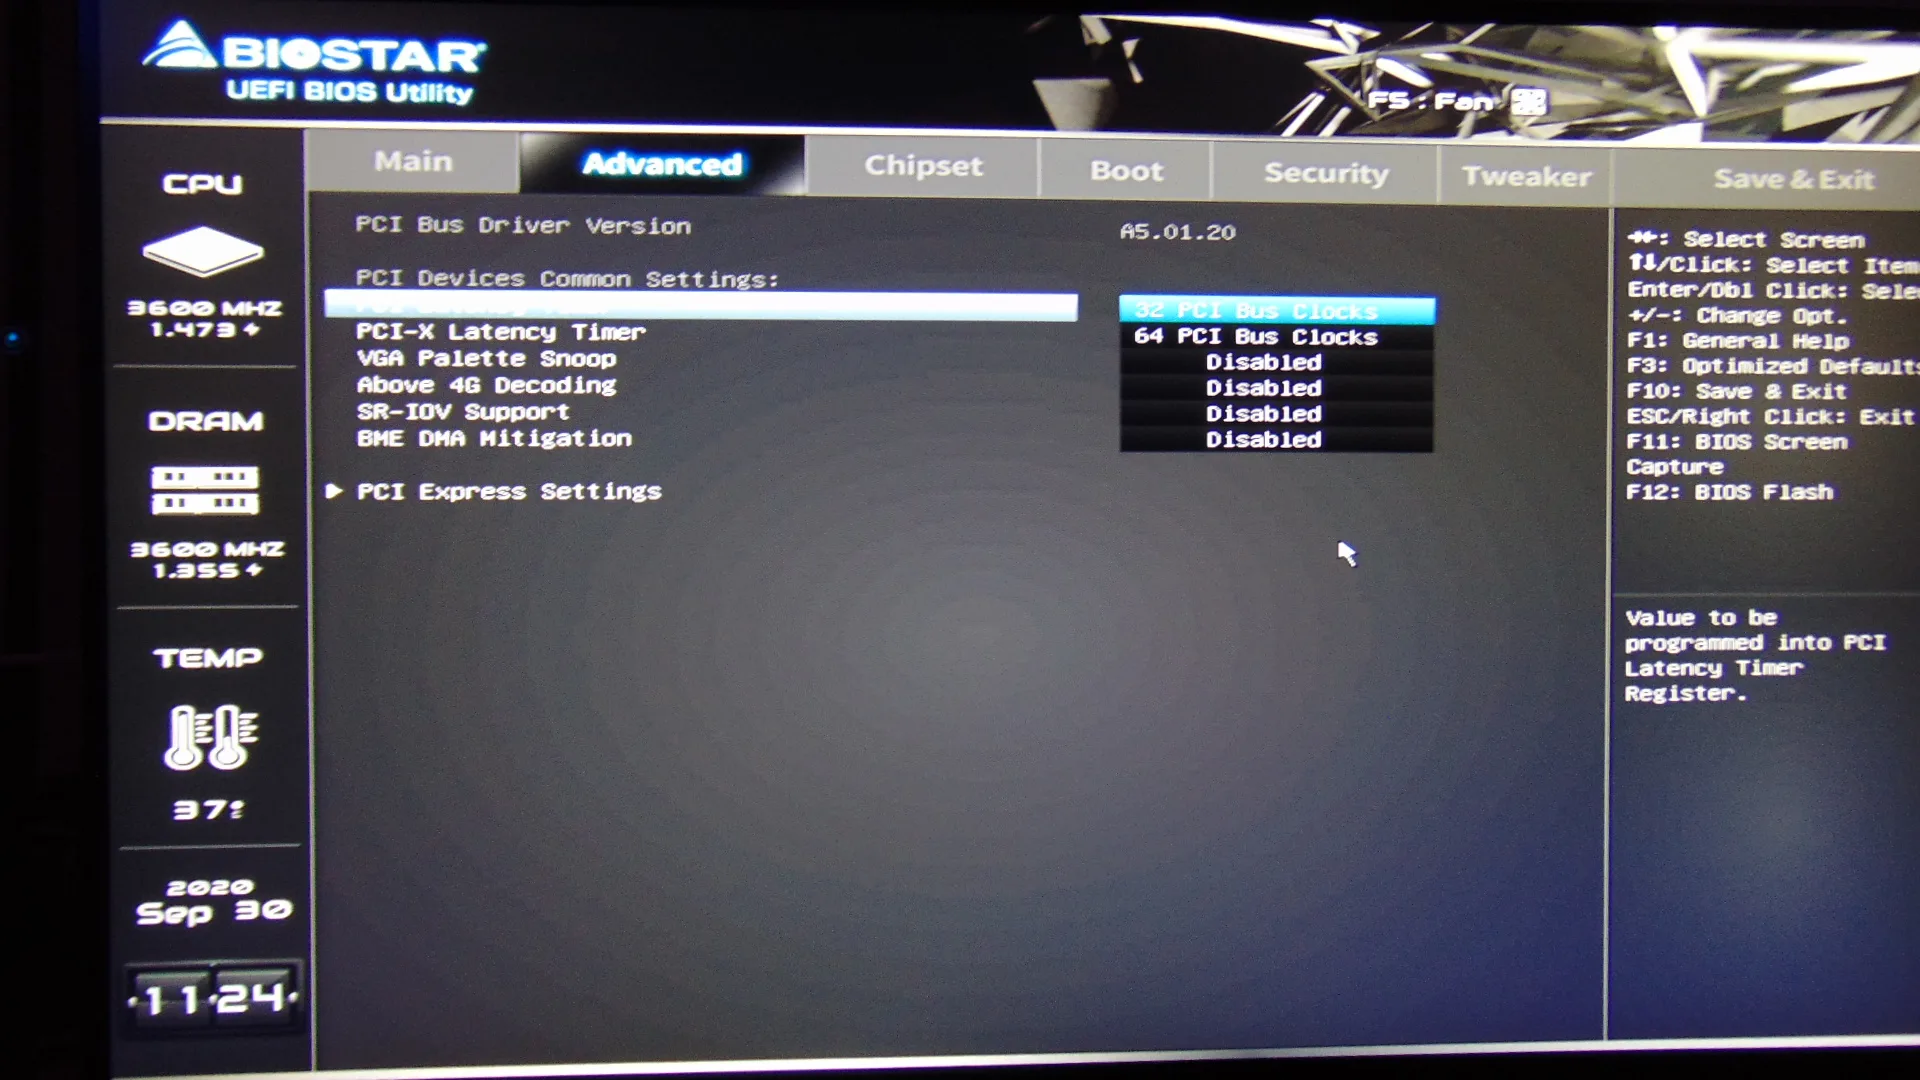
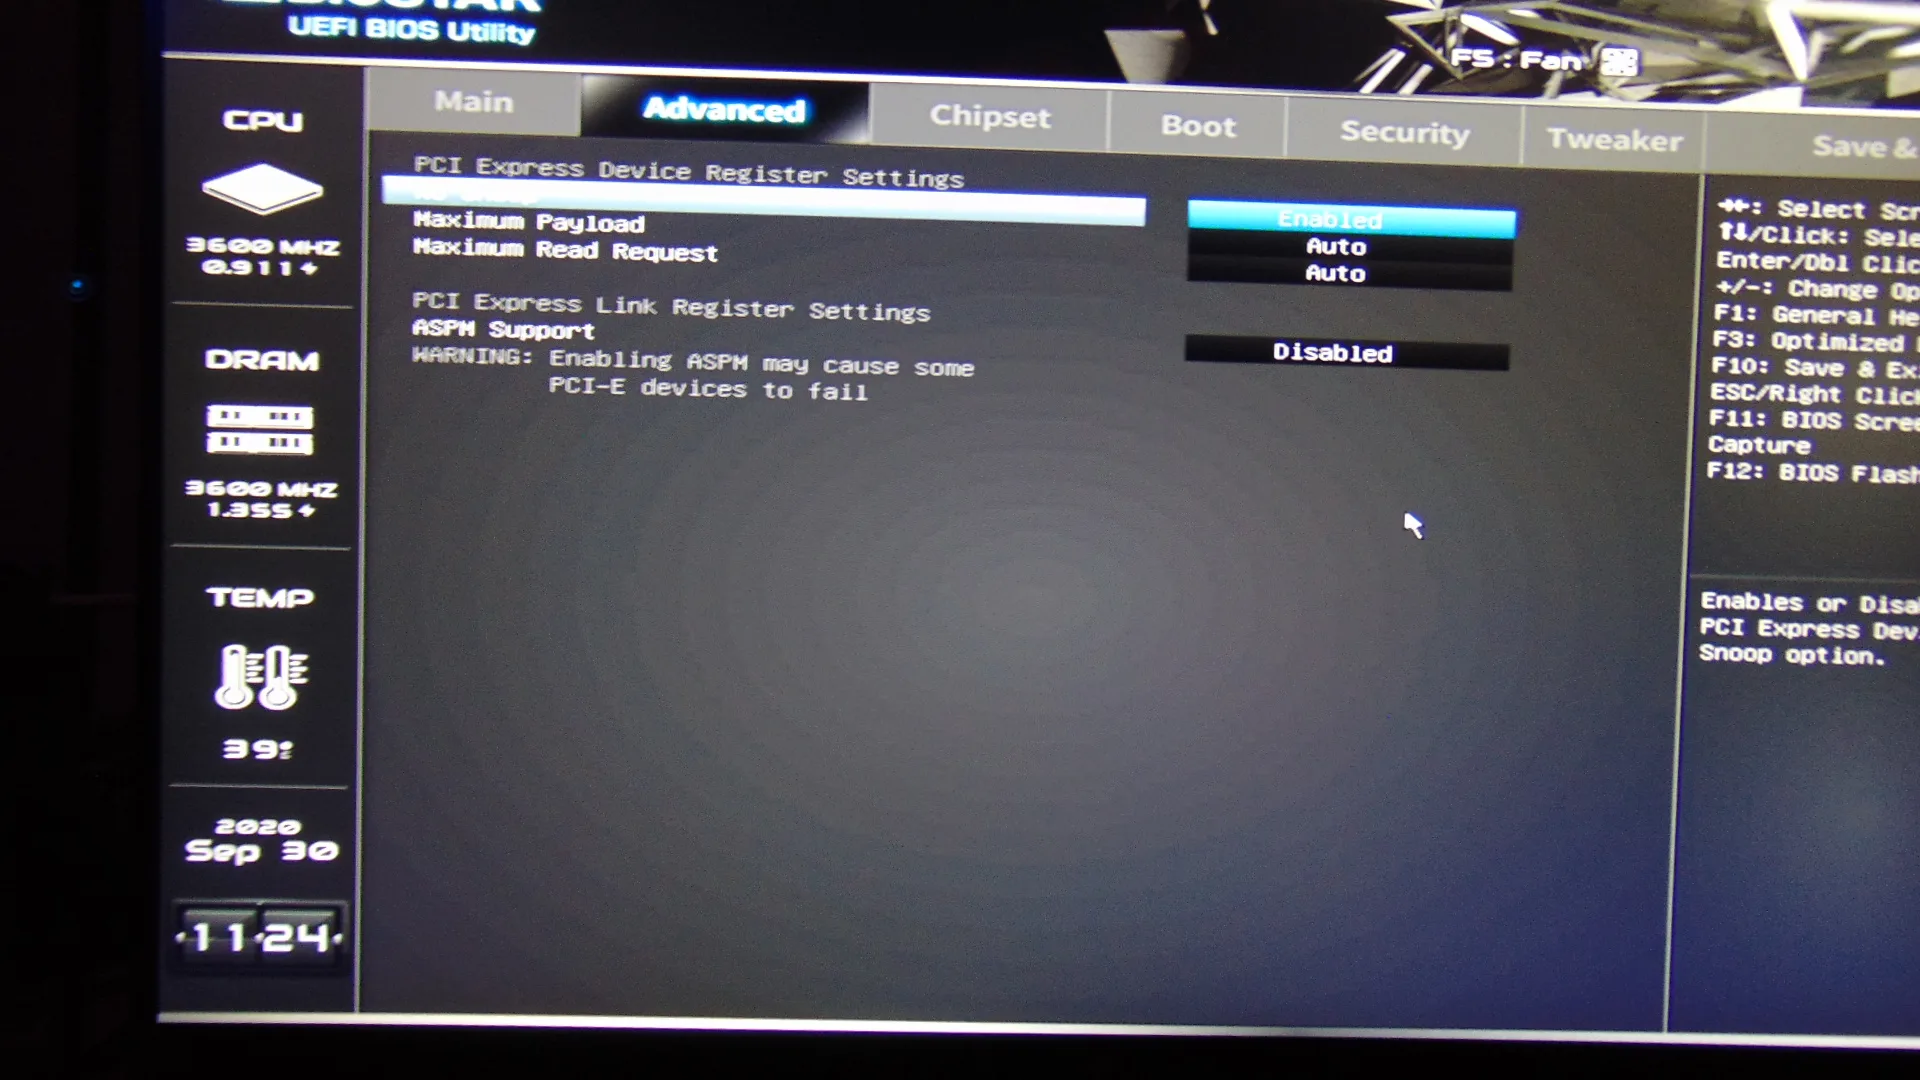
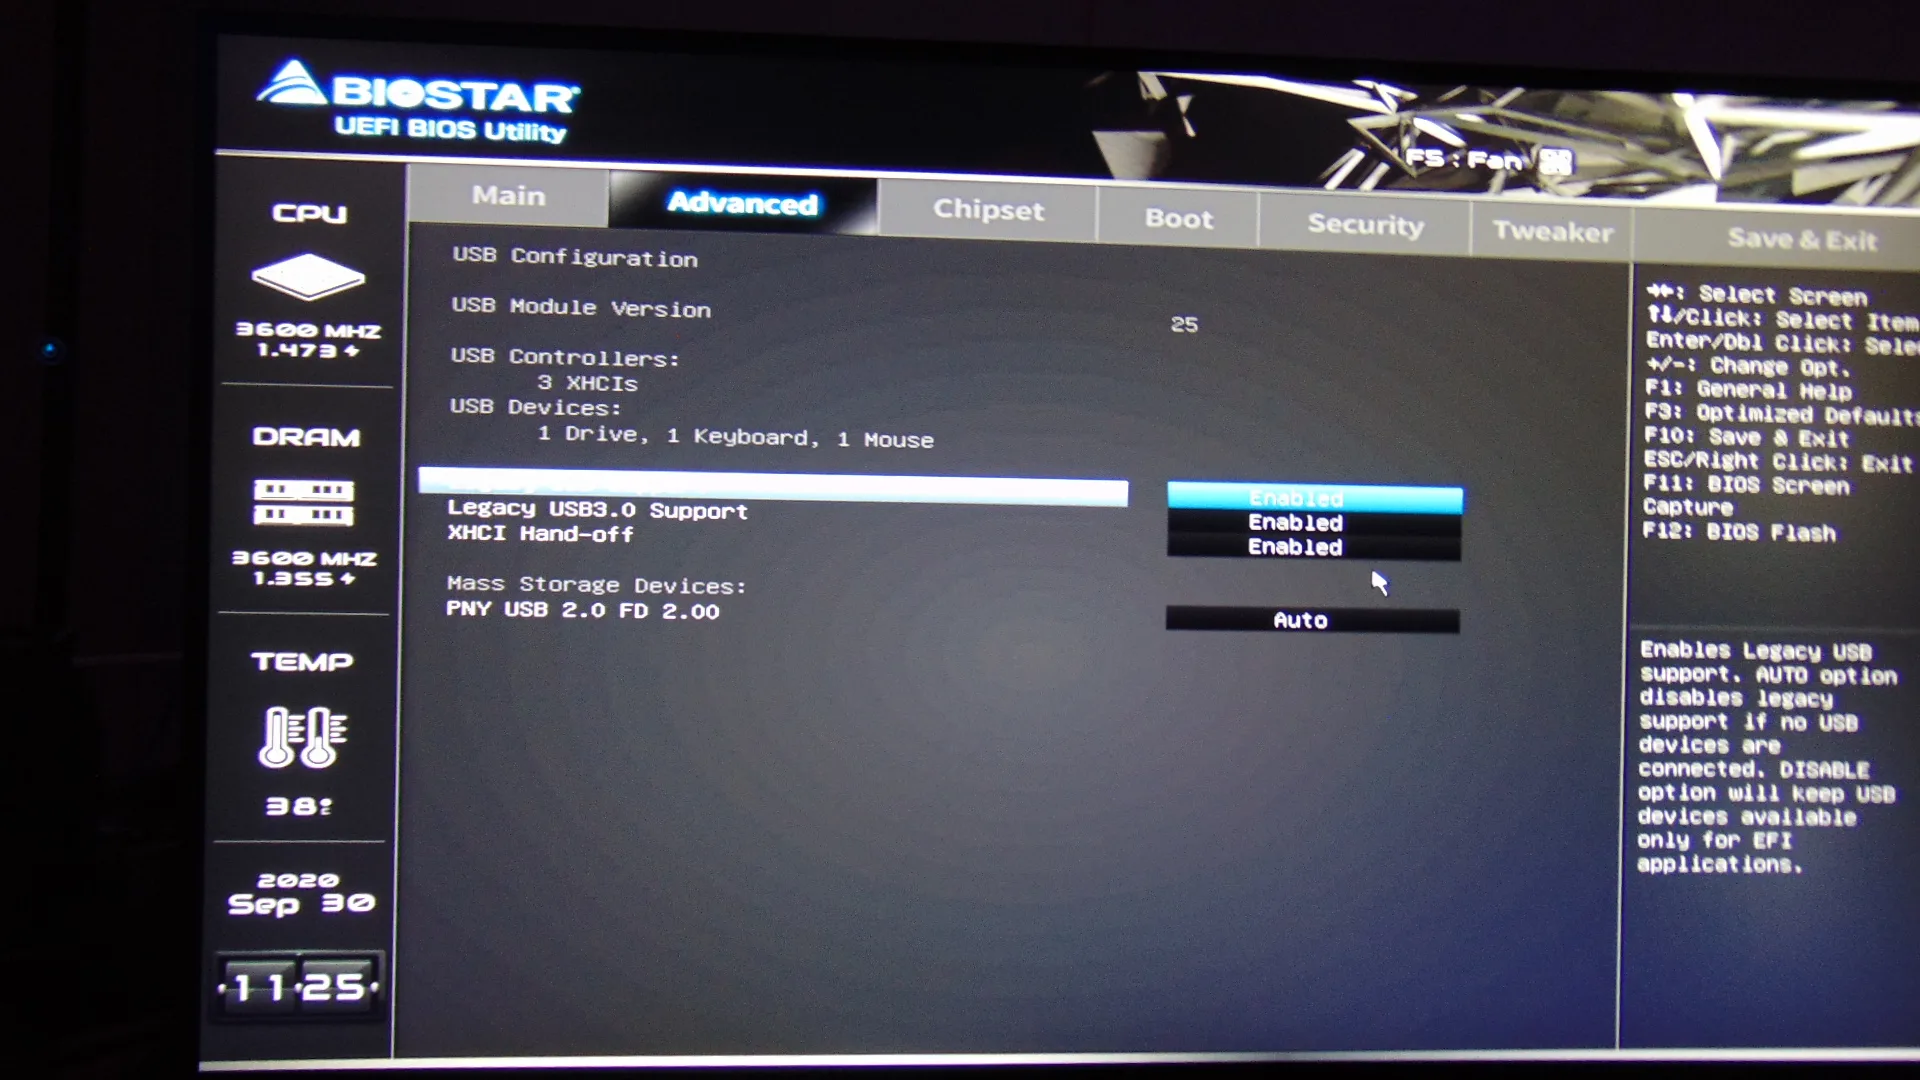
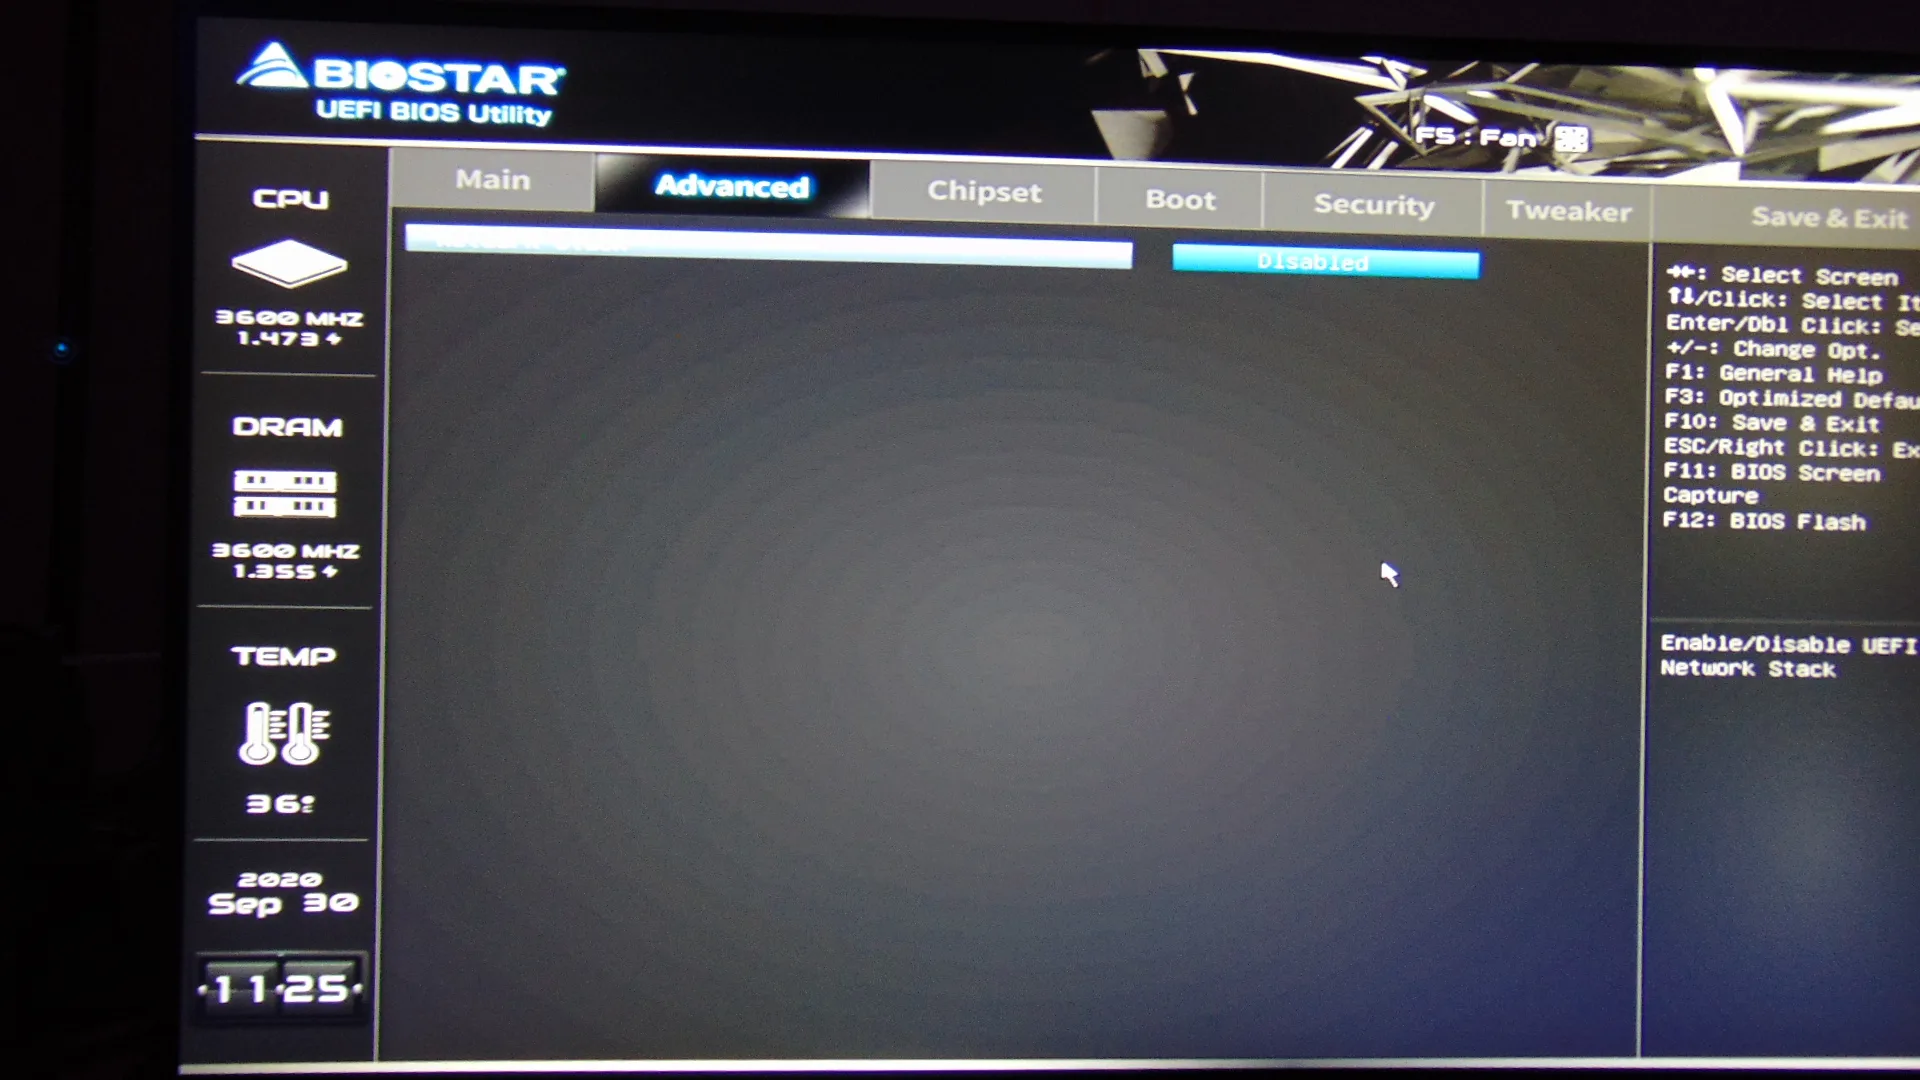
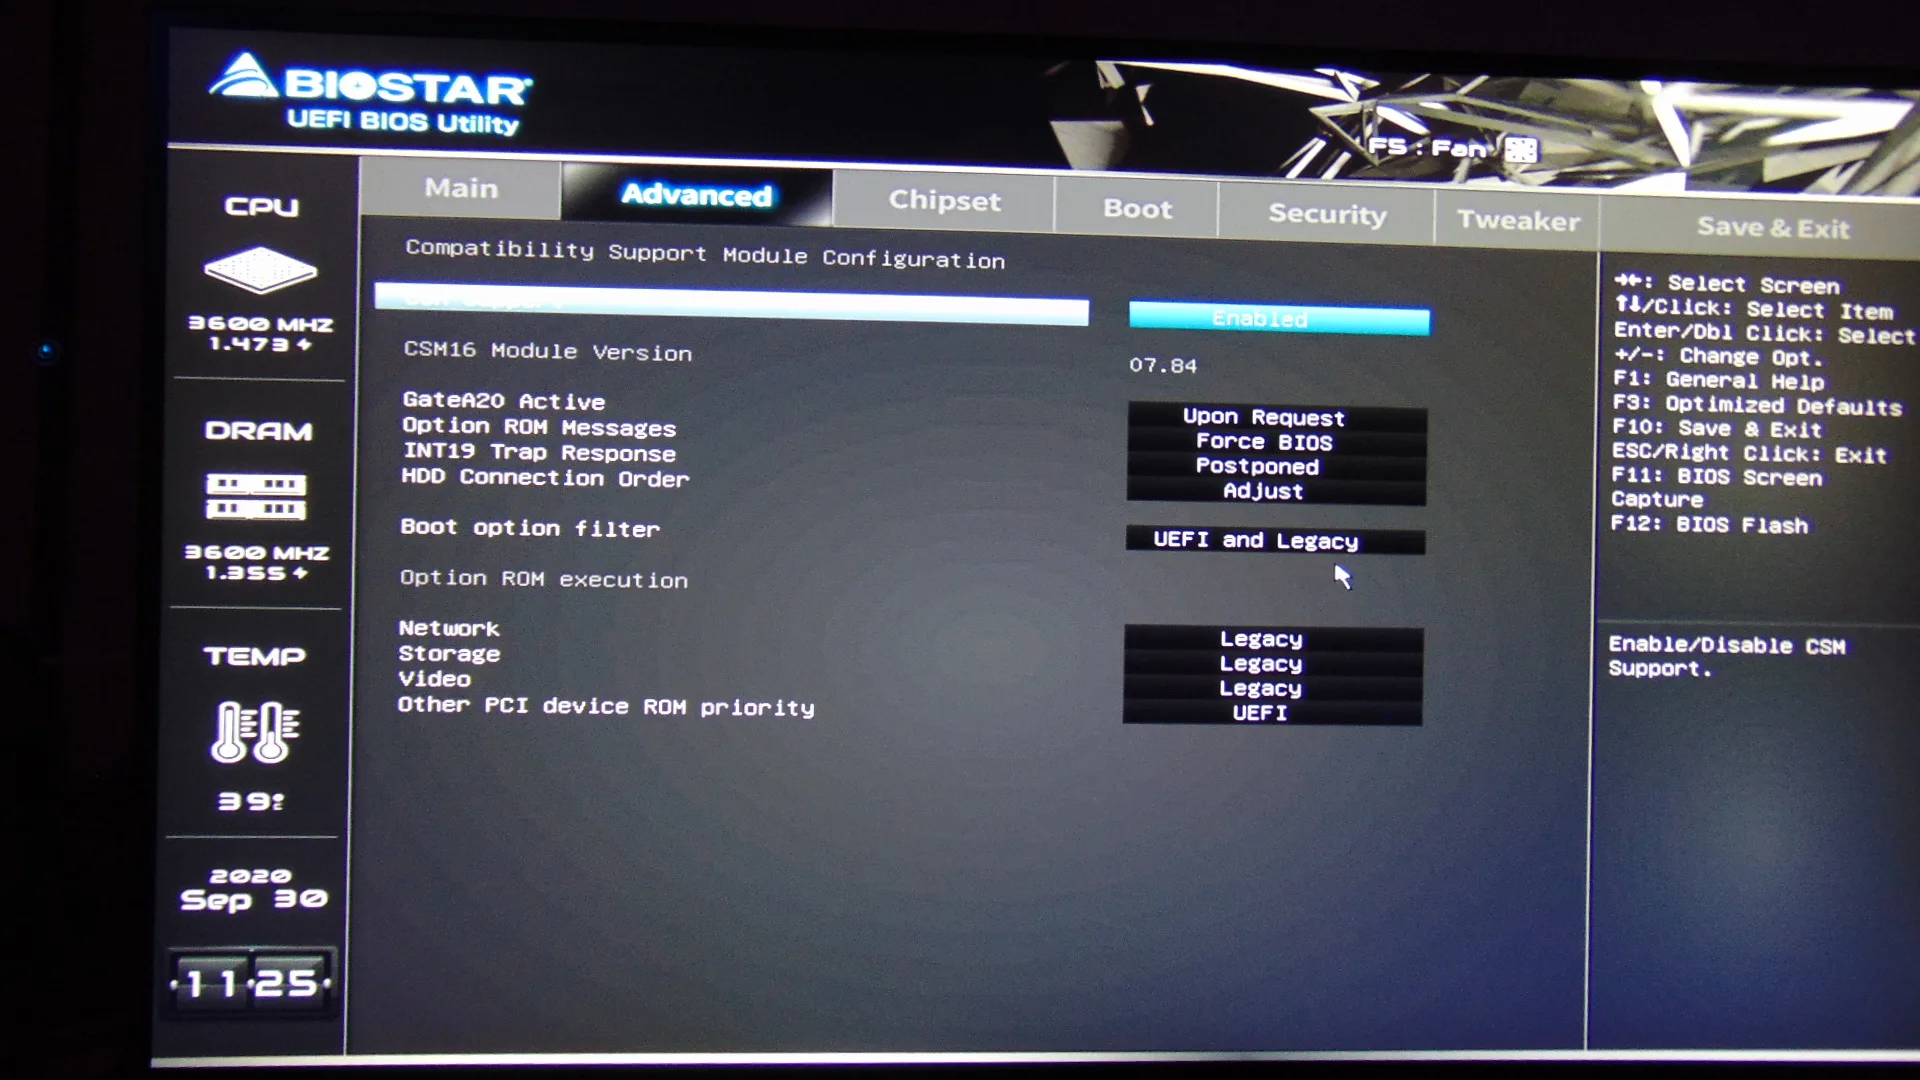
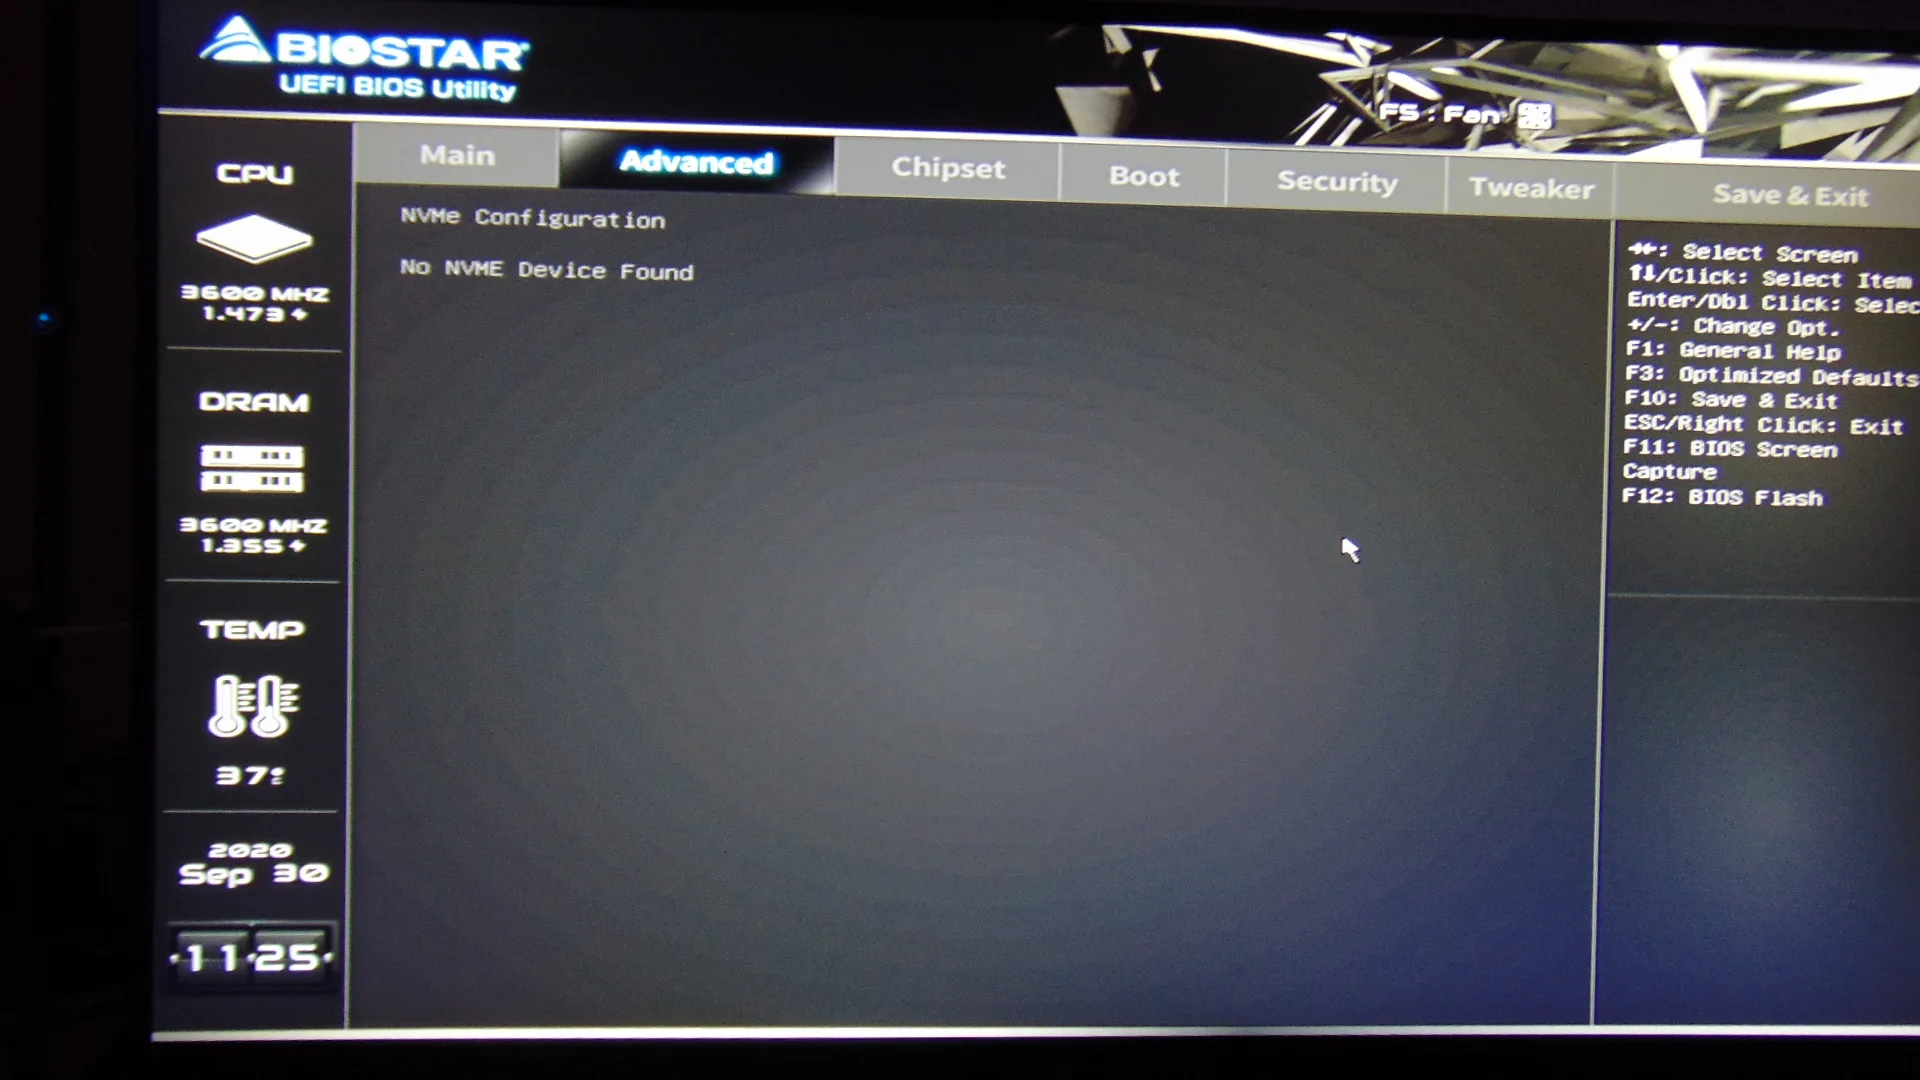

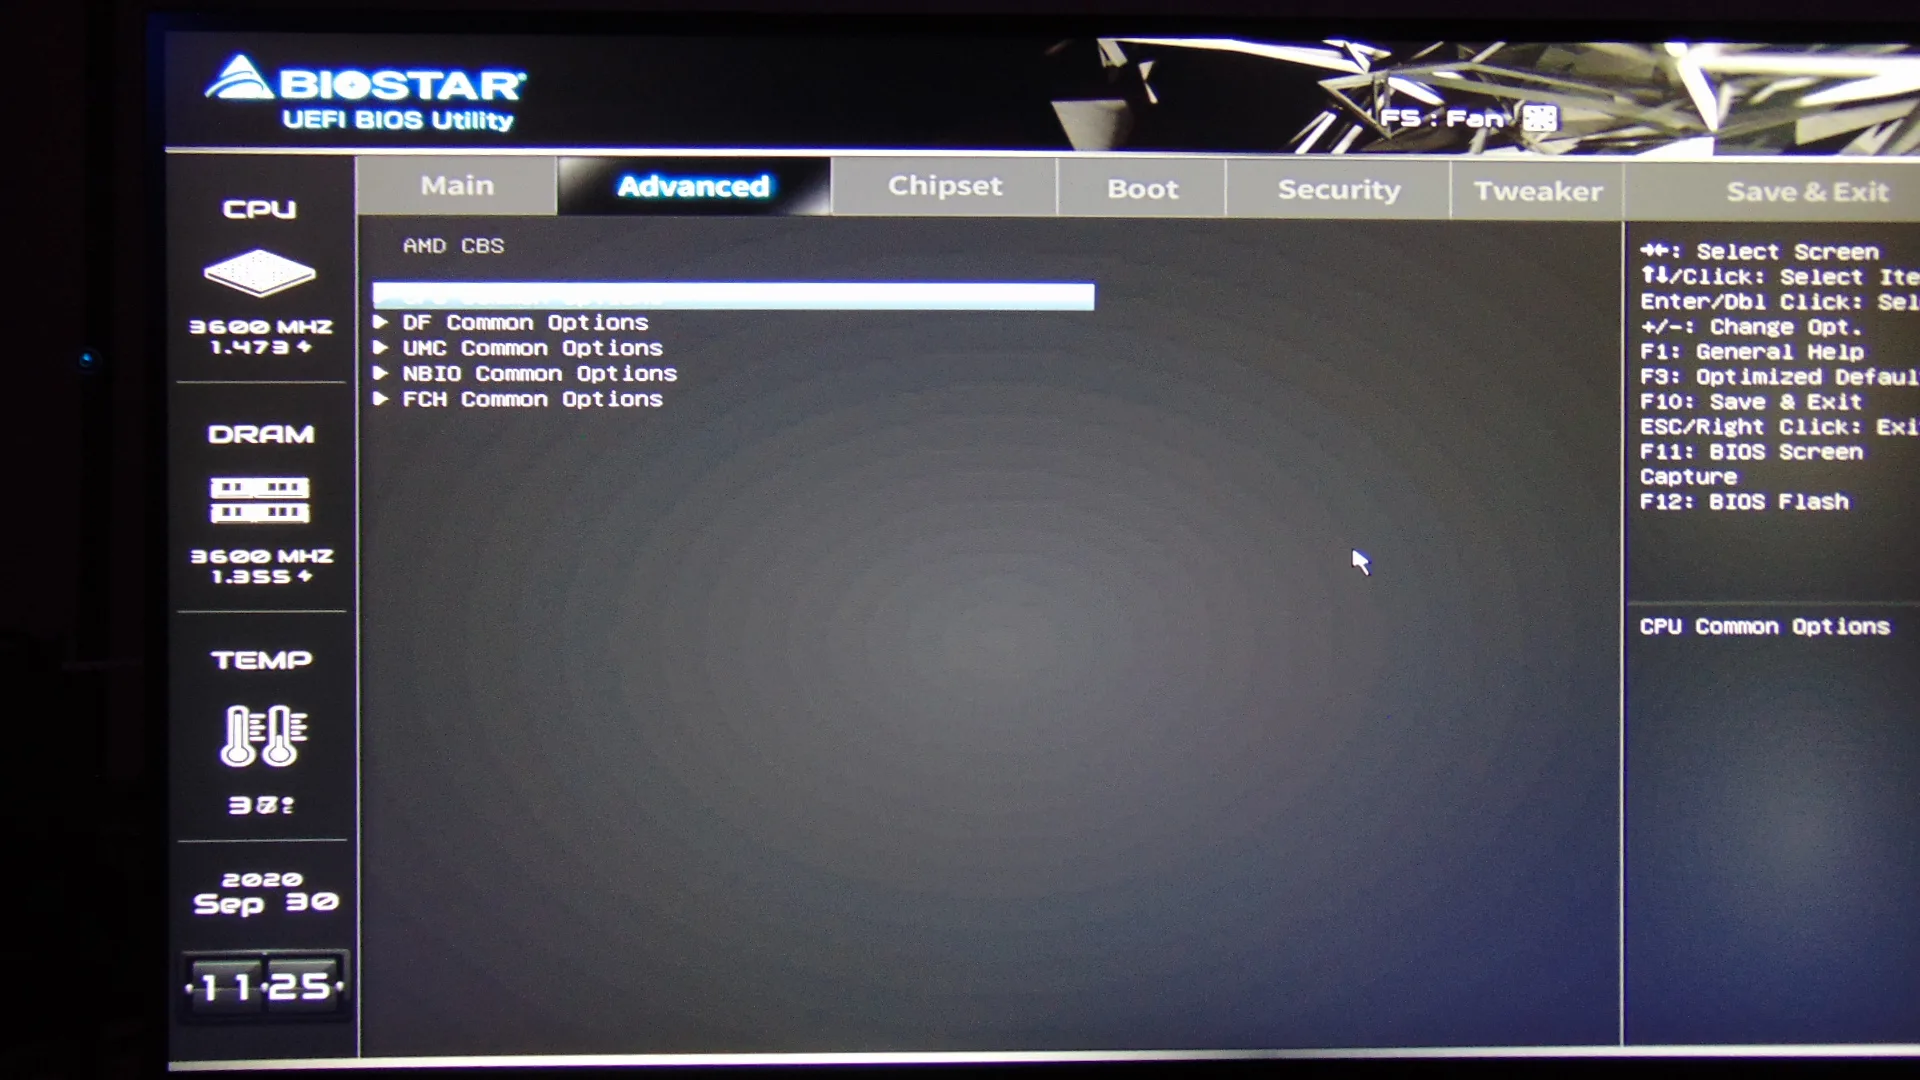
When we navigate to the Advanced tab you can configure most features on-board here. TPM functions are here. ACPI settings are here. The SATA configuration of AHCI or RAID can be set here. You can change the COM setting. There is a monitoring status page that shows the CPU Temperature, System Temperature, CPU Fan Speed, System Fan Speed, CPU Core Voltage, DDR Memory Voltage, and the 12V and 5V rail. You can set an alarm warning to shut down at a certain temp. The CPU Configuration menu is also under Advanced, you can control the Global C-State and SMT. The PCI Bus can be configured along with PCI Express settings. This is also where you will find AMD CBS which allows a ton of chipset functions.
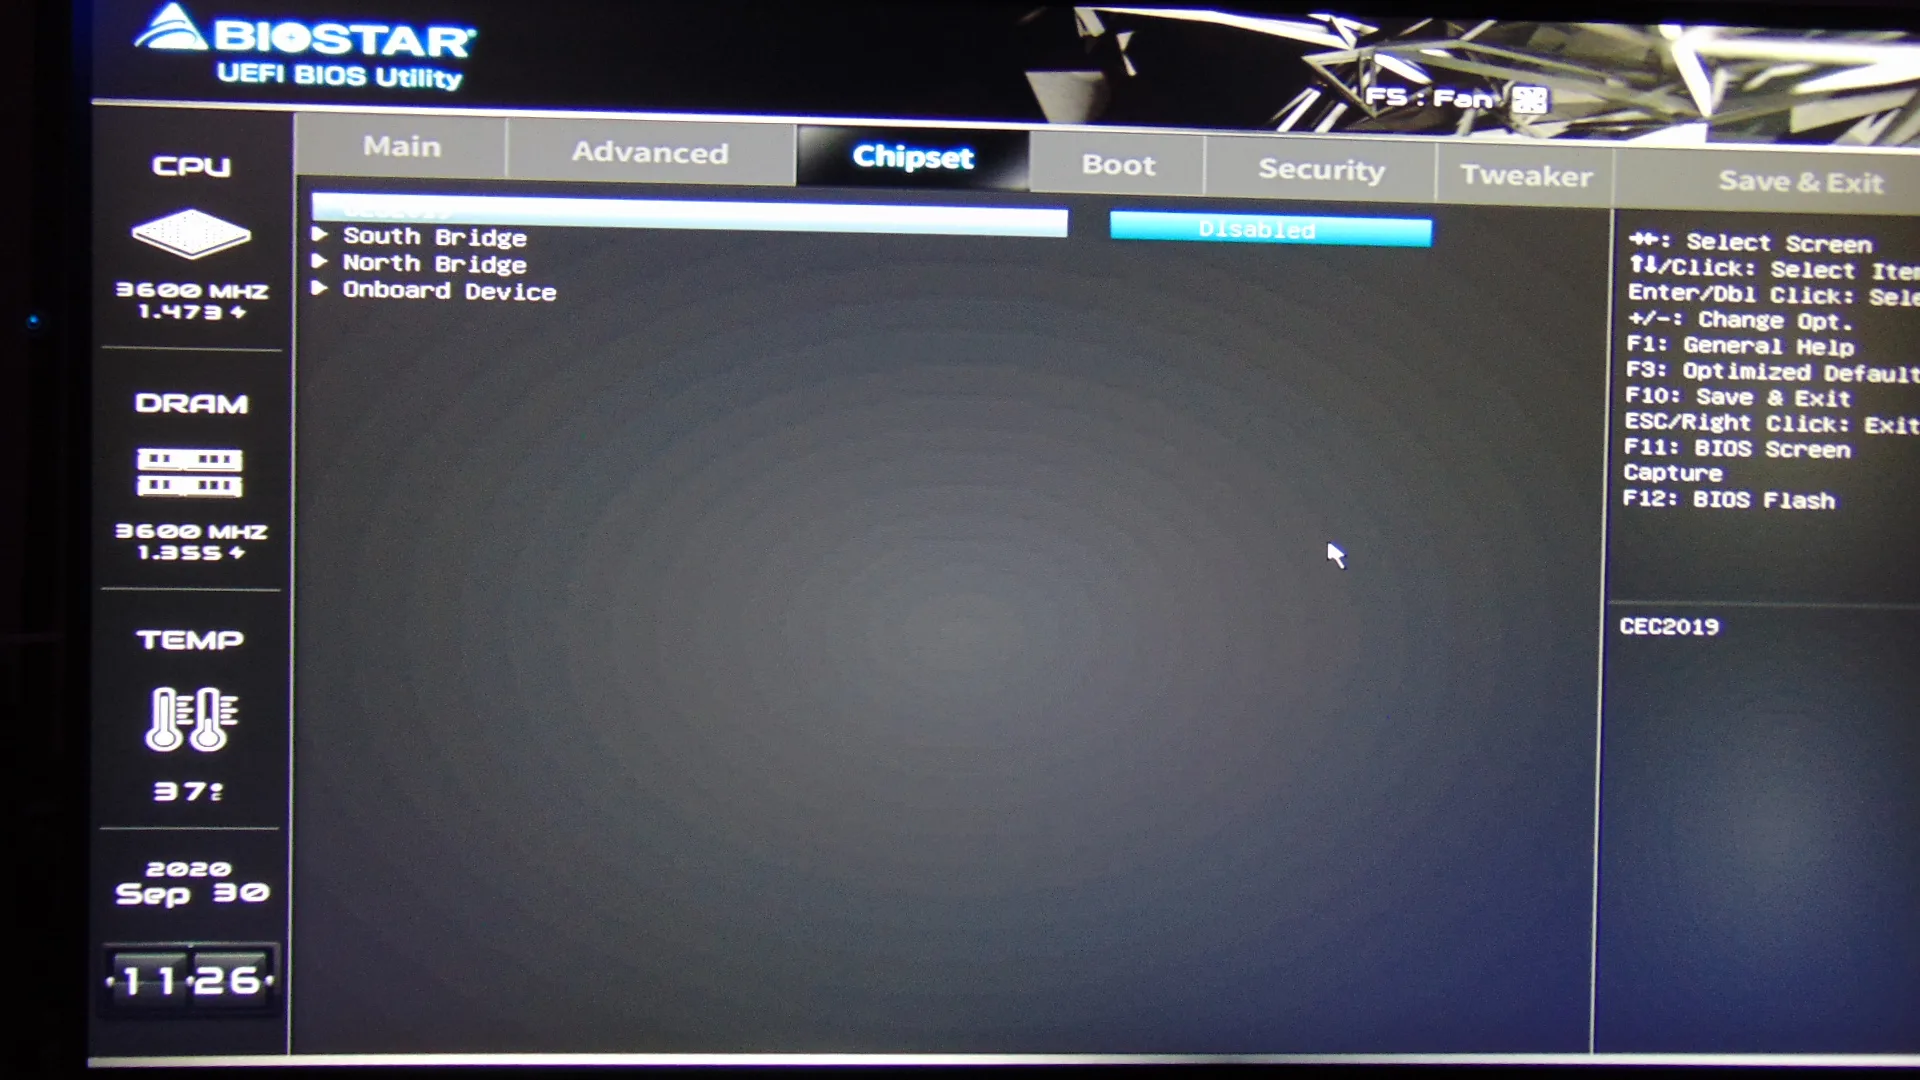
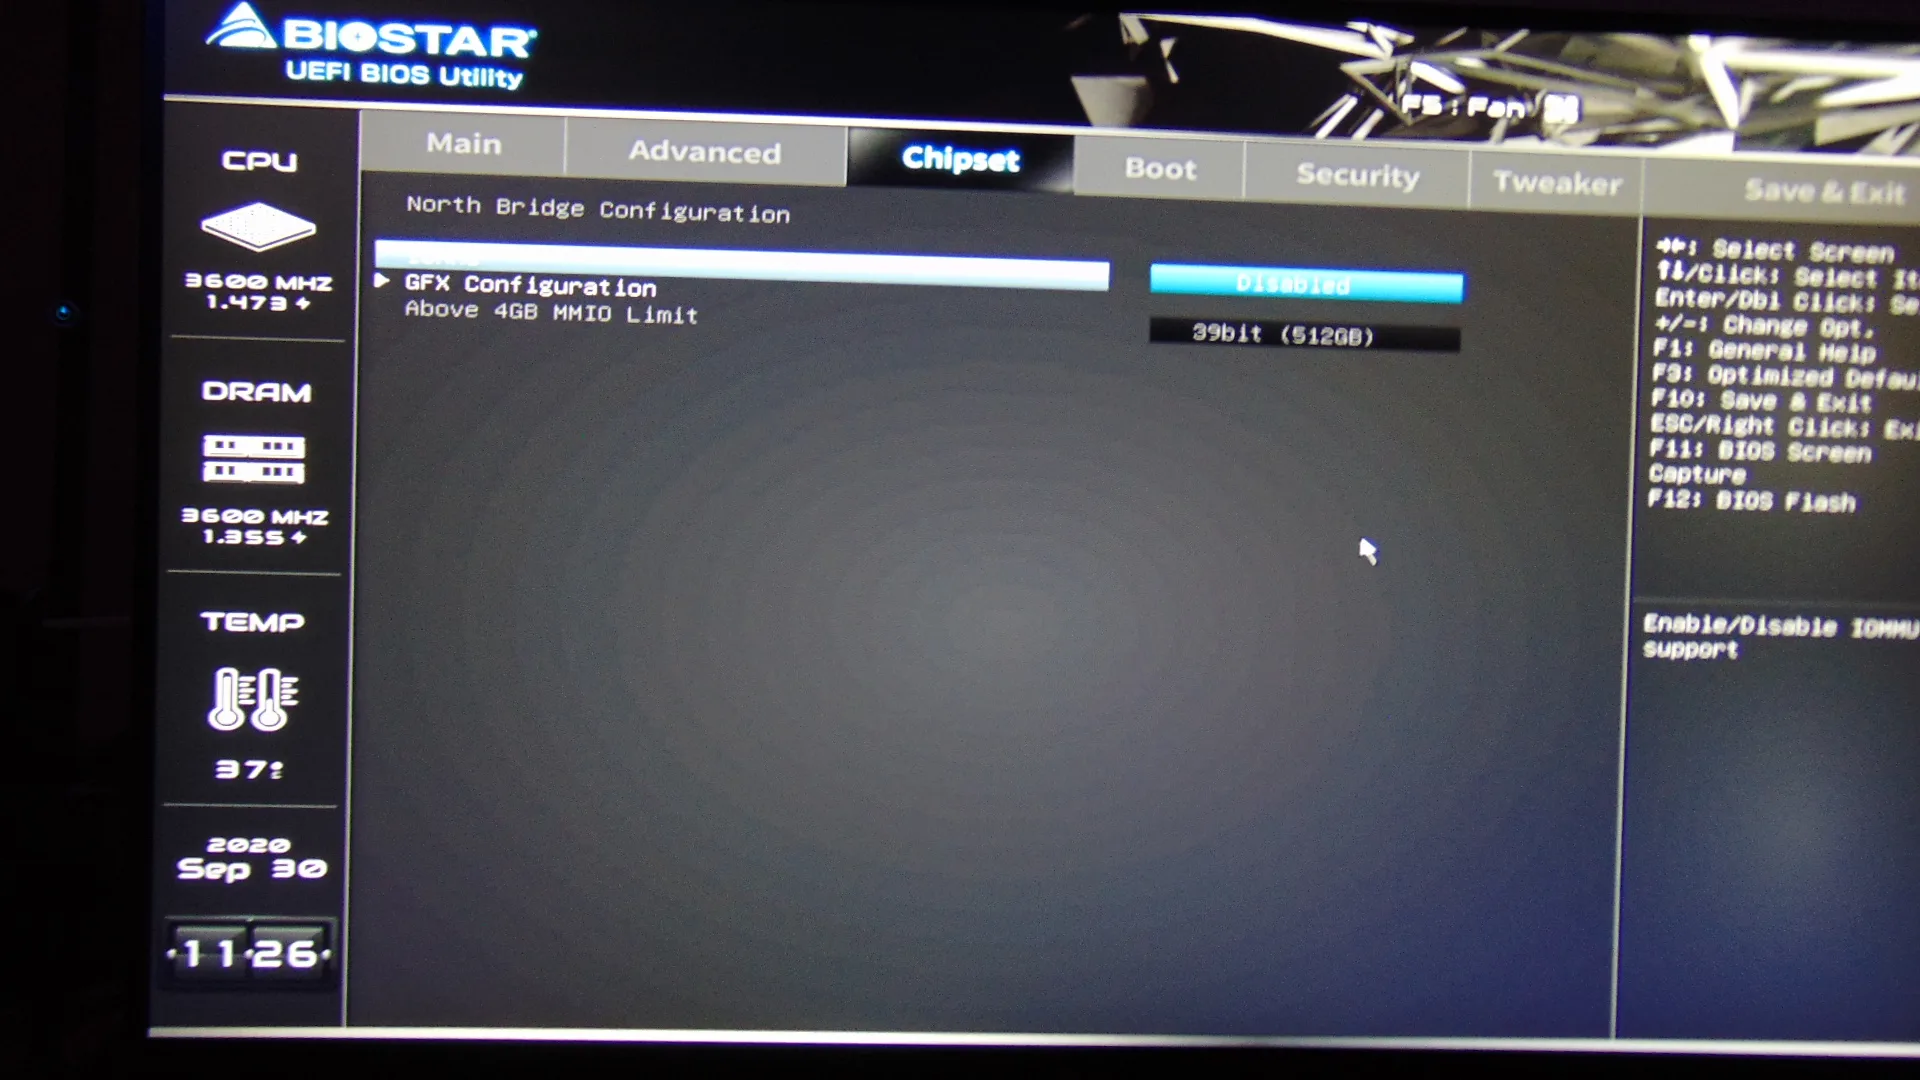
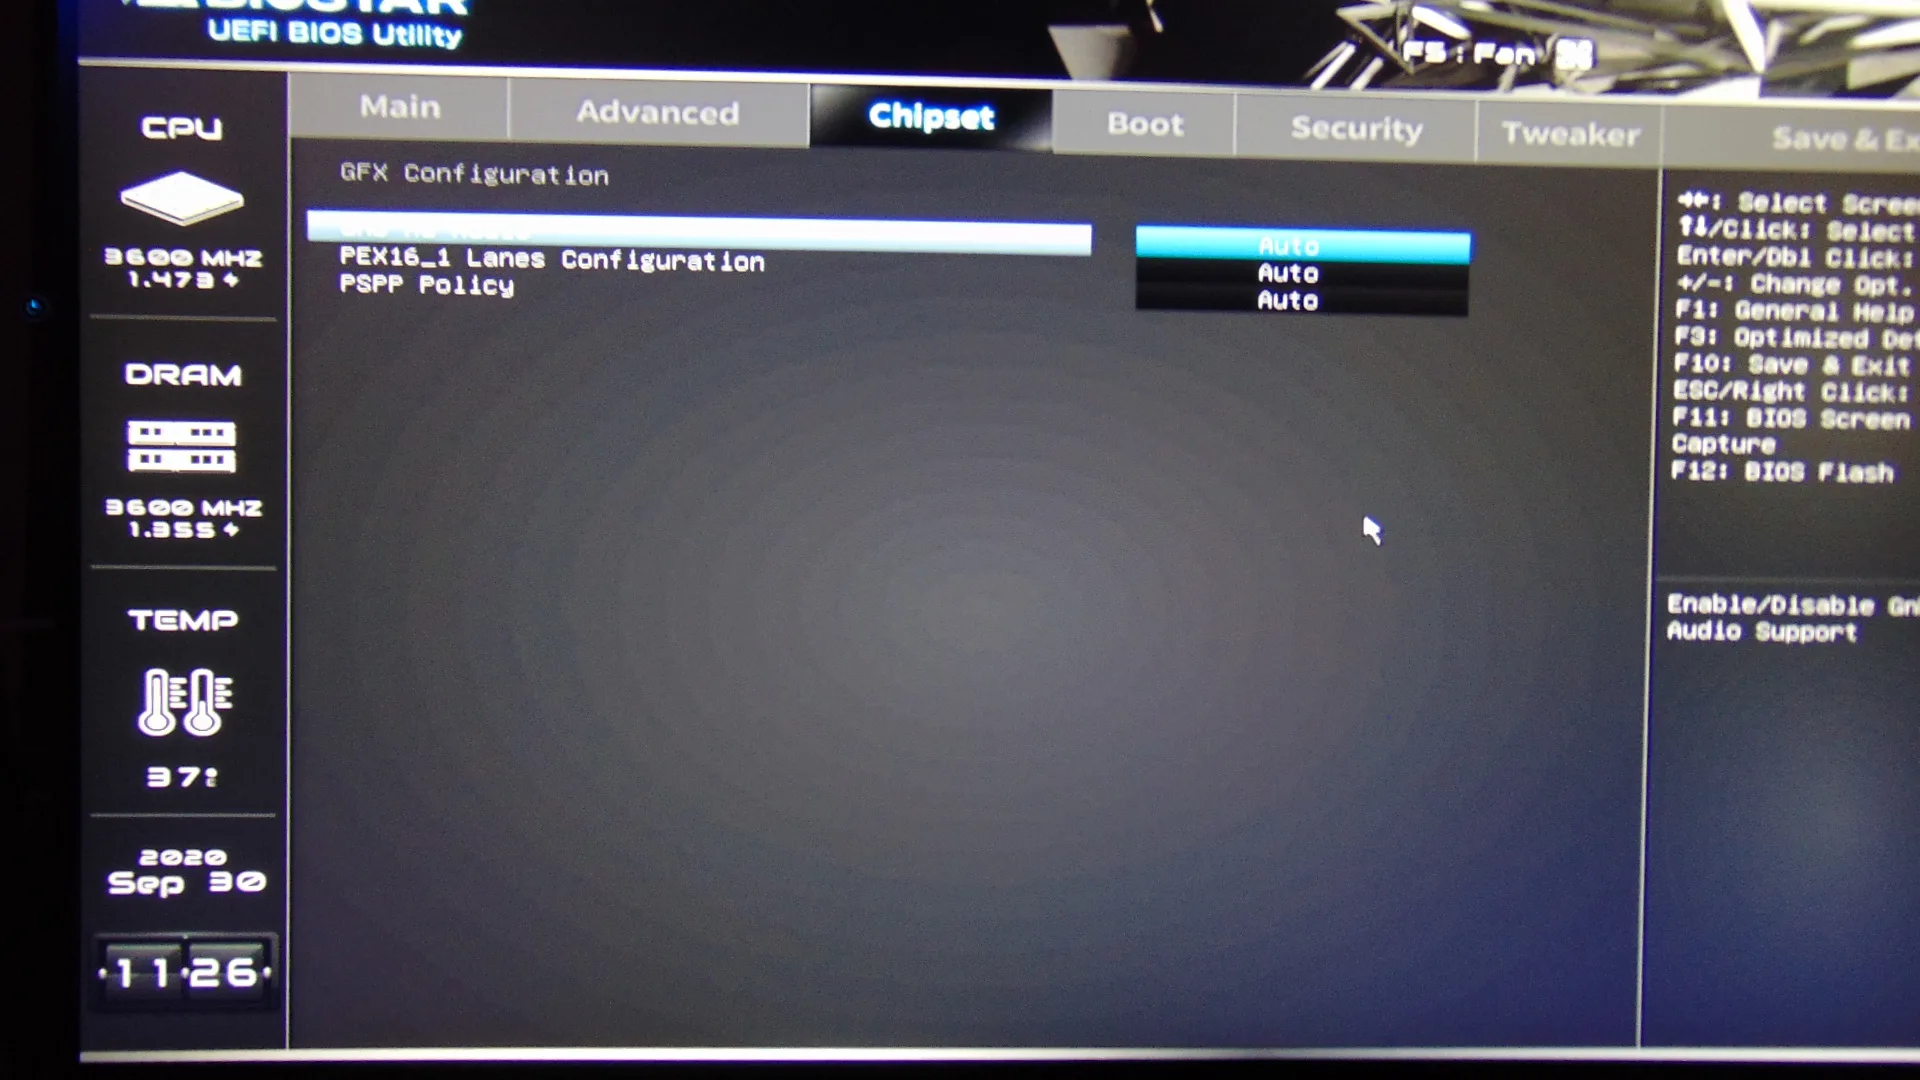
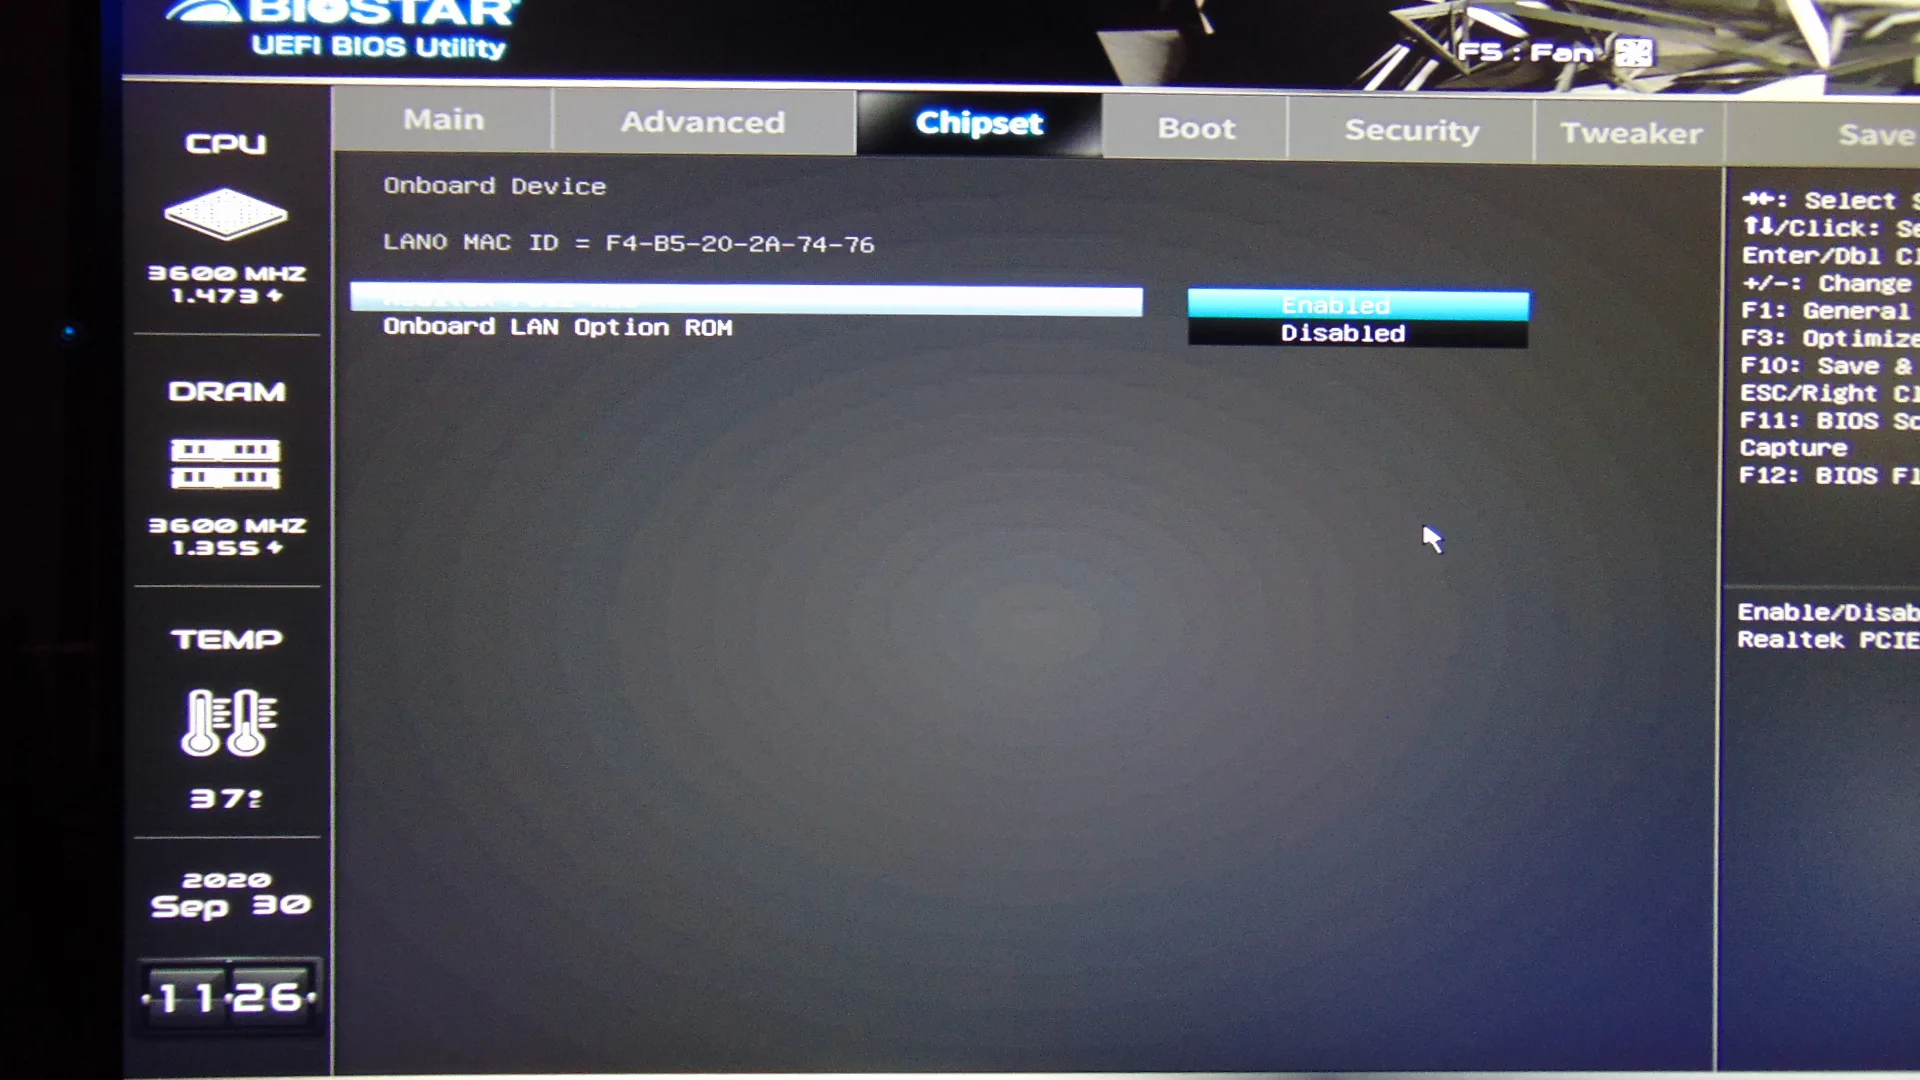
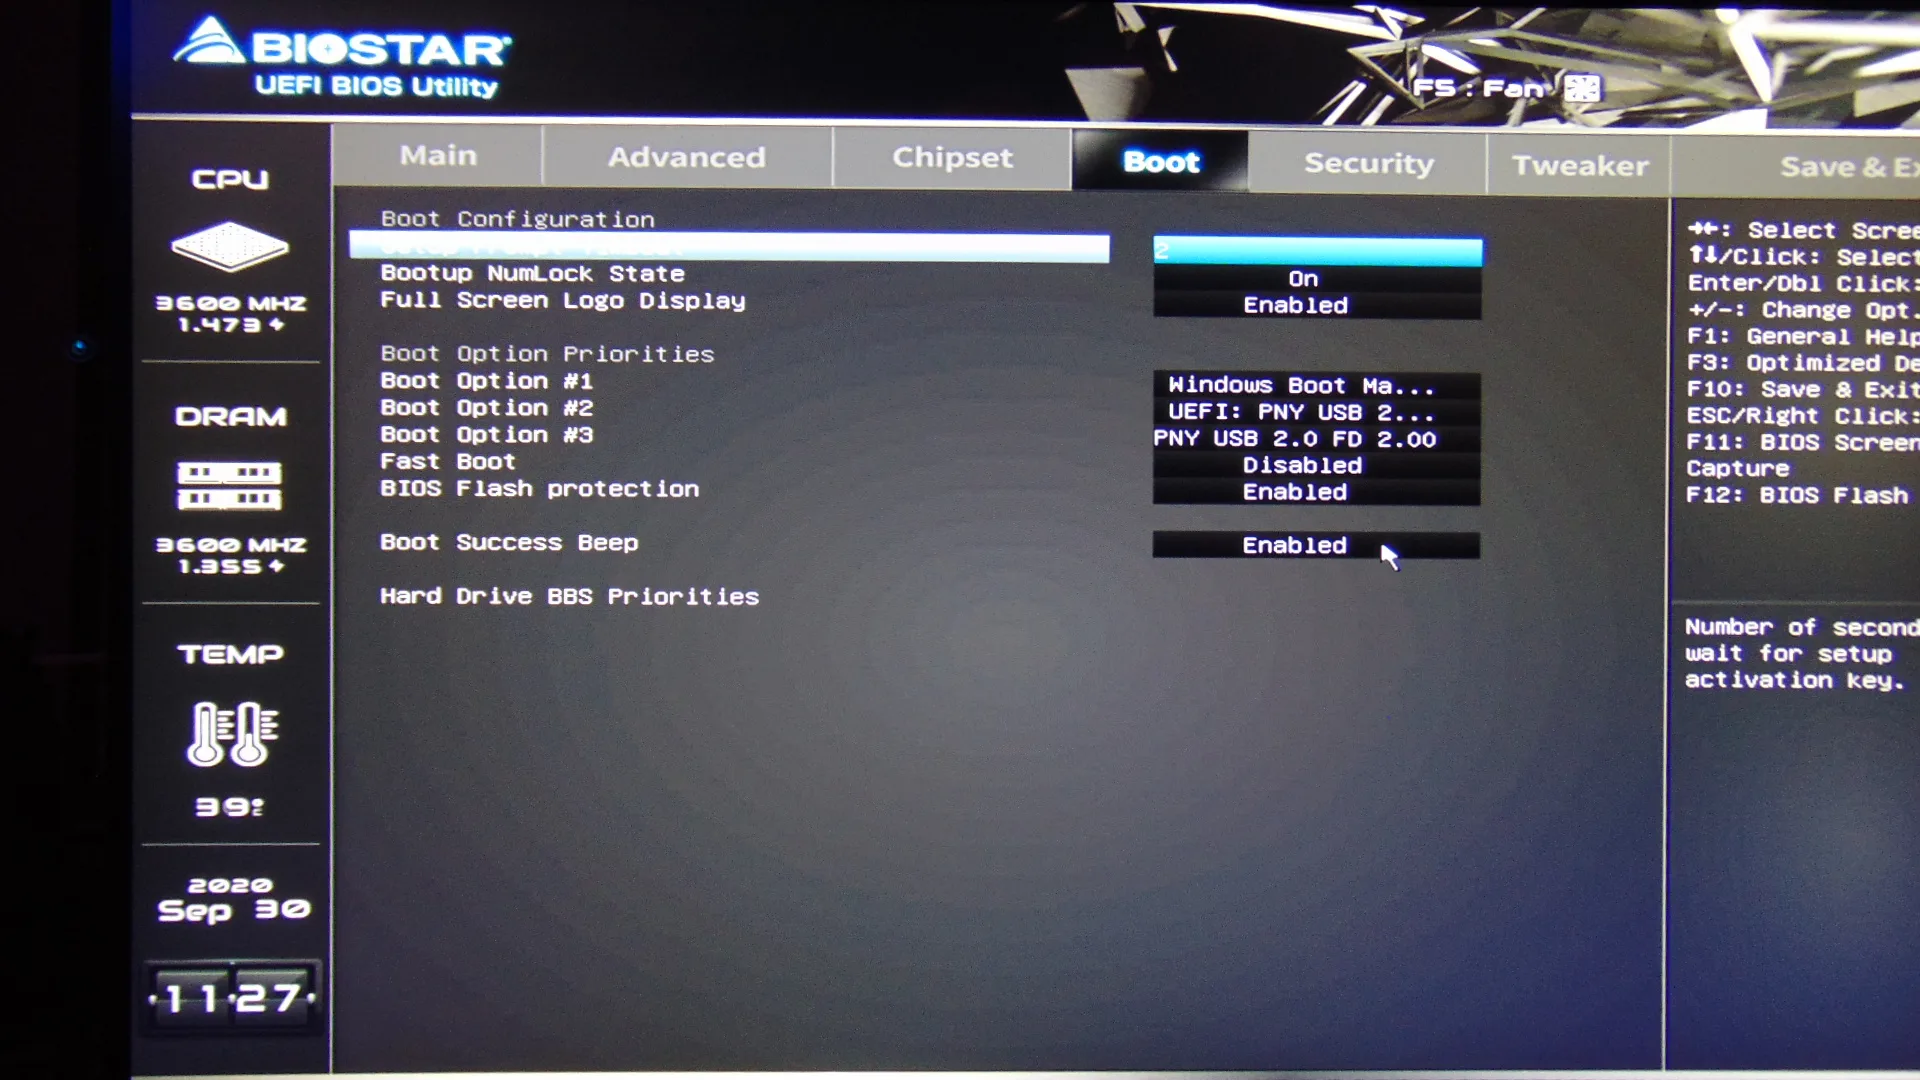
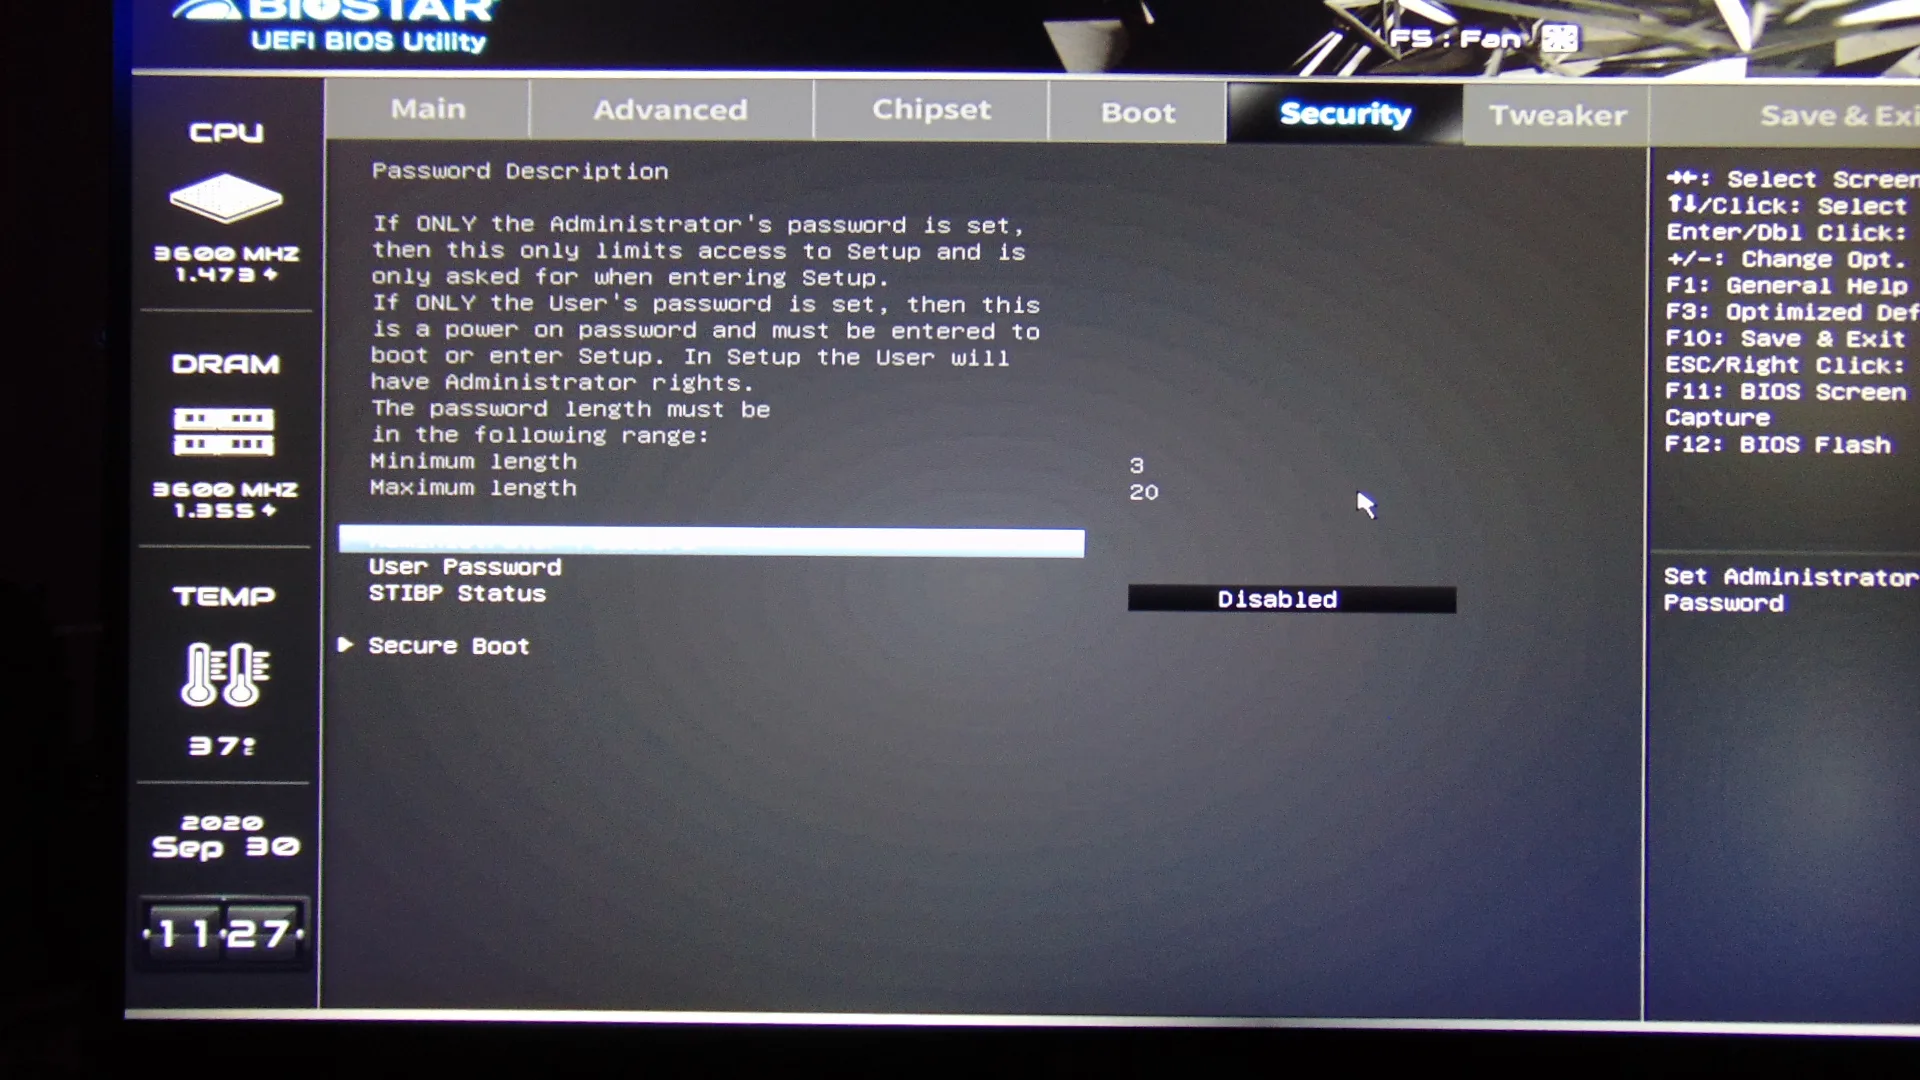
Under the Chipset tab are functions for the South Bridge and North Bridge. Notably controlling the onboard graphics if you have an APU. You can also configure the PCIe lanes and onboard LAN option. Under Boot, you can set boot priority and hard drive priority. Security lets you set up Secure Boot.
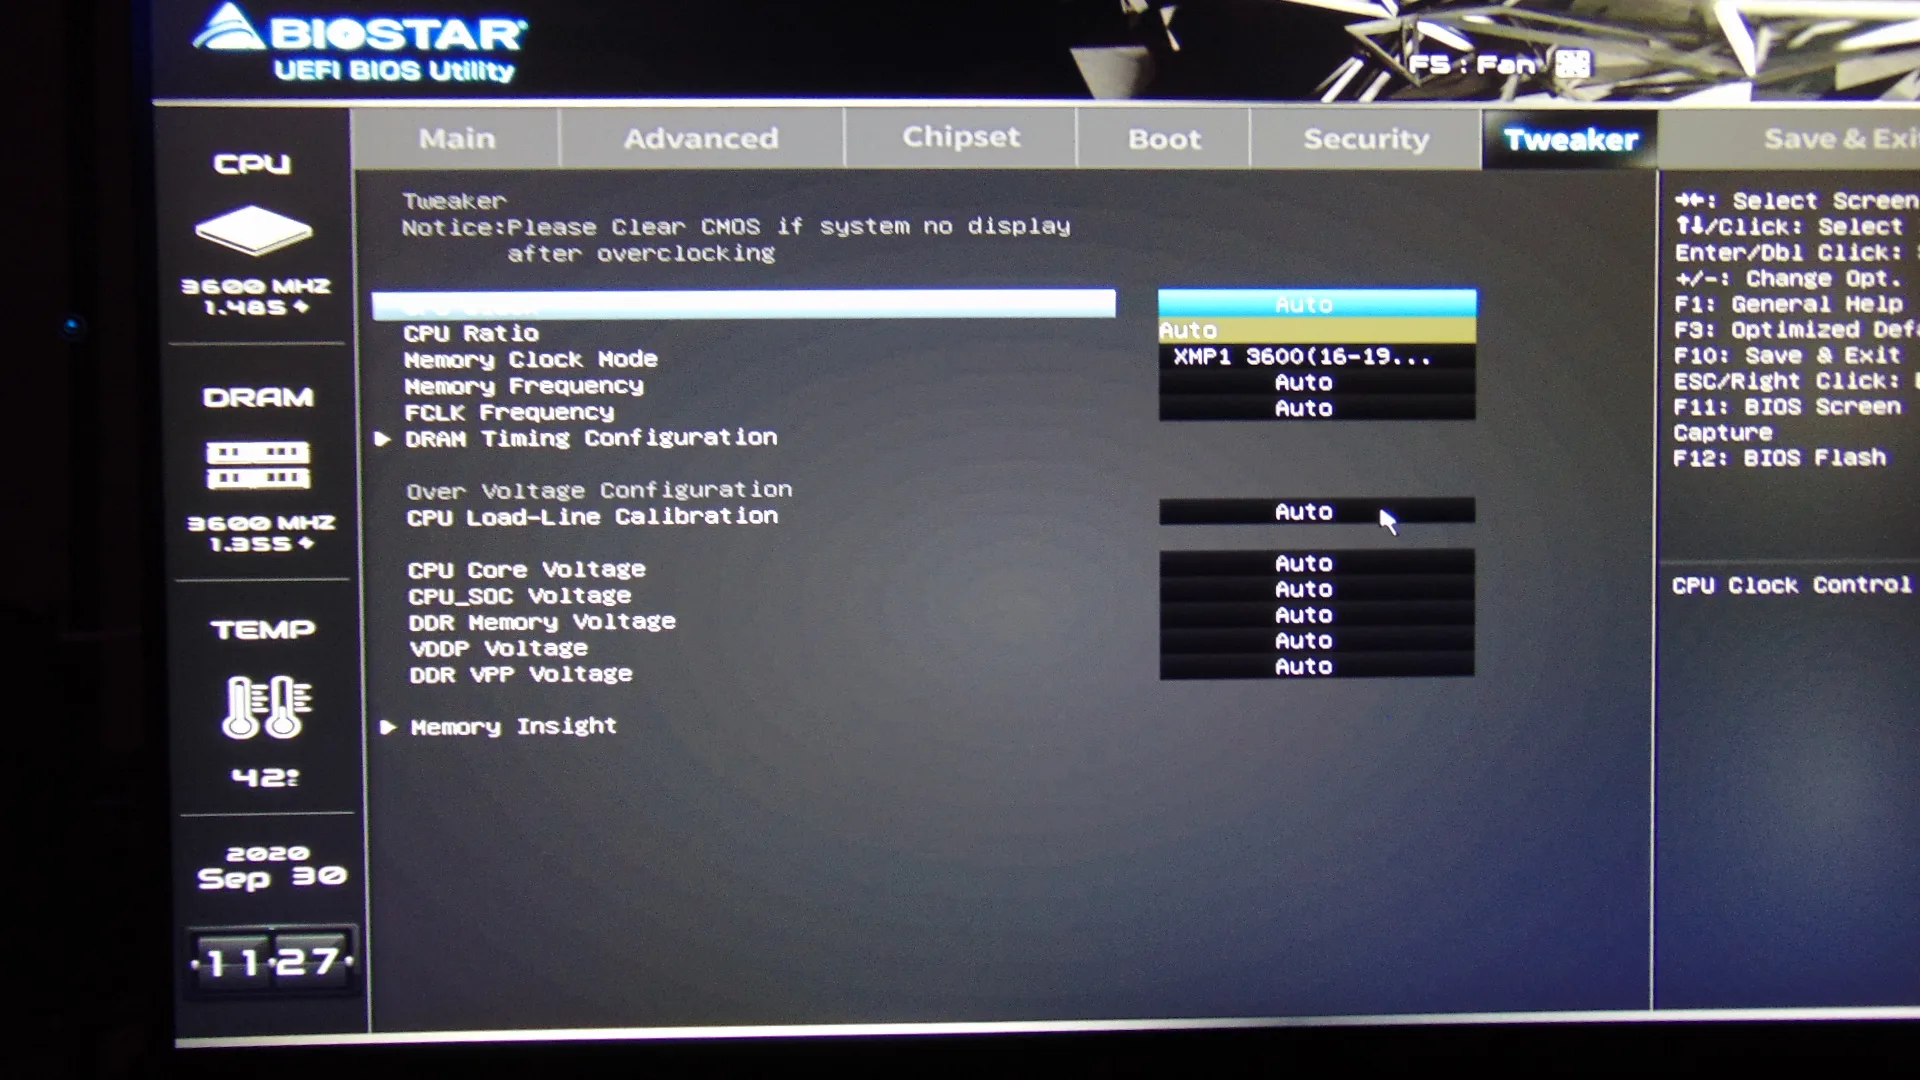
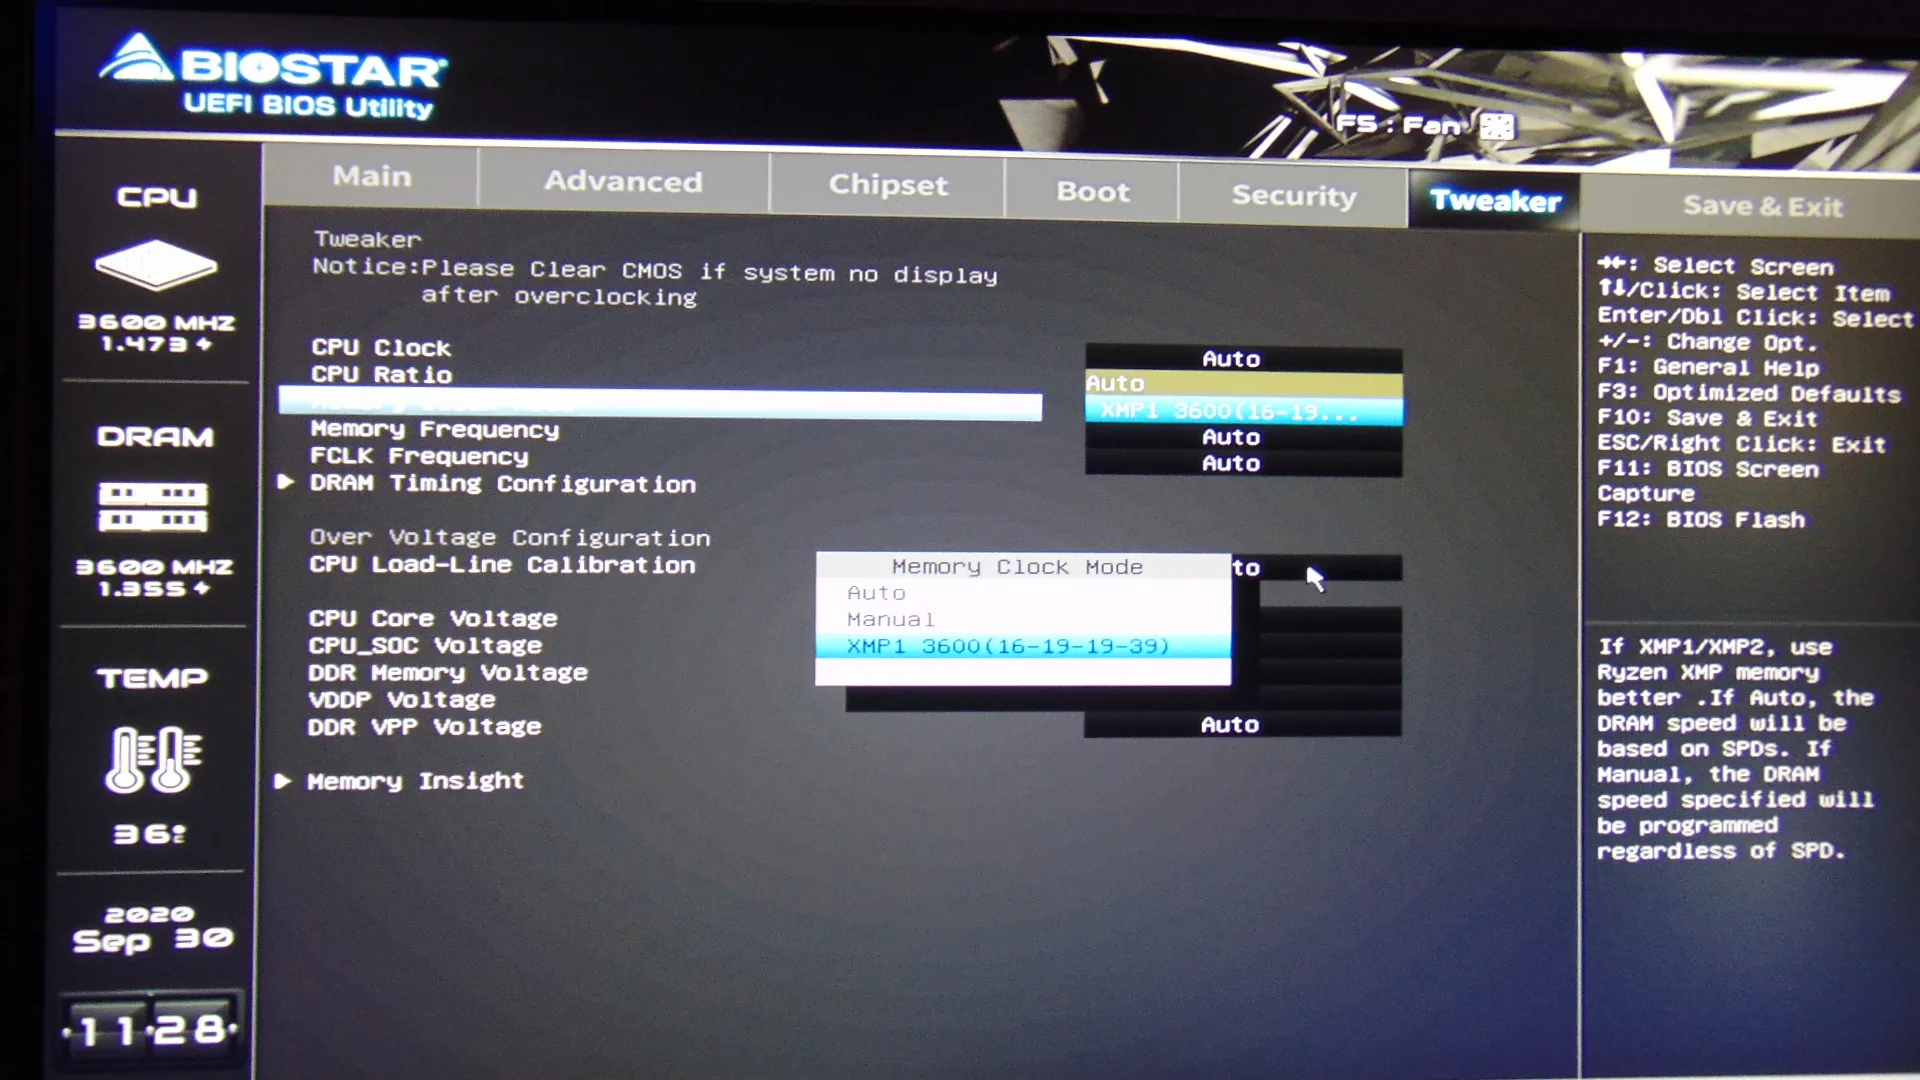
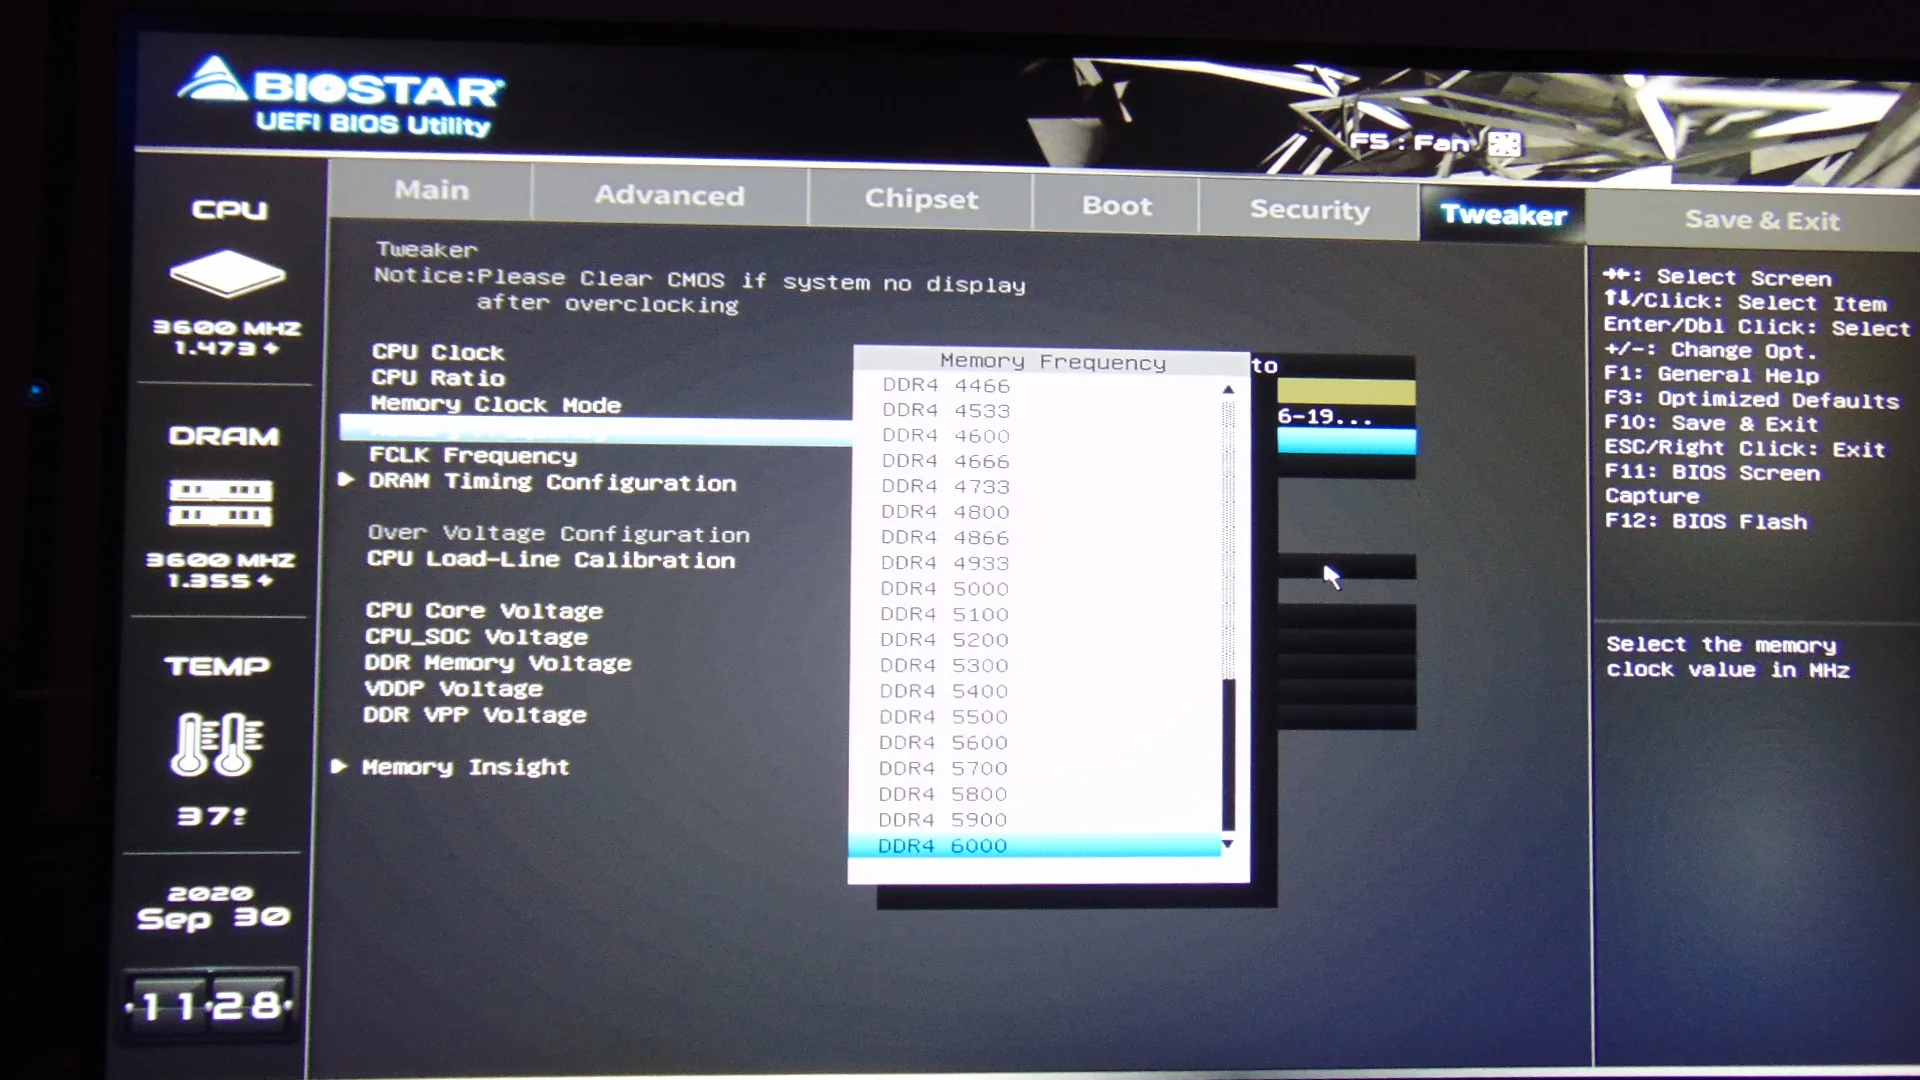
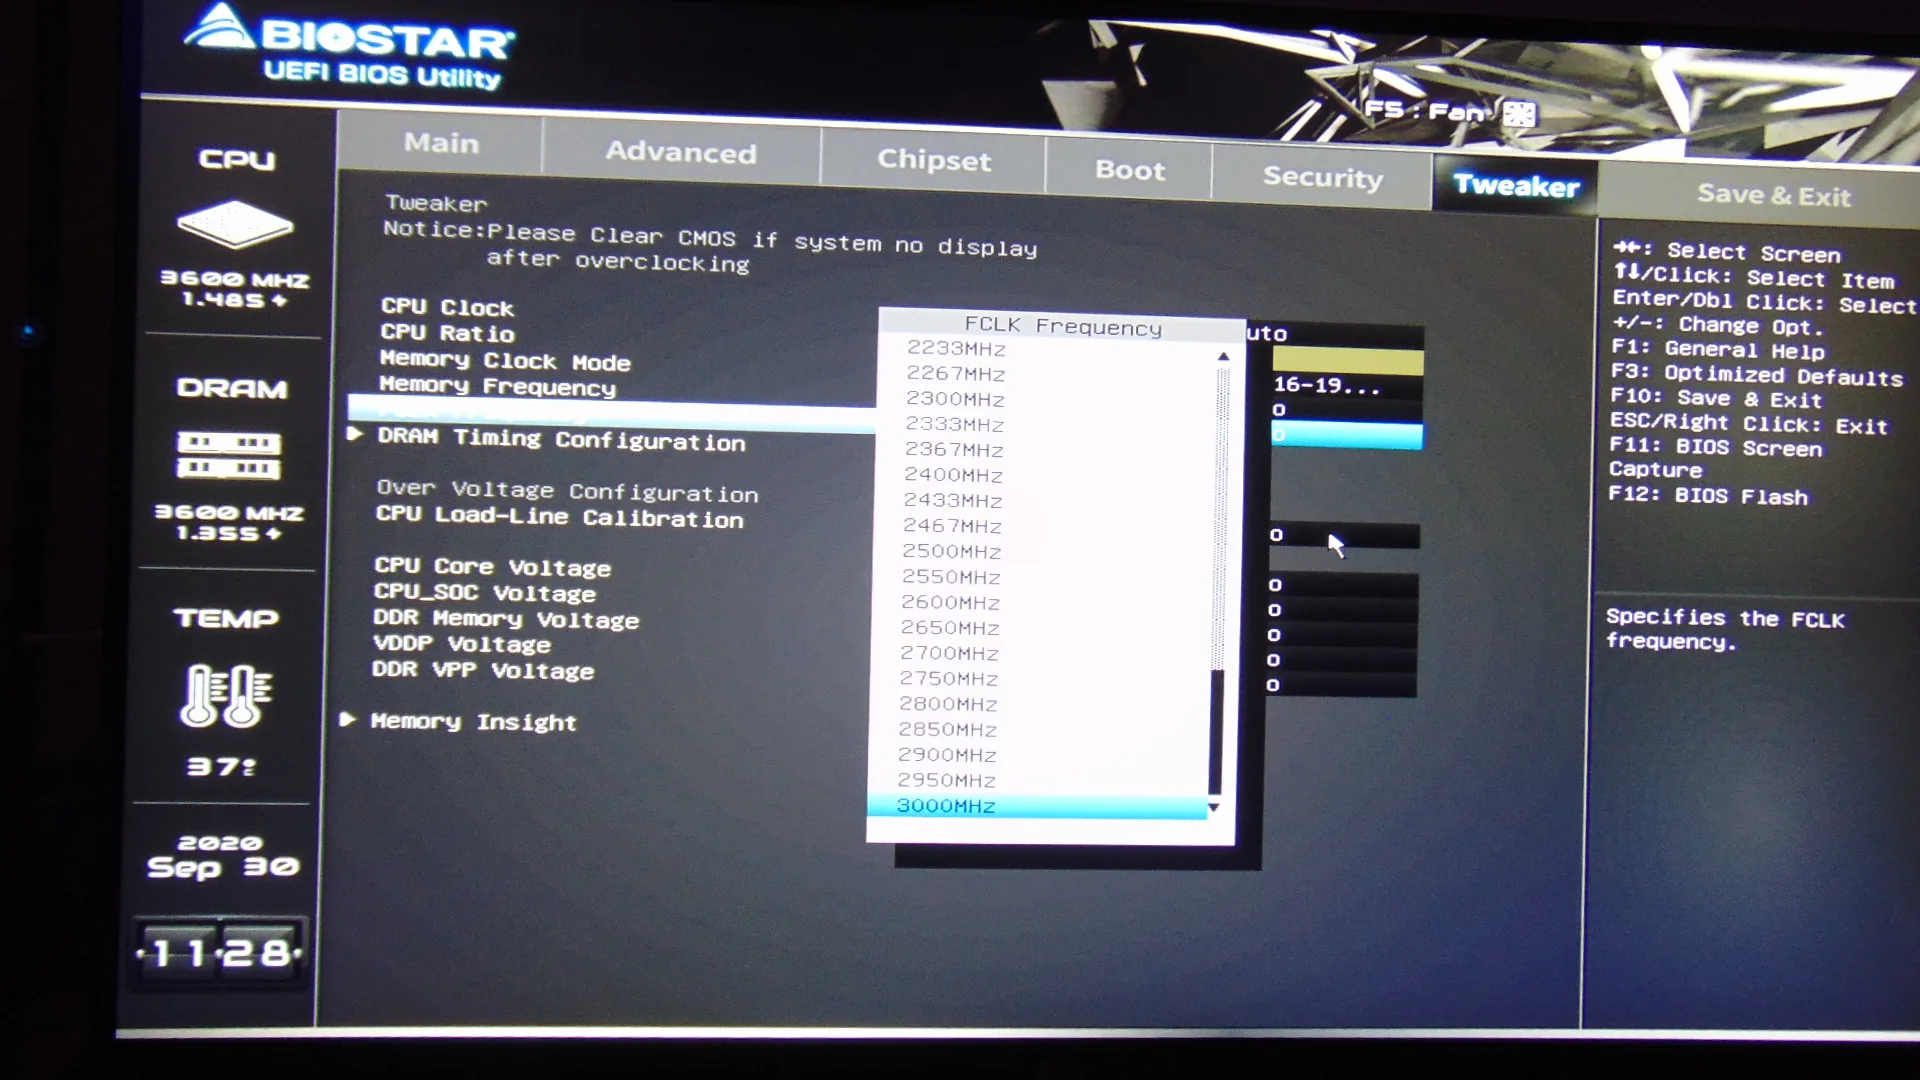
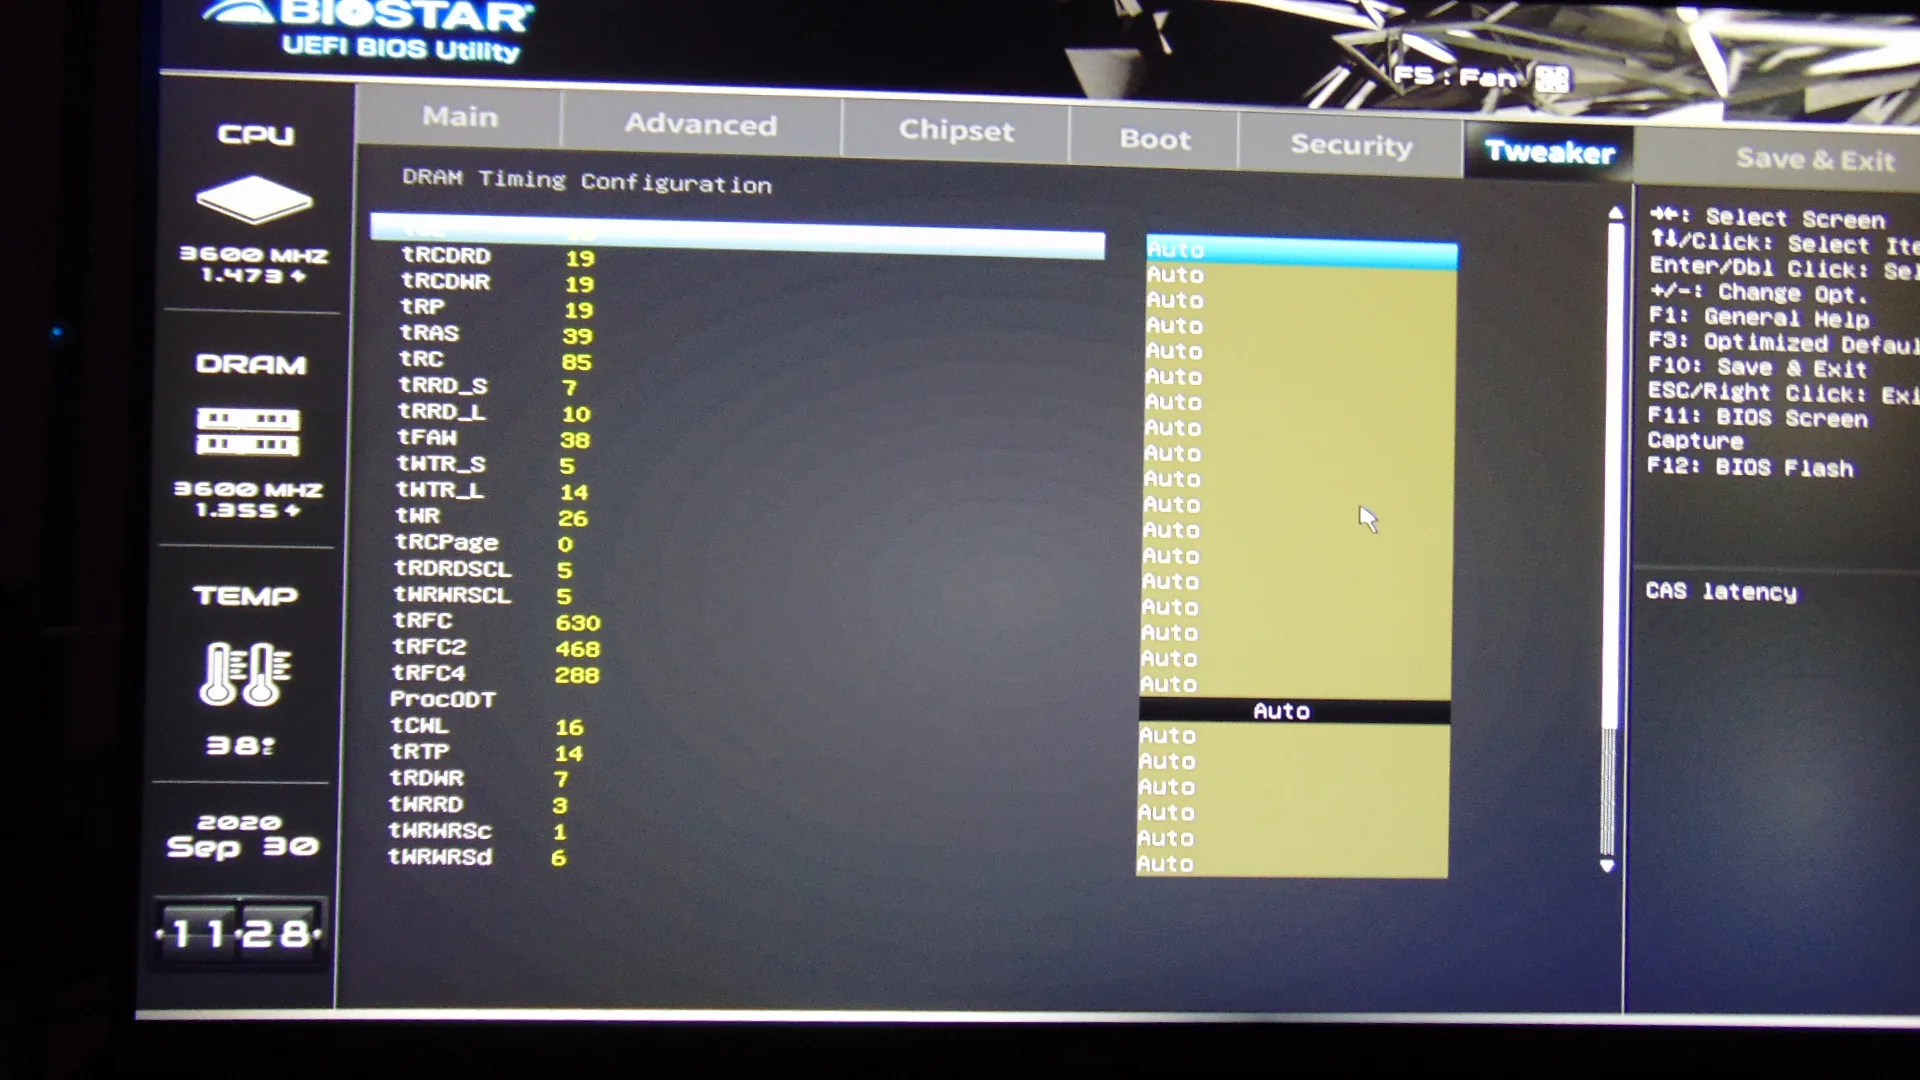
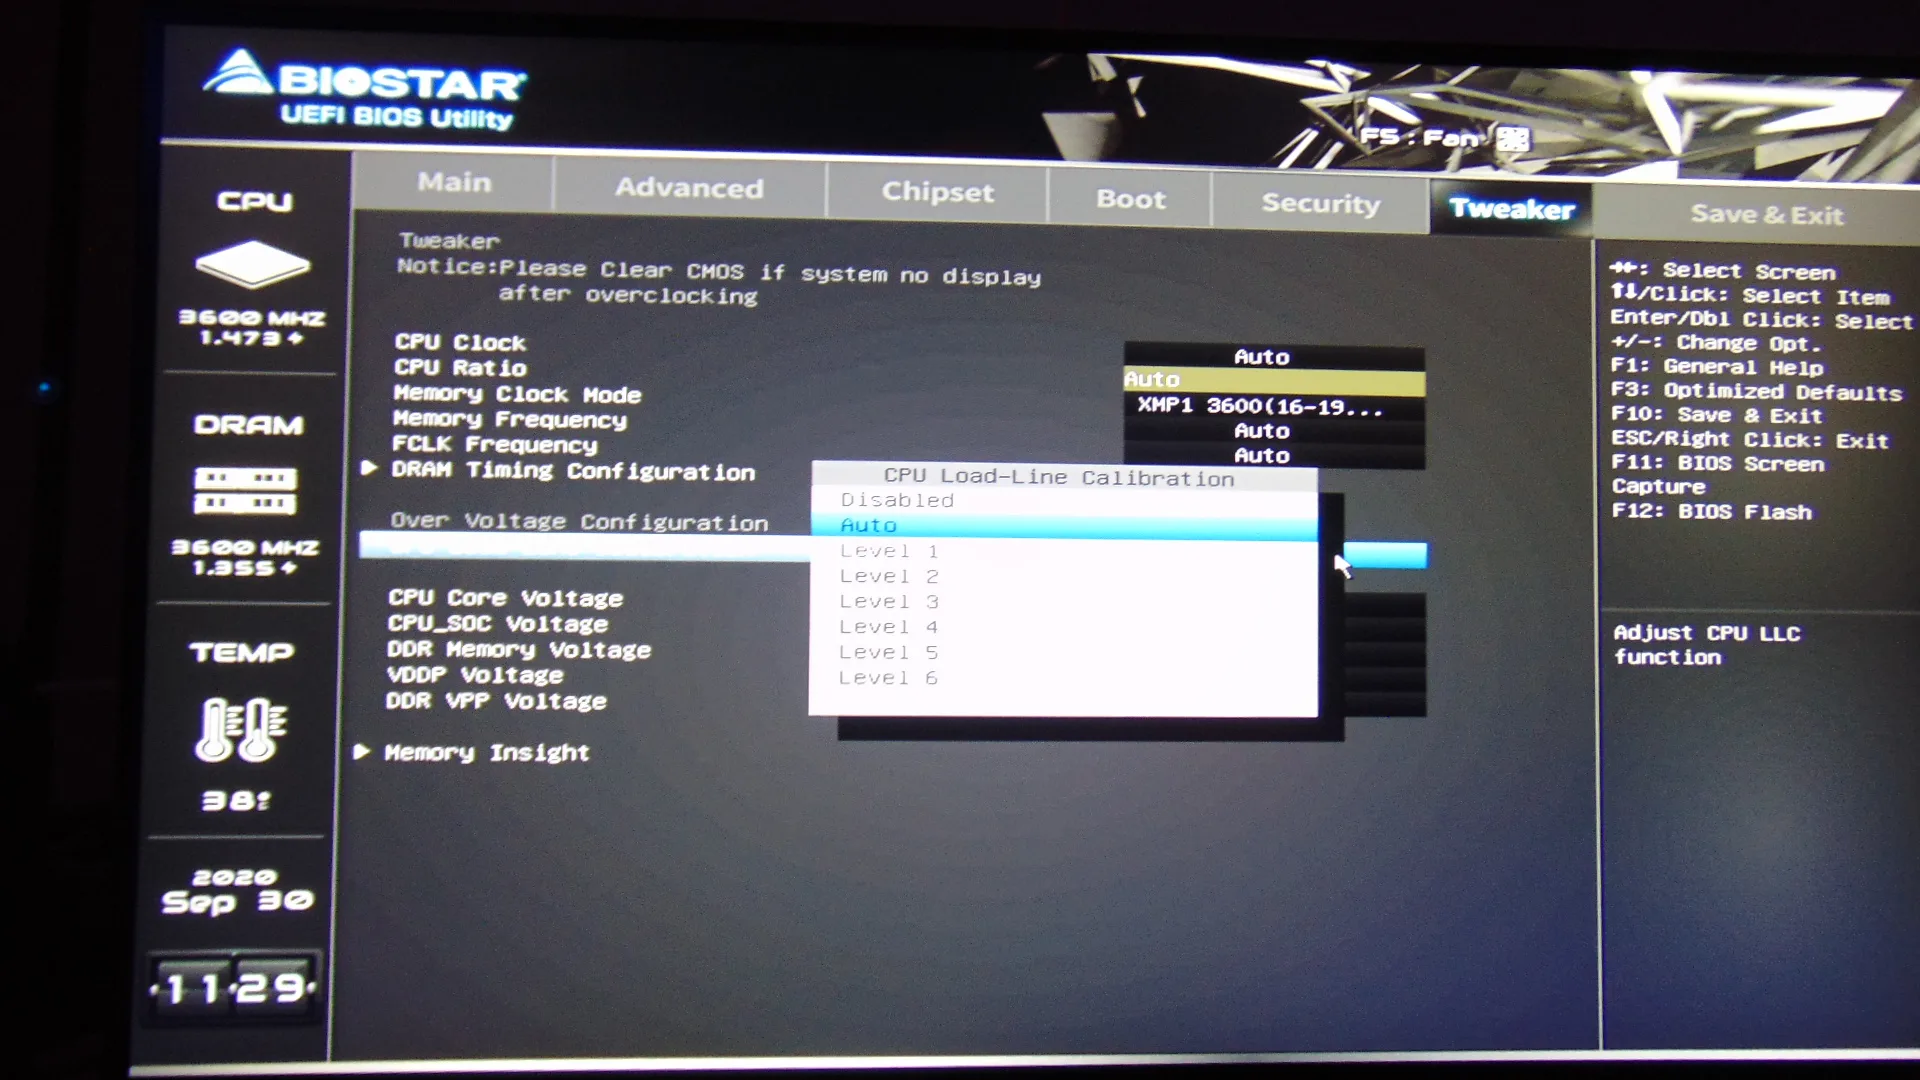
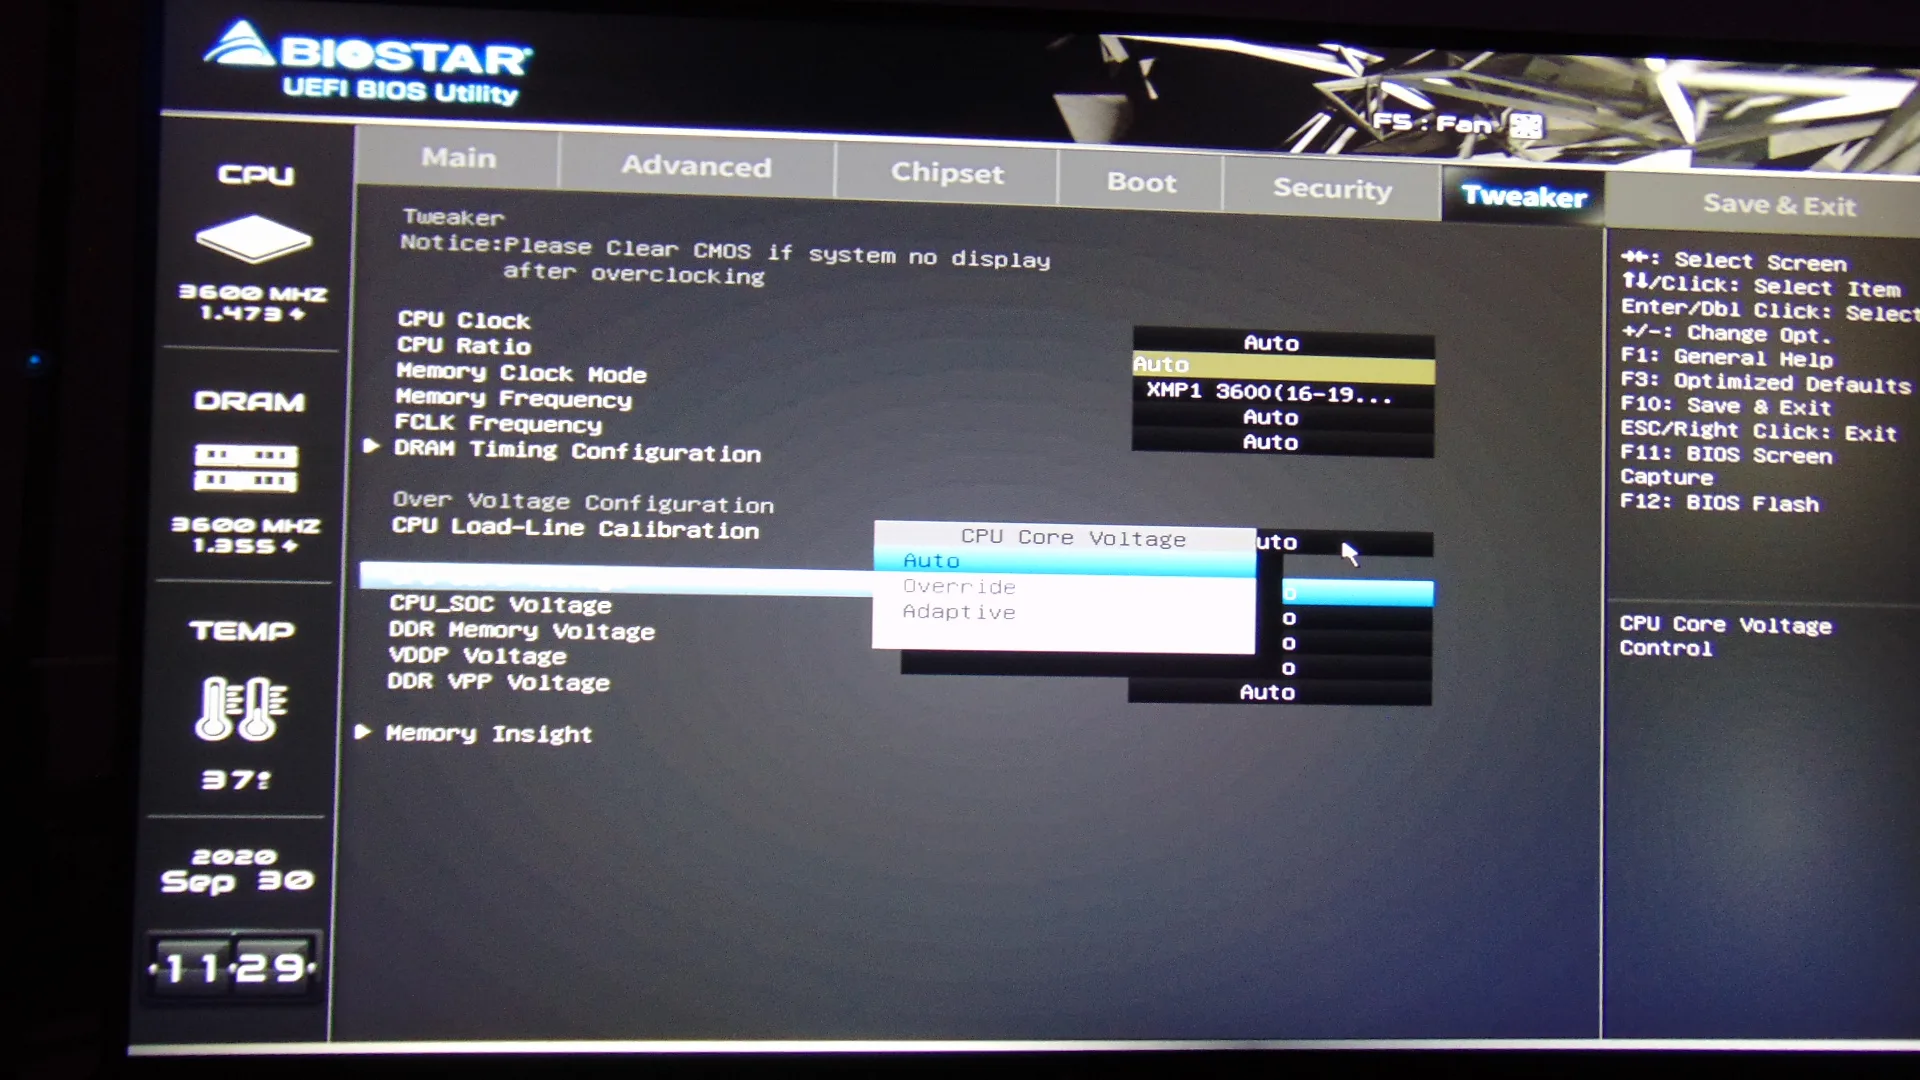
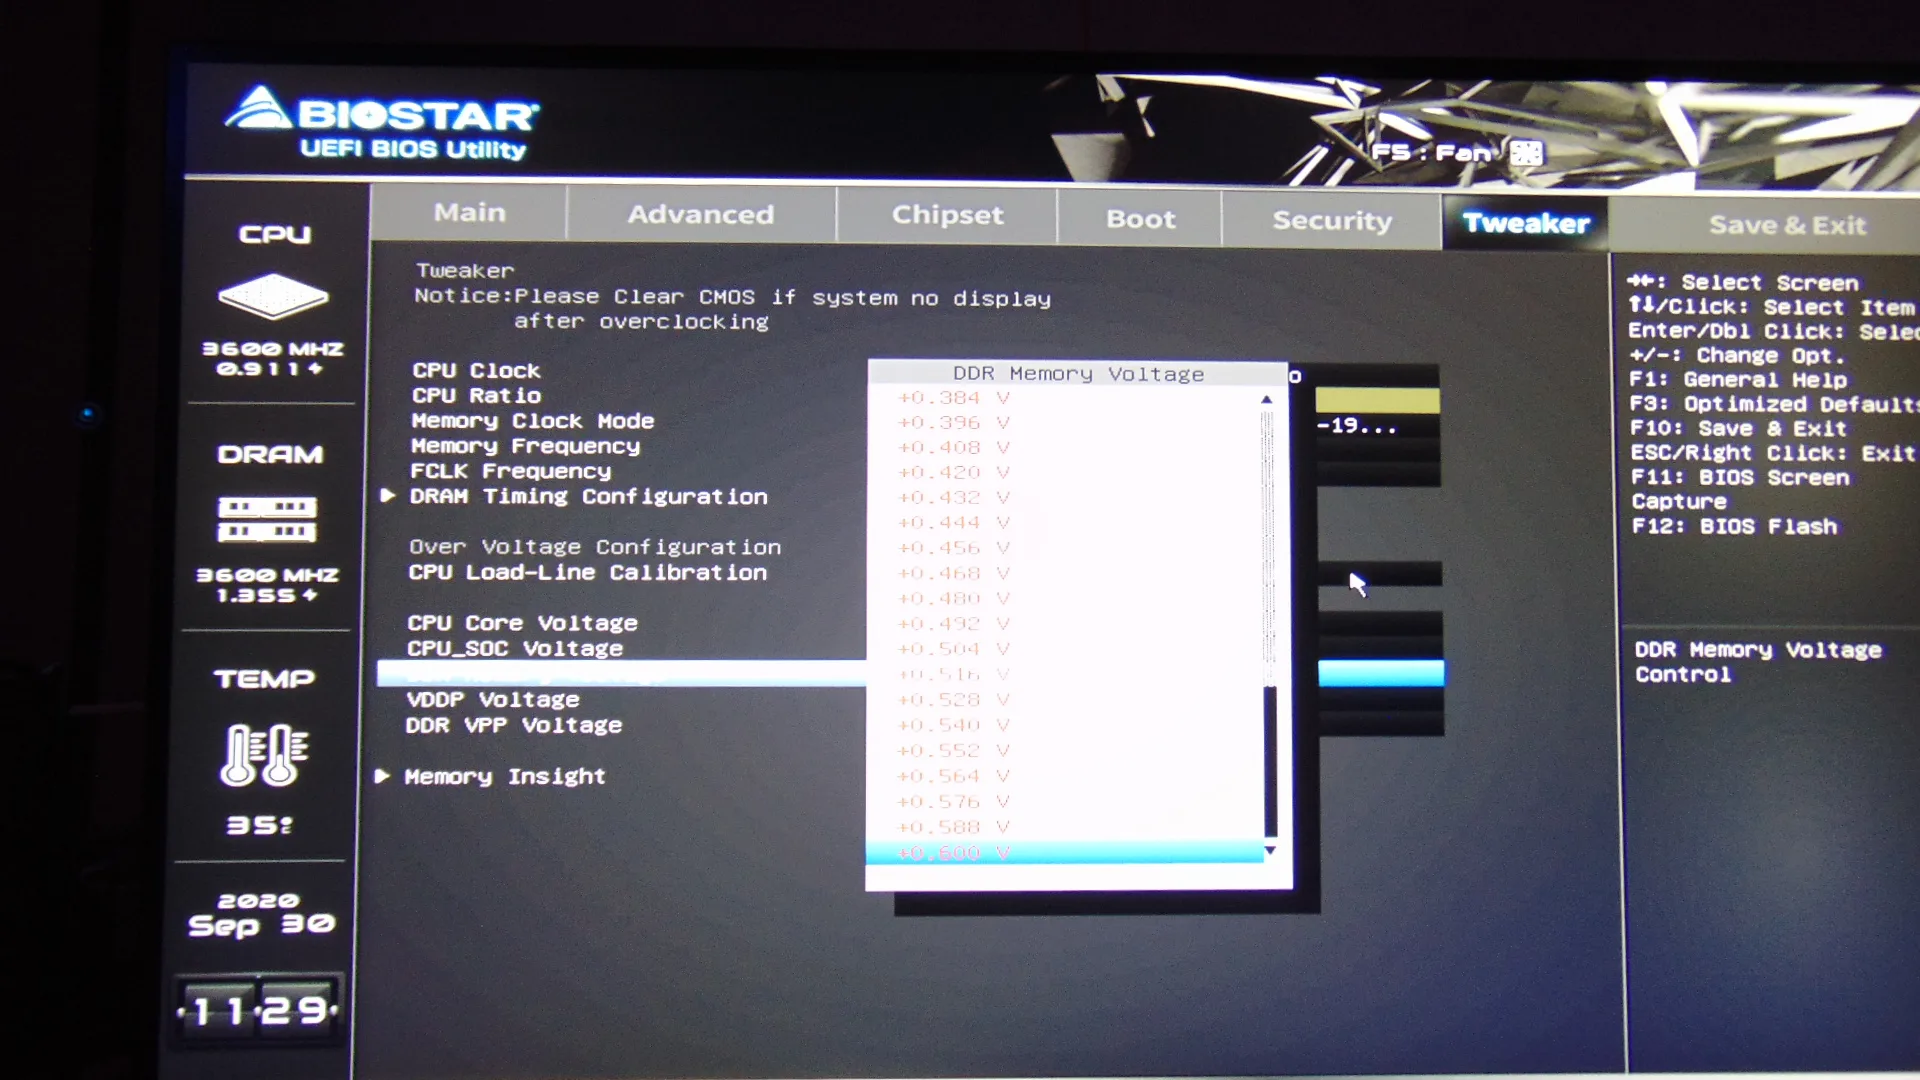
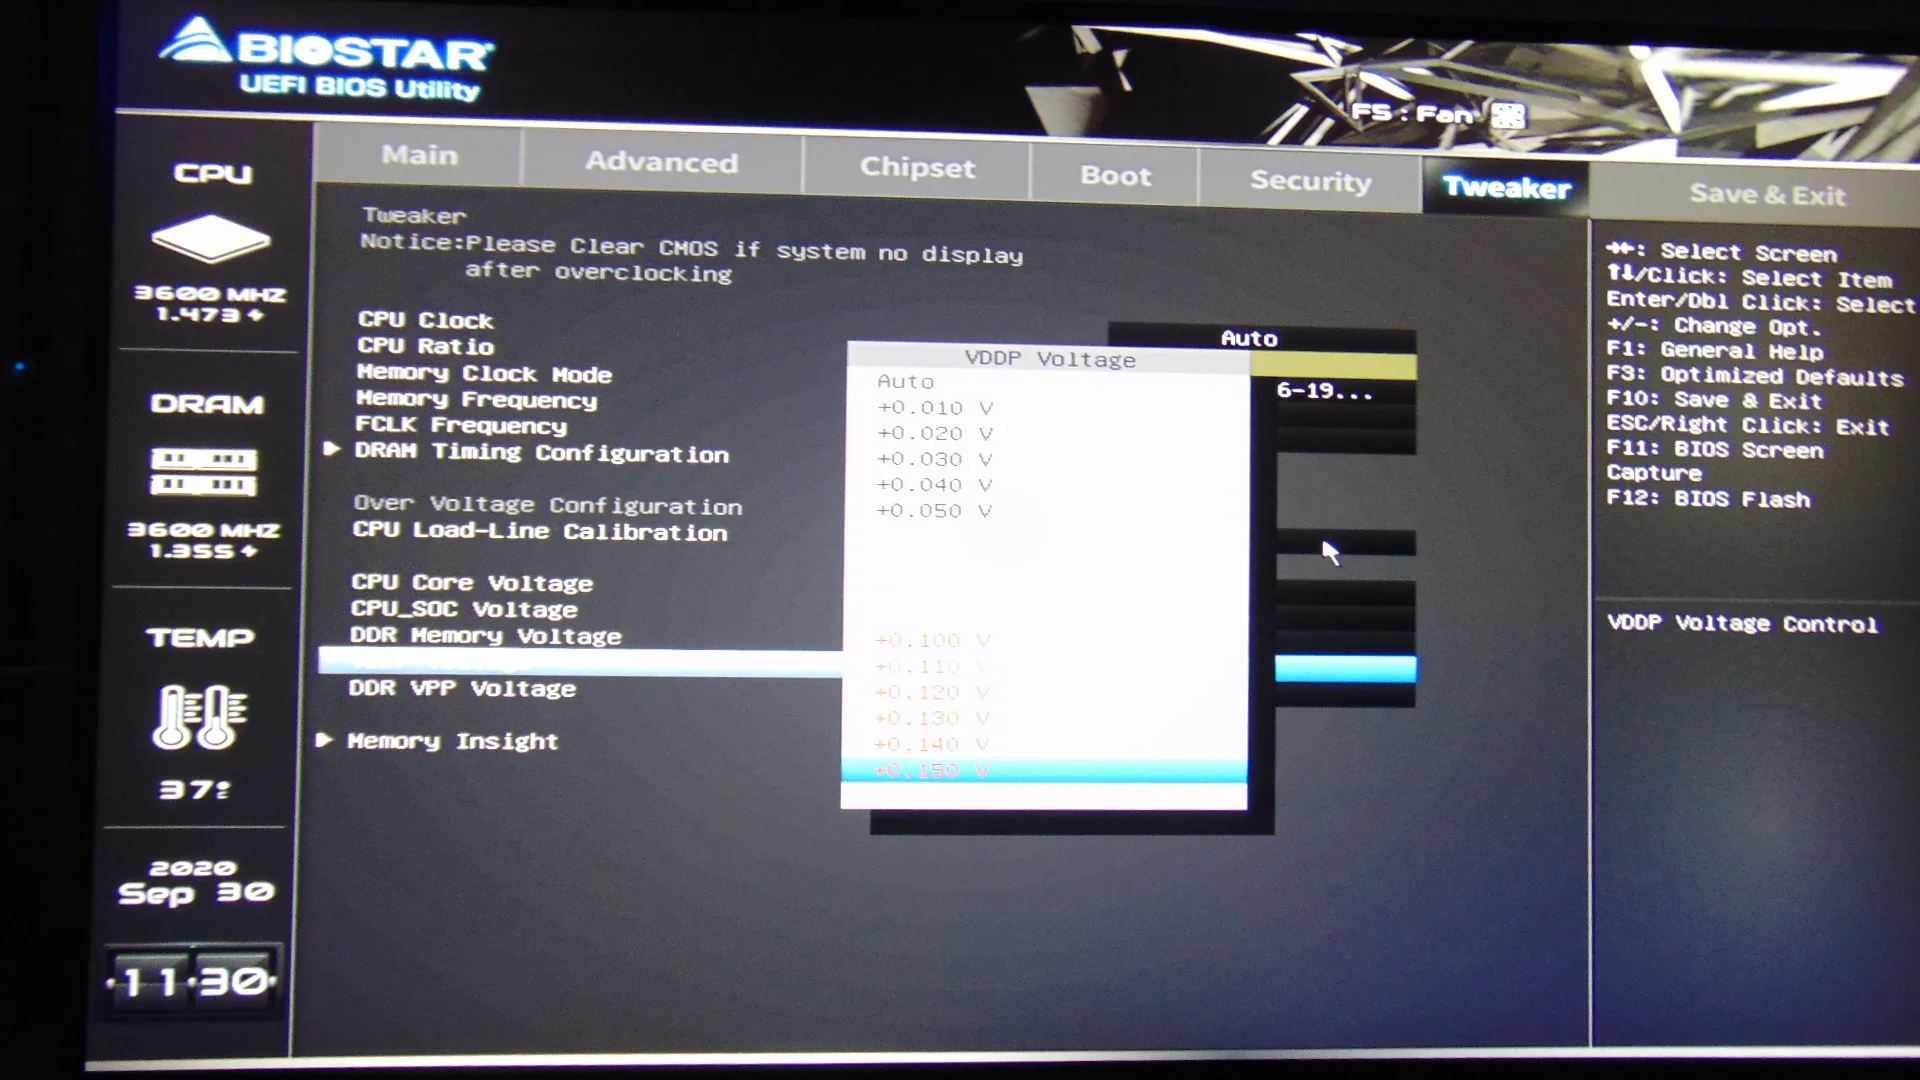
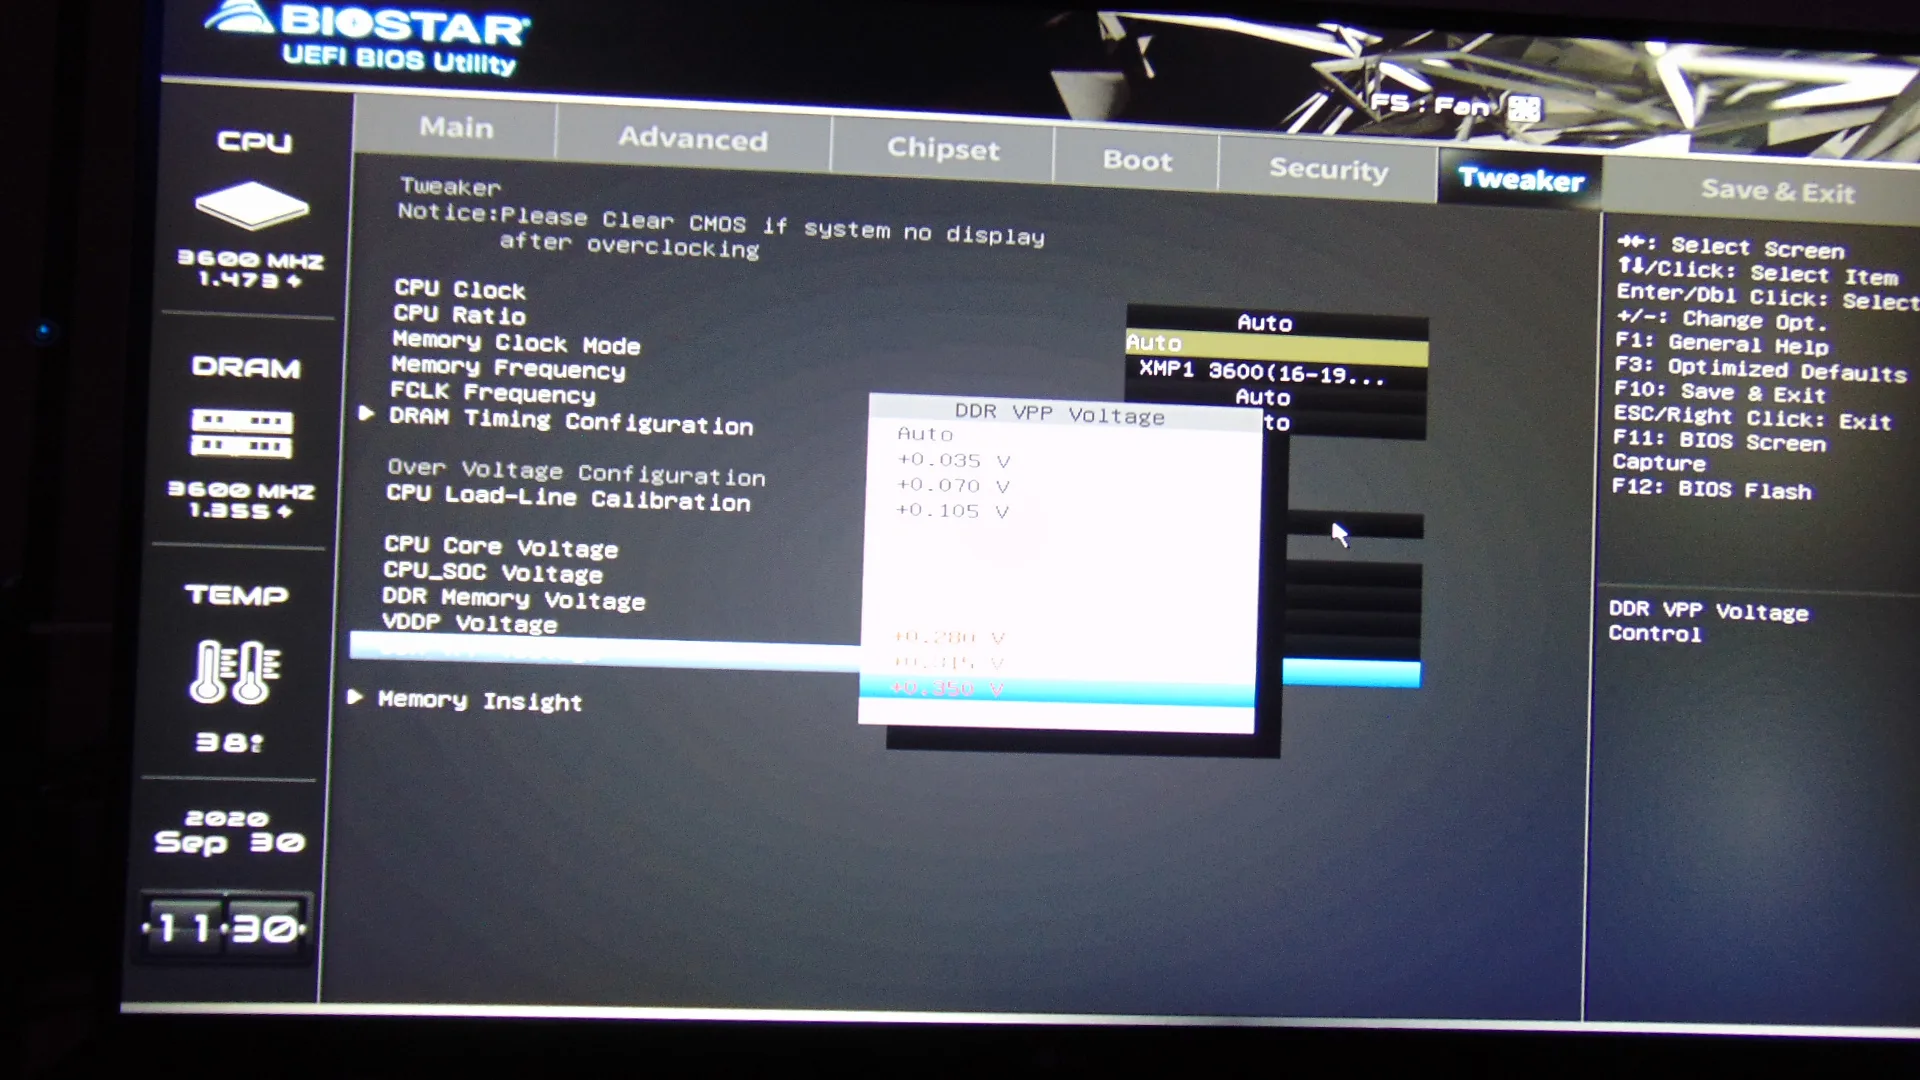
The Tweaker tab is where you overclockers want to spend your time. It’s also where you want to make sure the RAM settings are set correctly. It allows you to set CPU Clock, CPU Ratio, Memory Clock Mode, Memory Frequency, FCLK Frequency, DRAM timings, Load Line Calibration, CPU Core Voltage, CPU_SOC Voltage, DDR Memory Voltage, VDDP Voltage, DDR VPP Voltage. These are the basics you need to hone in a good overclock. No extras though, but you should still be able to find a good overclock with the ratio, bus clocks, CPU Core and SOC Voltage, and LLC.
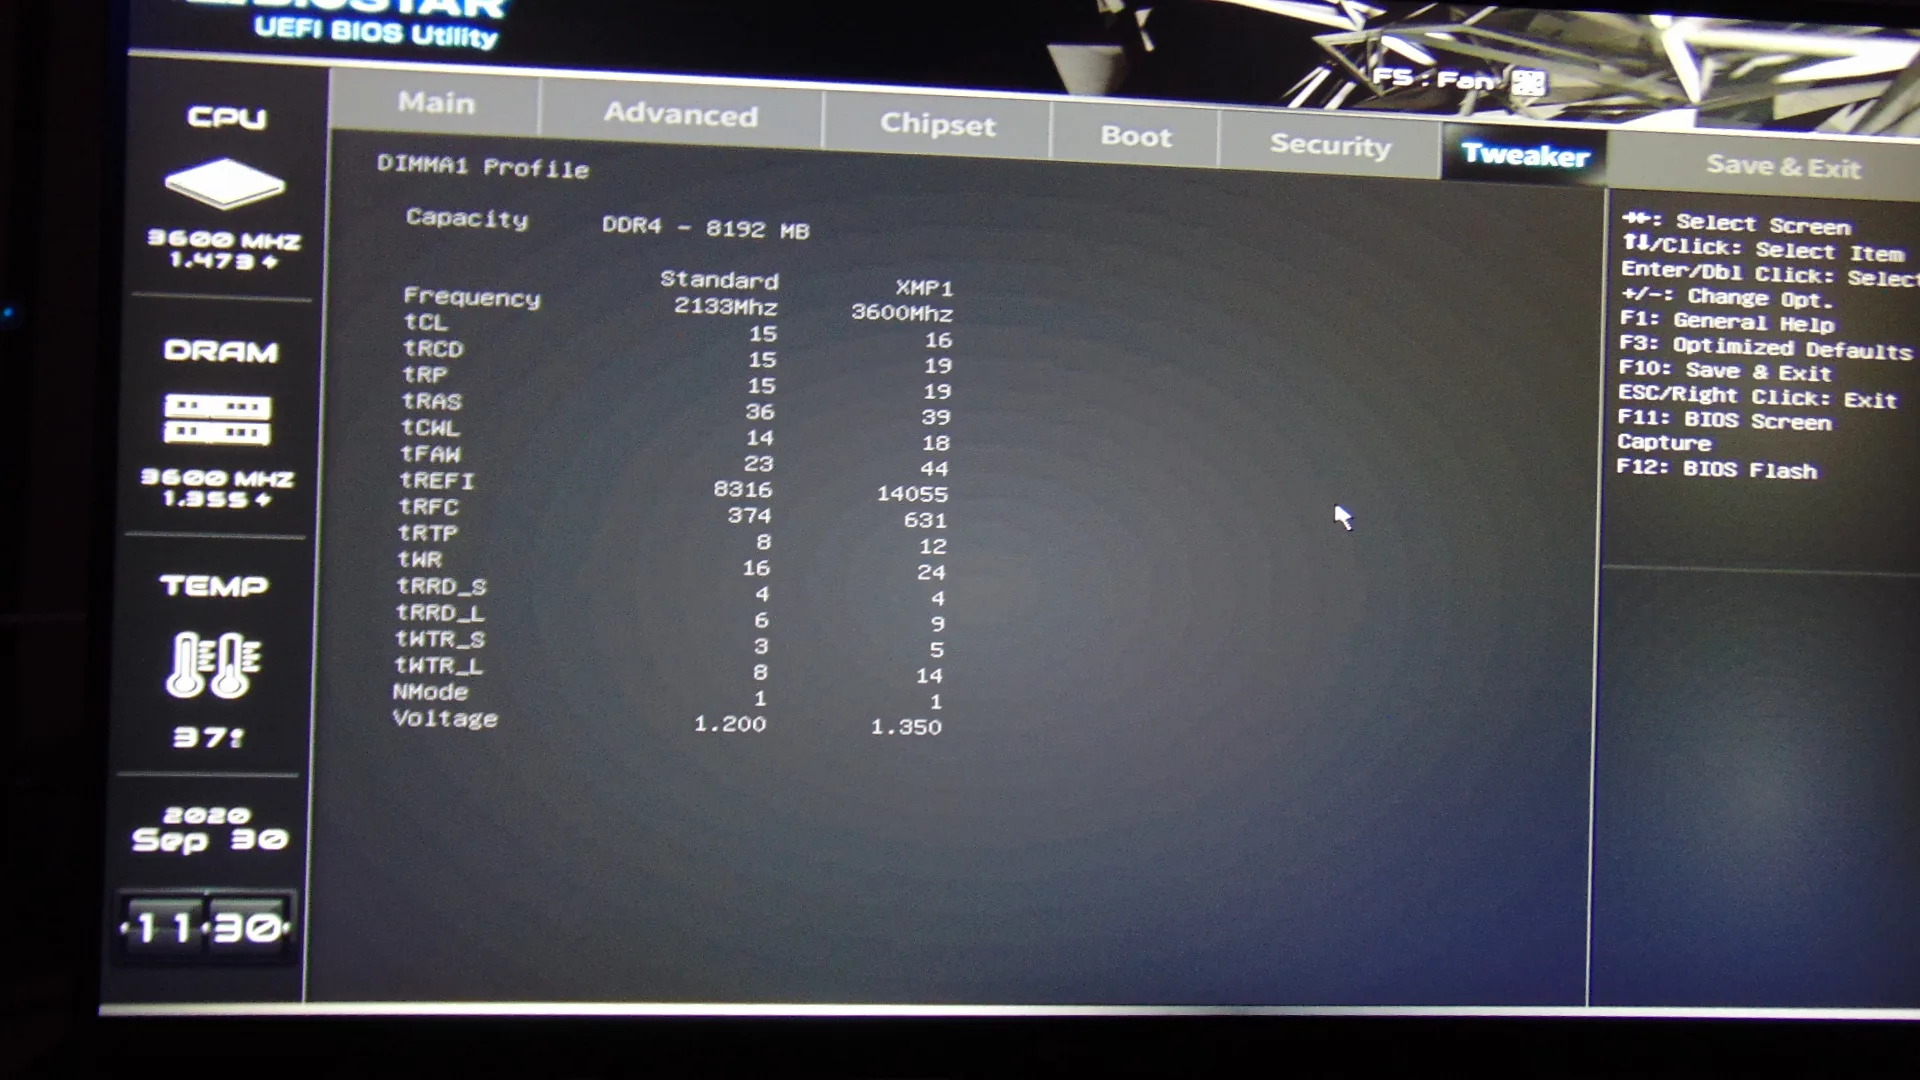
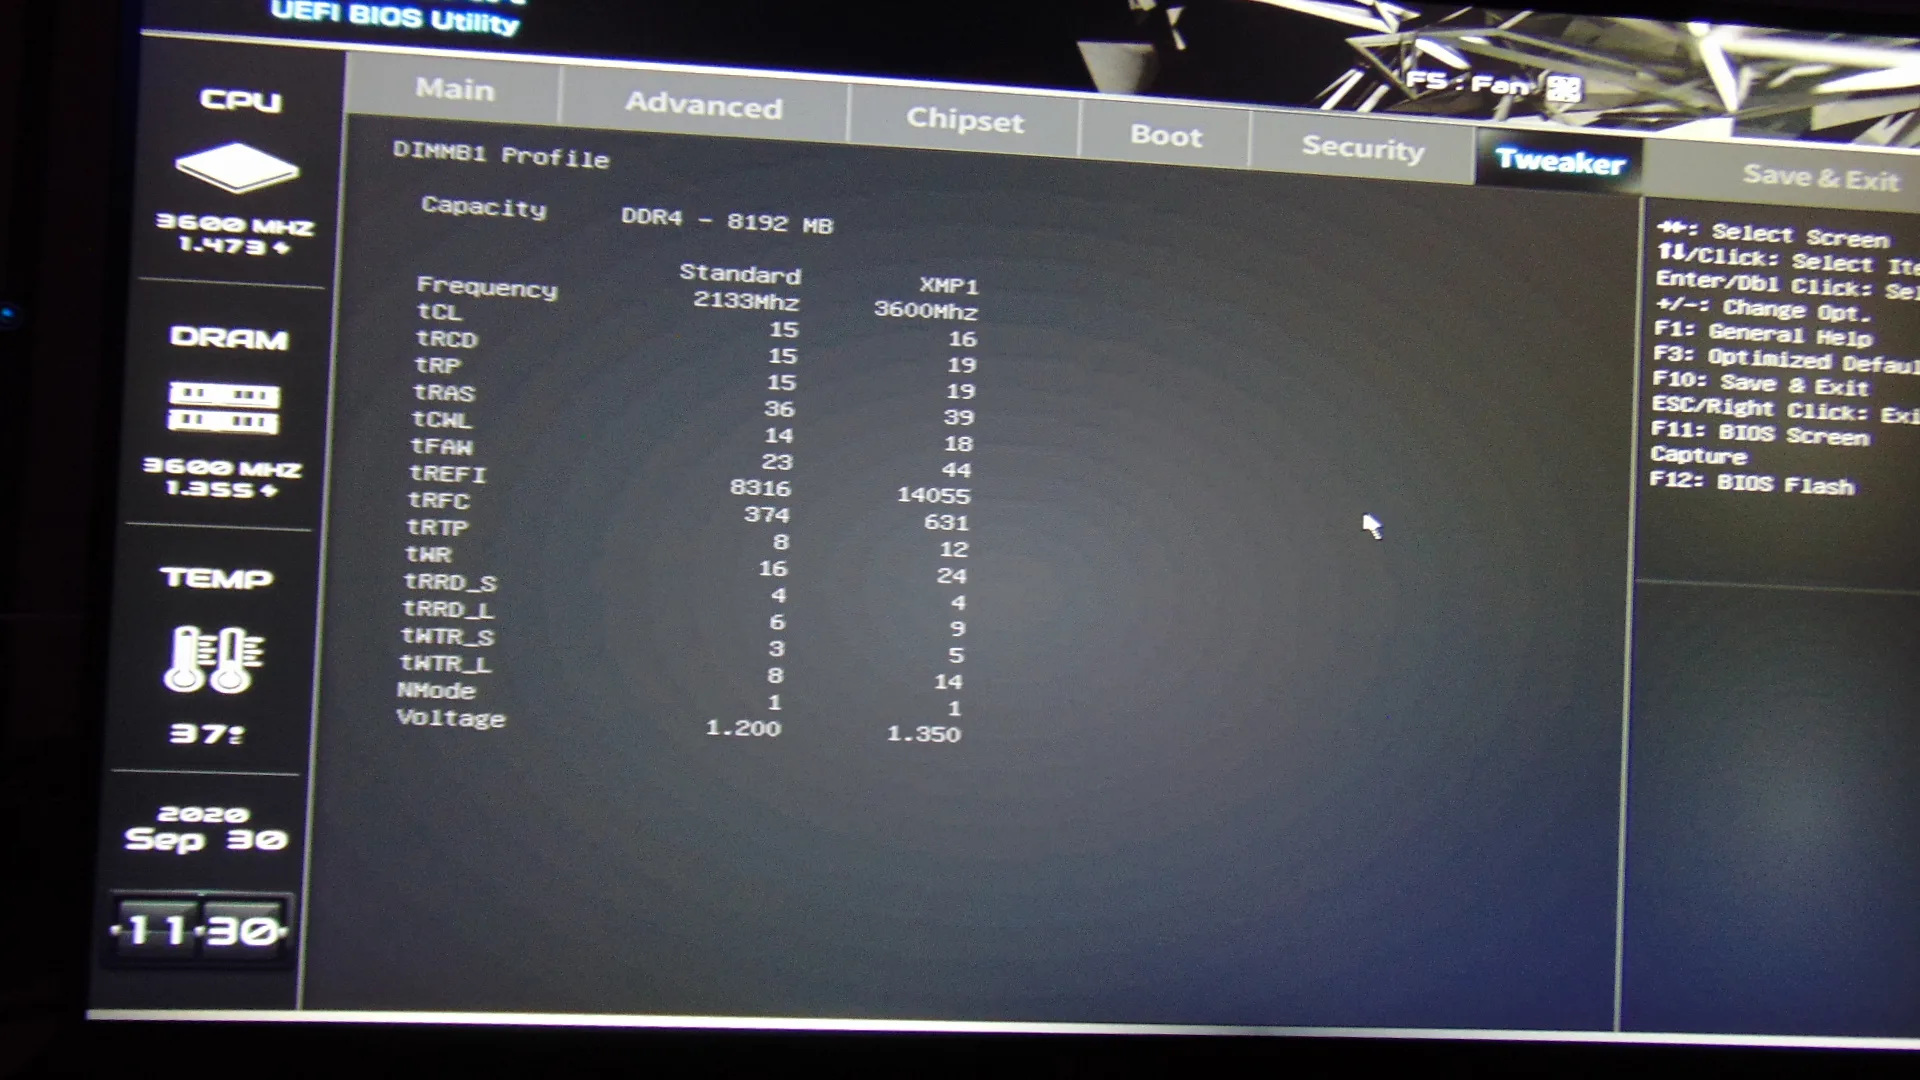
You can set the memory to XMP or DOCP mode, as we have done in the screenshot. The Memory Frequency actually allows way up to 6000MHz, so there’s no cap there. FCLK Frequency goes up to 3000MHz. You can manually edit DRAM timings. LLC has 6 levels or Auto. You can override the Voltage and type in your own, or put it on Adaptive and set an offset. Memory Insight lets you compare the Auto settings or default/optimized to the XMP or DOCP on the RAM by each module.
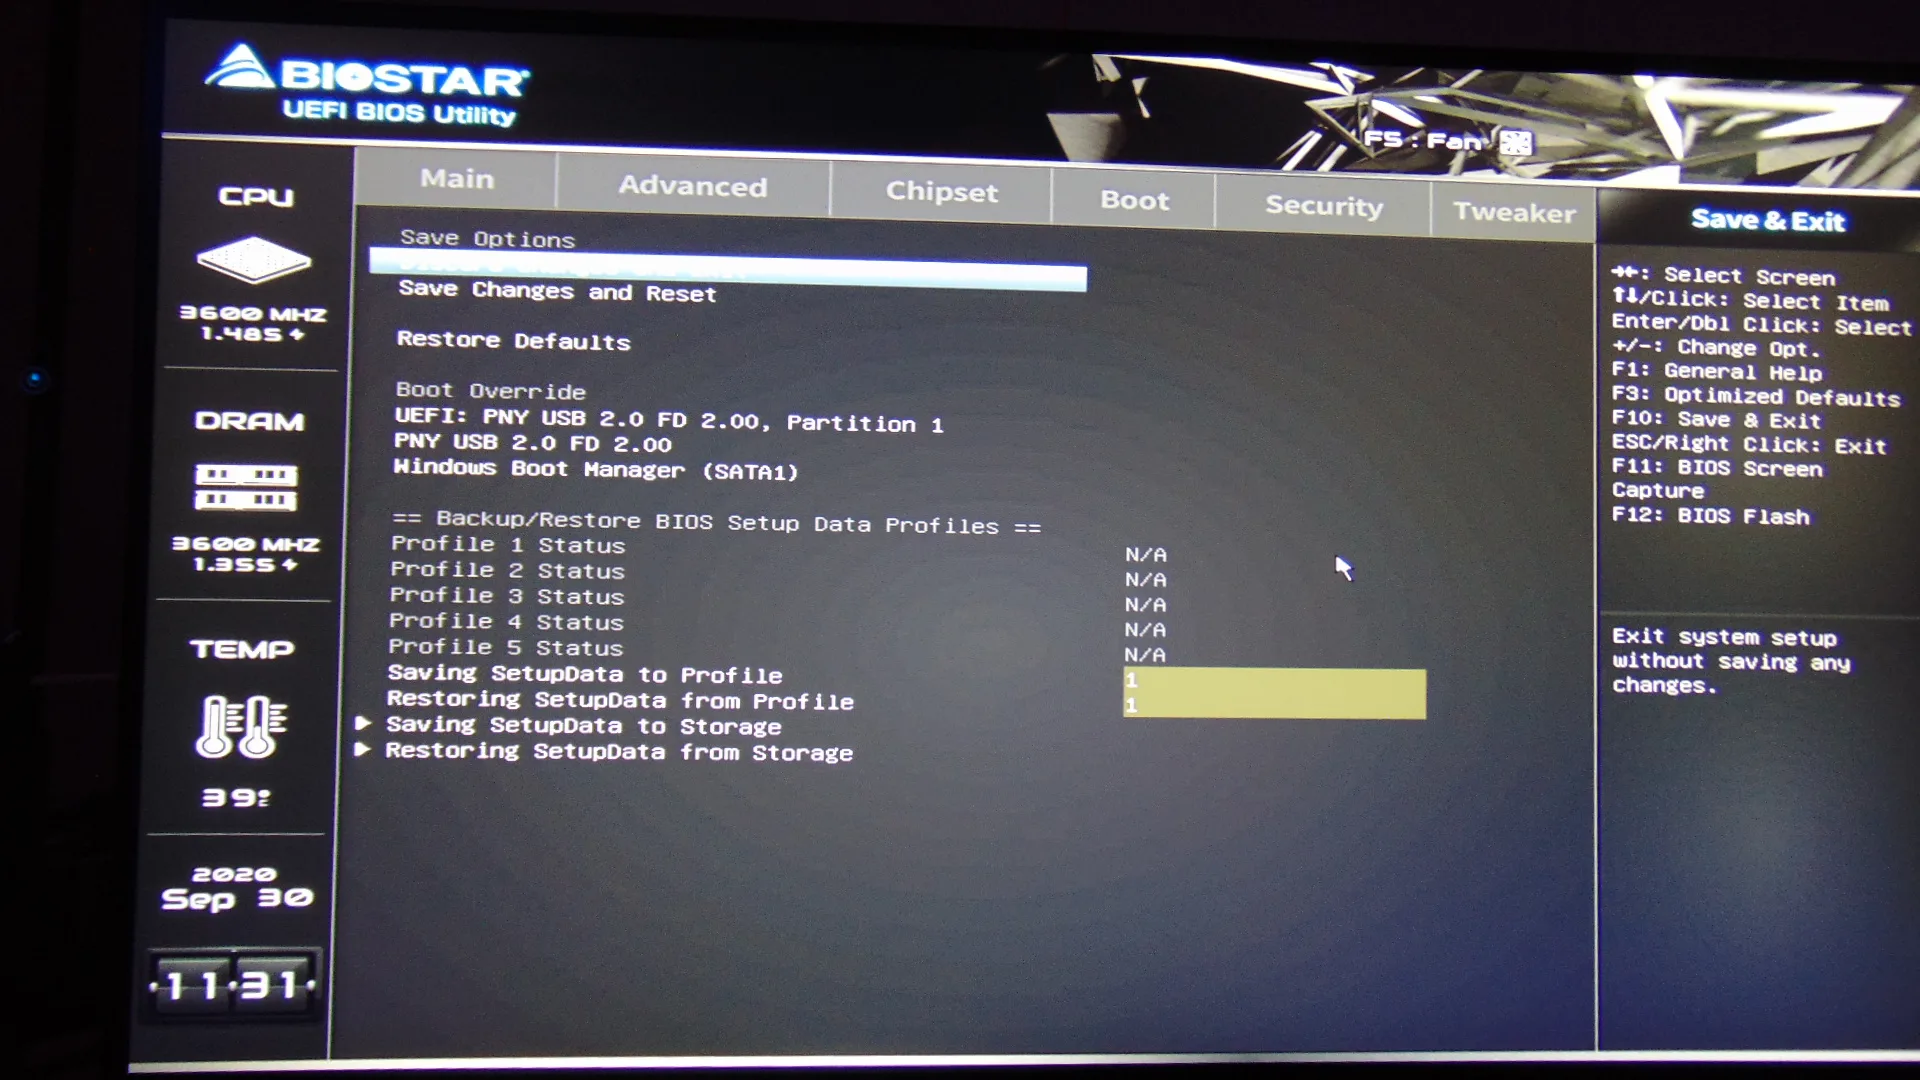
The BIOS lets you save overclocking/tweaker profiles to easily load different settings you want. You can even save these setups to external storage.
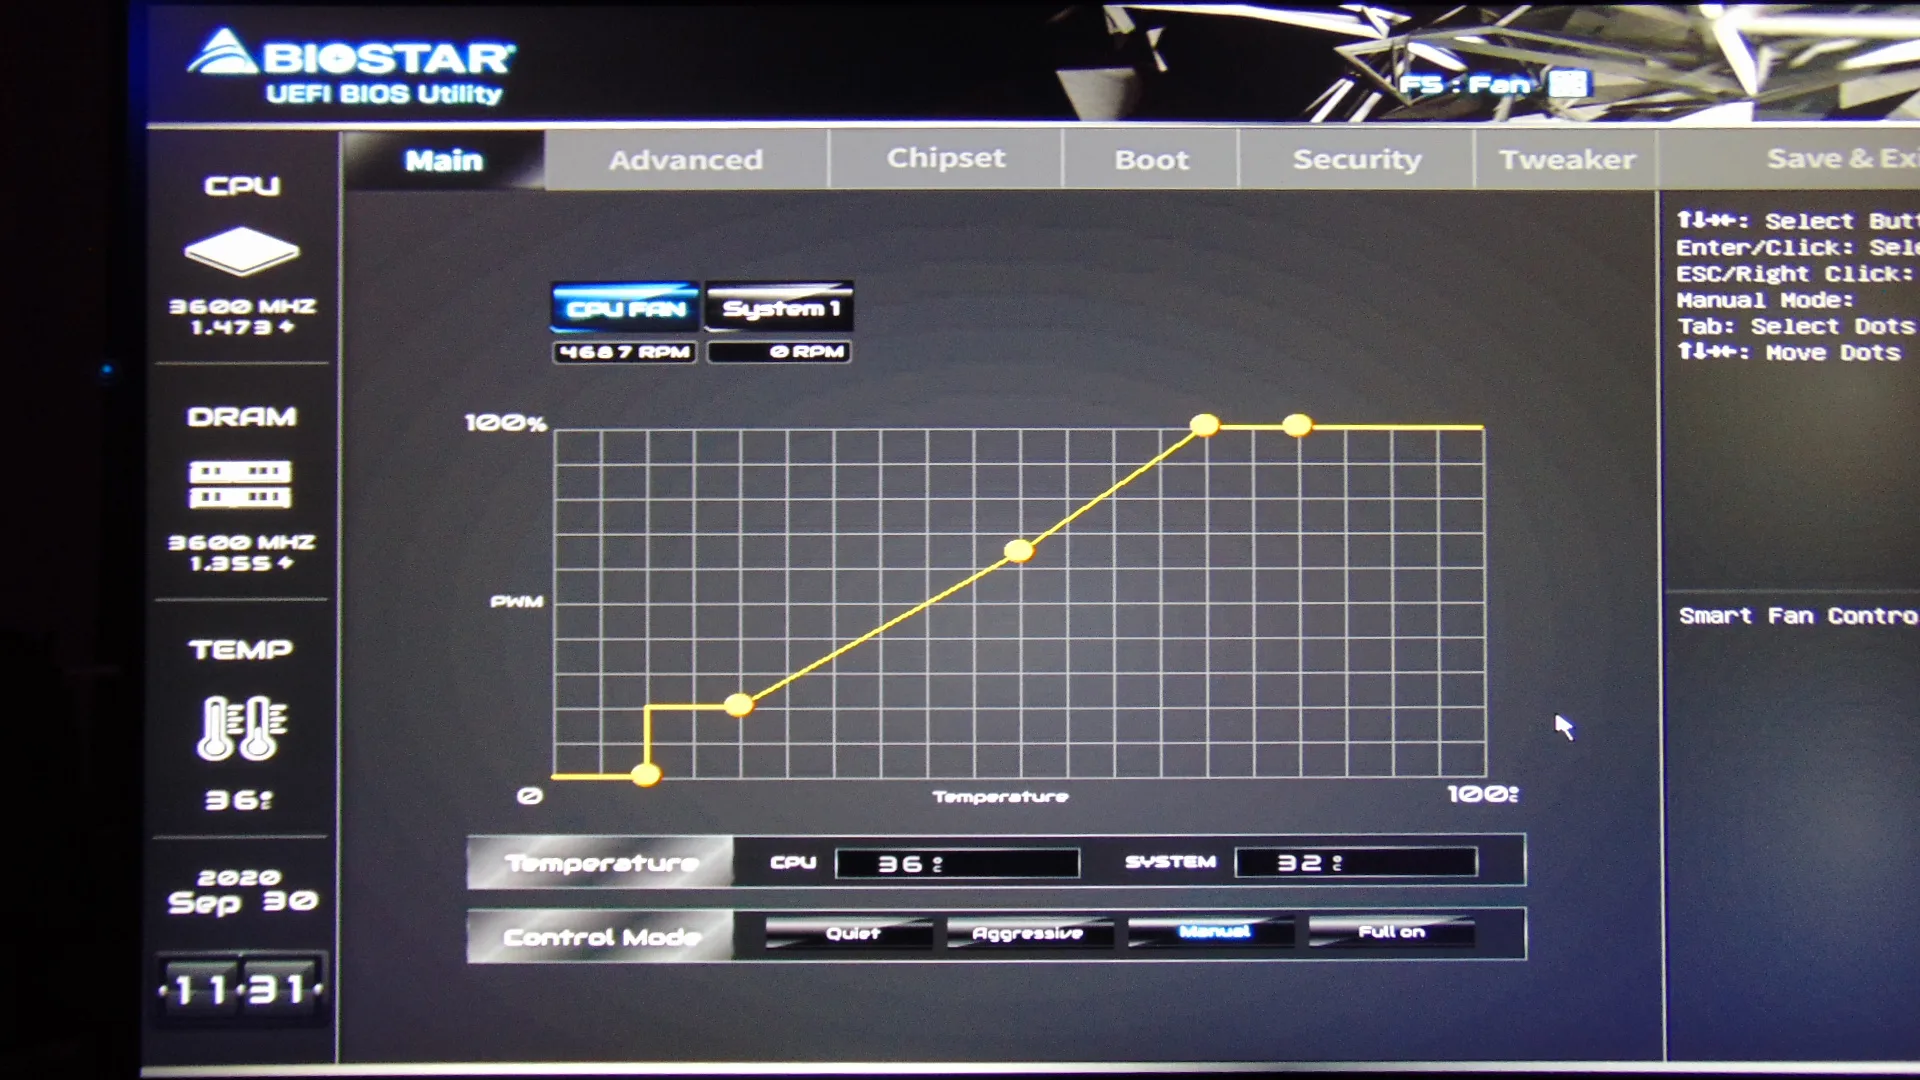
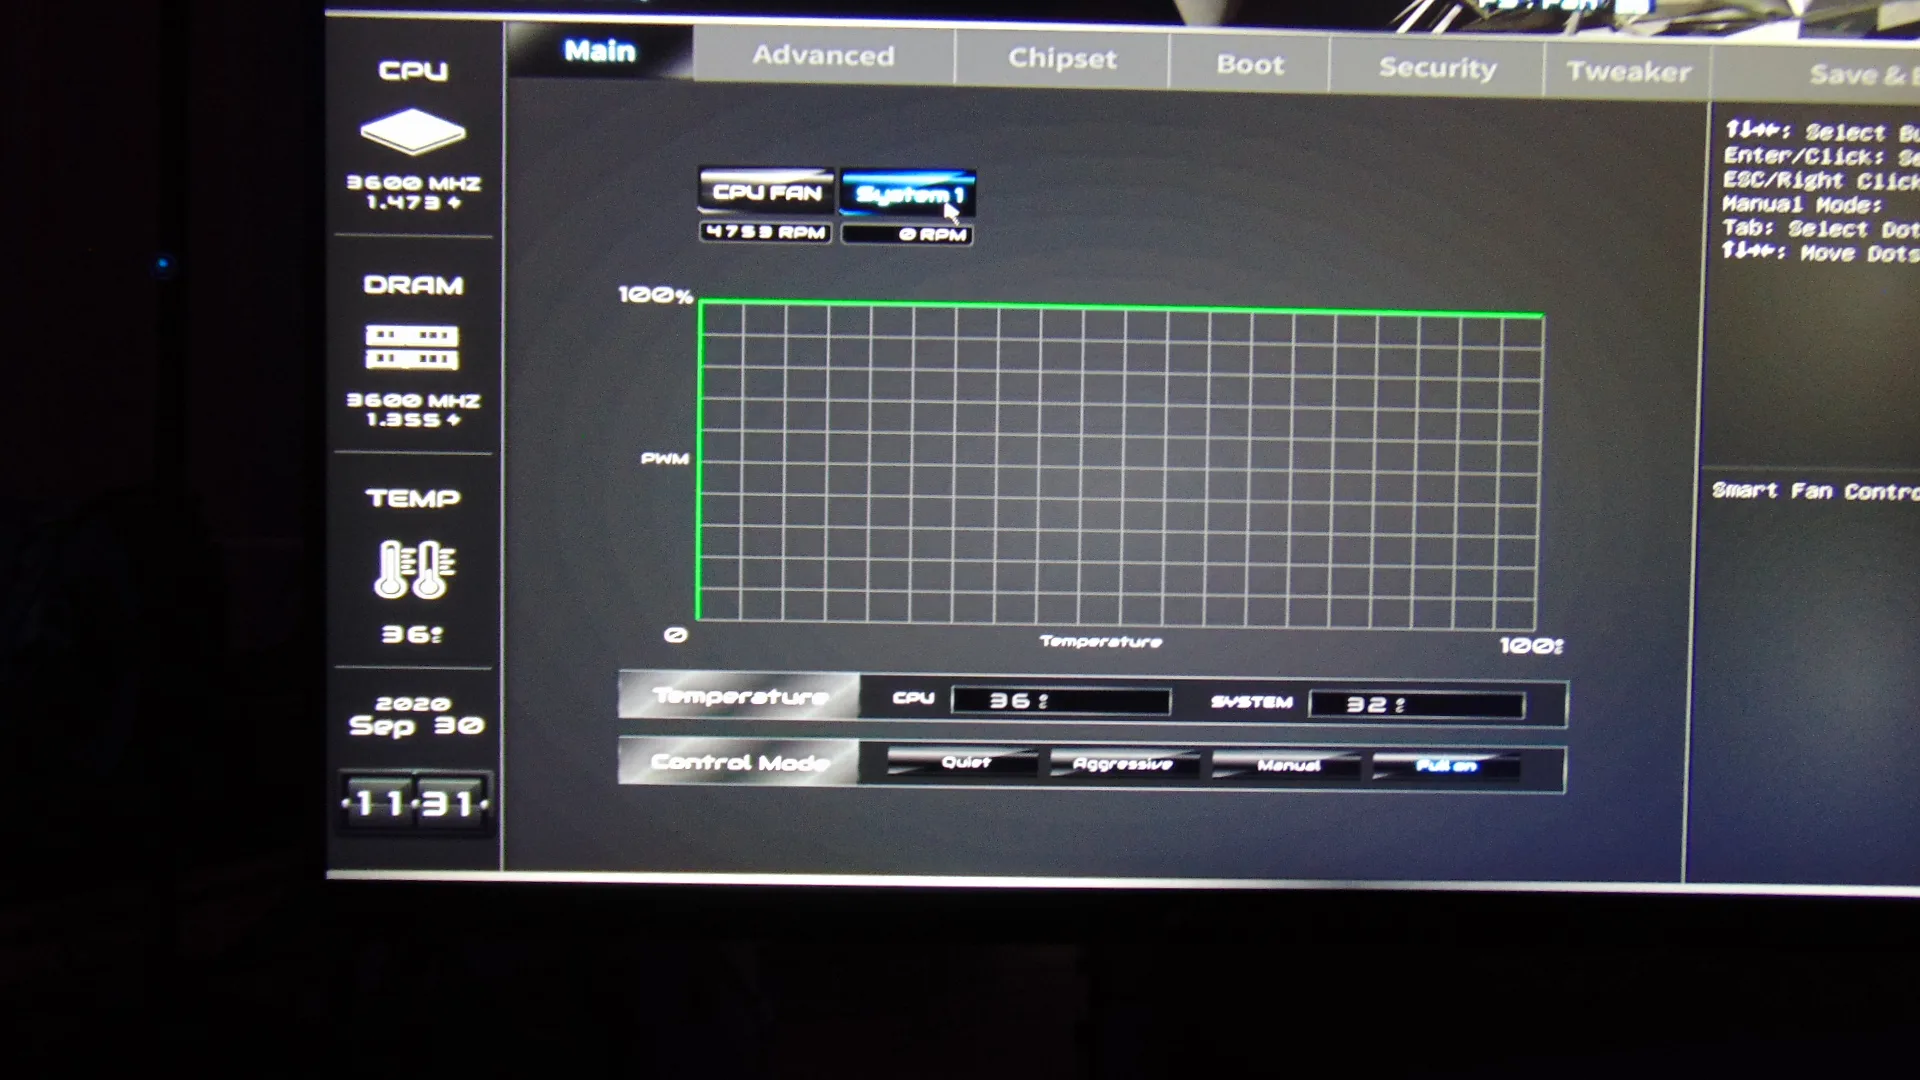
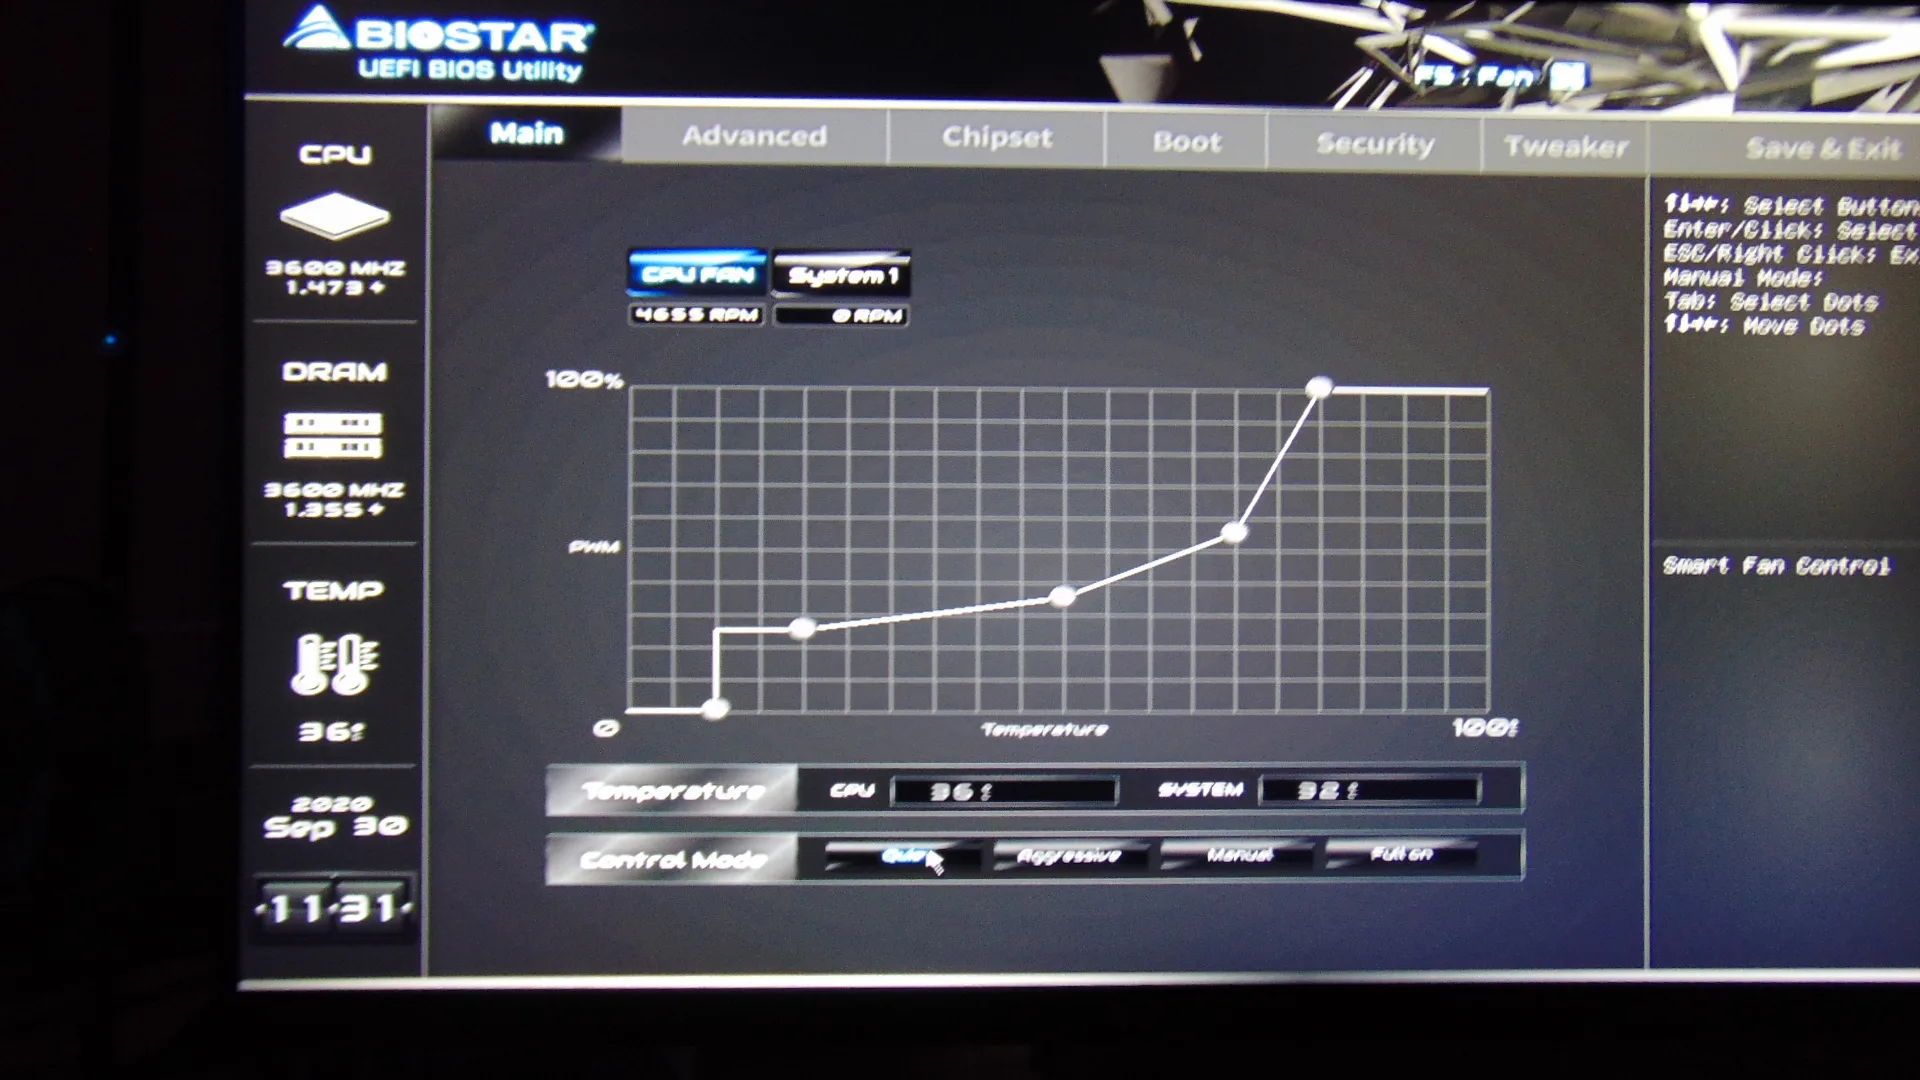
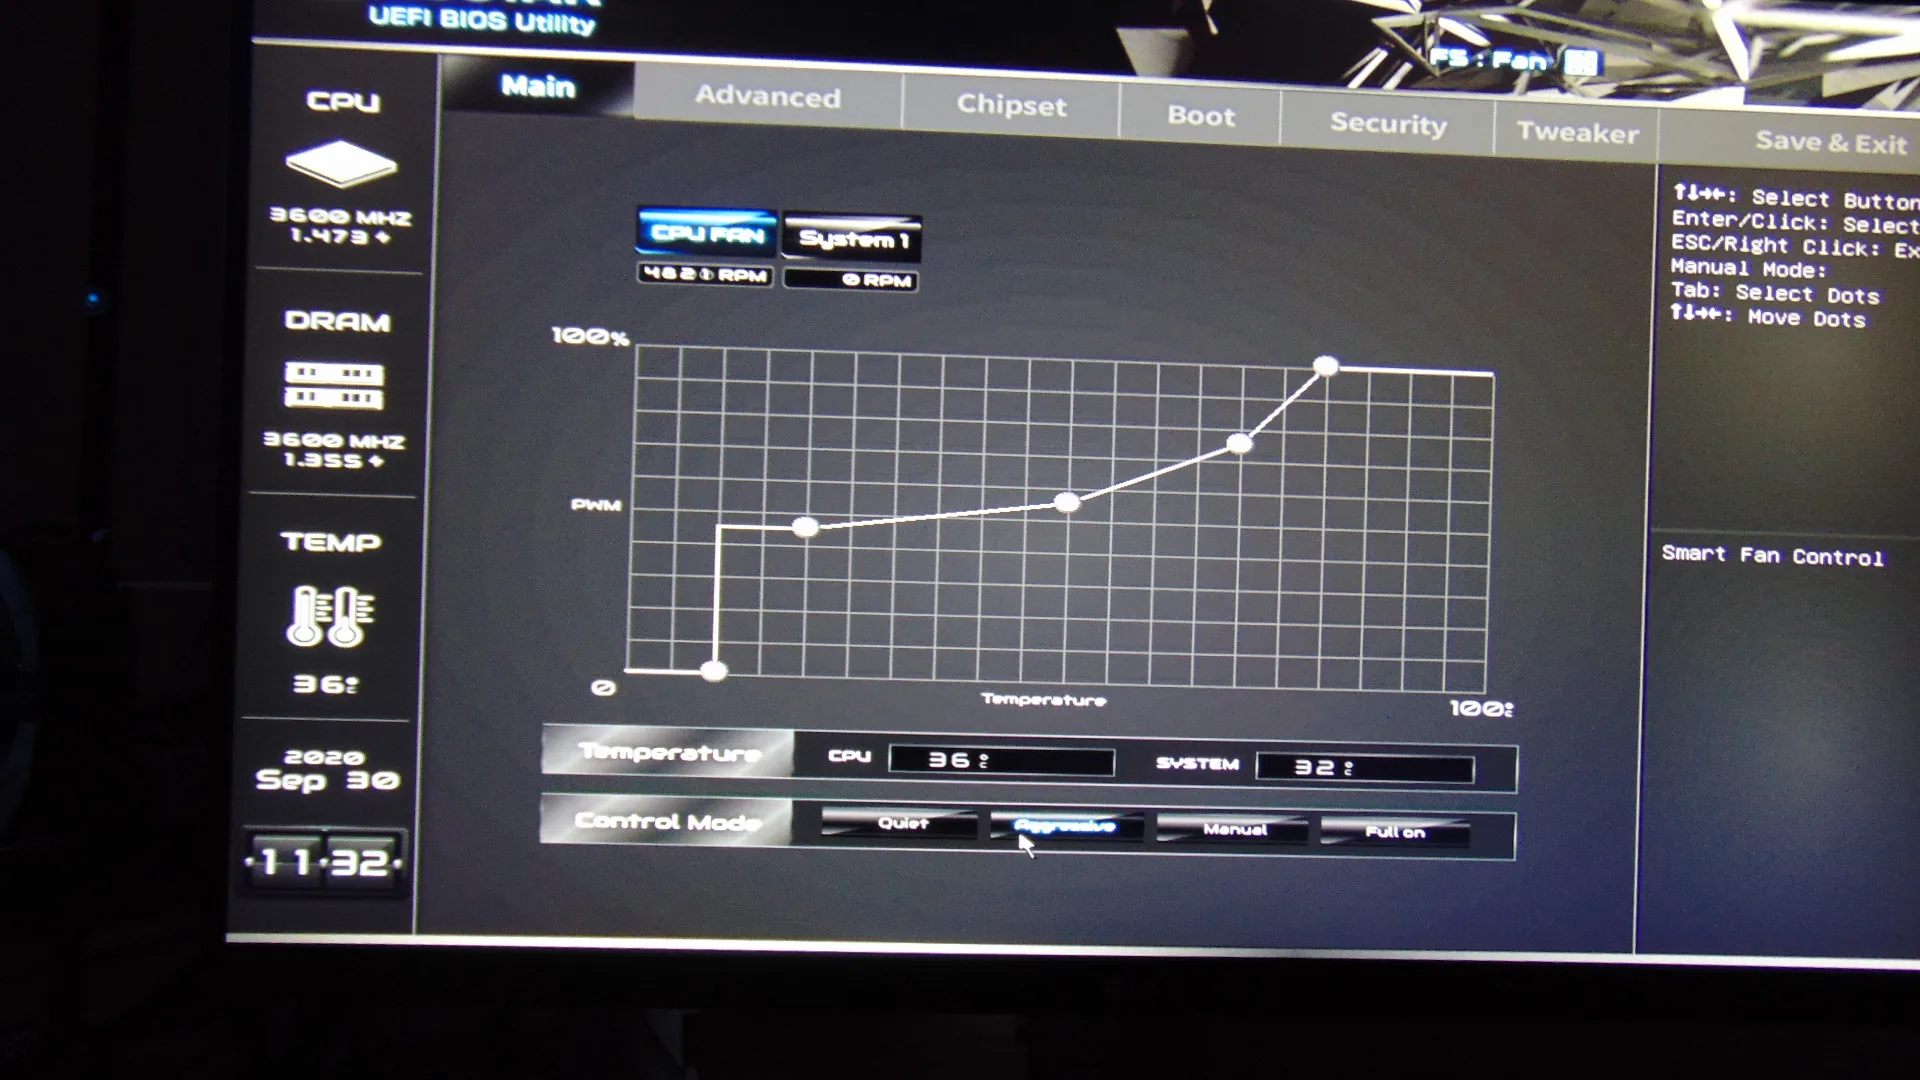
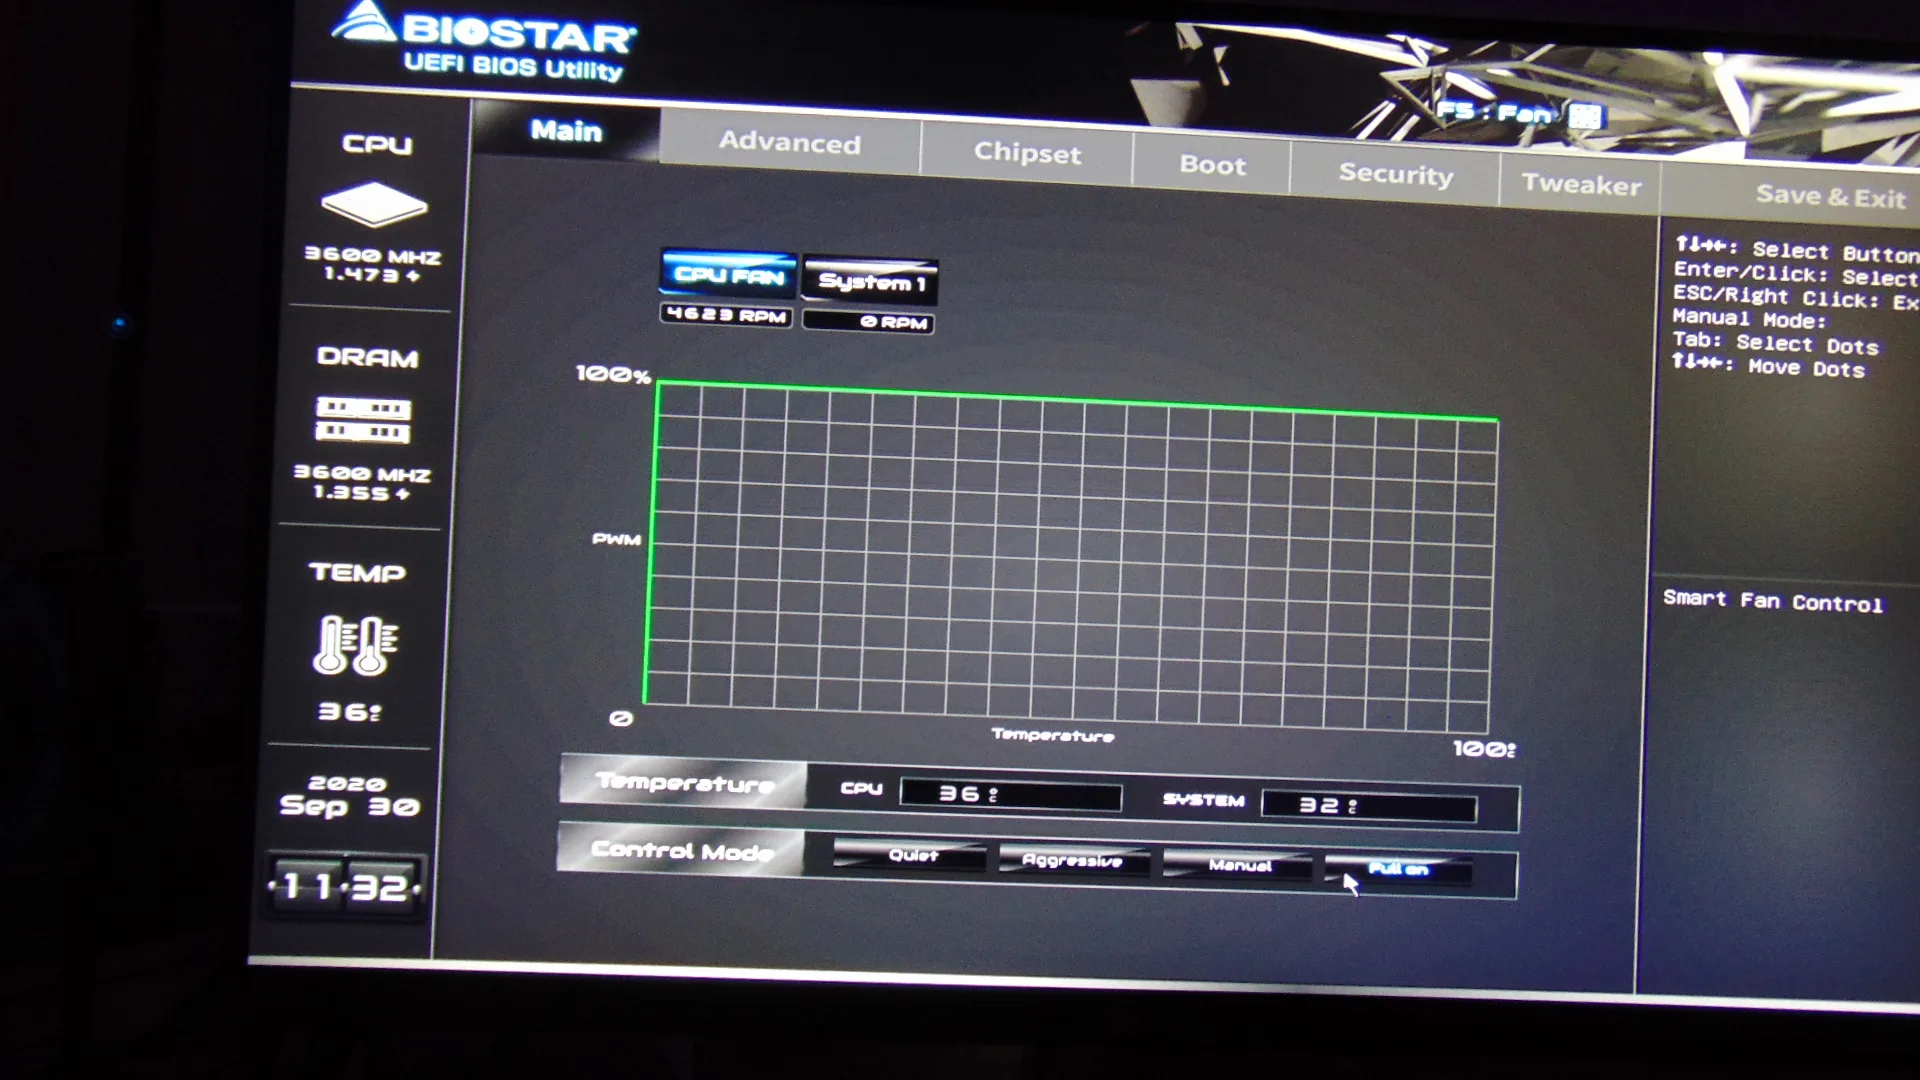
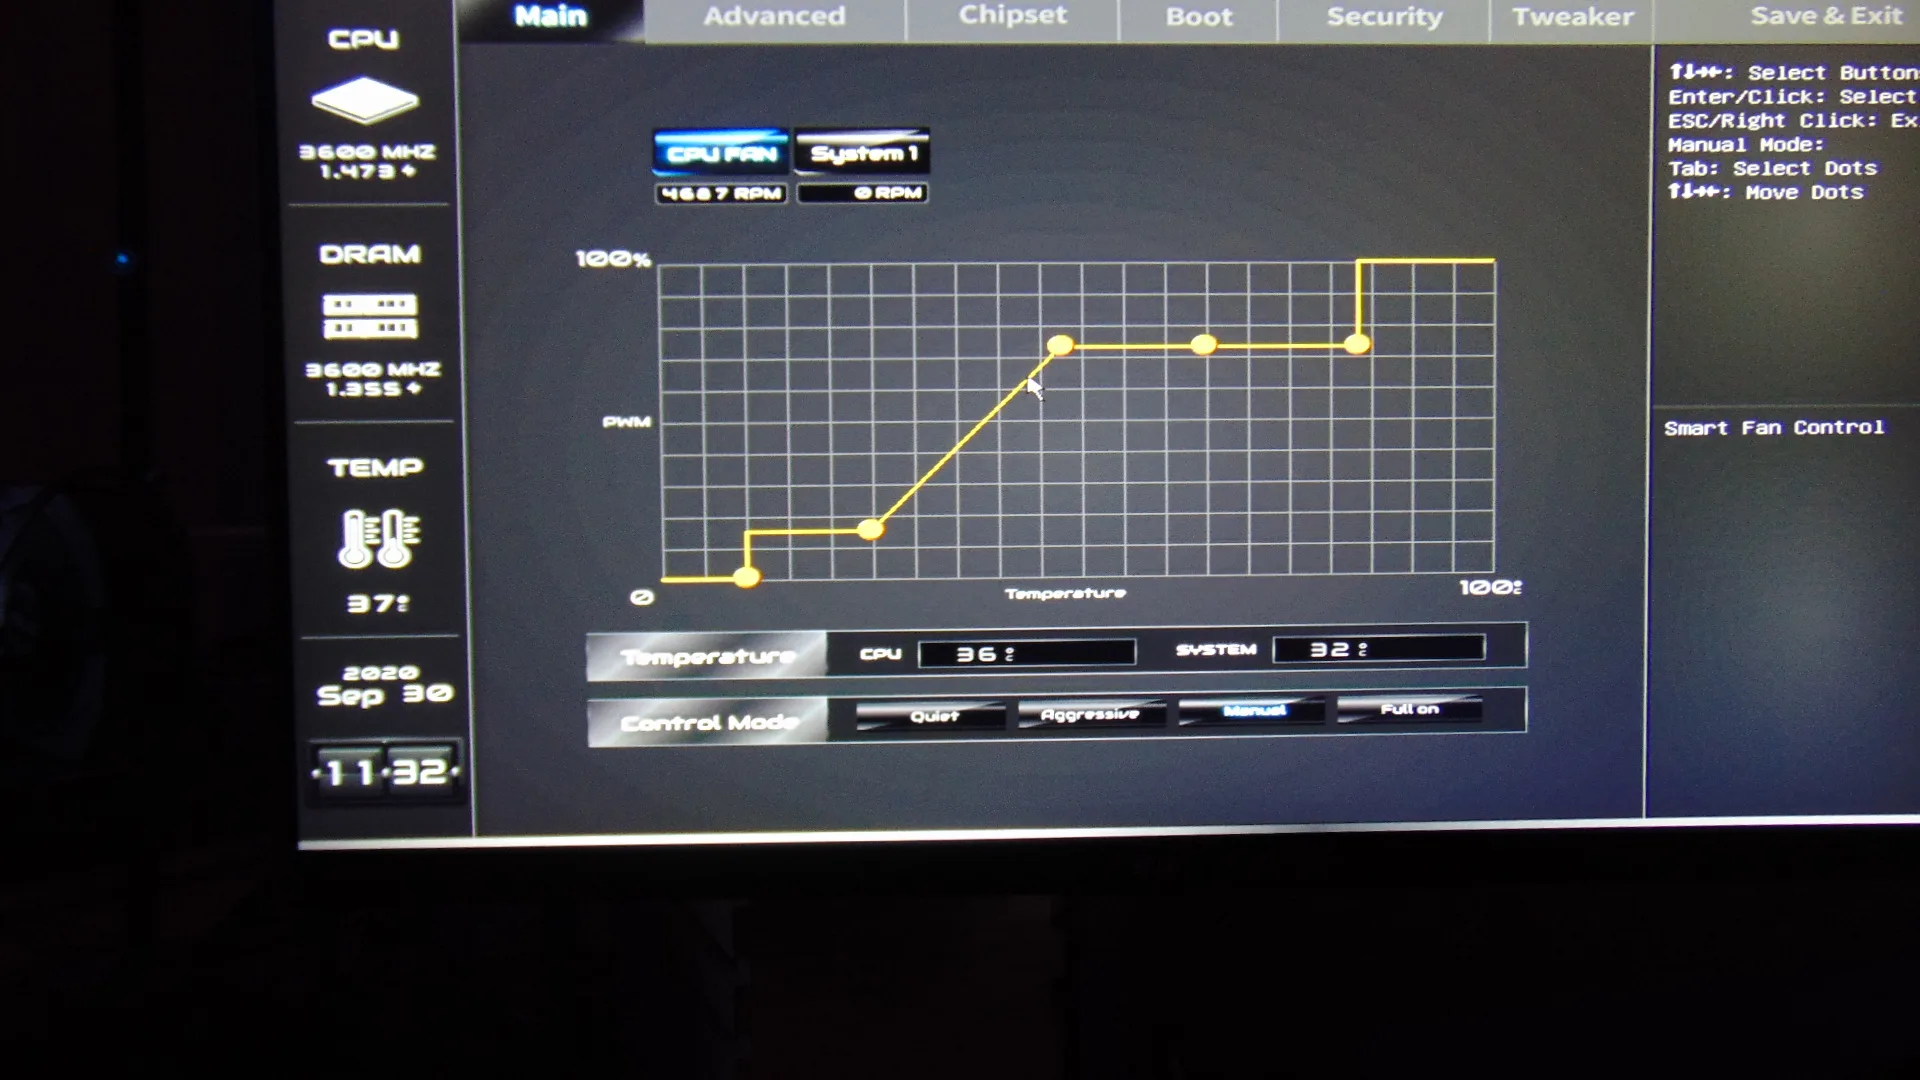
If you hit F5 the special BIOSTAR A.I Fan BIOS option opens up. You can set a fan profile for the CPU Fan and the 1 System Fan. There are predefined “Quiet” and “Aggressive” profiles. There is a “Full On” profile which just sets everything to 100% at all times. Then there is a manual option so you can dial in your own profile. It also shows fan RPM and CPU and system temperature.