Test Setup
We will use our standard air cooler test rig which you can read more about in this article. In short, we are using a Ryzen 7 2700X set to all core frequencies of 3.7GHz and 4.1GHz with PBO disabled to allow for a constant level of heat production. We will run loops of CineBench R20 at various fan levels and record the observed temperatures. We will also compare it to the other coolers we have tested thus far.

Installation
Installation on an AM4 socket can often involve swapping out the backplate on the motherboard and attaching some form of mounting setup on the other side to get the cooler to attach itself to the CPU to do its job. The Dark Rock Pro 4 utilizes the standard backplate that comes with AM4 motherboards.

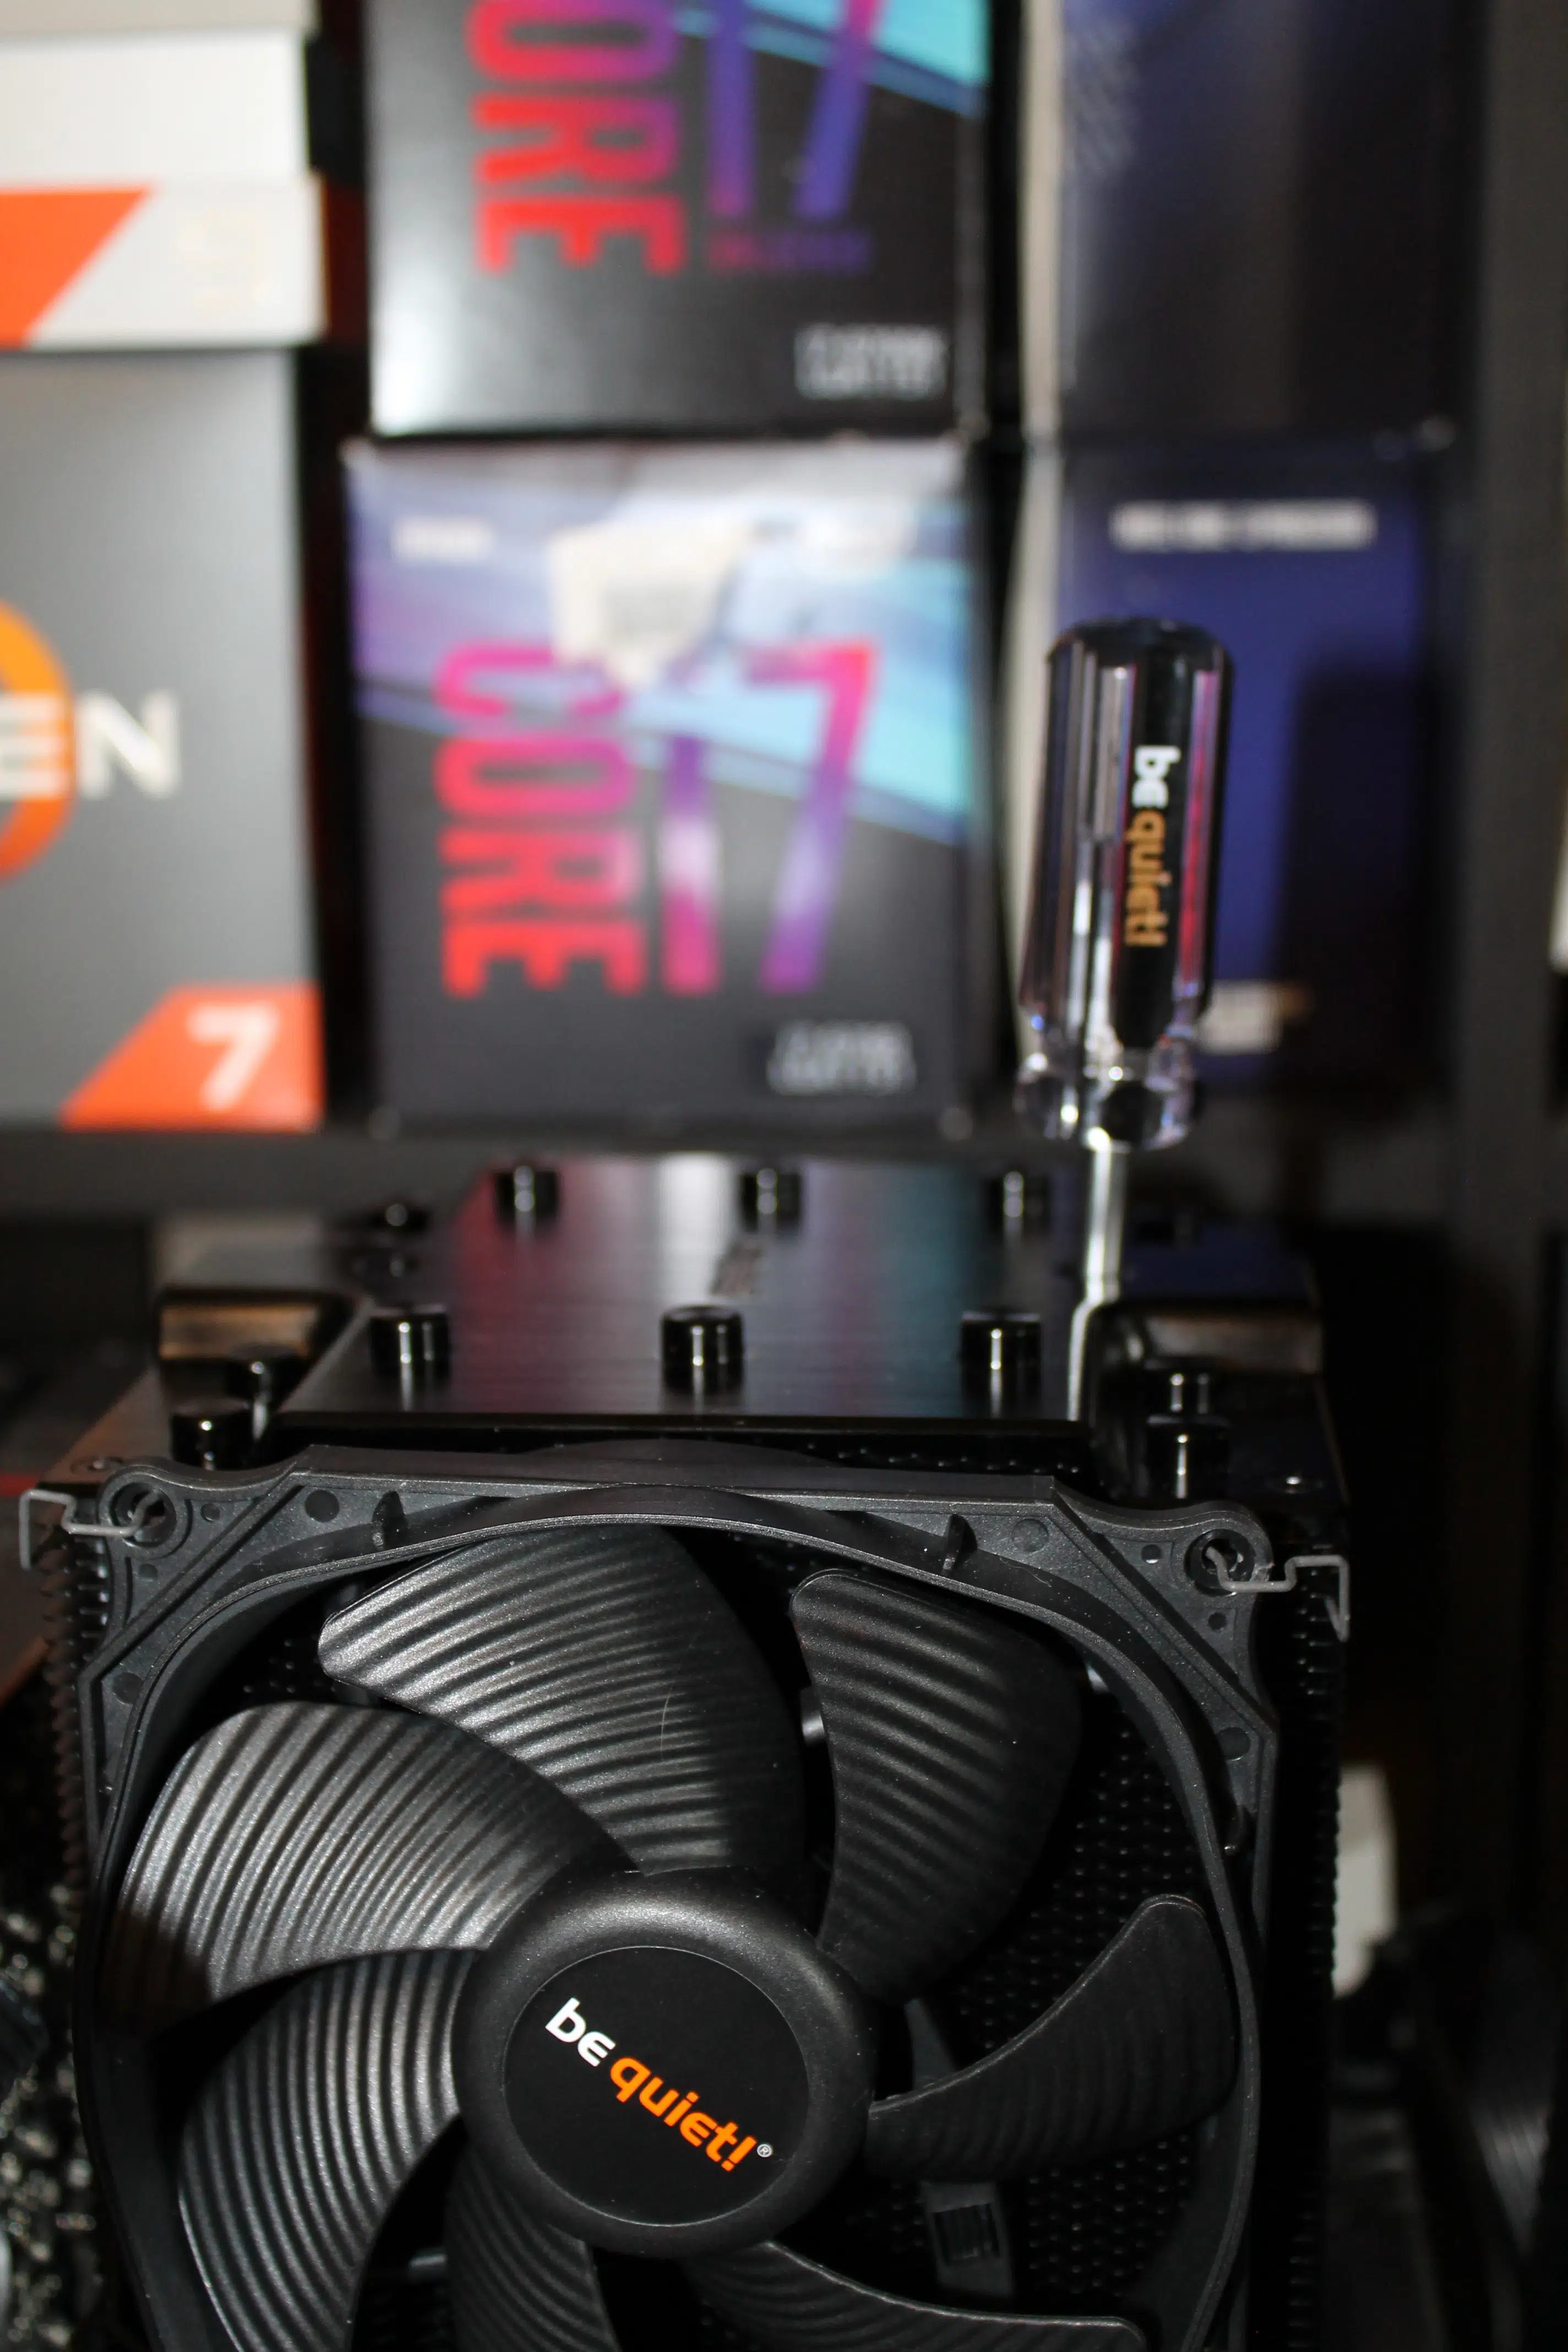
Given its two tower design, the installation process required pulling the center fan out of the heatsink assembly to make way for the be quiet! provided screwdriver to attach the unit to the bracket. A few turns later and we were situated, and of course, we had to dismount the GPU to fit the middle 135mm fan back inside of the heat sink.
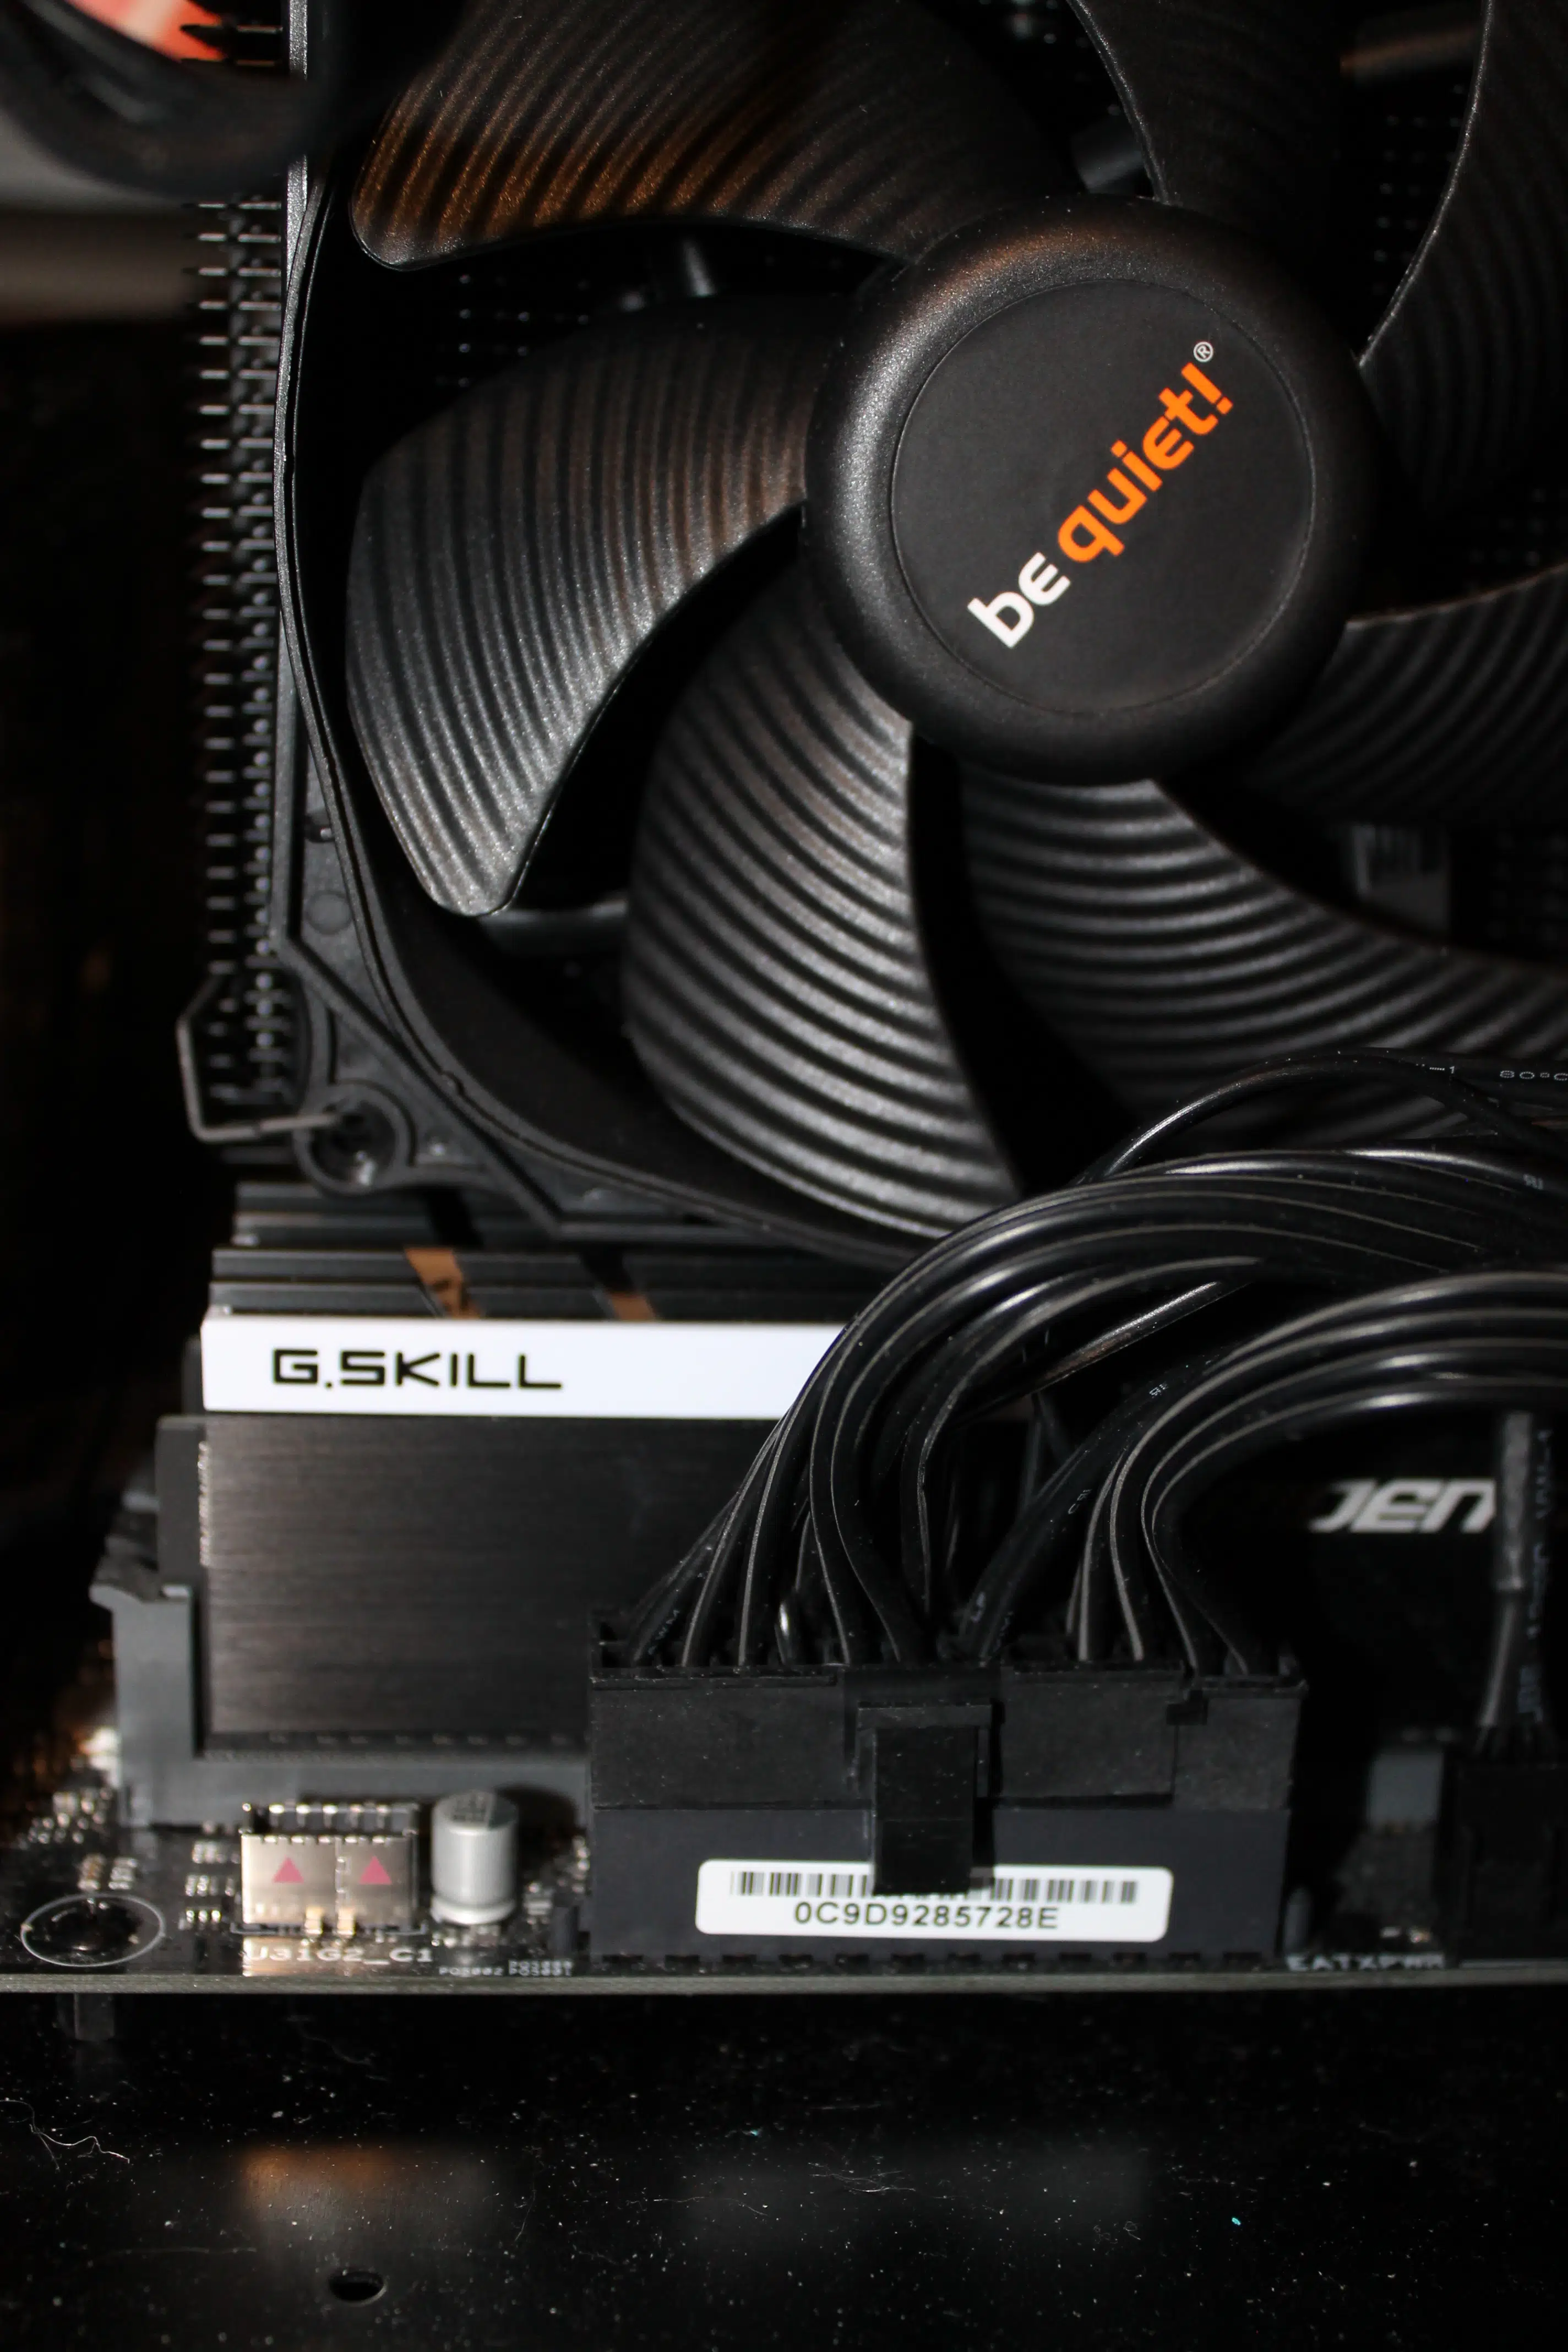
If you’re sporting ram that’s any taller than our “standard height” G.SKILL, then you’ll likely run into issues getting Dark Rock Pro 4 situated. There’s also a number of boards that simply won’t work with it due to other clearance factors, so you’ll want to check the be quiet! motherboard checking page to prevent yourself from being checkmated.
With everything comfortably situated, let’s see if the be quiet! Dark Rock Pro 4 is ready to rock today!