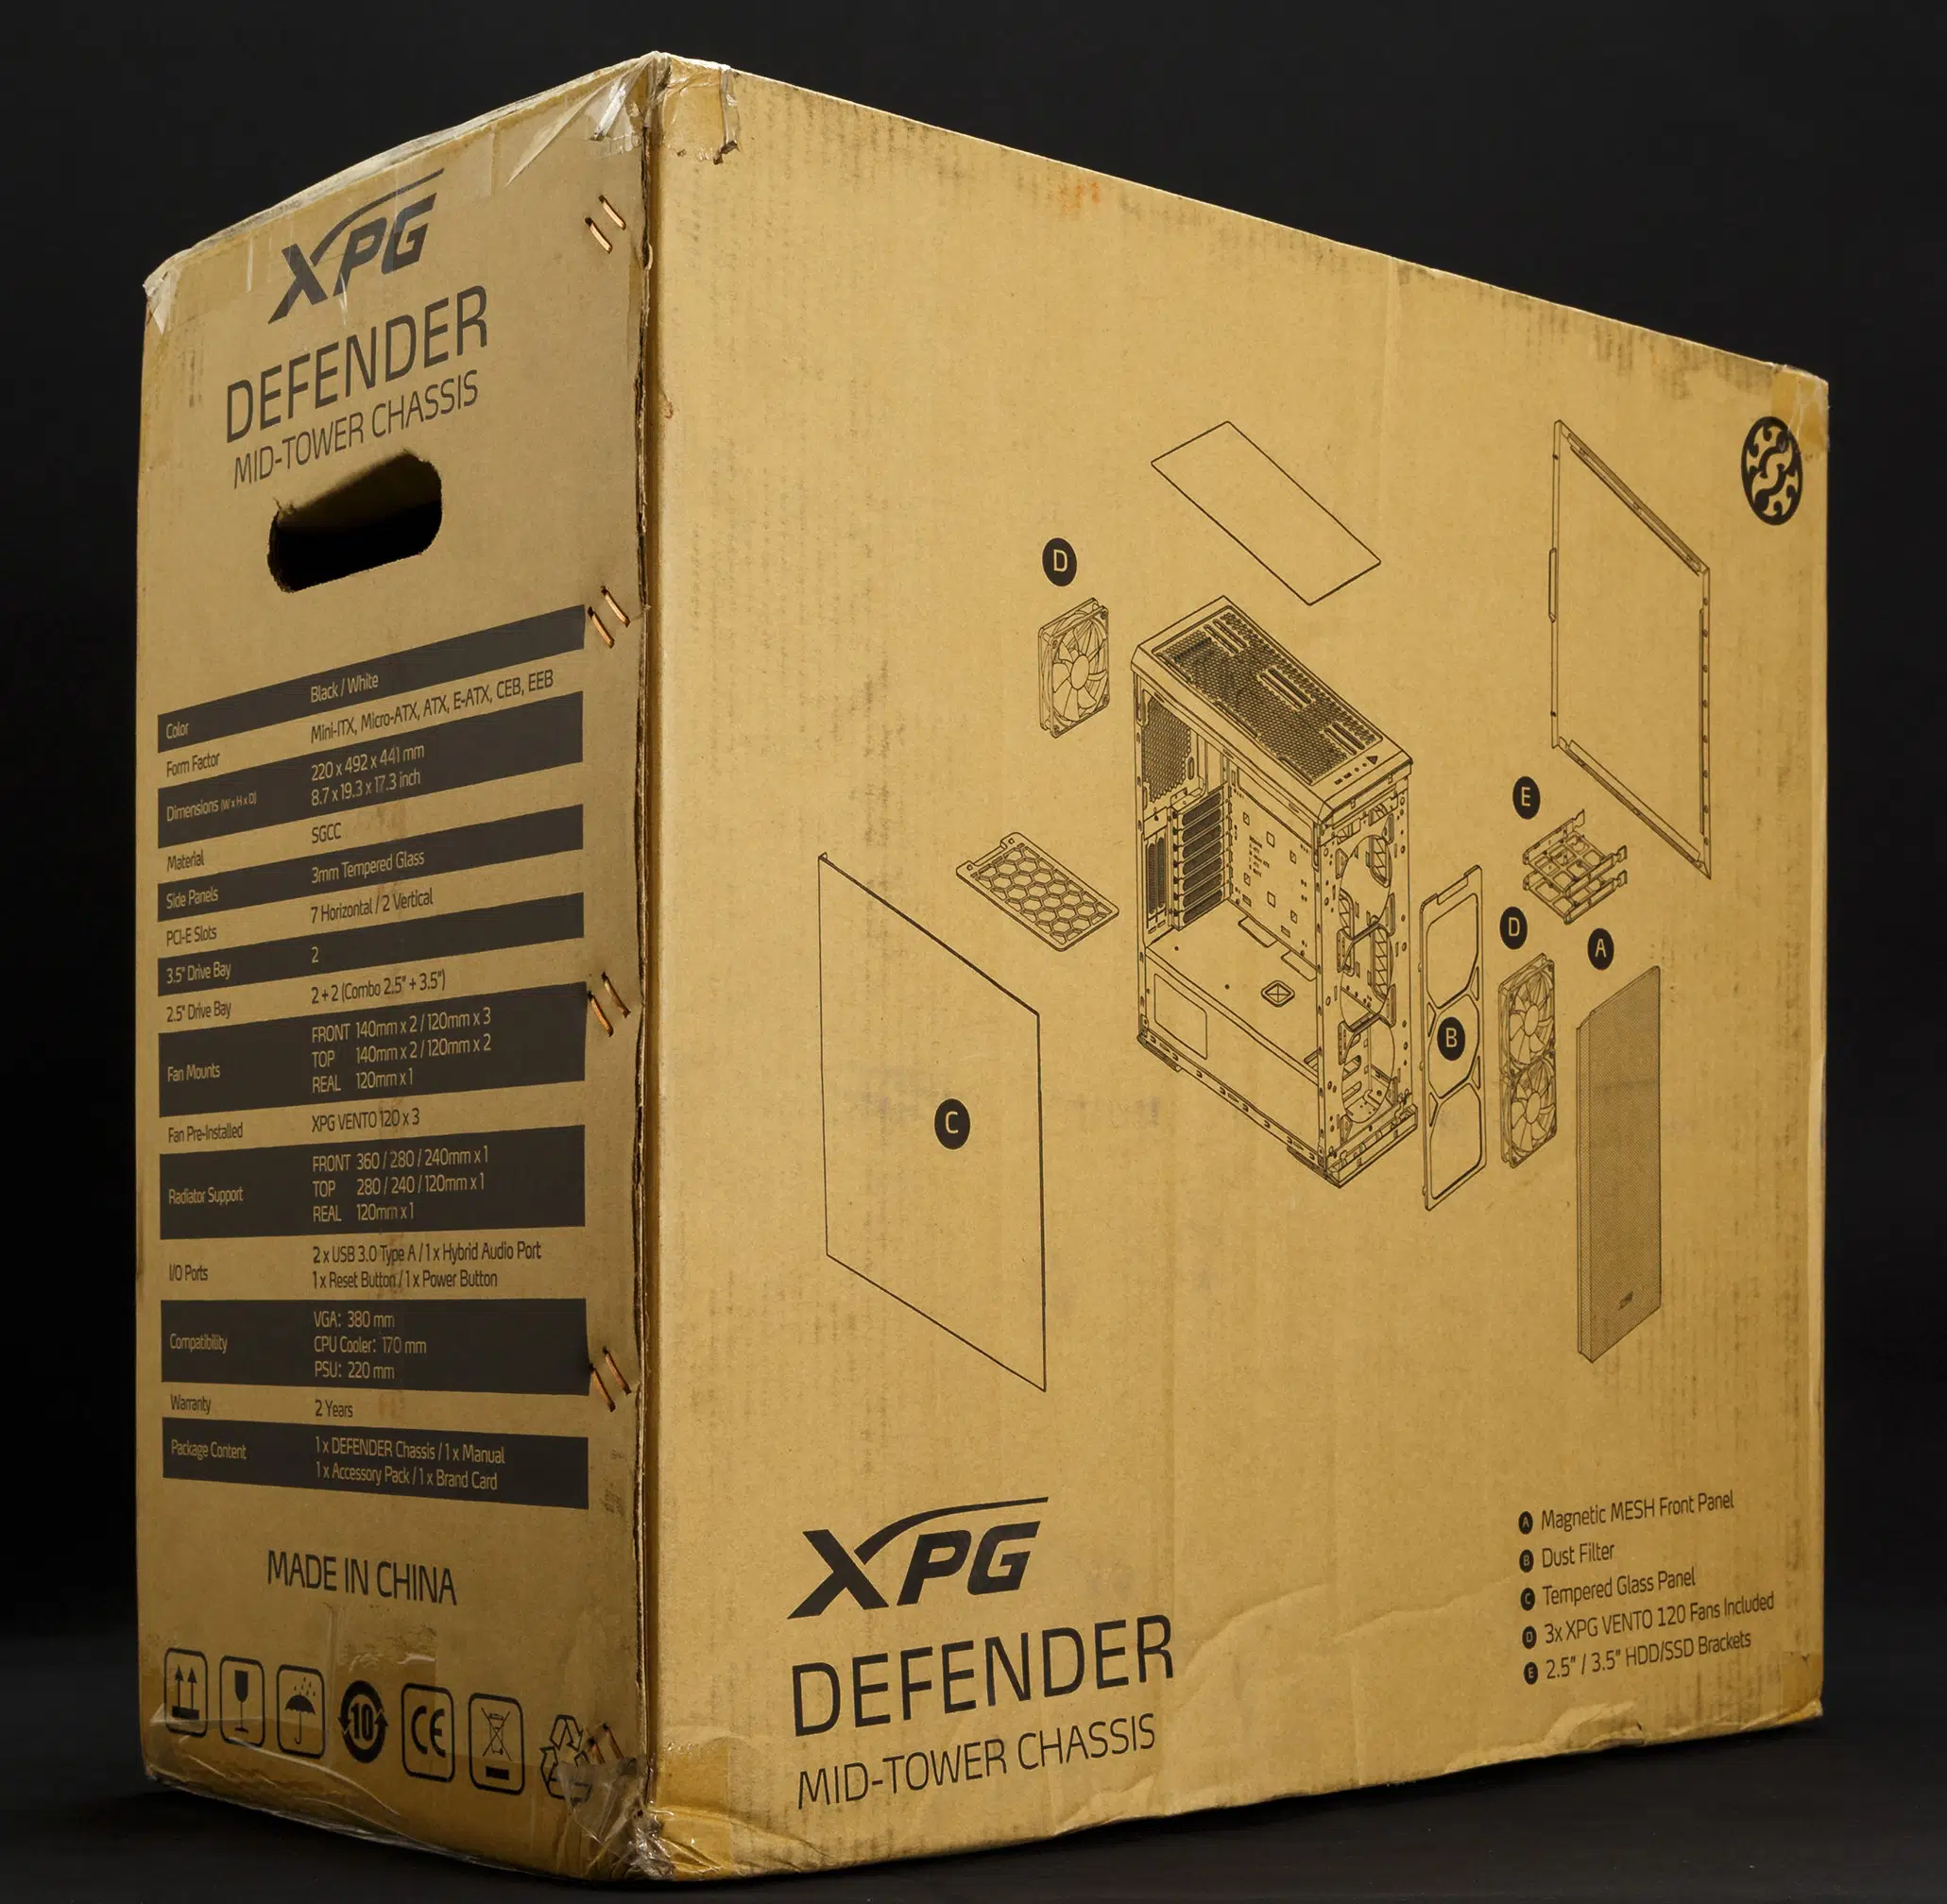
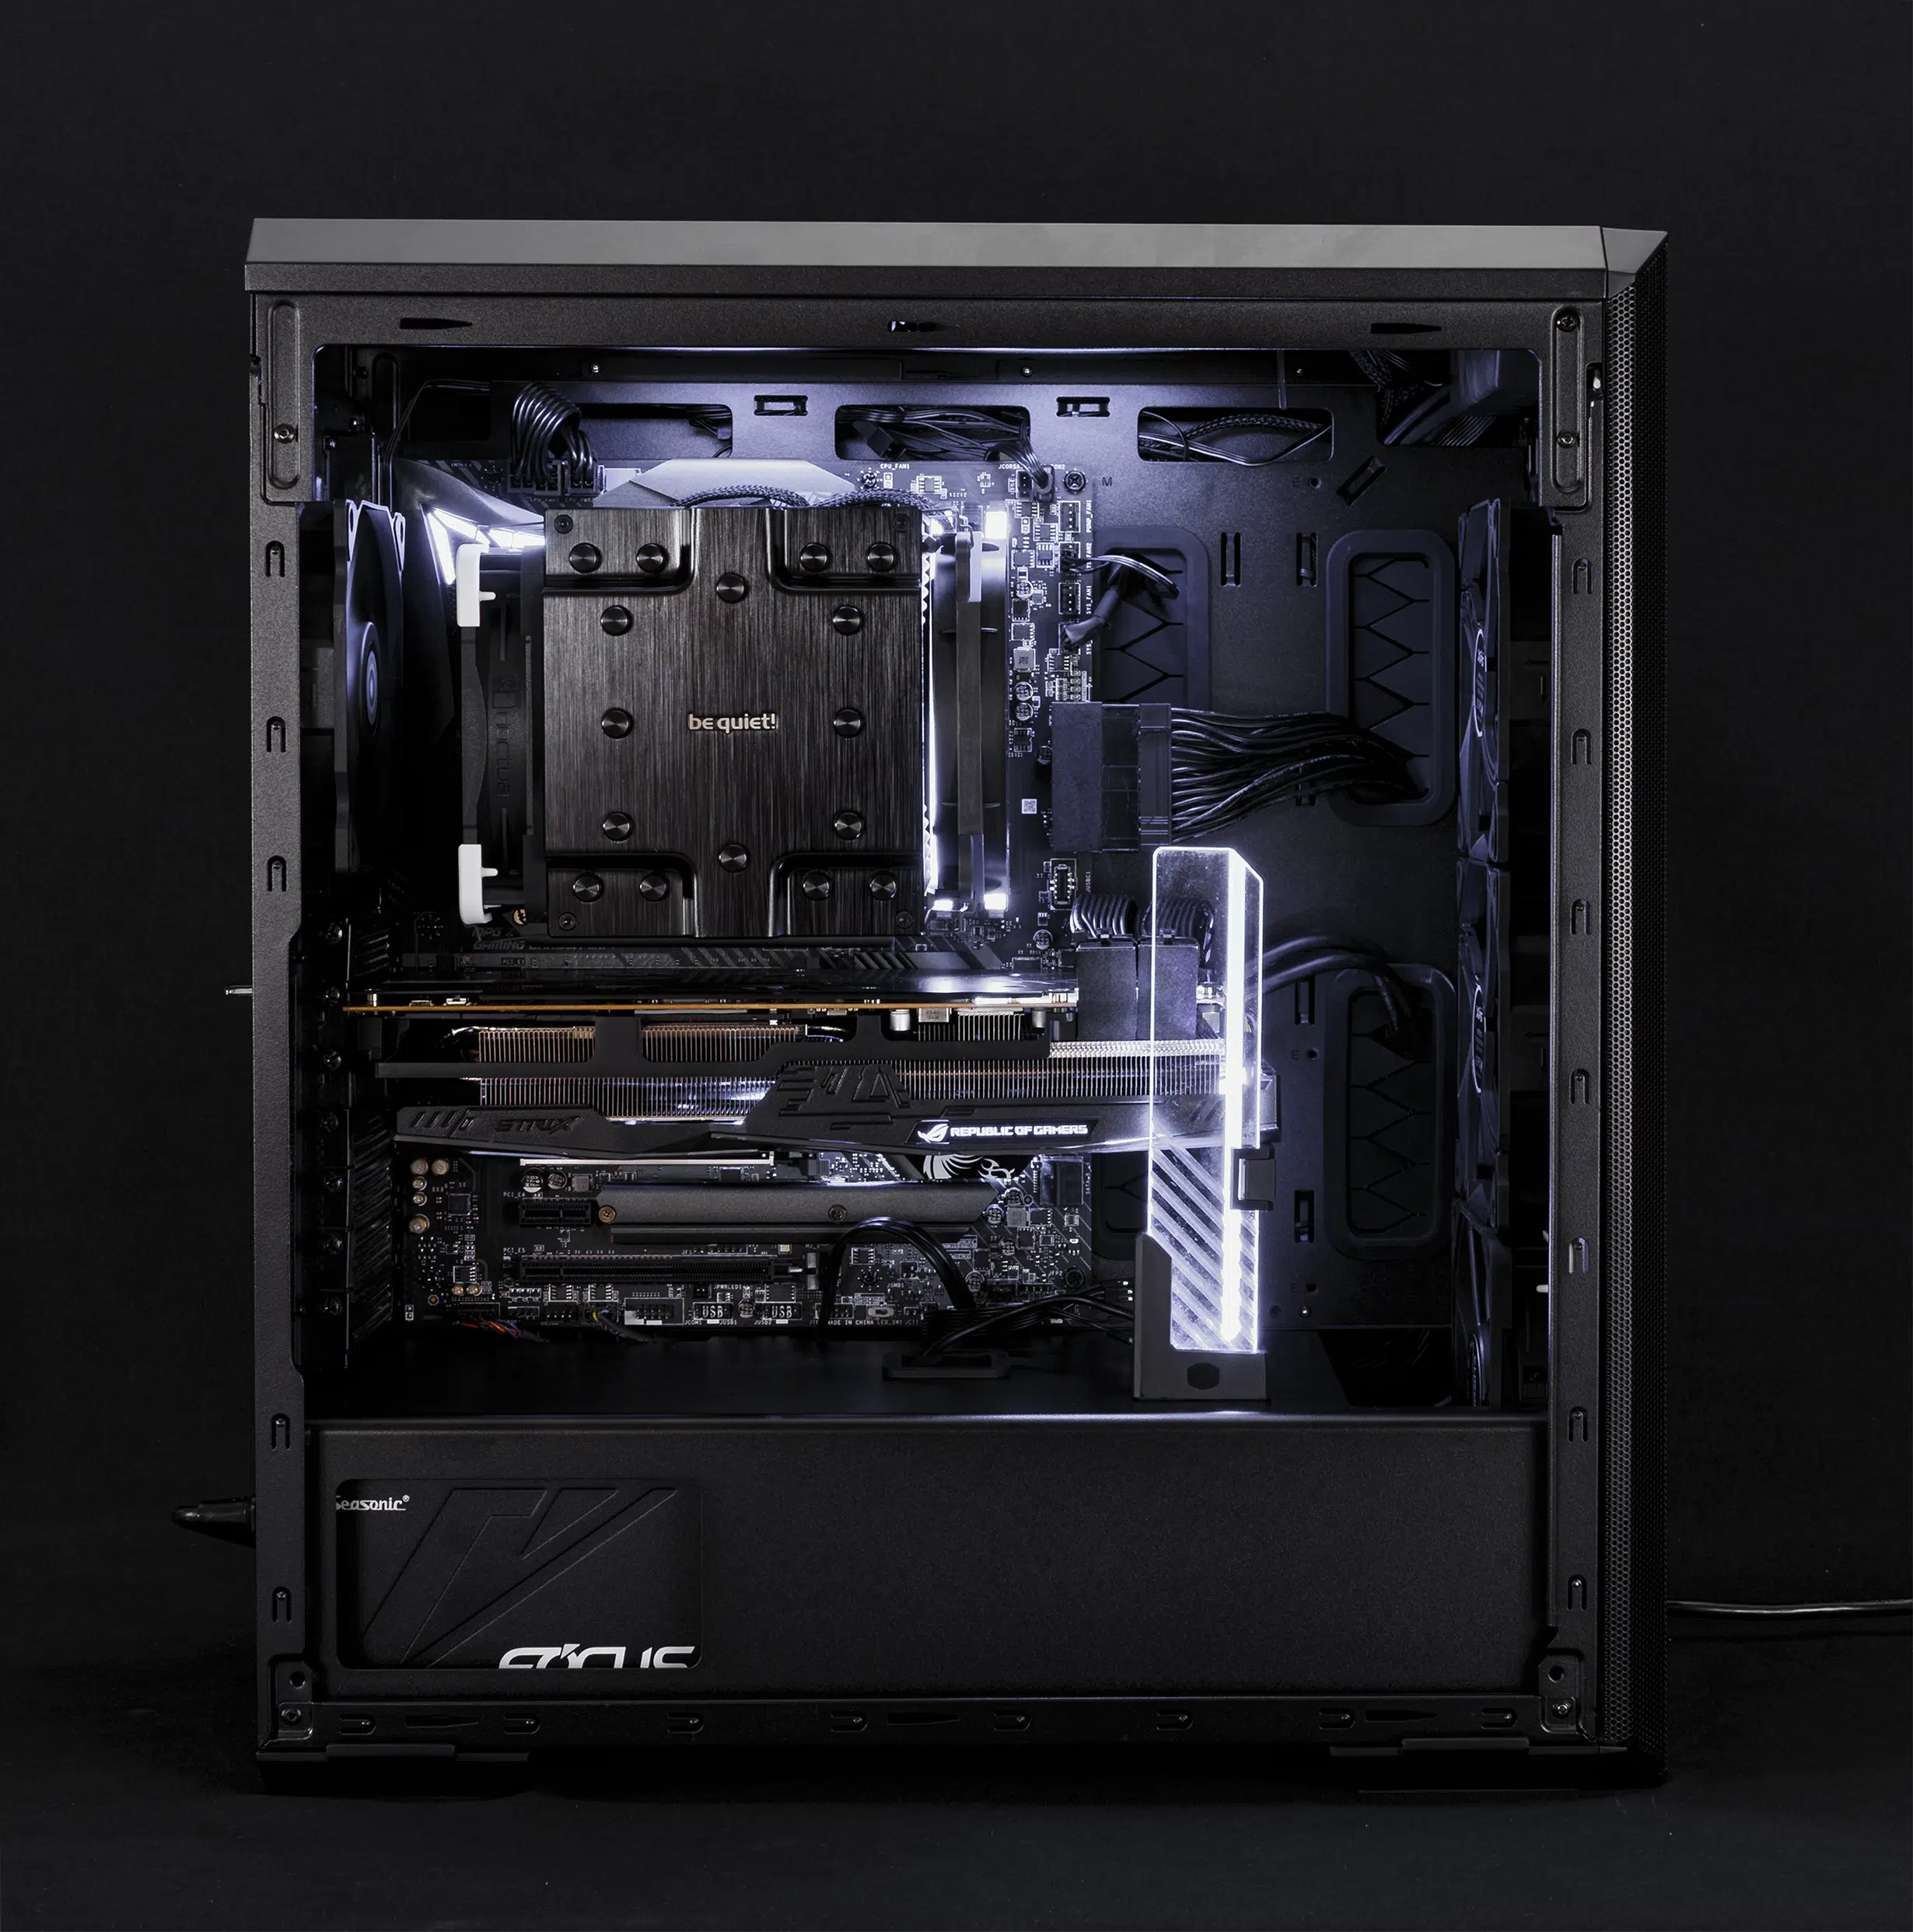
Construction Quality
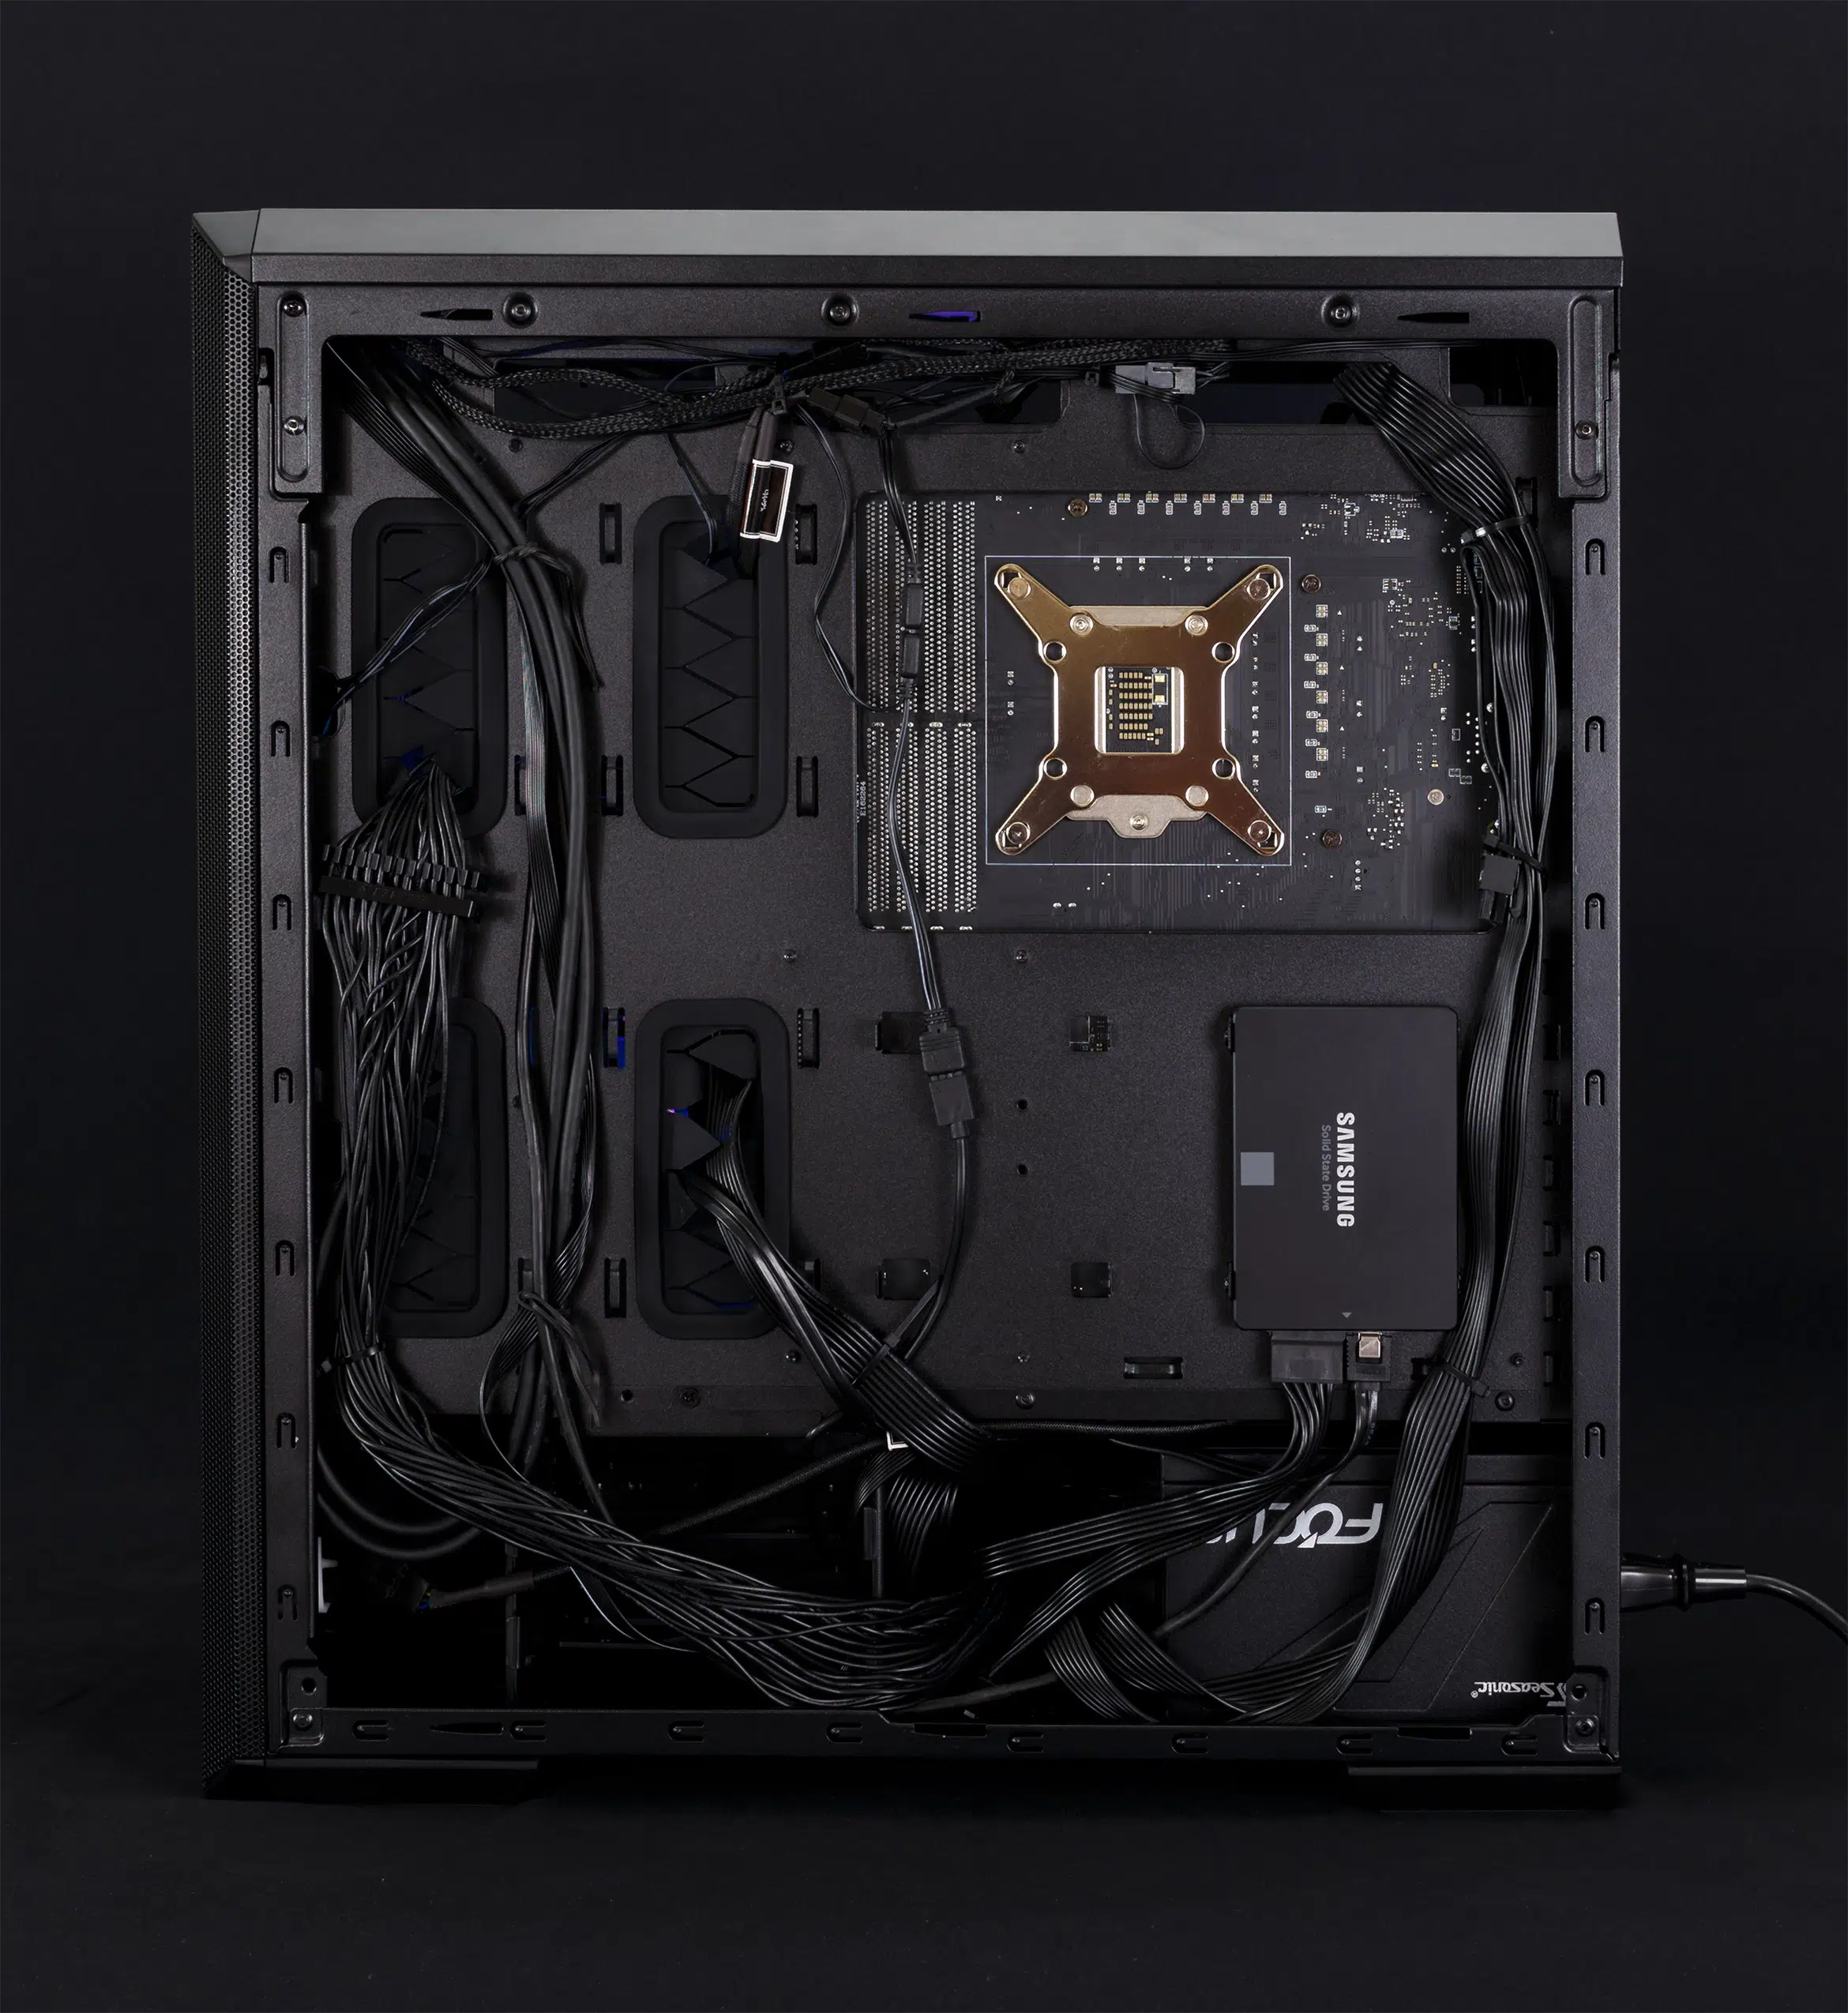
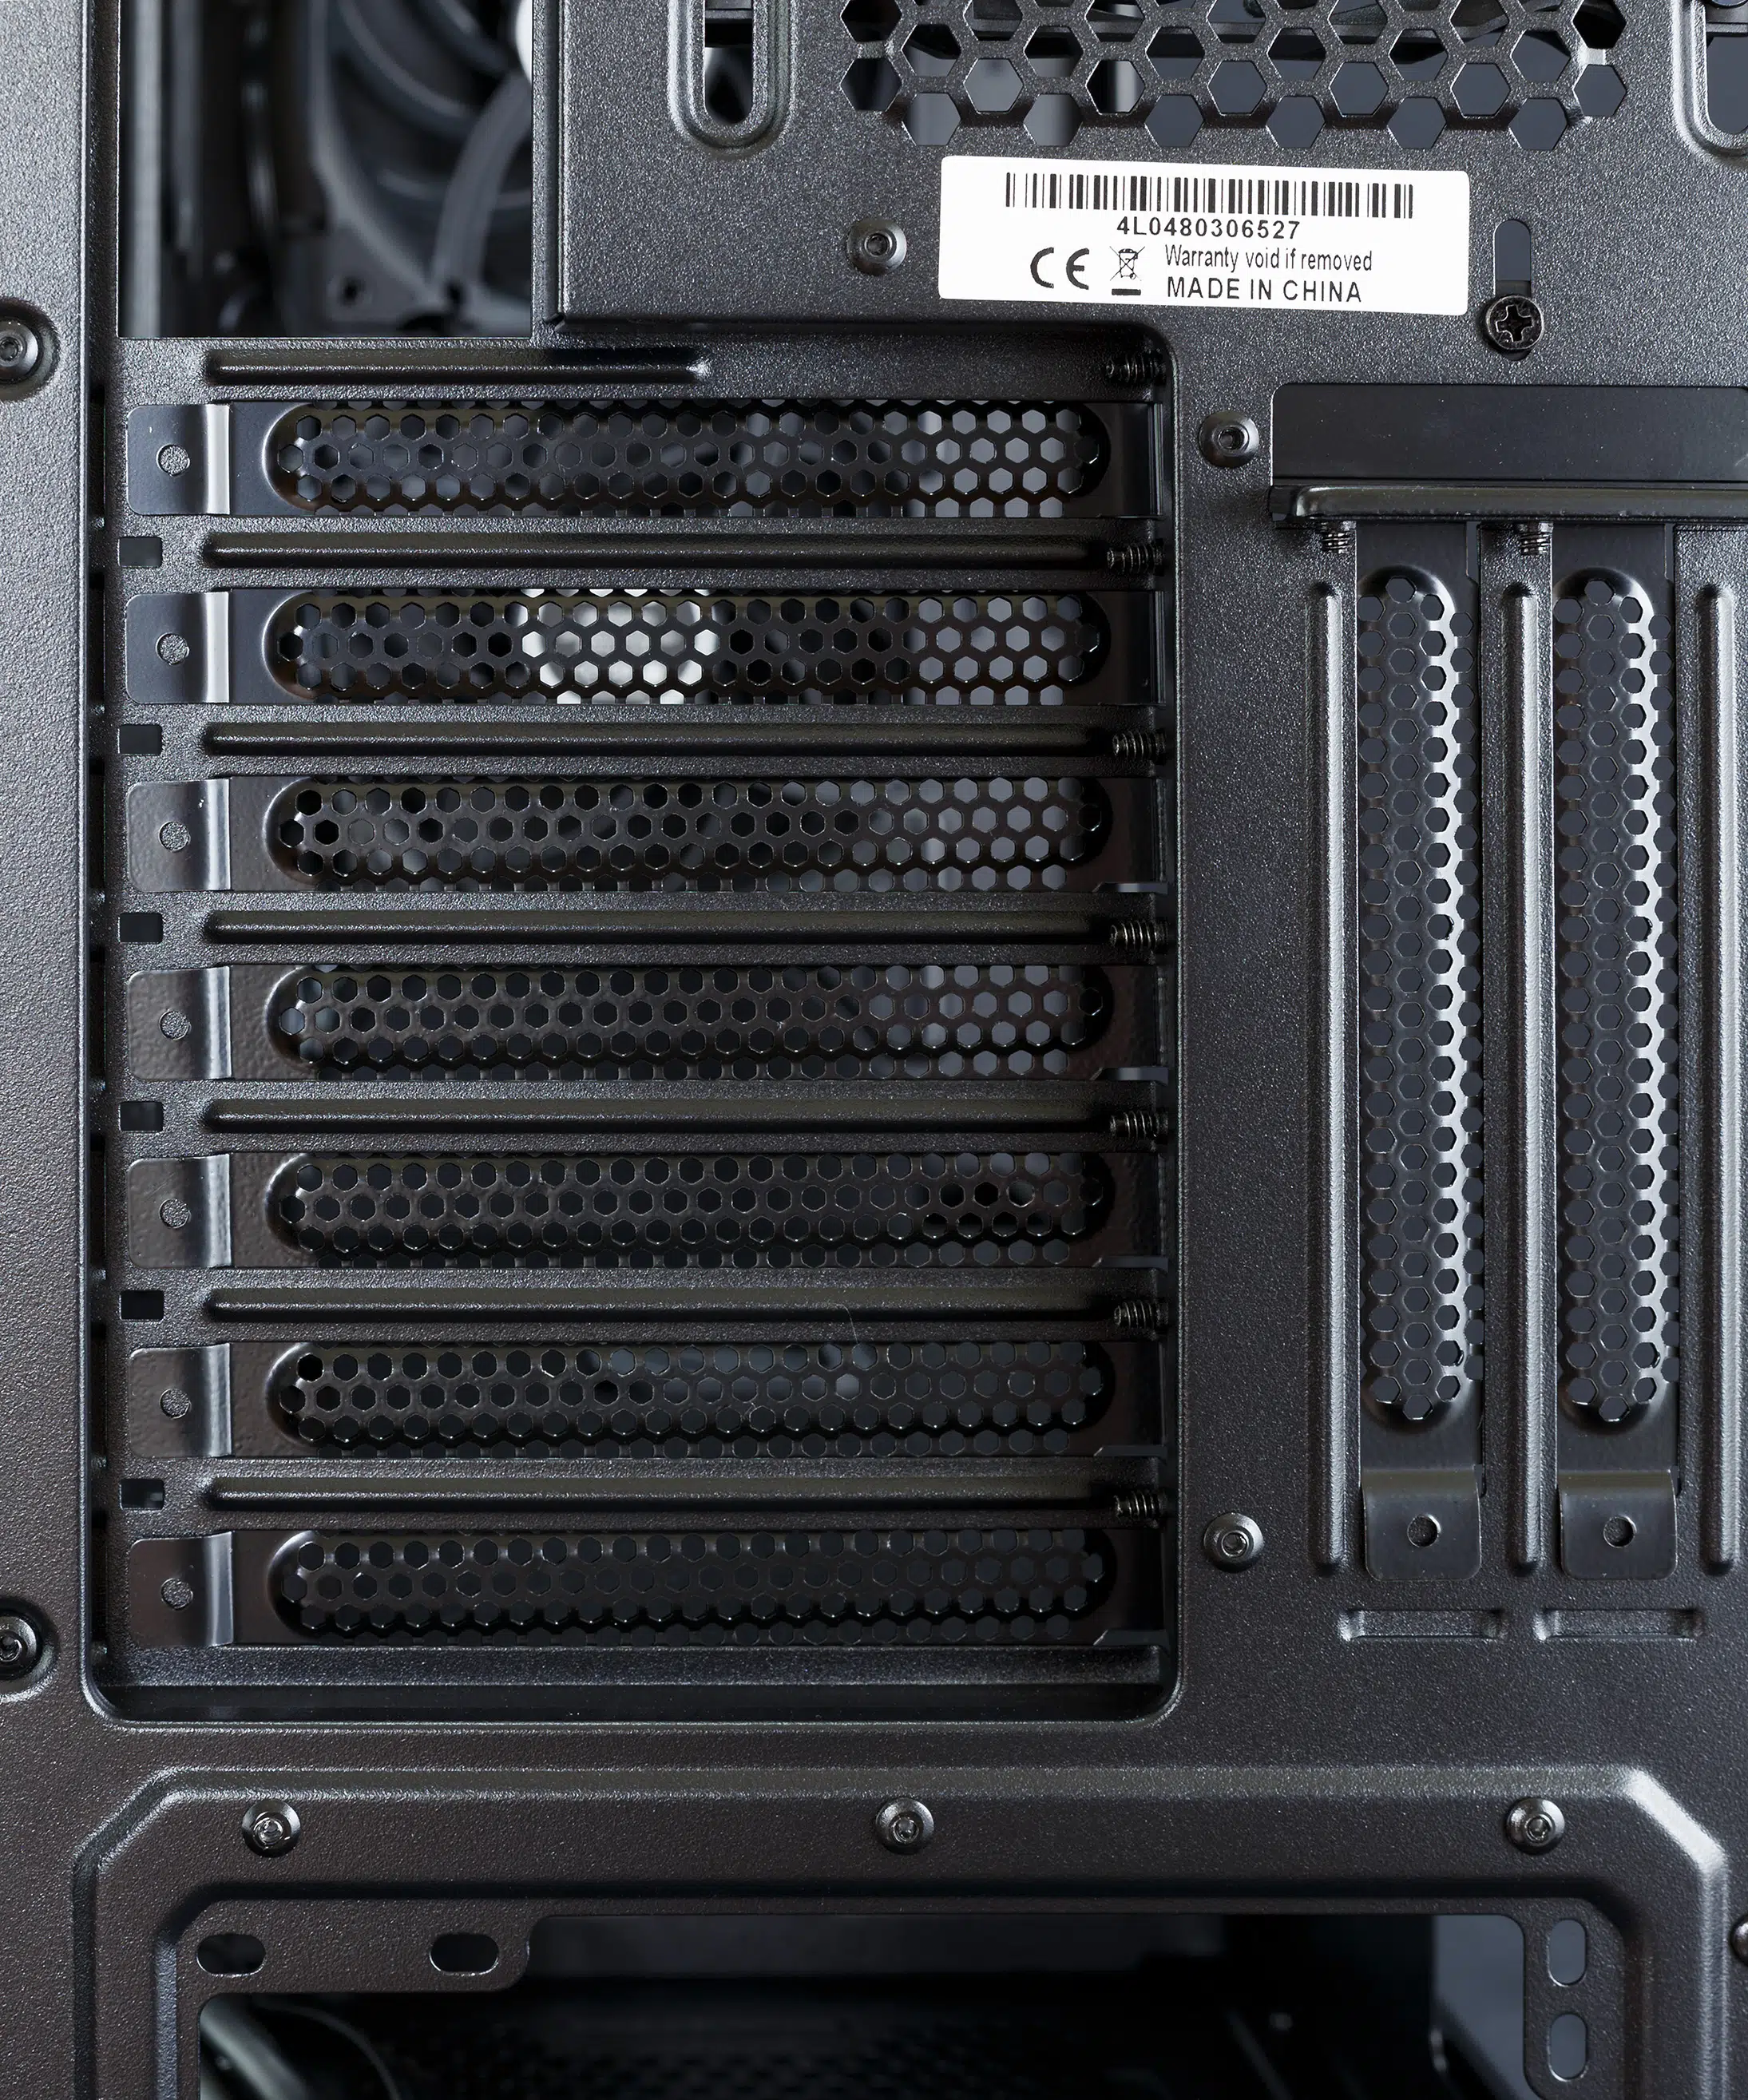
We found the ADATA XPS Defender to be decently built overall for its price class. All major details are covered, with all included cables routed acceptably, both the seven standard expansion card slots and two vertical expansion card slots having independent slot covers, and plenty of well-placed cable routing cutouts available. Aside from the thinner right side panel, the case feels sturdy.
Packaging
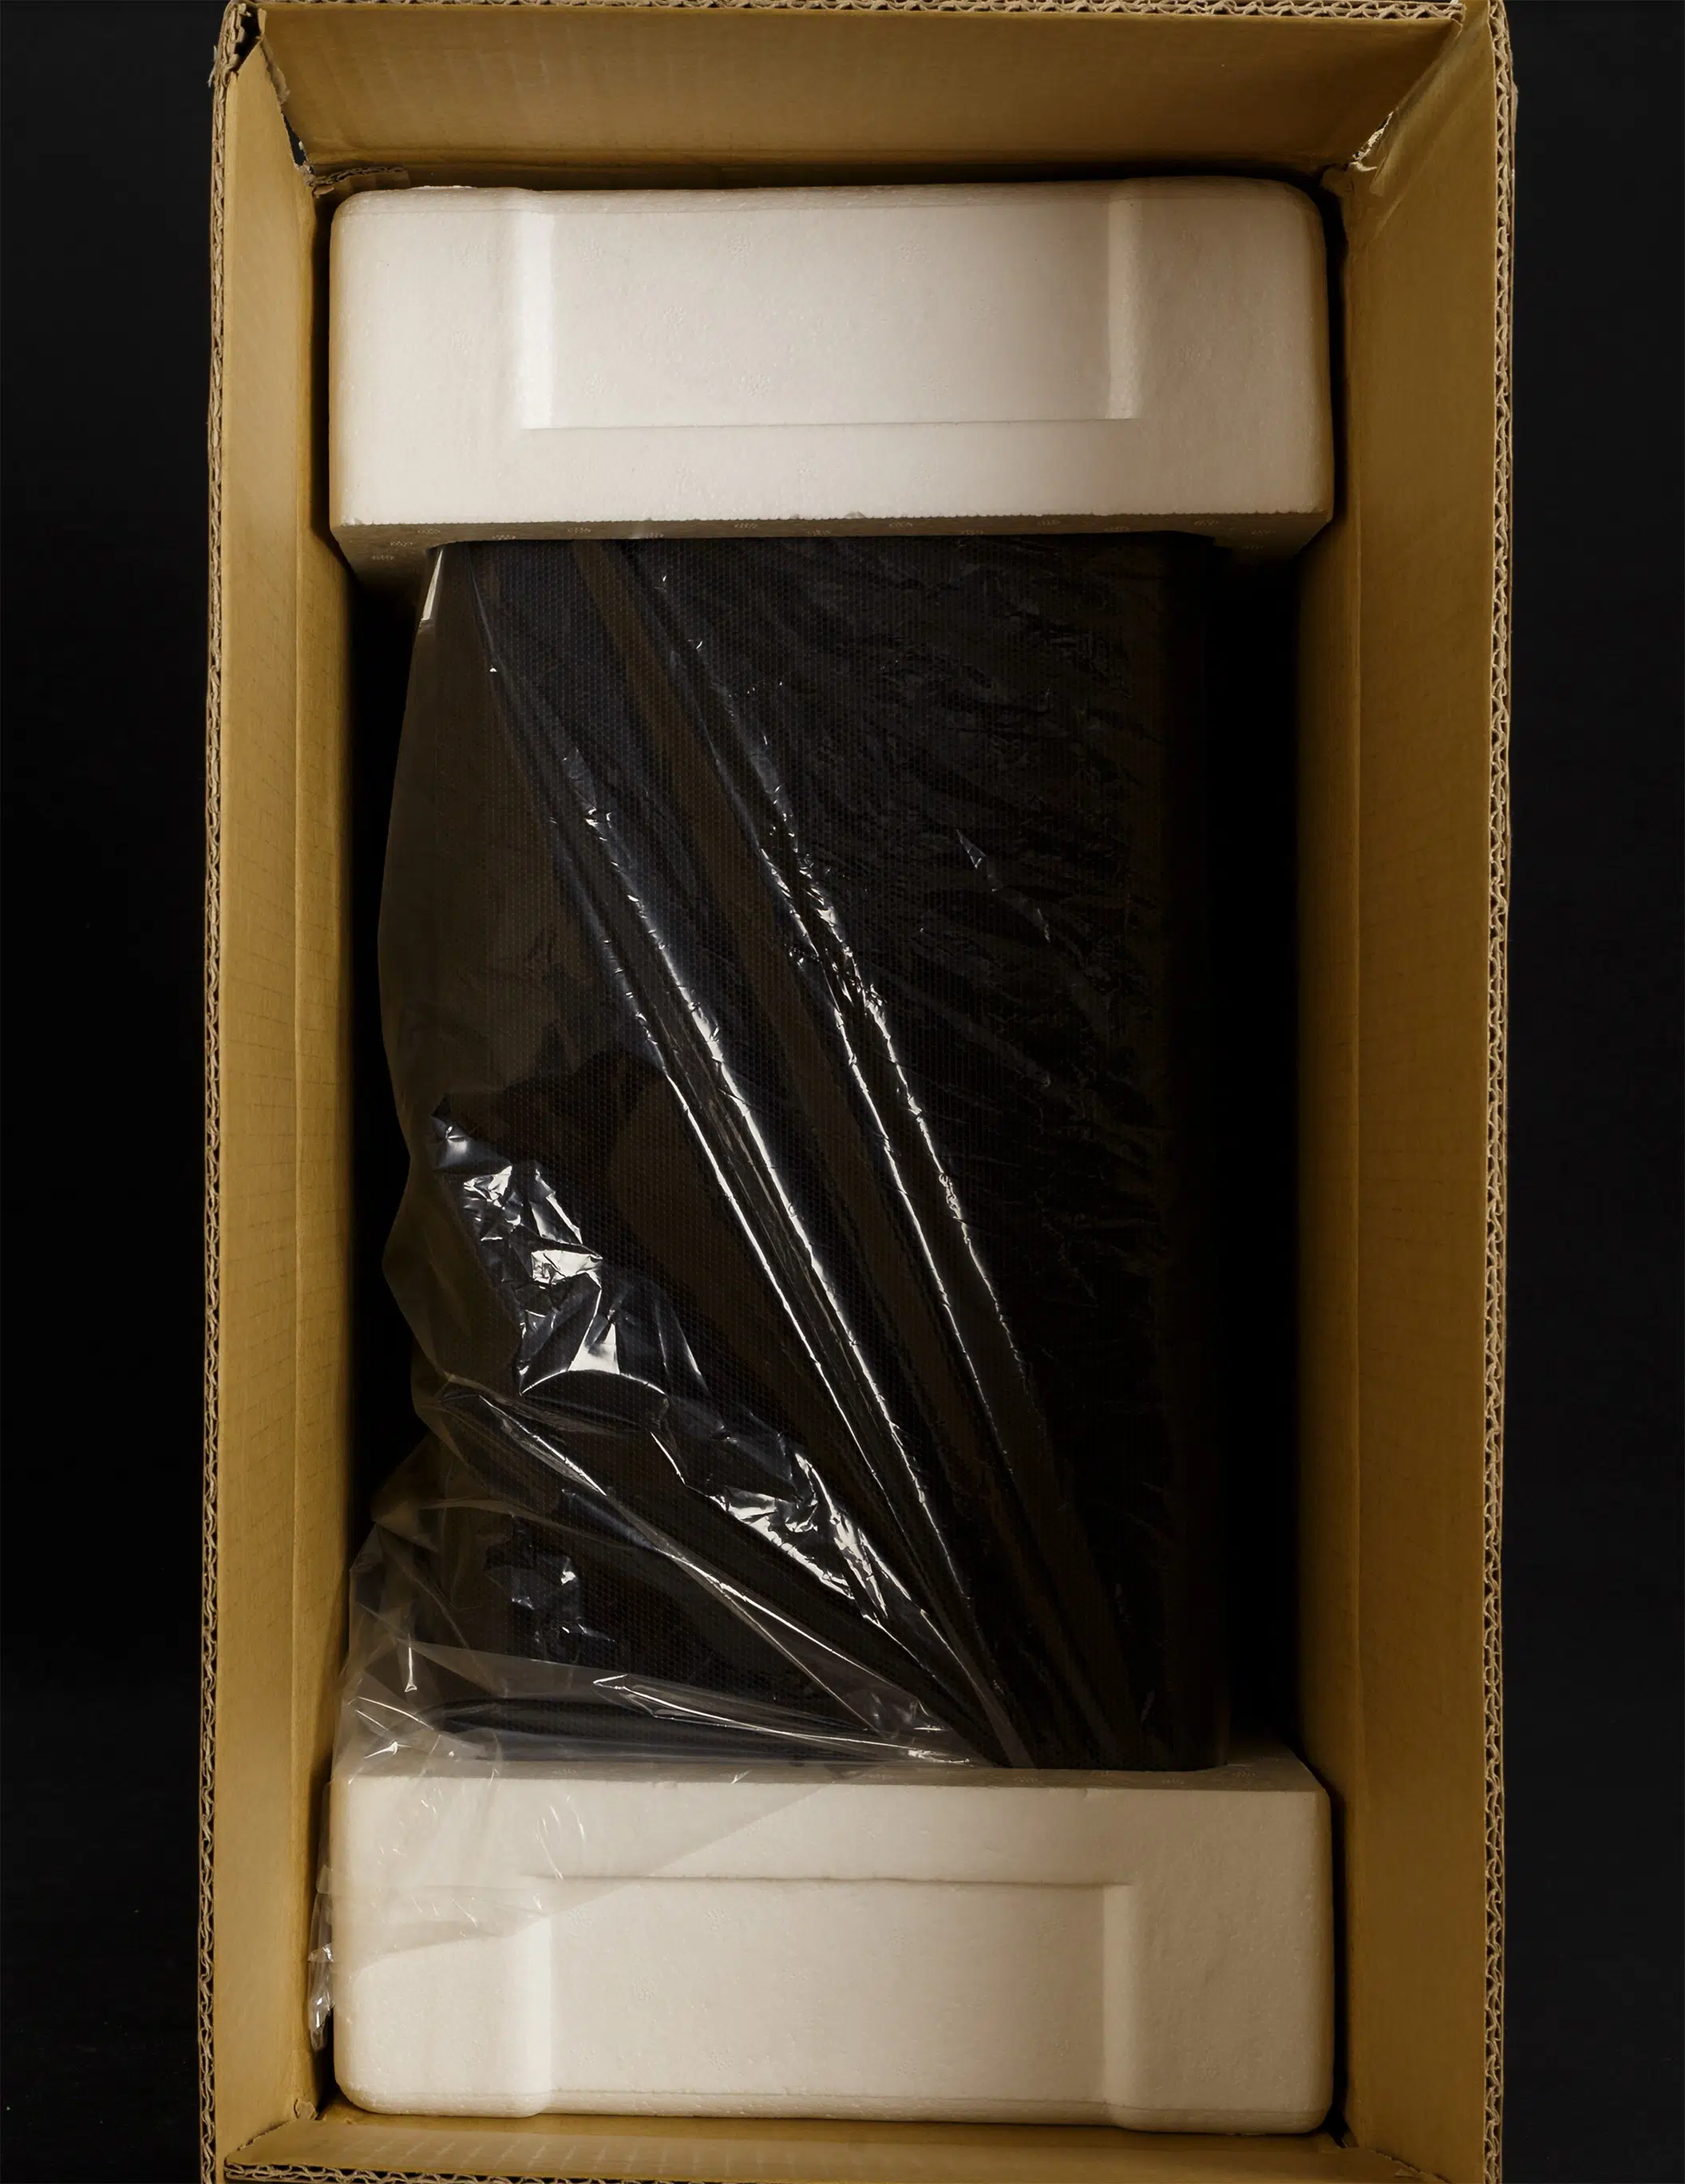
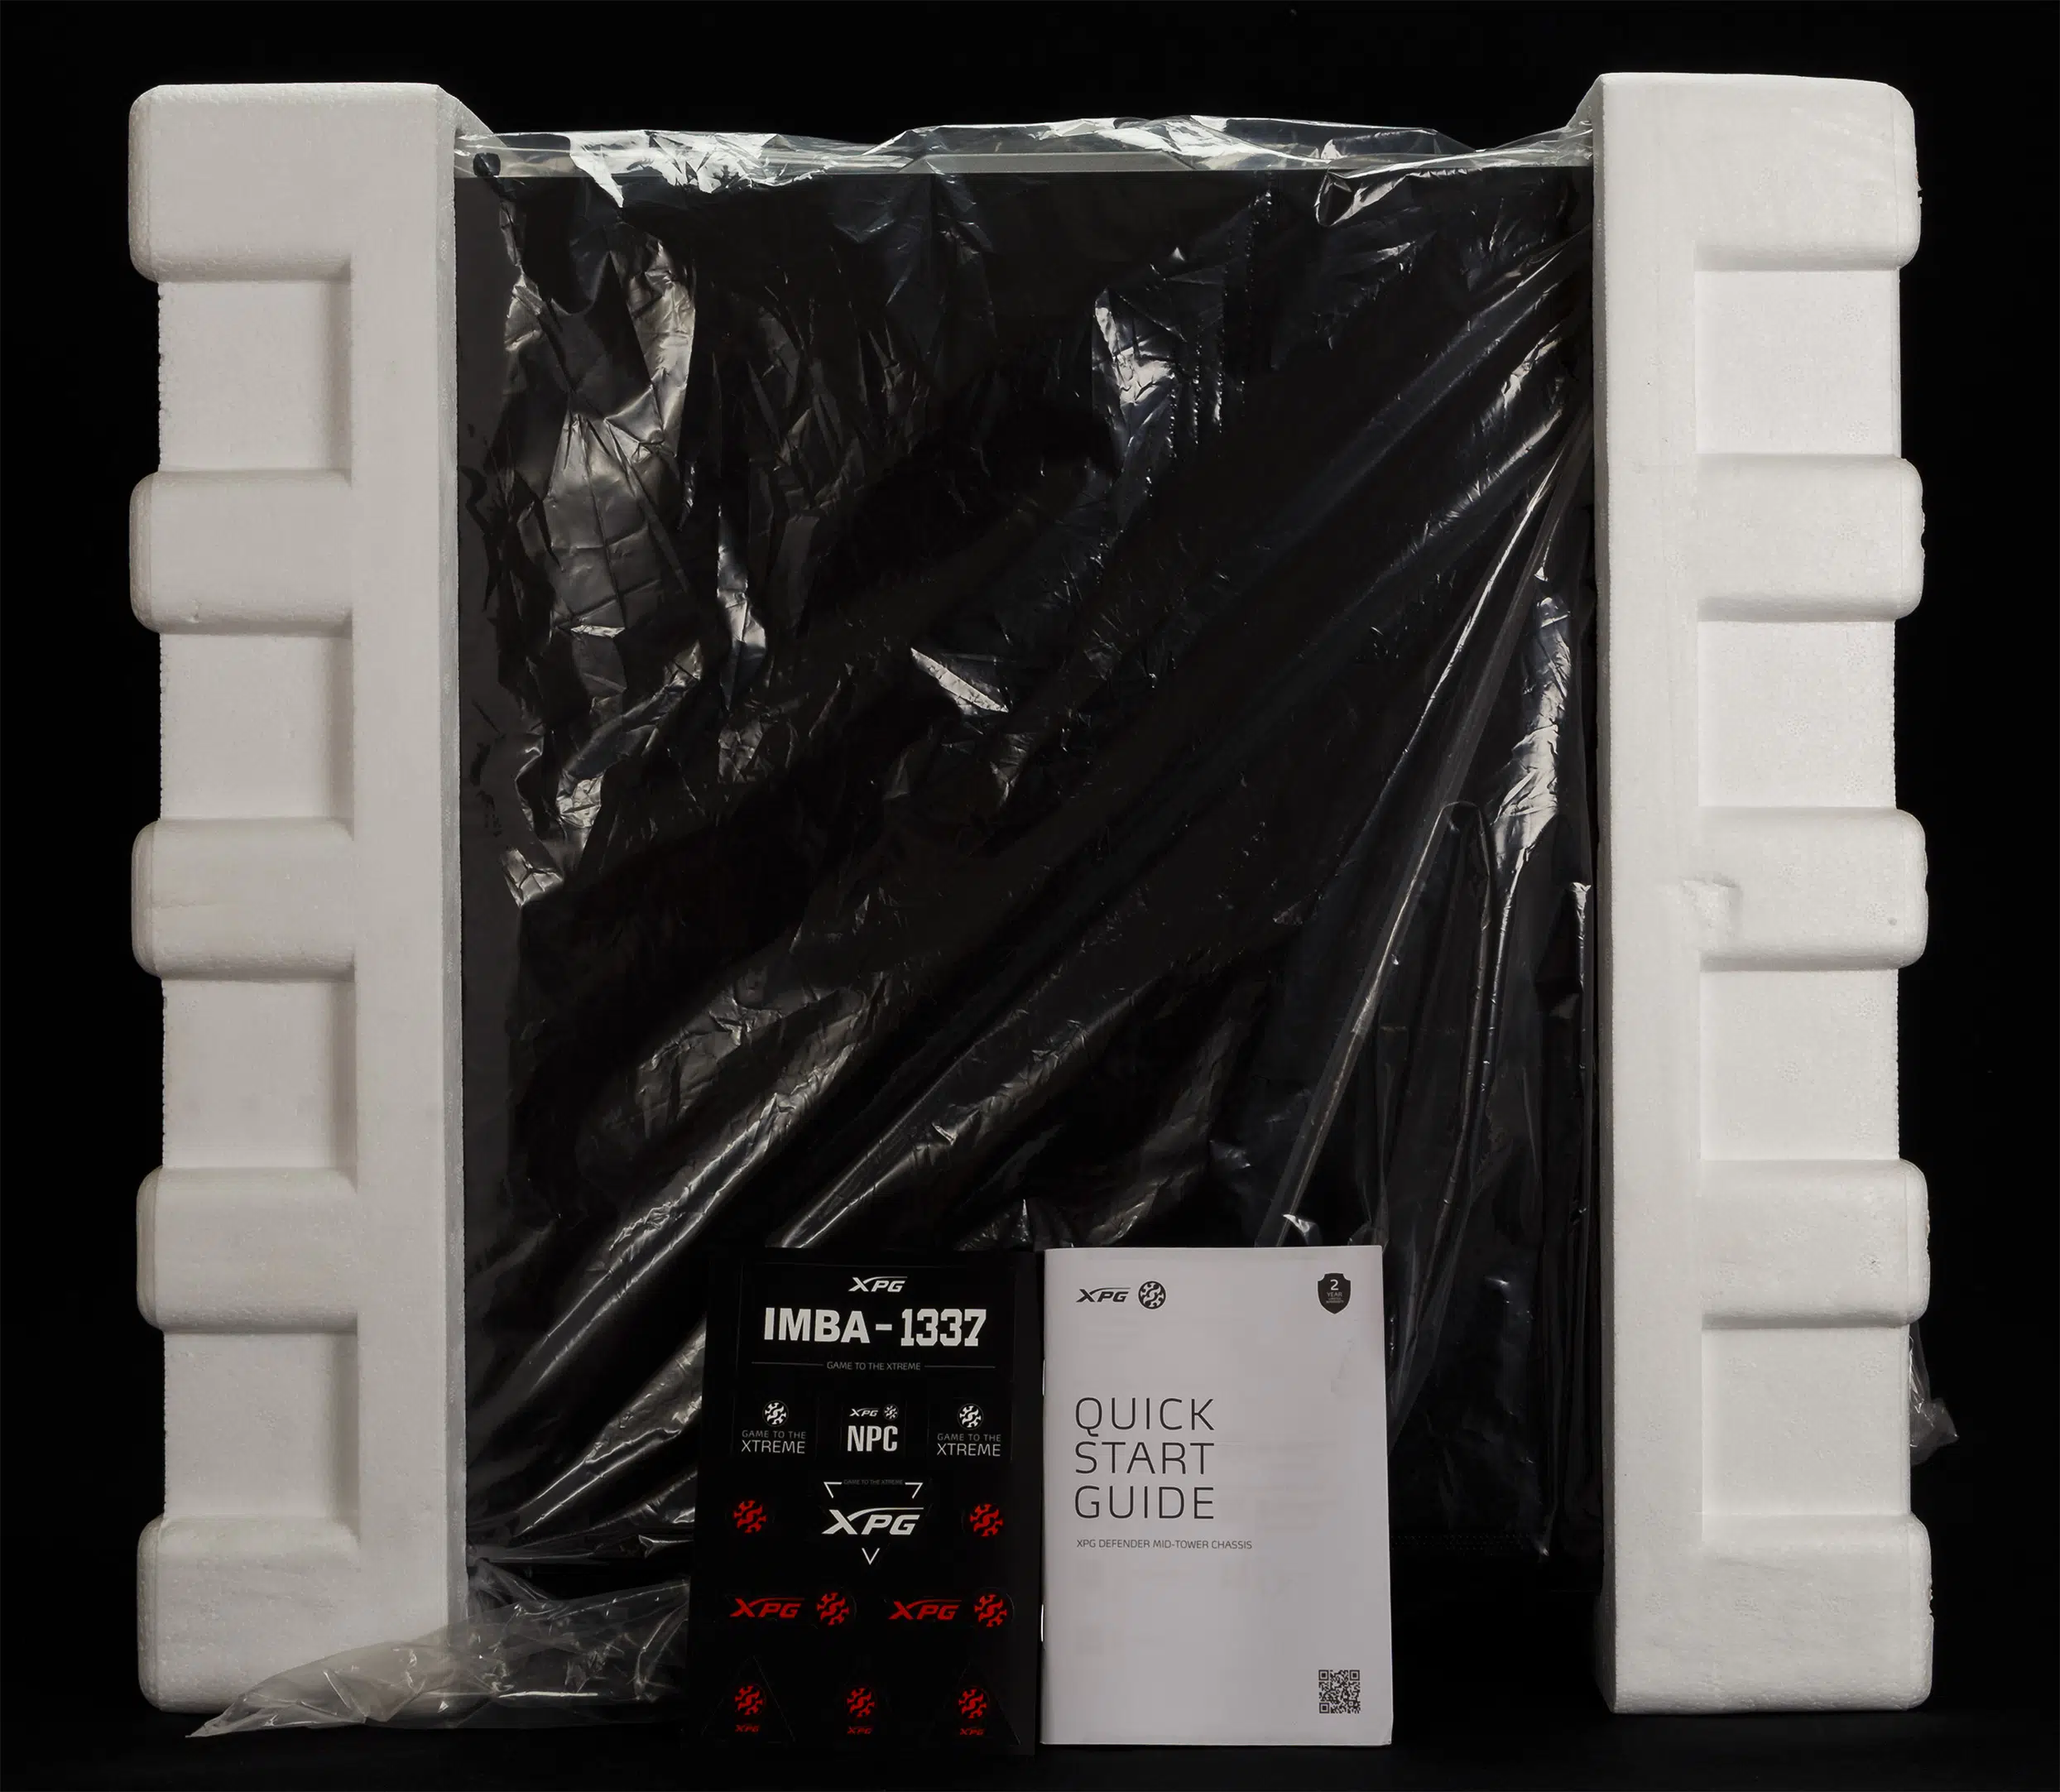
ADATA has used the standard white styrofoam packaging which kept the case well-protected during shipment.
Cooling Potential
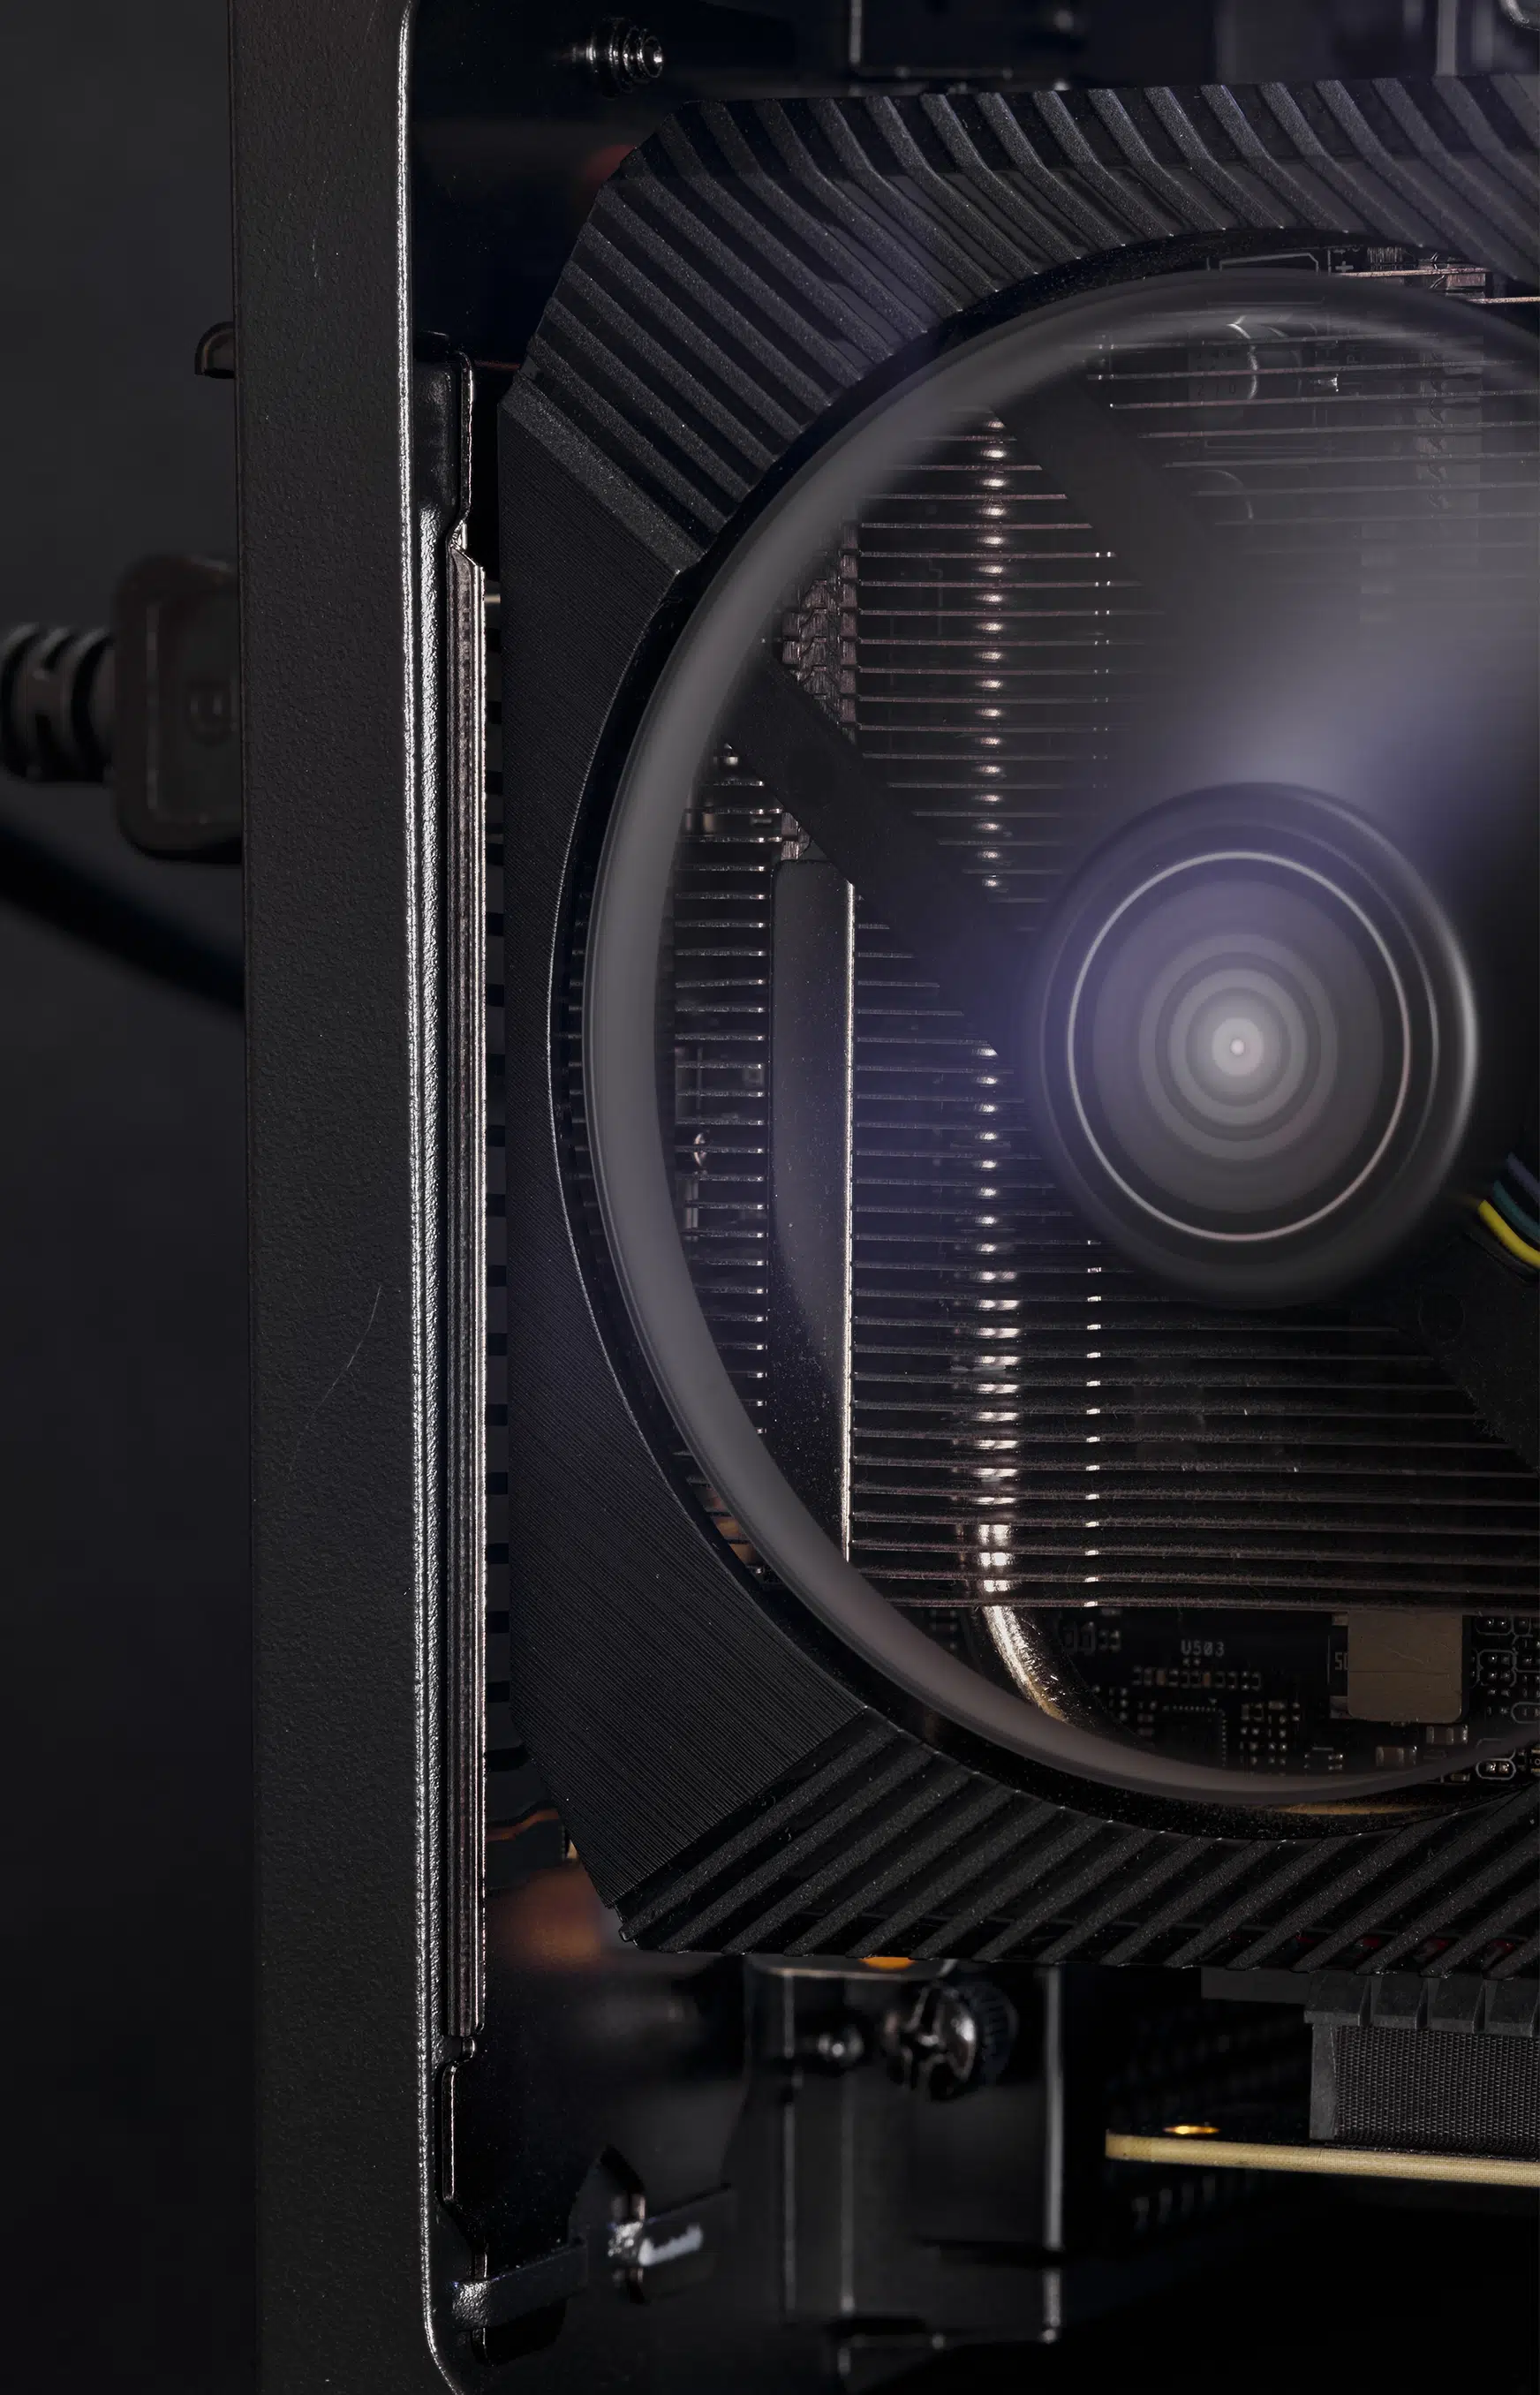
With support for up to six 120mm fans or four 140mm fans and a single 120mm fan, as well as radiators for each, ADATA XPG Defender is well equipped to support higher-end builds.
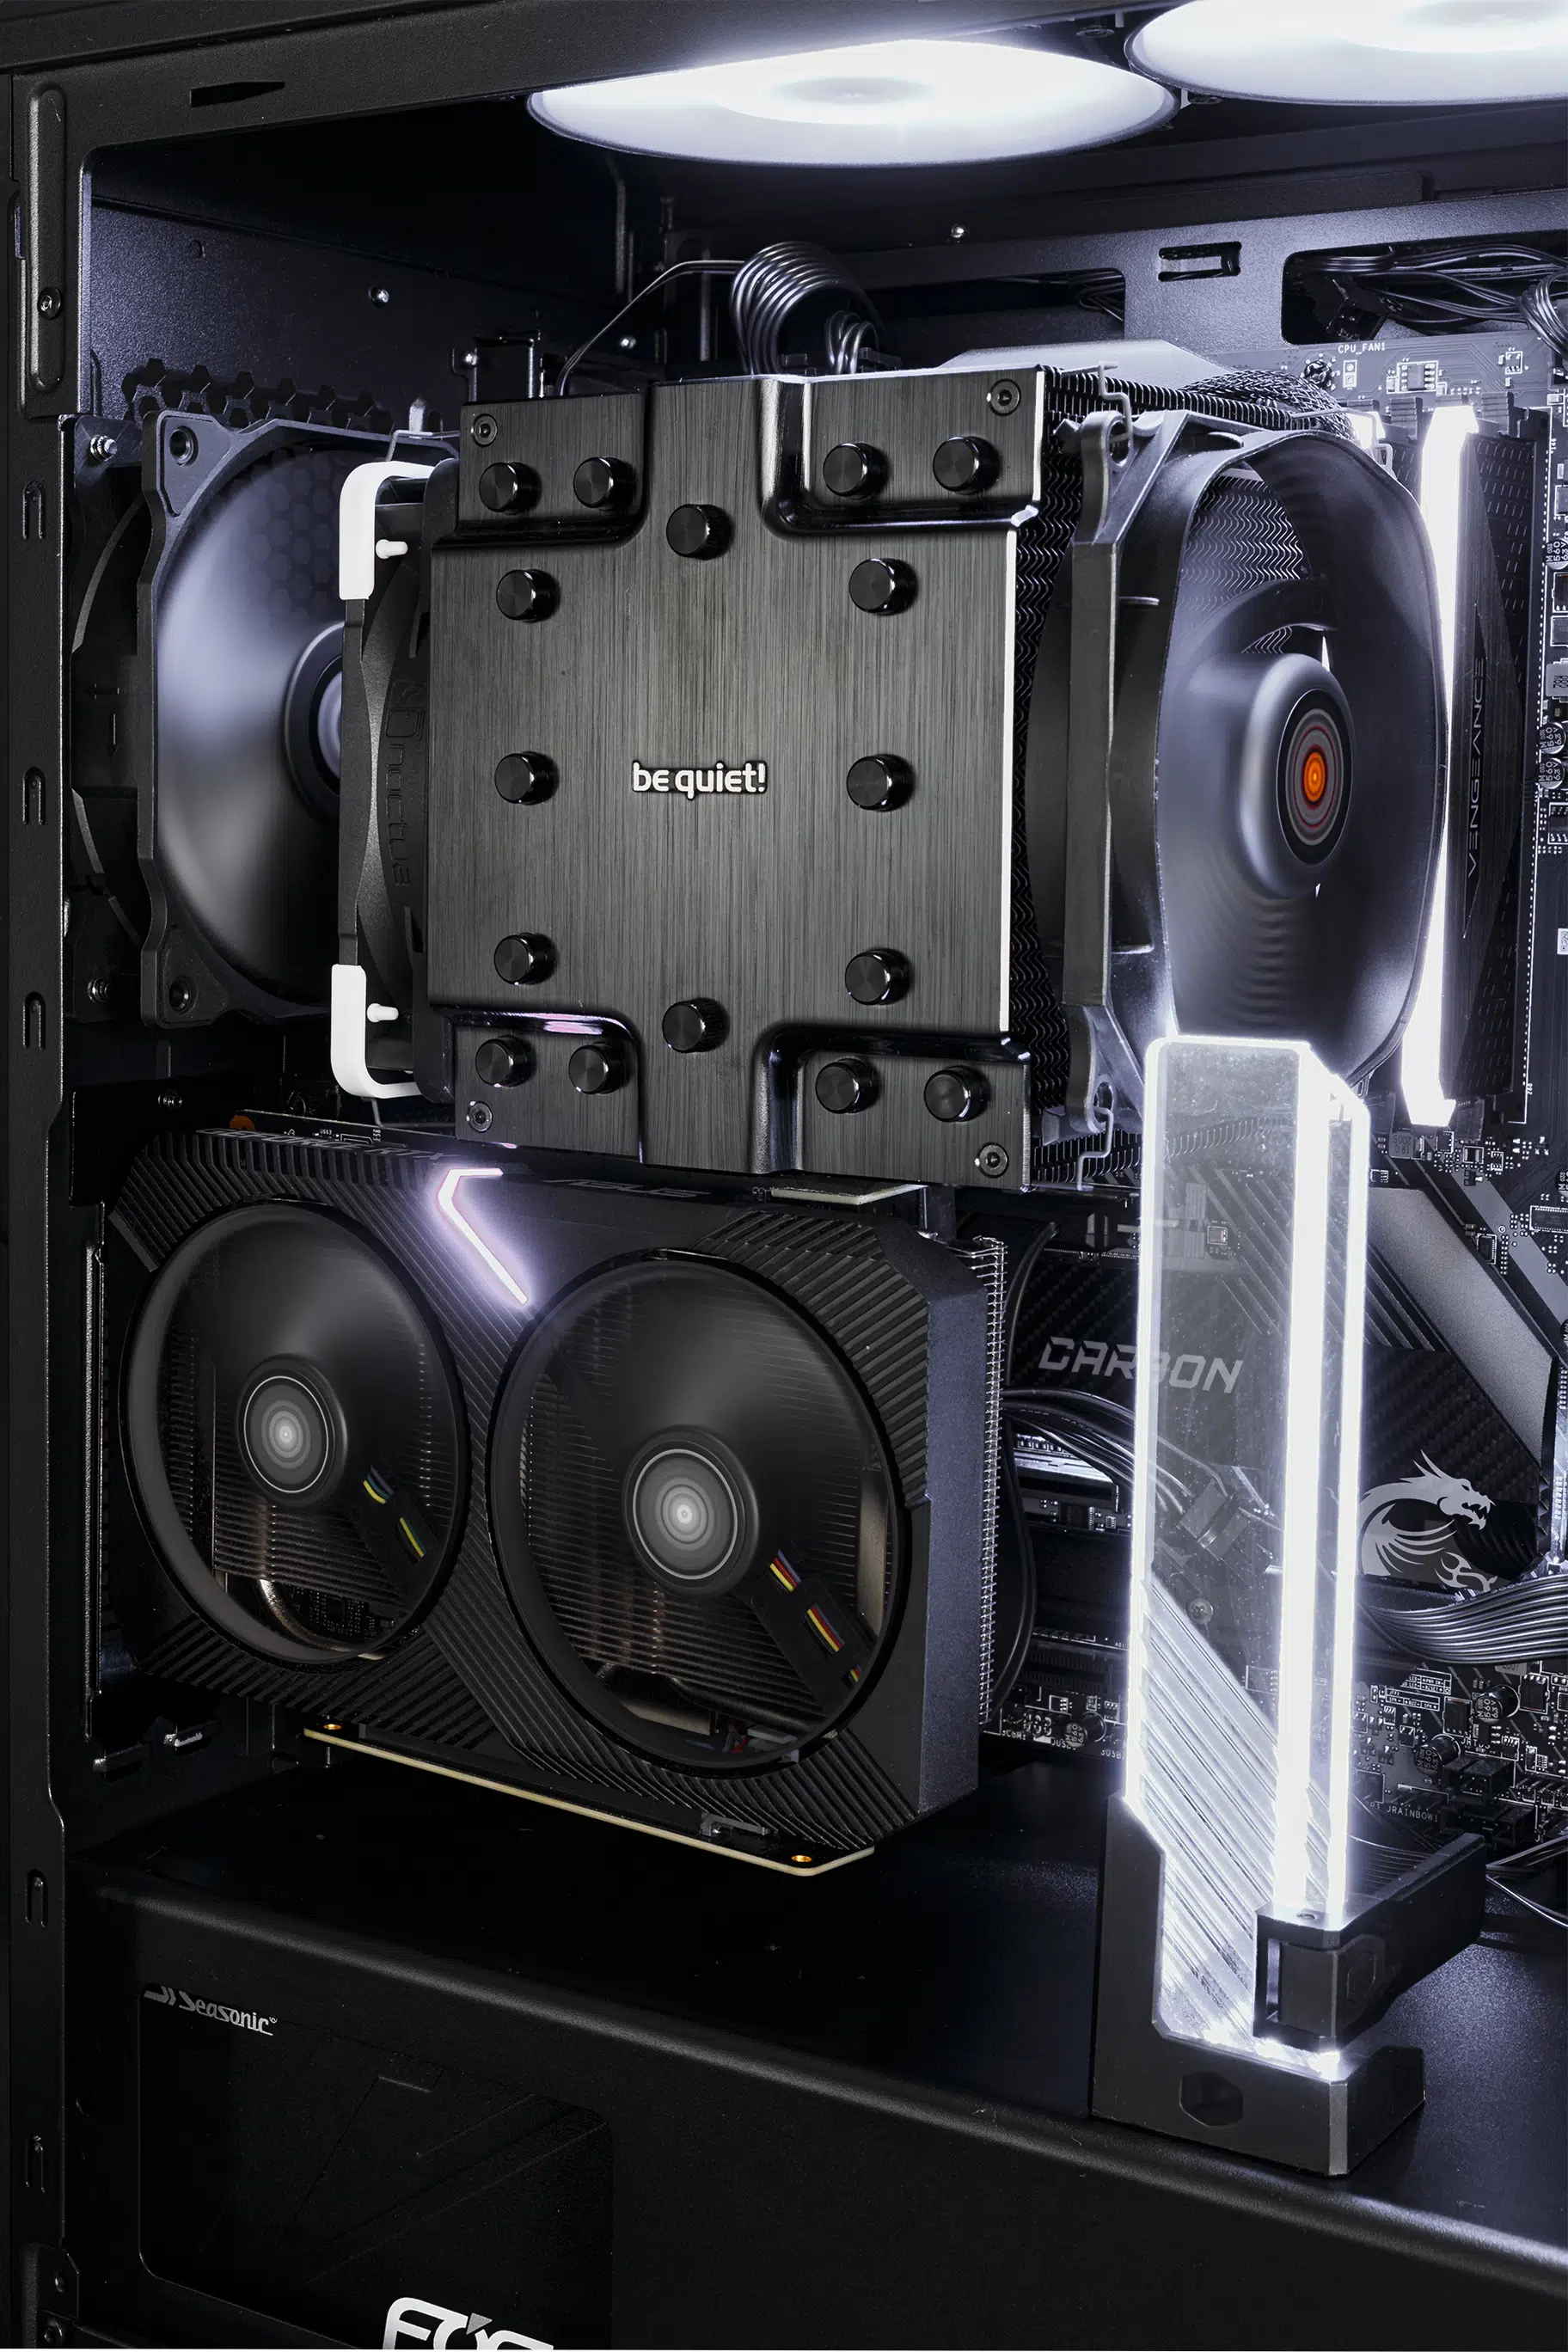
The three included 120mm XPG Vento fans provide adequate cooling for an overclocked mid-range build or a higher-end build left at stock, while the additional fan mounts allow builders to install additional fans as well as radiators if needed. These fans are DC with three-pin connectors, which our MSI drives at around 1450RPM. The fans are decent in terms of noise, but do not seem to move significant amounts of air, and would warrant replacement for higher-performance builds.
Installation Notes
With its sensible layout, plentiful cable routing options, and enough space around the motherboard to be comfortable, we didn’t encounter any glaring issues building the ATX Case Review Rig in the ADATA XPG Defender.
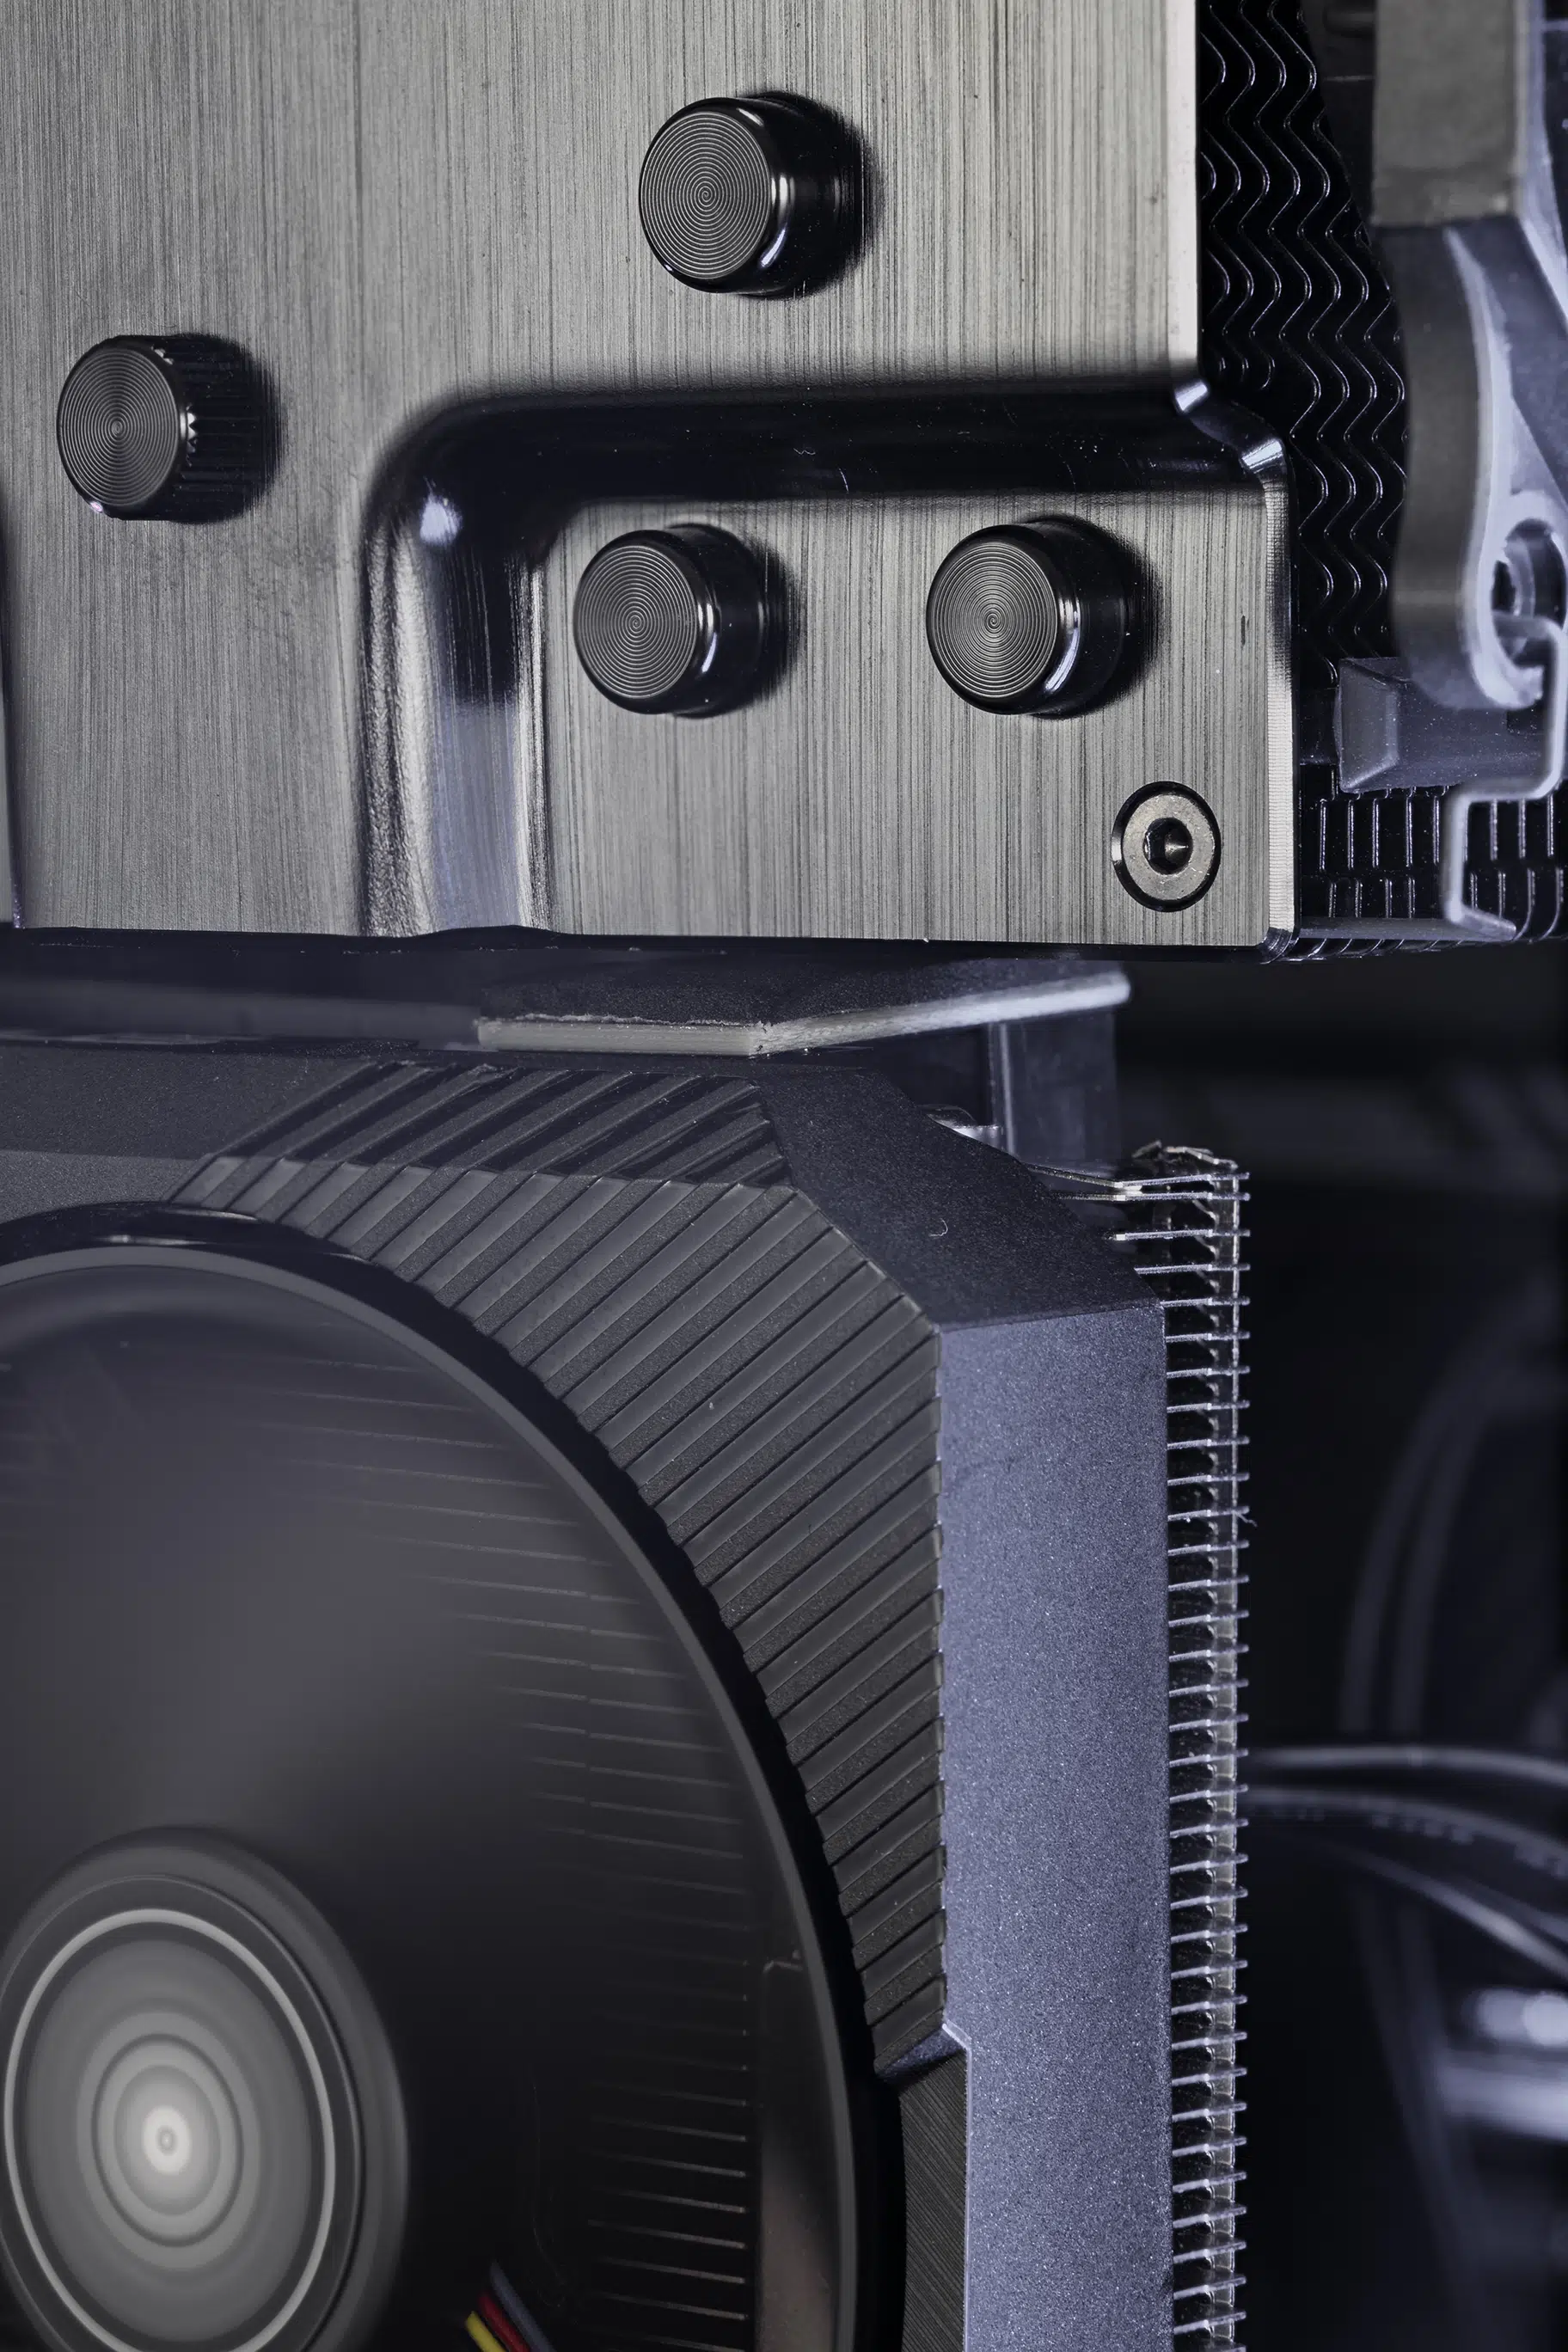
The only standout is the two vertical expansion card slots. Having a different-sized screw from the thumbscrews on the seven standard expansion card slots and a sliding retention mechanism on top made utilizing this configuration a bit more troublesome than needed.
Using the Vertical Expansion Card Mounts for a GPU
The vertical GPU mounts are usable, but not without planning. Our initial attempt to move the ASUS 5700 XT to the vertical configuration was foiled by another part in our test rig – the large be quiet! Dark Rock Pro 4. In this instance, the GPU was simply too tall to be installed. Instead, we used the smaller ASUS RTX 2070 Twin, which fits with little room to spare with the 180-degree eight-pin adapter in place.
Our Build Recommendation
- Install any radiators for water cooling
- Install any additional fans
- Install memory, CPU, air CPU cooler if used, and the CPU 12v leads into the motherboard
- Install the motherboard into the case
- Run the fan power leads and any lighting cables to their appropriate headers and secure them loosely to the back of the motherboard tray
- Run any remaining front-panel connections to the bottom of the motherboard along with any other cables needed, loosely securing along the way
- Run the remaining power supply leads for GPU(s), 24-pin motherboard header
- Connect all power supply leads while the power supply is still outside the case
- Install the power supply
- Route the power supply leads along the back of the case and secure
- Fully secure all other leads