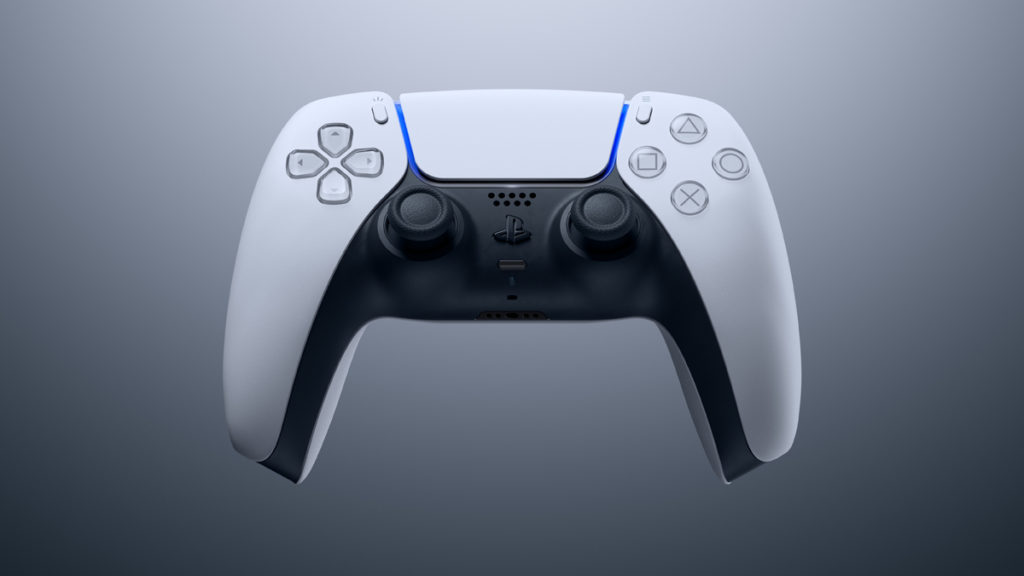
One of the more annoying things about using the DualSense controller on PC is that you still need a console in order to update its firmware, but that’s no longer a problem. Sony has released an official app for PC users that allows them to update the firmware of its wireless controller without having to connect it to one of the company’s $399/$499 consoles, which are still pretty tough to find. A direct link to the new app can be found here.
System requirements
| OS | Windows 10 (64 bit) or Windows 11 |
|---|---|
| Storage space | 10 MB or more |
| Display resolution | 1024 × 768 or higher |
| USB port | Required |
Update the wireless controller firmware (PlayStation)
Improve the performance of your DualSense wireless controller by updating the firmware. Always update to the latest version before use. To update the firmware, use a Windows PC and the app [Firmware updater for DualSense wireless controller].
If it’s your first time updating the firmware, you need to install the app on your Windows PC. The next time you need to update the firmware, start from step 3.
1. Download [Firmware updater for DualSense wireless controller] and save it to your desktop or other location.
2. Run the installation file, and then follow the on-screen instructions to install the app.
During the installation, you might see a request to download additional software that’s needed to use [Firmware updater for DualSense wireless controller]. To download this software, follow the on-screen instructions.3. Launch [Firmware updater for DualSense wireless controller].
4. Use a USB cable to connect your controller to your Windows PC, and then follow the on screen instructions to start the update. Don’t turn off your Windows PC or disconnect the USB cable during the update. When the update is complete, a message appears. Select [OK] to finish the process.