Construction Quality
The Antec DF800 FLUX is a fairly lightweight case, but it is solid. The fit and finish overall are excellent, and we didn’t run into any issues installing our ATX test rig inside.
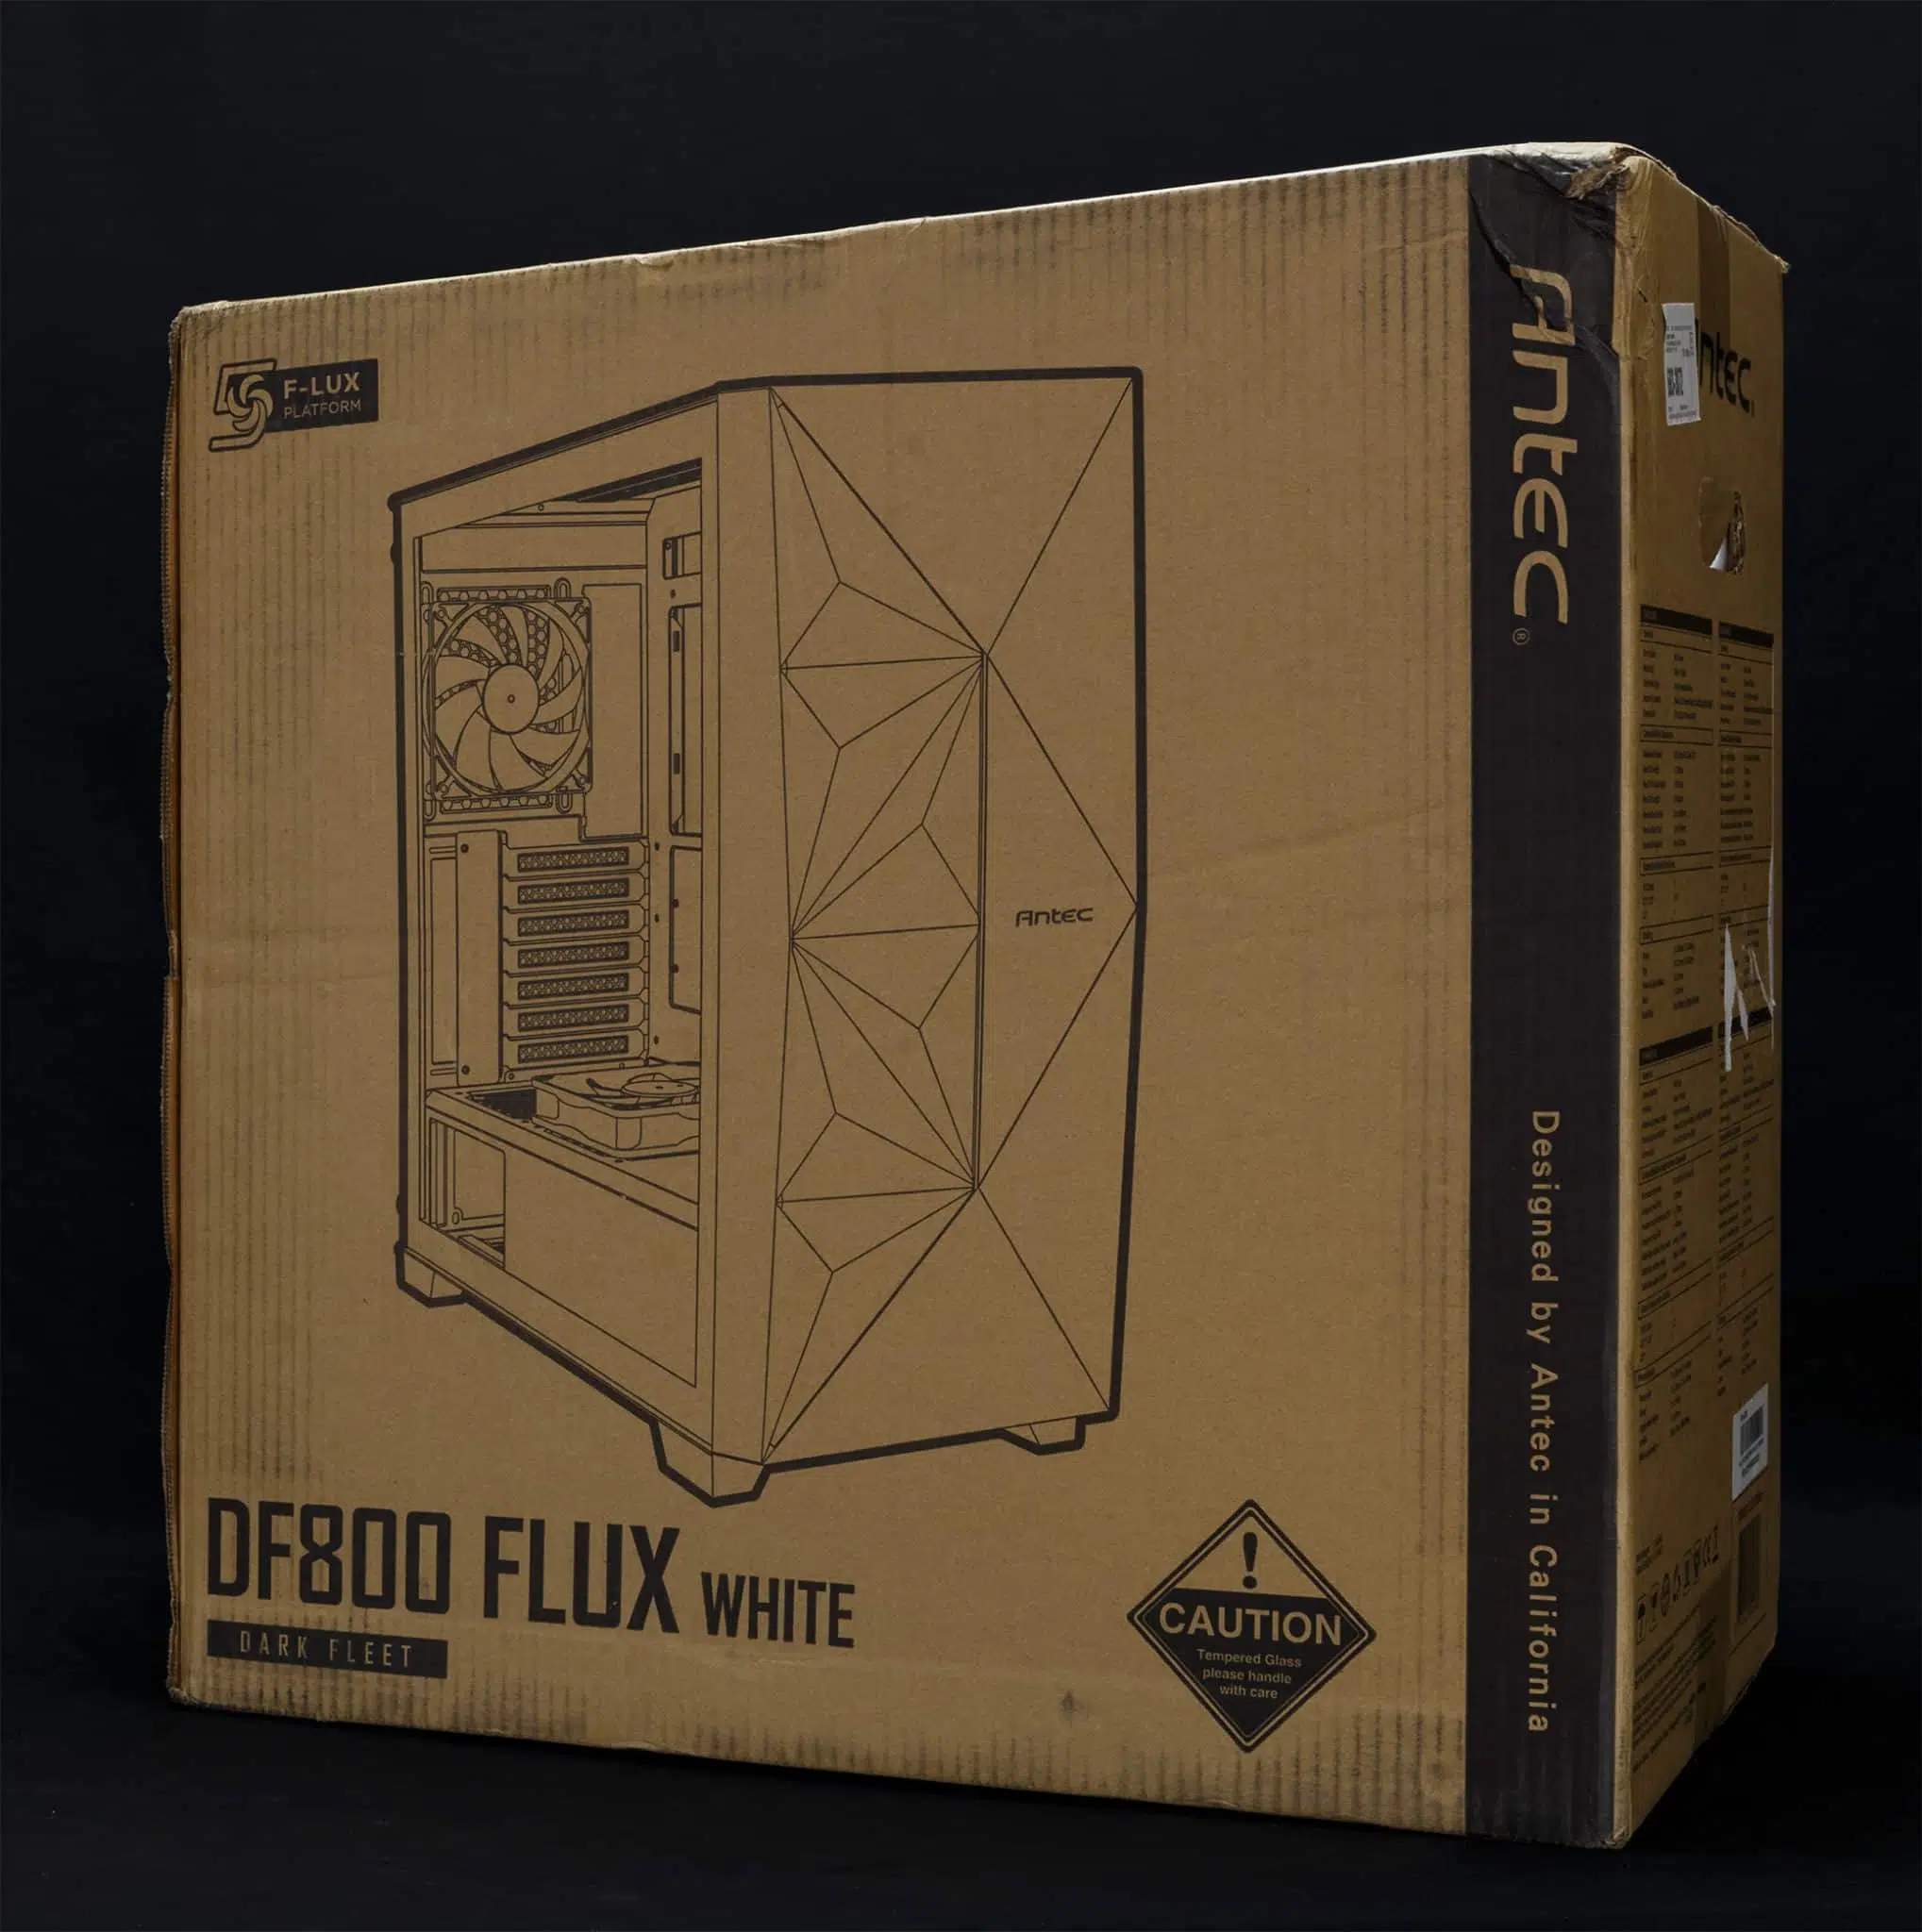
Packaging
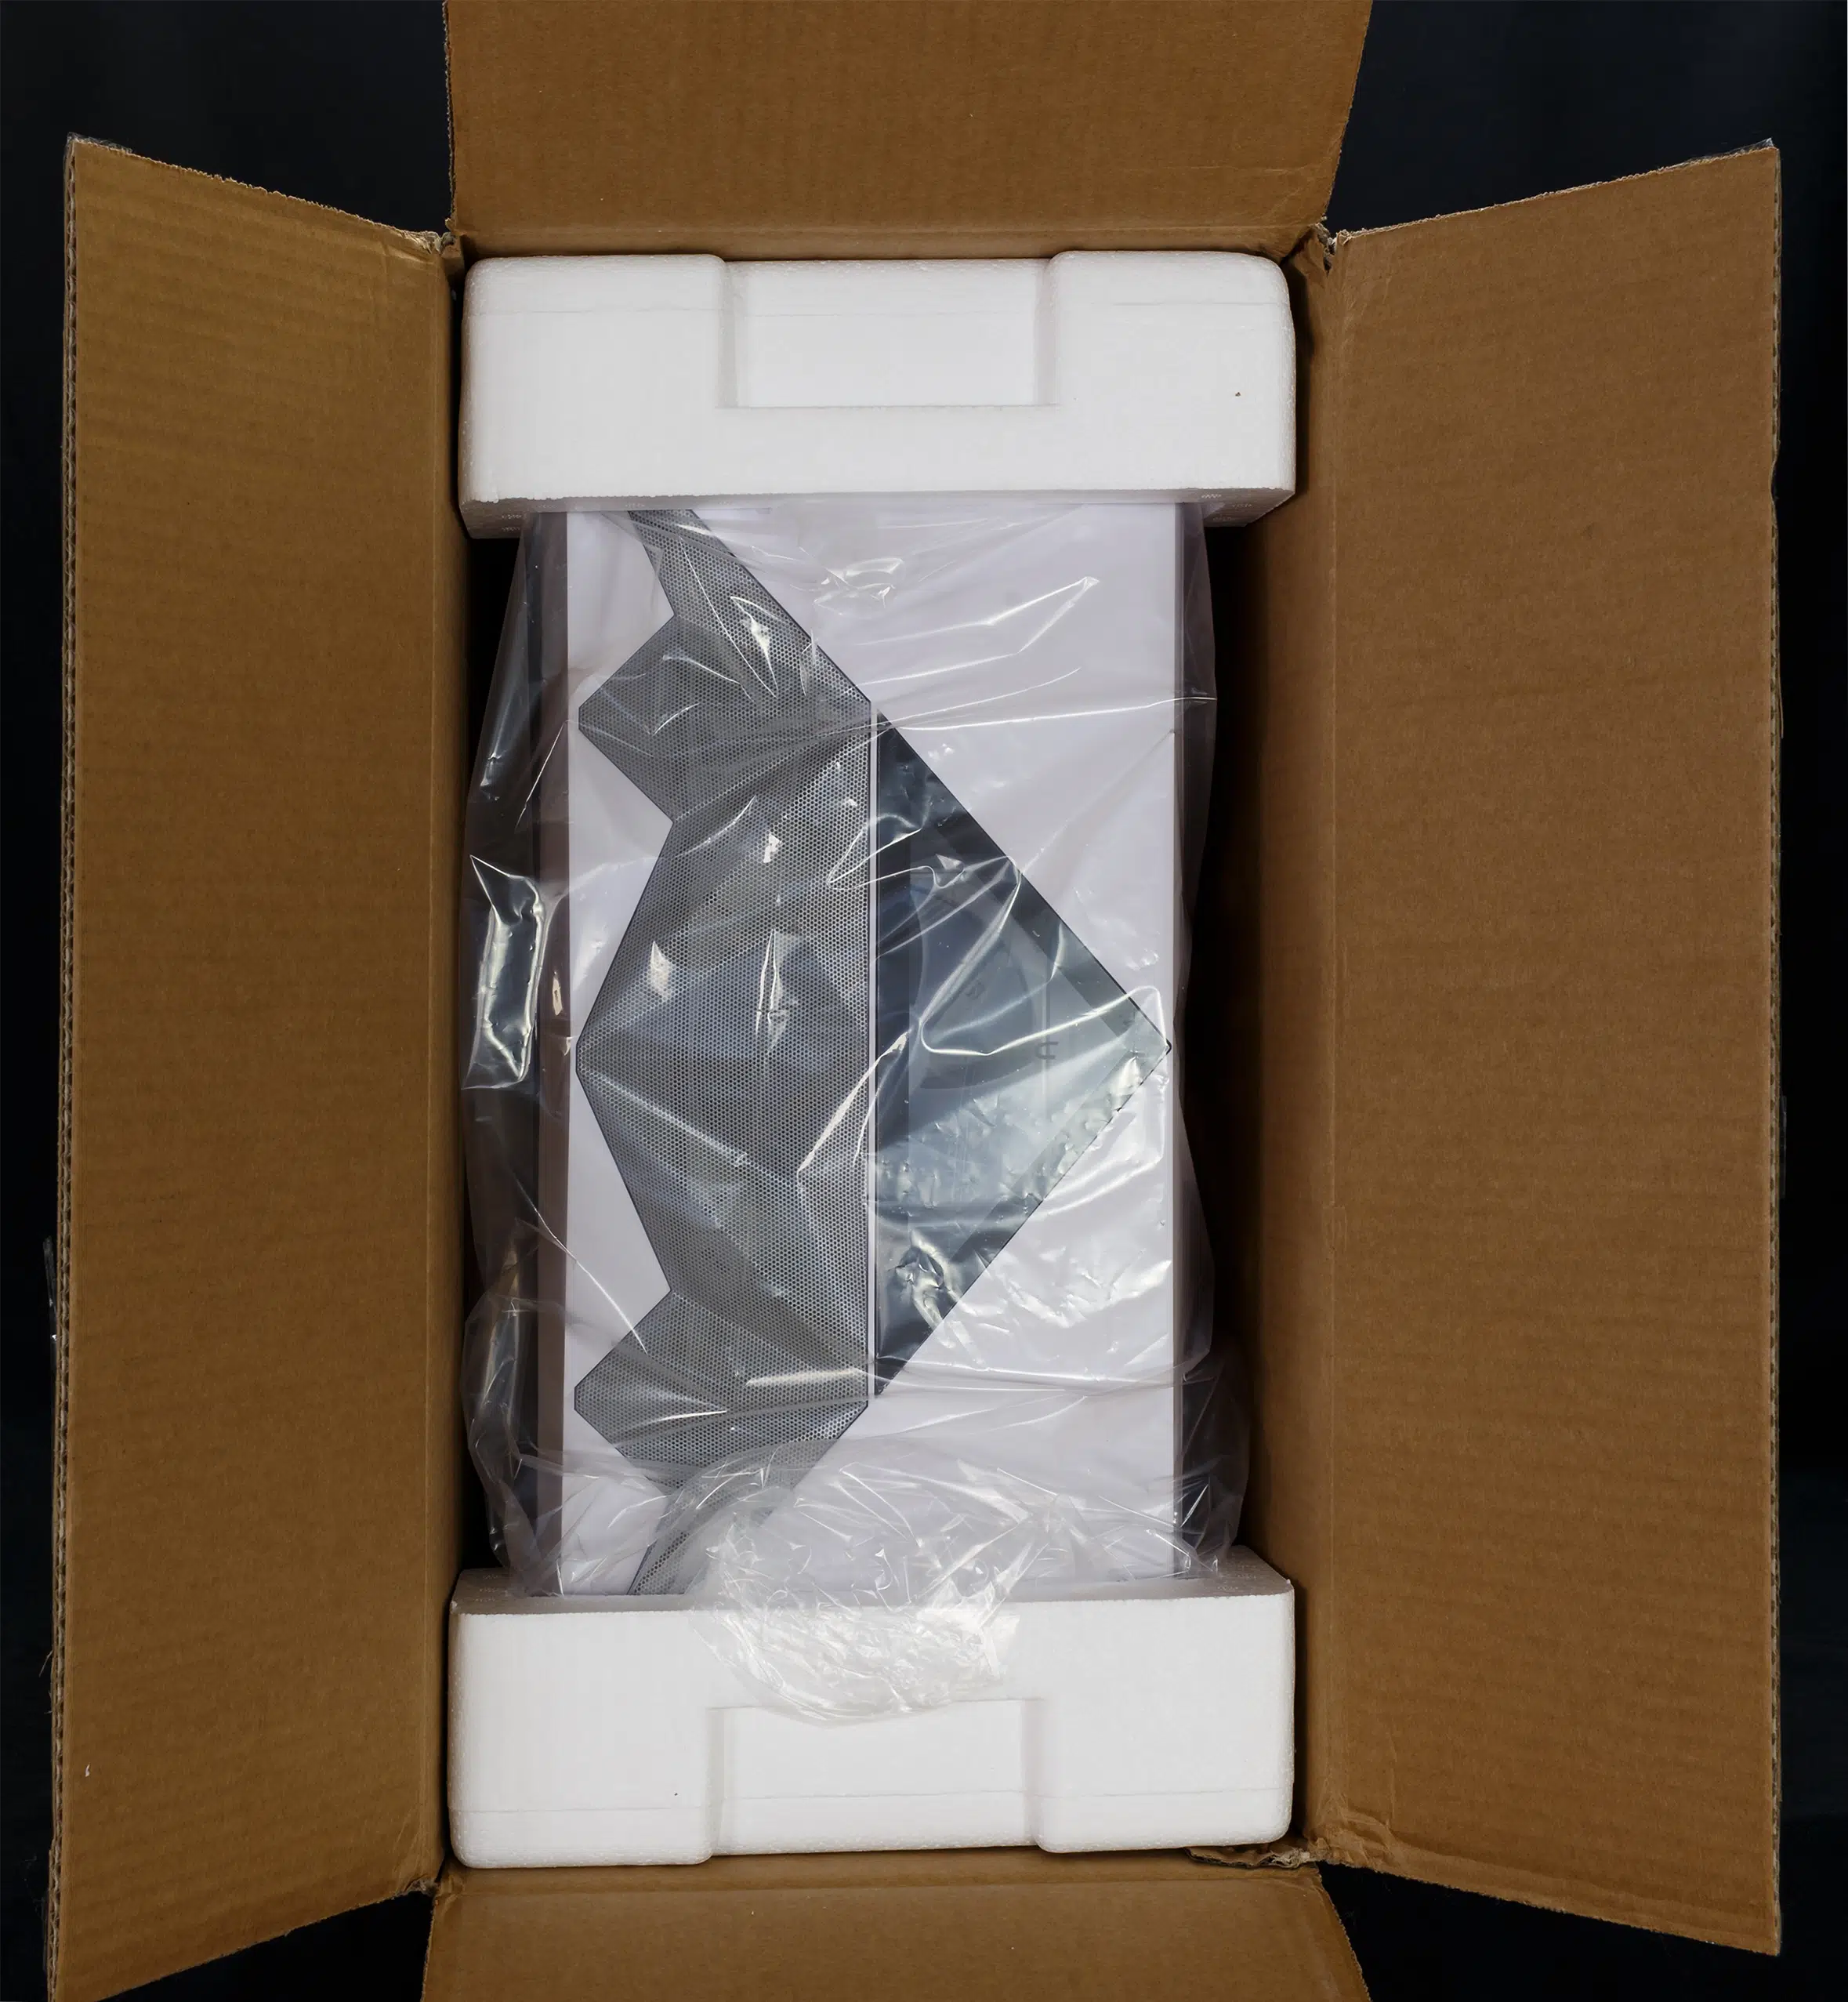
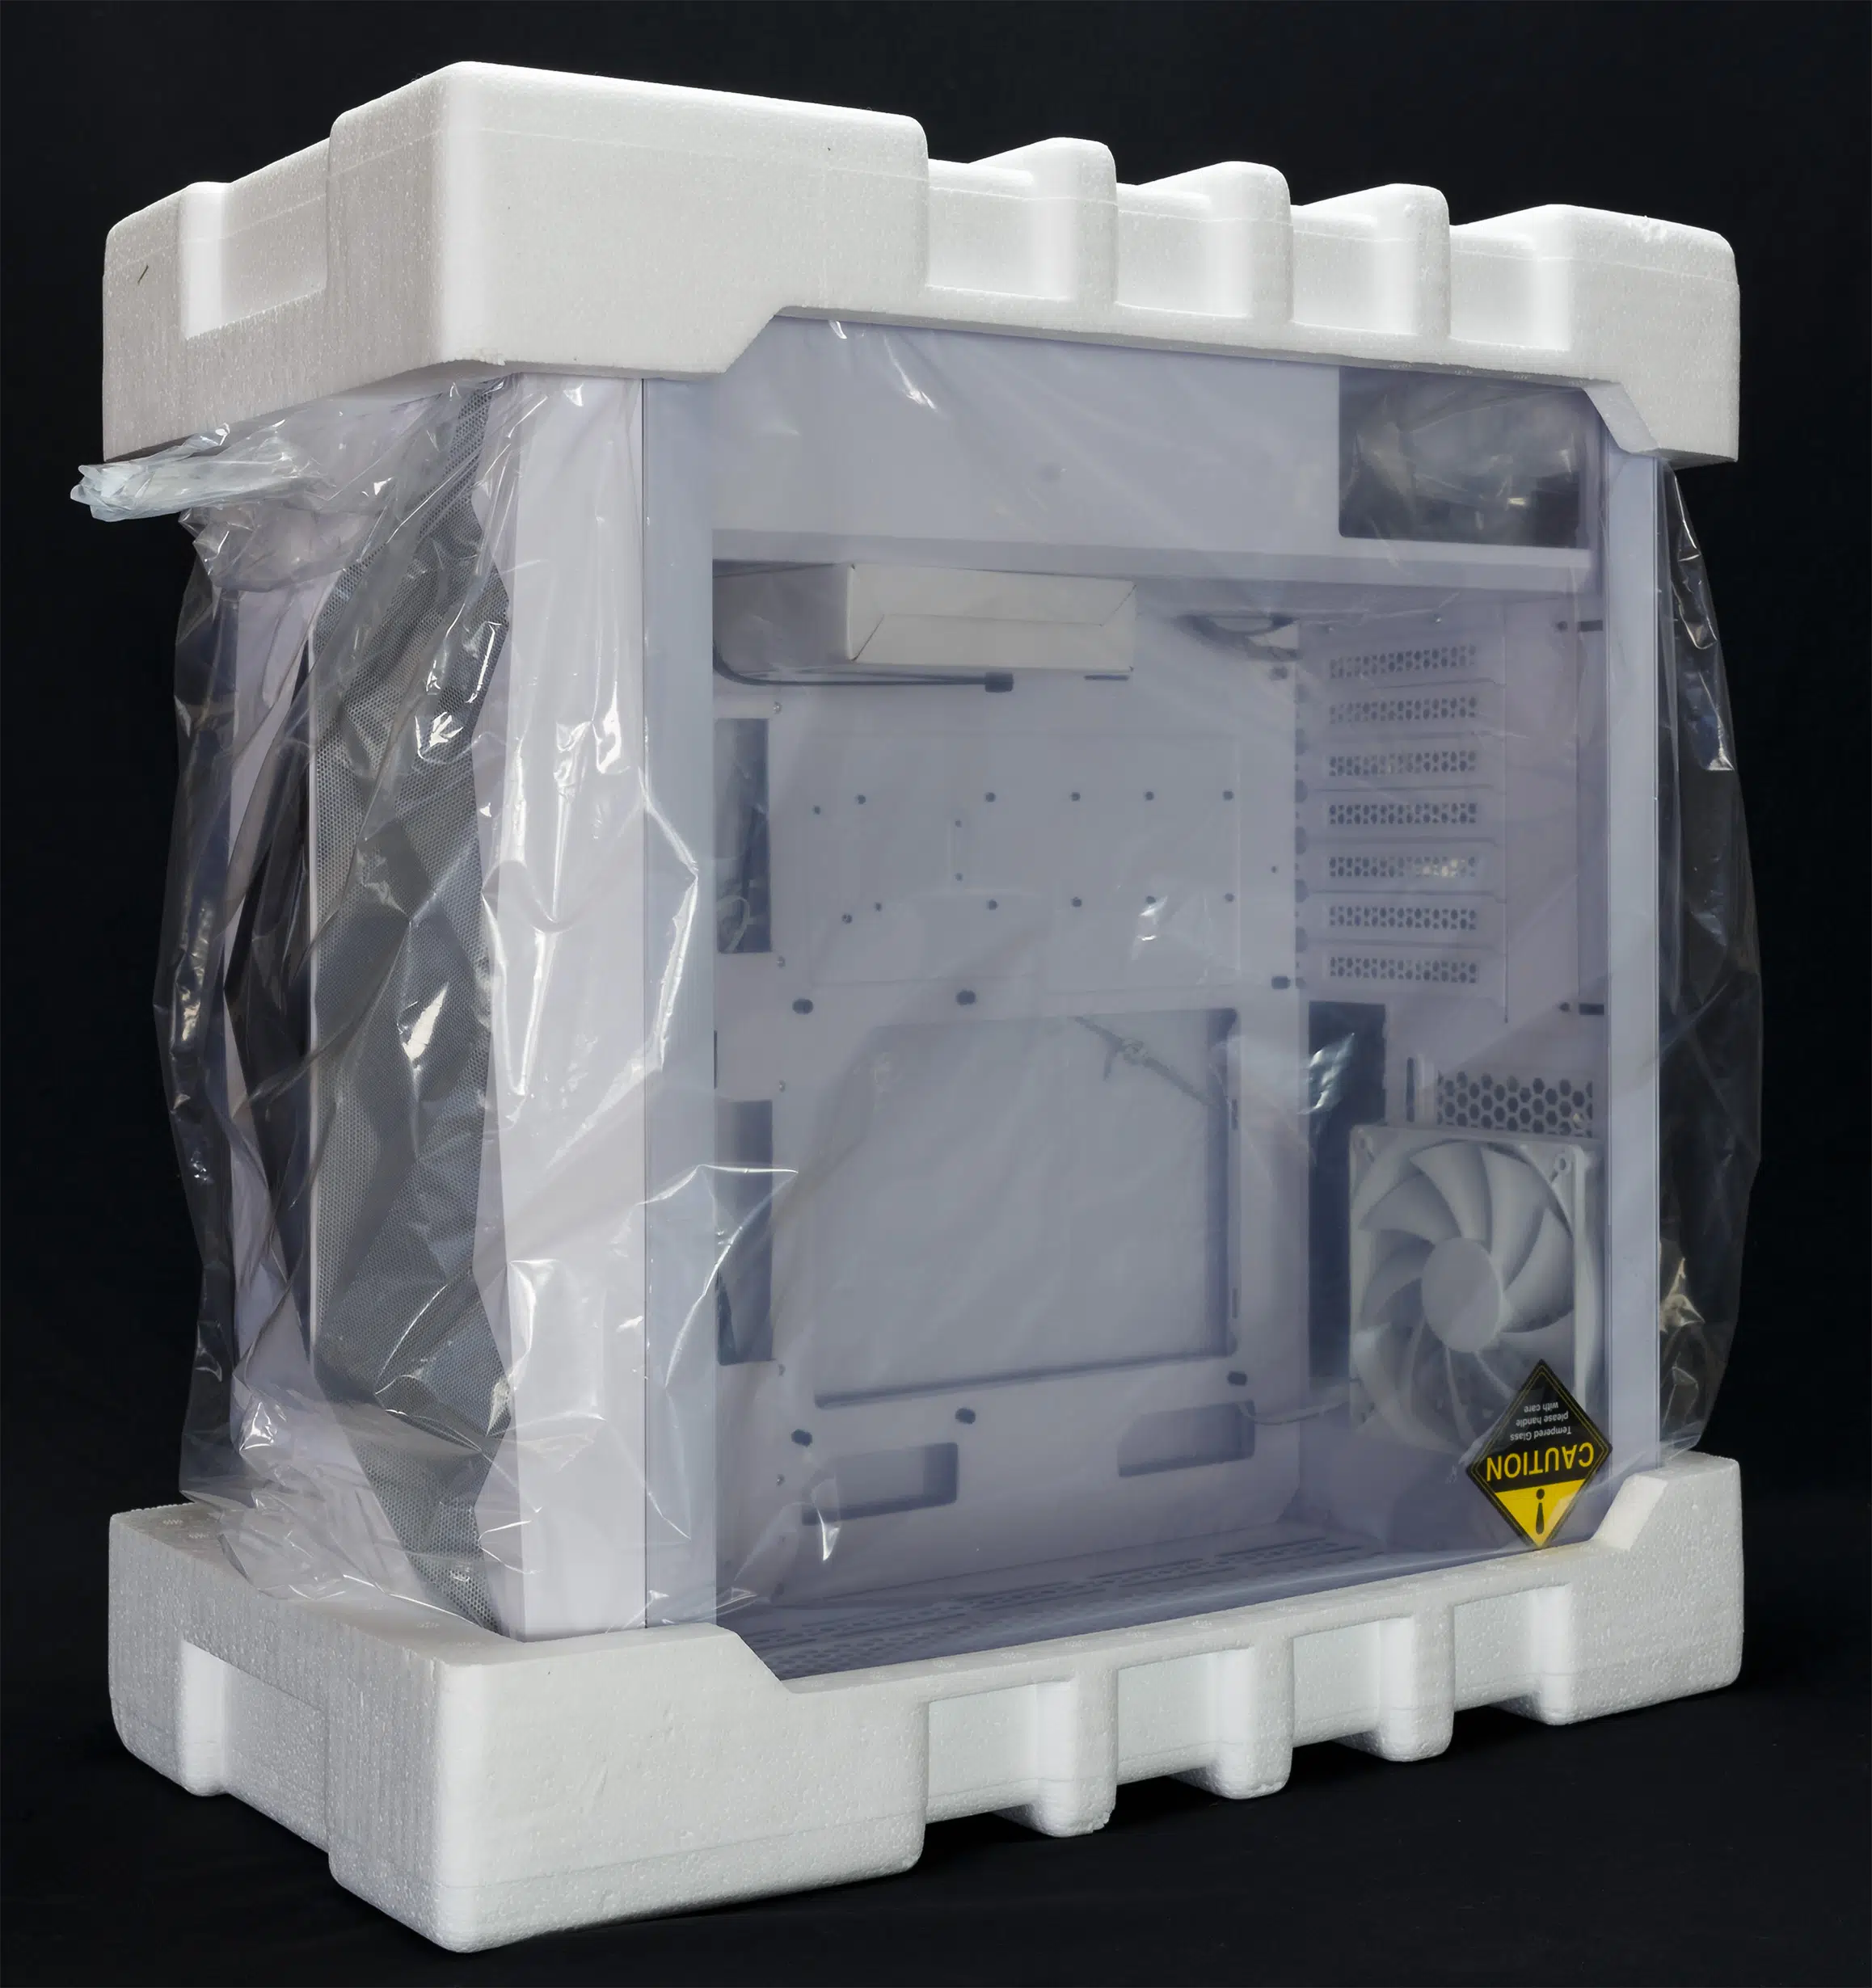
Antec has used the standard white Styrofoam packaging, which kept the case well-protected during shipment. The accessories box is stowed in the 3.5″ tray on the bottom of the case, while the reversed flow fan is secured to the top of the PSU shroud.

Cooling Potential
Antec is supporting a standard ATX layout of three front intake fan positions, three top exhaust fan positions, and a single rear exhaust fan position – as well as up to two fans on the power supply shroud for intake that pull air through the right case panel.
For air cooling, Antec’s default arrangement of fans works well, though it did fall short of keeping our 10900K from throttling when overclocked to 5.0GHz.
Of course, trying to air cool a 10900K at 5.0GHz isn’t a terribly good idea – and thankfully the DF800 FLUX has the proper provisions for AIOs, for the CPU and GPU if desired.
For a custom water loop, the DF800 FLUX has just enough room on the paper for a combination of two 280mm or 360mm radiators, but there is no special provision for things like pumps or reservoirs. Overall the internals are tight and potential purchasers are advised to pay close attention to the fitment of computer components and water cooling components if choosing to go down this route.
Installation Notes
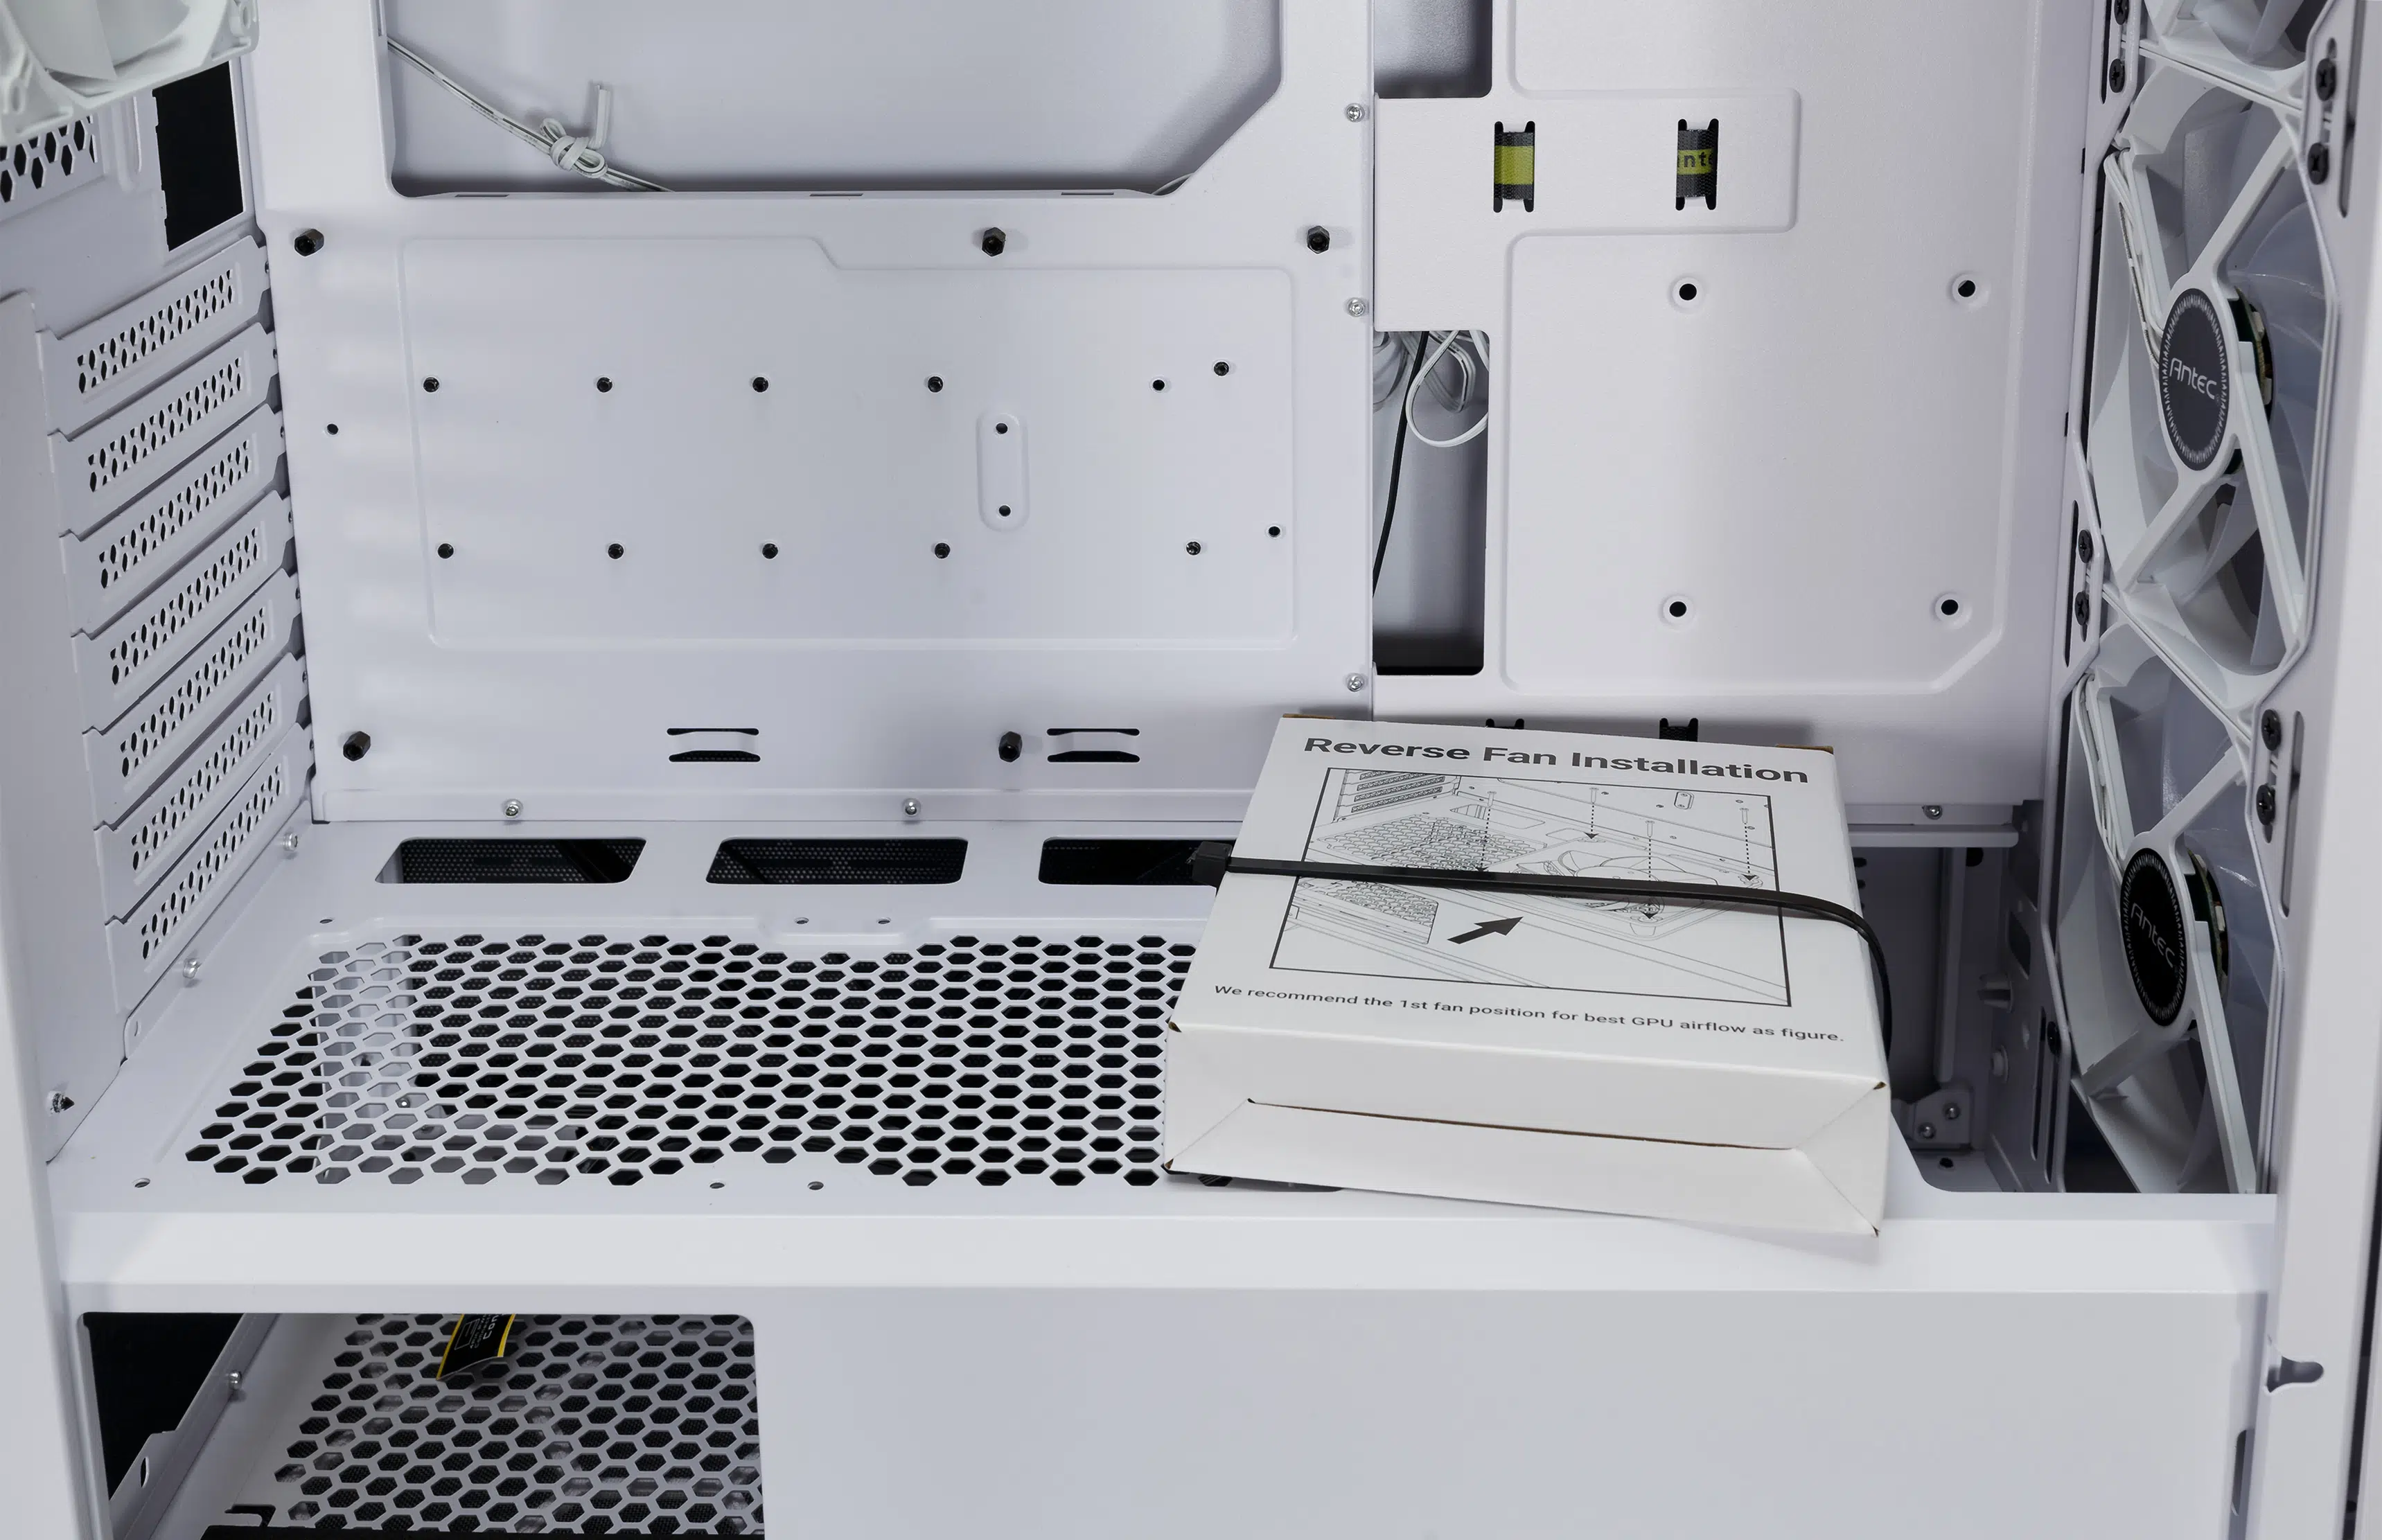
The Antec DF800 FLUX is straightforward to build in, save for installing the reverse fan. As one might imagine, this should be installed before anything that rises up from the motherboard like GPUs and even CPU coolers to ensure that one has room to fit a screwdriver for the fan screws.
Our Build Recommendation
- Install any radiators for water cooling
- Install any additional fans
- Install memory, CPU, air CPU cooler if used, and the CPU 12v leads into the motherboard
- Install the motherboard into the case
- Run the fan power leads and any lighting cables to their appropriate headers and secure them loosely to the back of the motherboard tray
- Run any remaining front-panel connections to the bottom of the motherboard along with any other cables needed, loosely securing along the way
- Run the remaining power supply leads for GPU(s), 24-pin motherboard header
- Connect all power supply leads while the power supply is still outside the case
- Install the power supply
- Route the power supply leads along the back of the case and secure
- Fully secure all other leads