Graphics Menu Cont.
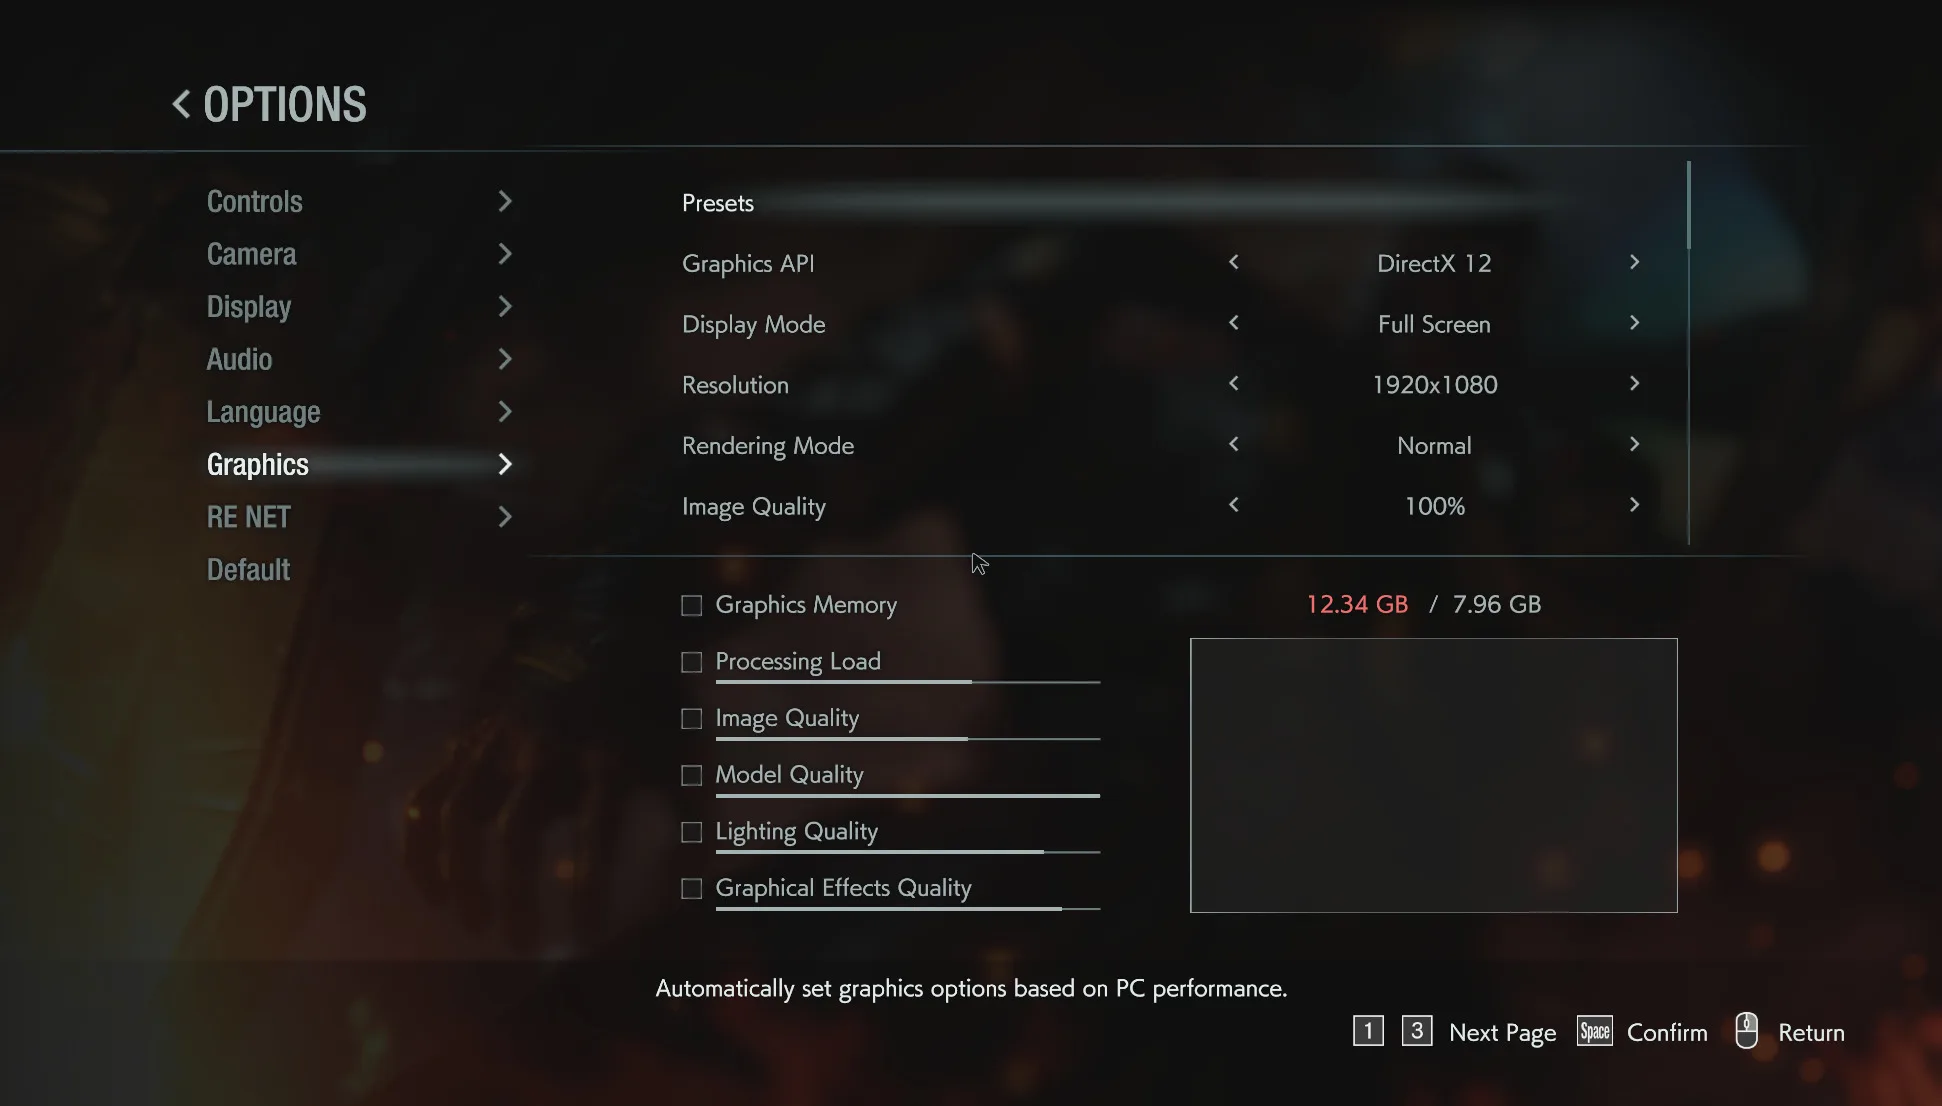
The first option under Presets is the Graphics API. For our video cards, it did default to DirectX 12. However, you can toggle DirectX 11 here if it performs better for you. We have performed DX12 versus DX11 comparison tests in this review. Next is the Display Mode where you can select Full Screen or Windowed modes. Then the resolution, which is self-explanatory. Next is Rendering Mode where you can select Normal or Interlaced, just leave it on Normal.
The next option is called Image Quality, this one is actually quite significant. This option could also be called resolution scaling. You can scale up the rendering resolution by percentage over your displays native resolution, or resolution you set the game at. This will eat up VRAM the higher above 100% you go. It will also create a much clearer and high-resolution image but at the sacrifice of VRAM capacity and performance. 100% is 1:1 with the resolution you set in the game. You can also decrease it below 100% to lower the rendering resolution if performance is bad. This greatly affects image quality and performance. For our testing, we left it at 100% so that we could test exactly at the resolution we had set.
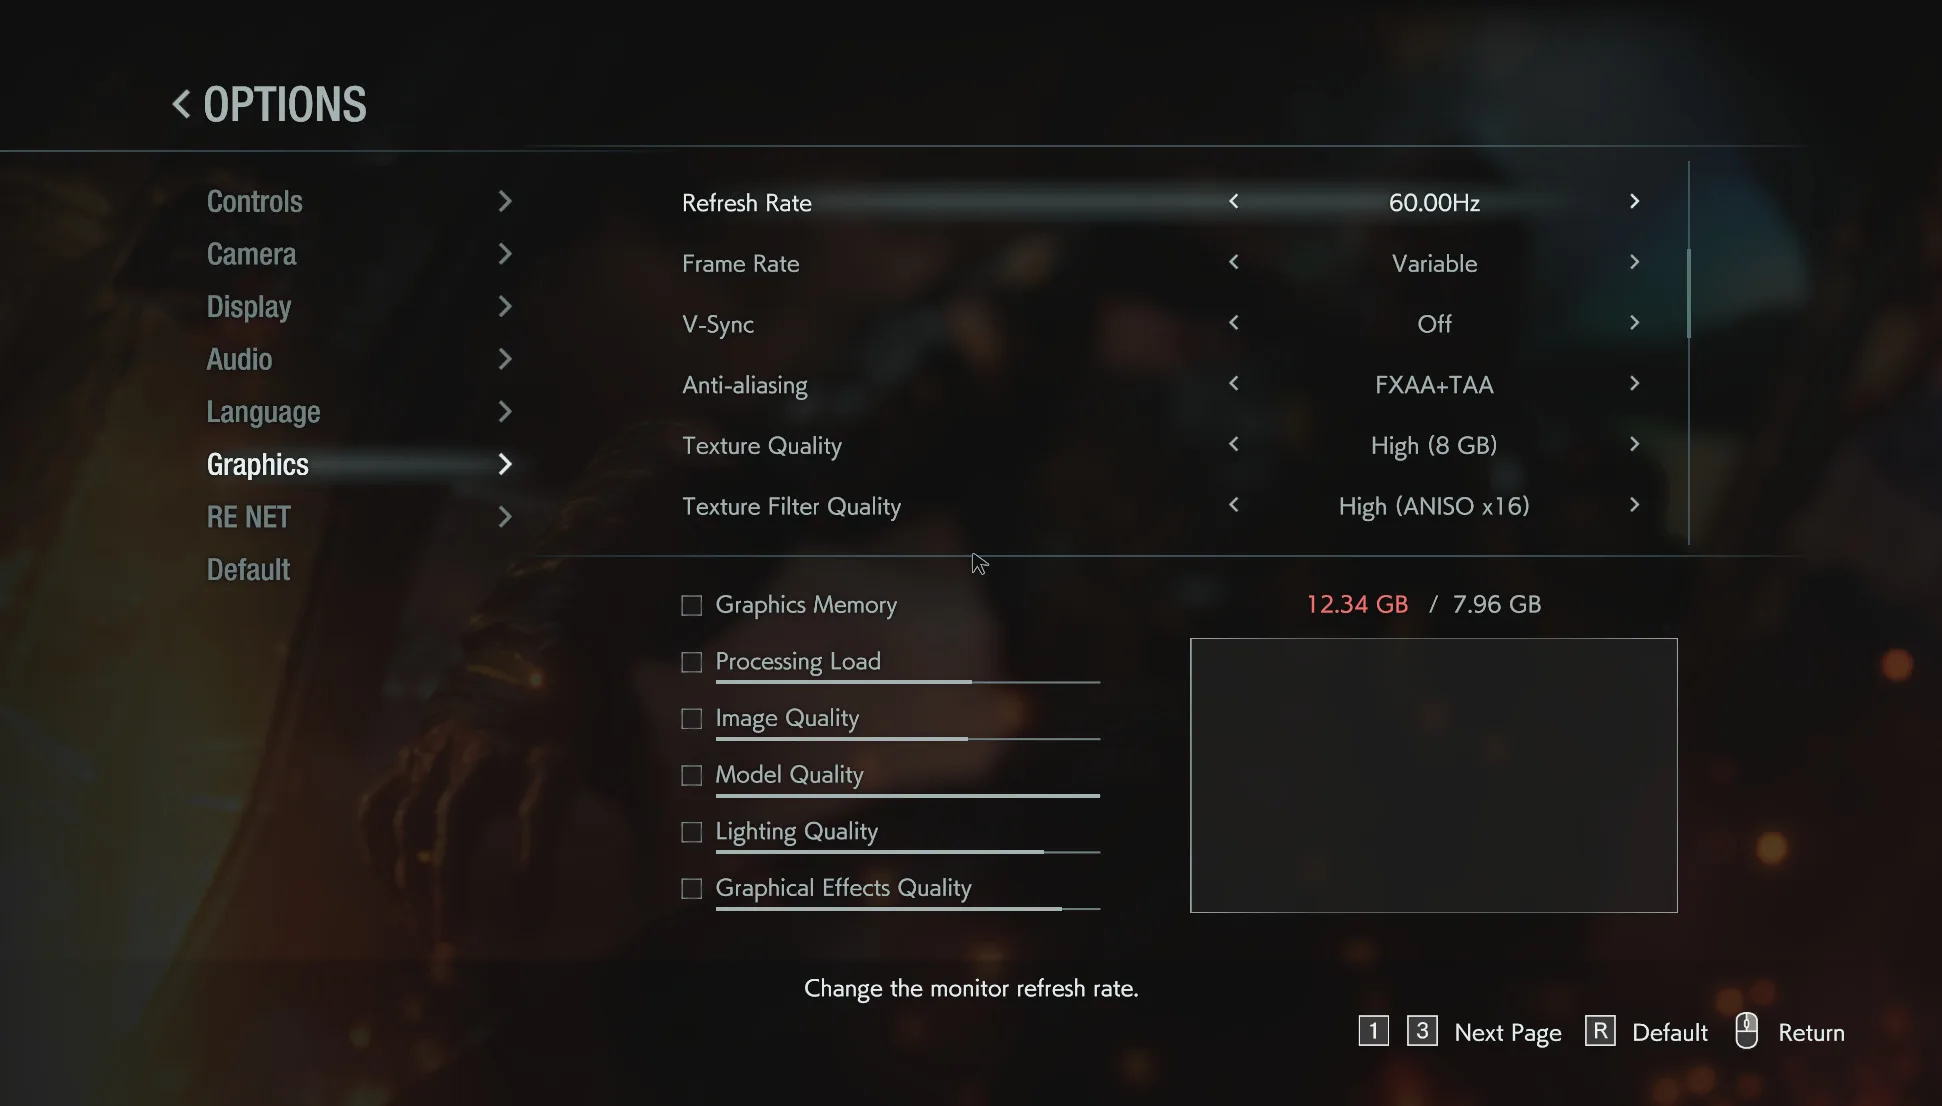
The next setting down on the graphics menu is the refresh rate, set that appropriate for your display. The next important setting is Frame Rate. You have three options here, 30, 60 and Variable. If you put it on 30 or 60 it will lock the game at that FPS. If you put it on Variable it will allow any FPS. Next is V-Sync, you can turn V-Sync OFF or ON. Next is the Anti-Aliasing option. The options here are FXAA+TAA (which is the highest option) or SMAA or FXAA or TAA or OFF.
Texture Quality directly affects the quality of the textures. You can select this to various levels of Low, Medium and High. As you select the mode it has different VRAM levels as well, with 8 GB being the highest texture setting and image quality. You can also change texture filtering quality and 16X Anisotropic is the highest.
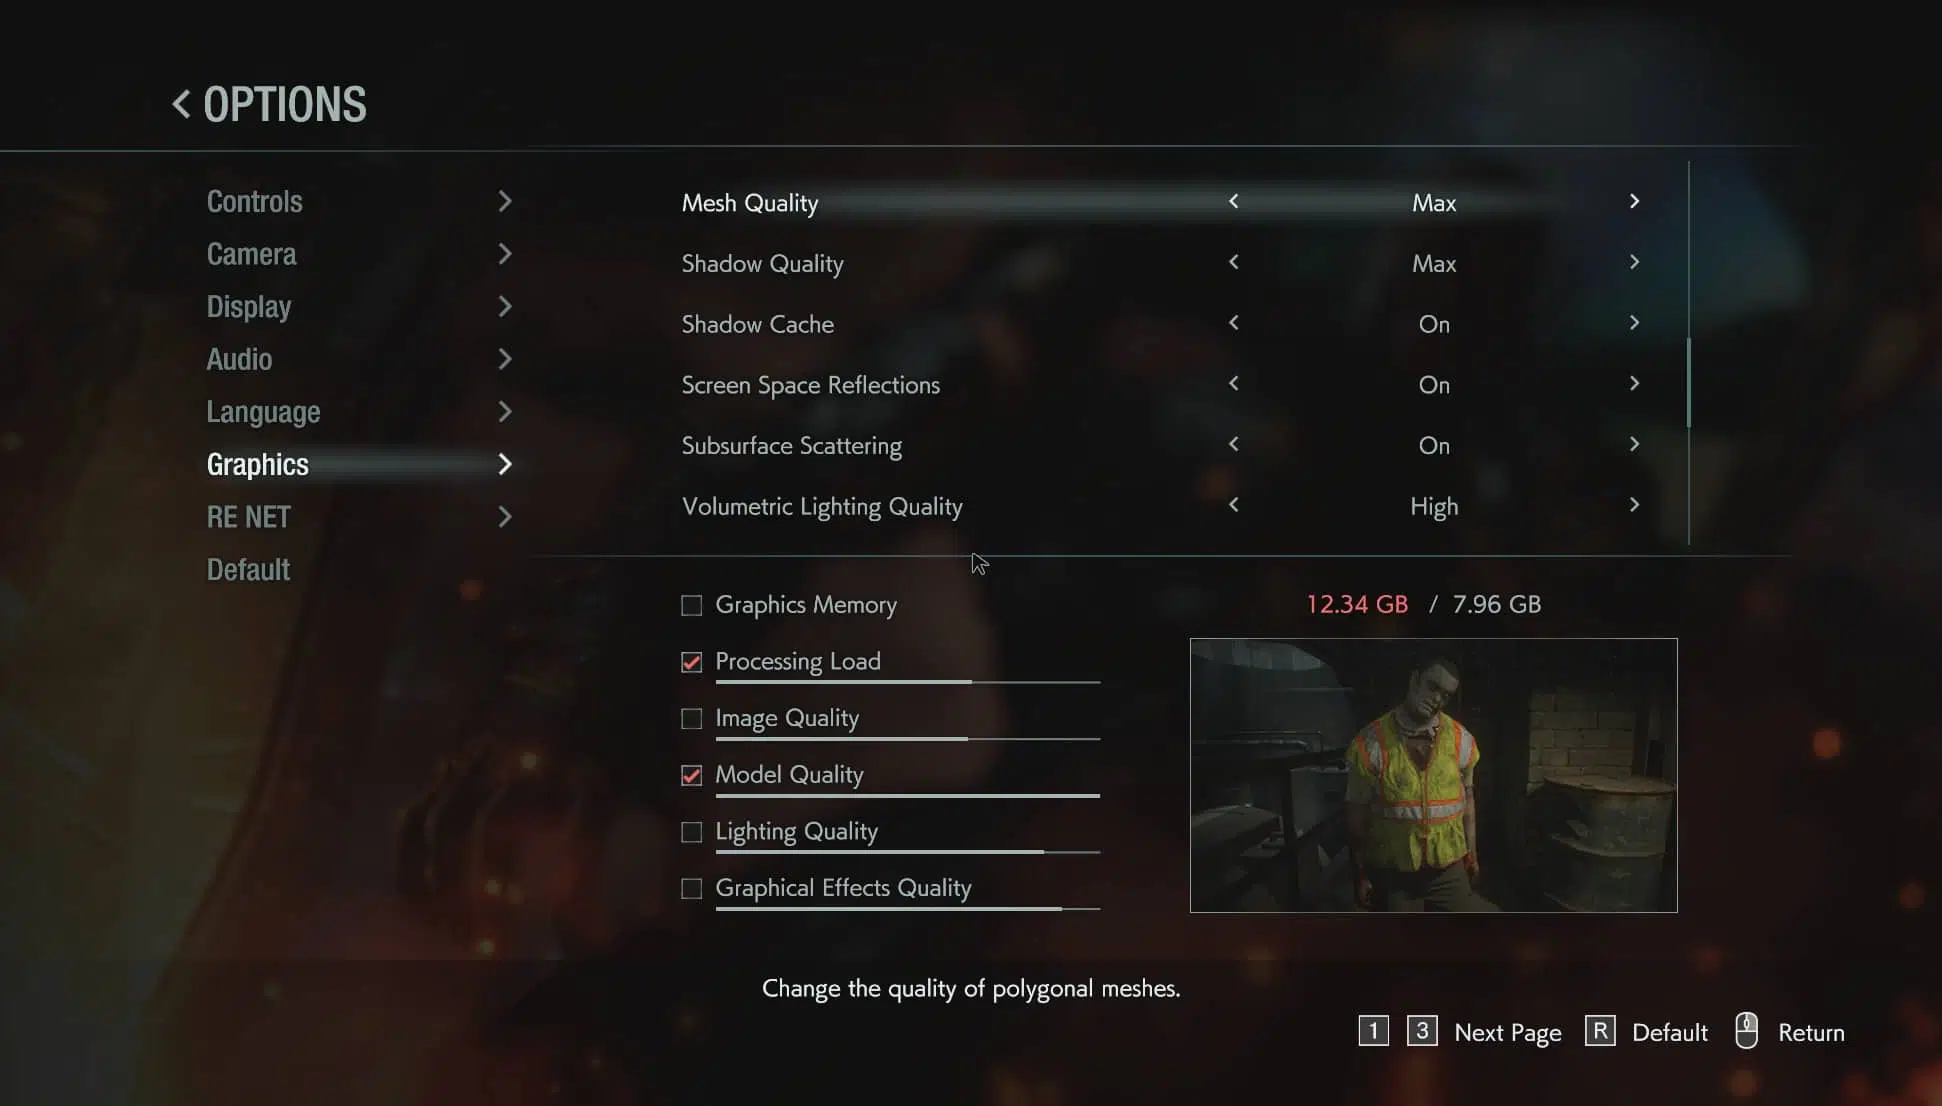
Scrolling further down the menu we come to other various image quality settings. We recommend just turning all of these up to the maximum values which are shown. Mesh Quality affects the quality of polygonal meshes. Shadow Quality changes the quality of shadows. Shadow Caching caches dynamic shadows for moving objects. Screen Space Reflections affects surface reflections. Subsurface Scattering affects the quality of skin rendering. Volumetric Lighting Quality changes the quality of volumetric lighting.
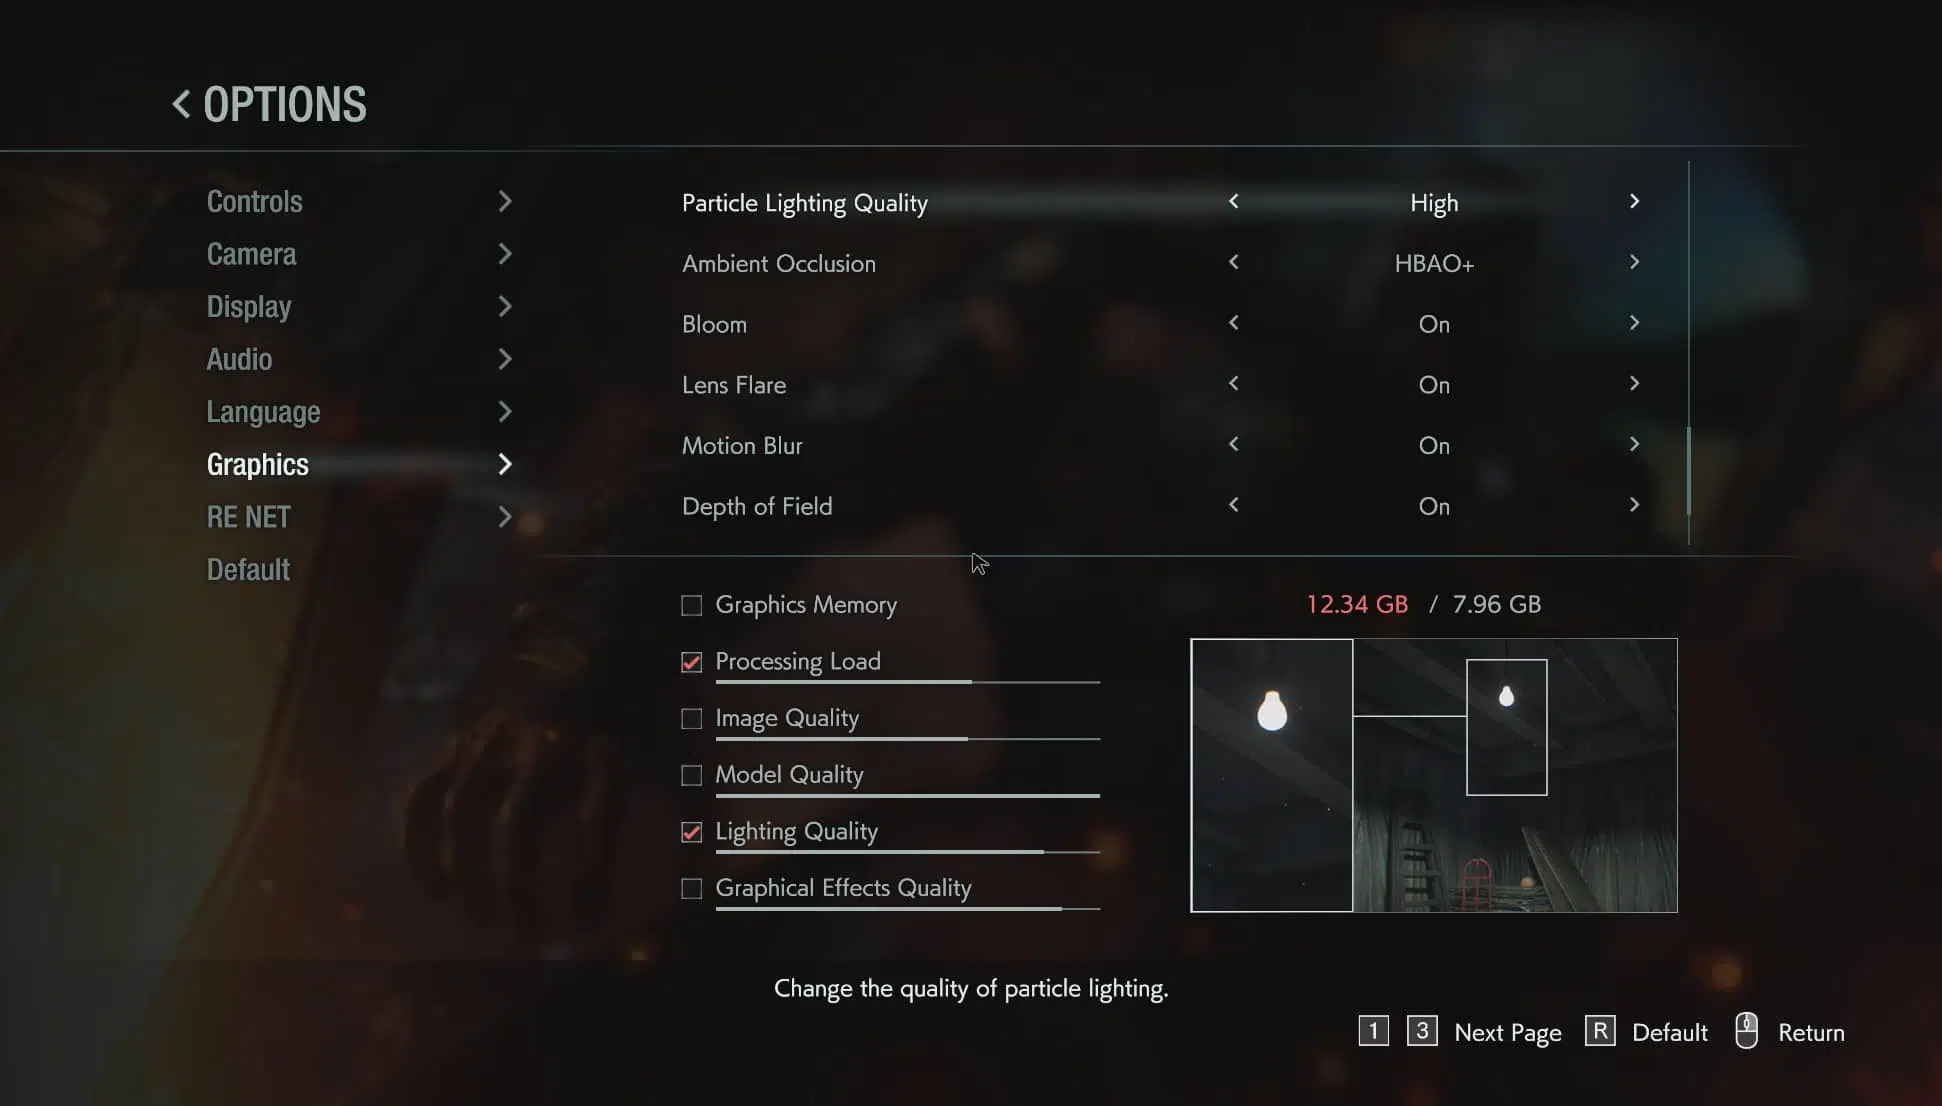
Scrolling down further reveals more settings, again we recommend using the highest settings as shown. Particle Lighting Quality changes the quality of particle lights. Ambient Occlusion changes the quality of shadows cast by ambient lighting. The highest option is HBAO+ but it also supports SSAO and HDAO or OFF. The Bloom turns on or off light bleed from bright light sources. Lens Flare is the lens flare effect on or off. Motion Blur turns the effect on or off. Depth of Field turns the effect on or off.
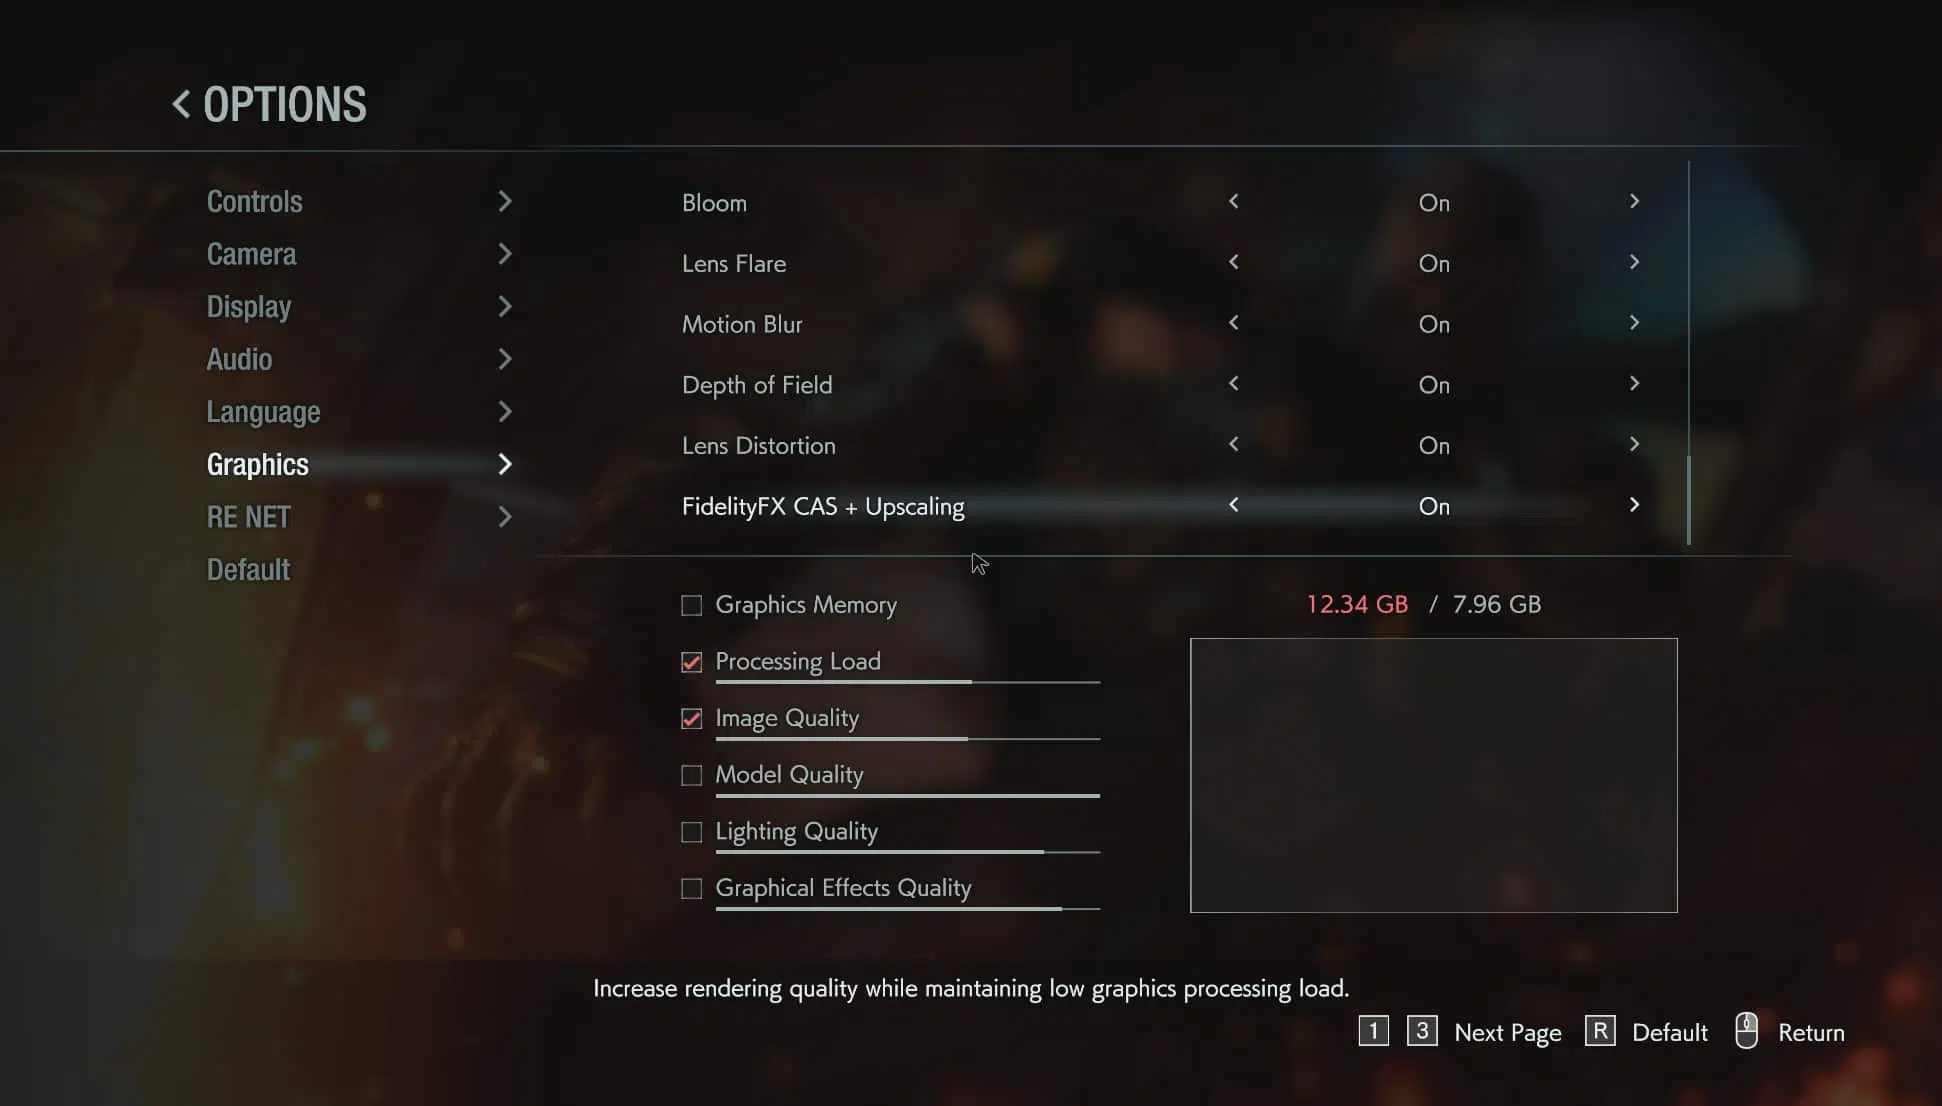
Scrolling down to the bottom reveals the last two options, one of which is very important and a featured feature of this game. First you have Lens Distortion, this lets you set the lens distortion effect, you can select OFF or On or On + Chromatic Aberration.