UEFI BIOS
ASUS utilizes a 256Mbit American Megatrends Inc. UEFI BIOS flash ROM. It supports the following features and management standards: PnP, SM BIOS 3.2, ACPI 6.2, Multi-language BIOS, ASUS EZ Flash 3, CrashFree BIOS 3, F6 Qfan Control, F3 My Favorites, F4 AURA ON/OFF, Last Modified log, F9 Search, F12 PrintScreen, and ASUS DRAM SPD (Serial Presence Detect) memory information.


ASUS has a lot going for it in the UEFI department. All ASUS motherboards share the same basic UEFI. Thematically, there is the blue version and the red version. Aside from the color change, they both look alike. The reason for this is to denote ROG offerings from everything else. The TUF series had it’s own “OD green” theme way back in the day but that’s no longer the case. The TUF series, as I said isn’t as special as it once was. From the cheapest to the most expensive motherboards, the UEFI implementation is virtually identical.
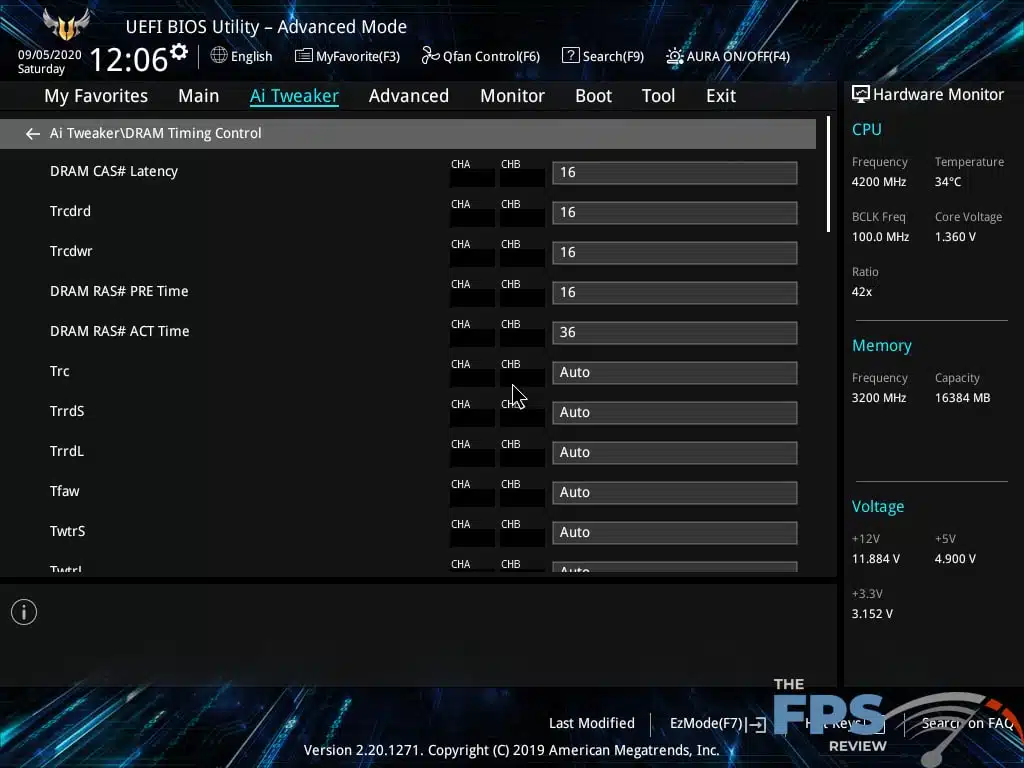
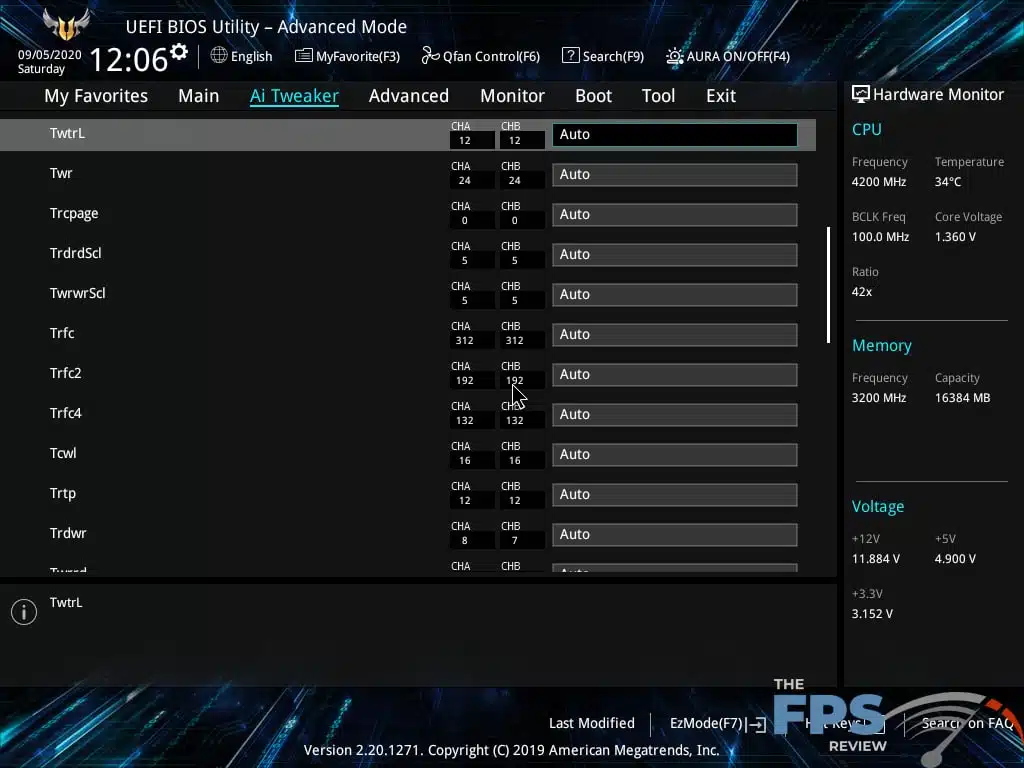
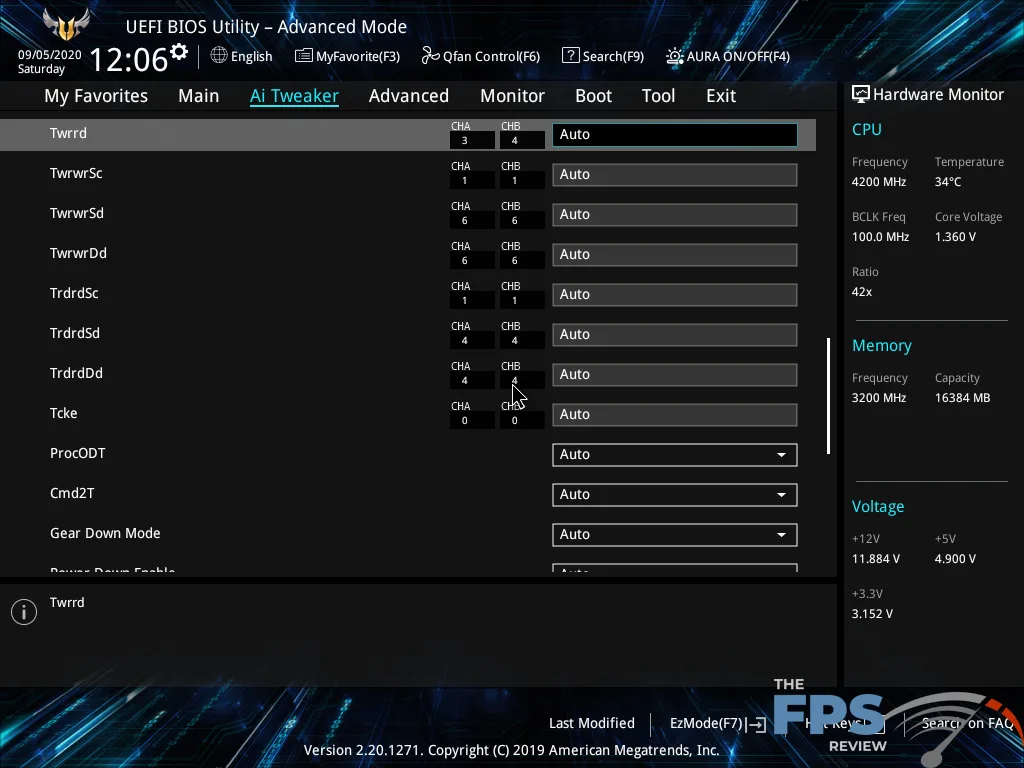

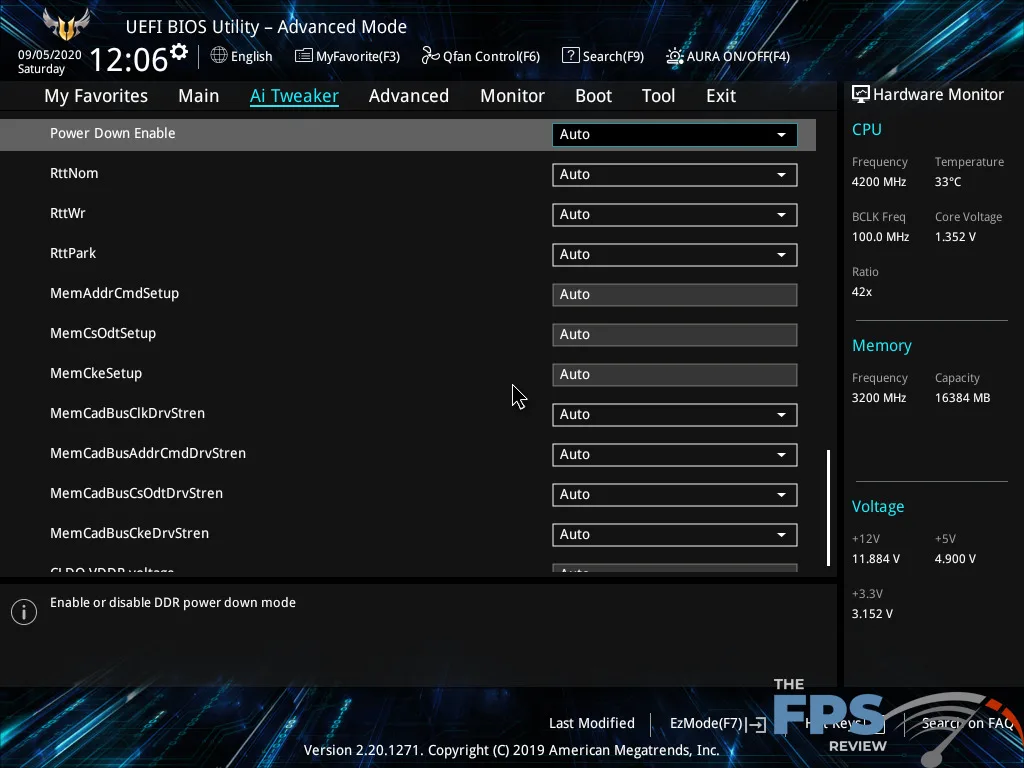
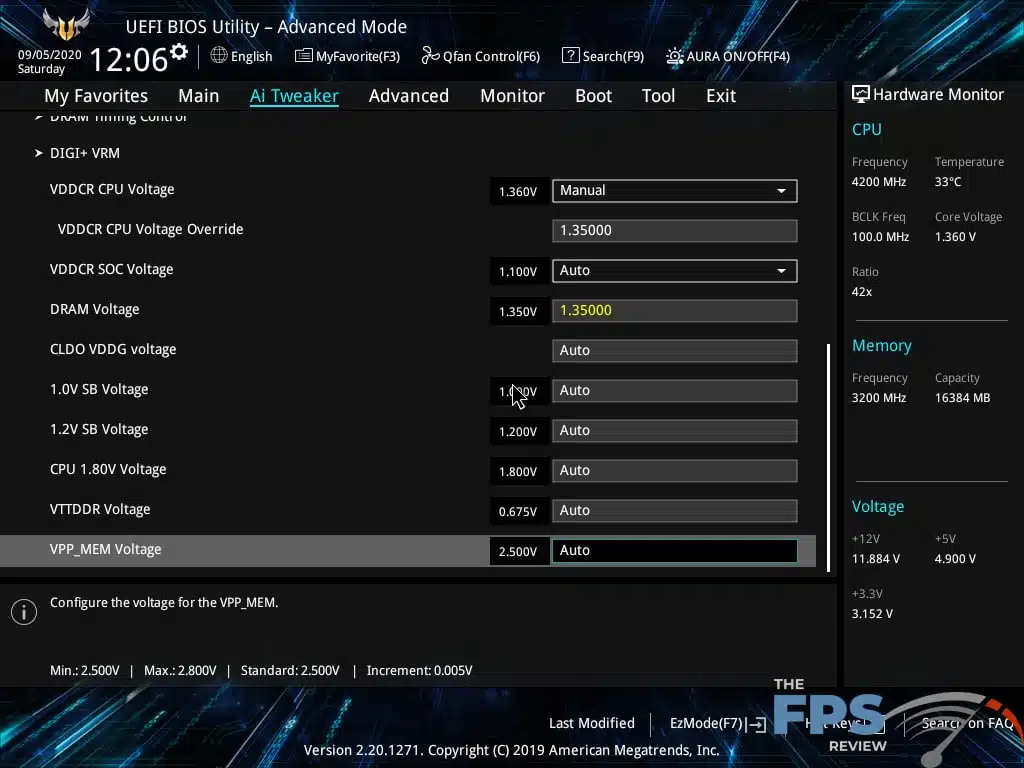
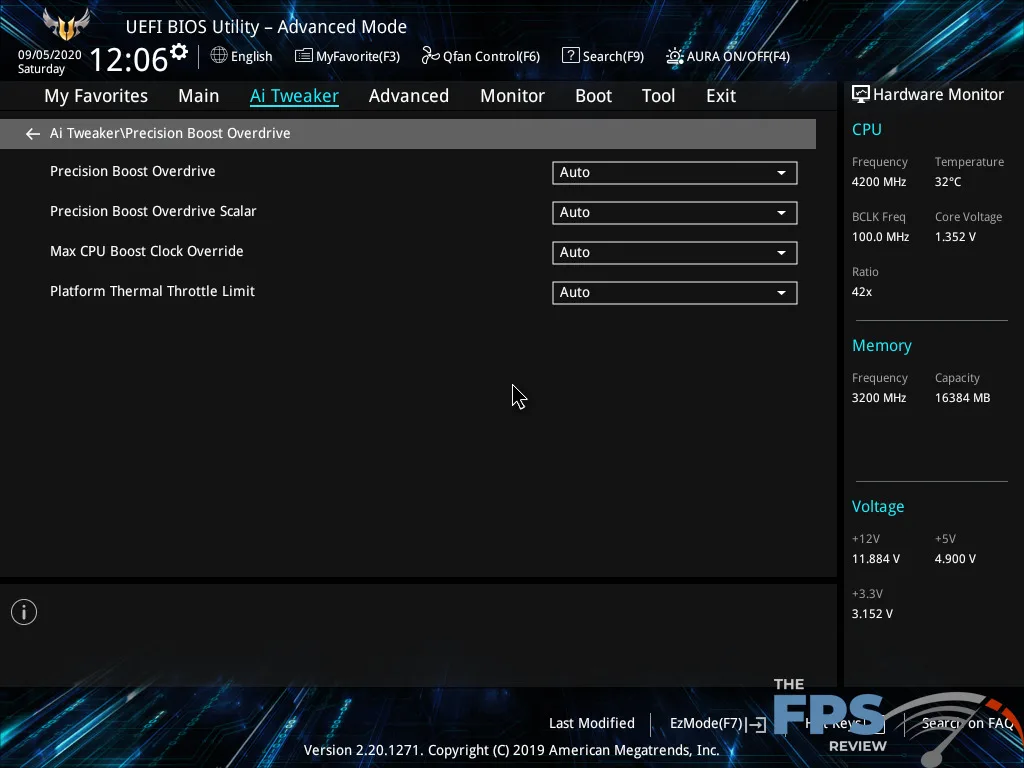
The adjustment range of voltages, clock speeds, and other values may change depending on the actual hardware used. You don’t get the same range of increments for things like voltages or clock speeds where different voltage controllers or clock generators are used. You might see only five levels of load-line calibration instead of eight when comparing lower end versus higher-end motherboards. ROG motherboards also have a couple of extra menus that the other product families may lack. This includes menus like the Tweaker’s Paradise and the memory training menus. Naturally, the TUF series lacks these things but otherwise, if you’ve seen one recent UEFI implementation from ASUS, you’ve basically seen them all.
When it comes to the user experience, ASUS really does set itself apart from the competition by offering a more consistent user interface which allows for a wider range of input methods for adjusting any given setting. ASUS also provides in-depth help in the form of tooltips that appear at the bottom of the menus for a given highlighted setting. These tooltips tell you what the setting is for, and how to use them.
When you want to adjust a value, ASUS allows you to use the plus or minus keys, type in the value you want directly or hit enter (or alternatively click) the option you want to adjust and choose what setting you want from the drop-down menu. If you type a value that the motherboard’s UEFI doesn’t support, the motherboard will select a value that’s as close to the one you chose as possible. Typing a partial value will also yield predictive results as the UEFI matches what was typed as closely as possible. It does these things for virtually all the settings in the UEFI.
ASUS’ UEFI implementation also avoids the unnecessary pitfalls created by its competitors. Most competing solutions rely on an excessive amount of sub-menus for an organization which often becomes counter-intuitive or cumbersome to work with. The interface is also just as easy to work with whether you prefer mouse to control or good old fashioned keyboard input. There are even a number of keyboard shortcuts that make traversal of the UEFI BIOS much easier. These are displayed at the top of the BIOS enabling the user to determine what they are at a glance.
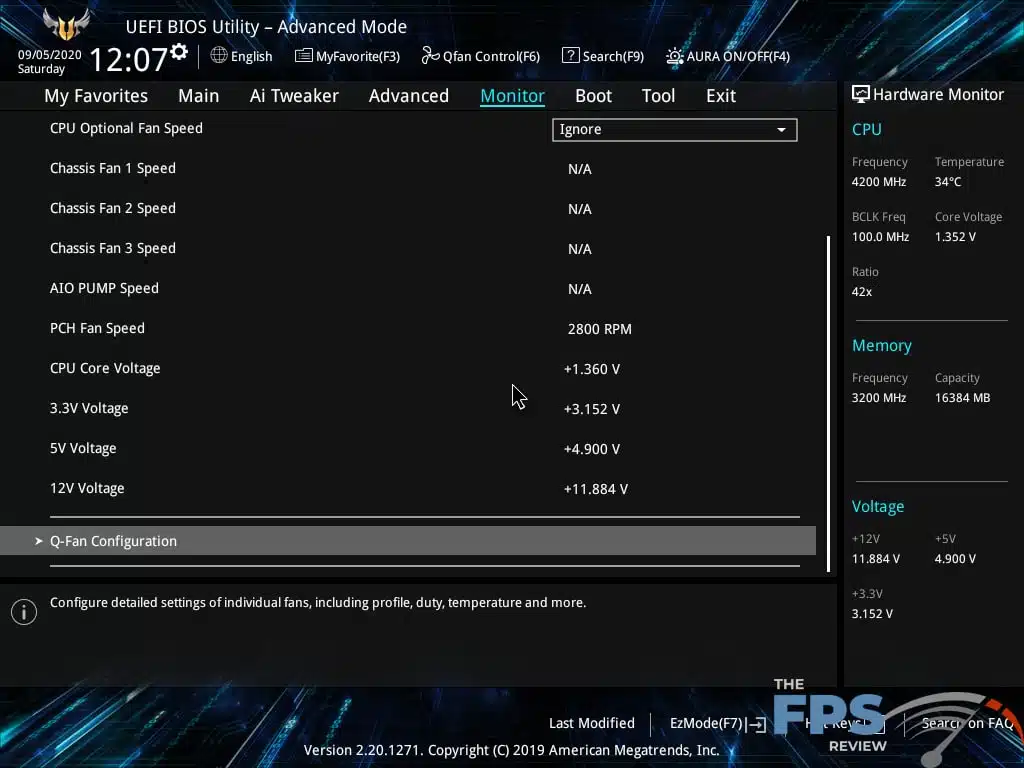
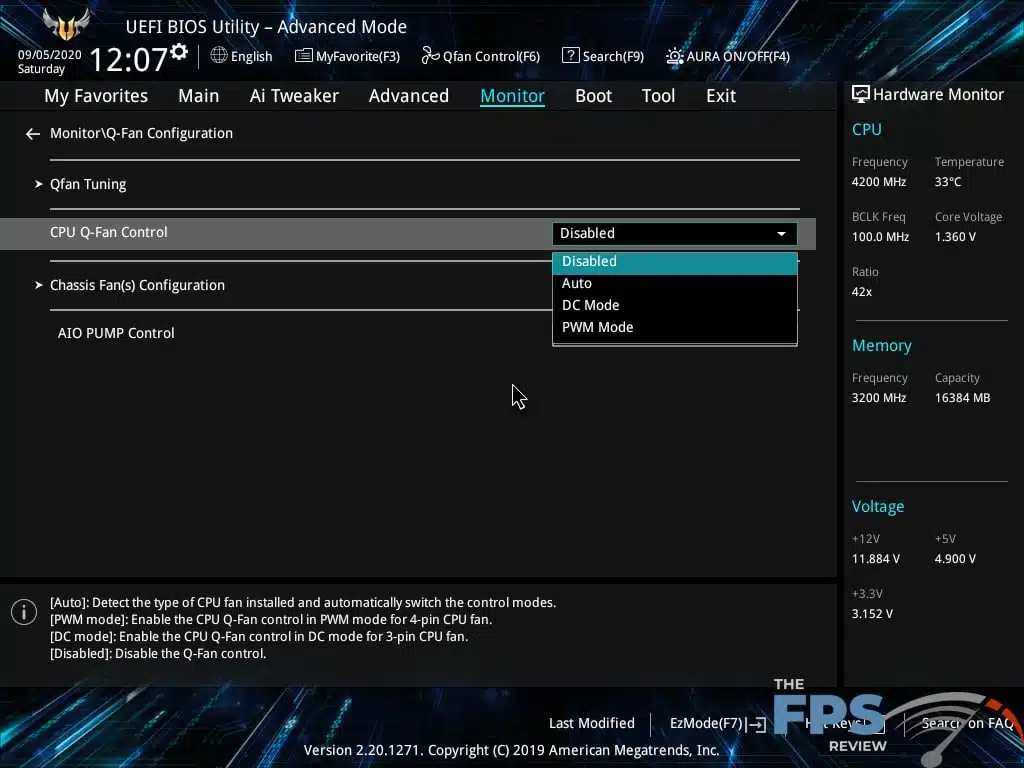
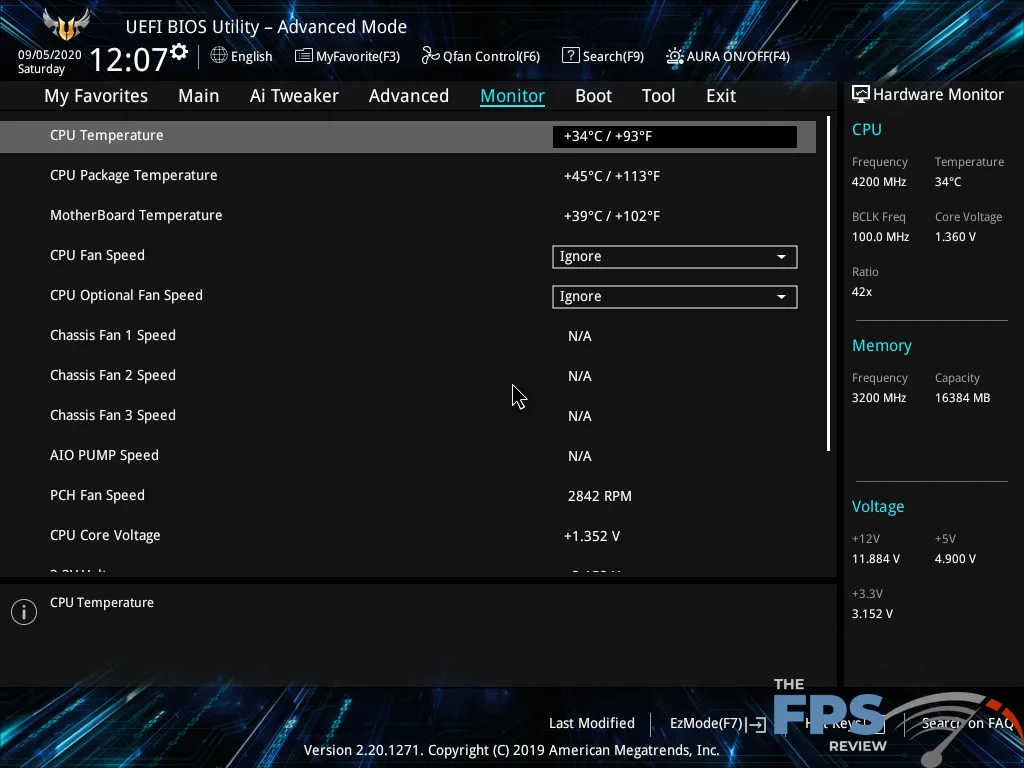
ASUS fan control and PC health monitoring are virtually unparalleled in terms of the user-friendly nature of it and the intuitive way that it’s displayed and manipulated. ASUS used a drop-down style of menu for setting fan profiles or fan tuning. Even wizards are available to aid you in doing this from within the UEFI. PC health monitoring is always shown at the far right-hand side of the UEFI menu. However, there is a dedicated menu for PC health monitoring which shows you much more comprehensive data. Warning thresholds are set in this menu. You can also choose to ignore things like fan speeds in specific headers if you wish to do so.
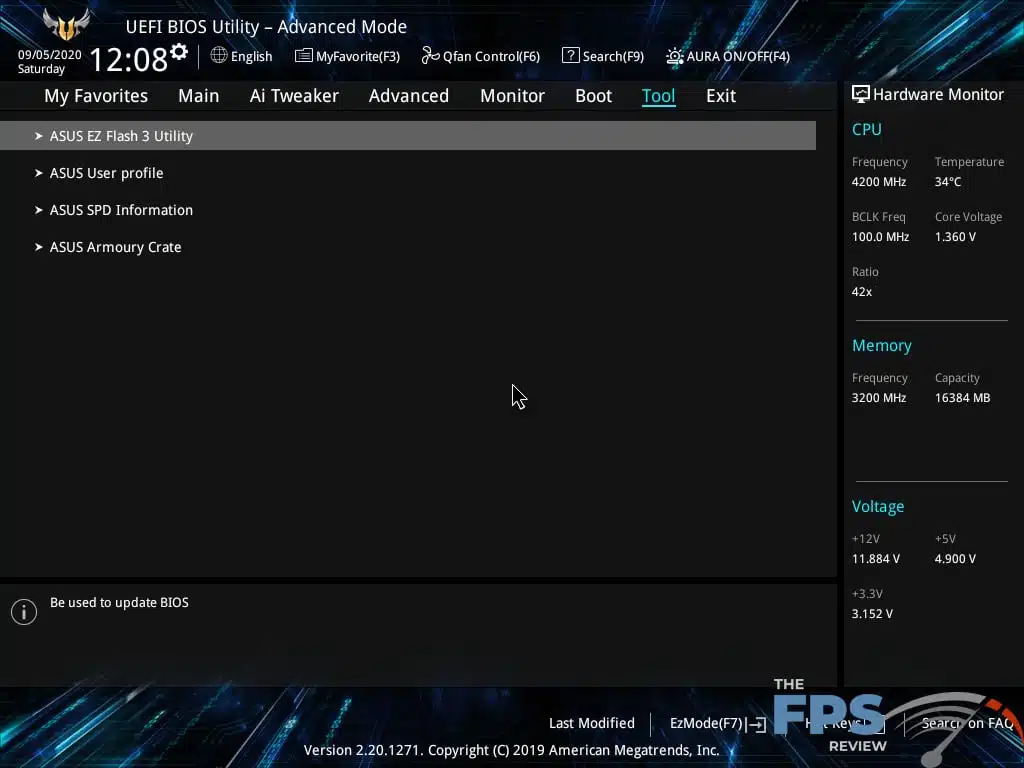
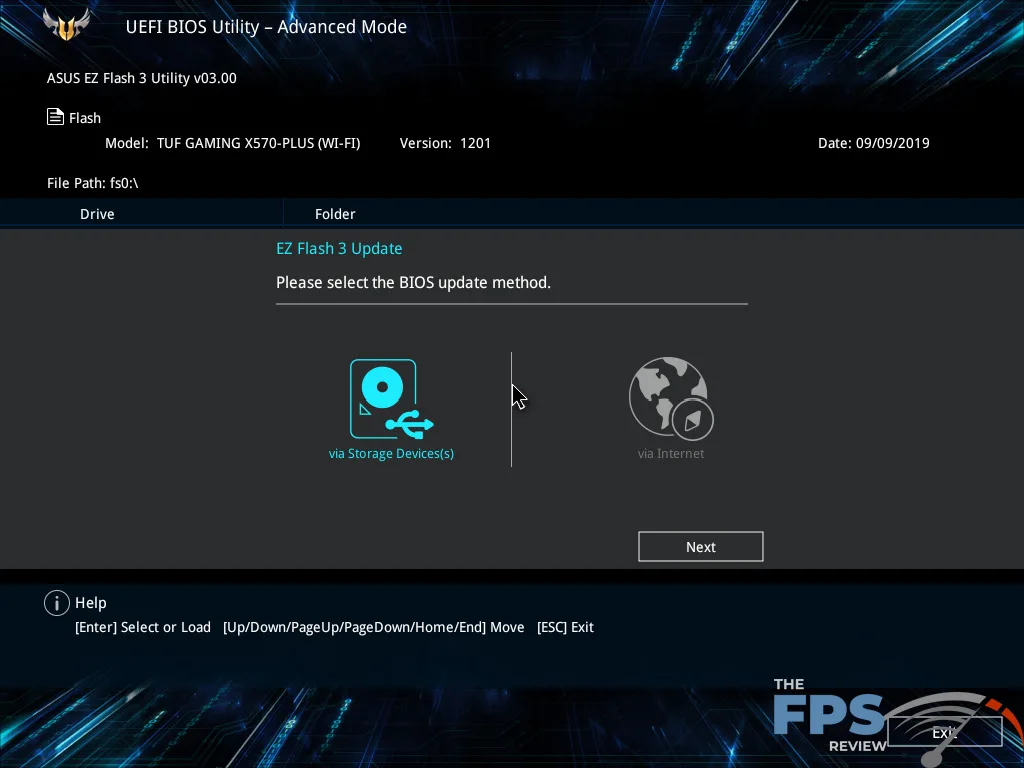
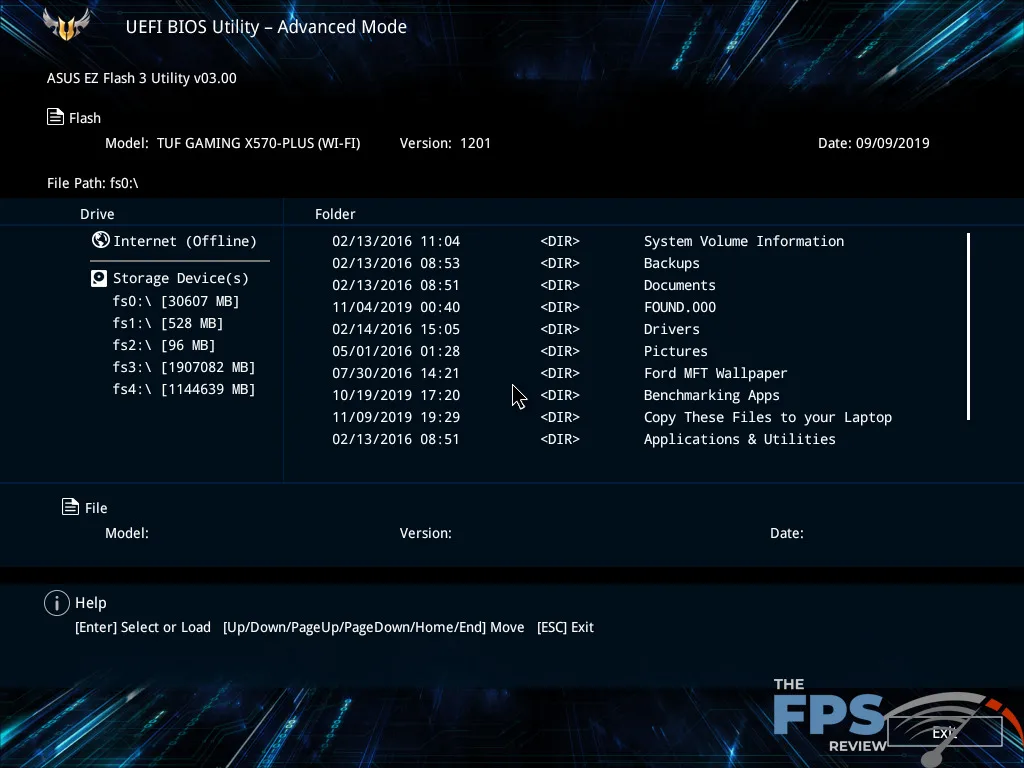
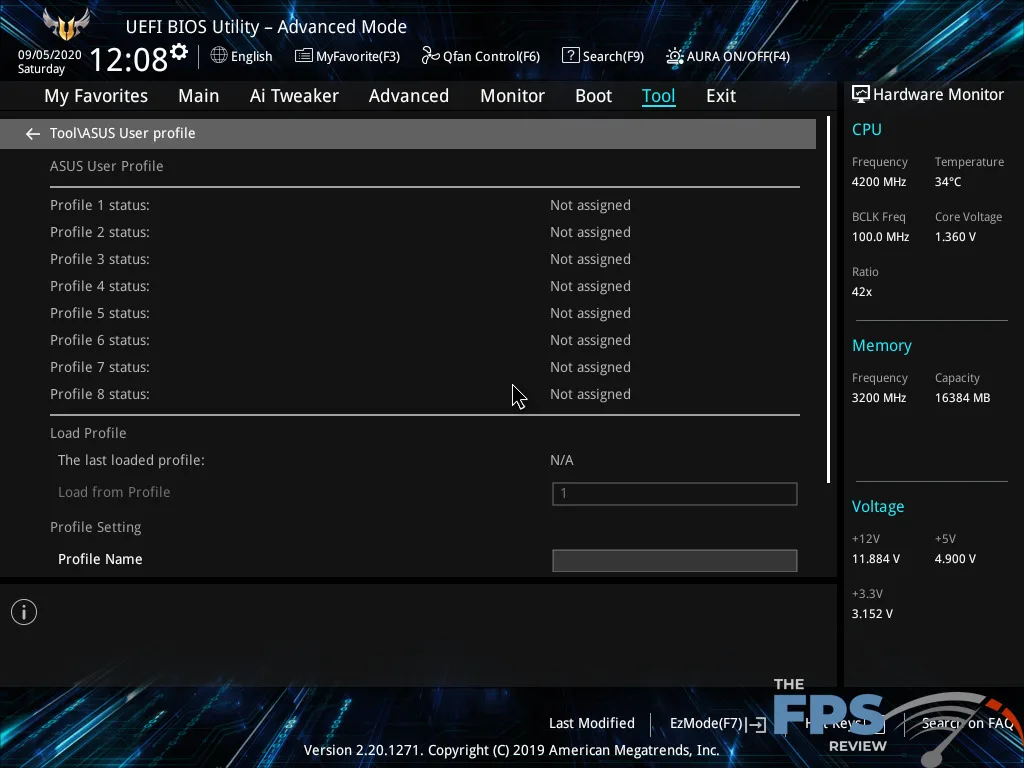
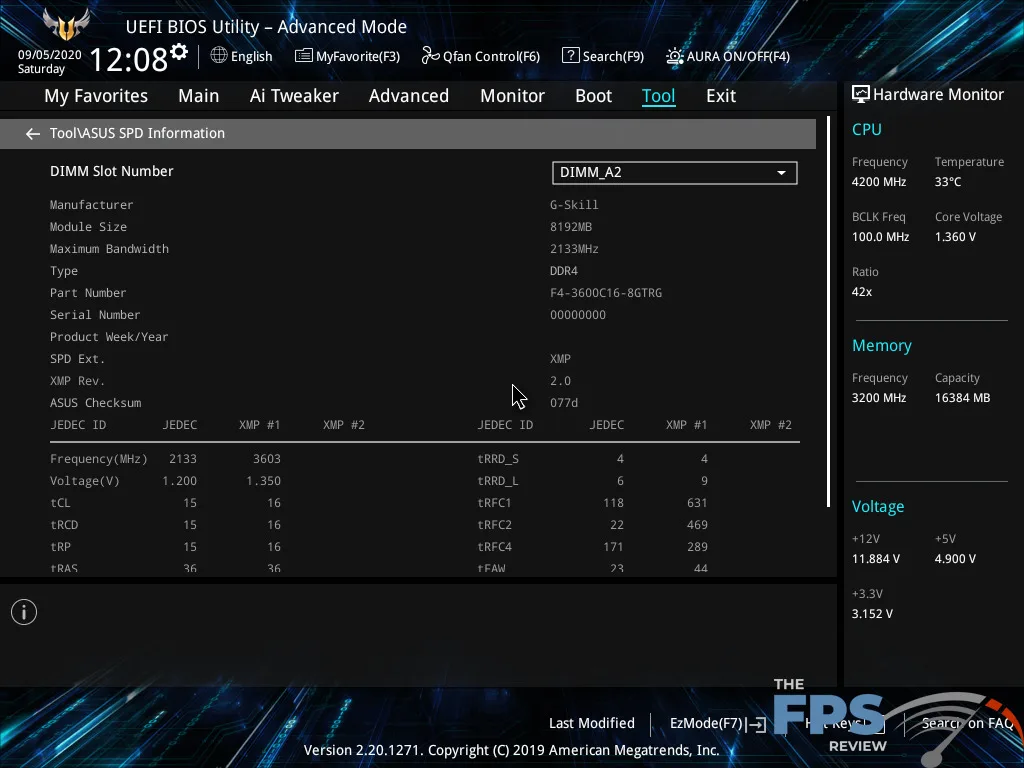
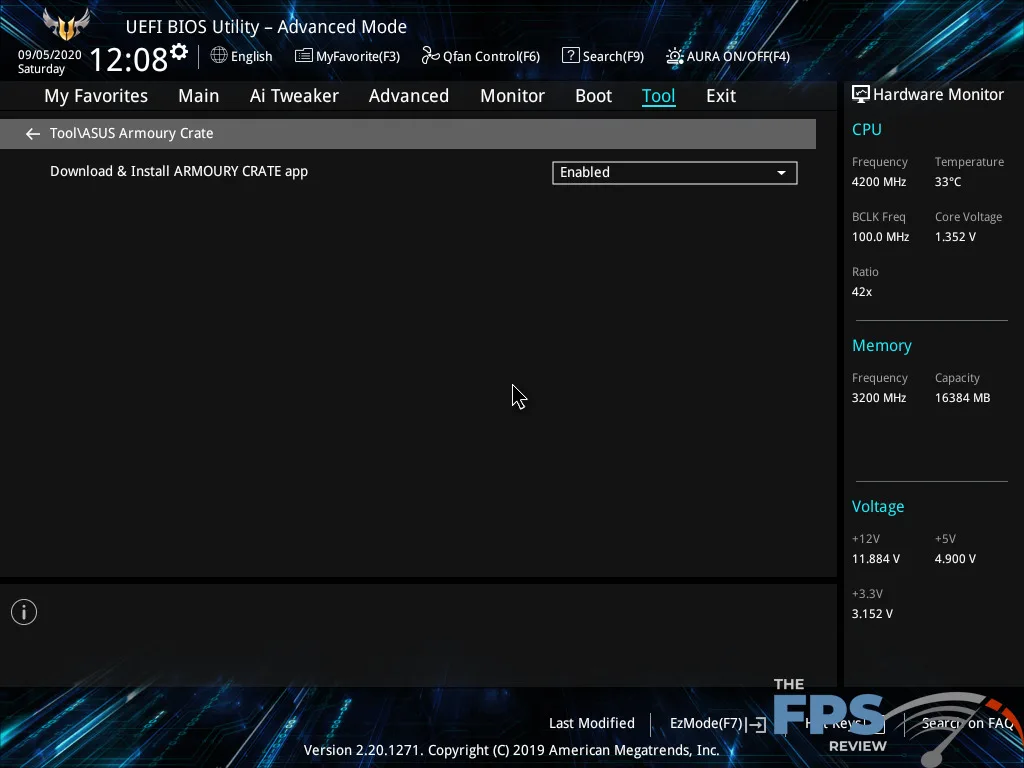
The list of features is impressive as well. ASUS has a print-screen function, an EZ-Mode, automatic overclocking, ASUS EZ-Flash 3, for flashing or updating the UEFI. It has the ASUS user profile menu for creating or using profiles created by the user for whatever you desire. It also has an SPD information reader and ASUS’ Armory Crate feature. The latter is a program within the UEFI that launches after you install Windows and if an internet connection is present, enables you to download and install all the drivers and ASUS software.
ASUS also has a My Favorites menu that allows you to create a custom UEFI BIOS page which contains all the settings you wish to include in it. This way, you can effectively create a short cut menu of sorts to allow quick access to the settings you use most frequently or don’t want to drill down through sub-menus to find.
All in all, ASUS didn’t do anything special in regard to the UEFI BIOS on the ASUS TUF GAMING X570 PLUS (WI-FI). Of course, it didn’t need to because ASUS’ UEFI implementation still remains the best in the business in my opinion. Even on the less expensive motherboards, it’s still pretty amazing. You do lose a few things compared to the higher-end models, but that’s to be expected.