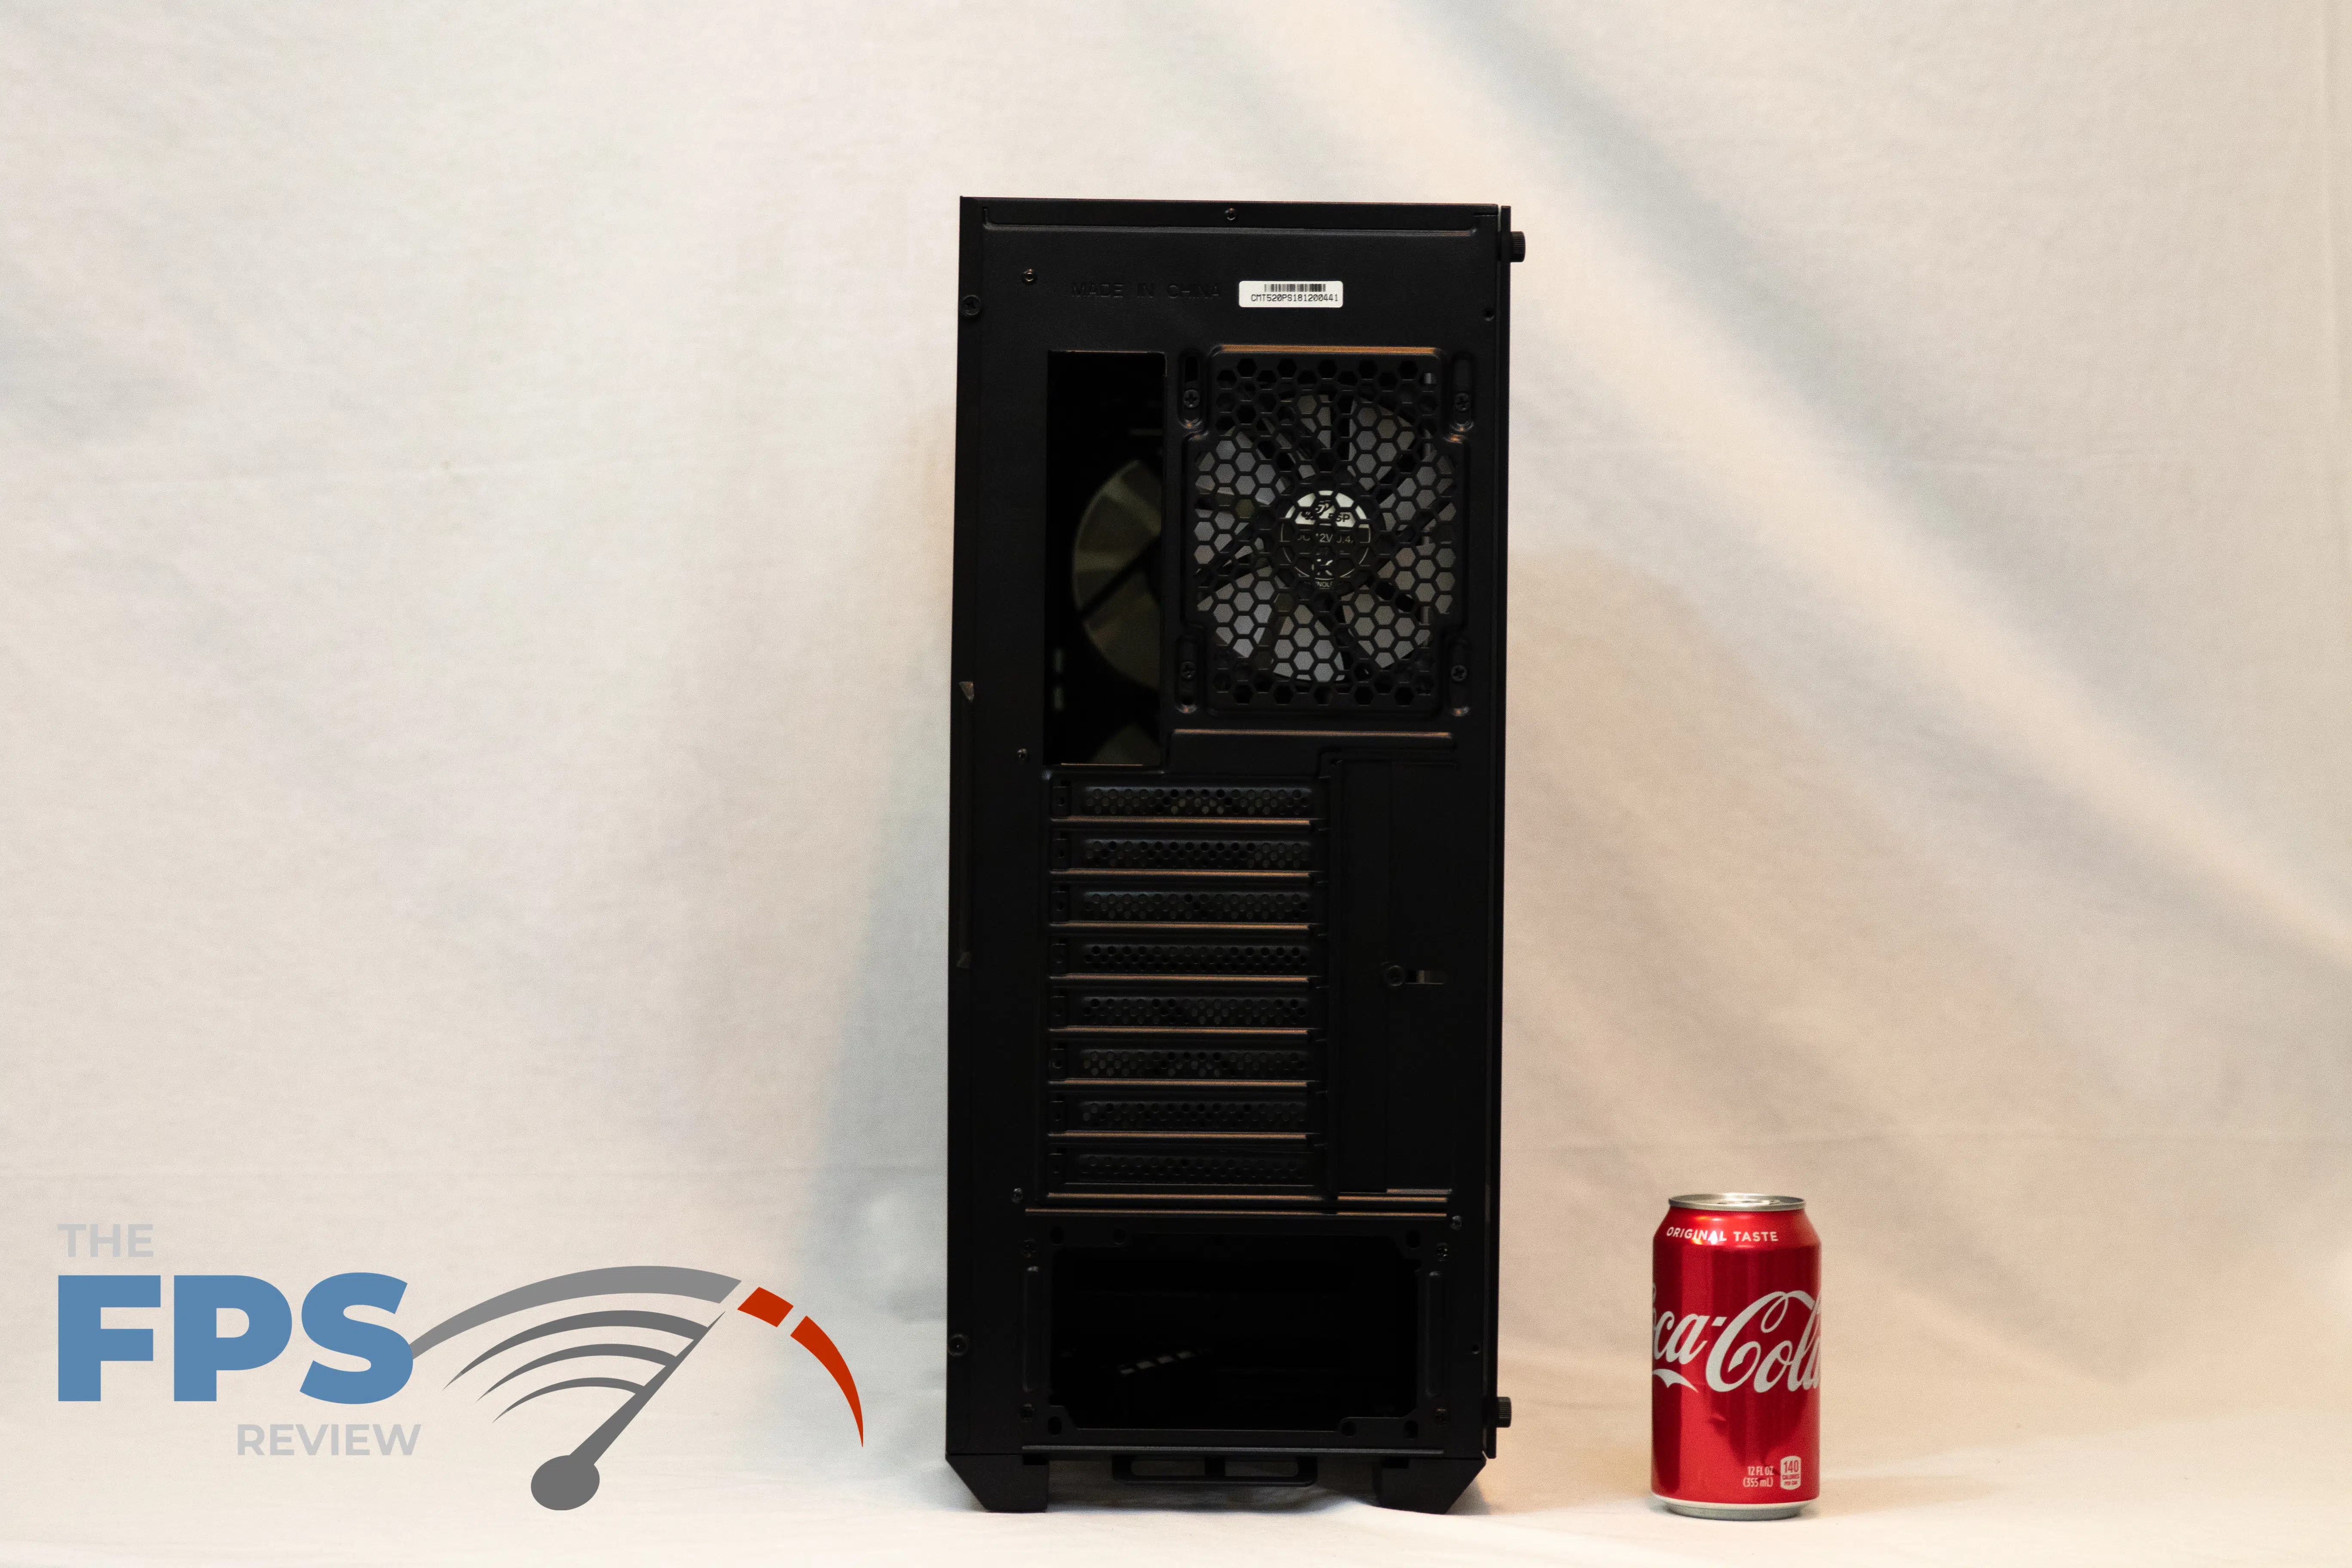
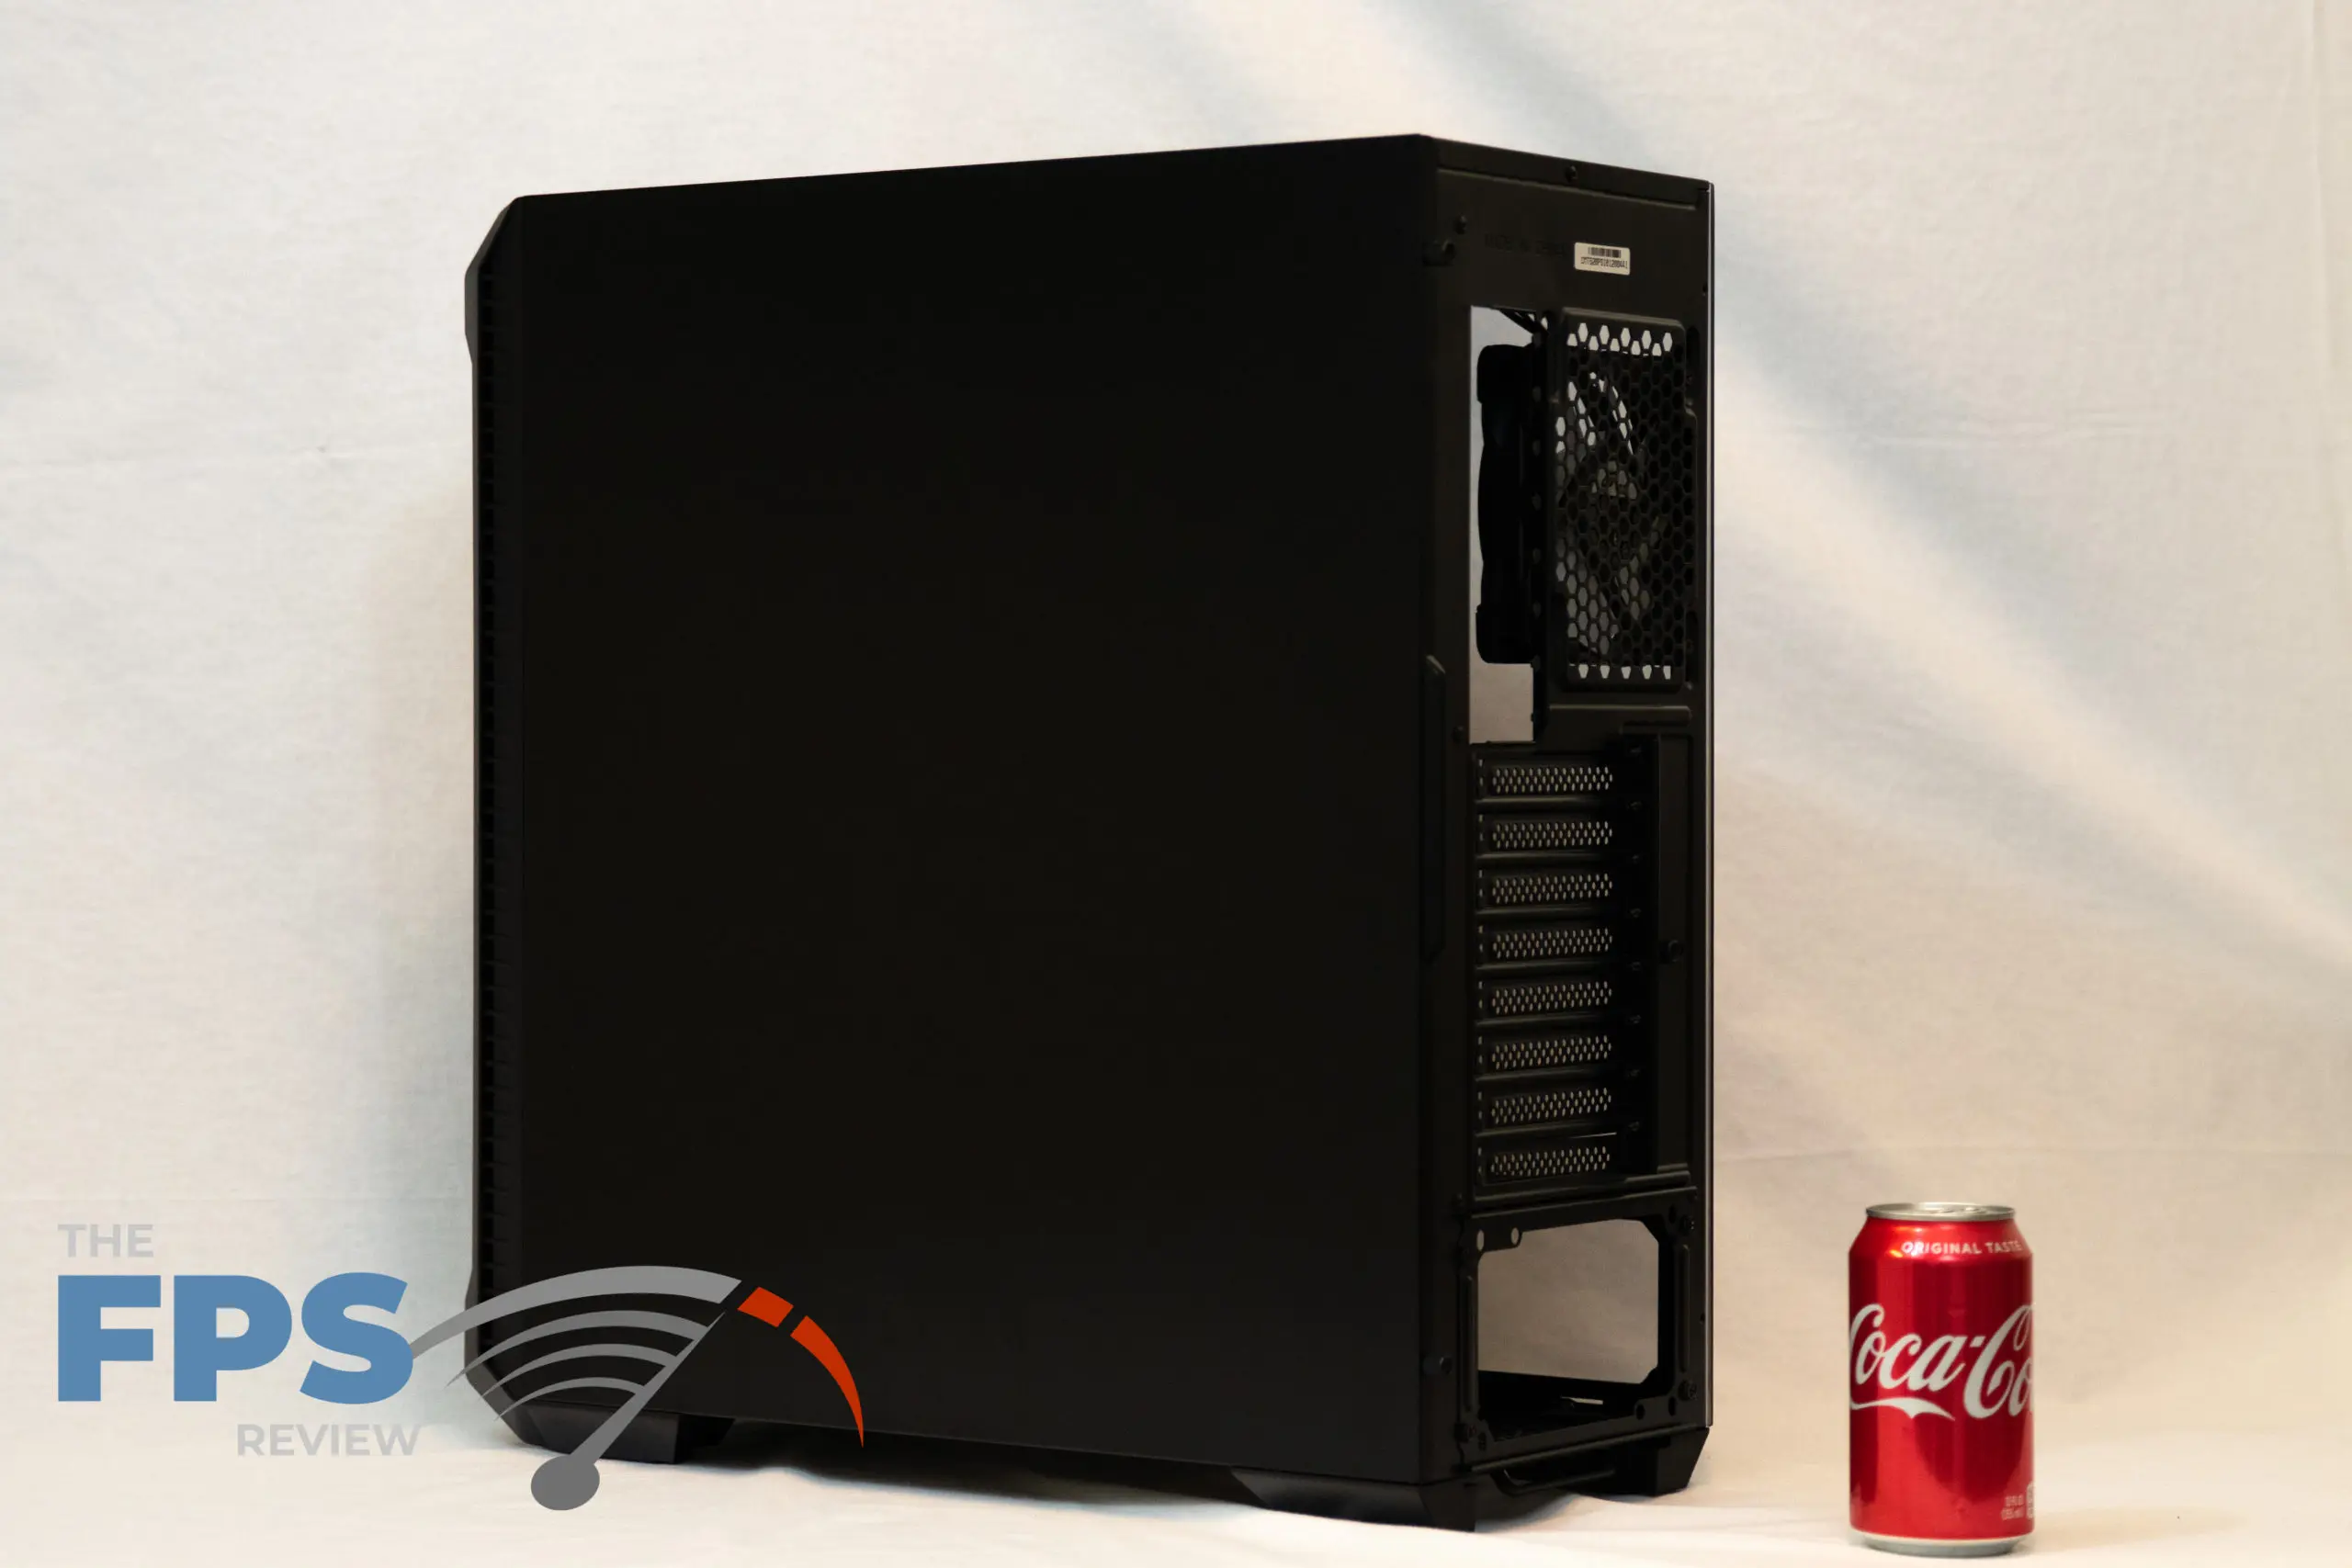
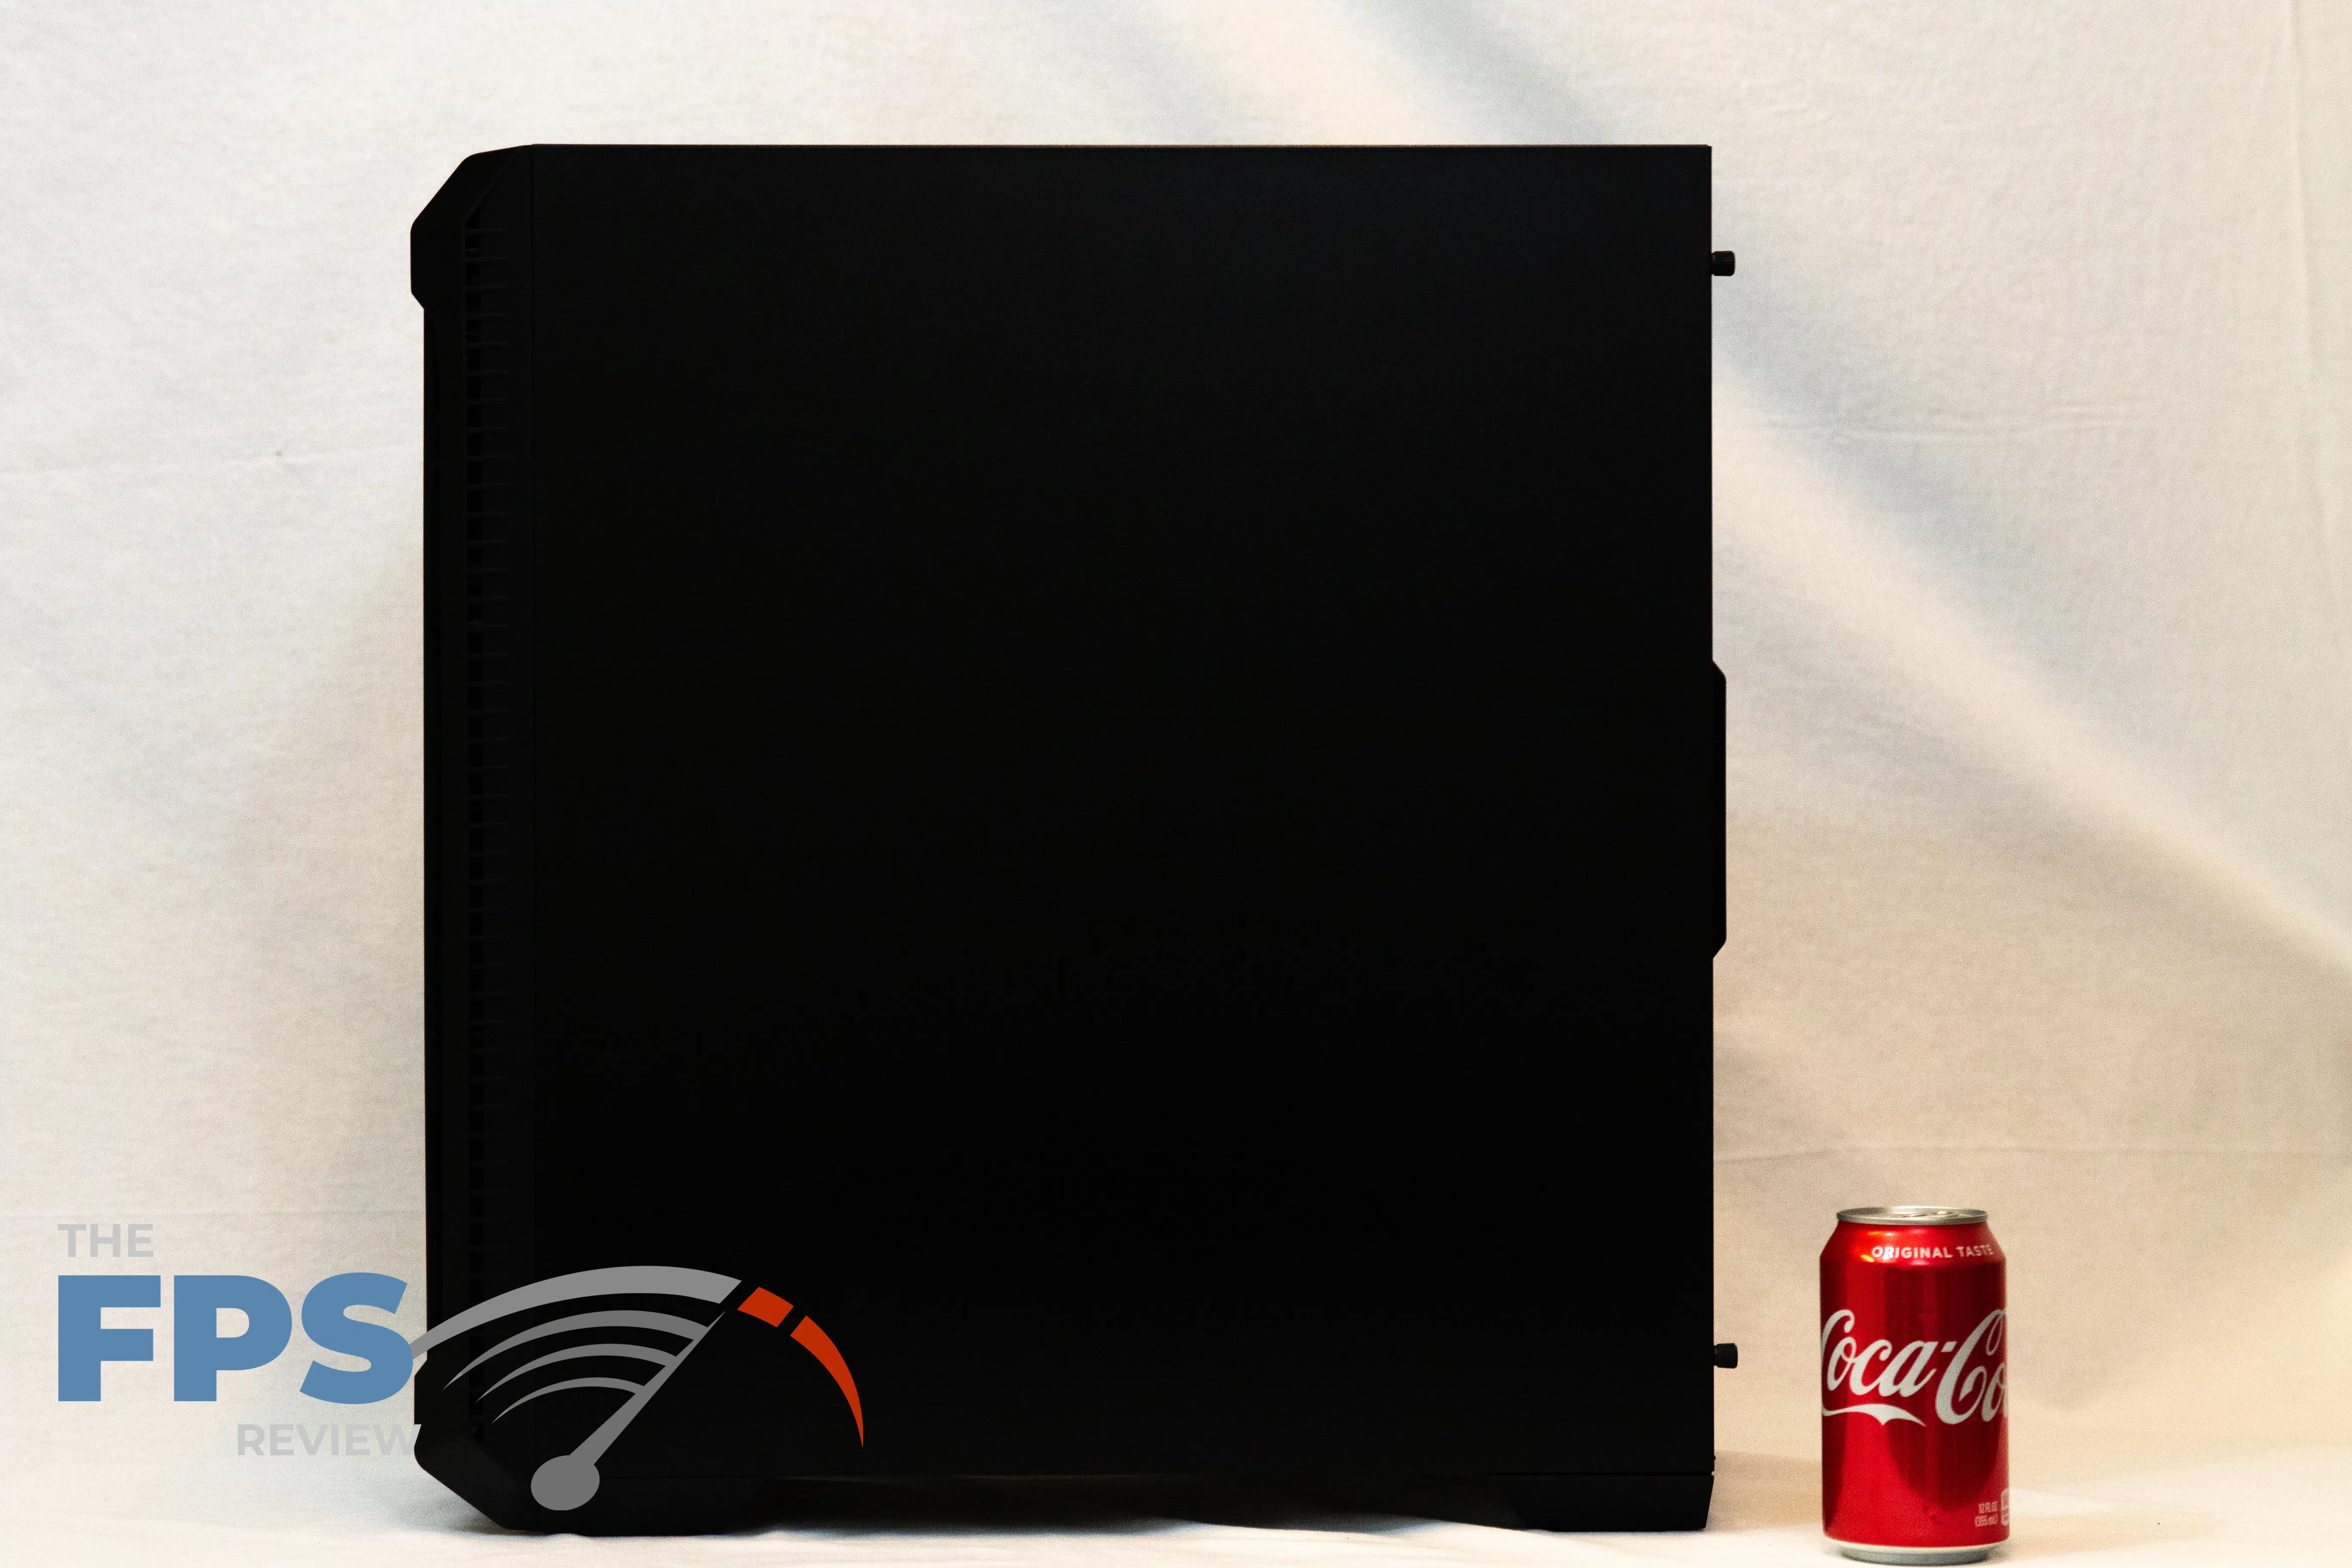
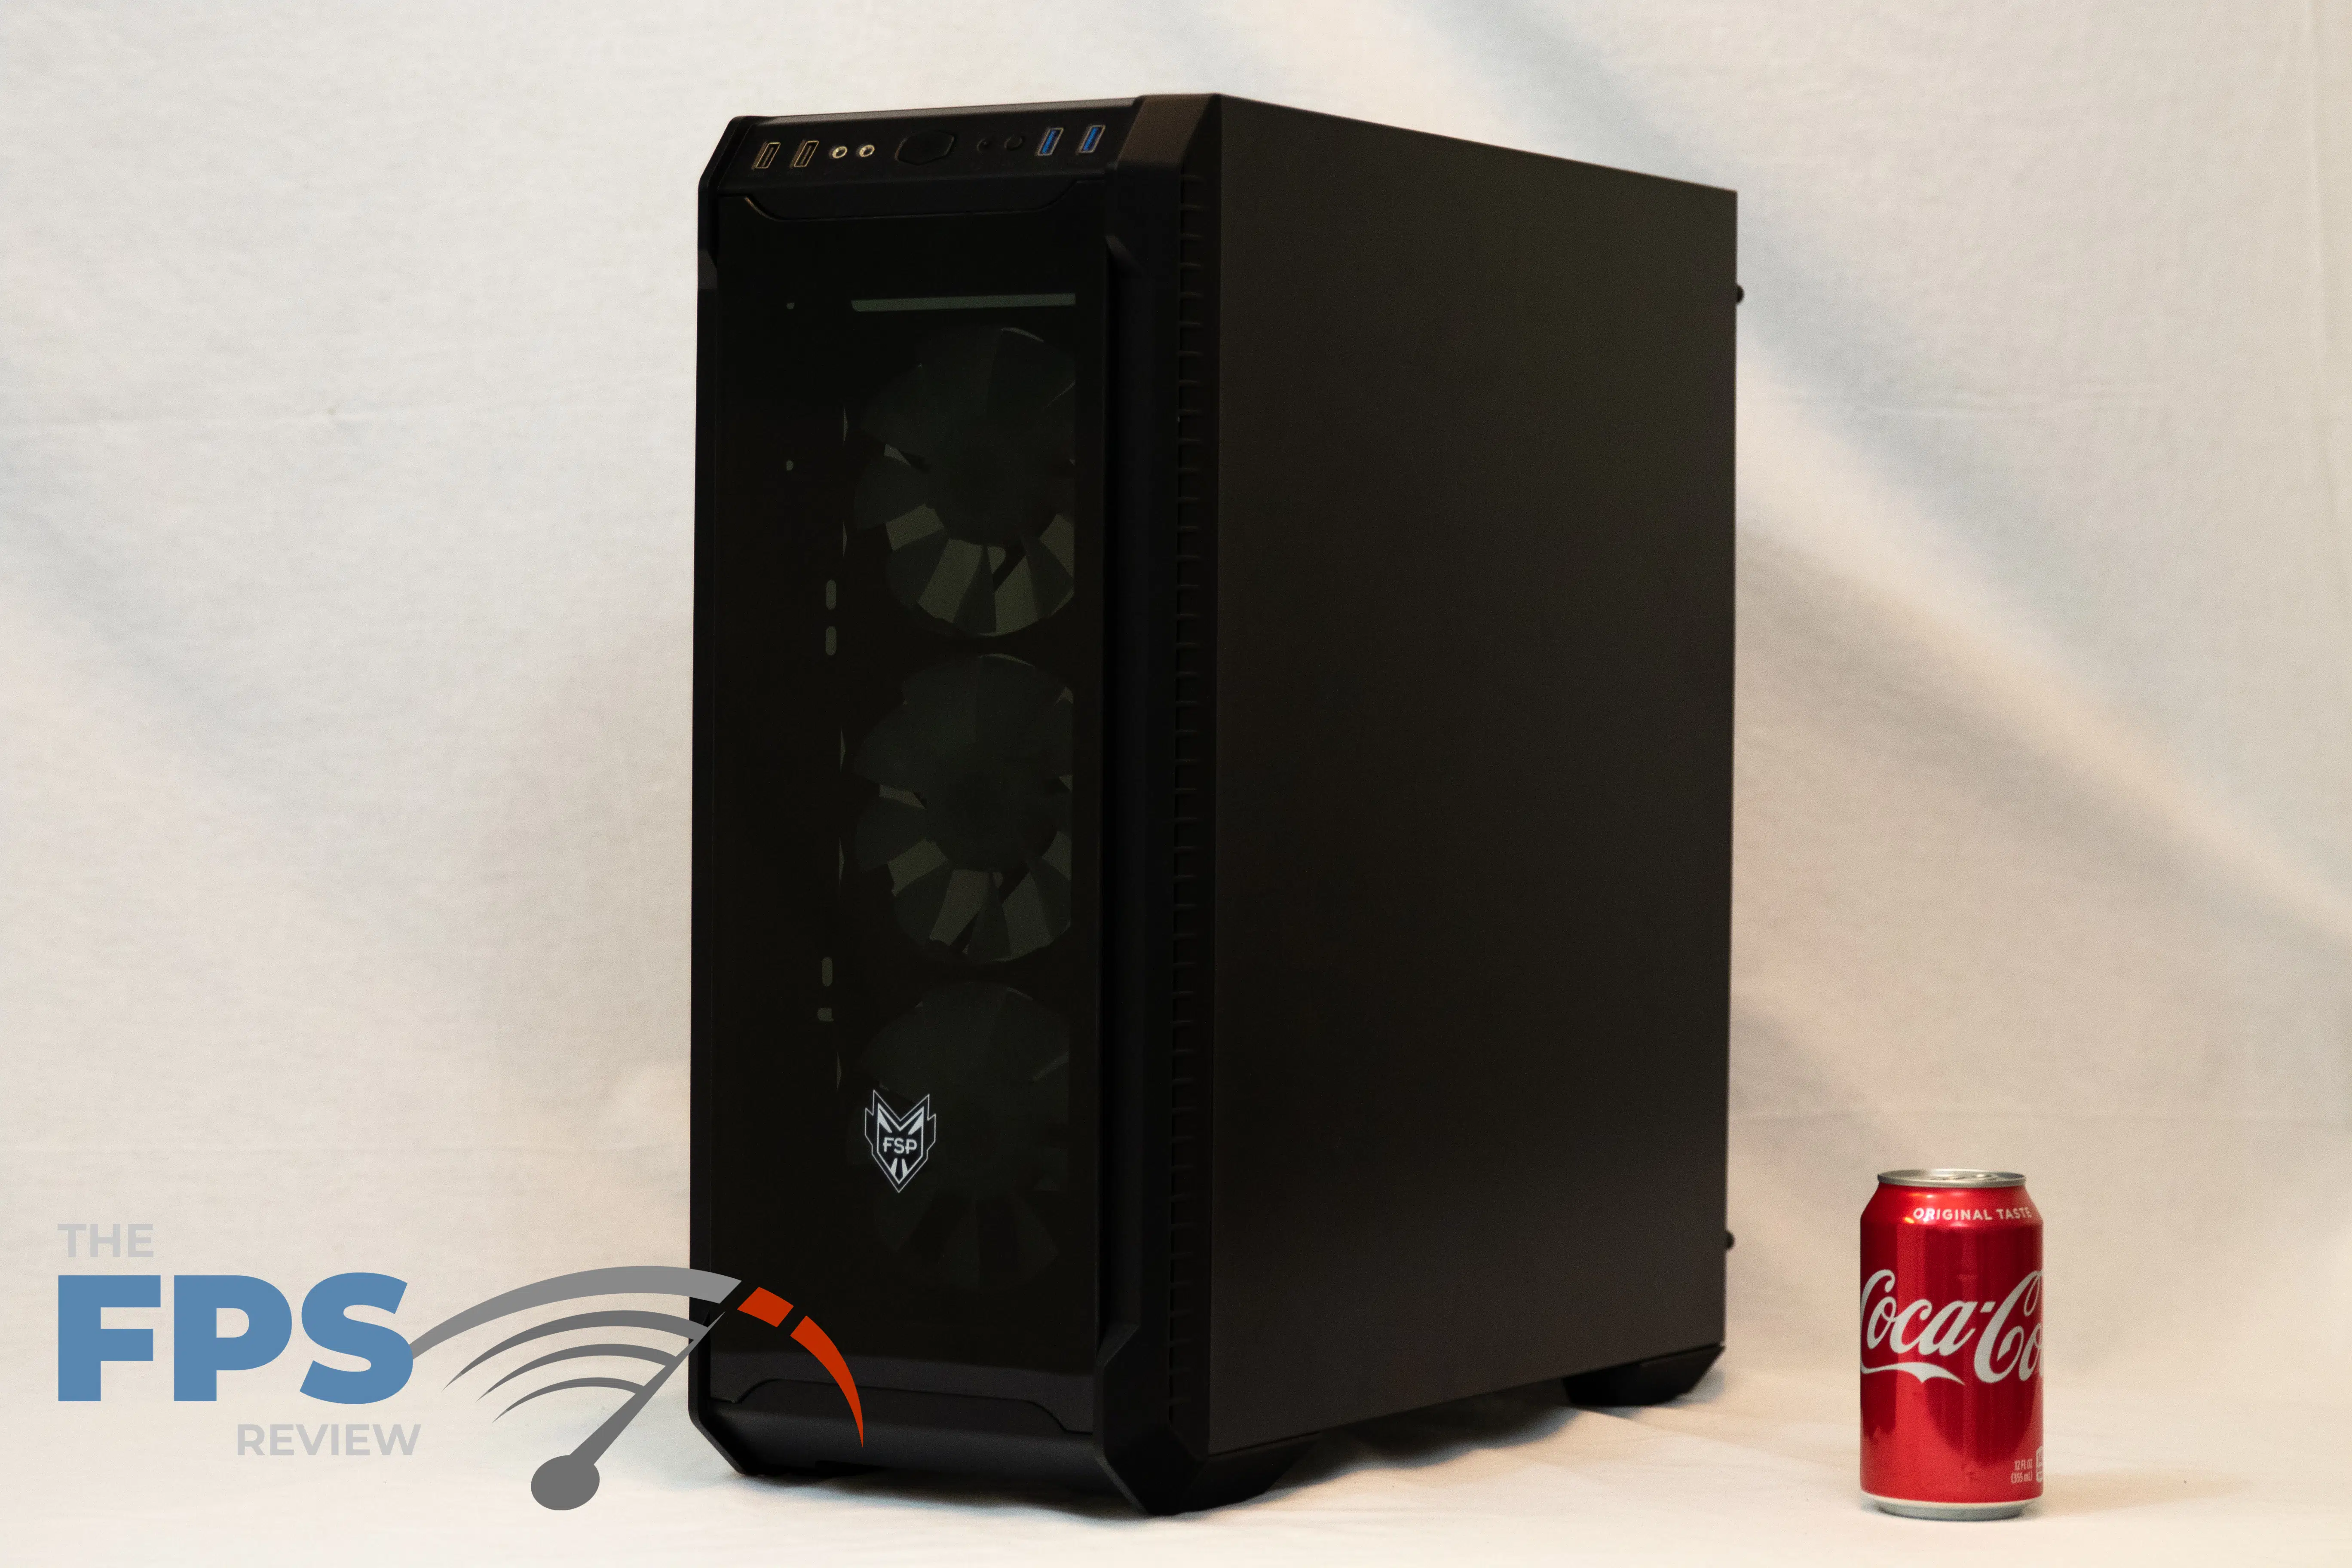
Picture Gallery
Install
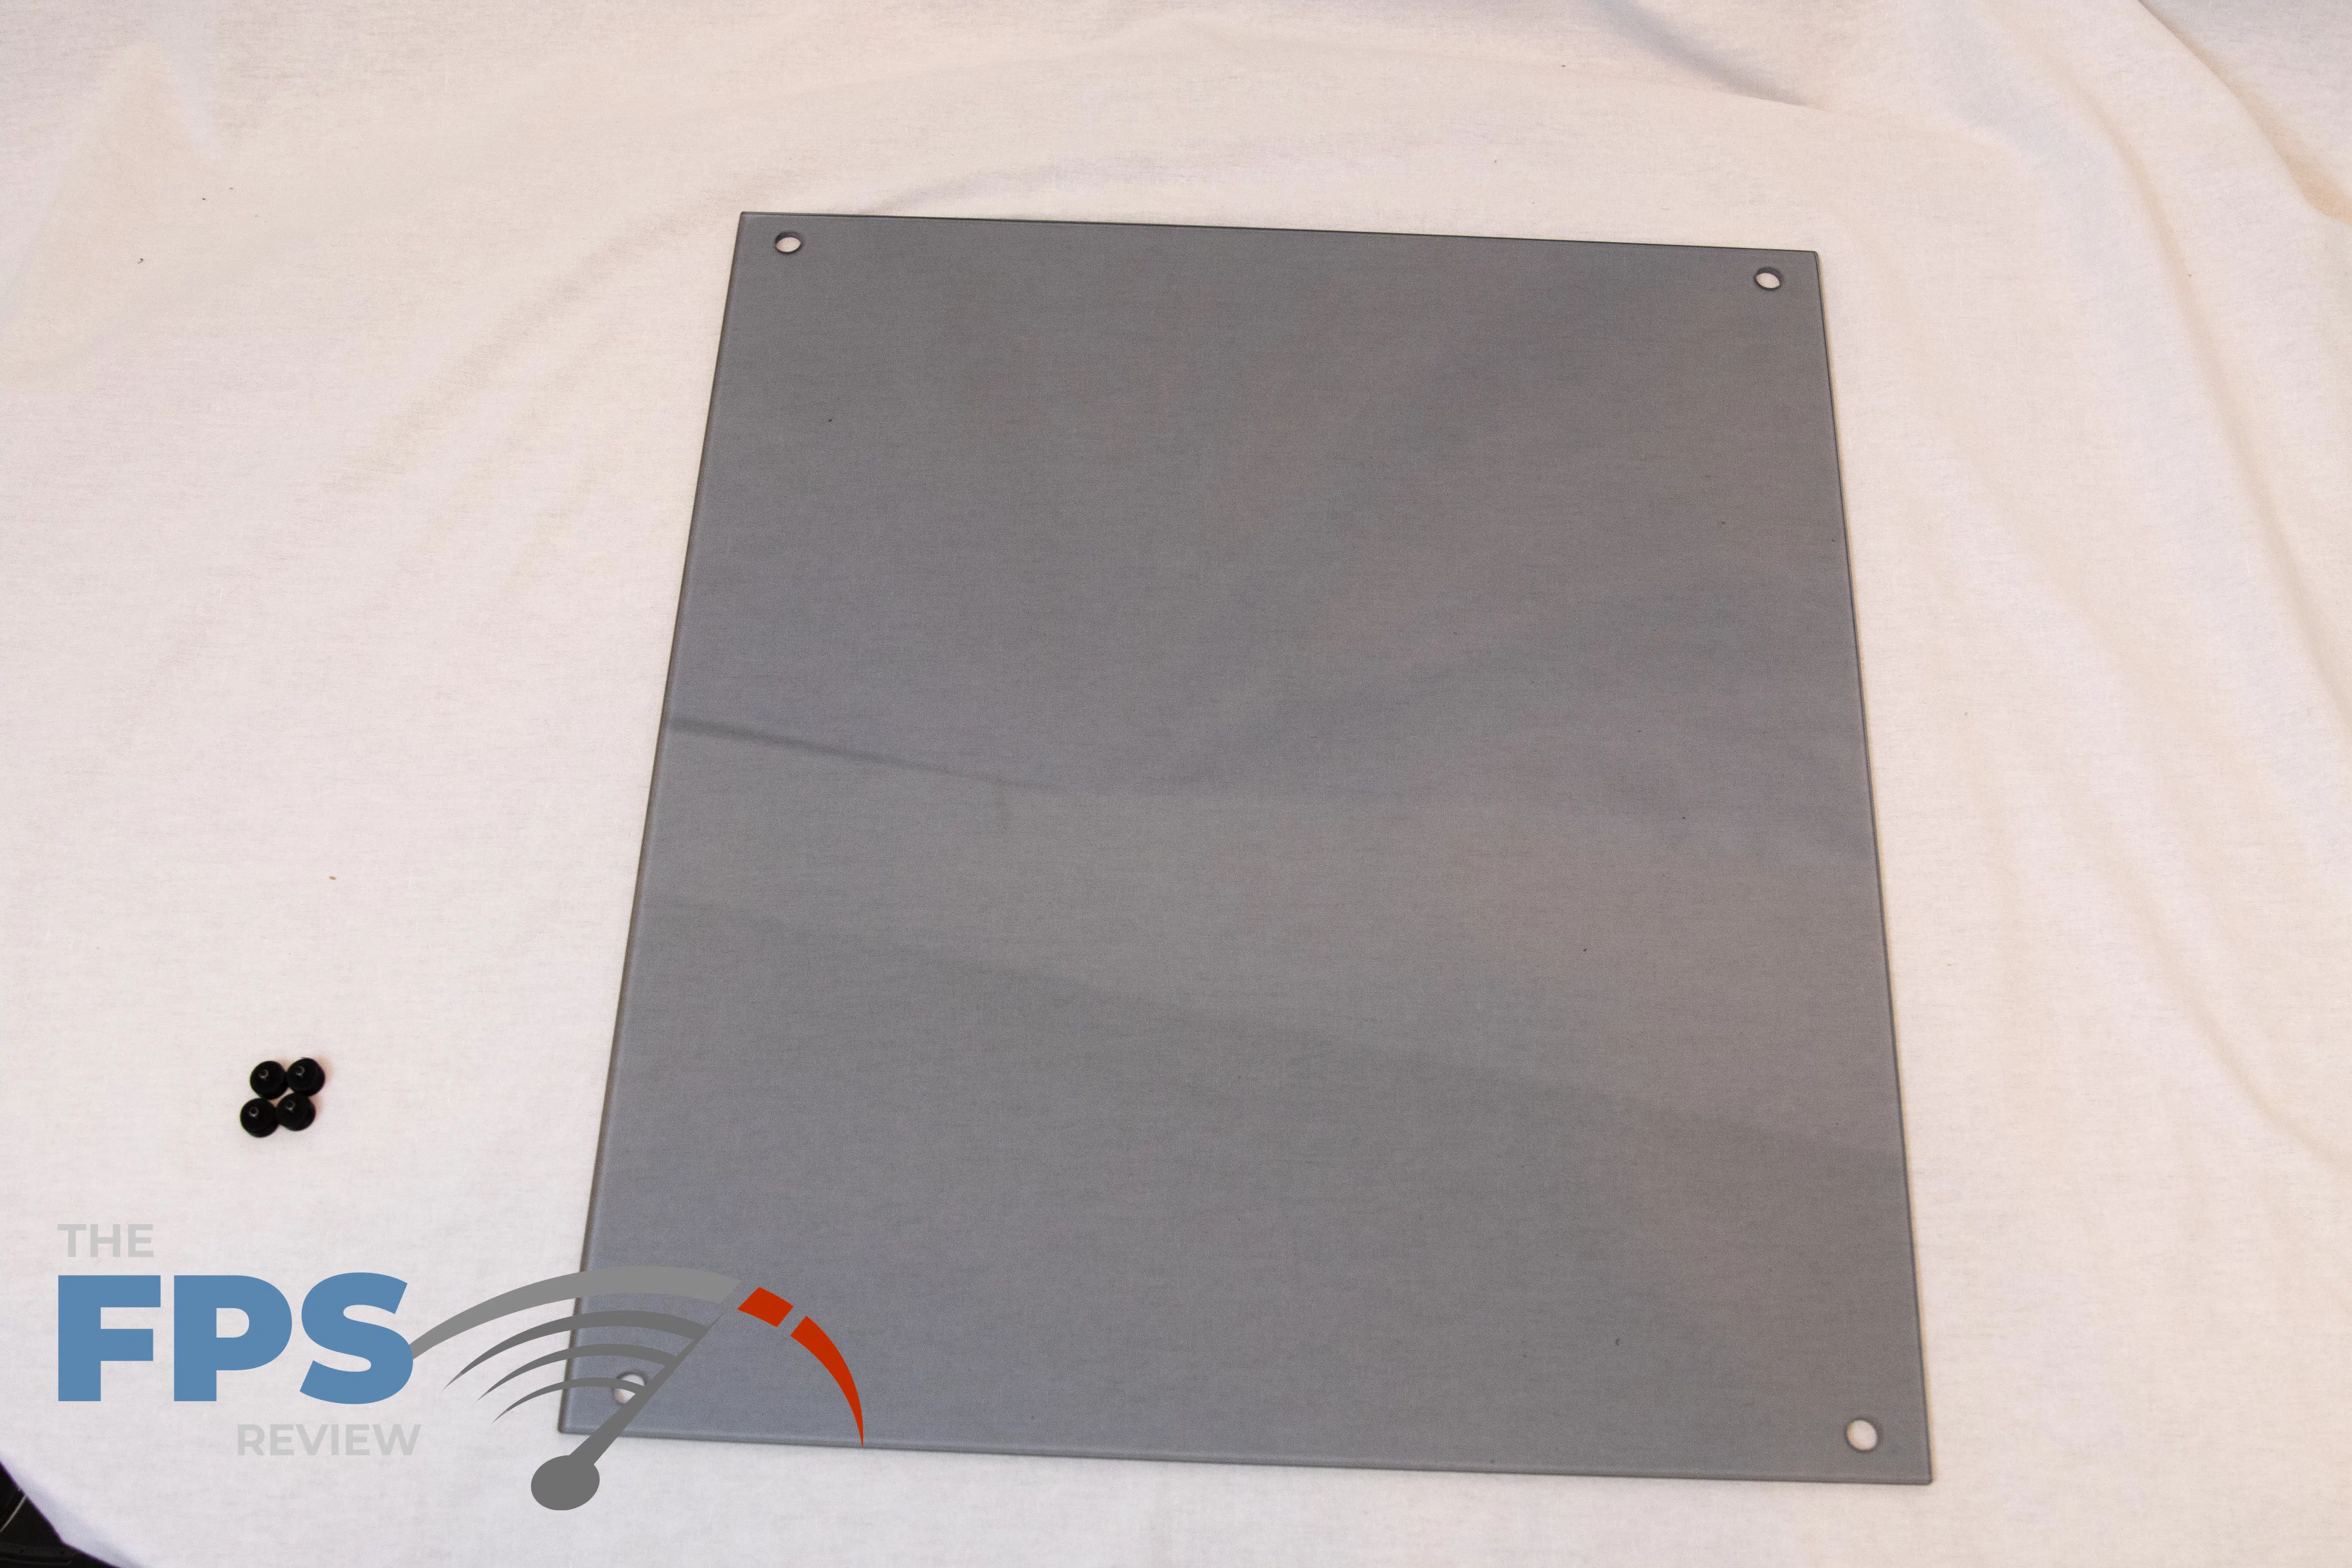
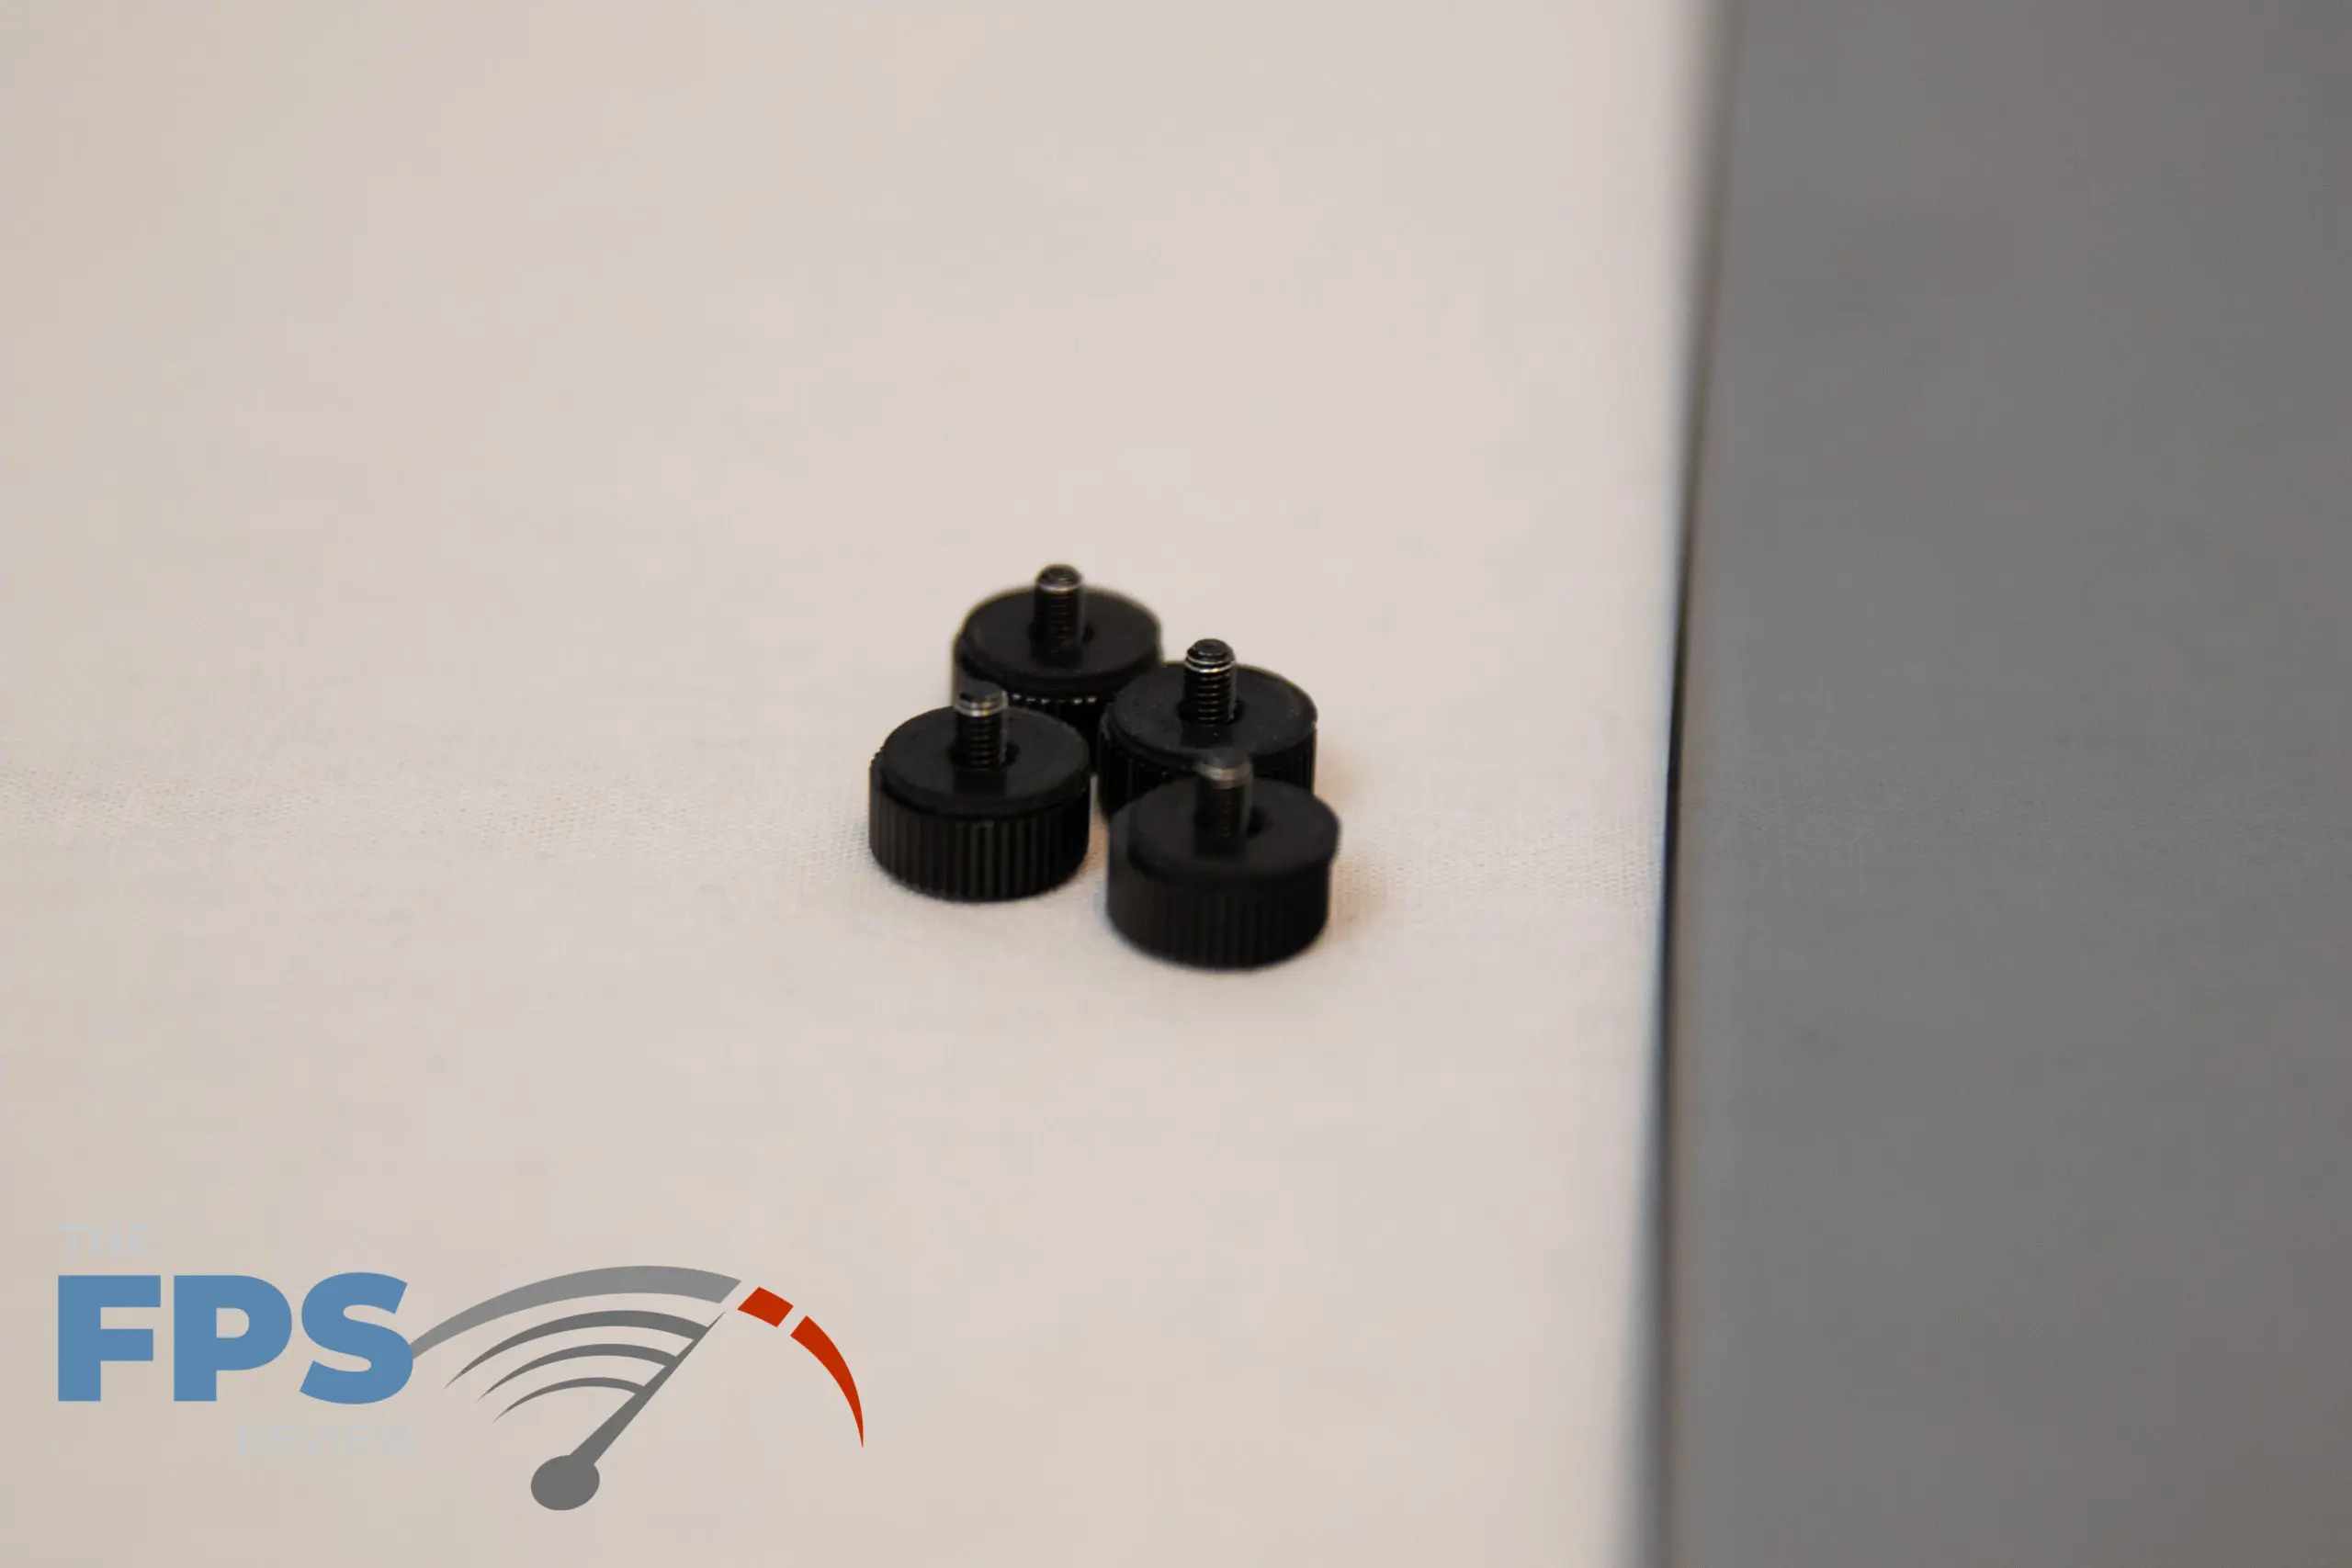
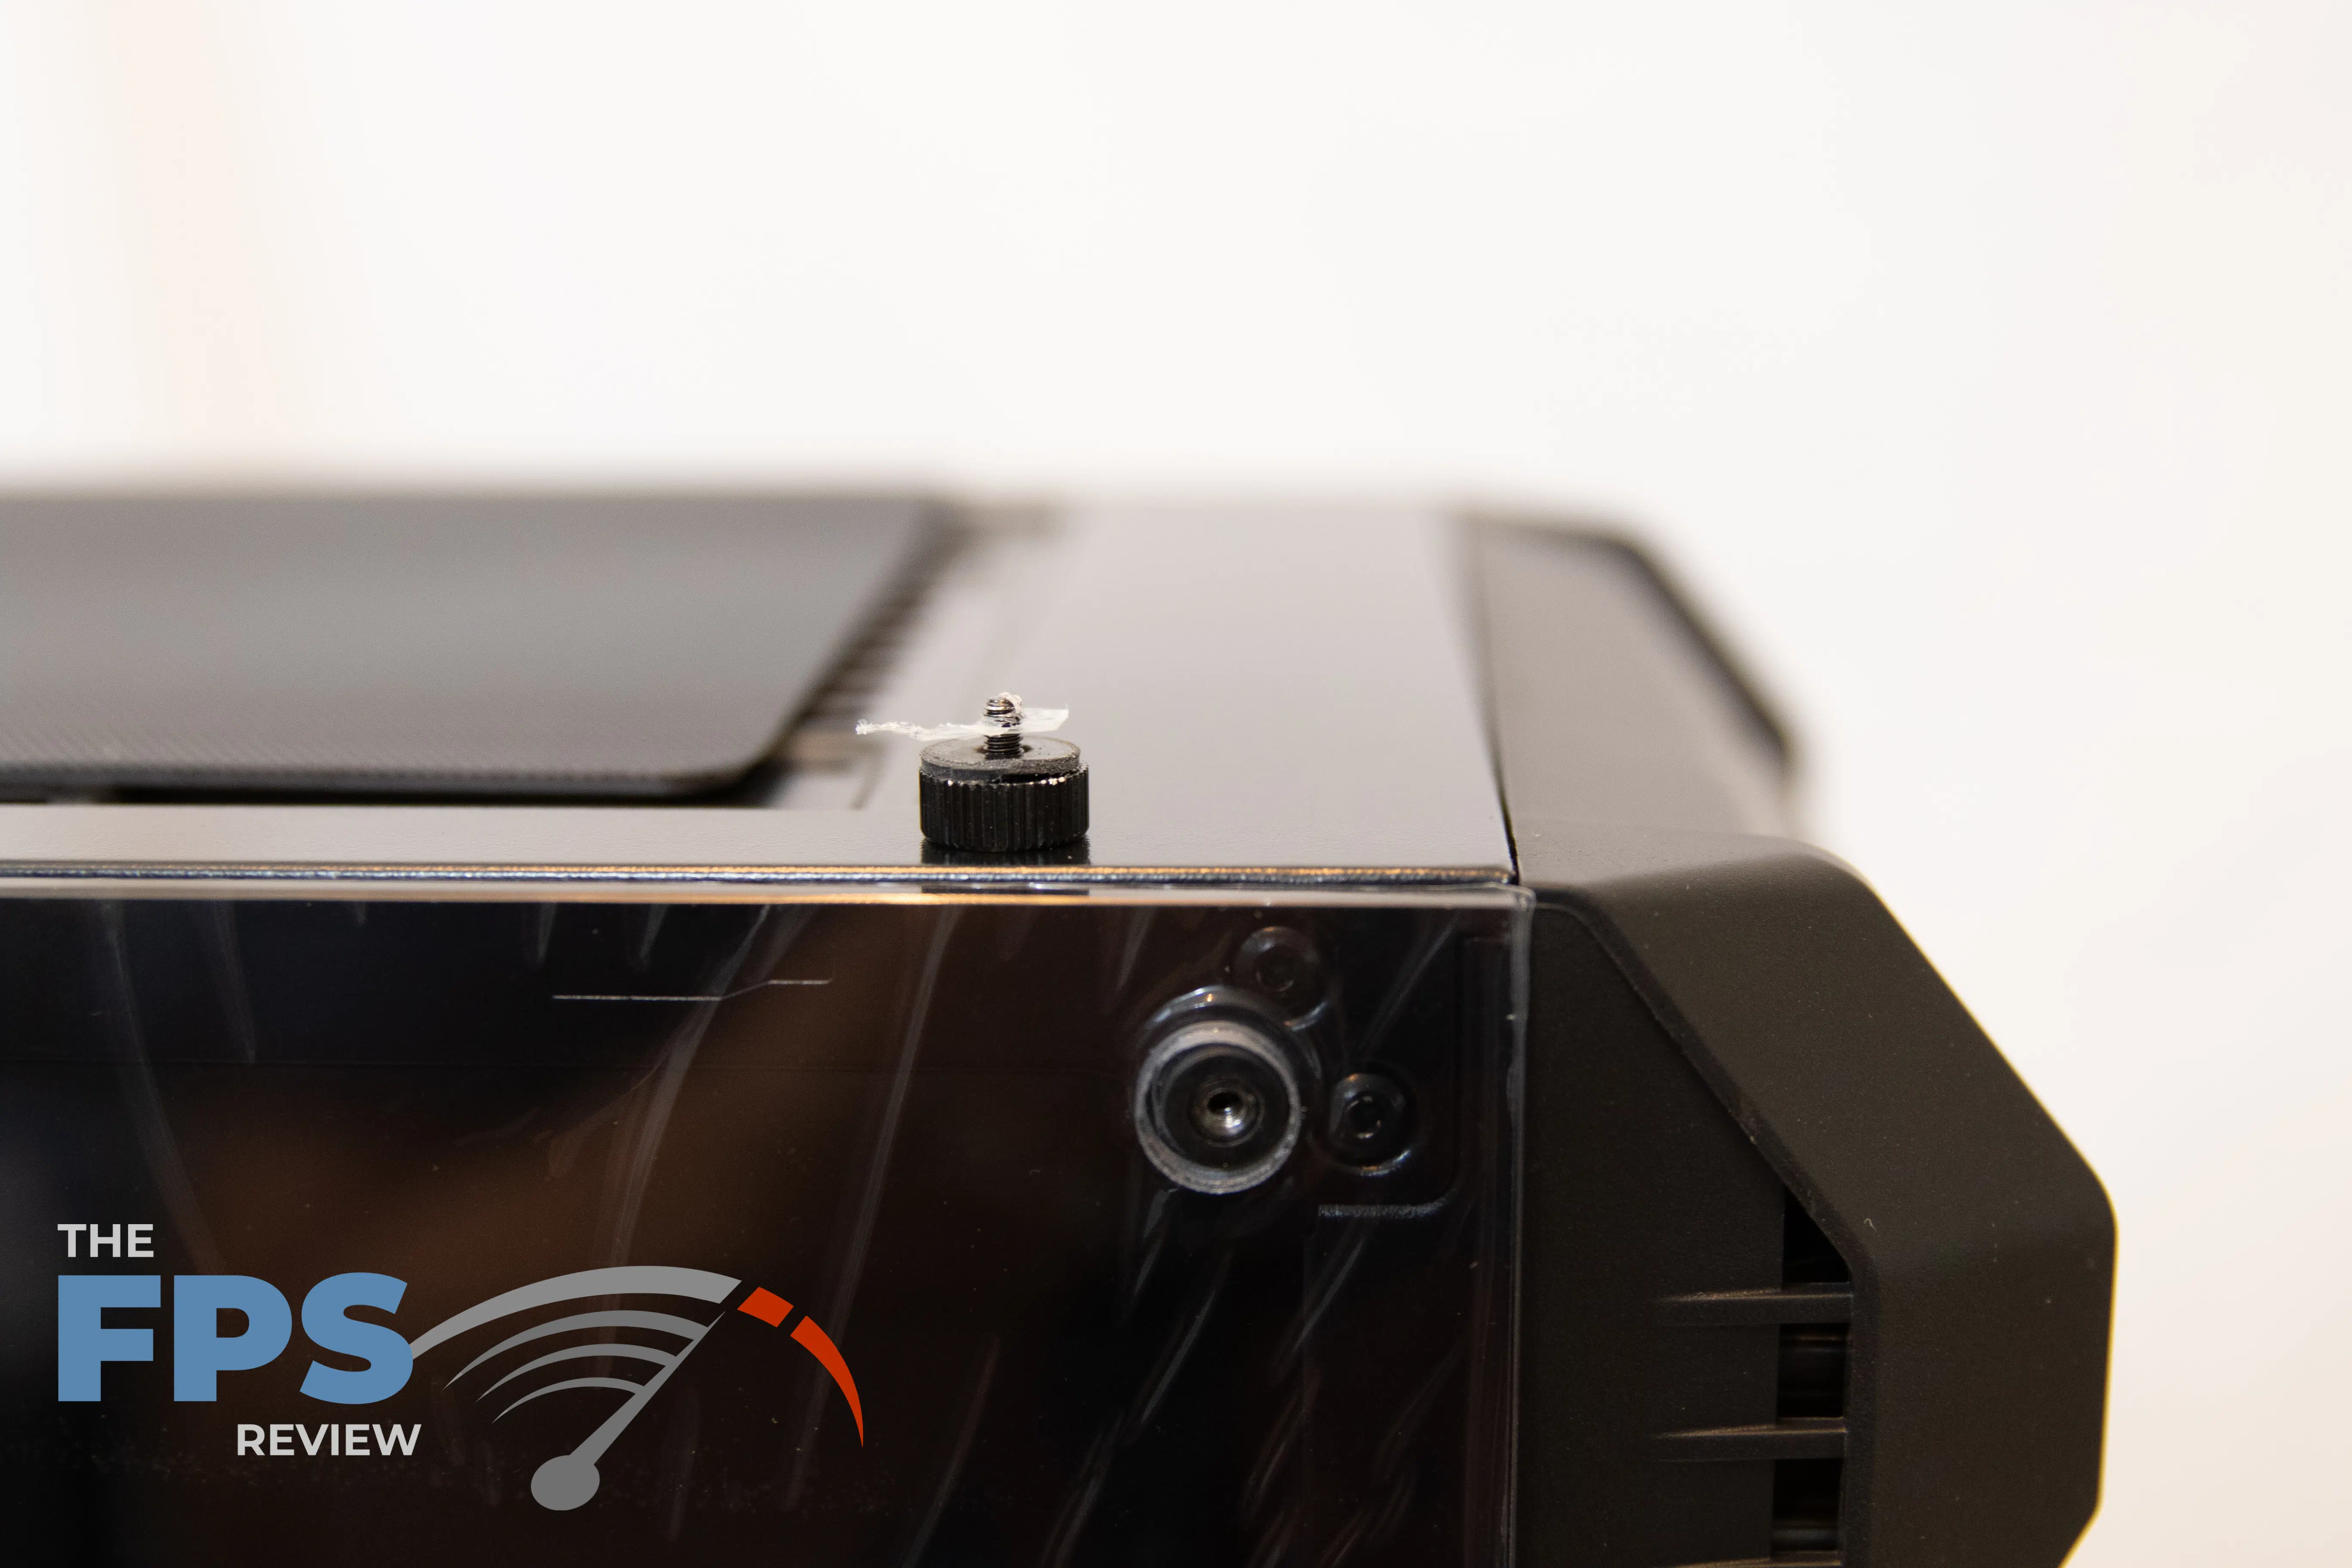
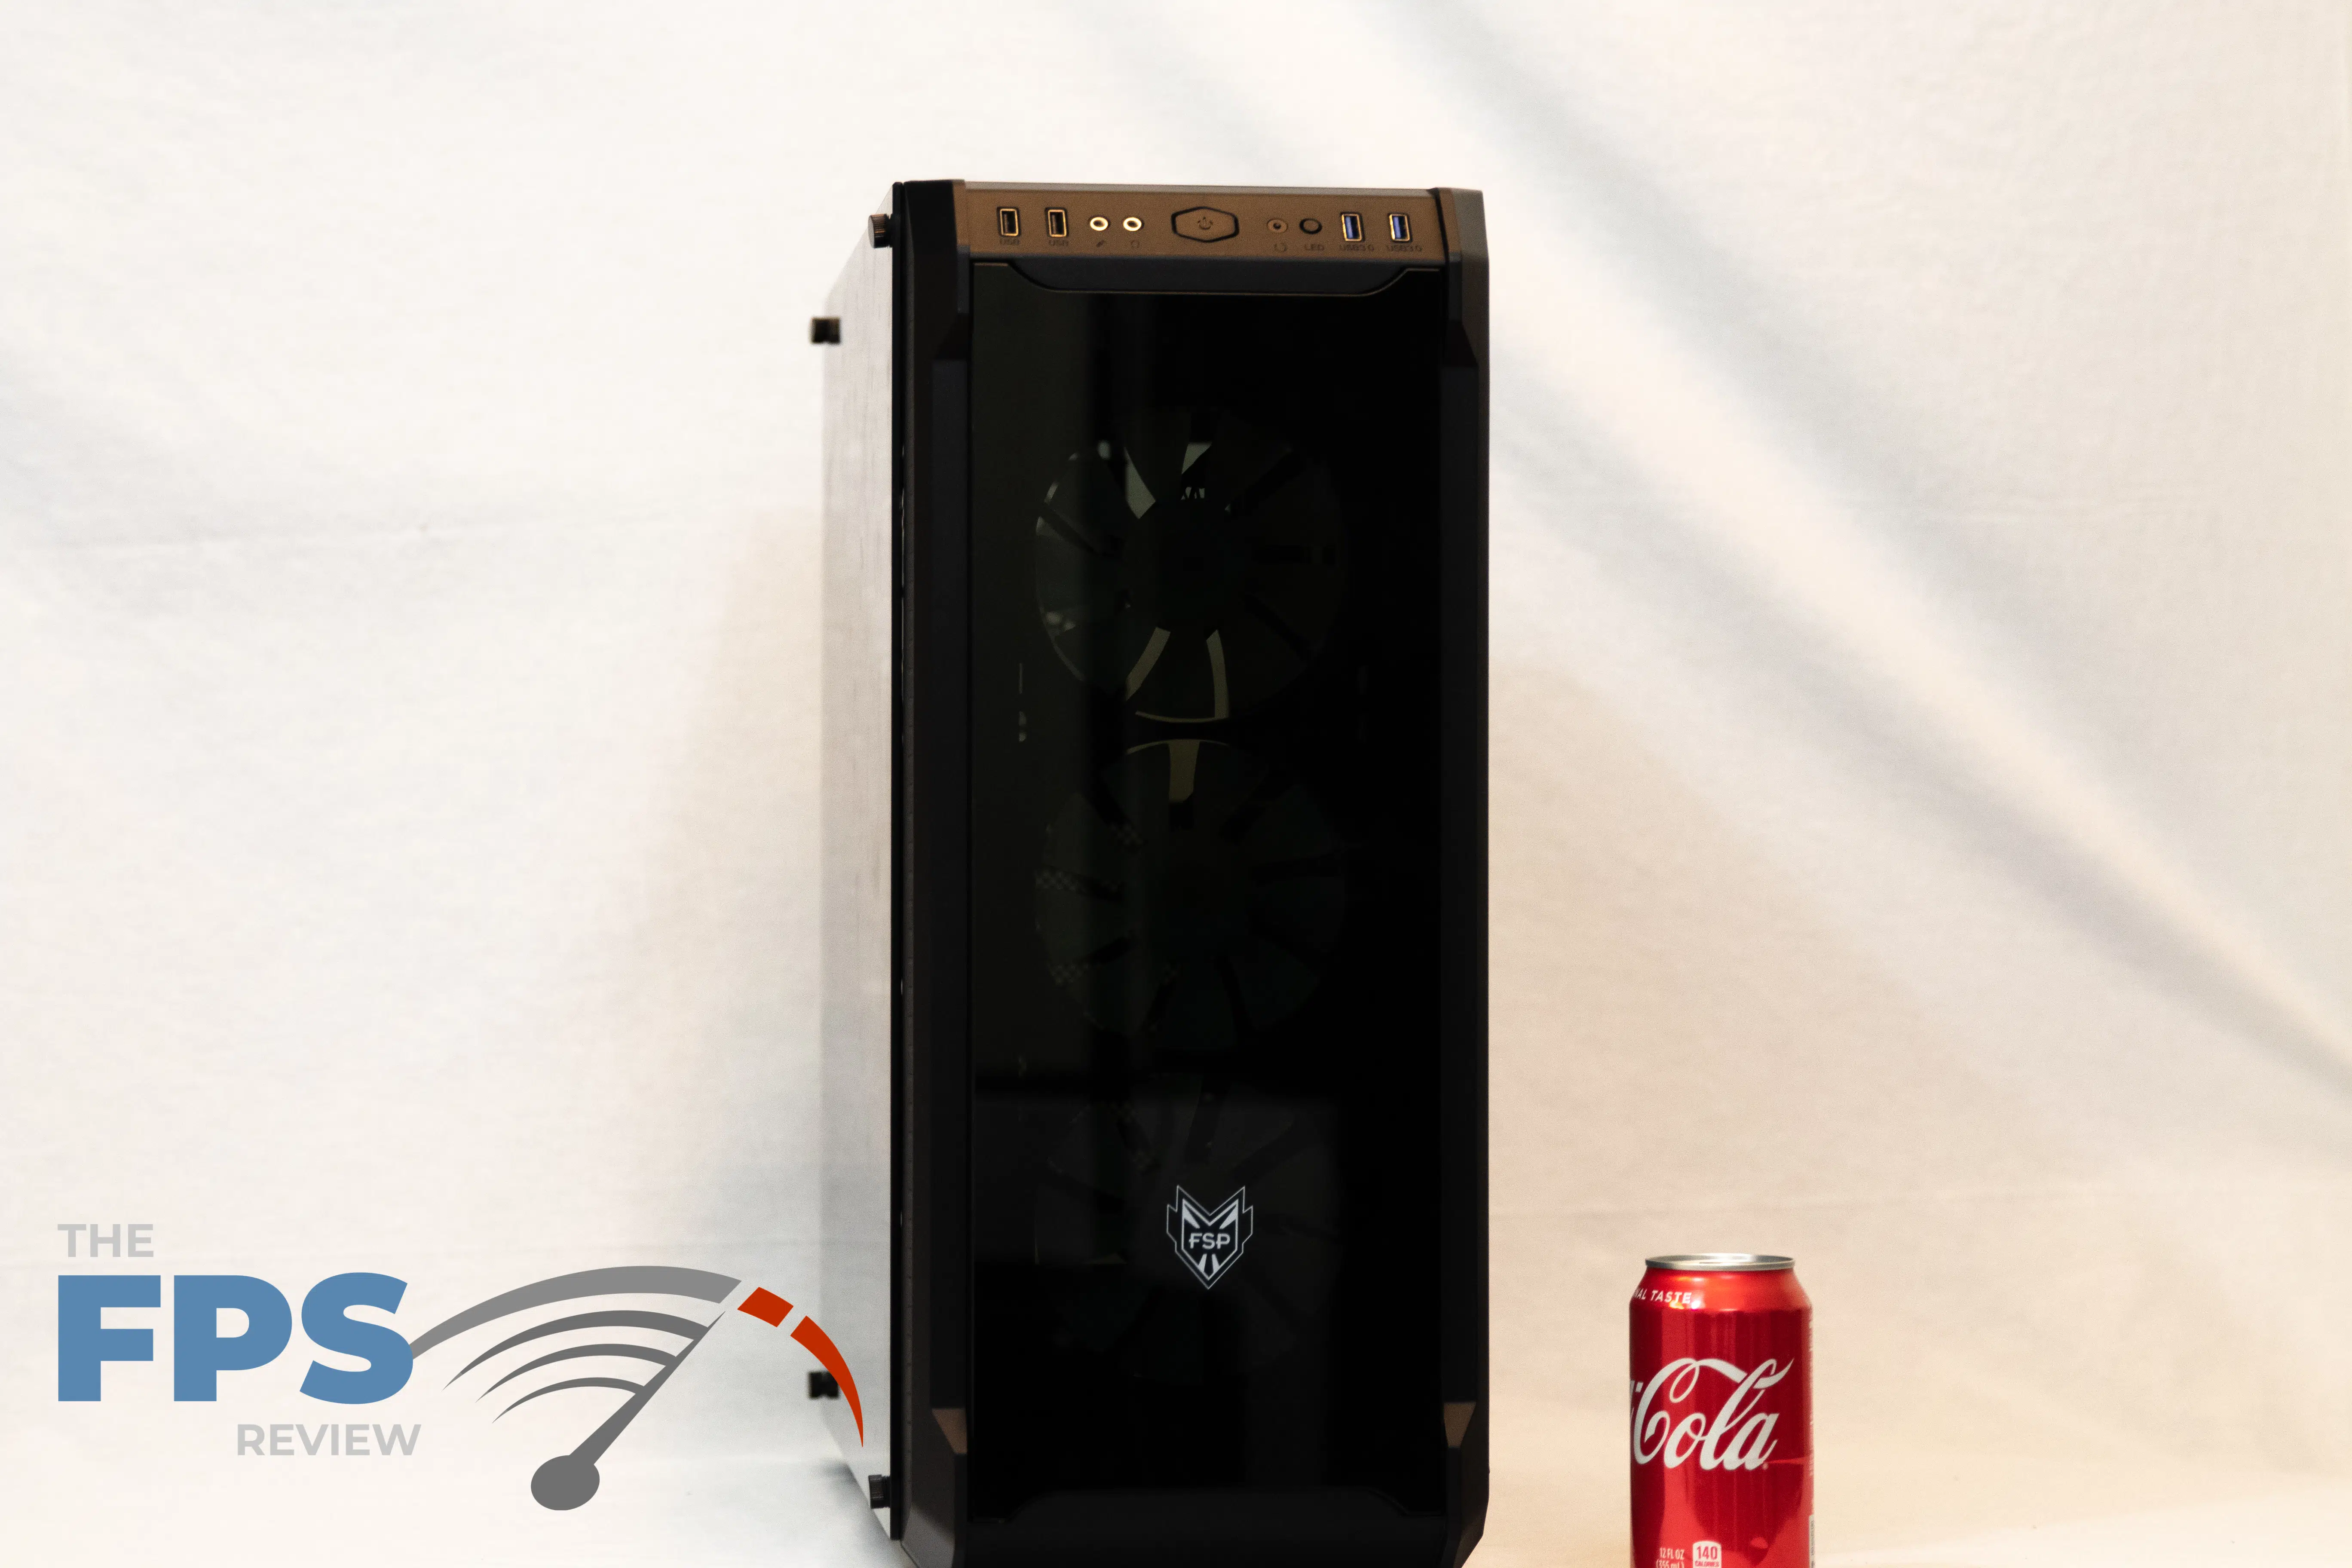
Before I lead you into the install of this case. I want to take a quick moment to point out the tempered glass panel on this case. As you can see in the pictures above there is nothing mounted on the panel. It’s just a pure, glass panel with 4 holes. The 4 thumb screws help attach the case to the rubber grommets on the case itself. This gives a very clean look to the case, but those thumb screws are visible.
Personally, I prefer this way of mounting an all-glass panel as it’s much easier to remove. On another case, I reviewed the case had mounting points stuck to the inside of the glass panel that. Removing the panel off that case was difficult and even caused me to shatter the panel trying to pry it off. This panel, on the other hand, comes off very smooth and easy.
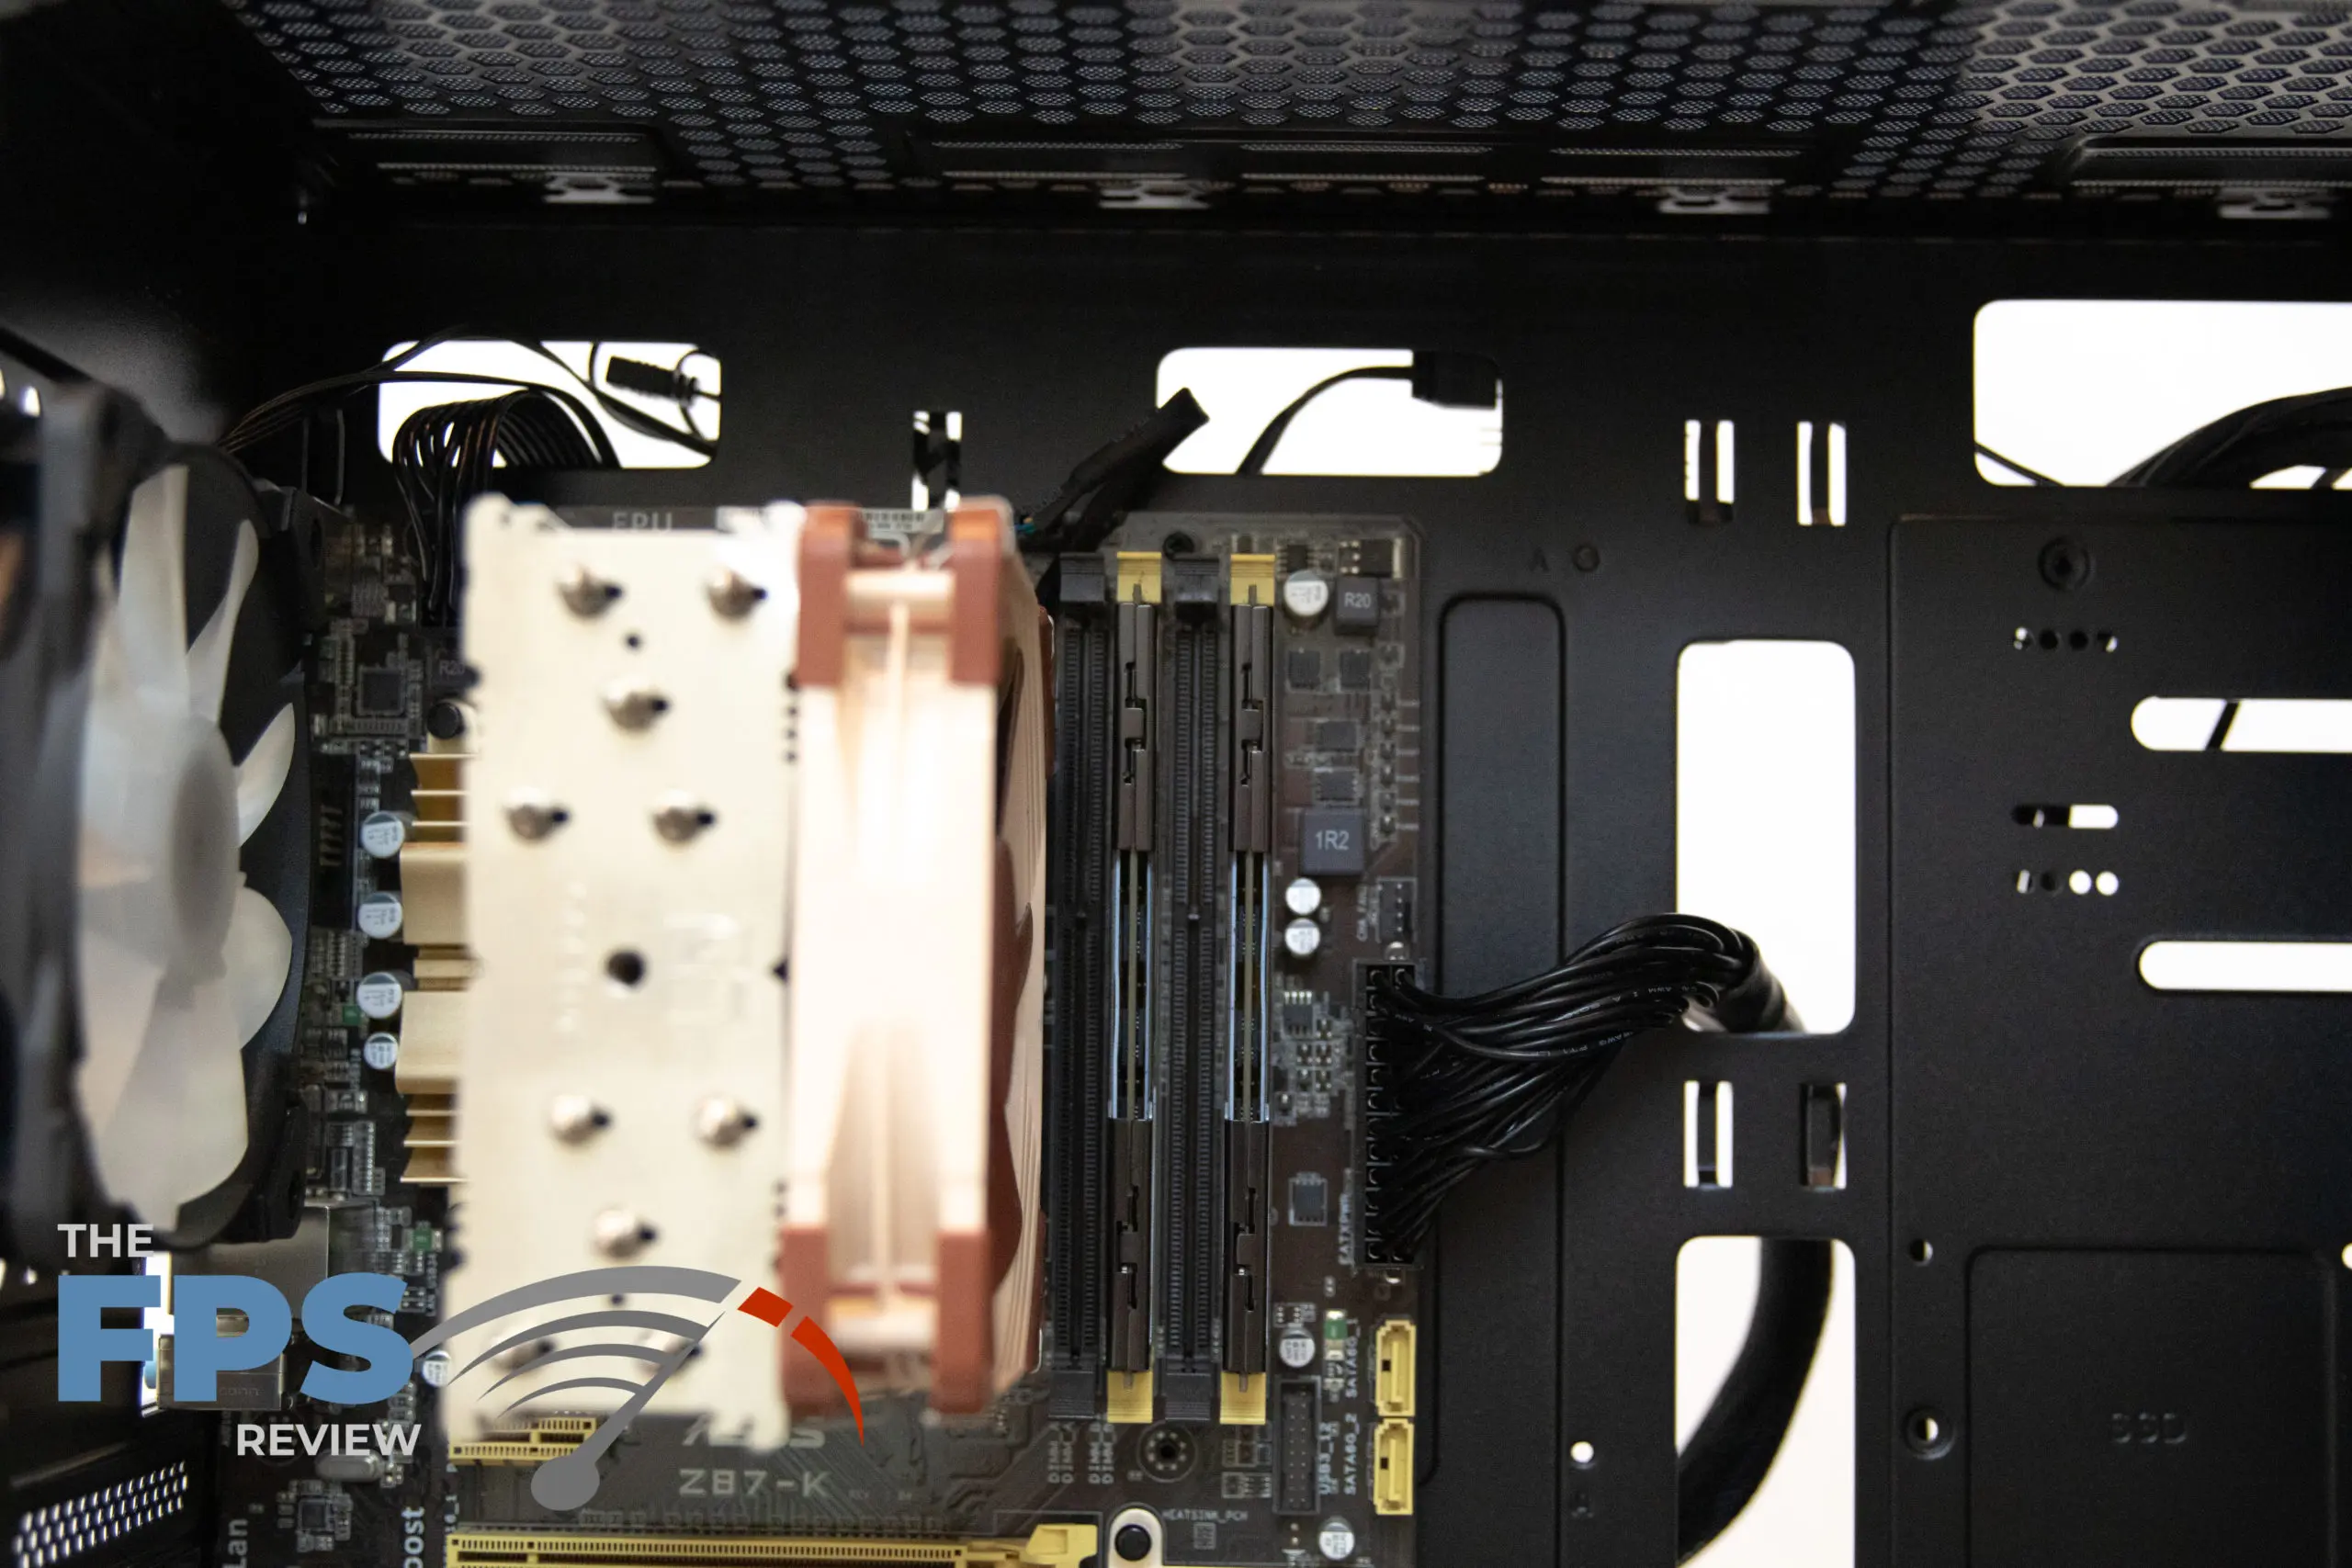
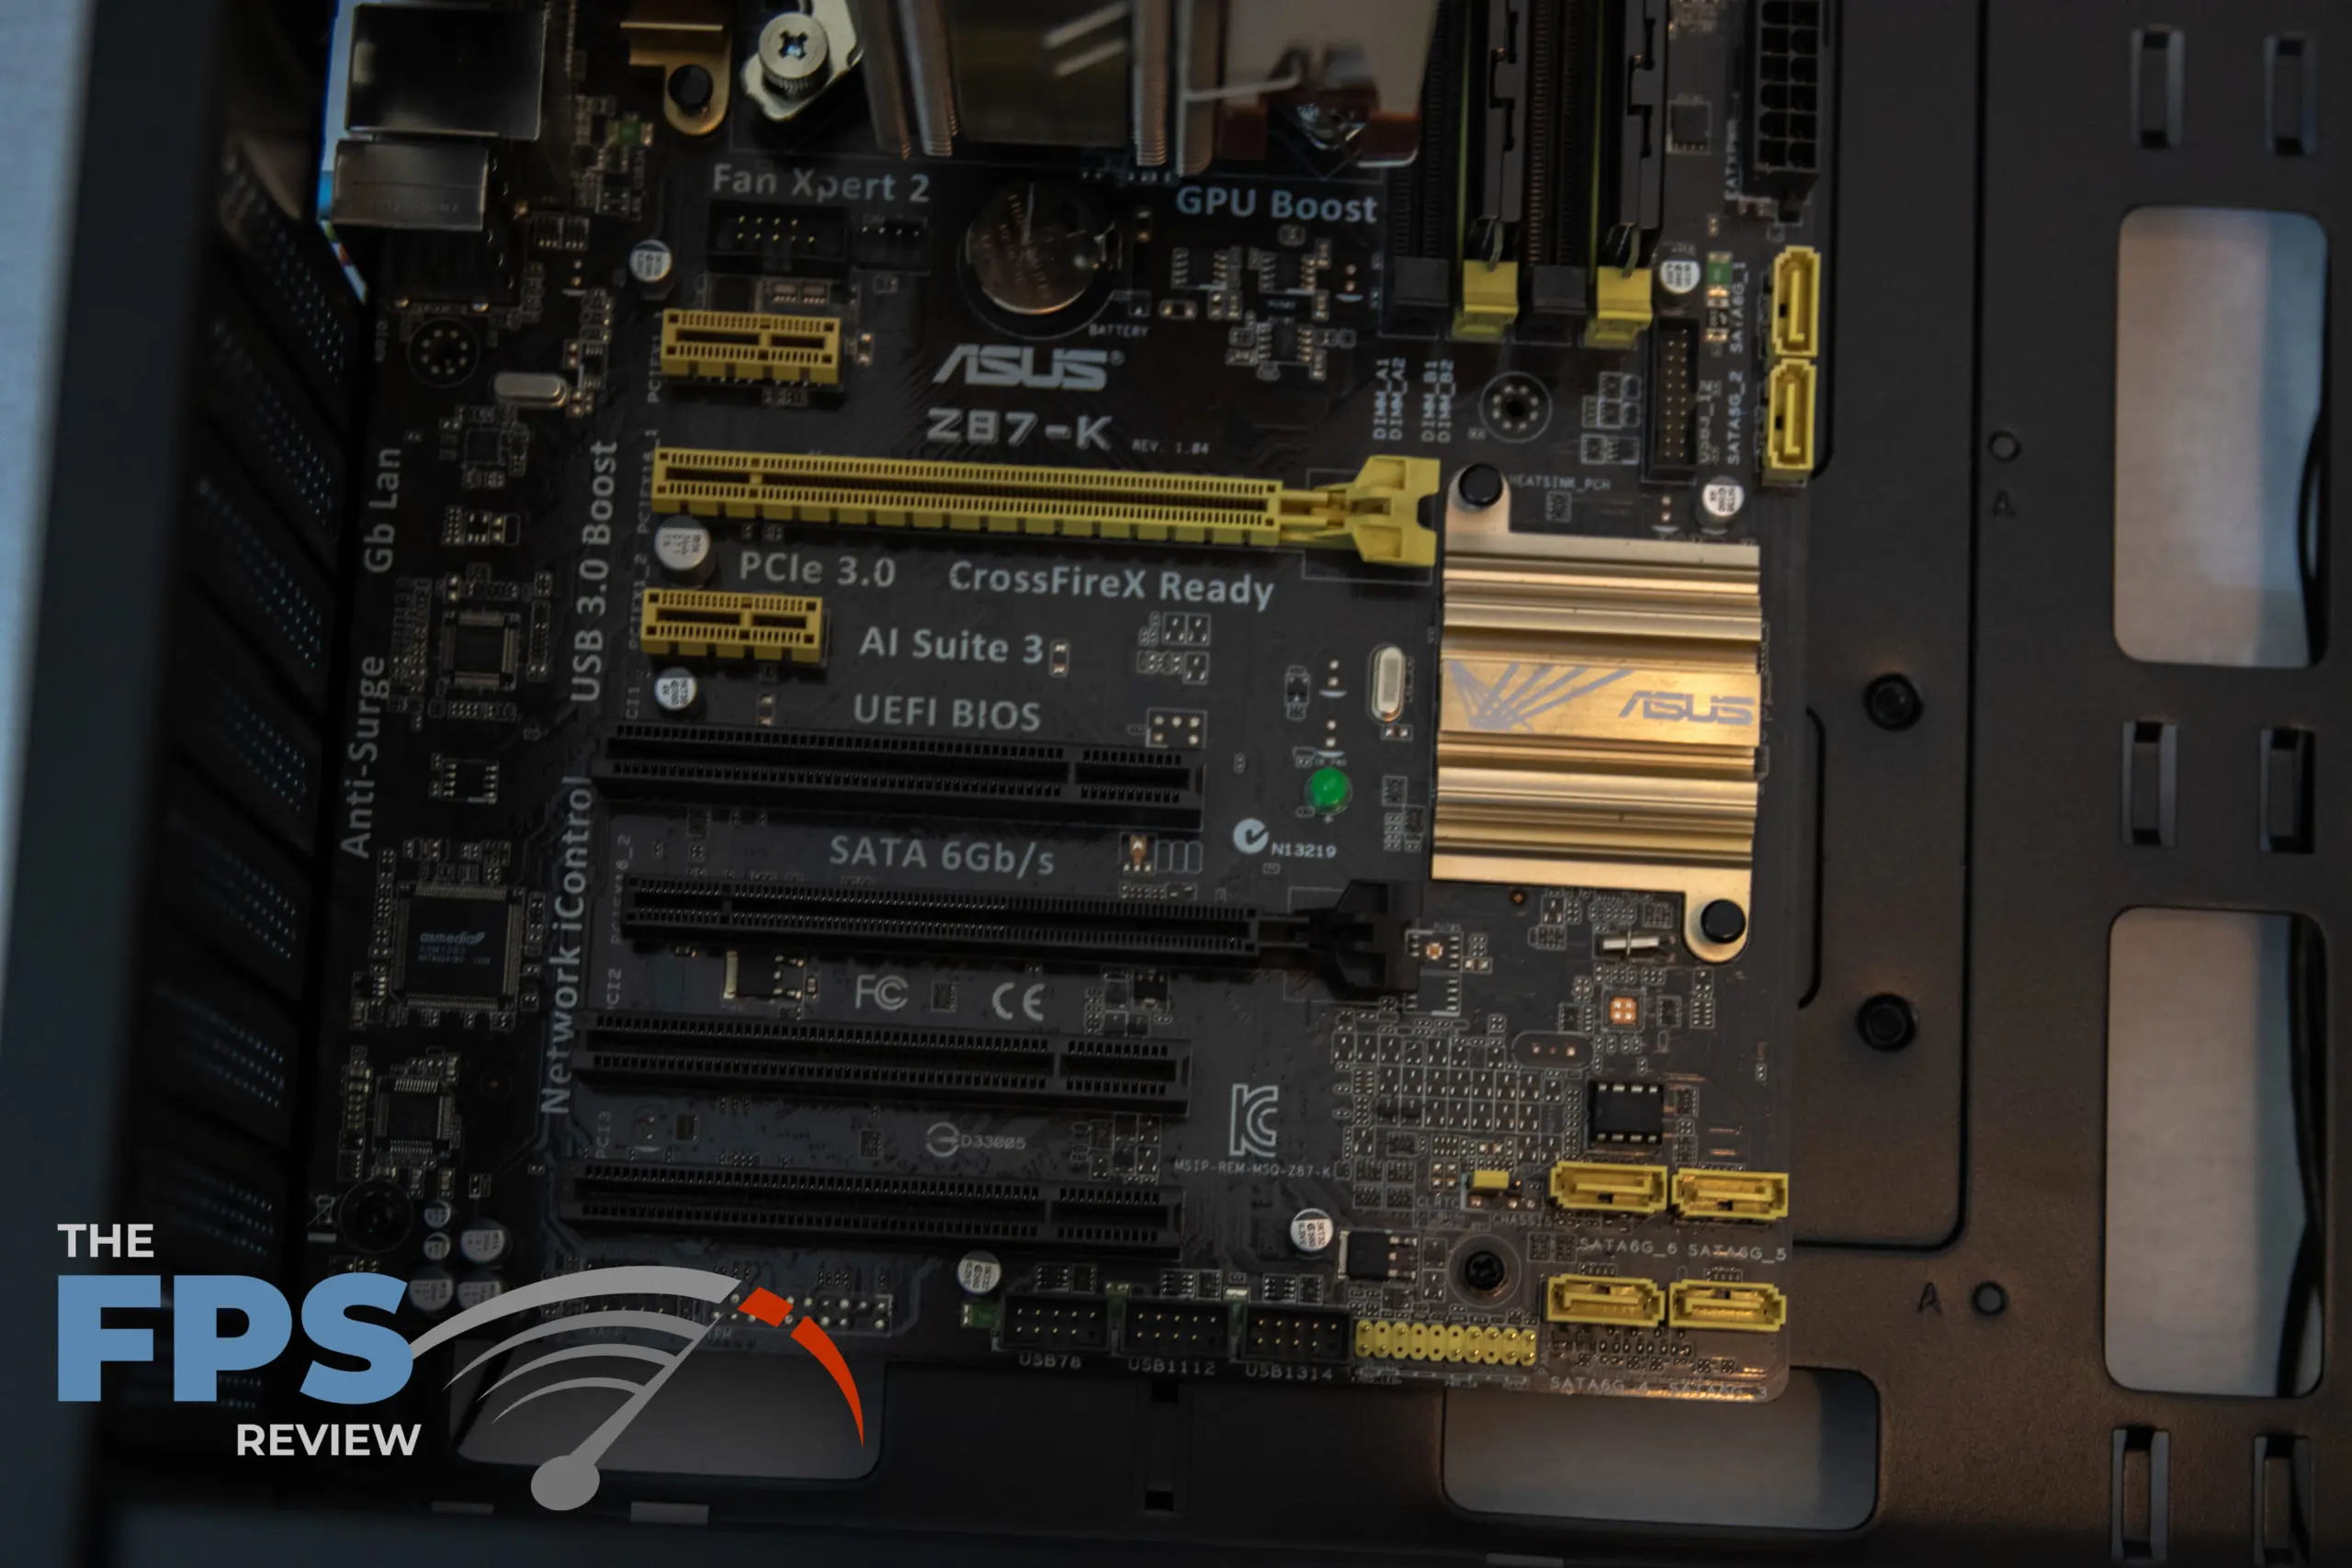
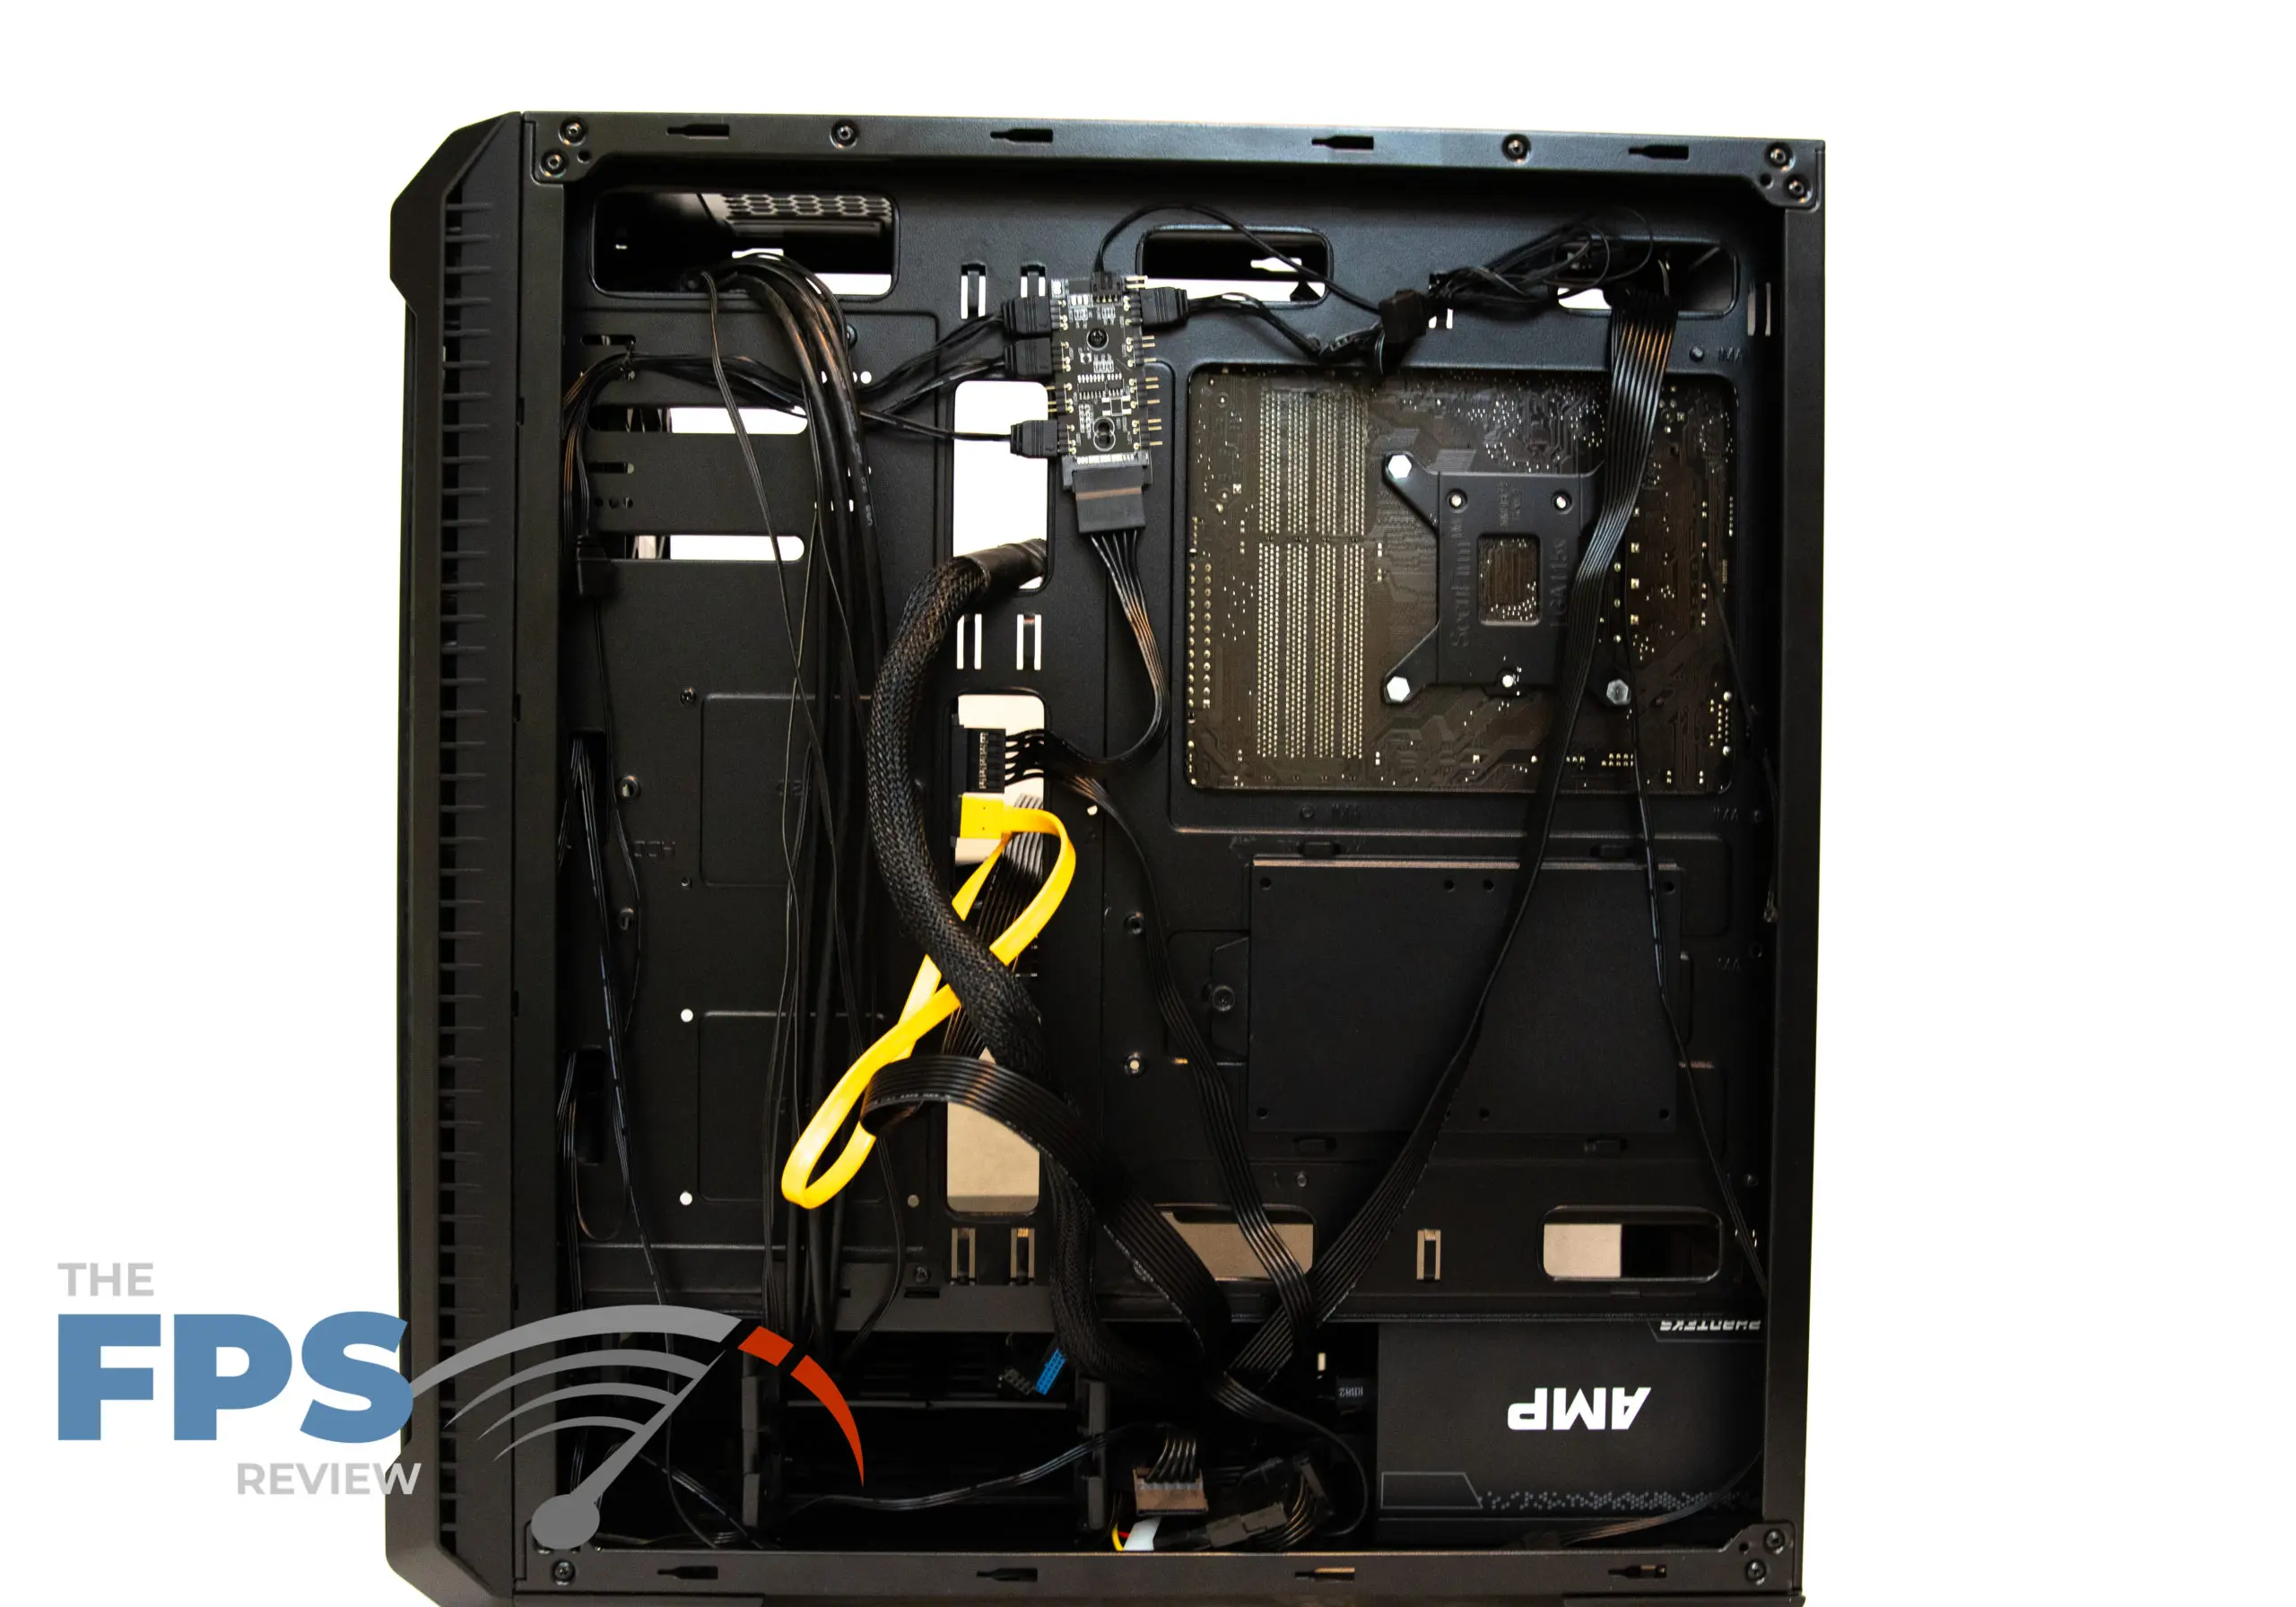
We are using a standard ATX motherboard for this install. As you can see in the pictures above there is plenty of room all around. The top has plenty of room for a radiator or more case fans. The right side of the motherboard clears the cable management ports, but sadly this case doesn’t have any sort of shroud to cover them. Overall, it was very easy to install the motherboard in this case.
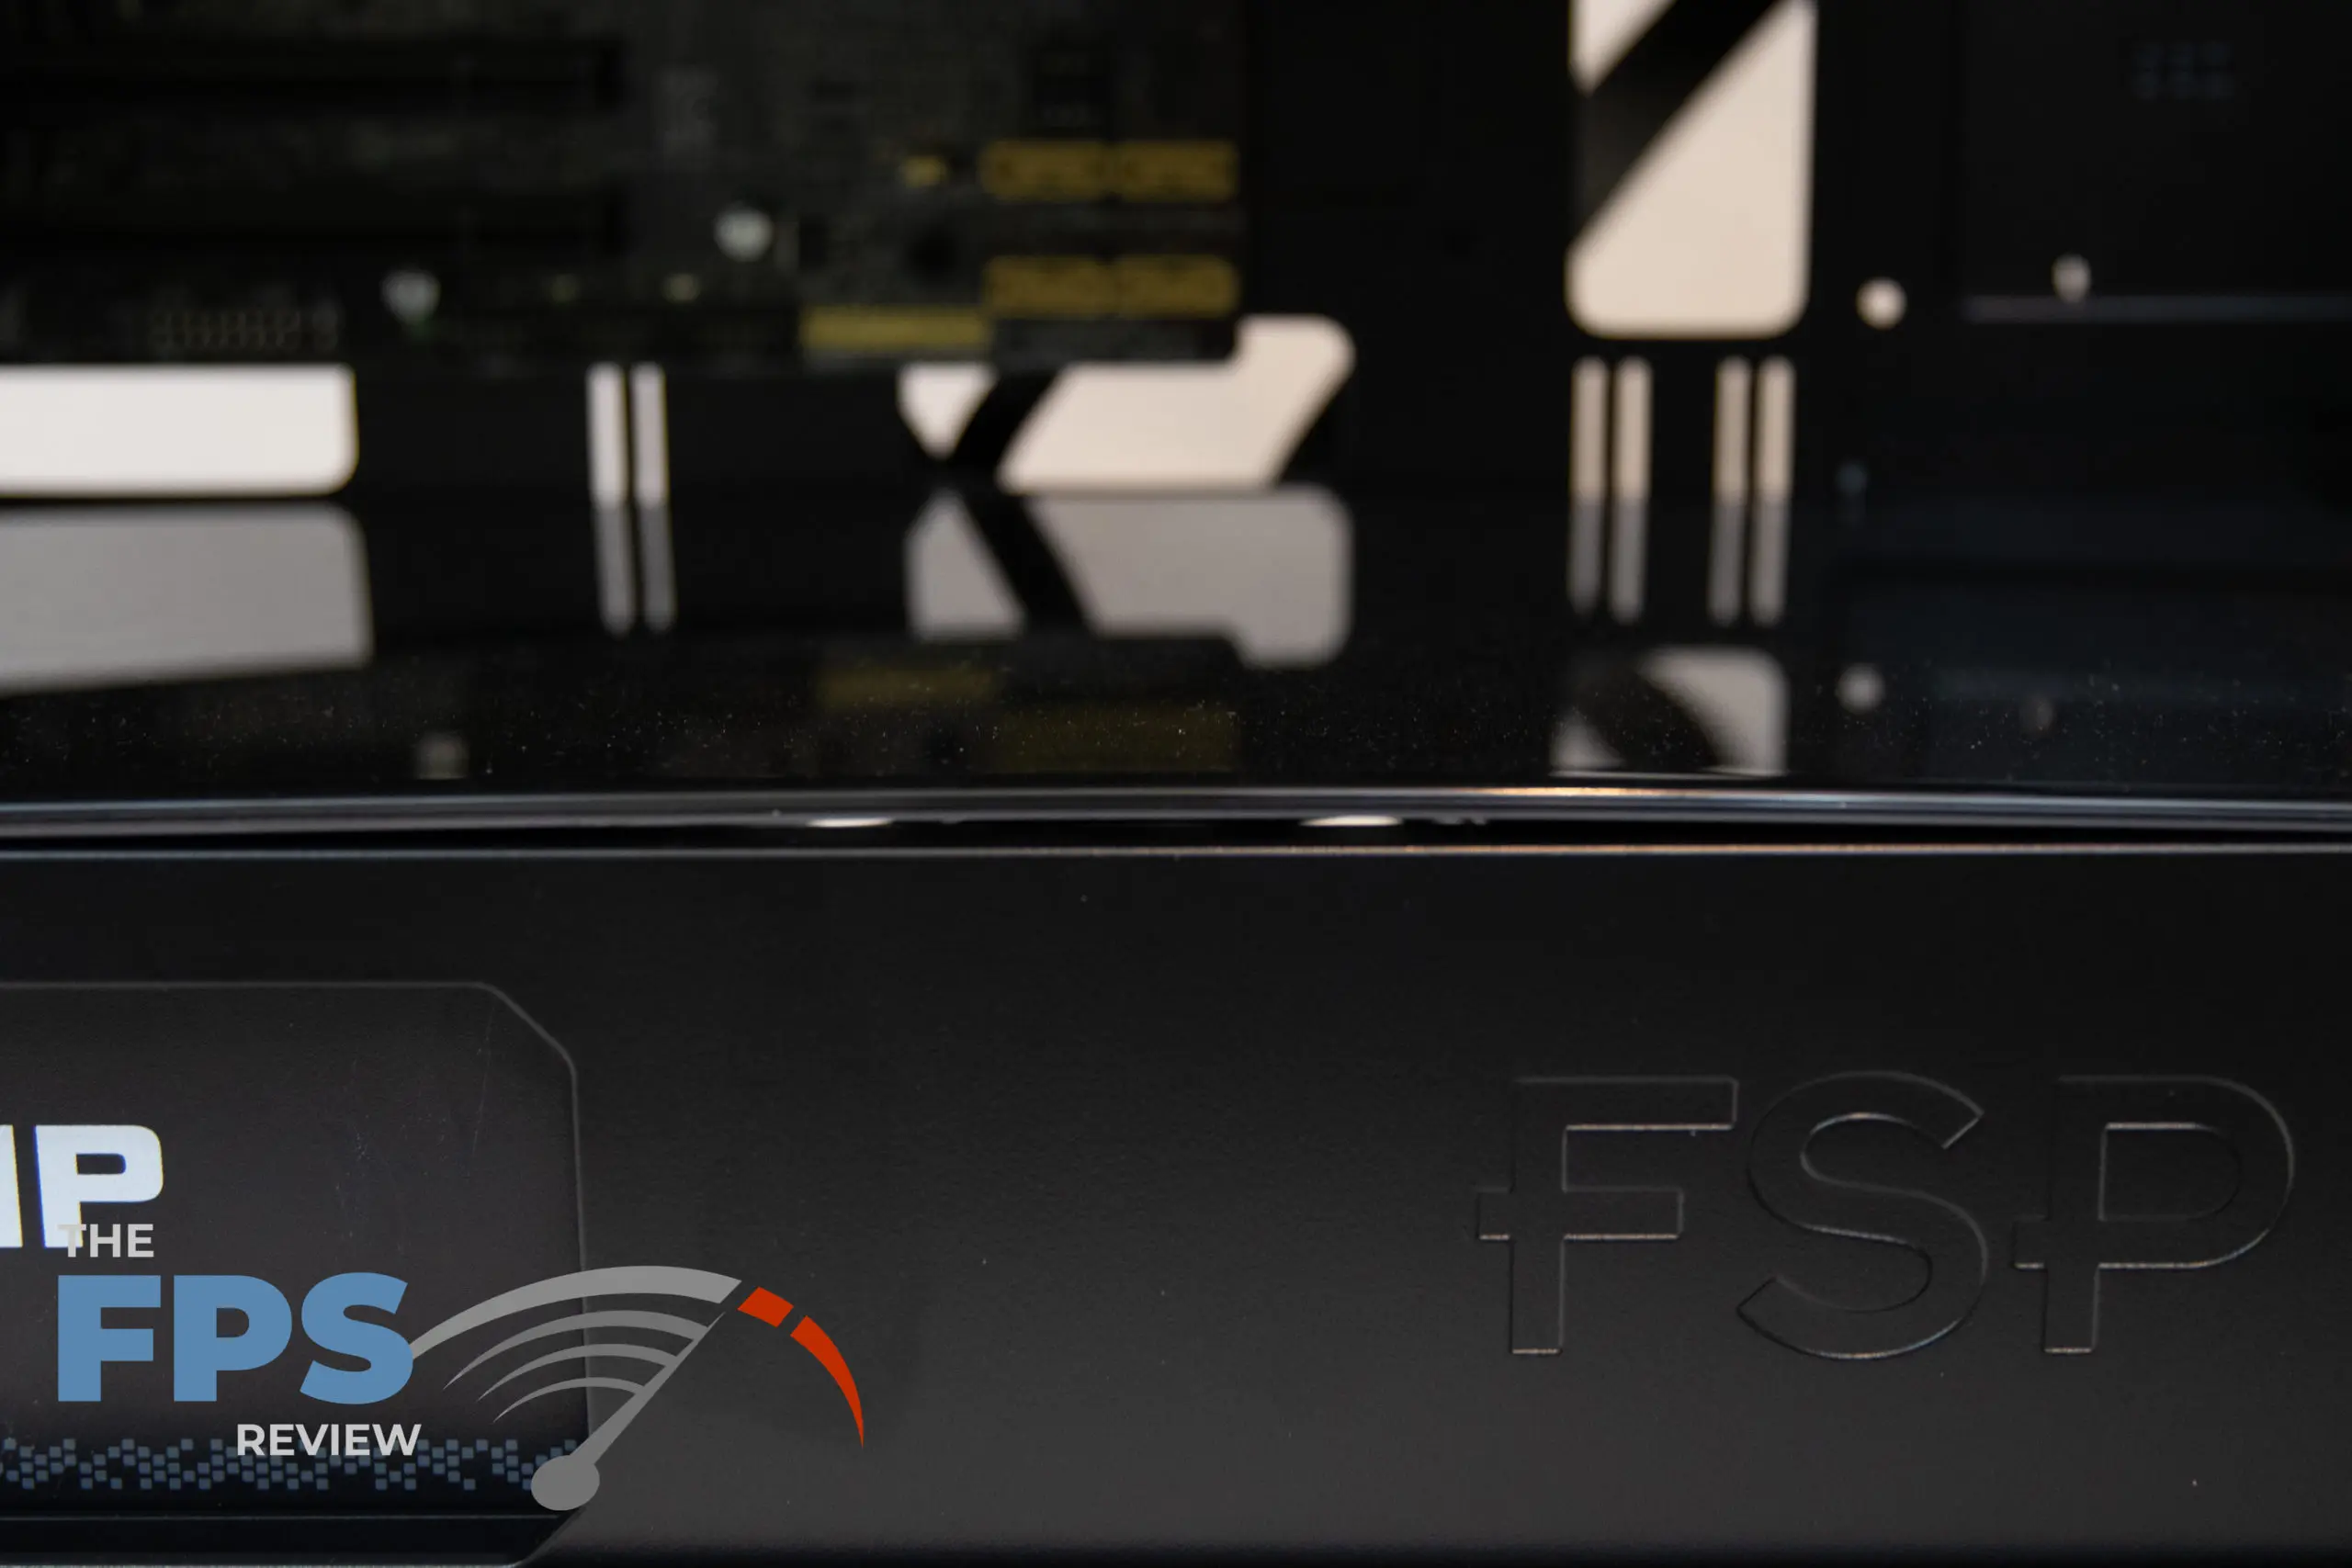
When I first noticed the bow in the removable tray above the PSU I wasn’t too concerned with it. However, after getting everything installed in the case it began to bother me. The left shows a much better picture of the gap.
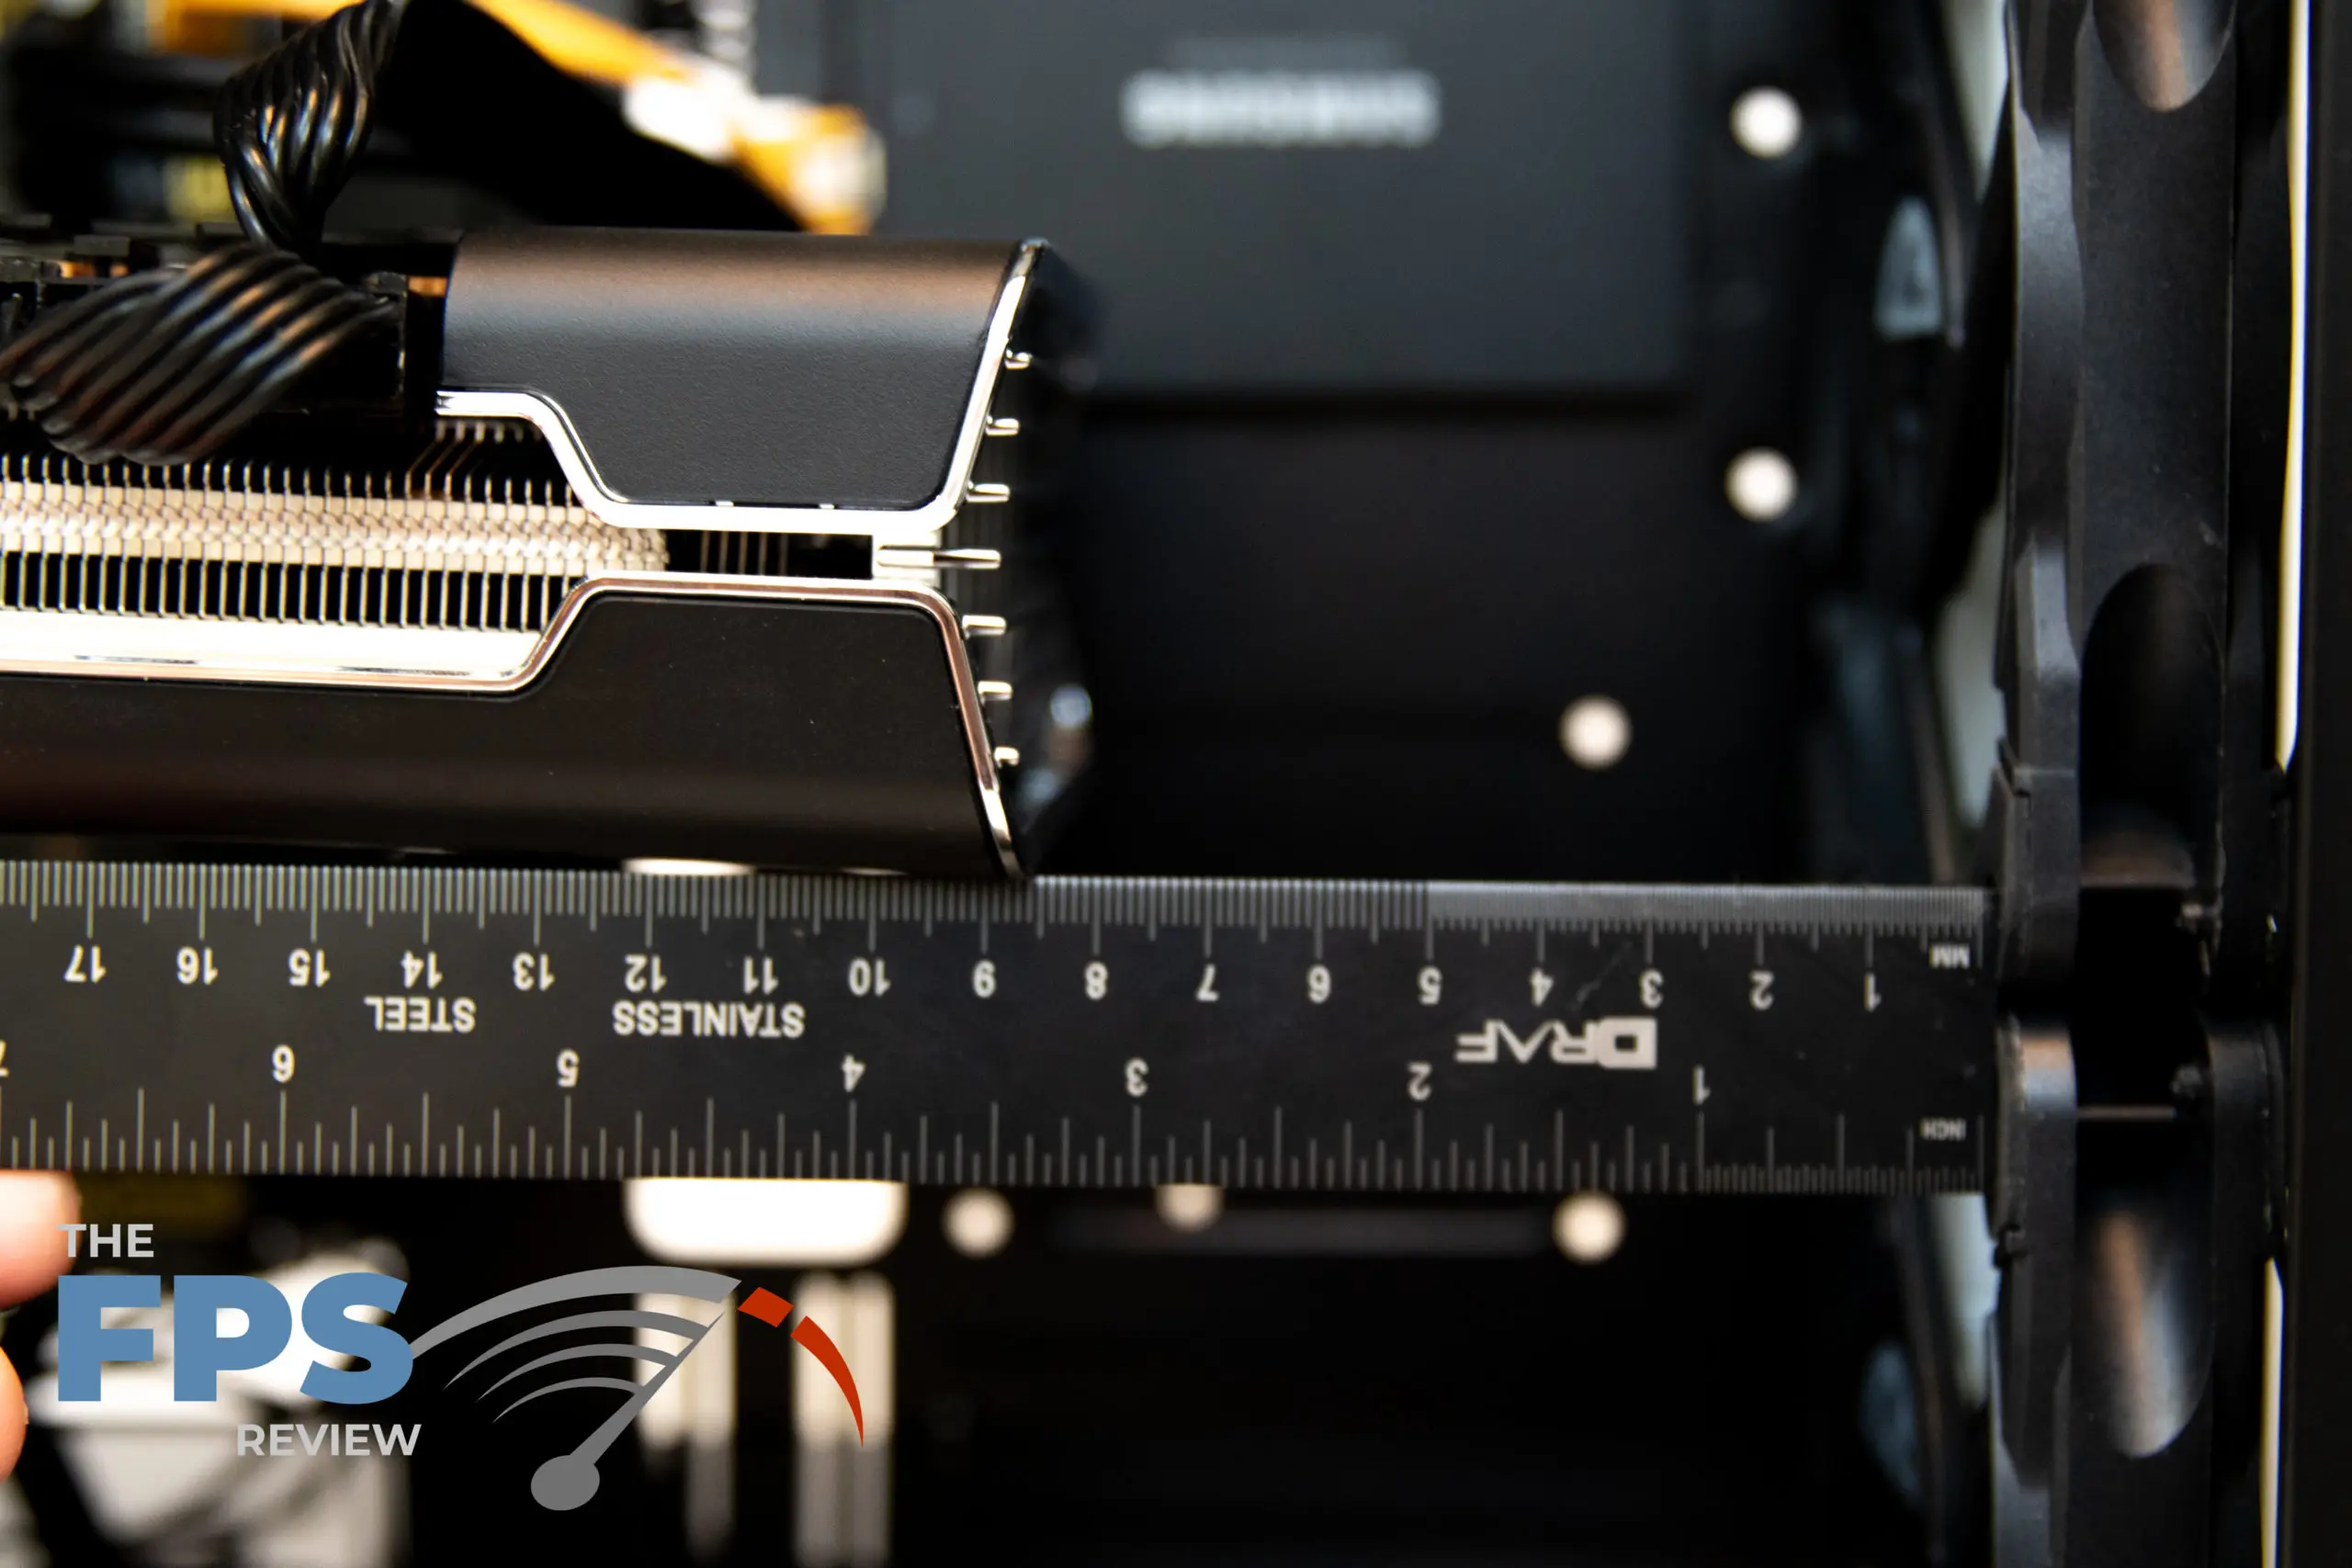
The video card is an XFX RX 5700 XT THICC III Ultra. If you read the review we did on this card you know it’s a beastly sized card sitting at 12.4″ long. Despite this long card in here, there is still 3.25″ of space at the end of the card to the front case fans. Plenty of room for a radiator setup.
If you’ve read my previous case reviews you know I am a fan of having a huge opening behind the motherboard near where the CPU sits. This case delivers perfectly. So if you start a build with this case and later decided to replace your CPU cooler it’s nice knowing you wont have to remove the motherboard to gain access back there.


I only took a couple pictures to show the RGB lighting on the case fans, but there lots of colors to choose from. What the still picture doesn’t show is all the different options the lights can do from being a solid color, to fading off to on, as well as fading through multiple colors.
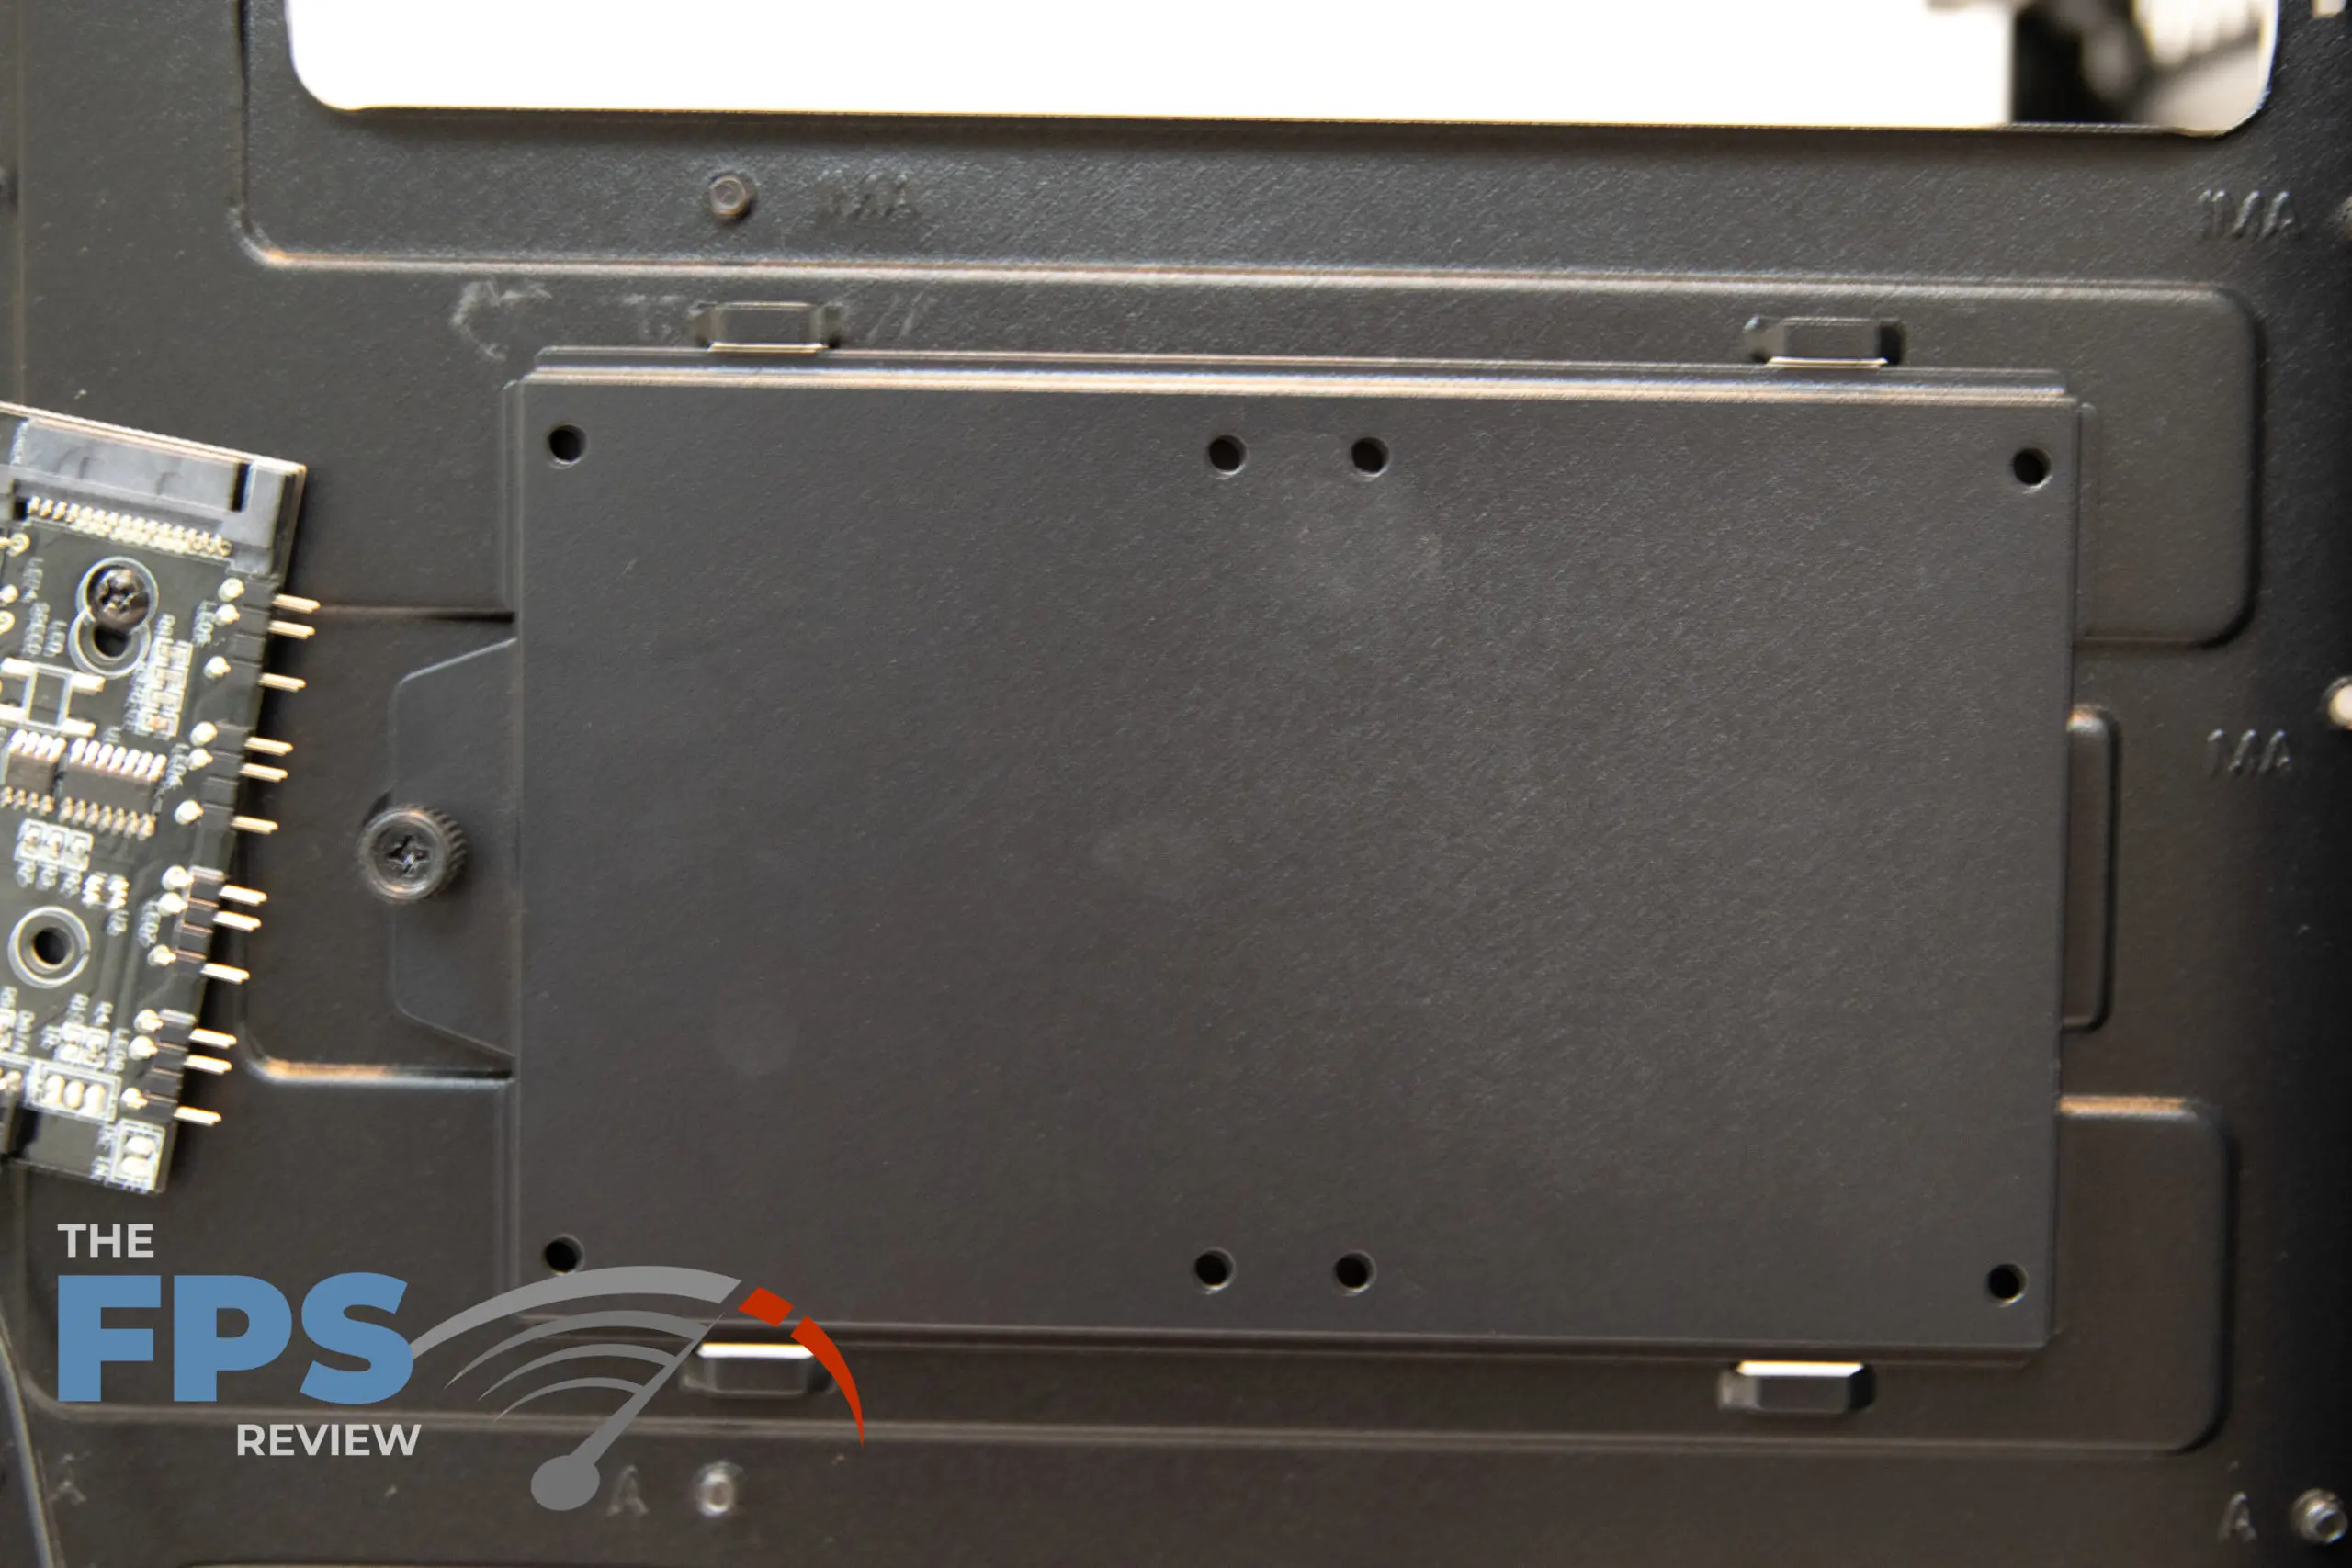
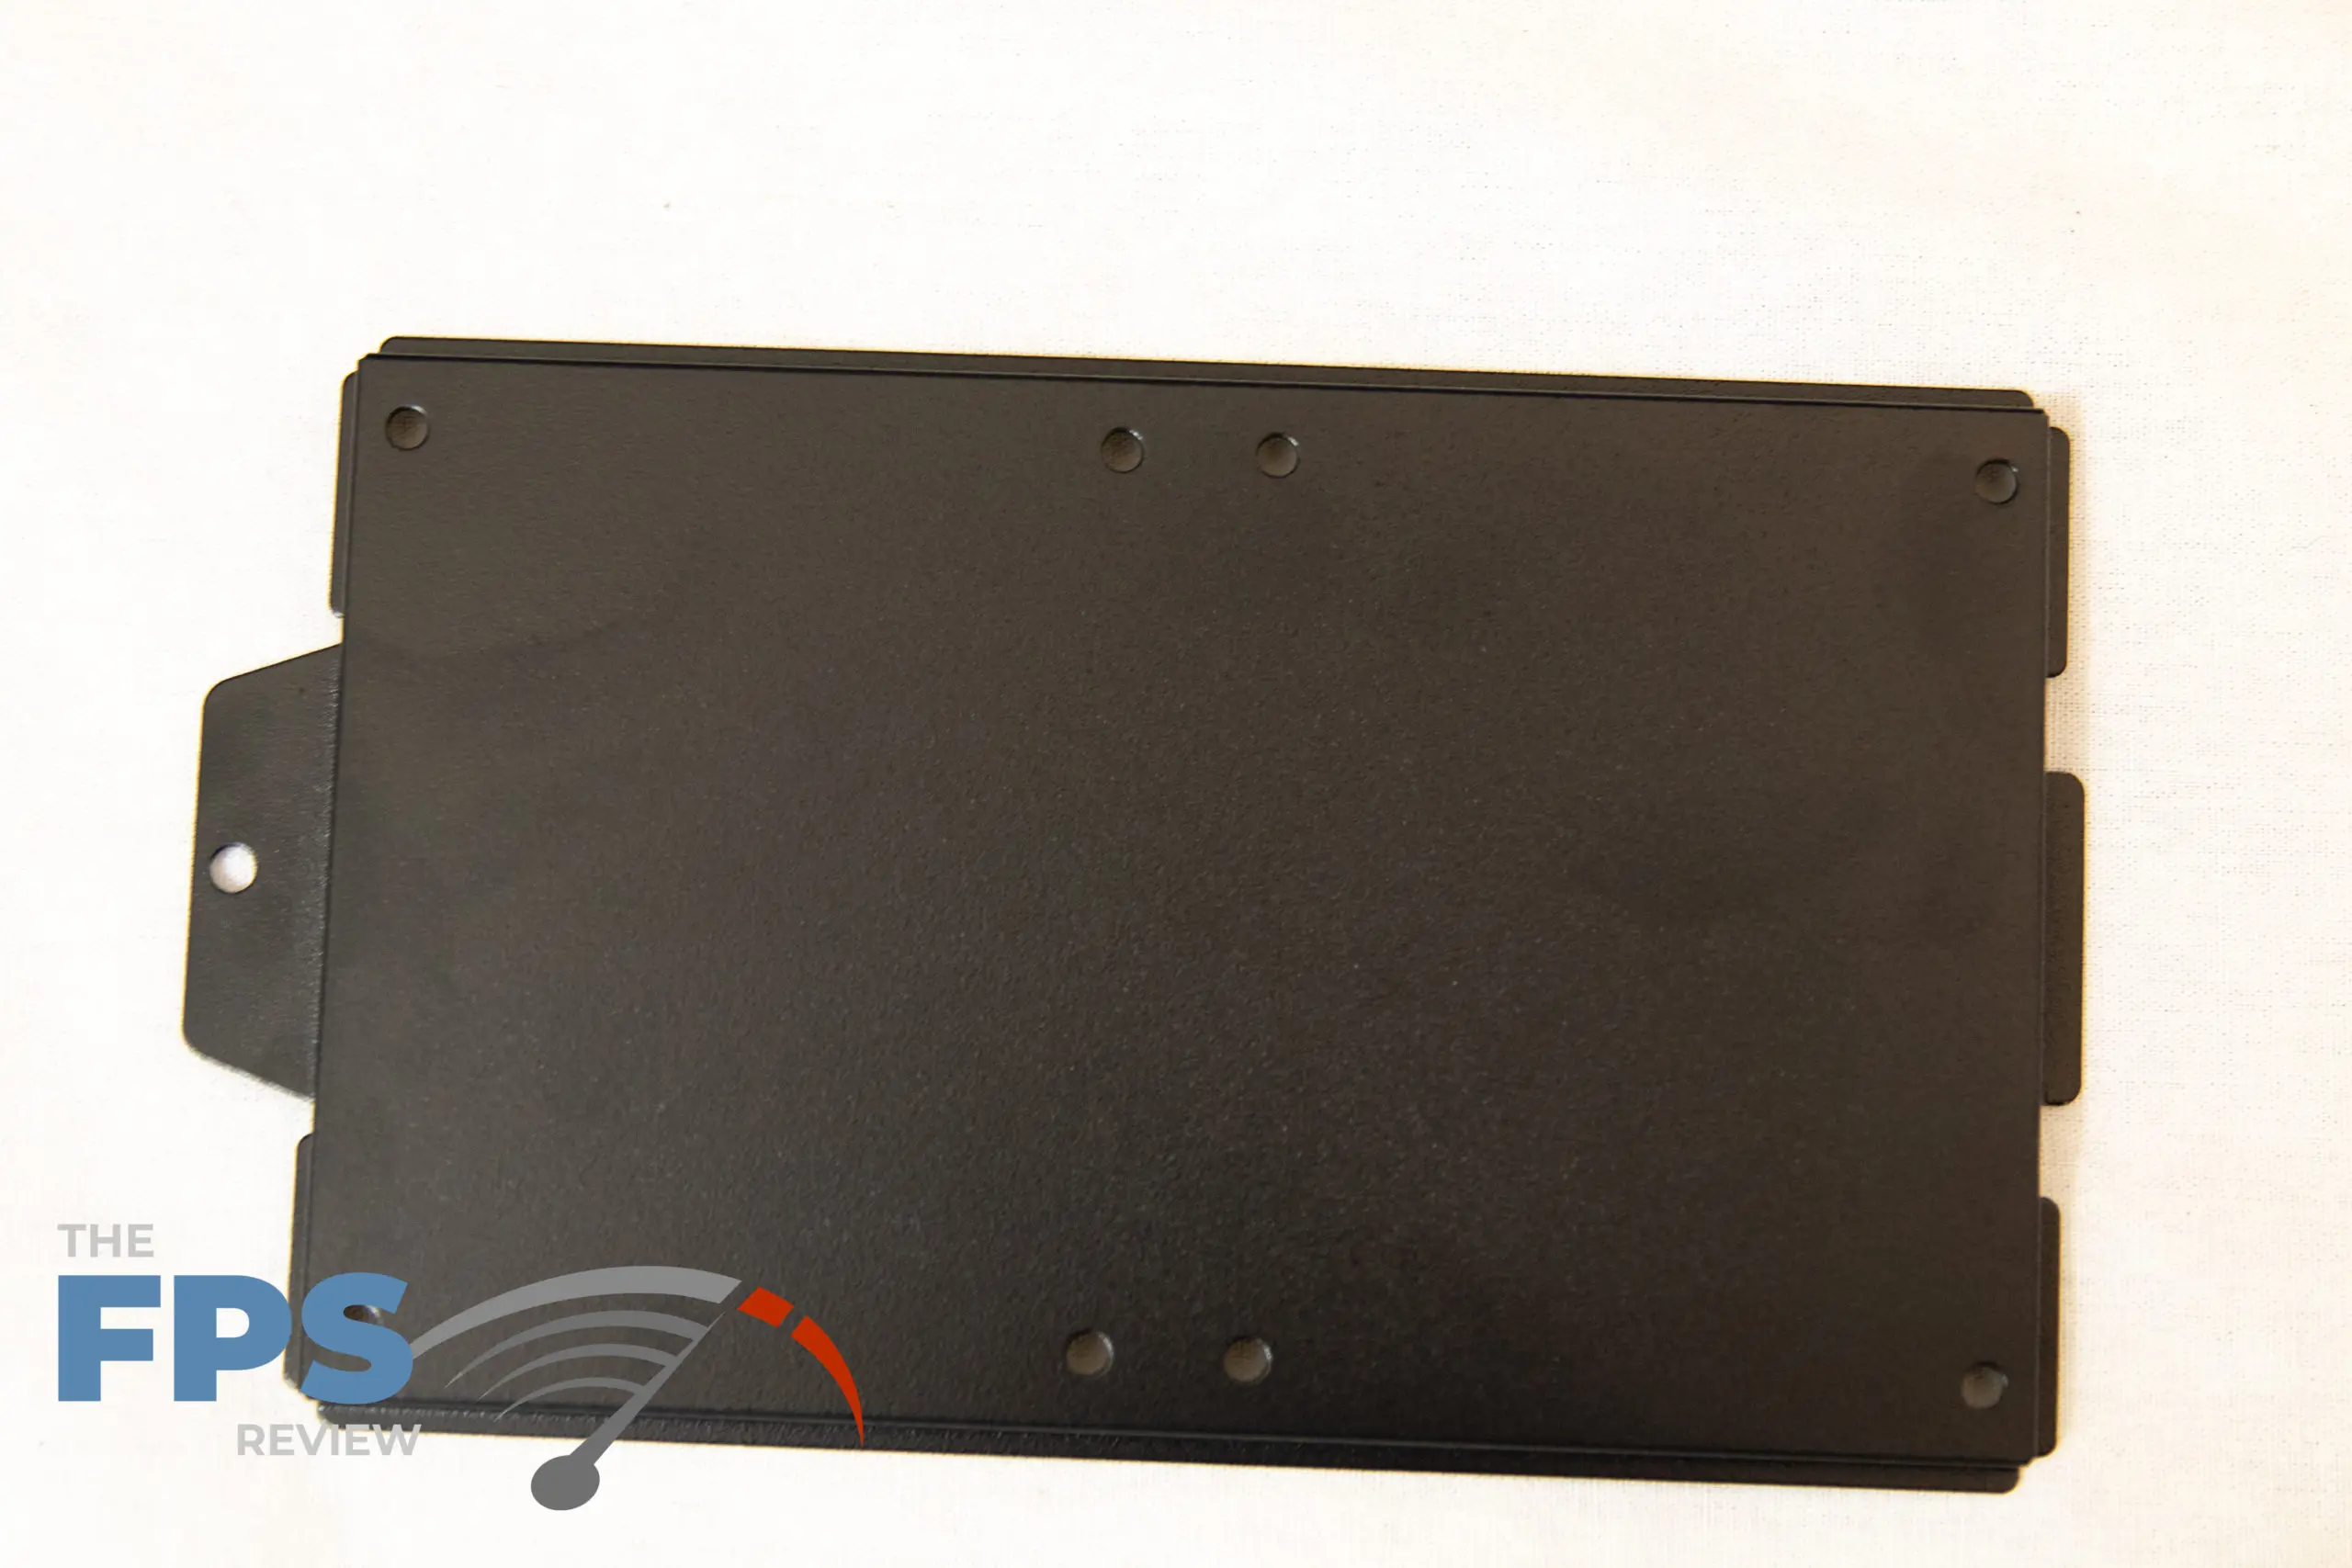
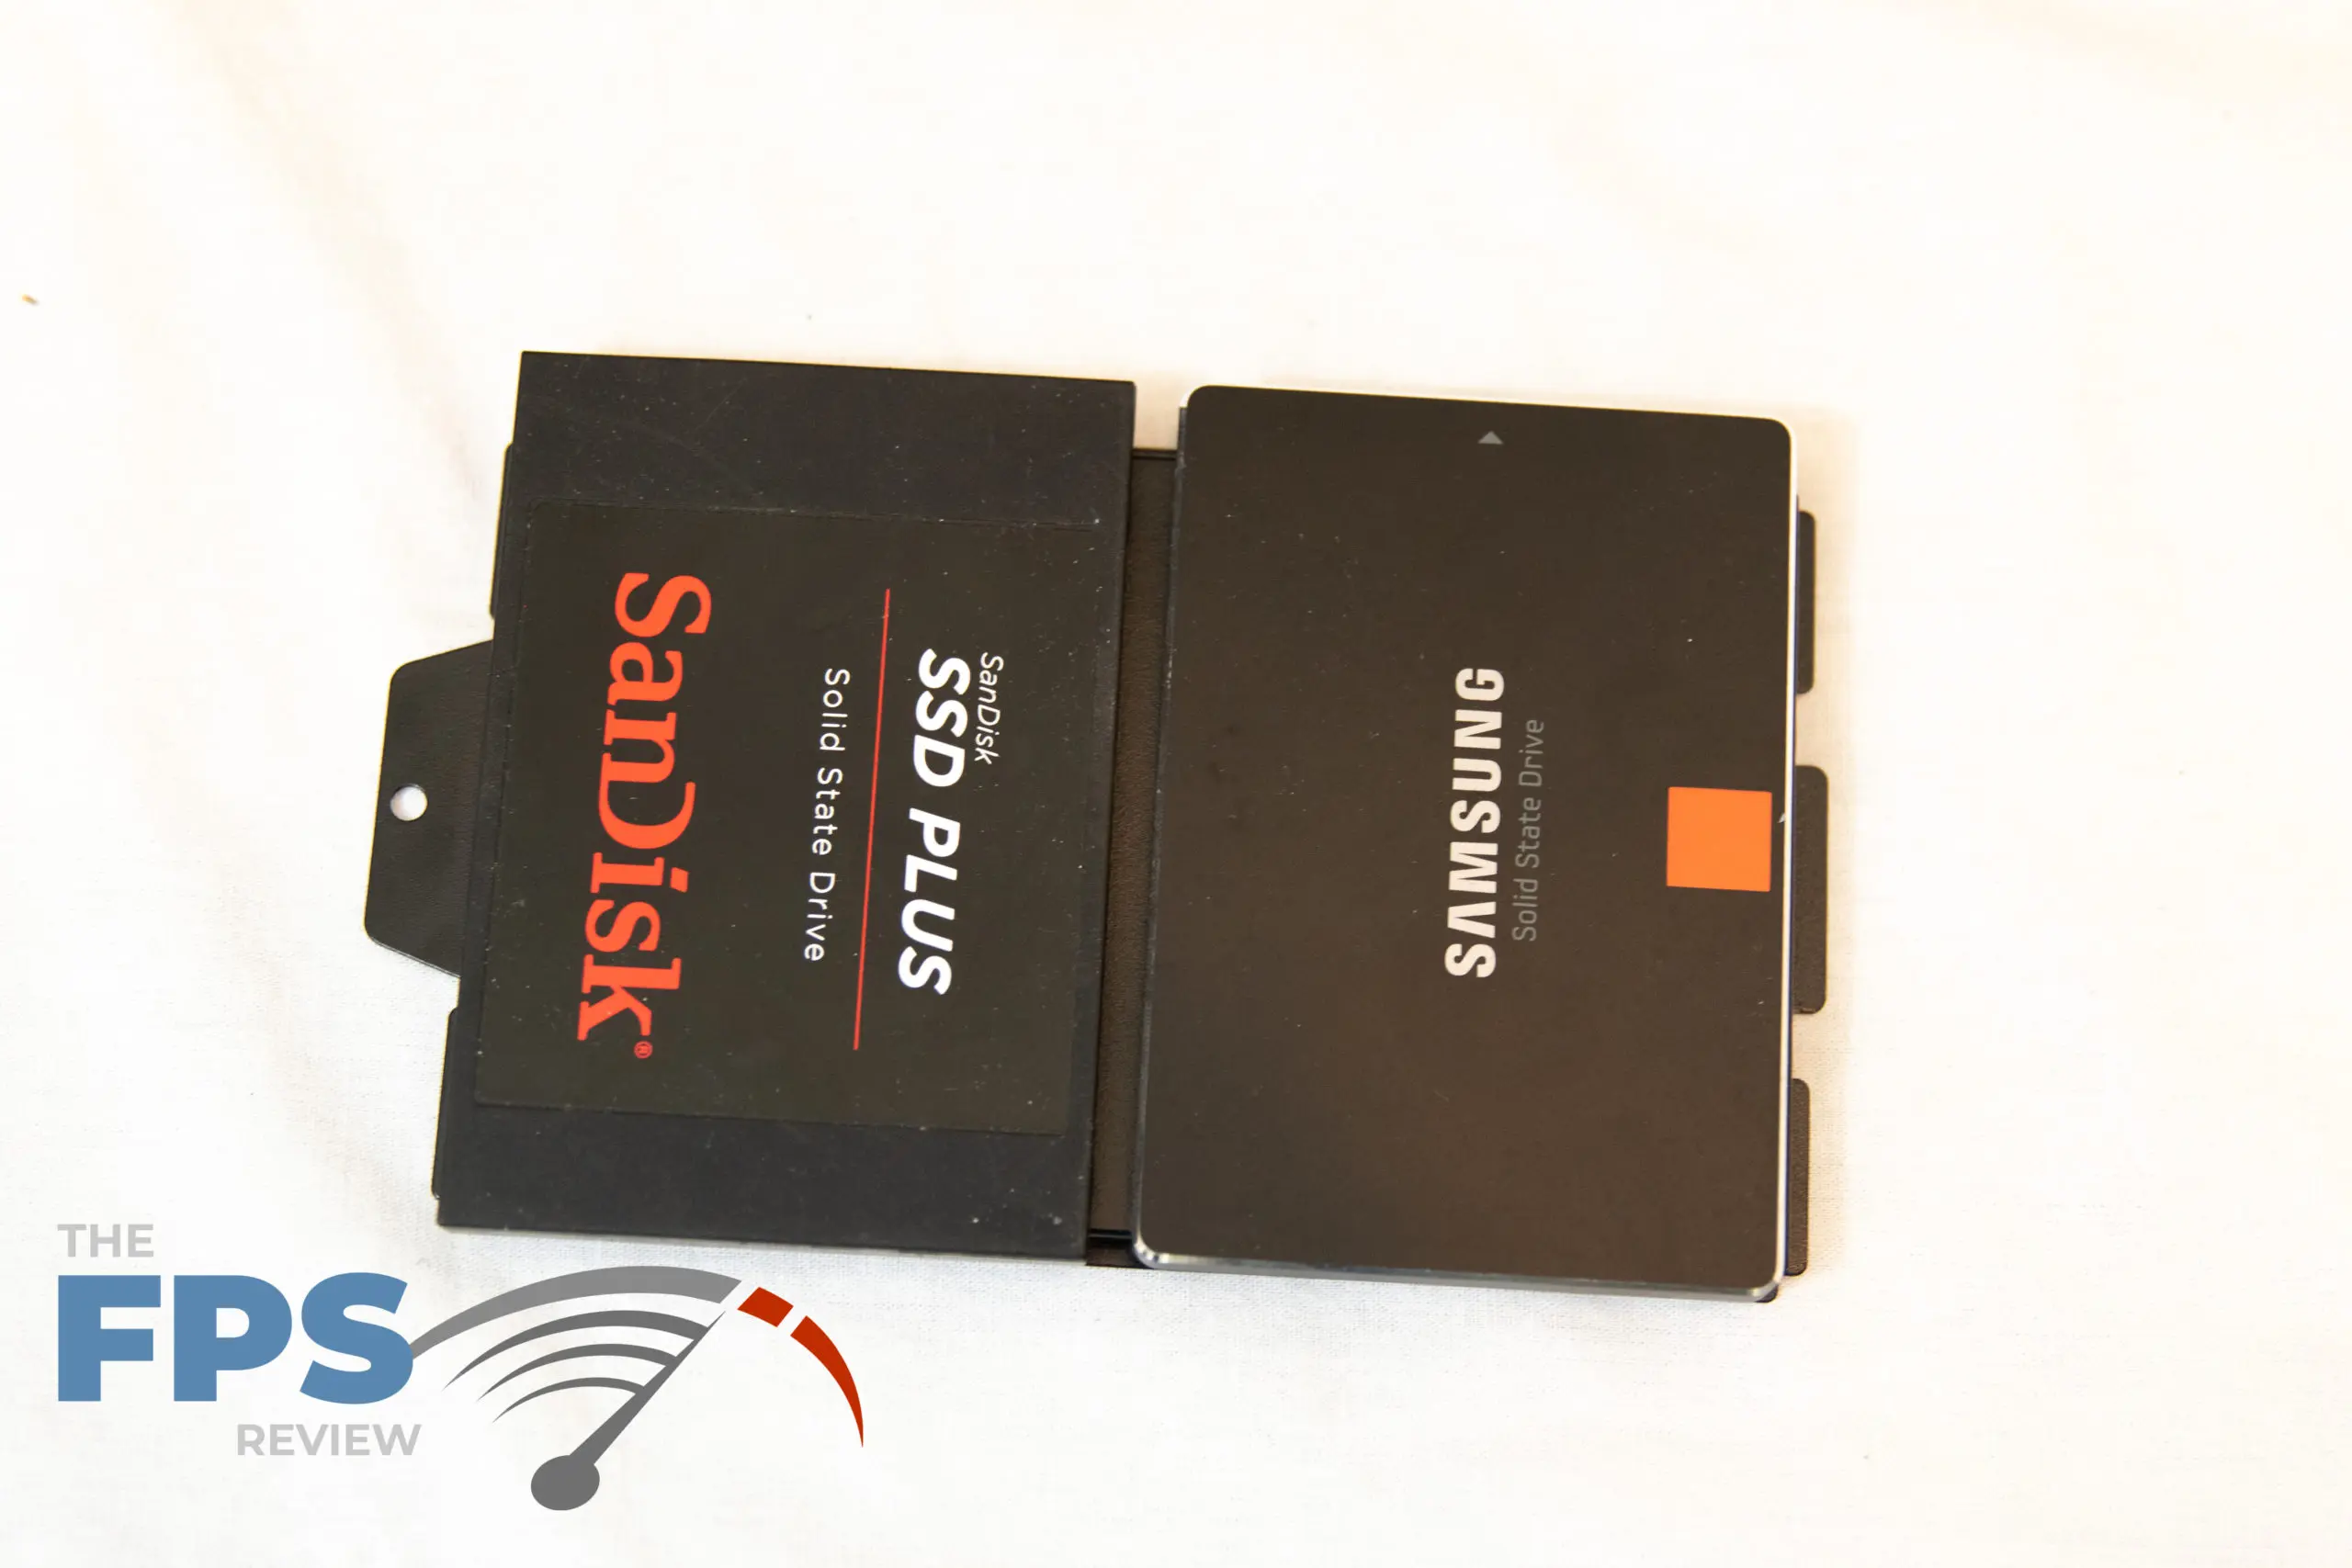
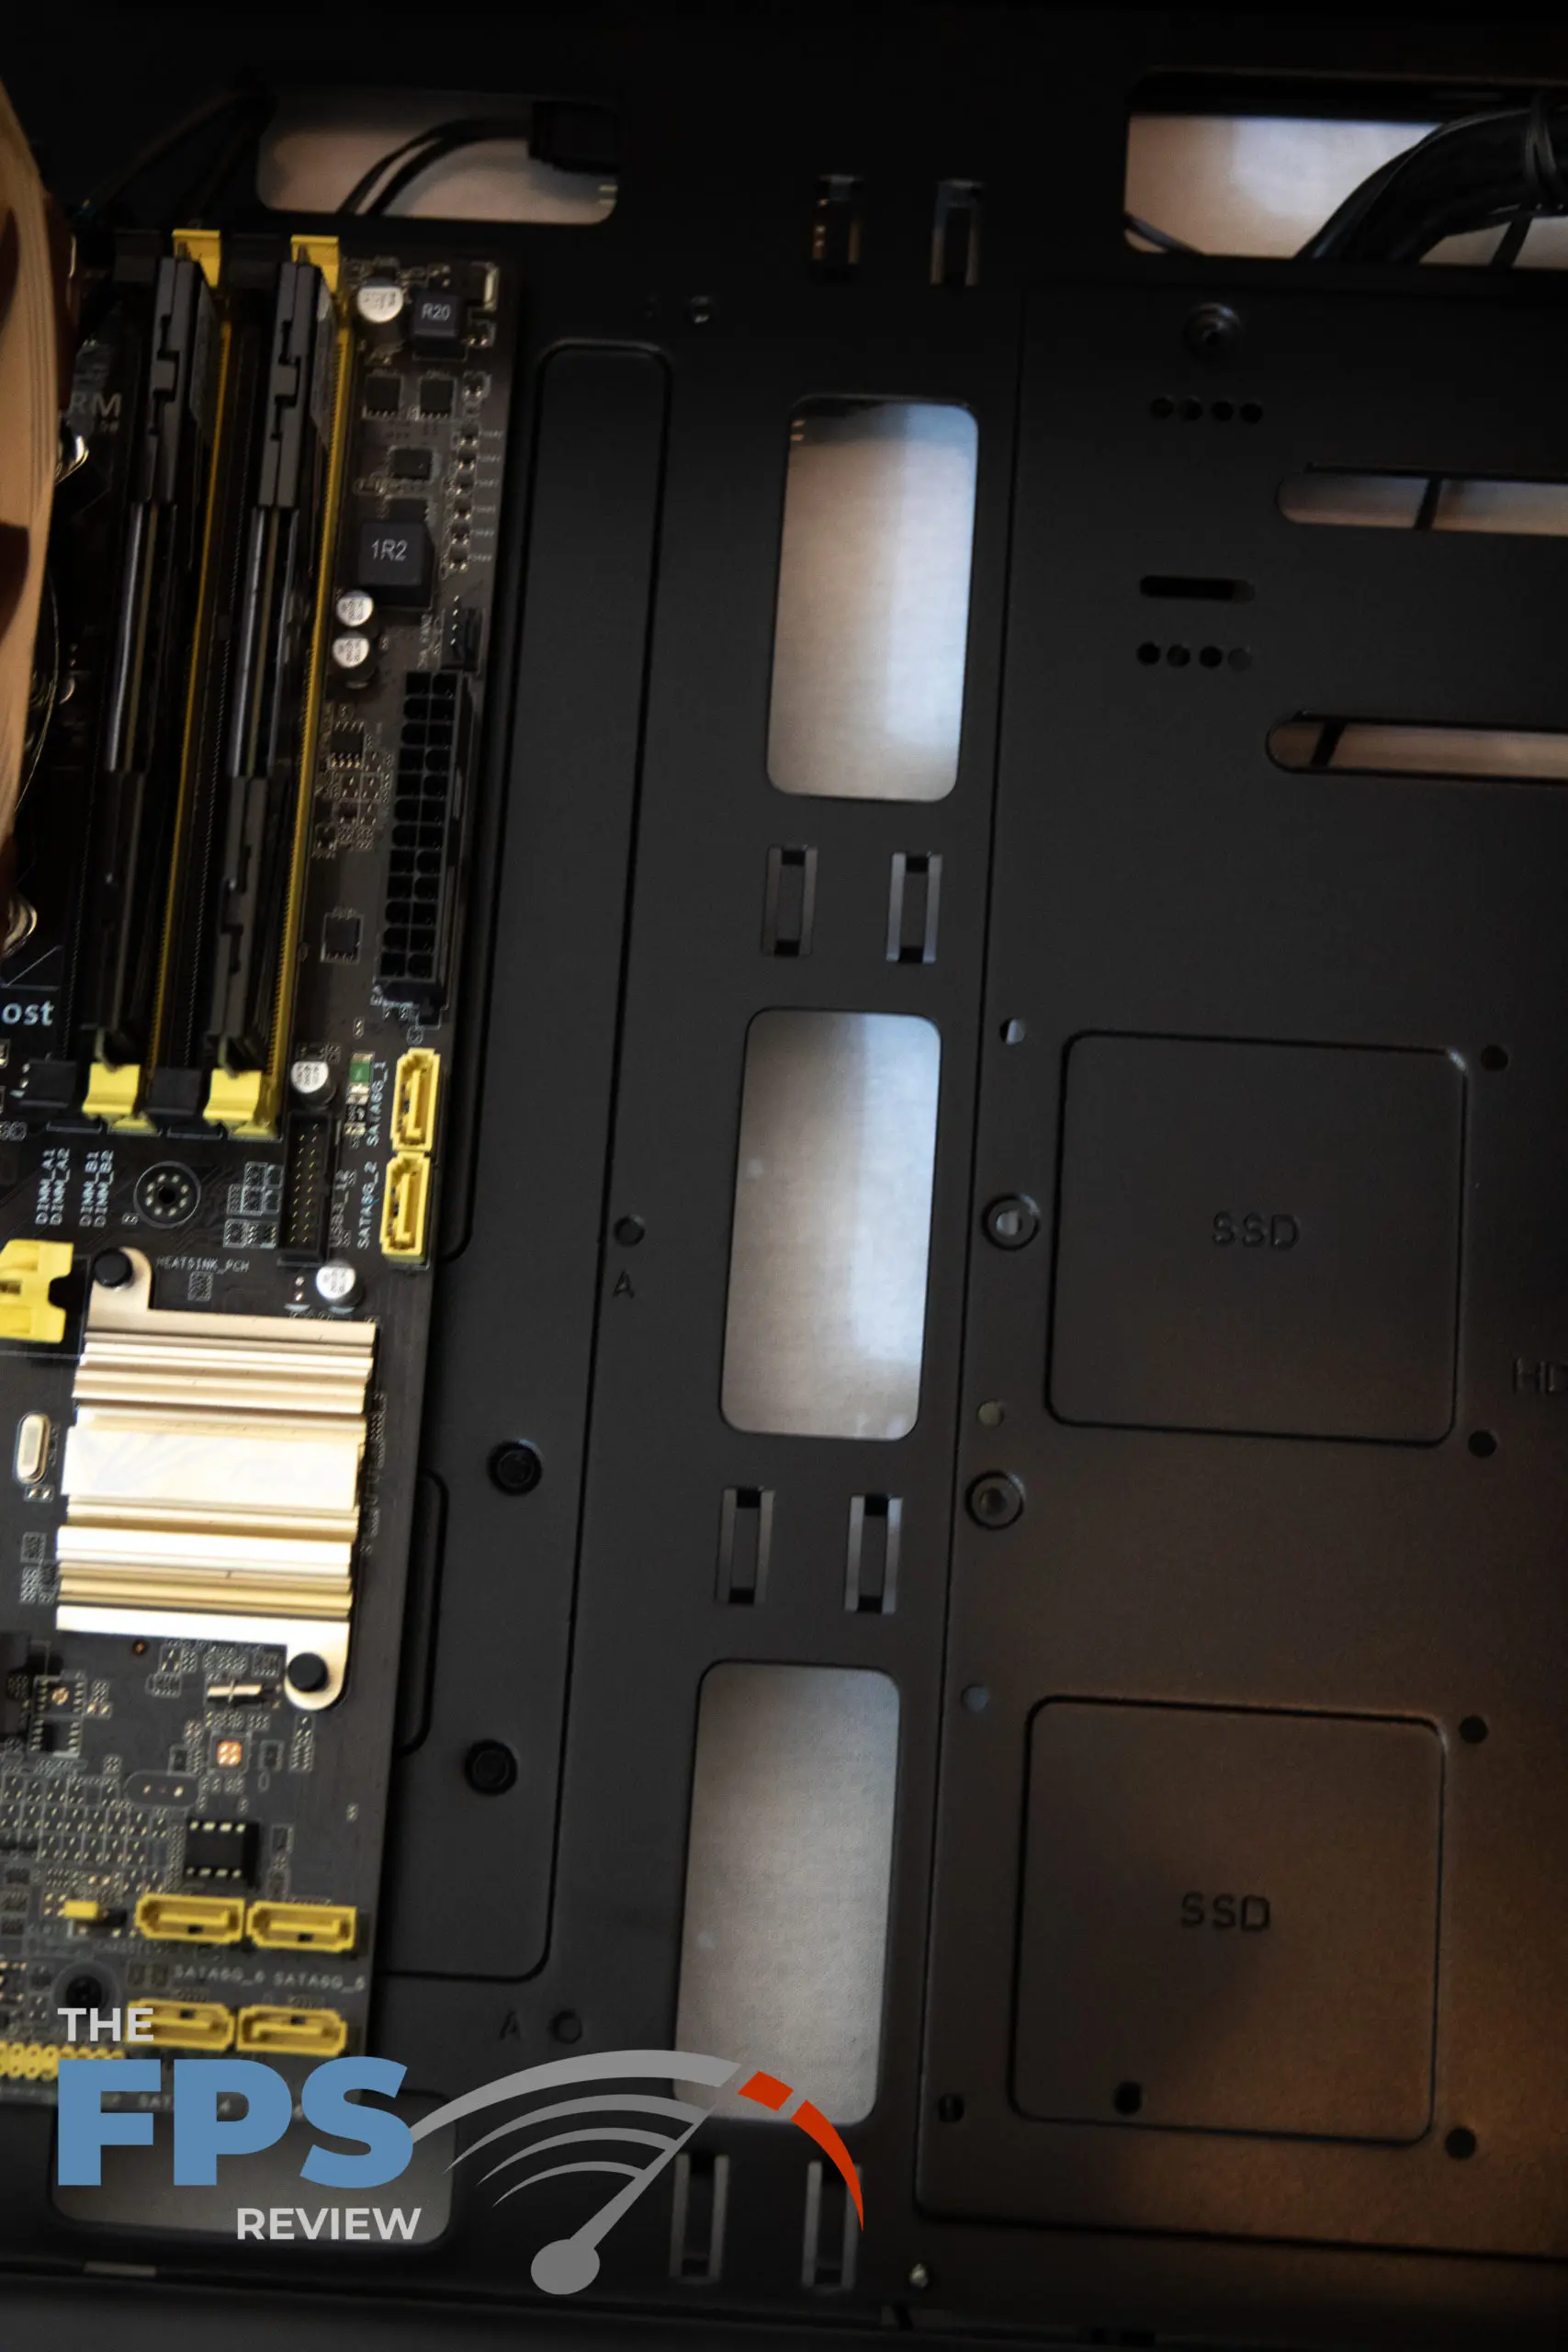
This case has a removable SSD mount on the back of the motherboard tray that is very useful. It can accommodate up to 2 SSD drives. Since the mount is raised off the motherboard tray when mounted 90-degree power connectors have no clearance issues connecting. However, I choose to mount the SSD for the build on the front mounts next to the motherboard tray.