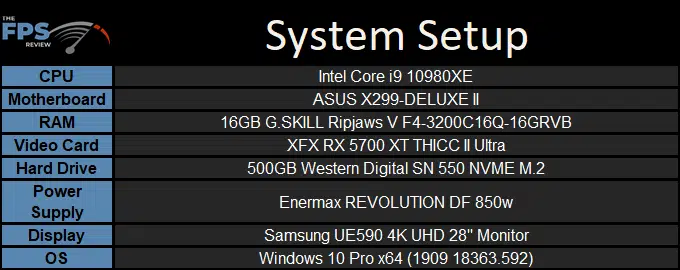
Test Setup
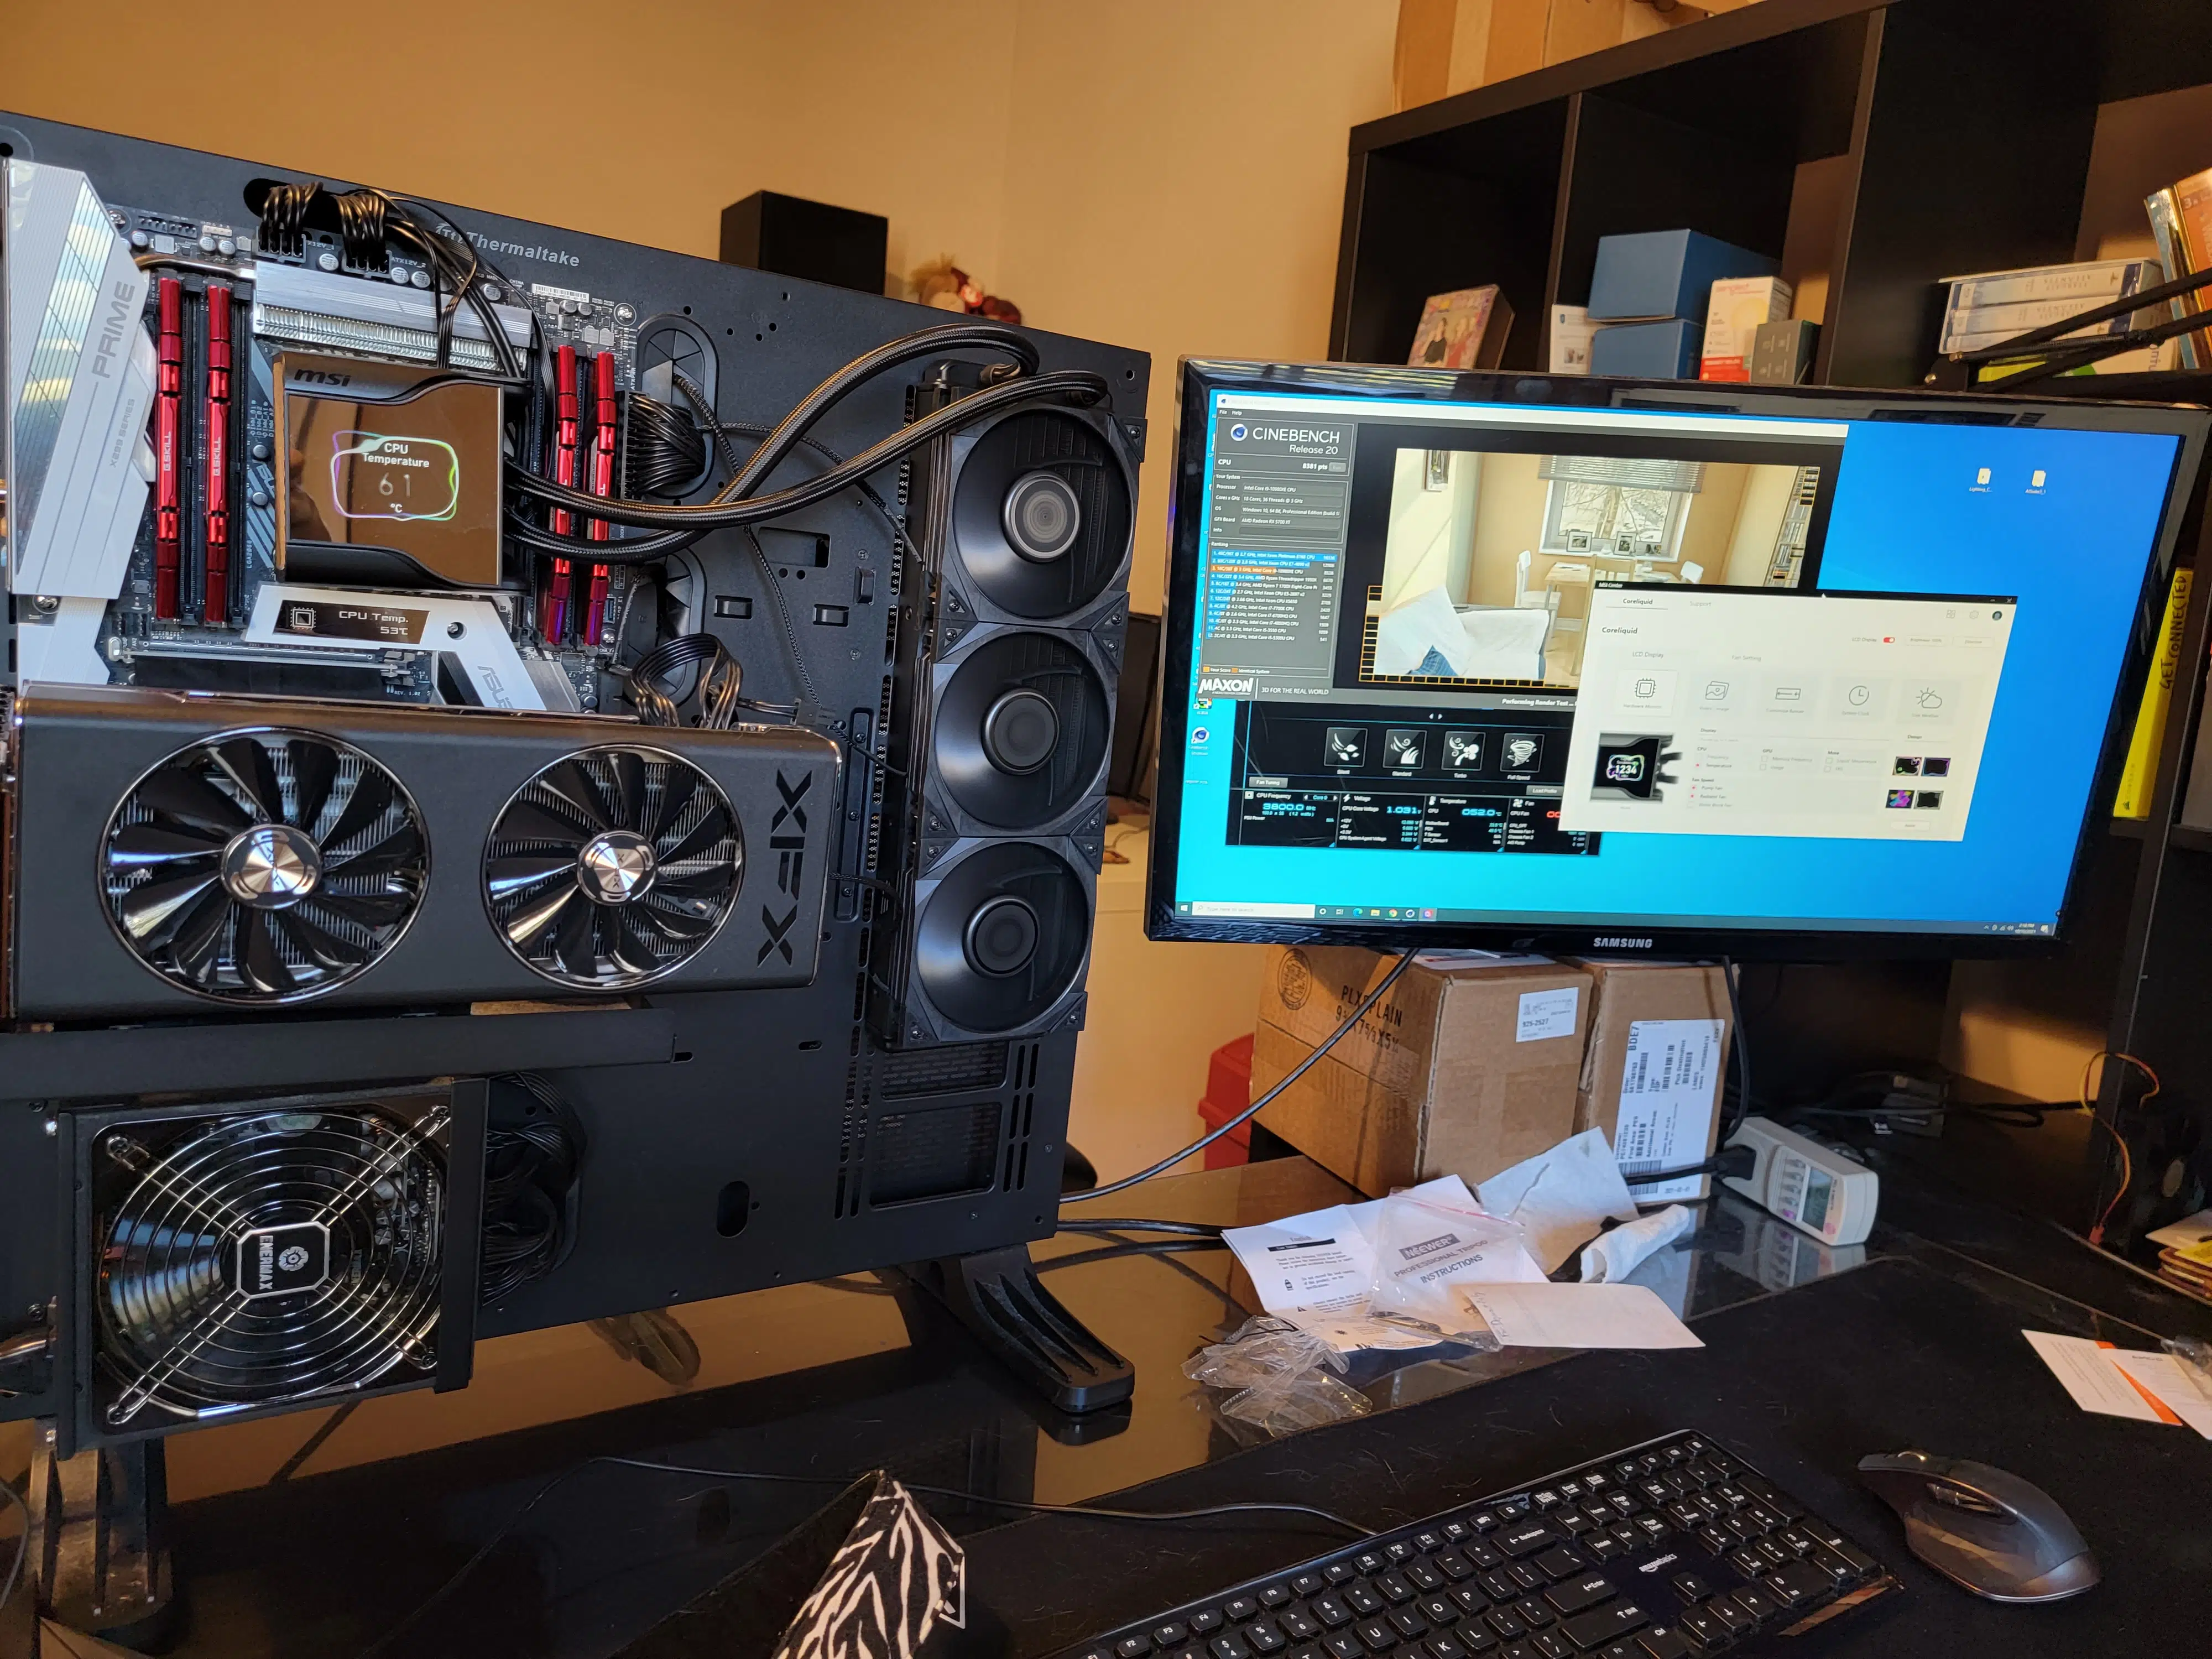
We will use our standard AIO test rig which you can read more about in its introduction article. We will set up each cooler in the same manner with the radiator attached to the case and the fans blowing into the radiator. The water blocks will be mounted per the manufacturer’s instructions except that we will use Arctic Cooling MX-2 thermal paste (2019 Edition). We will utilize ASUS AI Suite 3 to control fan speeds, setting the fans at a fixed RPM for each test. We will also compare it to the other coolers we have tested thus far.
One thing of note is that we elected to set the 60mm TORX Fan inside the water block to a static 50%. At 100%, it’s noisy cricket, thus, we believe this to be a fair level to set it against (and is also how we tested the ASUS Ryujin a while back).
We are comparing the MSI MEG CORELIQUID S360 to the other 280mm and 360mm AIOs that we have previously tested – for more information about those, please check out the respective reviews:
Installation
Installation of the MSI MEG CORELIQUID S360 was fairly straightforward once we discovered that it was possible to rotate the display output of the screen inside of MSI Center. If we had to grind an axe anywhere, it would be with the length of the fan cables on the SILENT GALE P12 fans, which were not quite long enough to reach the system fan headers on the left side of our test rig.