BIOS

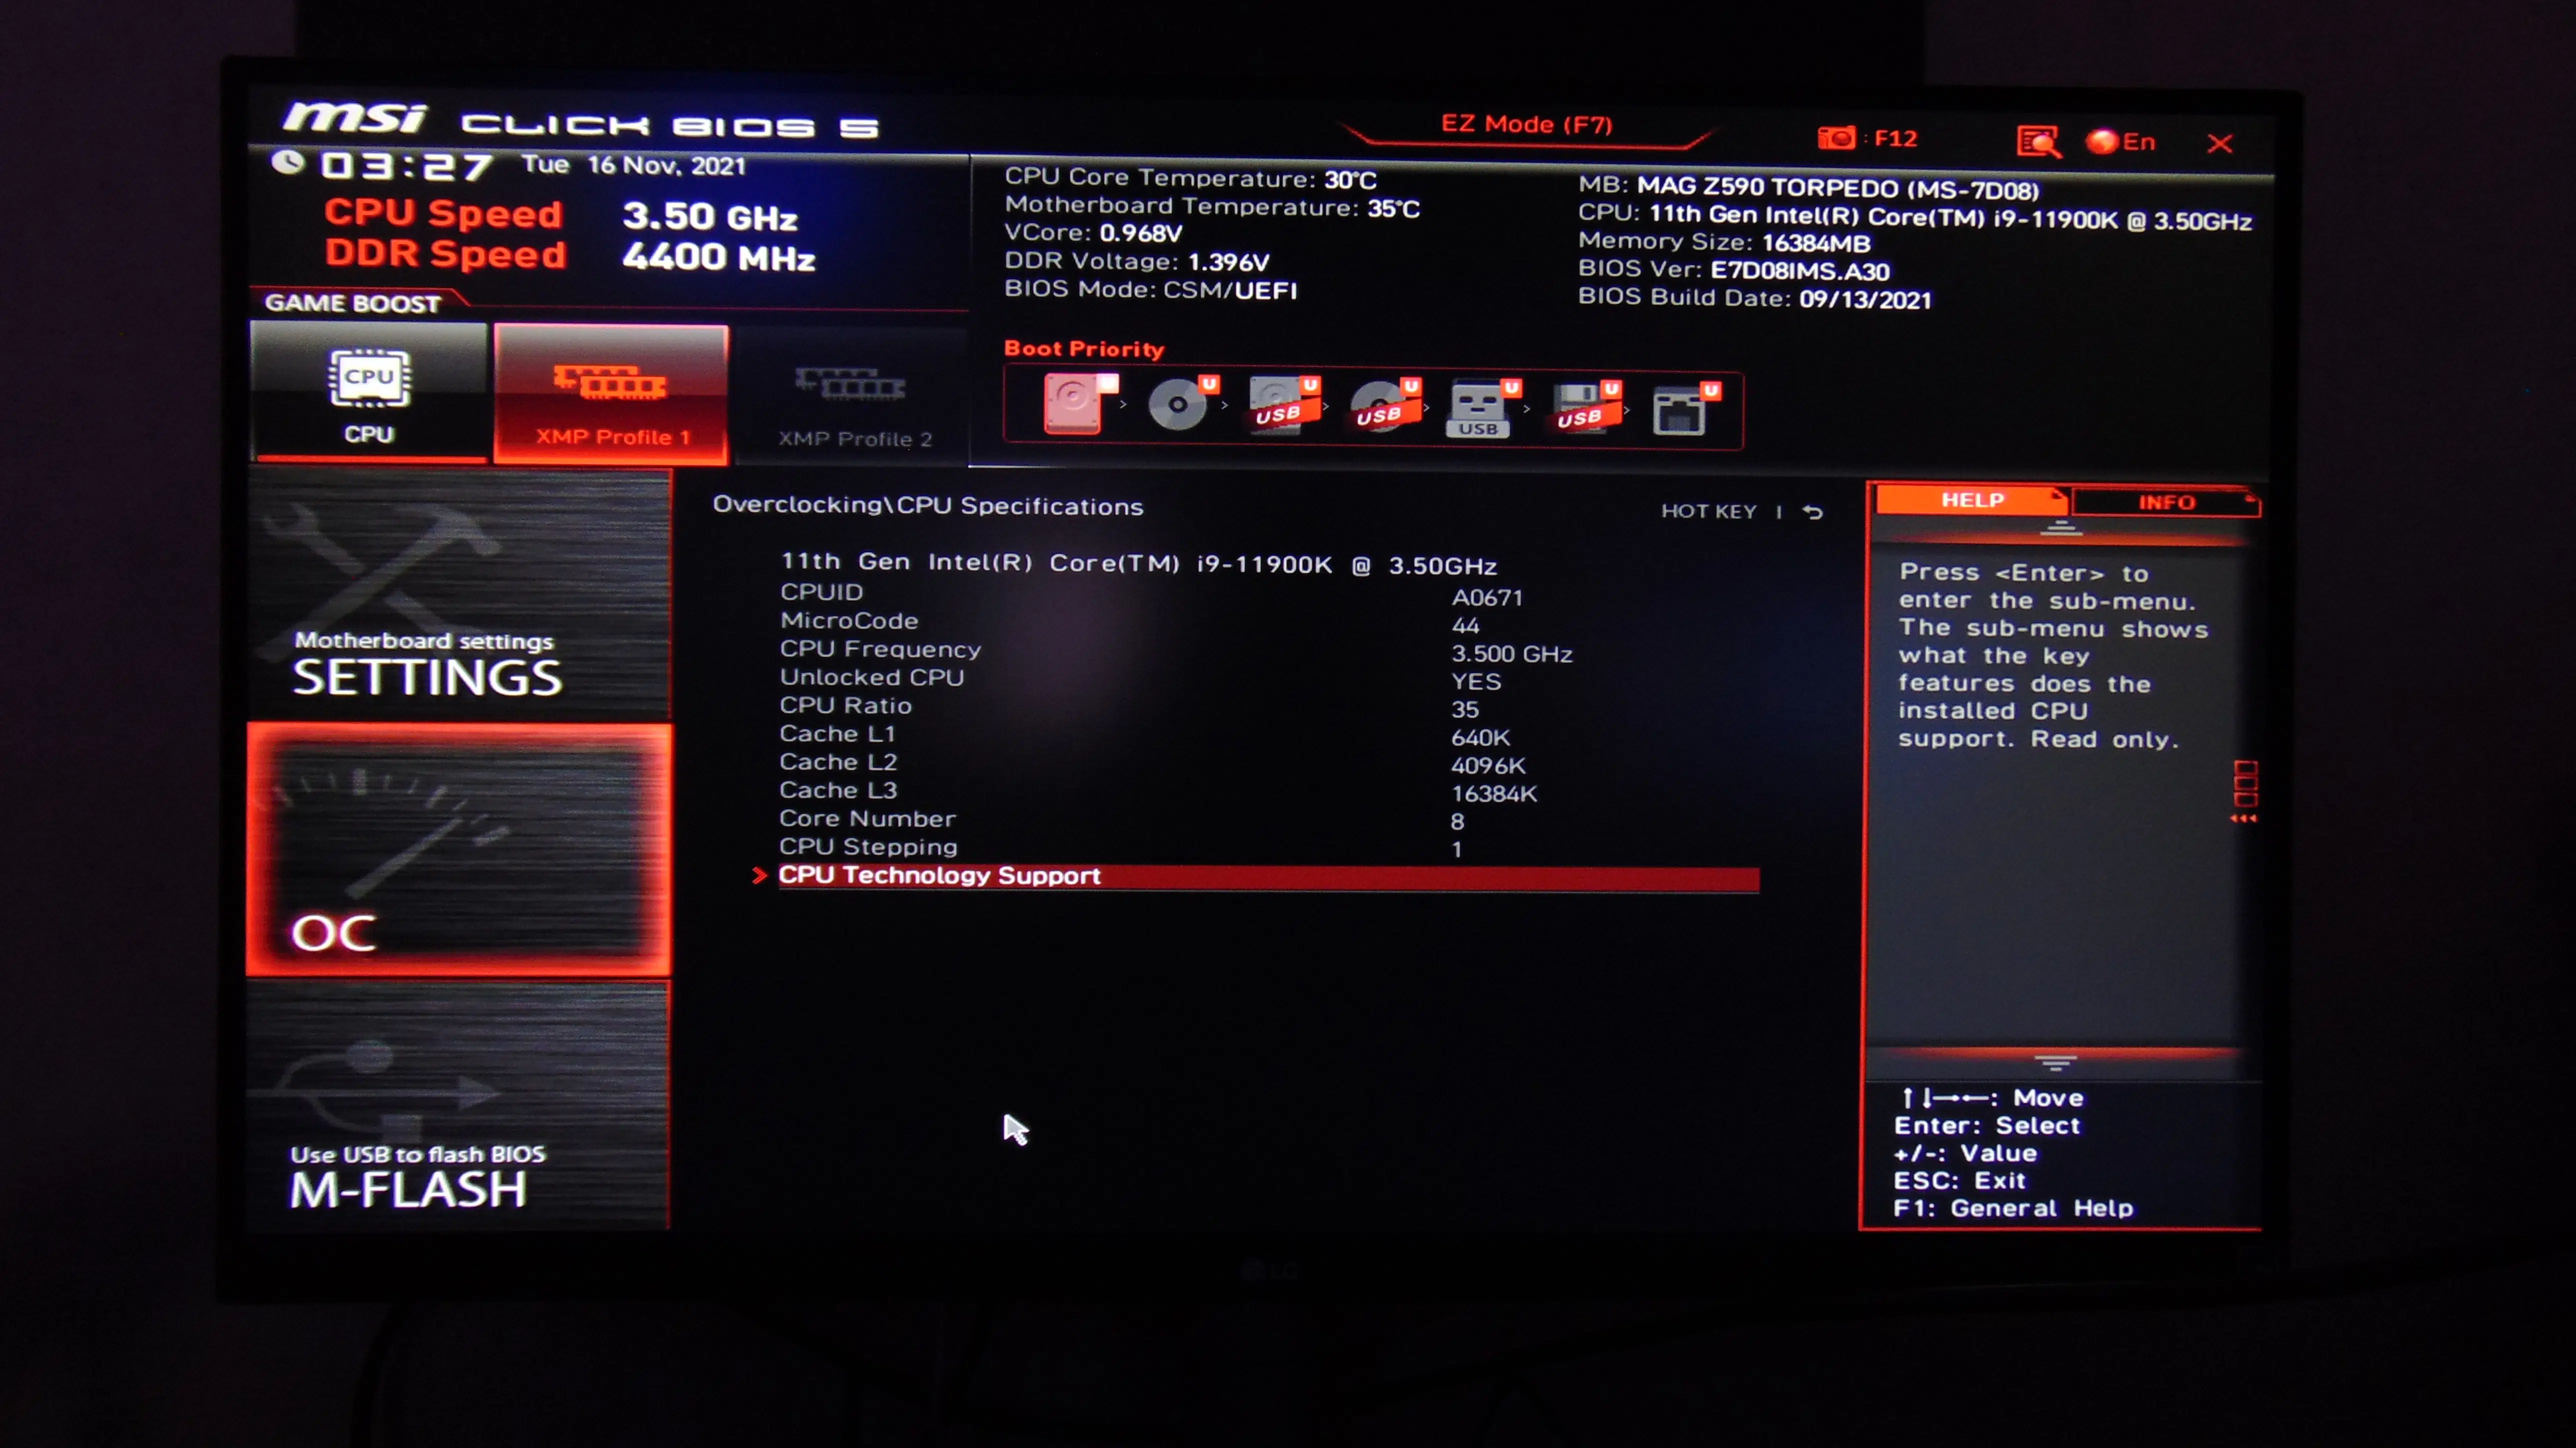
We did update our BIOS to the latest version prior to testing. These screenshots are from the most recent E7D08IMS.A30 BIOS dated 9/13/2021. The BIOS opens up and shows some basic information at the main menu, with CPU speed, DDR speed, CPU Core Temperature, Motherboard Temperature, VCore, DDR Voltage, and BIOS mode, along with CPU installed and BIOS date. If you just want to keep things simple, you can one-click XMP Profiles and even a one-click CPU Game Boost overclock. Otherwise, to access further functions click the Settings, OC, M-Flash, or Hardware Monitor options on the sides.


Under the settings menu, you can view CPU details and find all your options to enable or disable built-in features. Importantly you’ll find the Re-Size BAR Support feature here, and as you can see for our testing, we left it Disabled for this review.
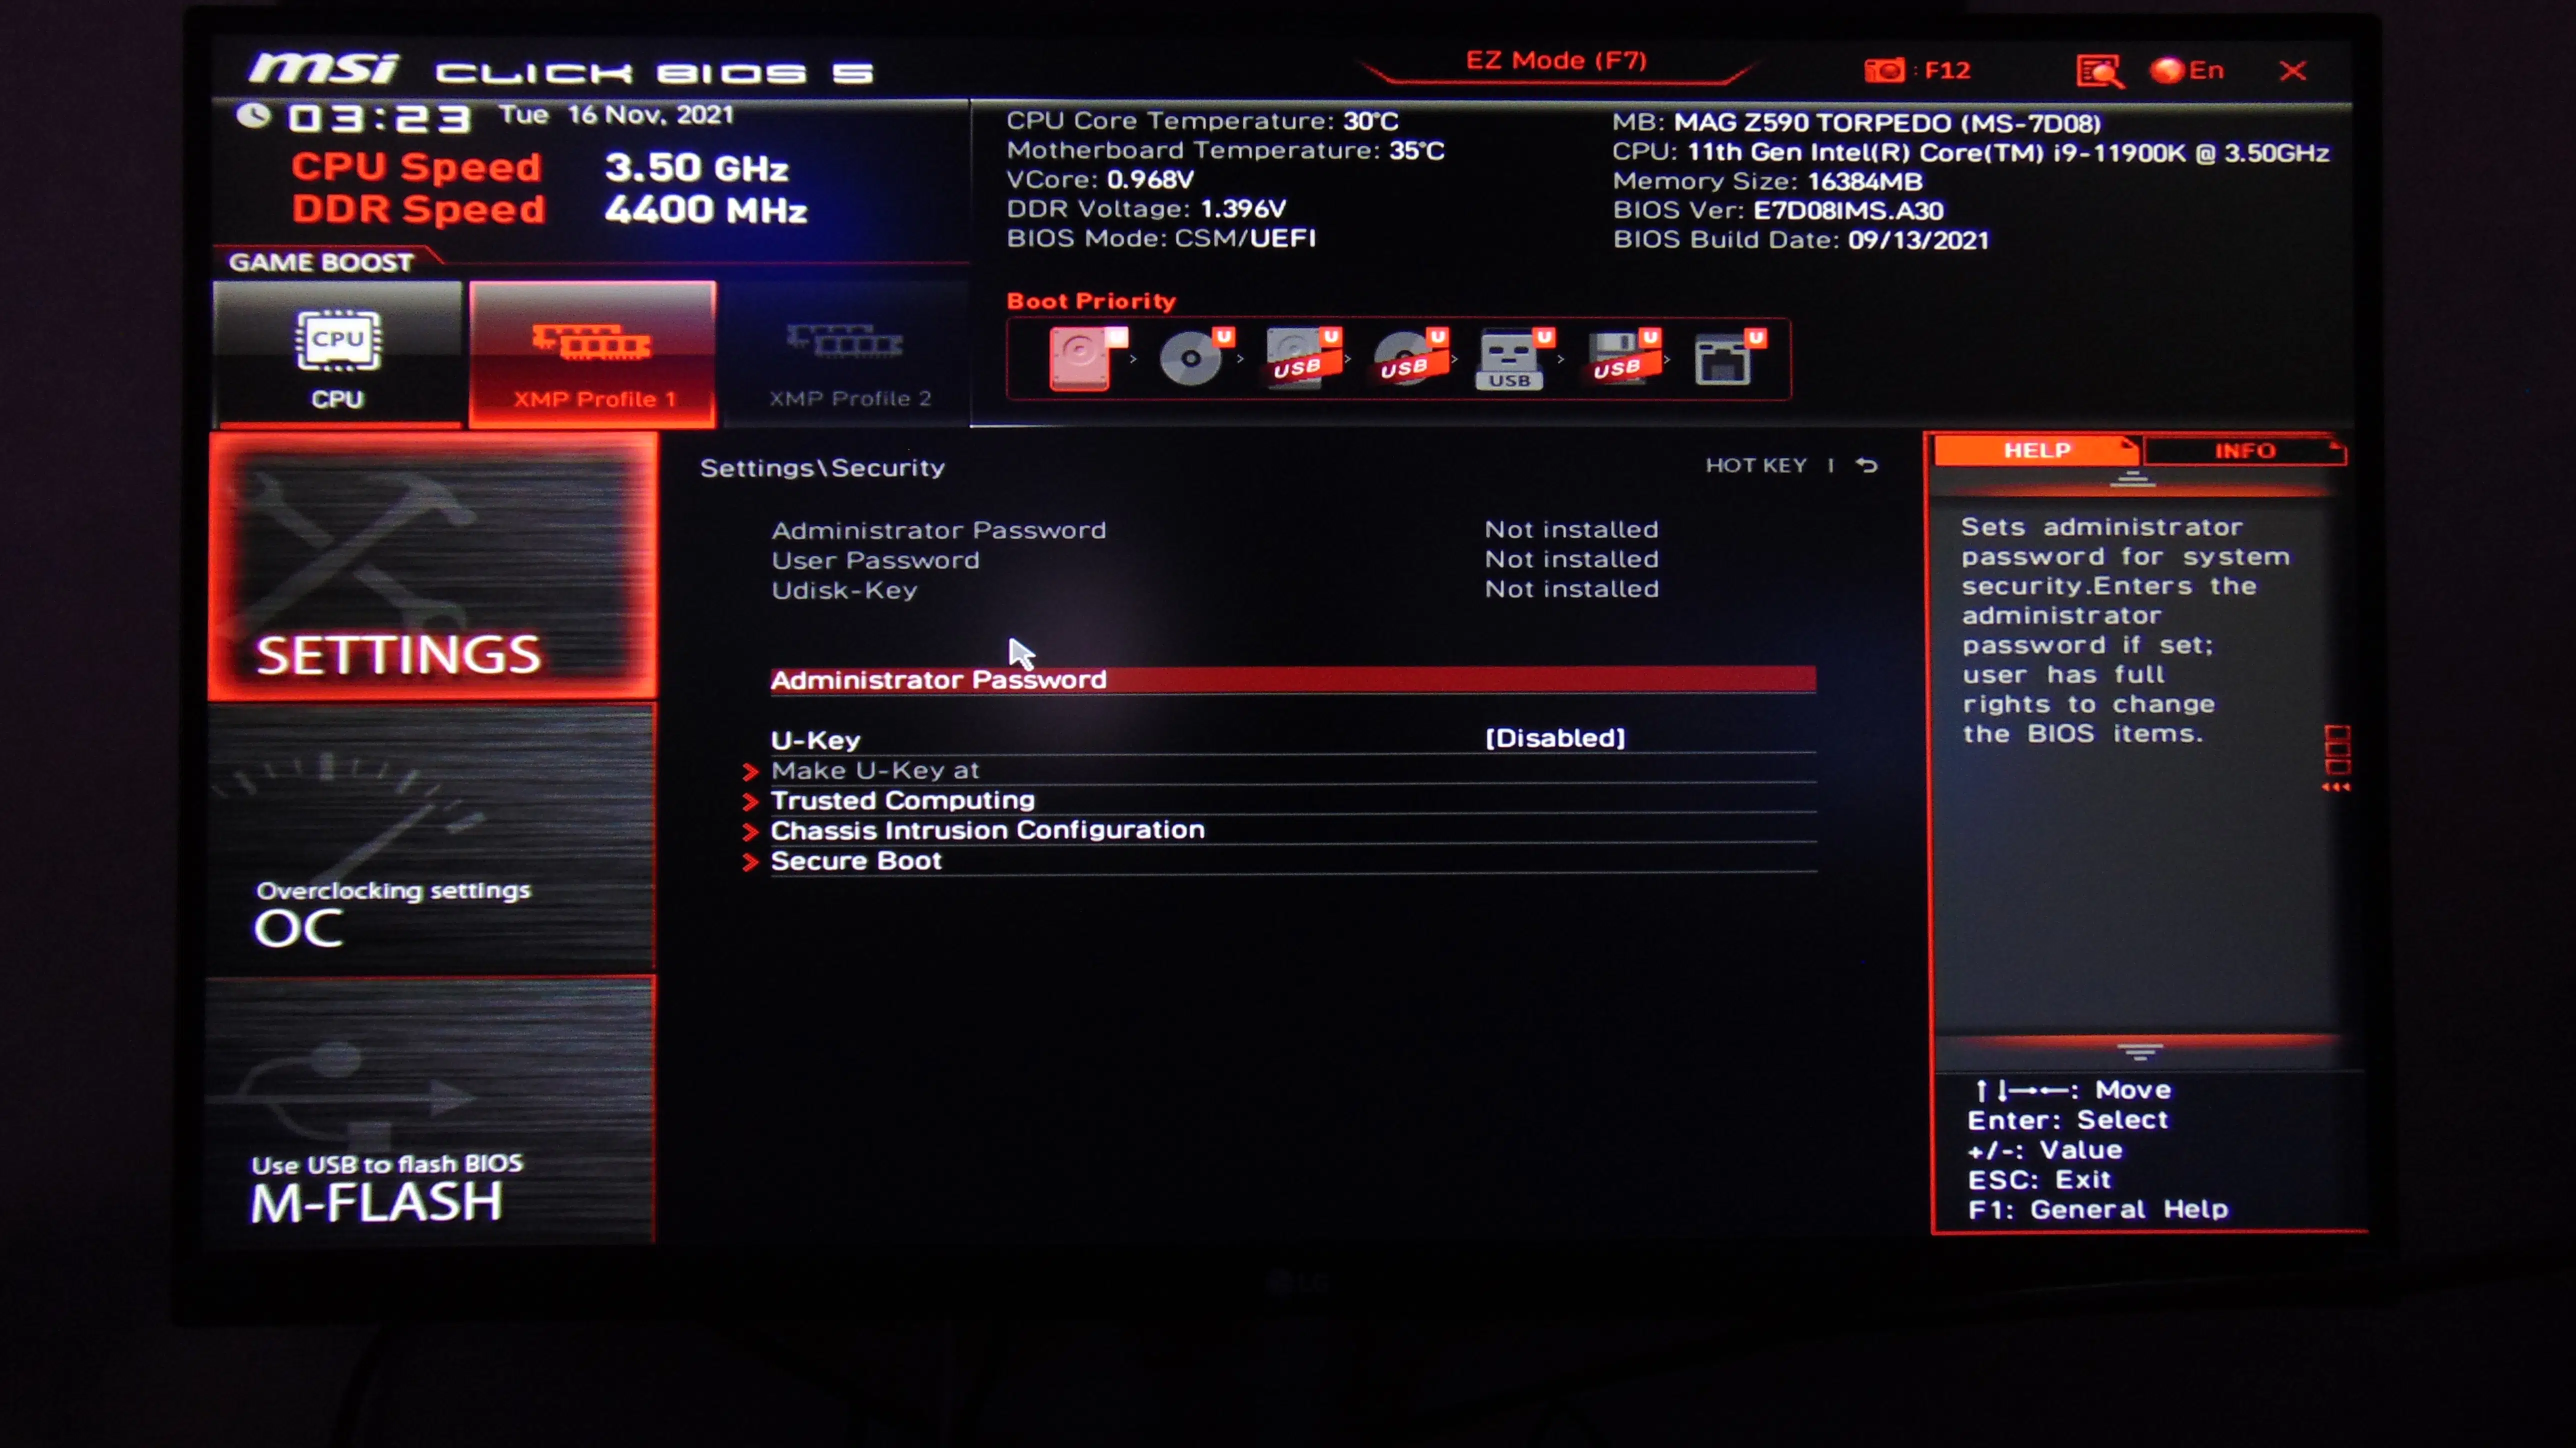
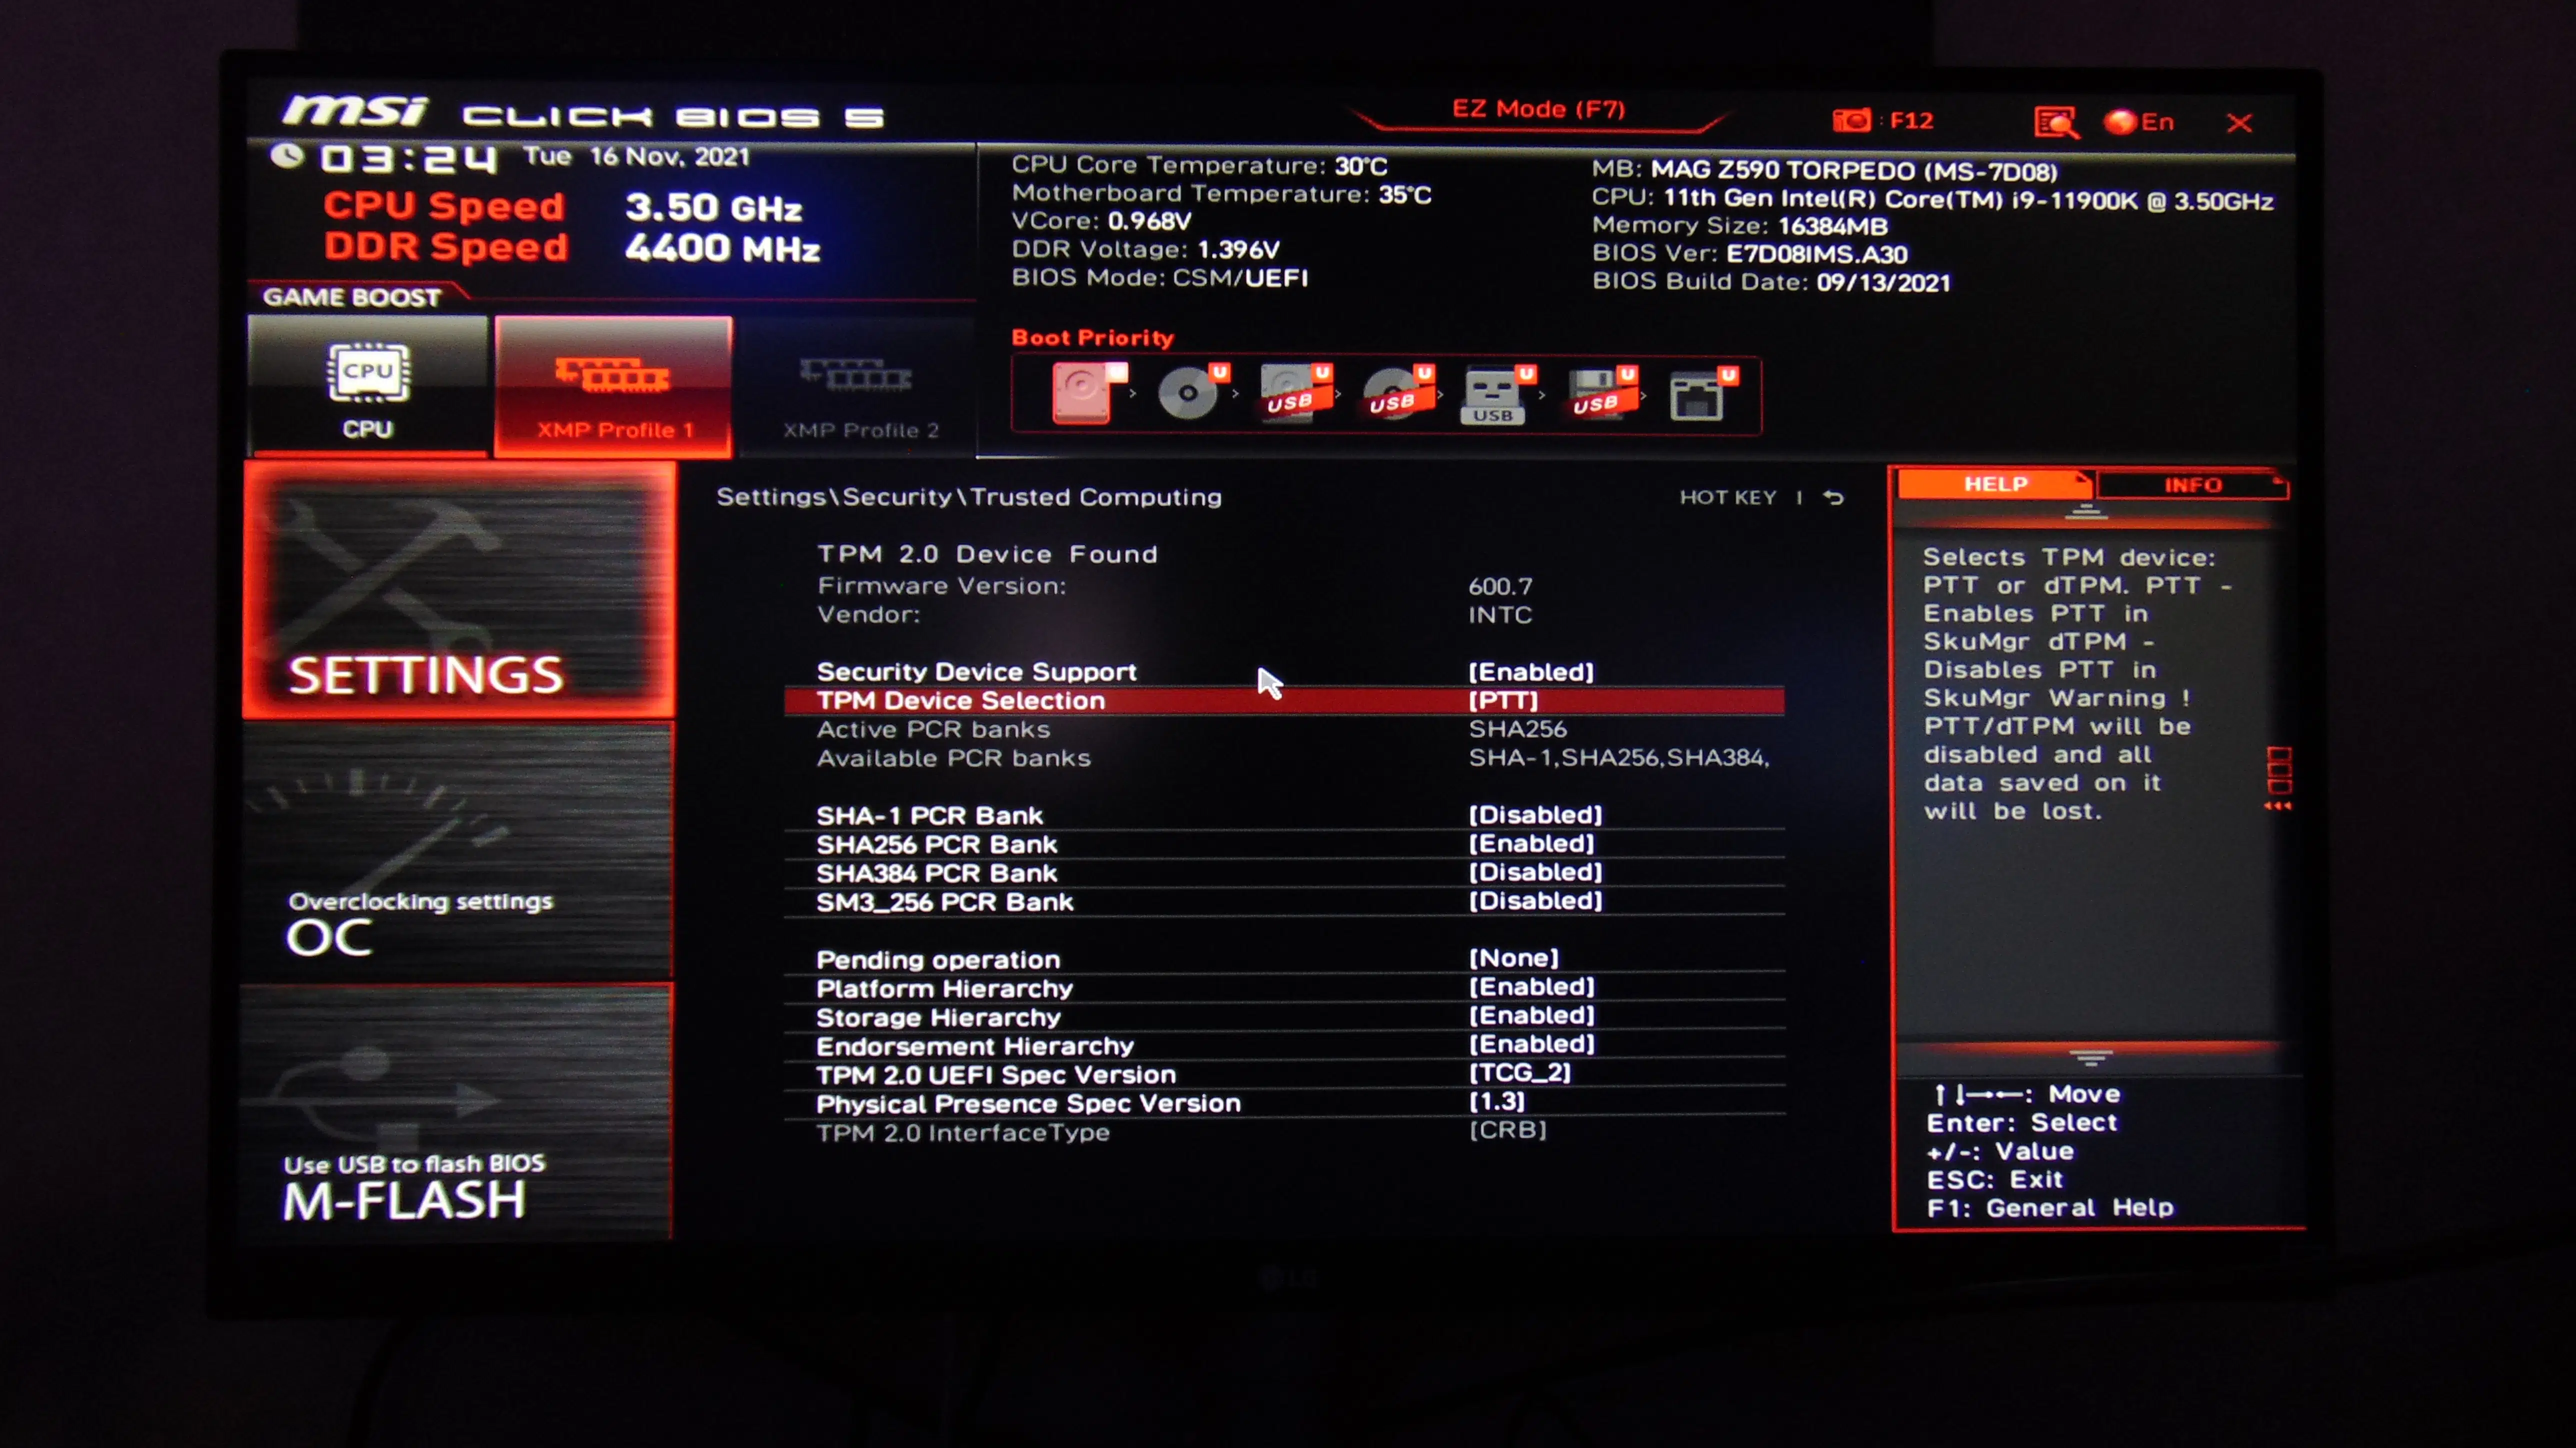
Also, under Settings, you want to check out the Security options. This is where you will find the Trusted Computing option to control the TPM, which is necessary to install Windows 11. All you have to do is make sure Security Device Support is set to Enabled and TMP Device Selection is set to PTT and leave everything else on default. Then you will be able to install Windows 11.
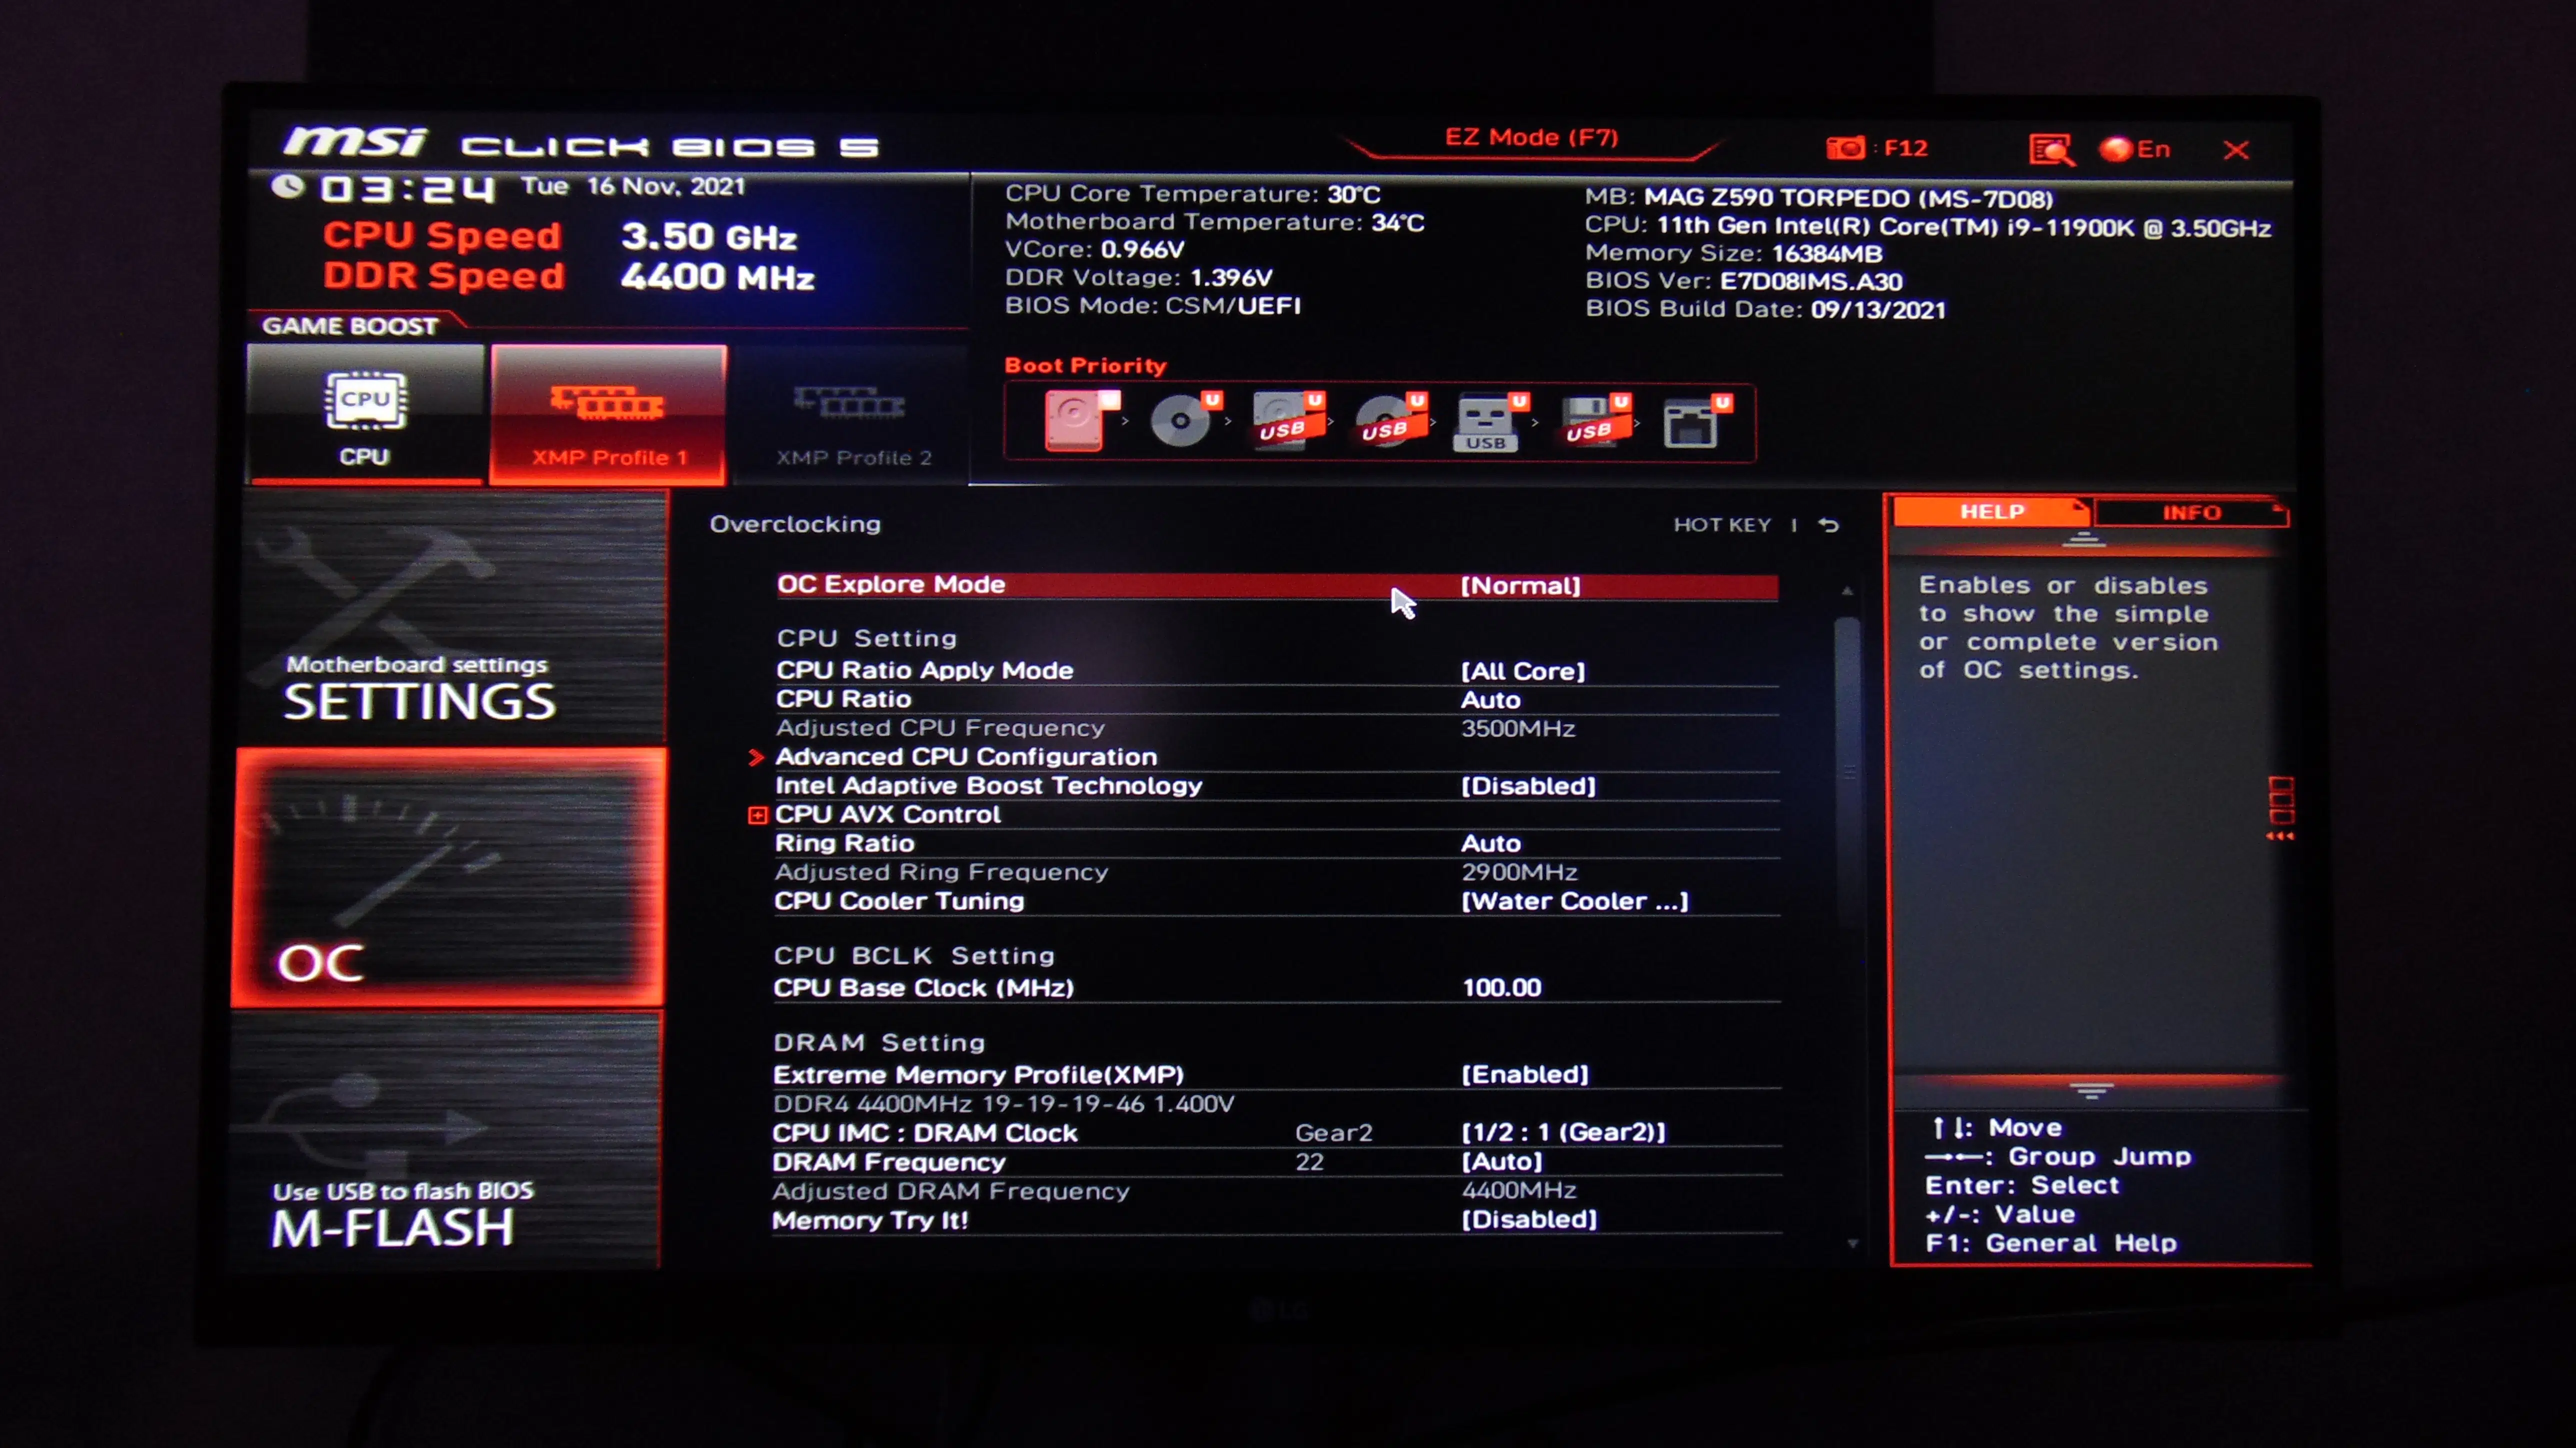
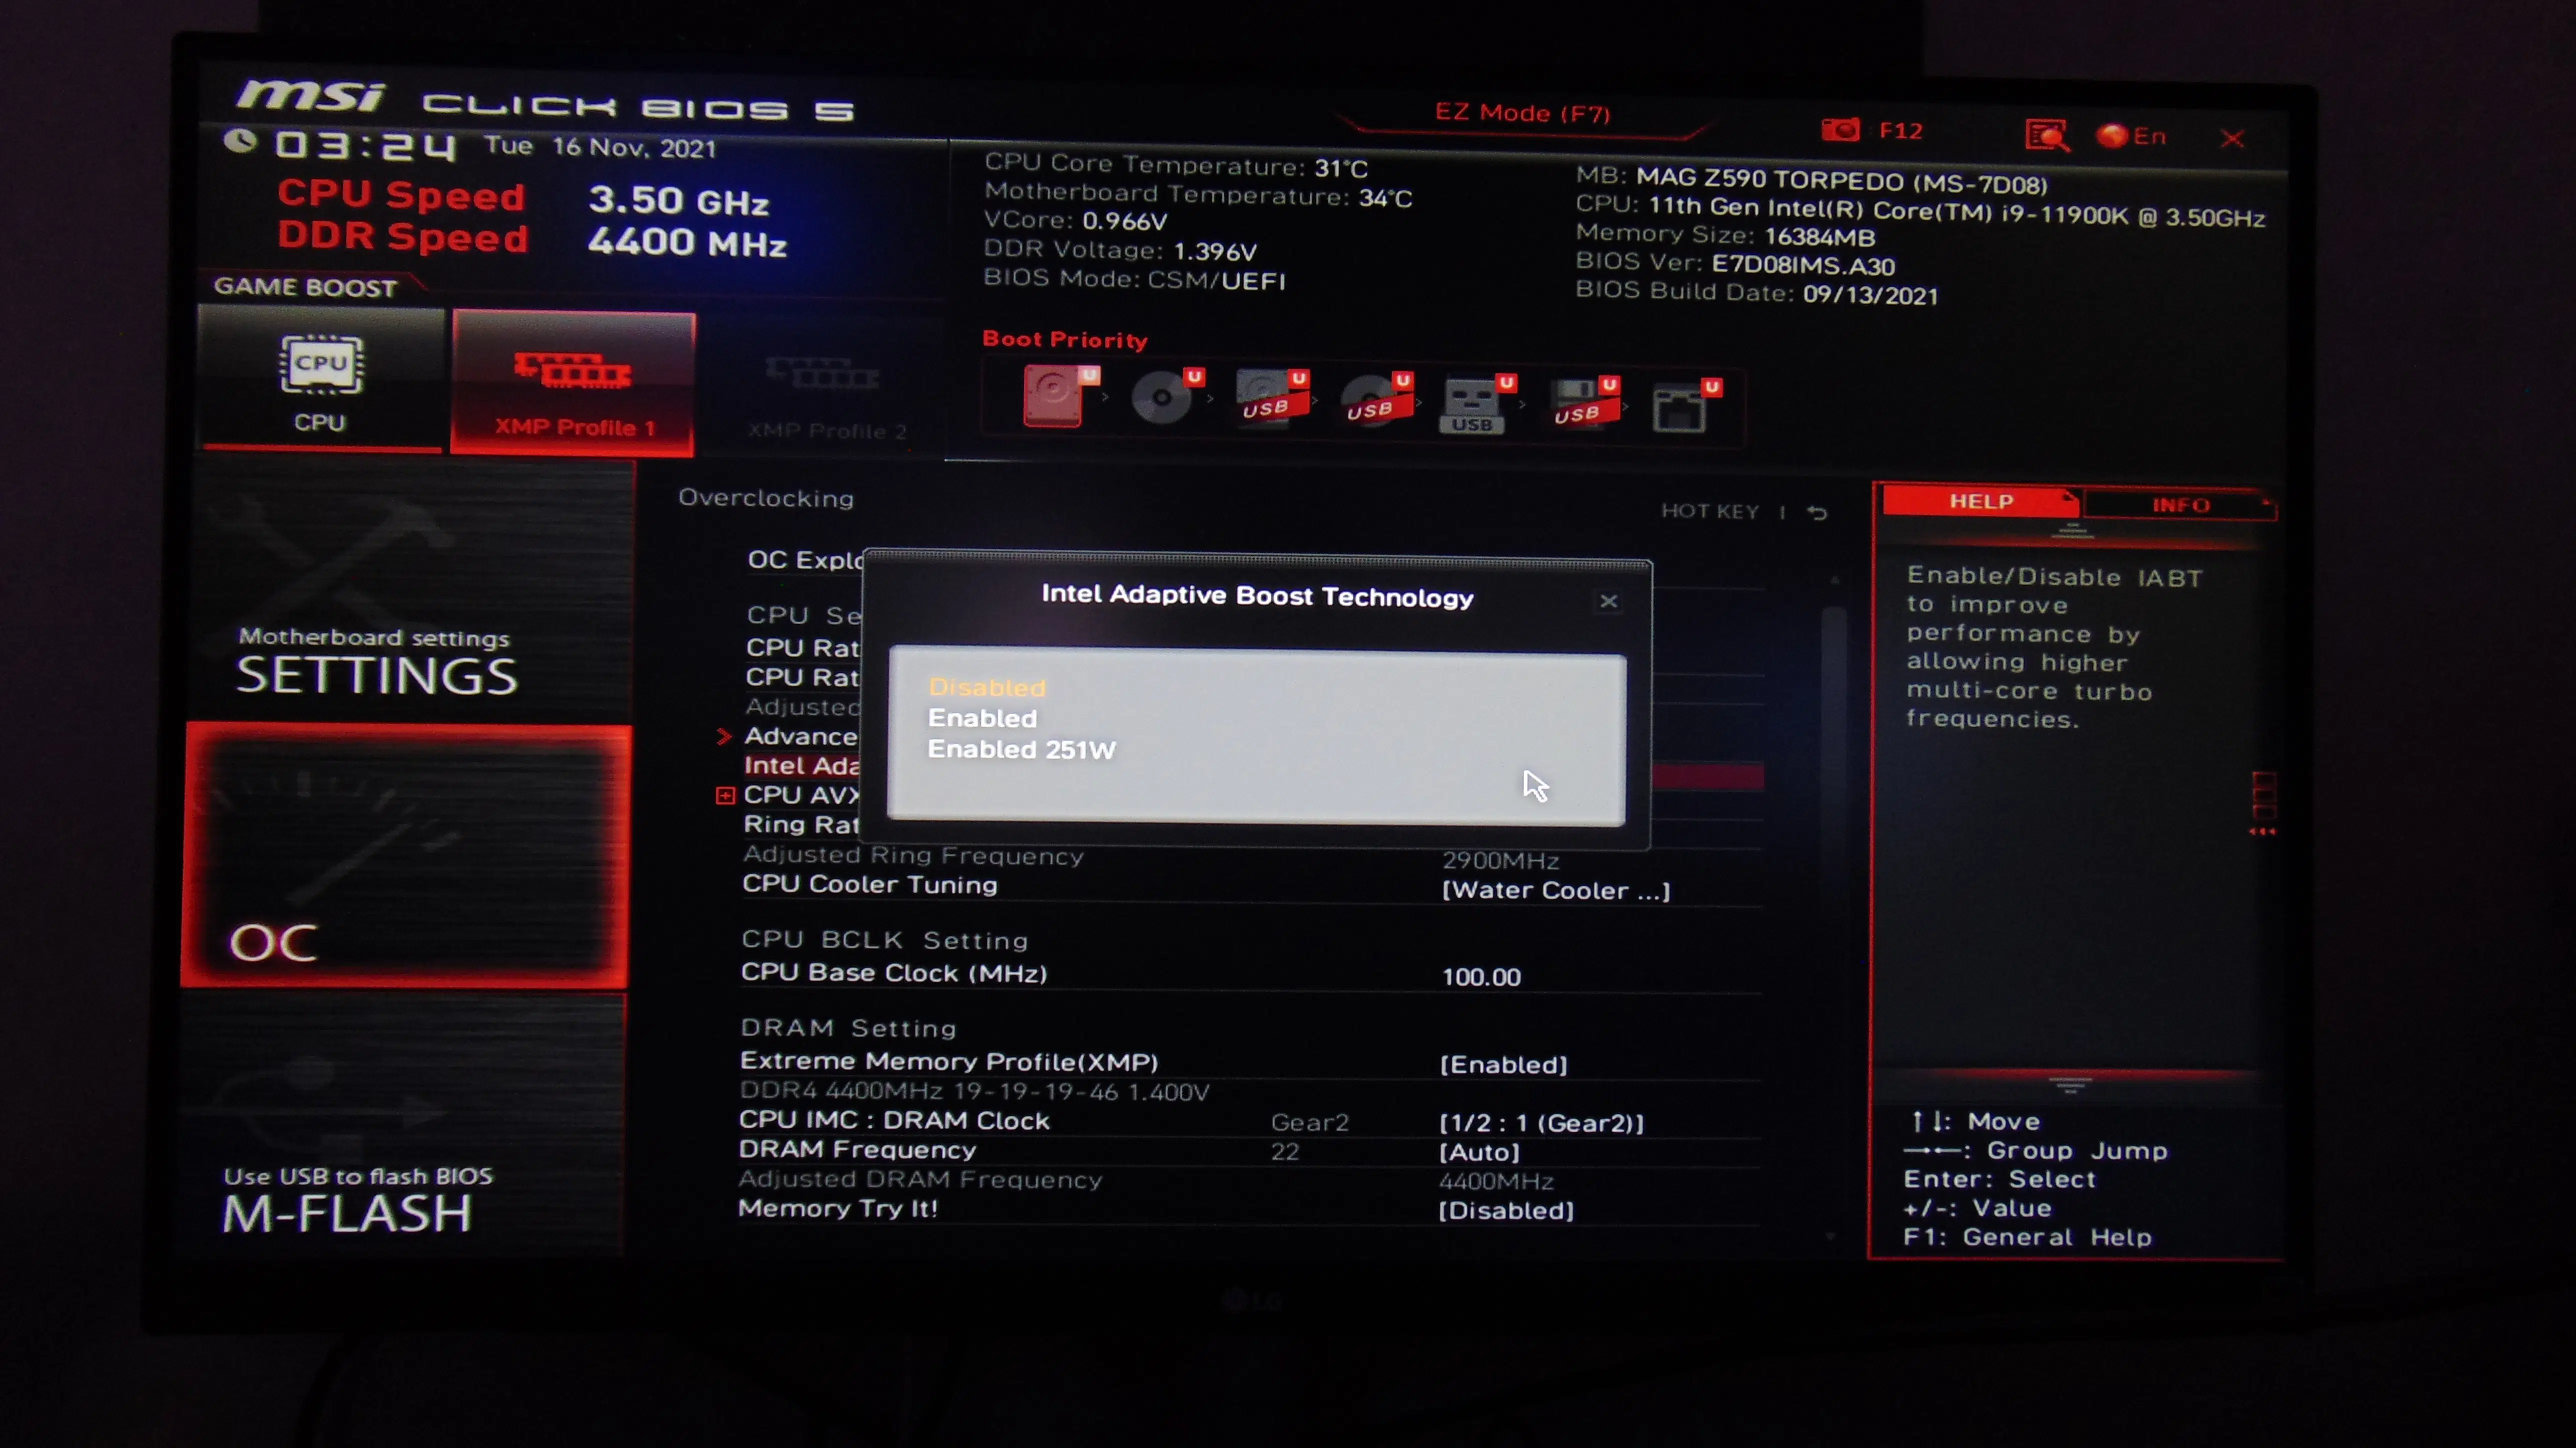
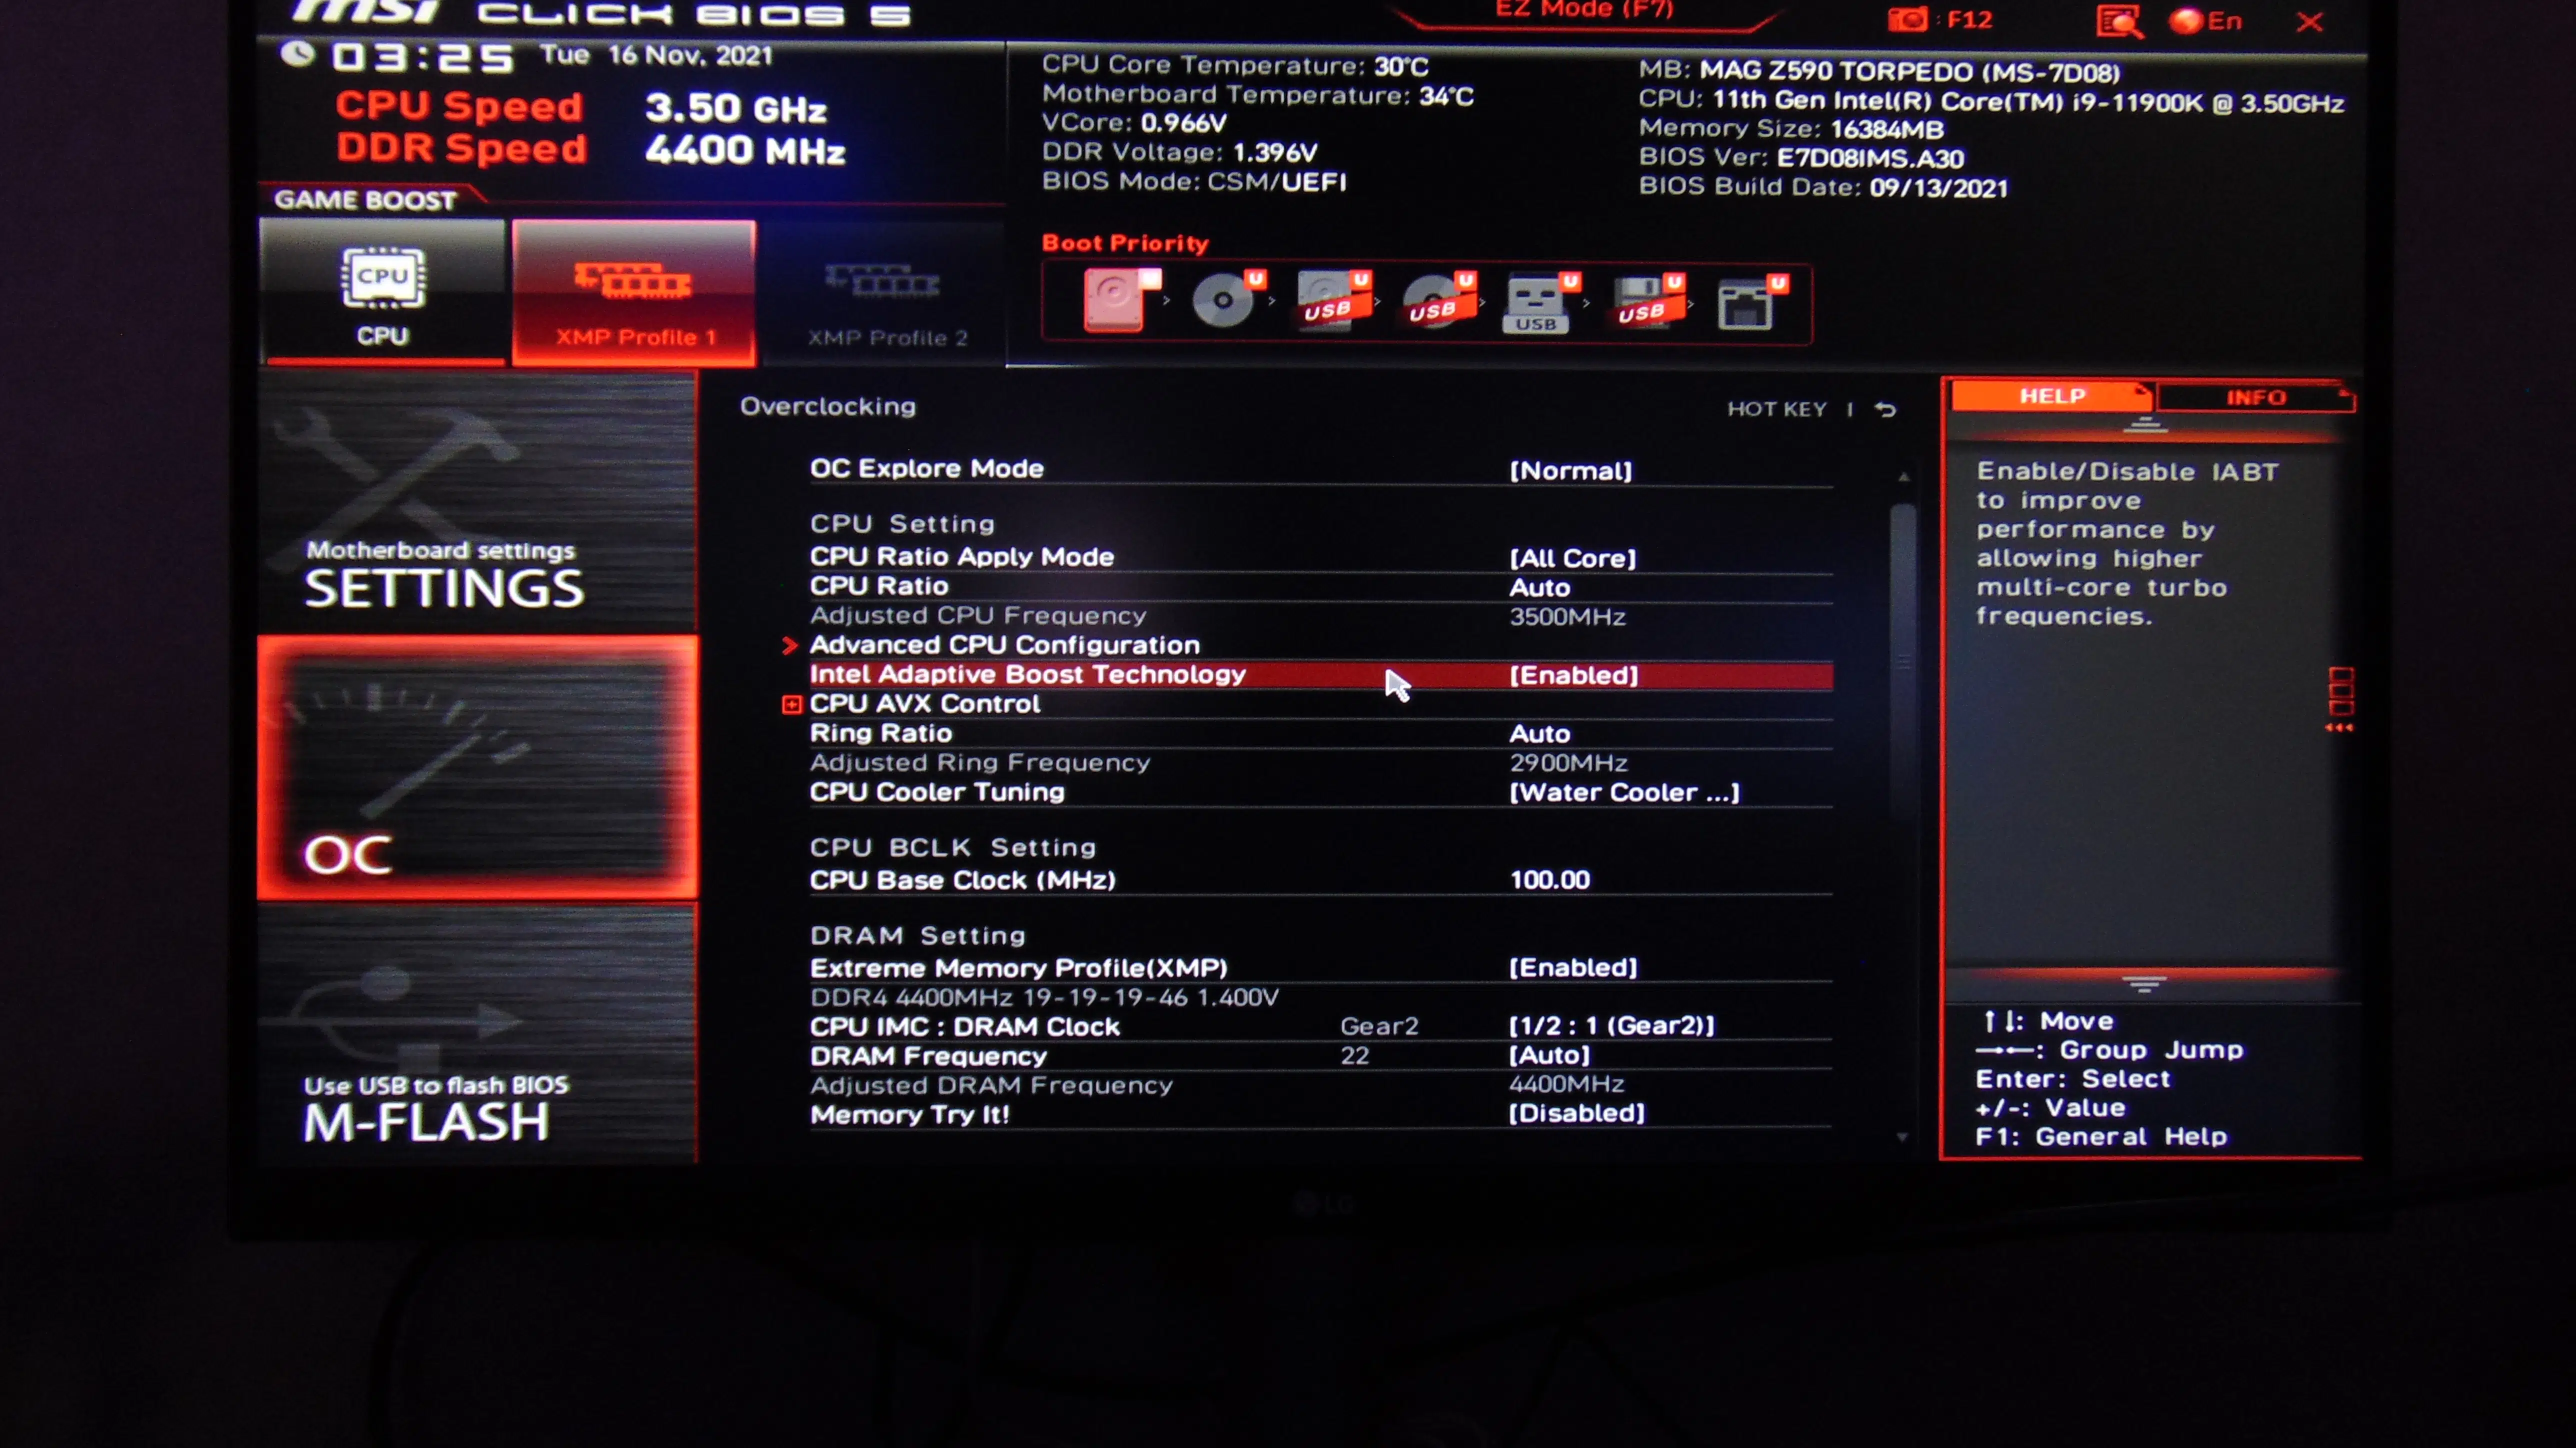
Under the OC menu are all the options for CPU clock and overclocking as well as Intel Adaptive Boost and DDR4 frequency and timings. By default, Intel Adaptive Boost Technology is disabled. If you wish to enable it you must enable it in two different modes, either Enabled or Enabled 251W. The Enabled 251W mode enables Intel Adaptive Boost but limits it to 251W TDP. However, you can also just set the option to Enabled, which has no power limit. So, think of it this way, Enabled 251W will boost you over default, but will ultimately limit you to reasonable high power usage, while Enabled will just run full throttle as much as the cooler you have installed can stand, and power supply.
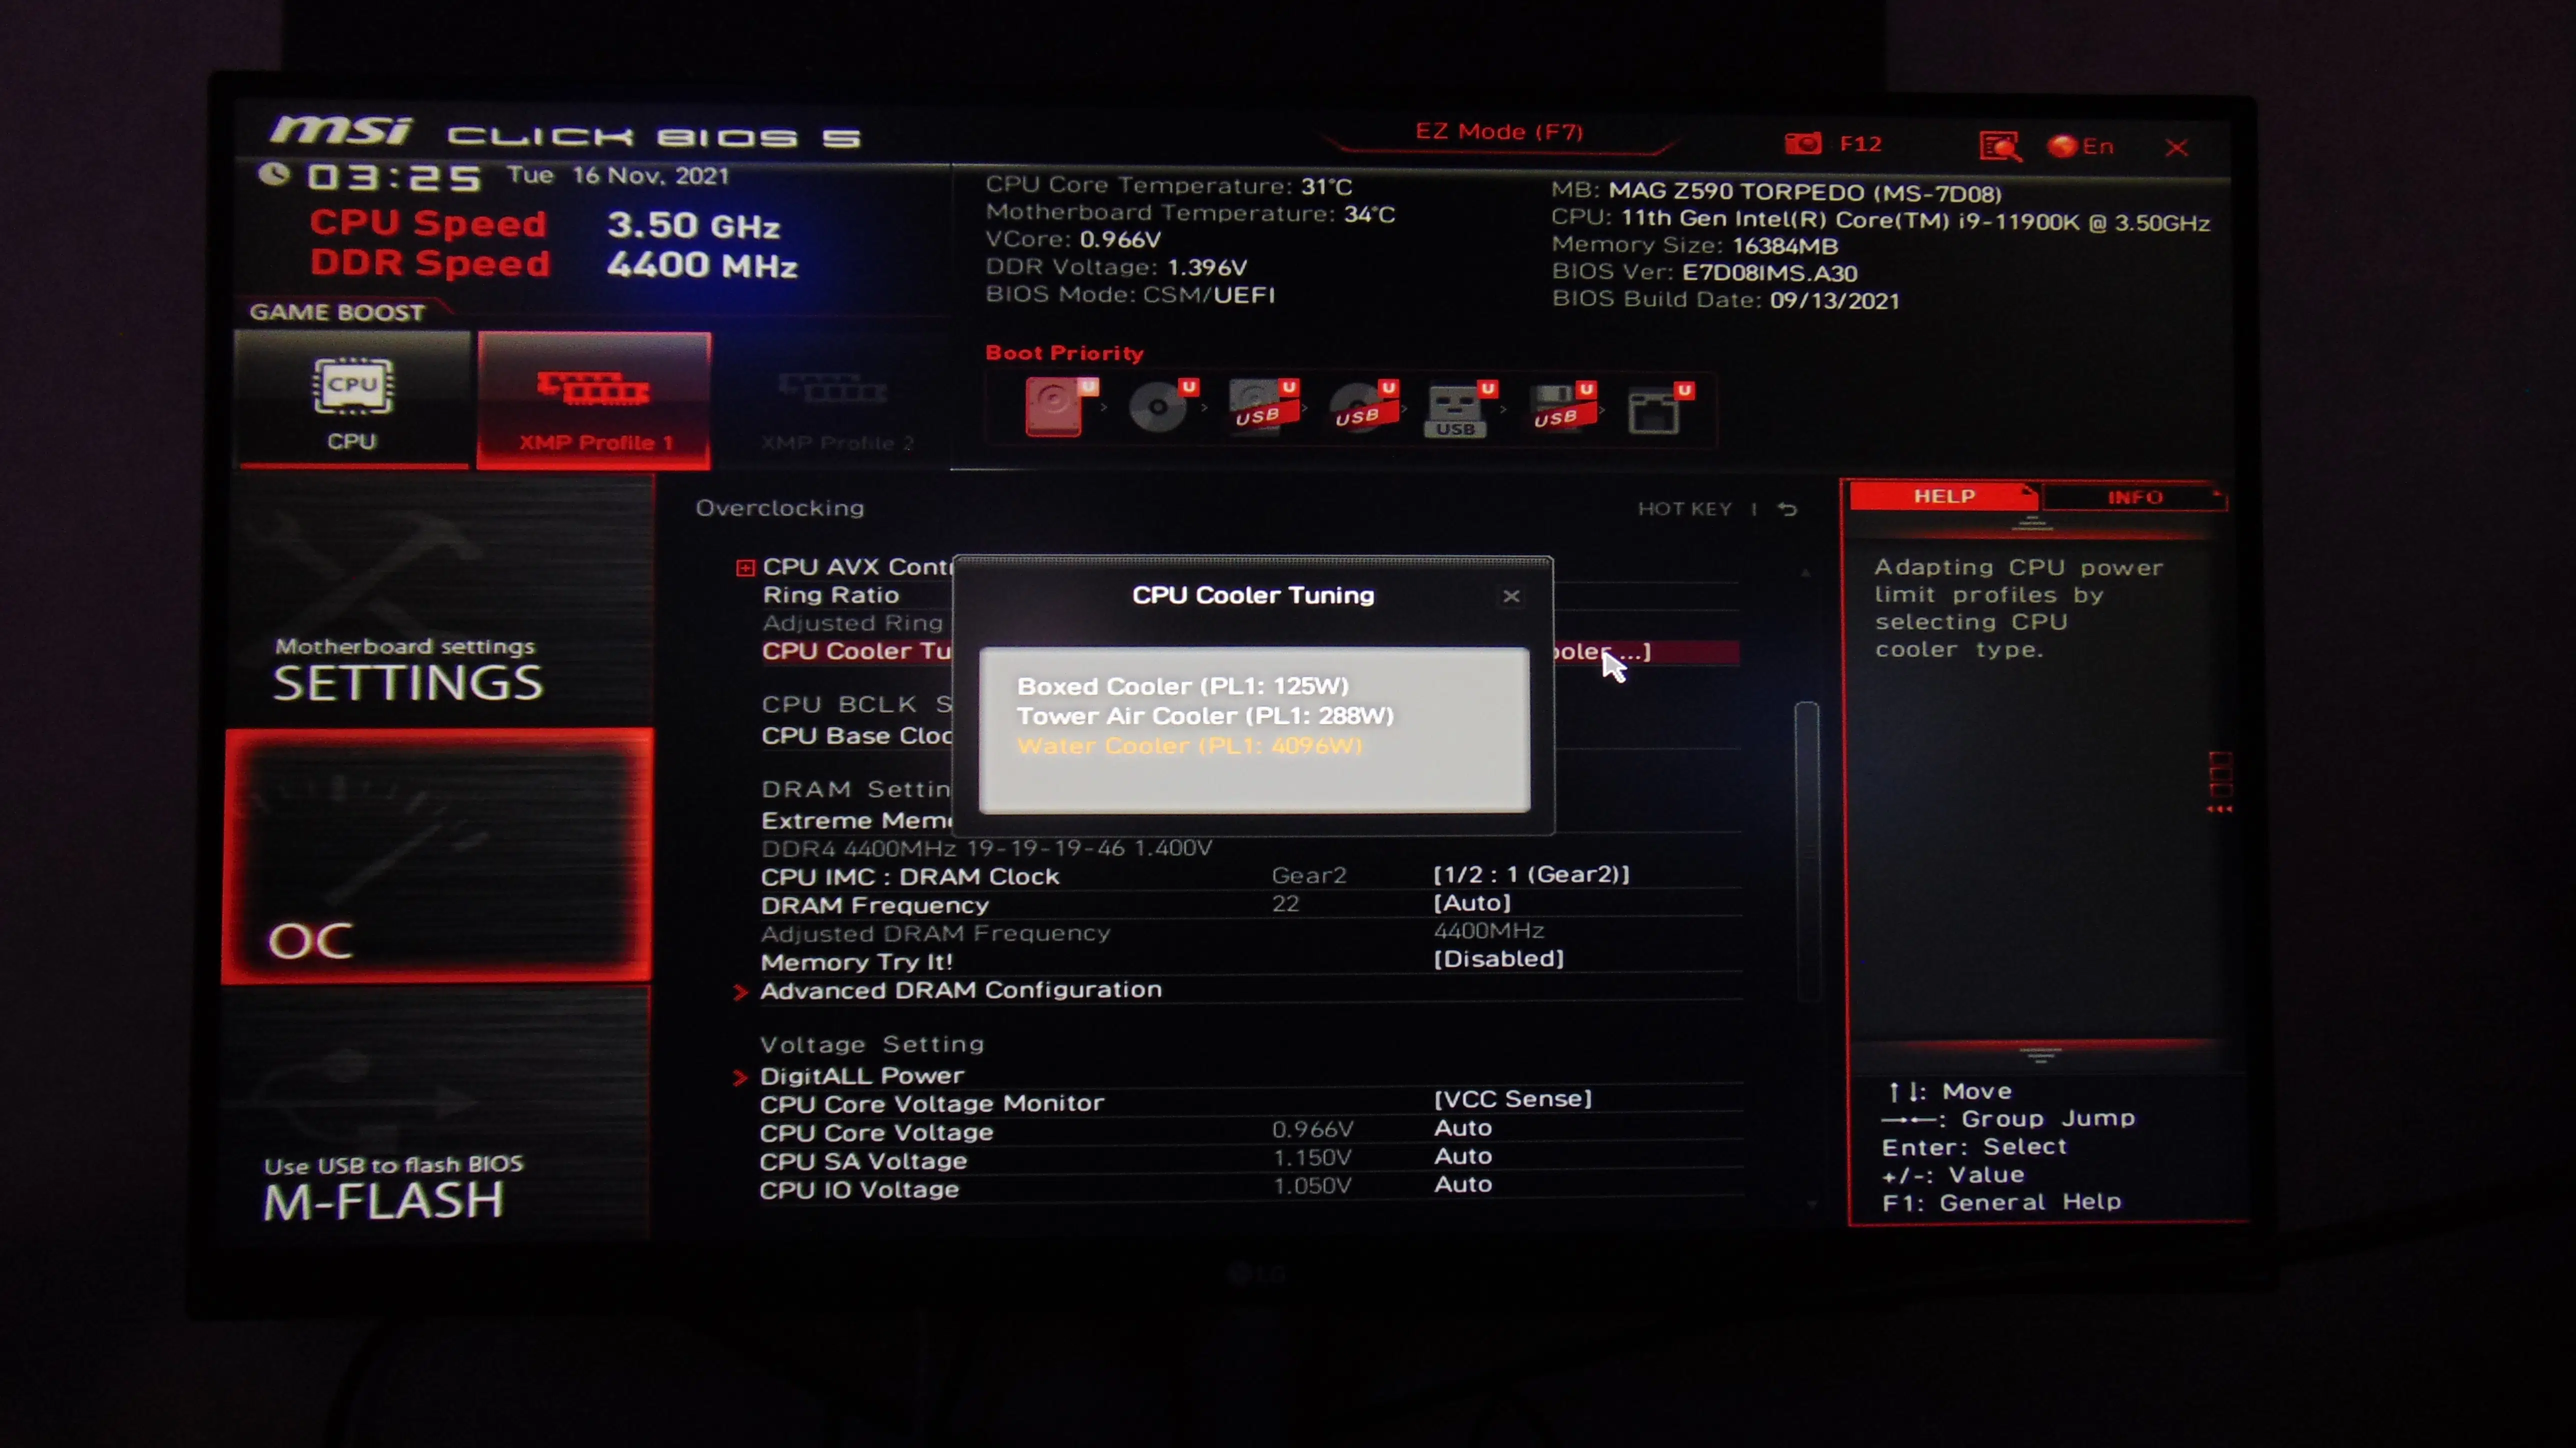
Another option that will affect PL1 power limit is the CPU Cooler Tuning you have set. You can see above that Boxed Cooler will limit PL1 to 125W, and Tower Air Cooler will limit PL1 to 288W, and basically, Water Cooler removes the power limit. So, if you want the maximum potential of Intel Adaptive Boost, turn on “Enabled” and set this setting to Water Cooler. Of course, you better have a 360 AIO at the least if you are going to go this route. And we did, for this review, to see how well this motherboard can take it.
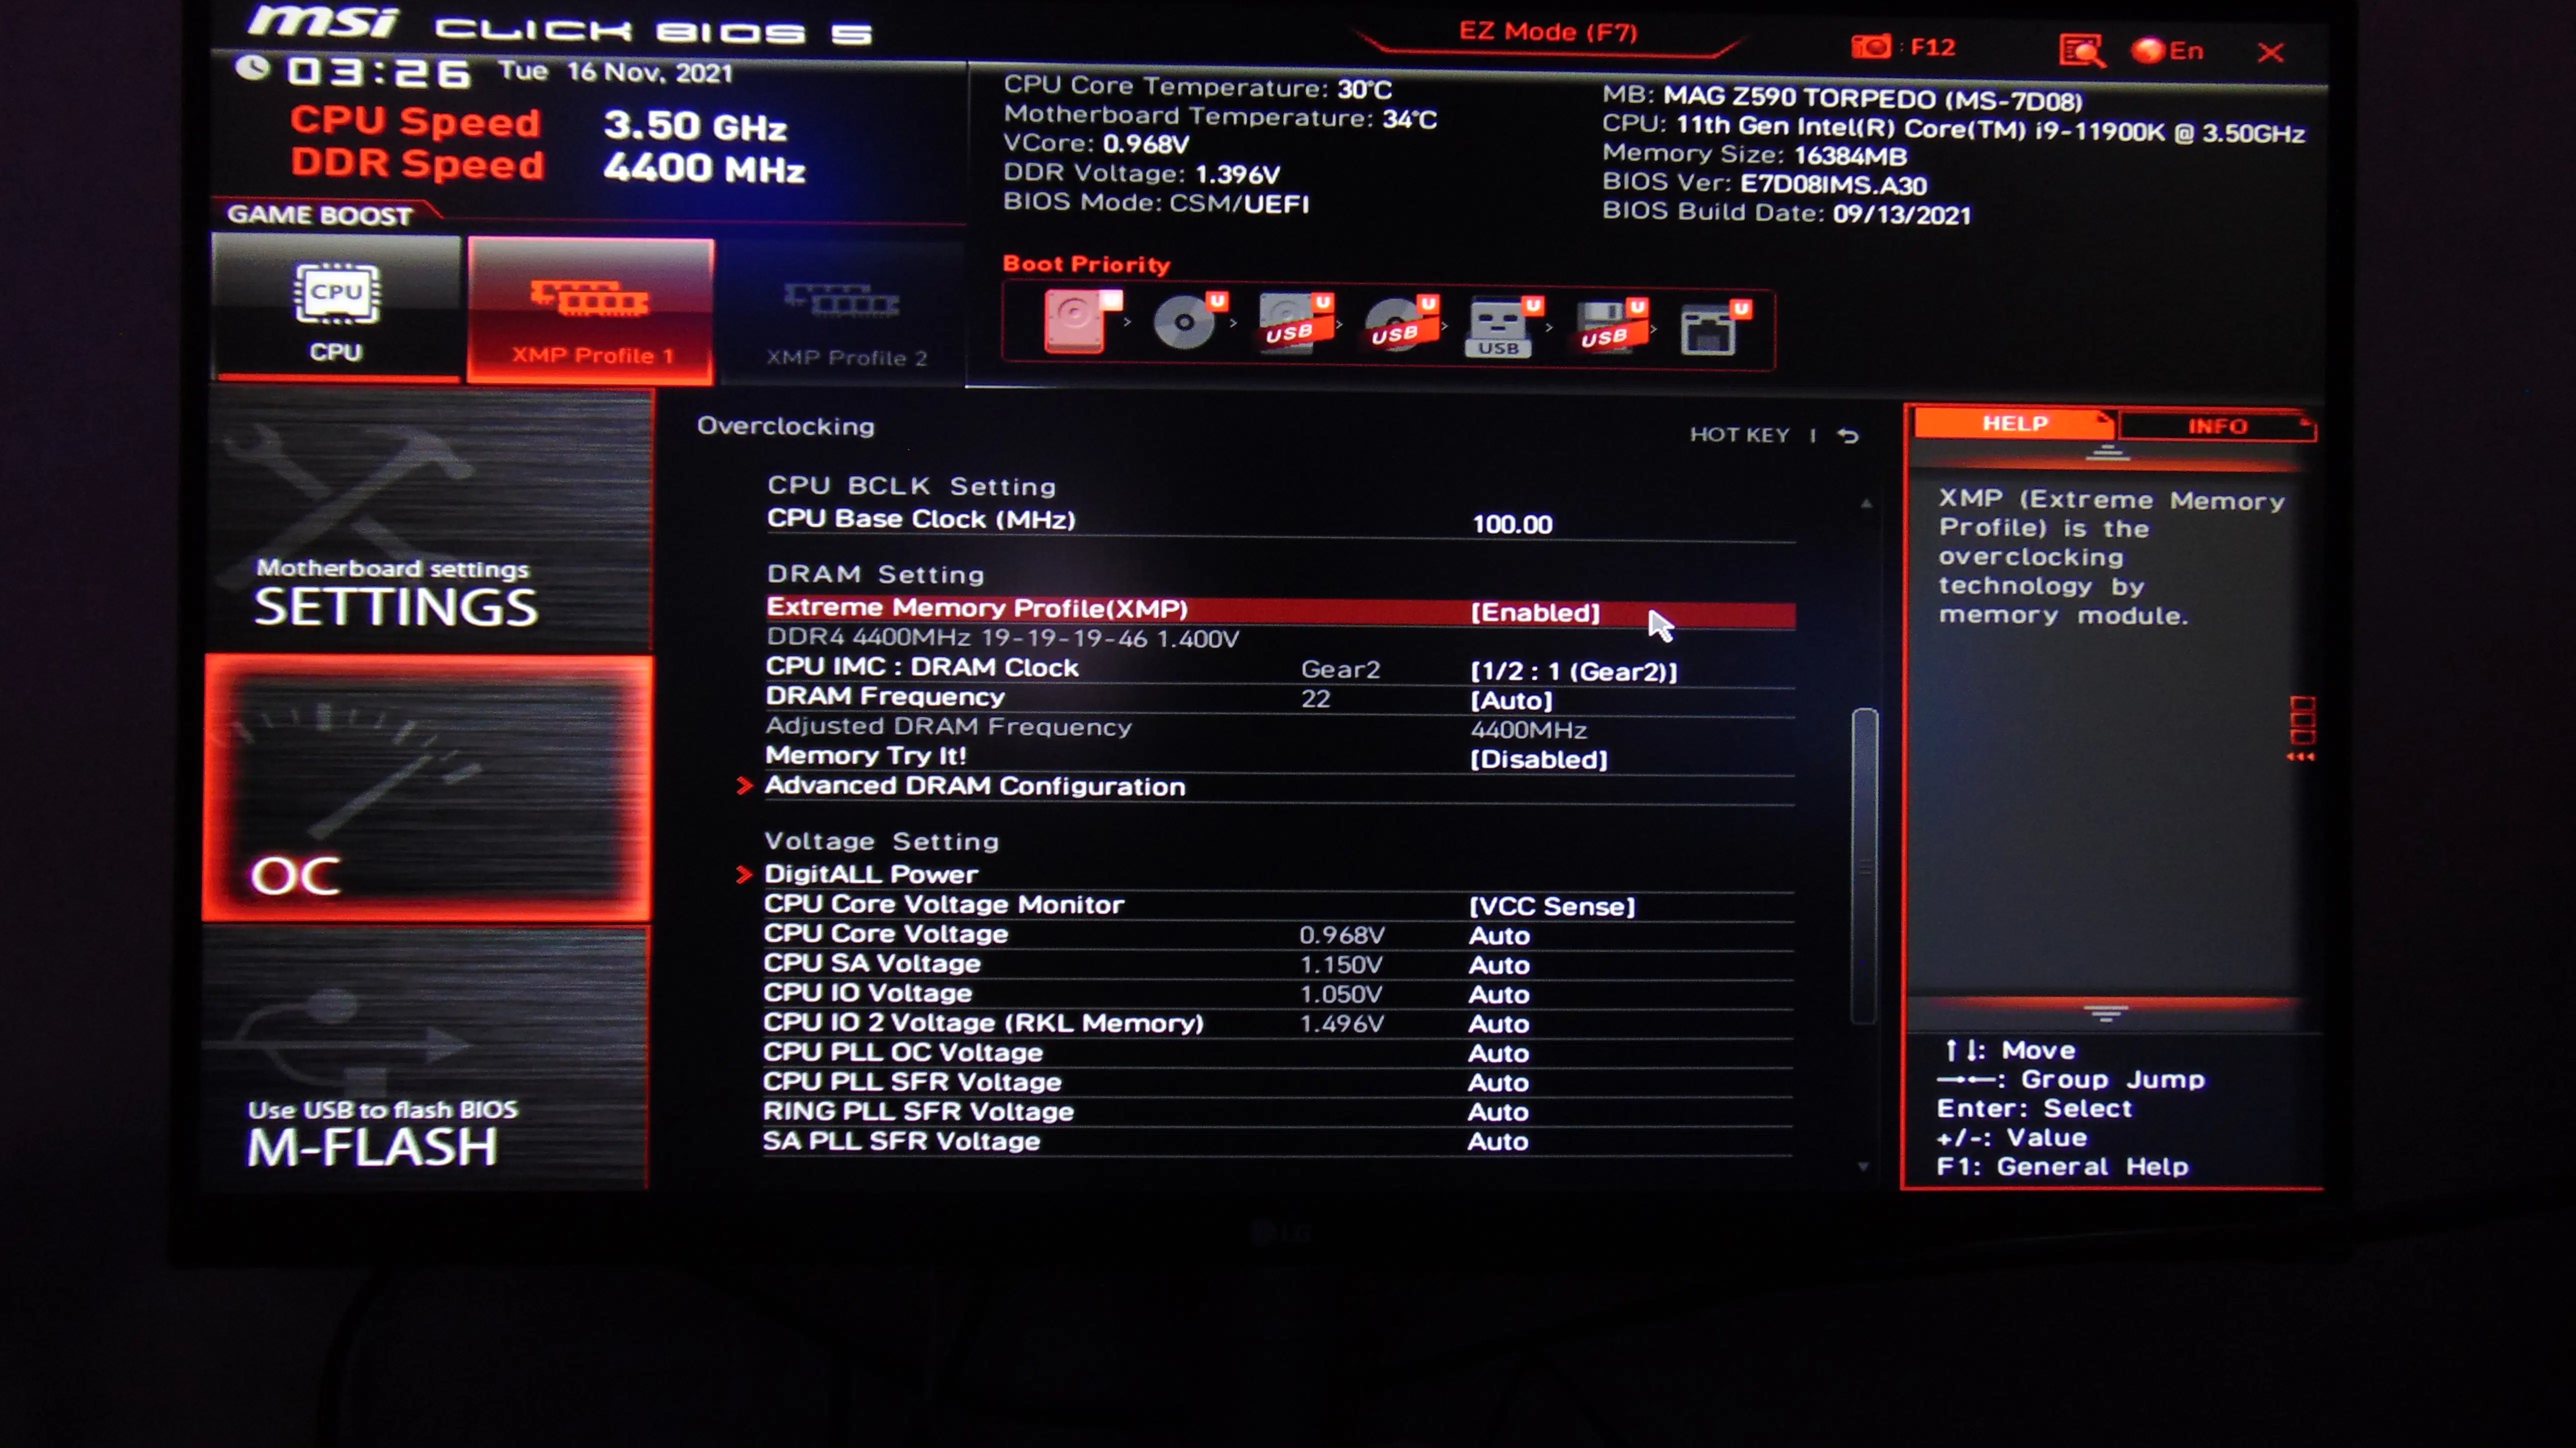
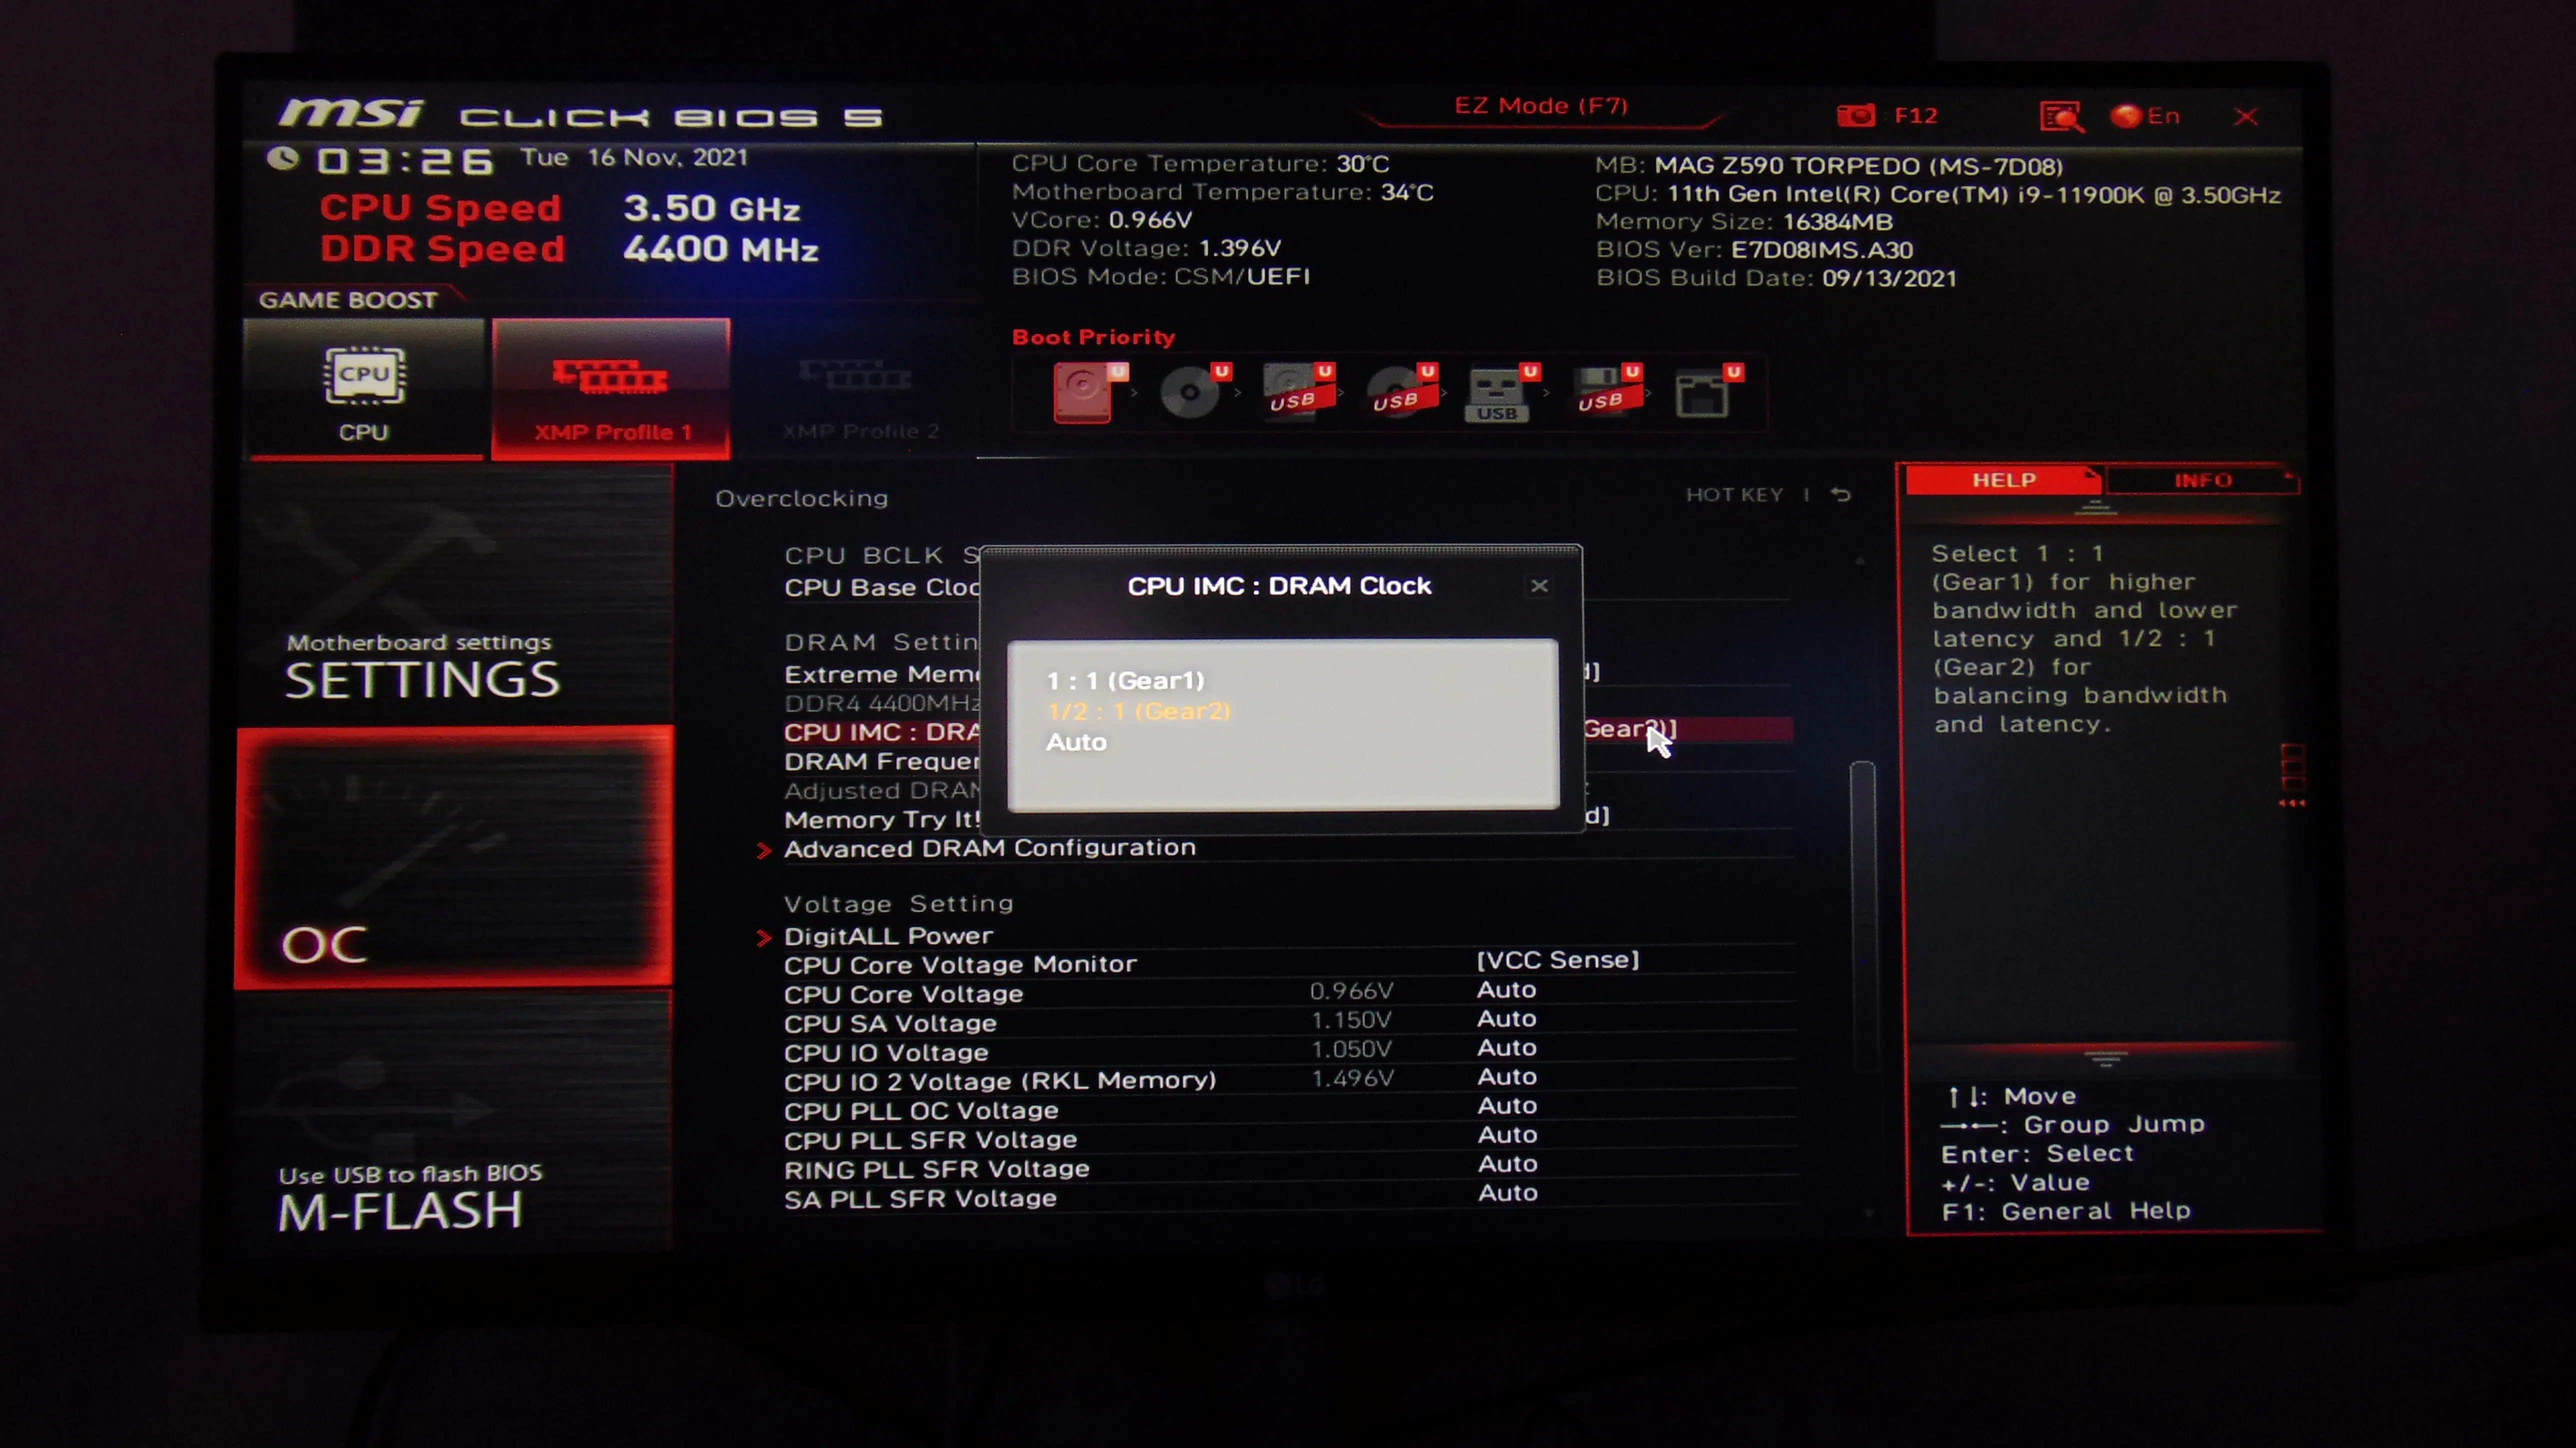
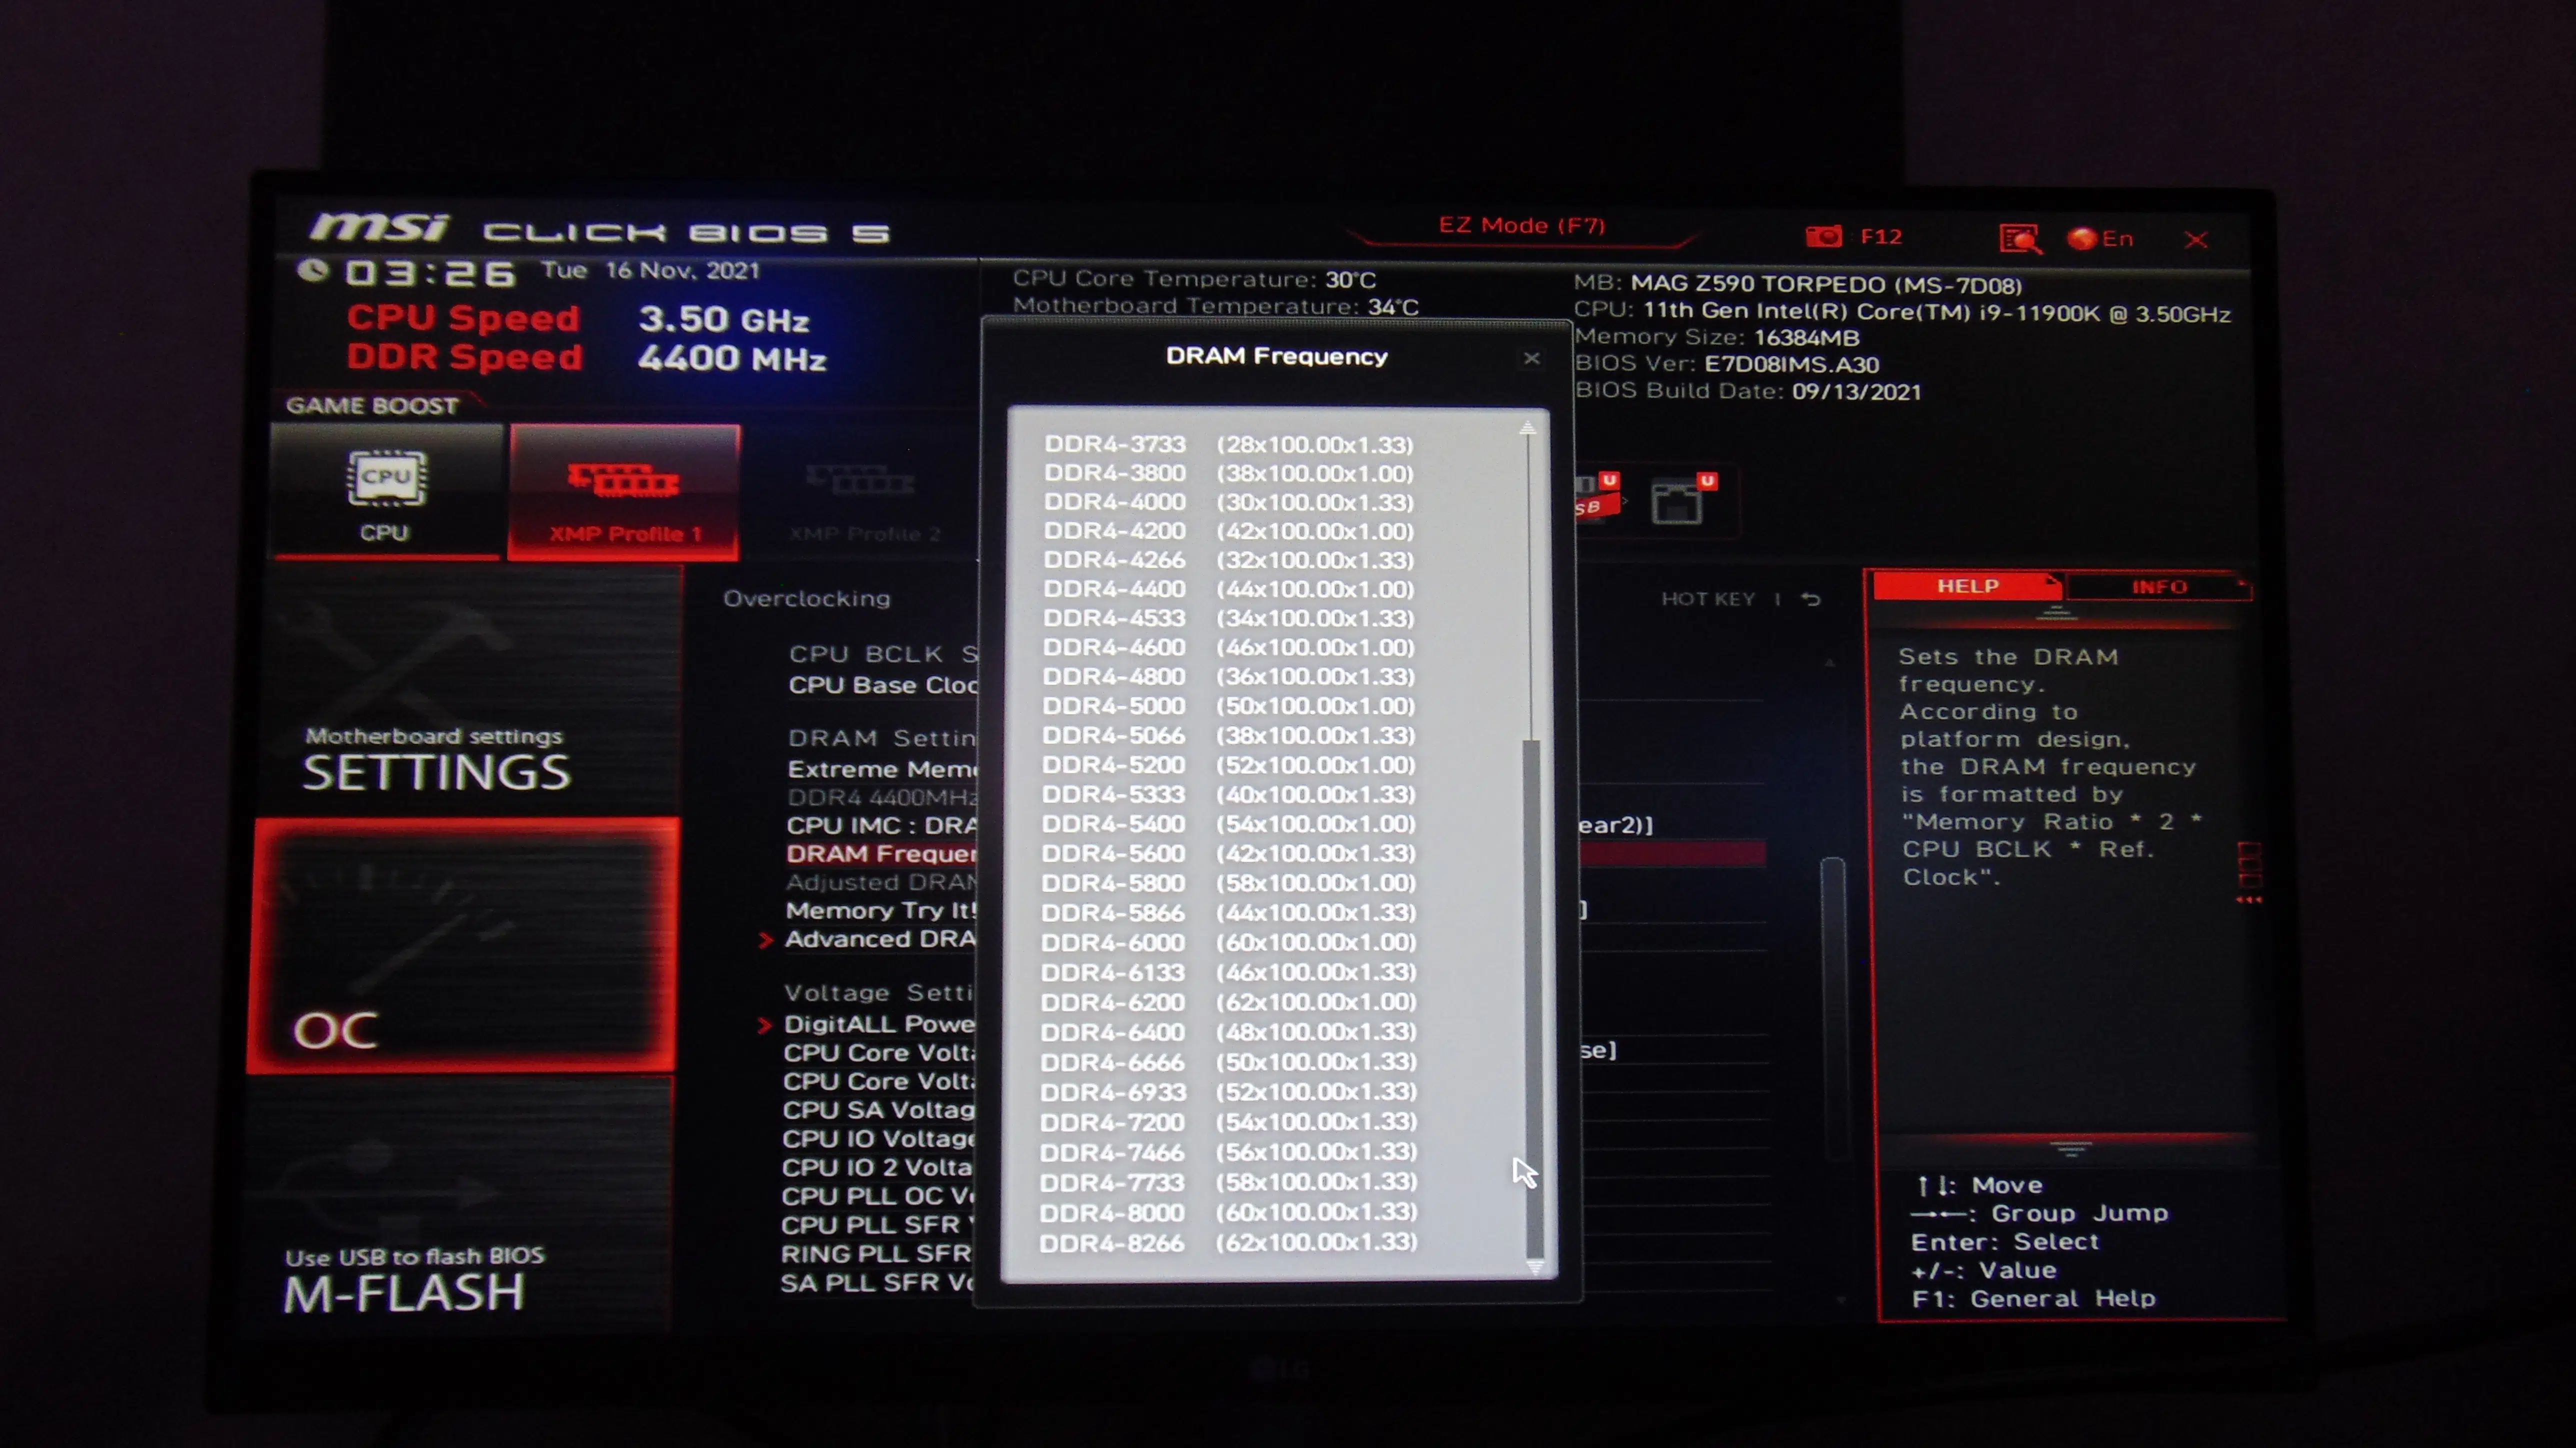
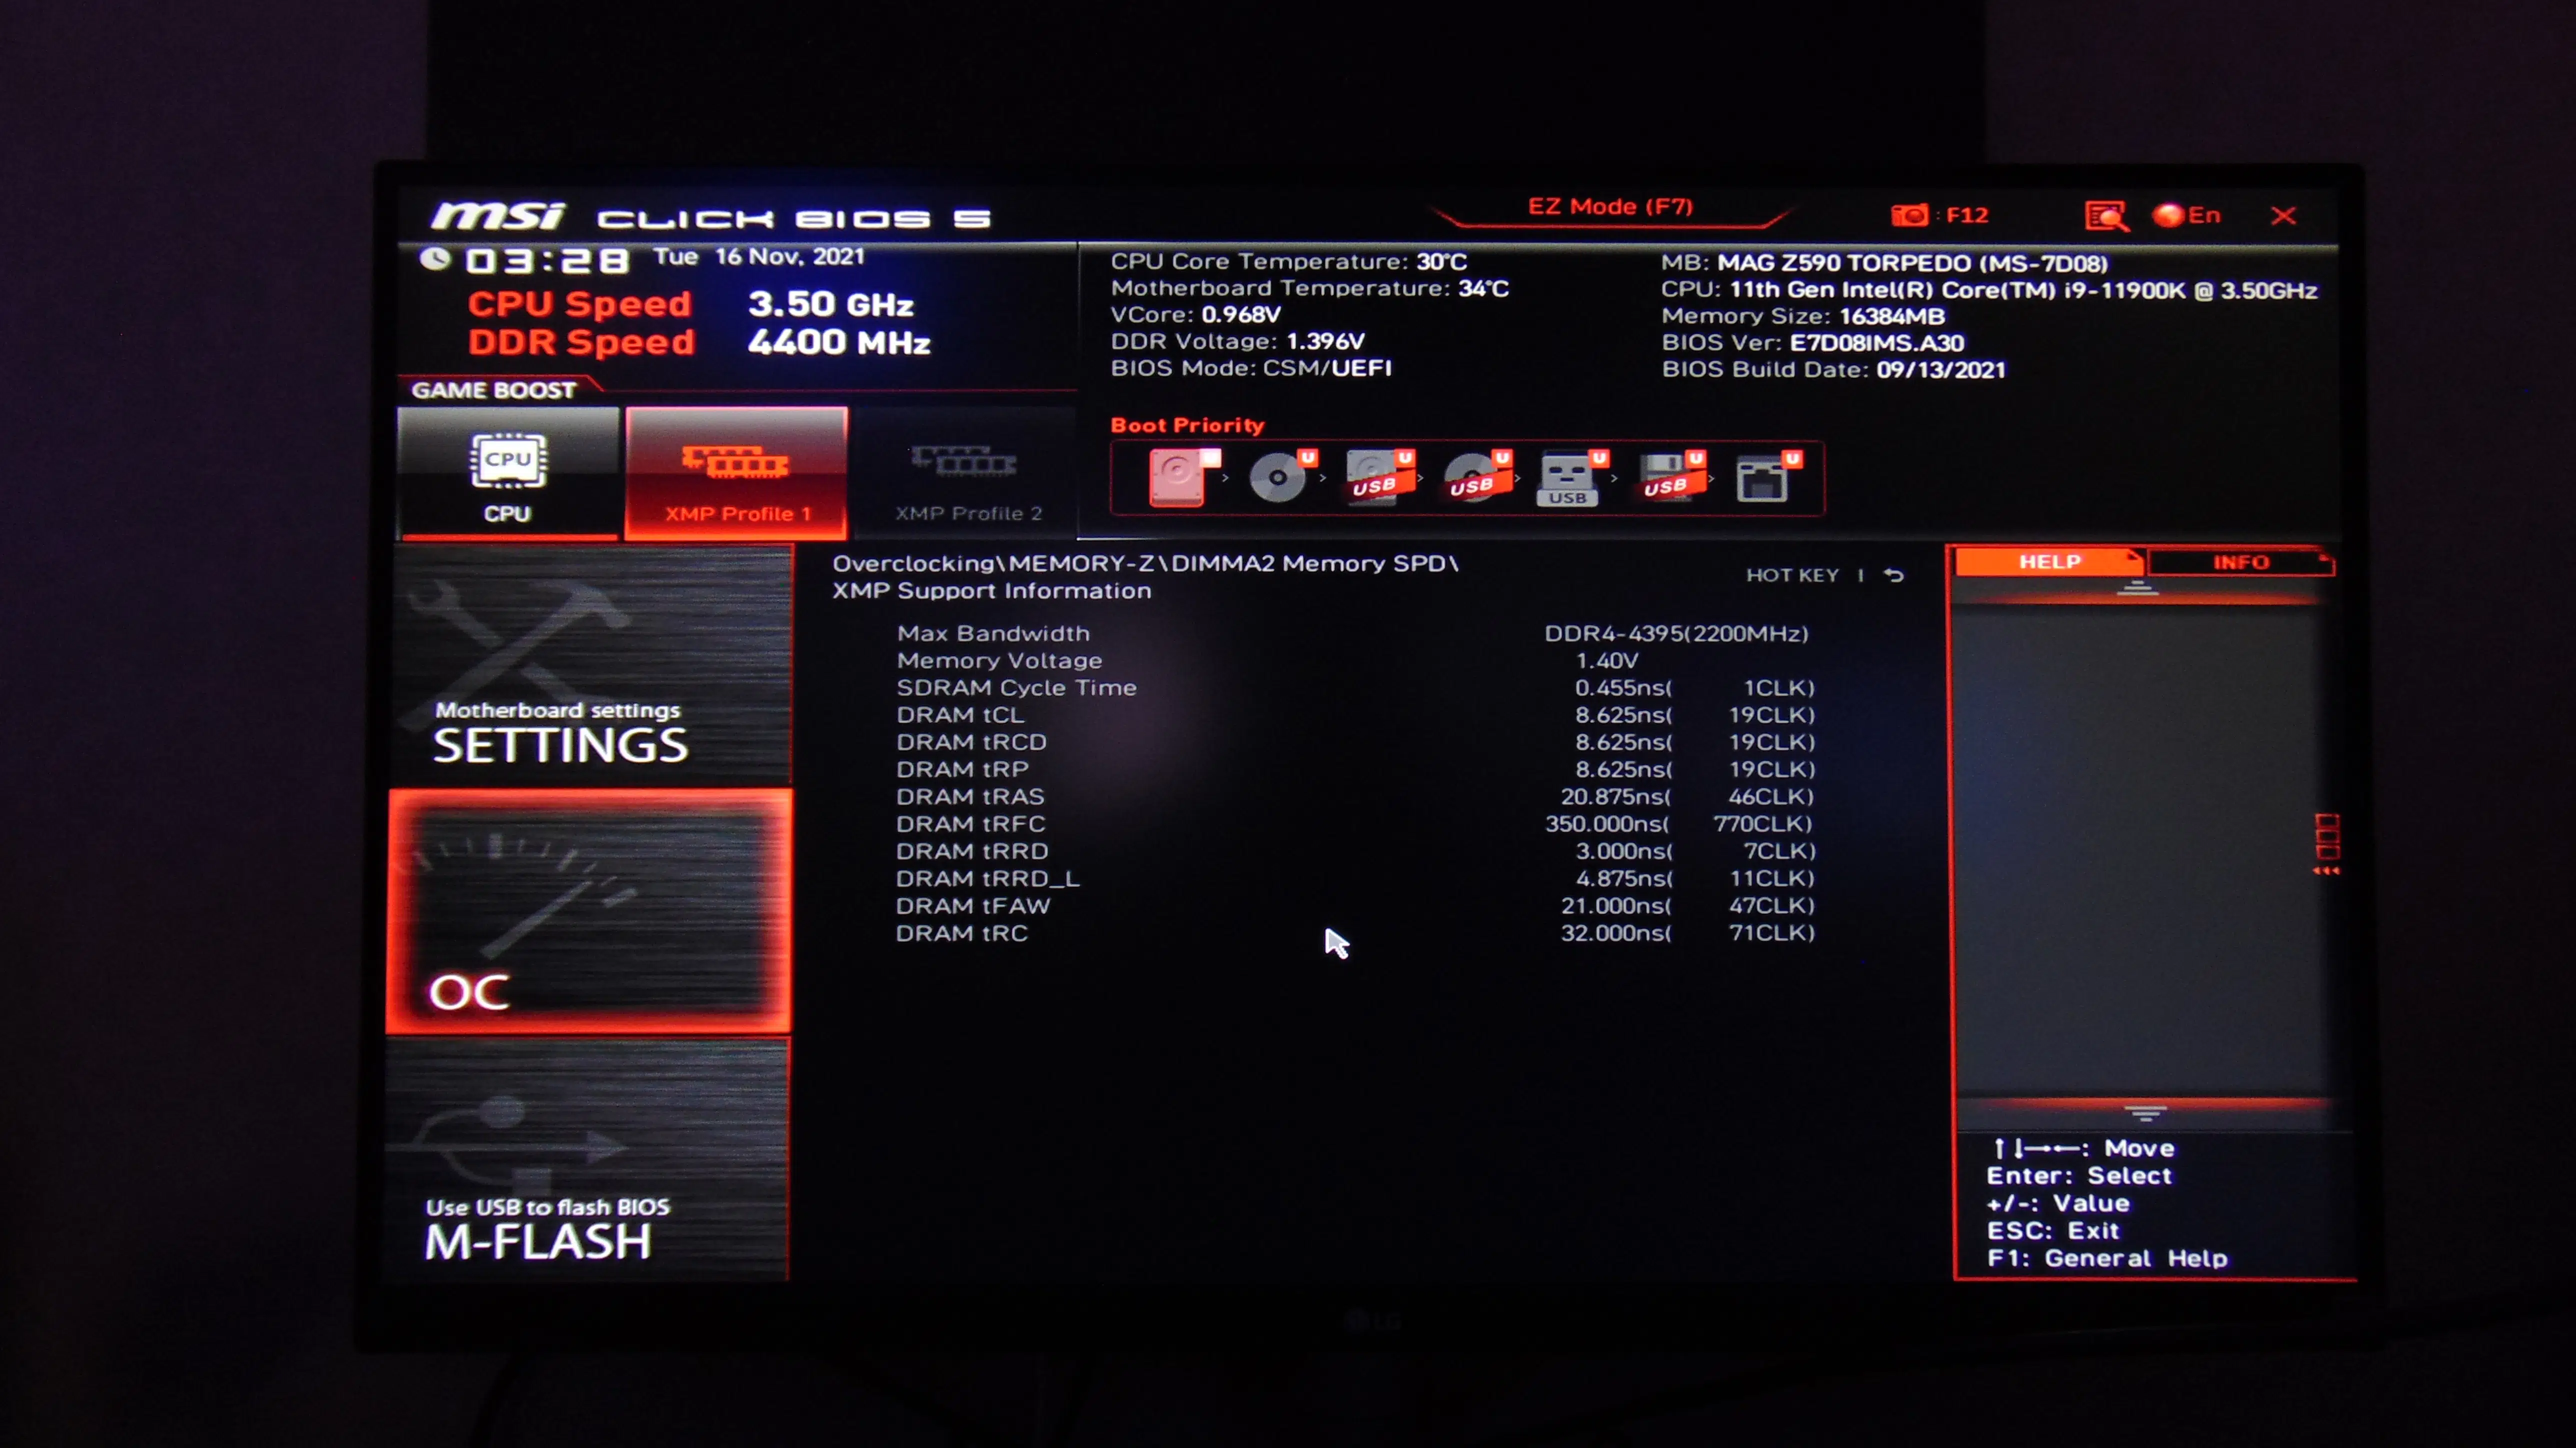
The next important setting is DDR4. You can rely simply on XMP, or you can manually set your own. Depending on what you have installed you may need to run at Gear 2 versus Gear 1, which offsets the memory frequency from the IMC to run the DRAM frequency higher. It’s how you get higher frequency on DRAM. We are using a Crucial Ballistix MAX DDR4-4400 CL19 16GB RAM Kit in this review, so above you can see we are set at 4400MHz and Gear 2 using the XMP profile.

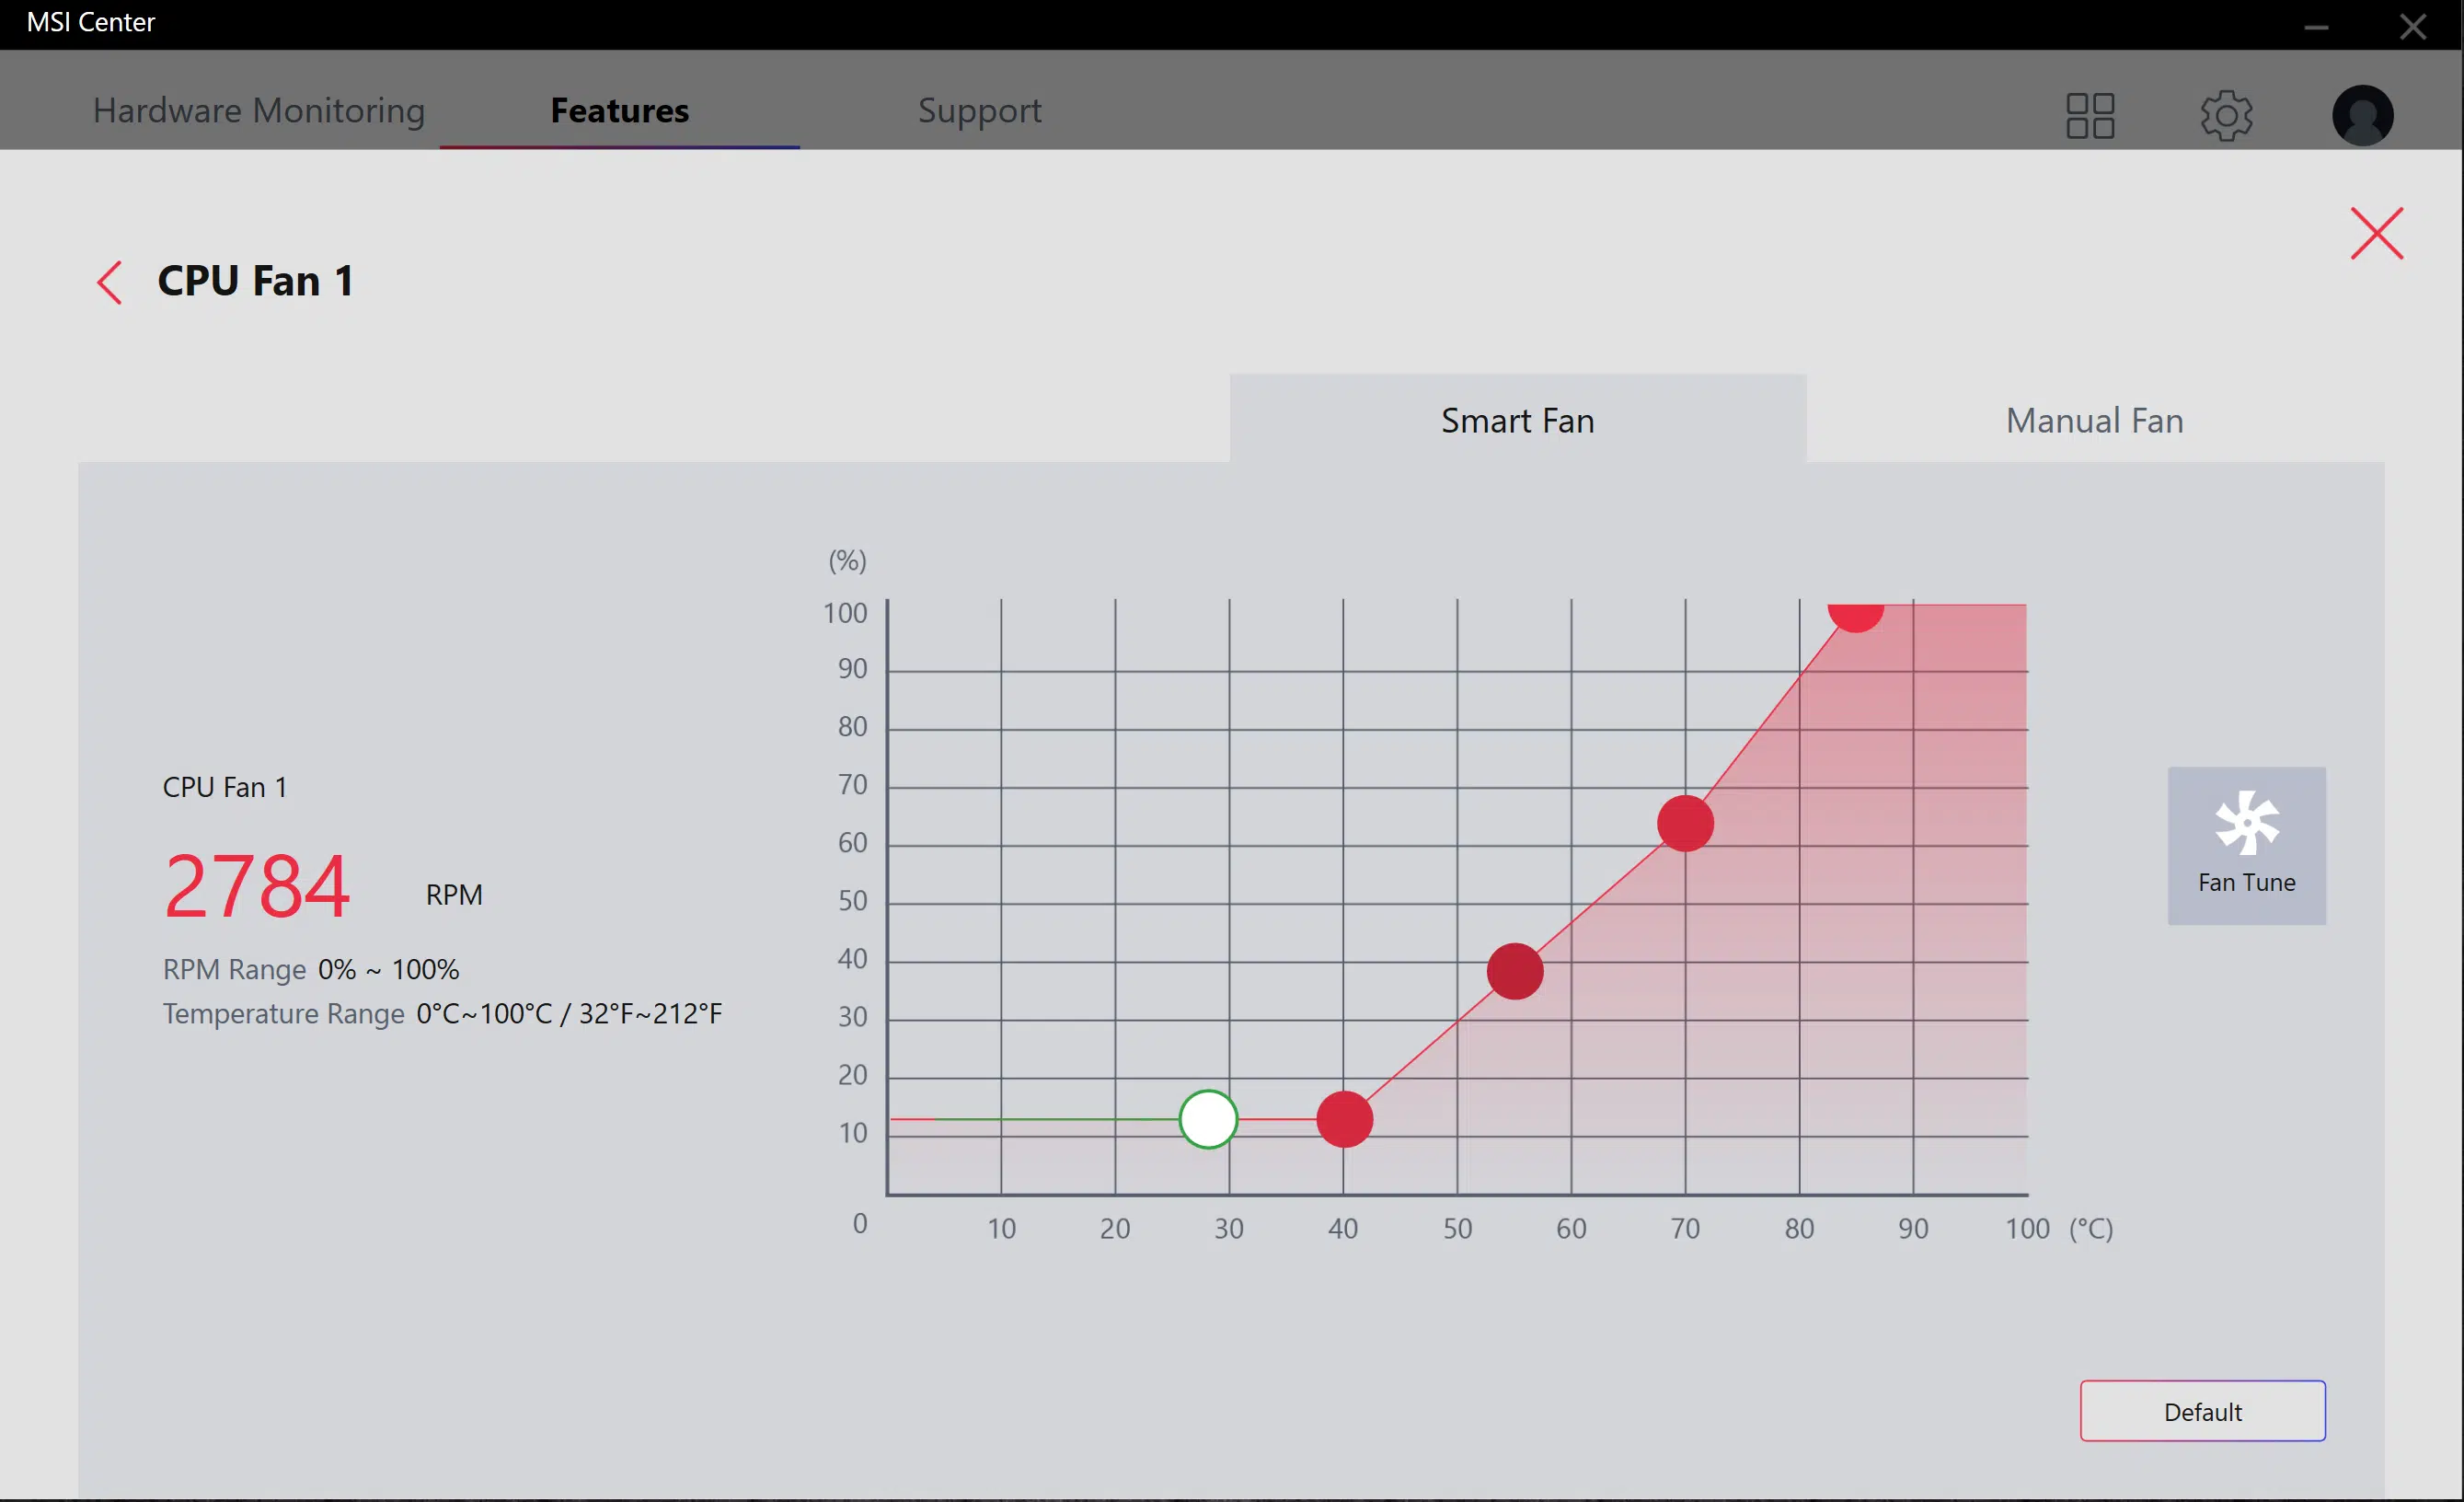
Finally, the Hardware Monitor lets you control all the fans, CPU, and system fans. You can set four points of control for temperature, or pre-defined profiles, as well as simple all full speed options.
Installation and Setup
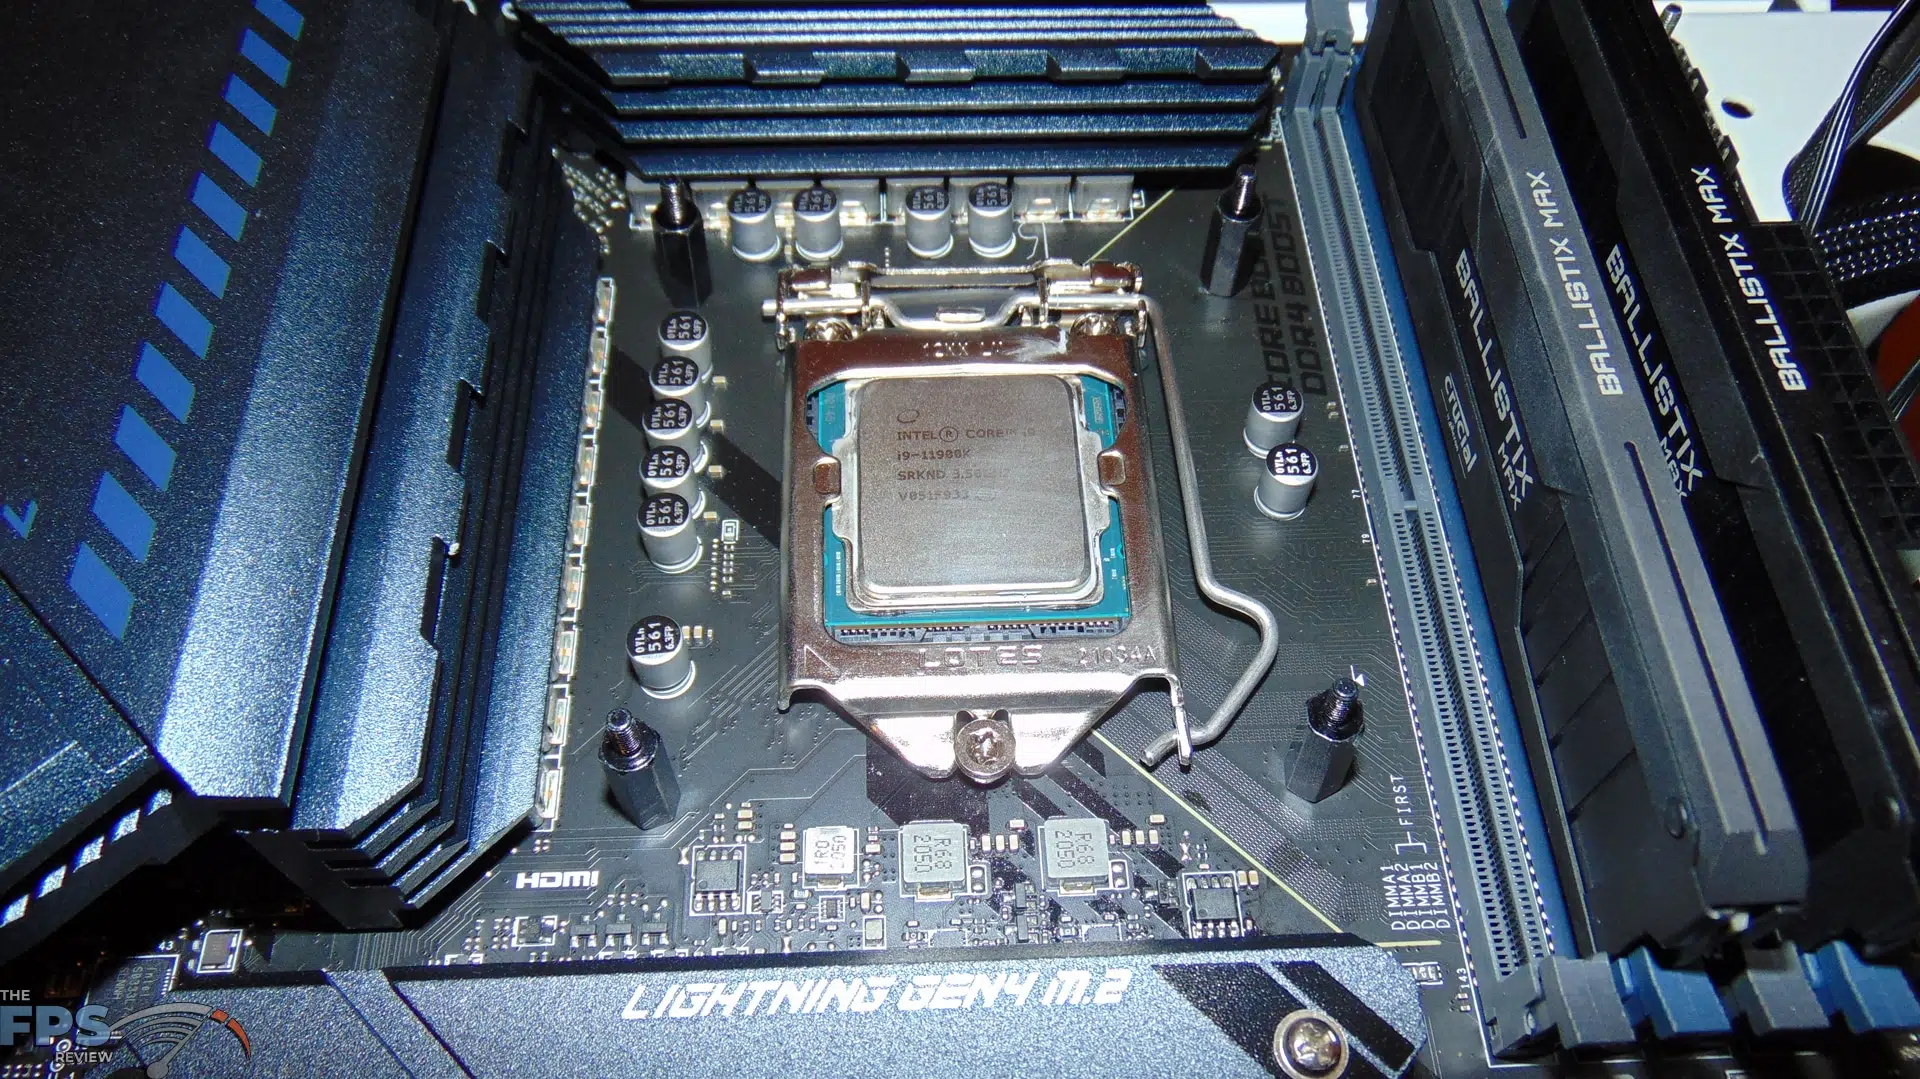

Setting up the motherboard went without a hitch, though there are two EPS power connections, there was enough room to squeeze the power connectors into place without too much trouble. Placement of main power and other cables are placed well for routing. The CPU cooler connection is to the top right and doesn’t get in the way. For our testing, we installed an Intel Core i9-11900K and an MSI MEG CORELIQUID S360 AIO Cooler. We had no clearance issues with the massive block on the AIO. There was even room to remove and swap out RAM with the cooler installed.

This is the first system that we have installed Windows 11 on for testing to get a good feel for it. We simply enabled TPM in the BIOS and had no problems installing Windows 11 on this system. We installed a fresh clean copy of Windows 11 Pro. While we performed full updates, we also installed the latest Intel Chipset Drivers and set the Windows 11 power profile to Best Performance for testing. In addition, VBS was disabled.
MSI Center
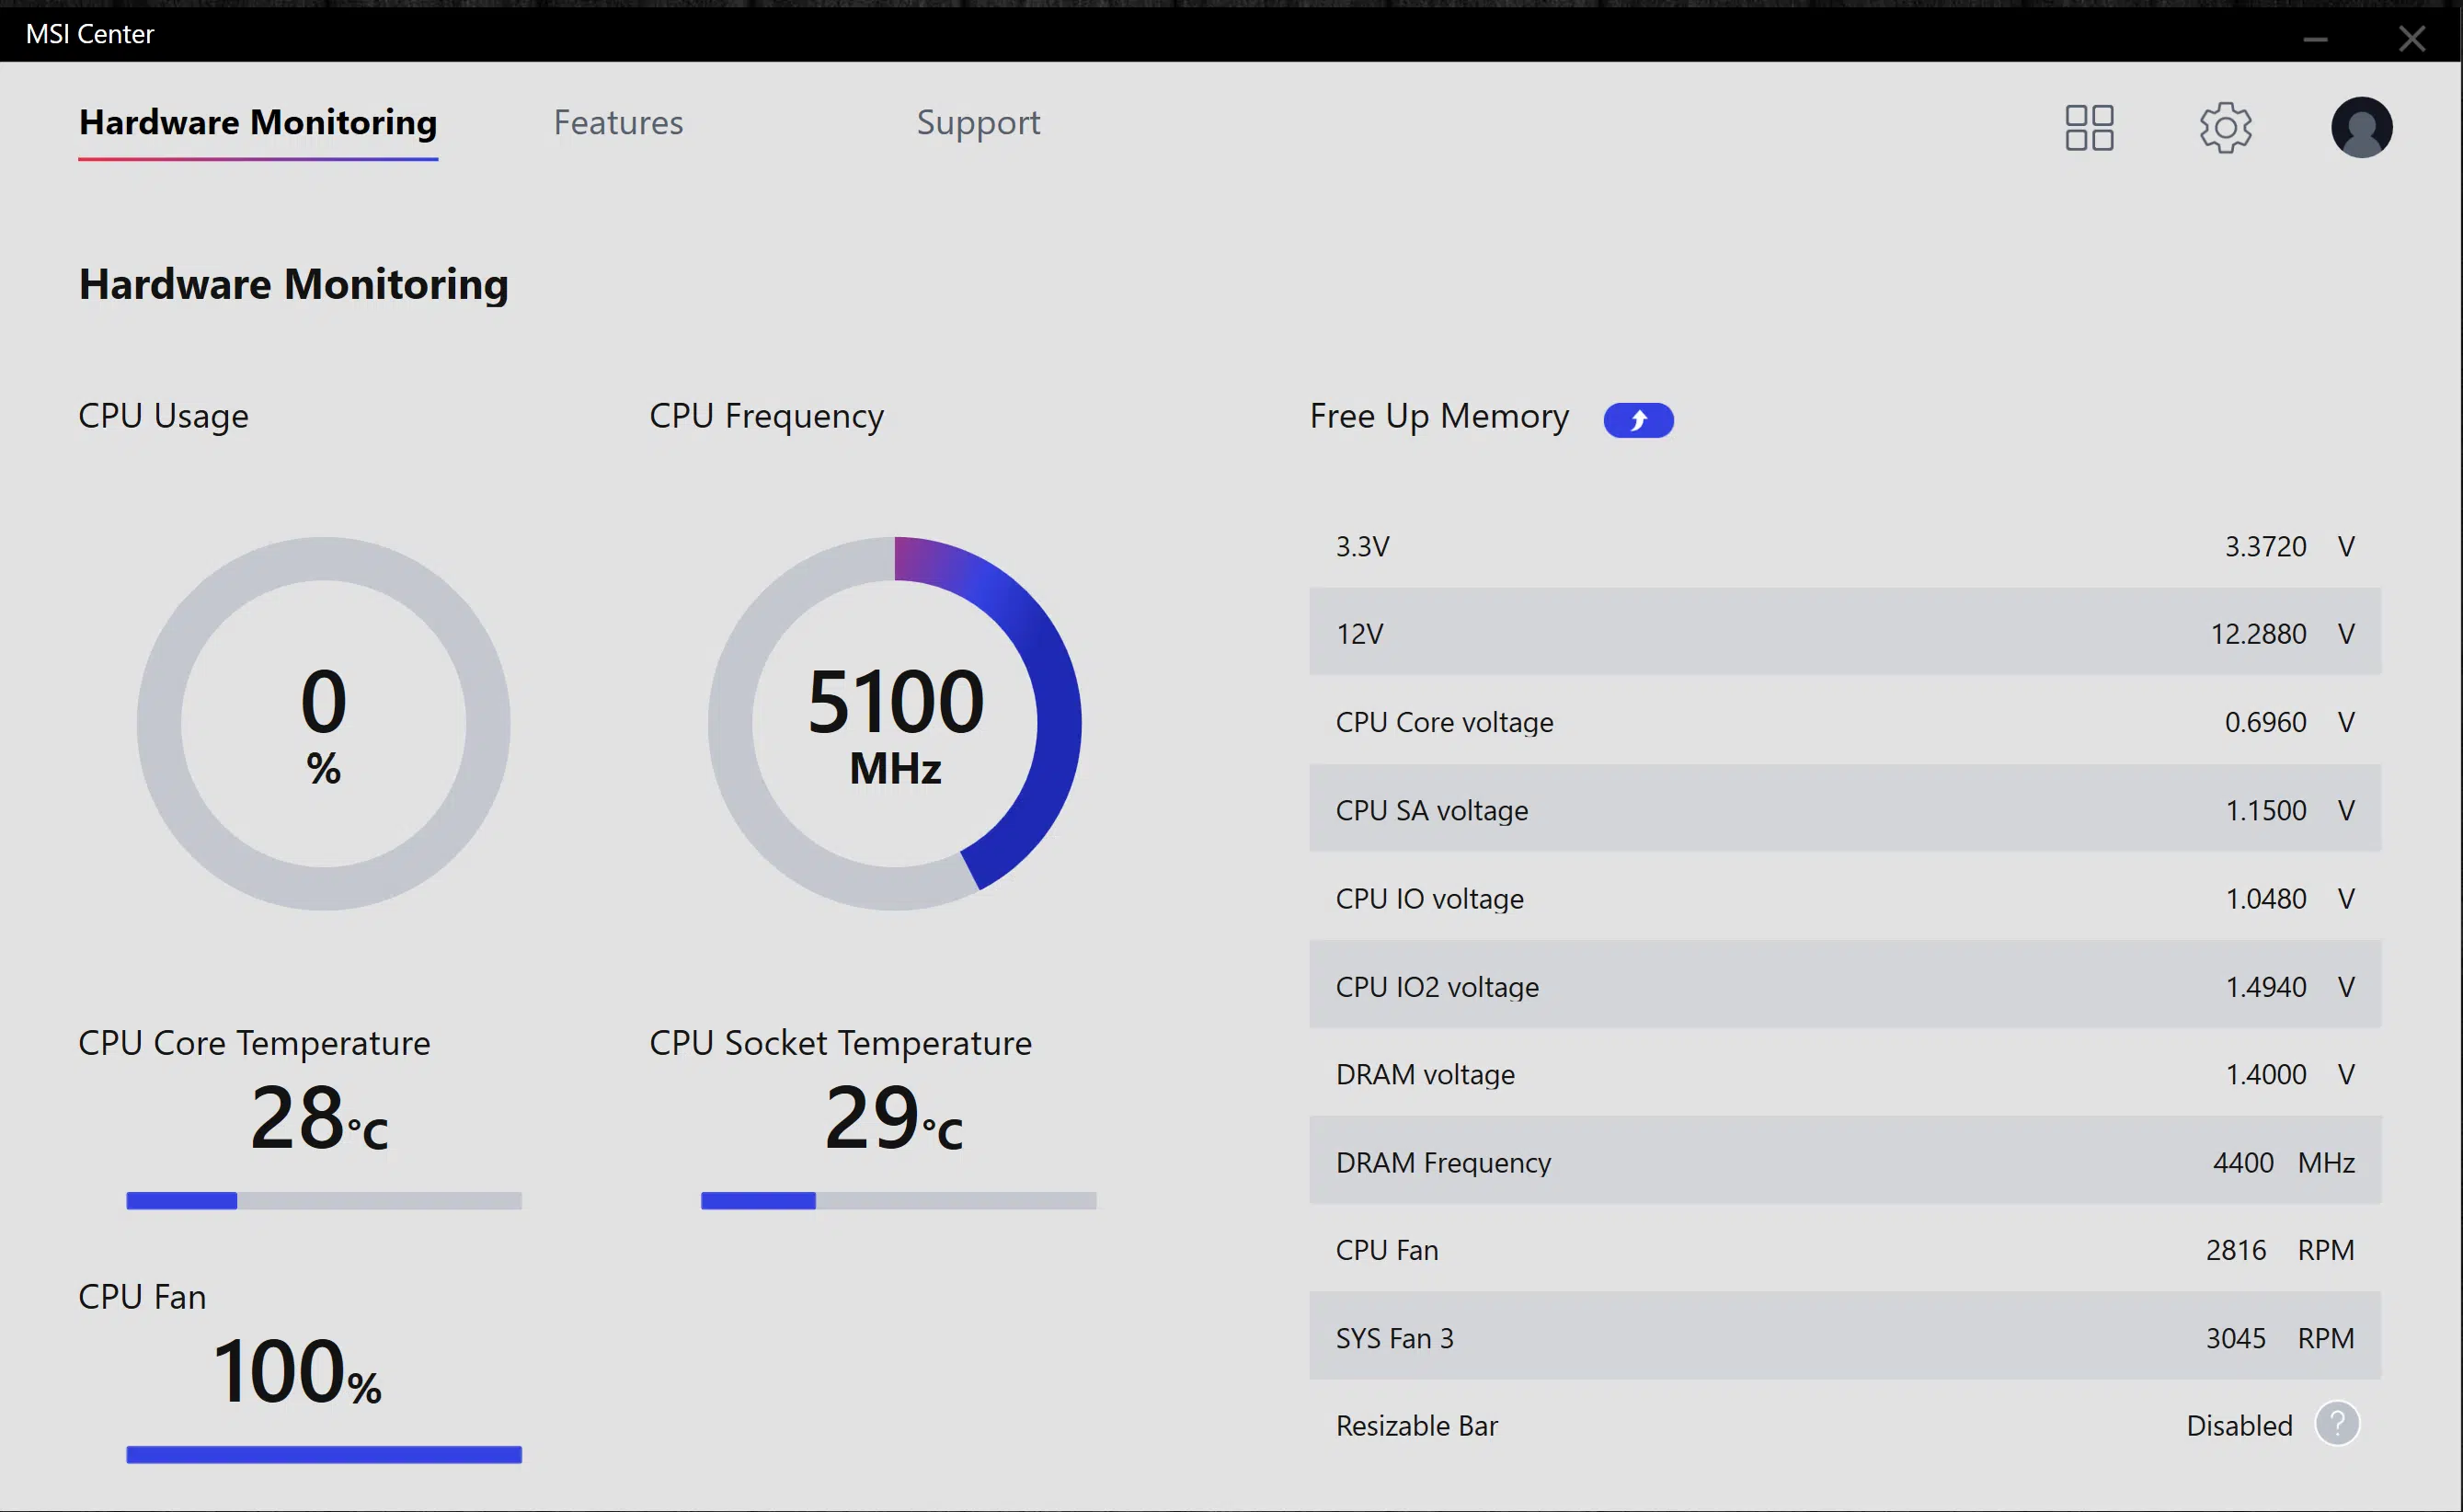
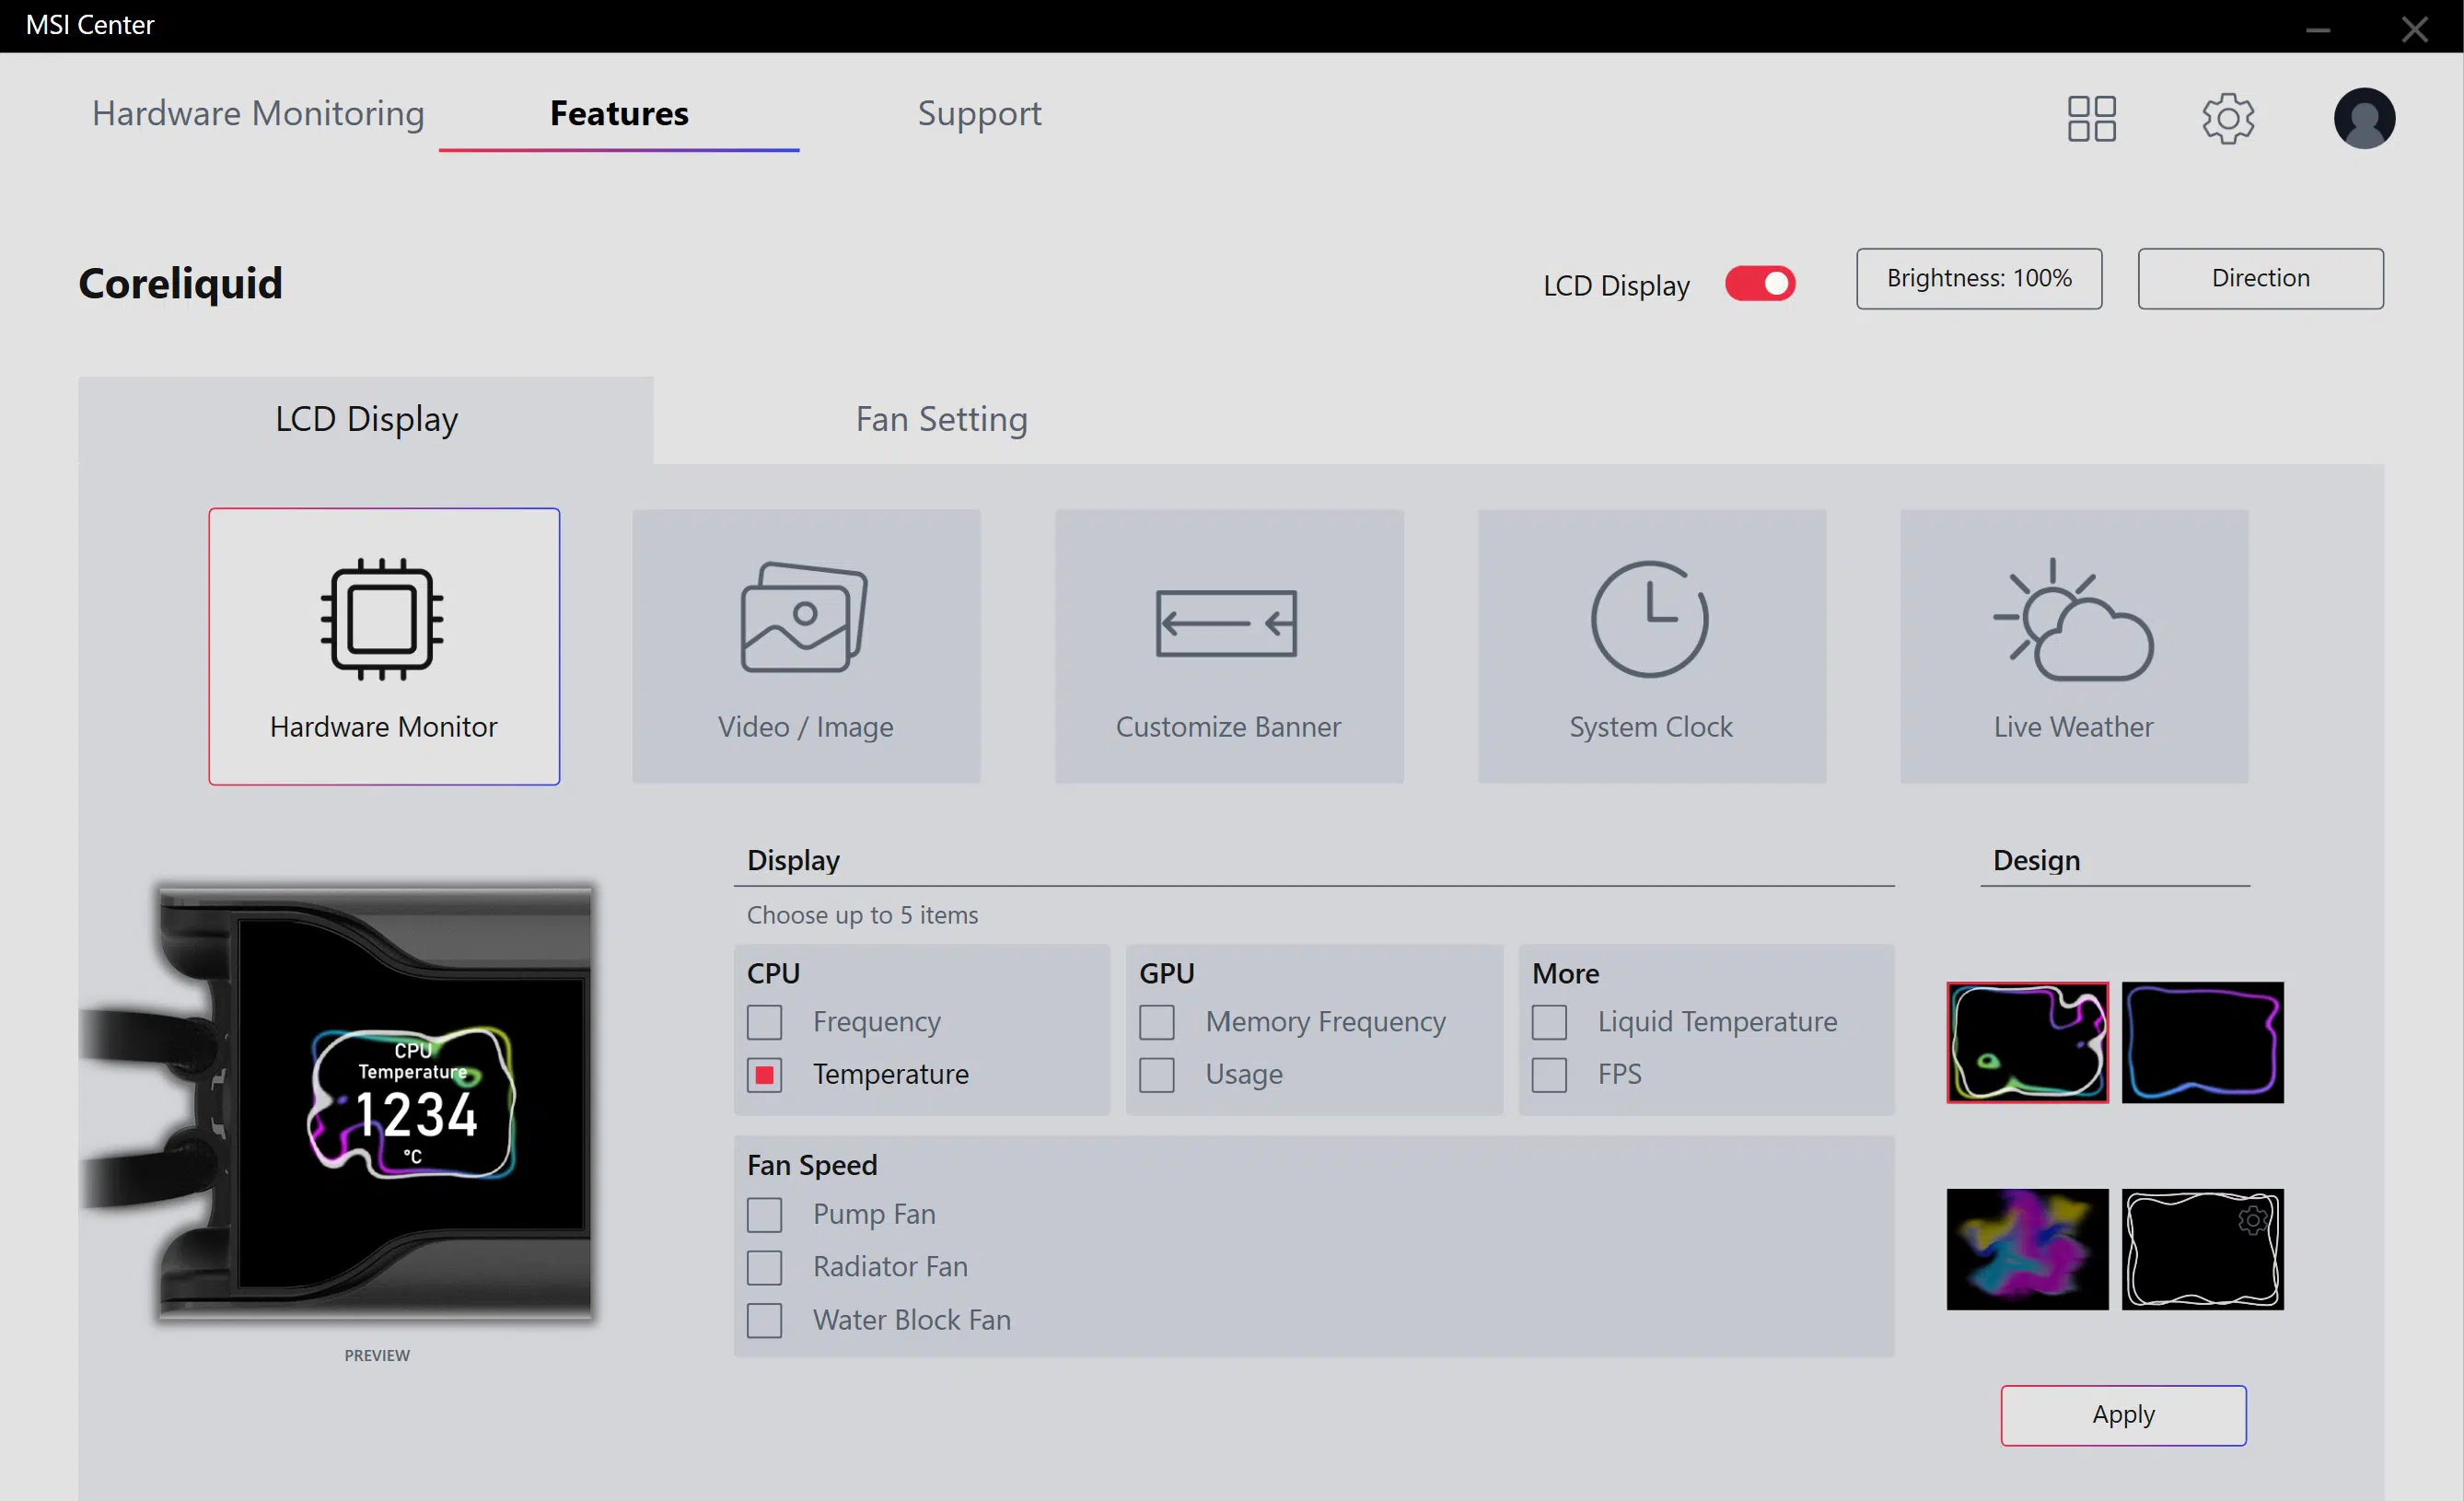
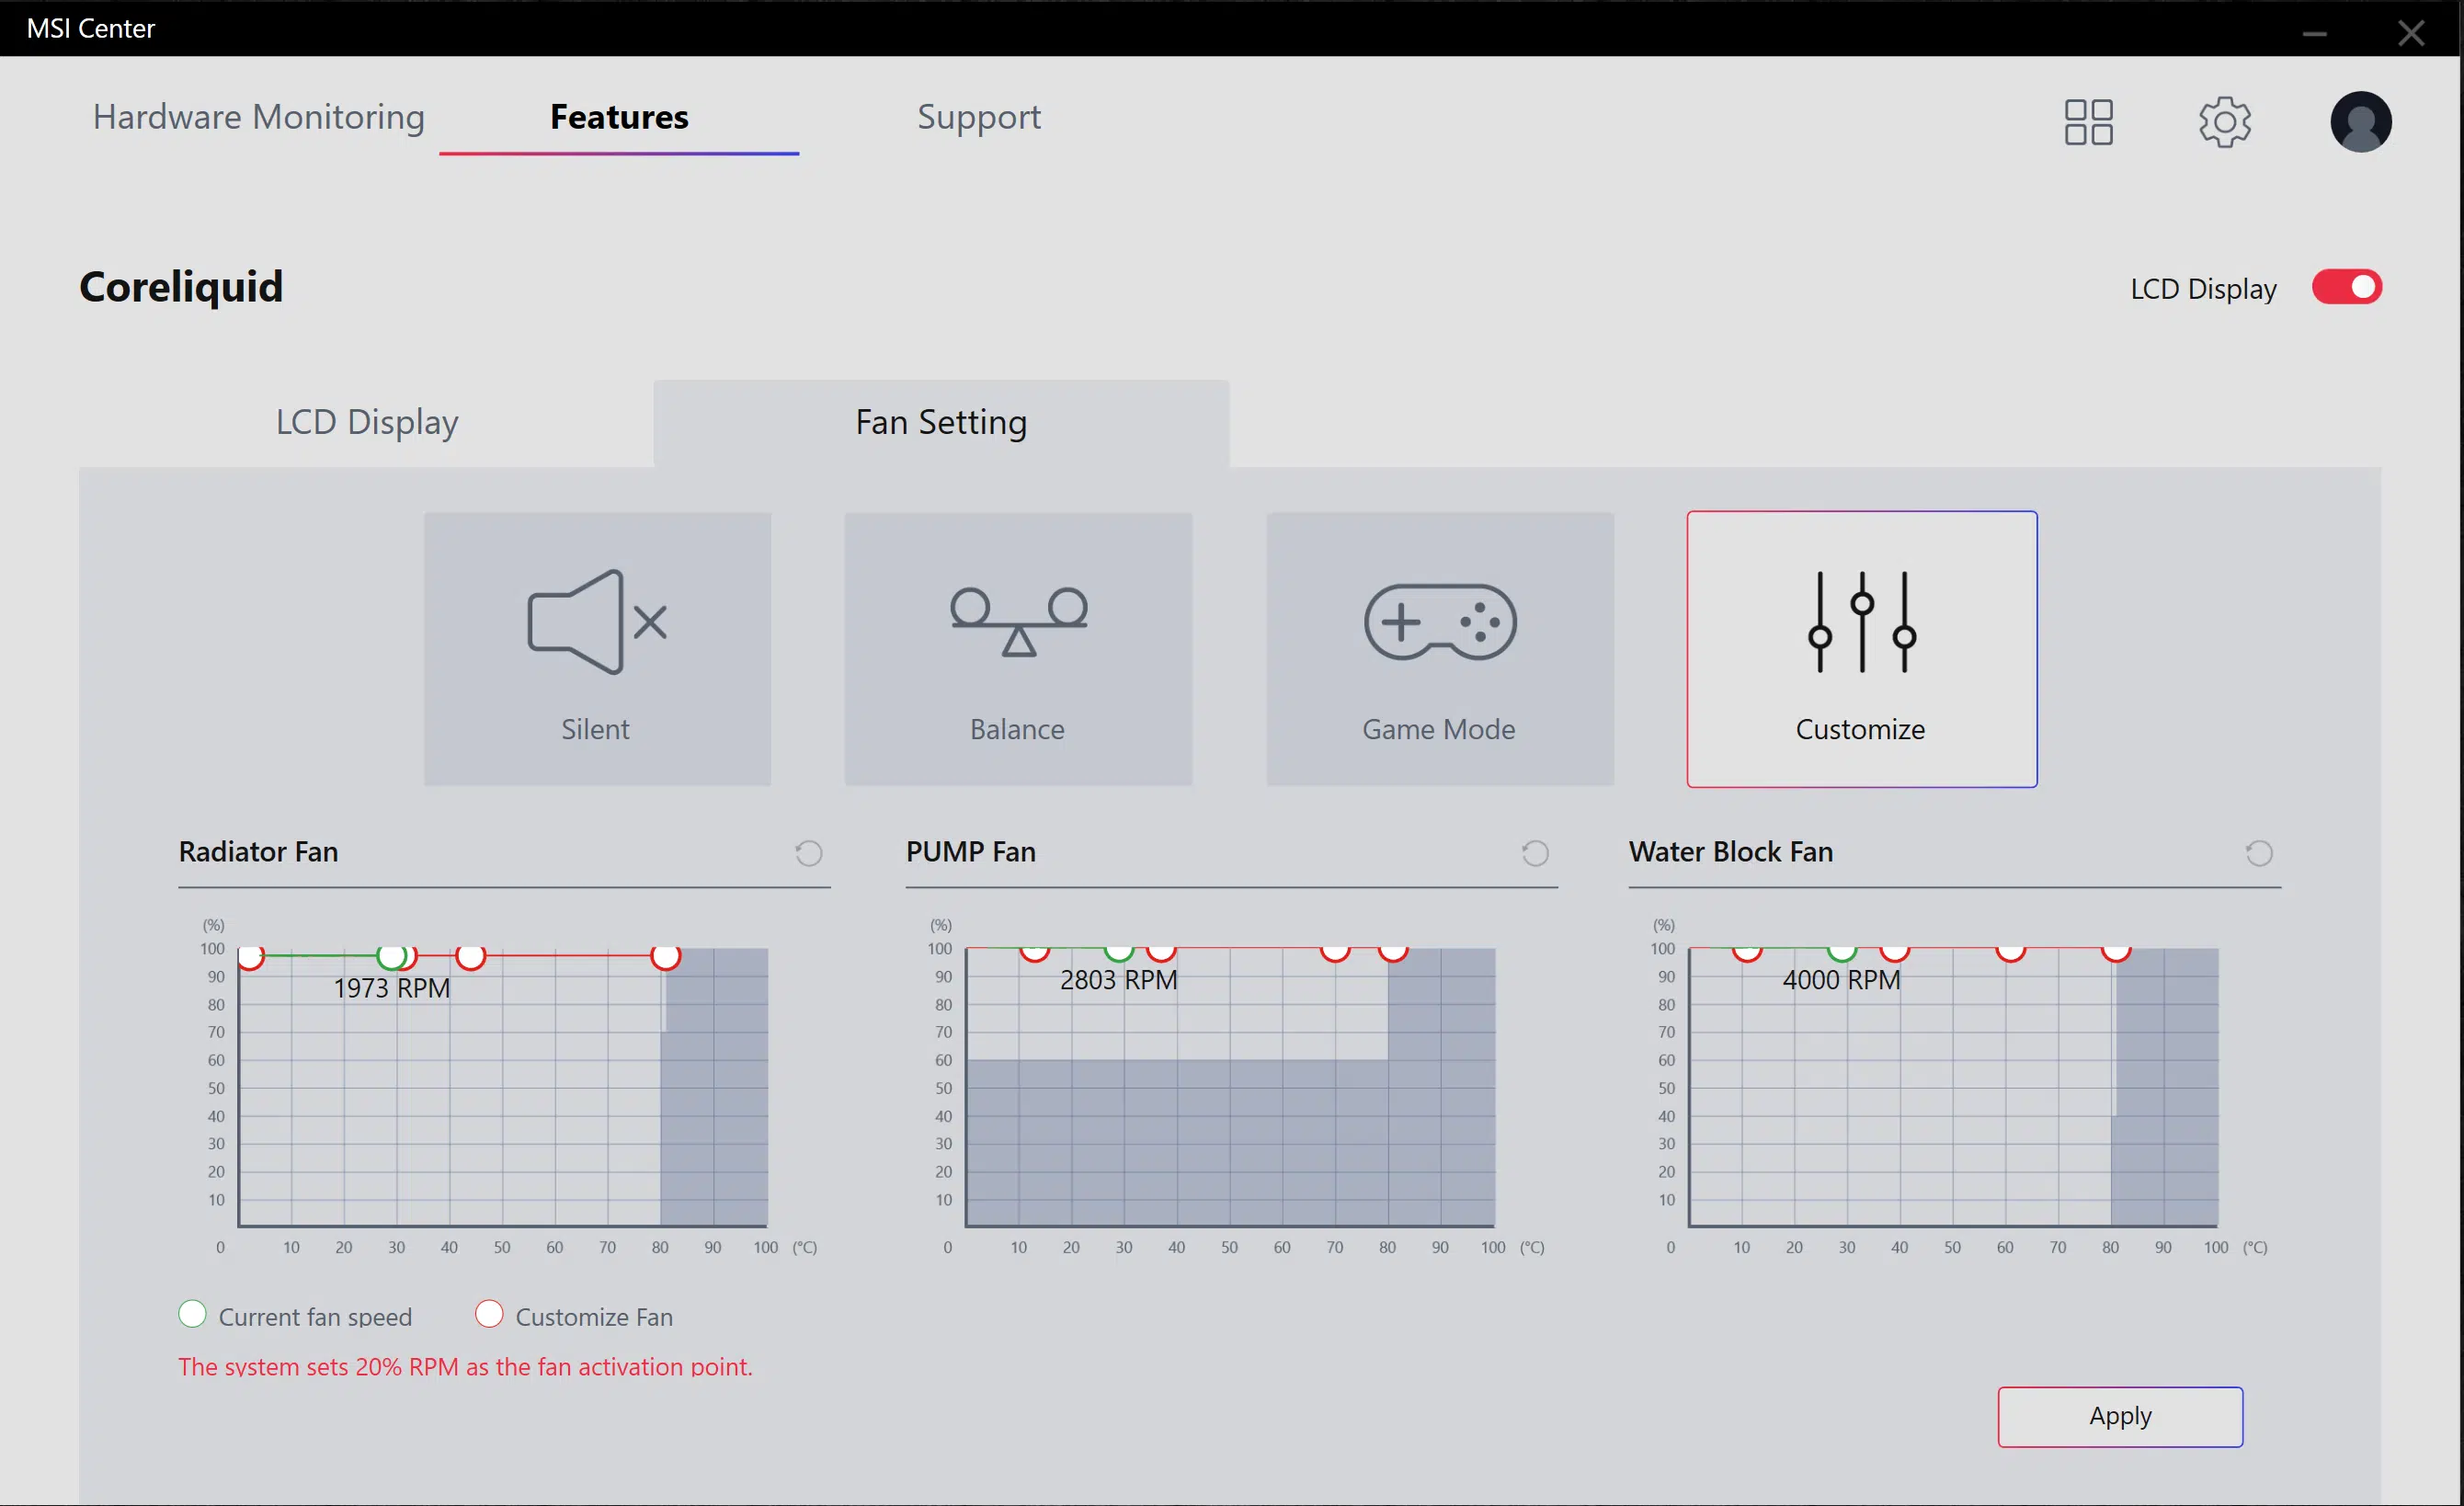

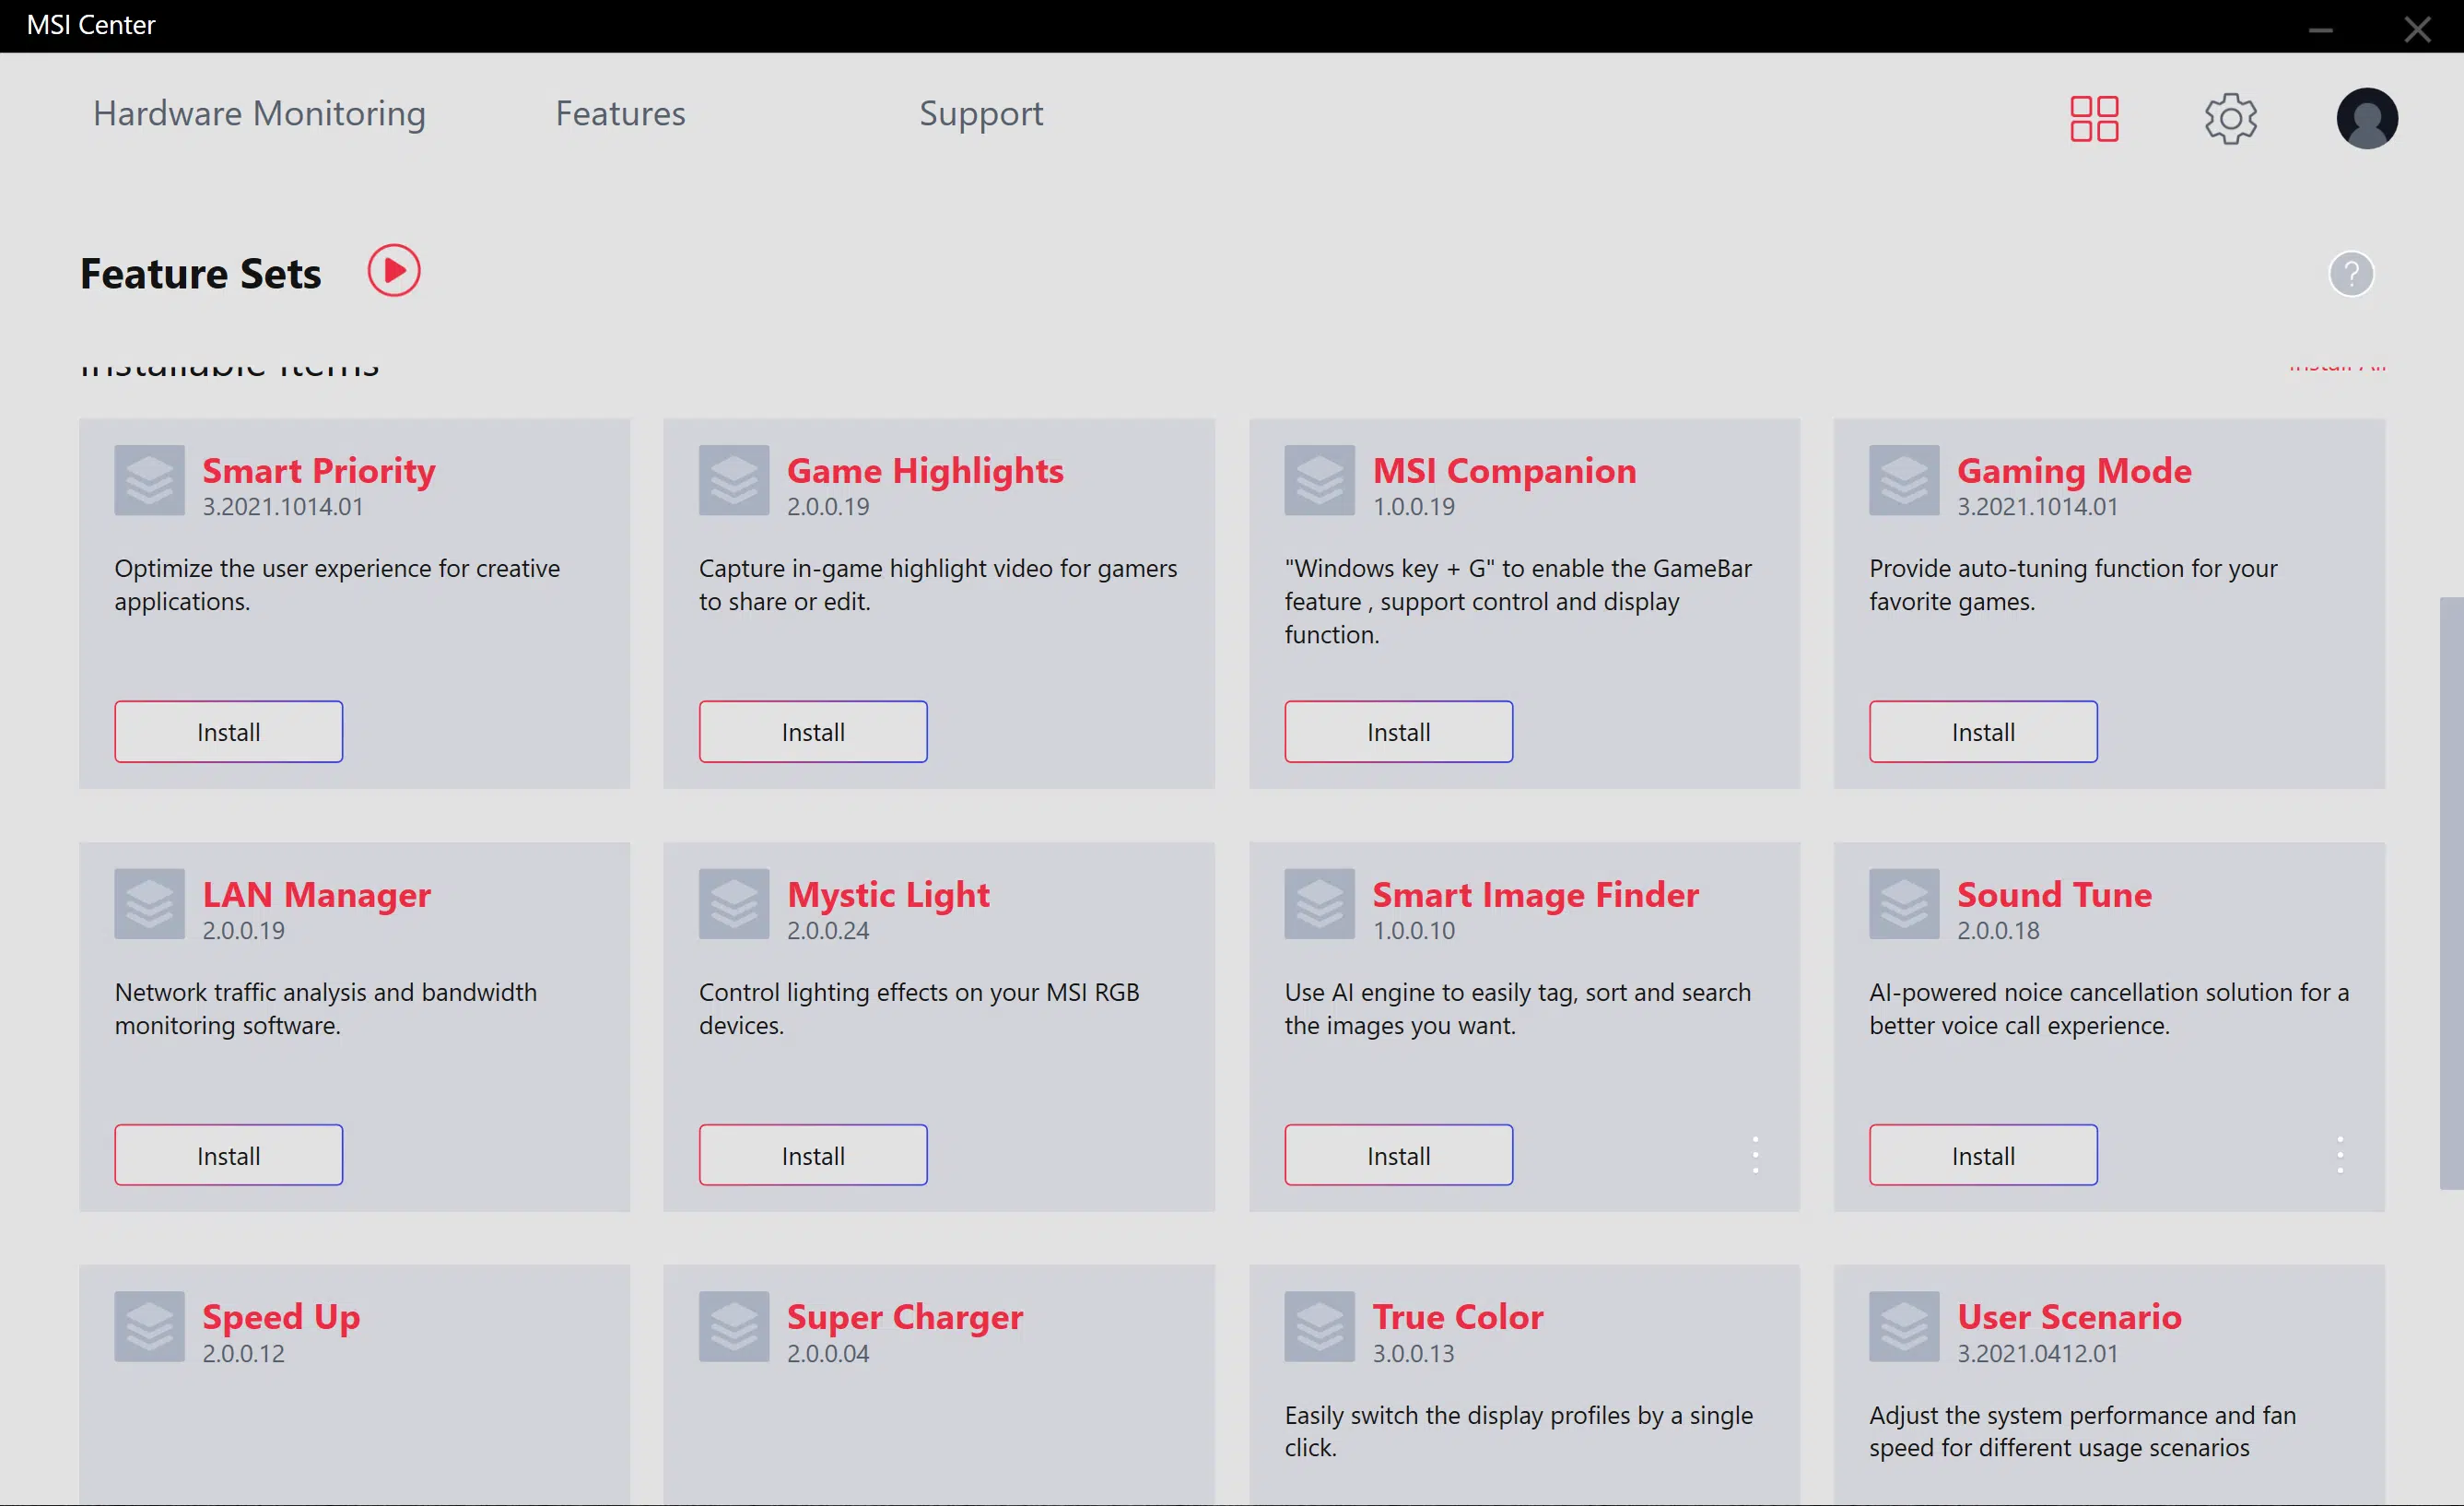
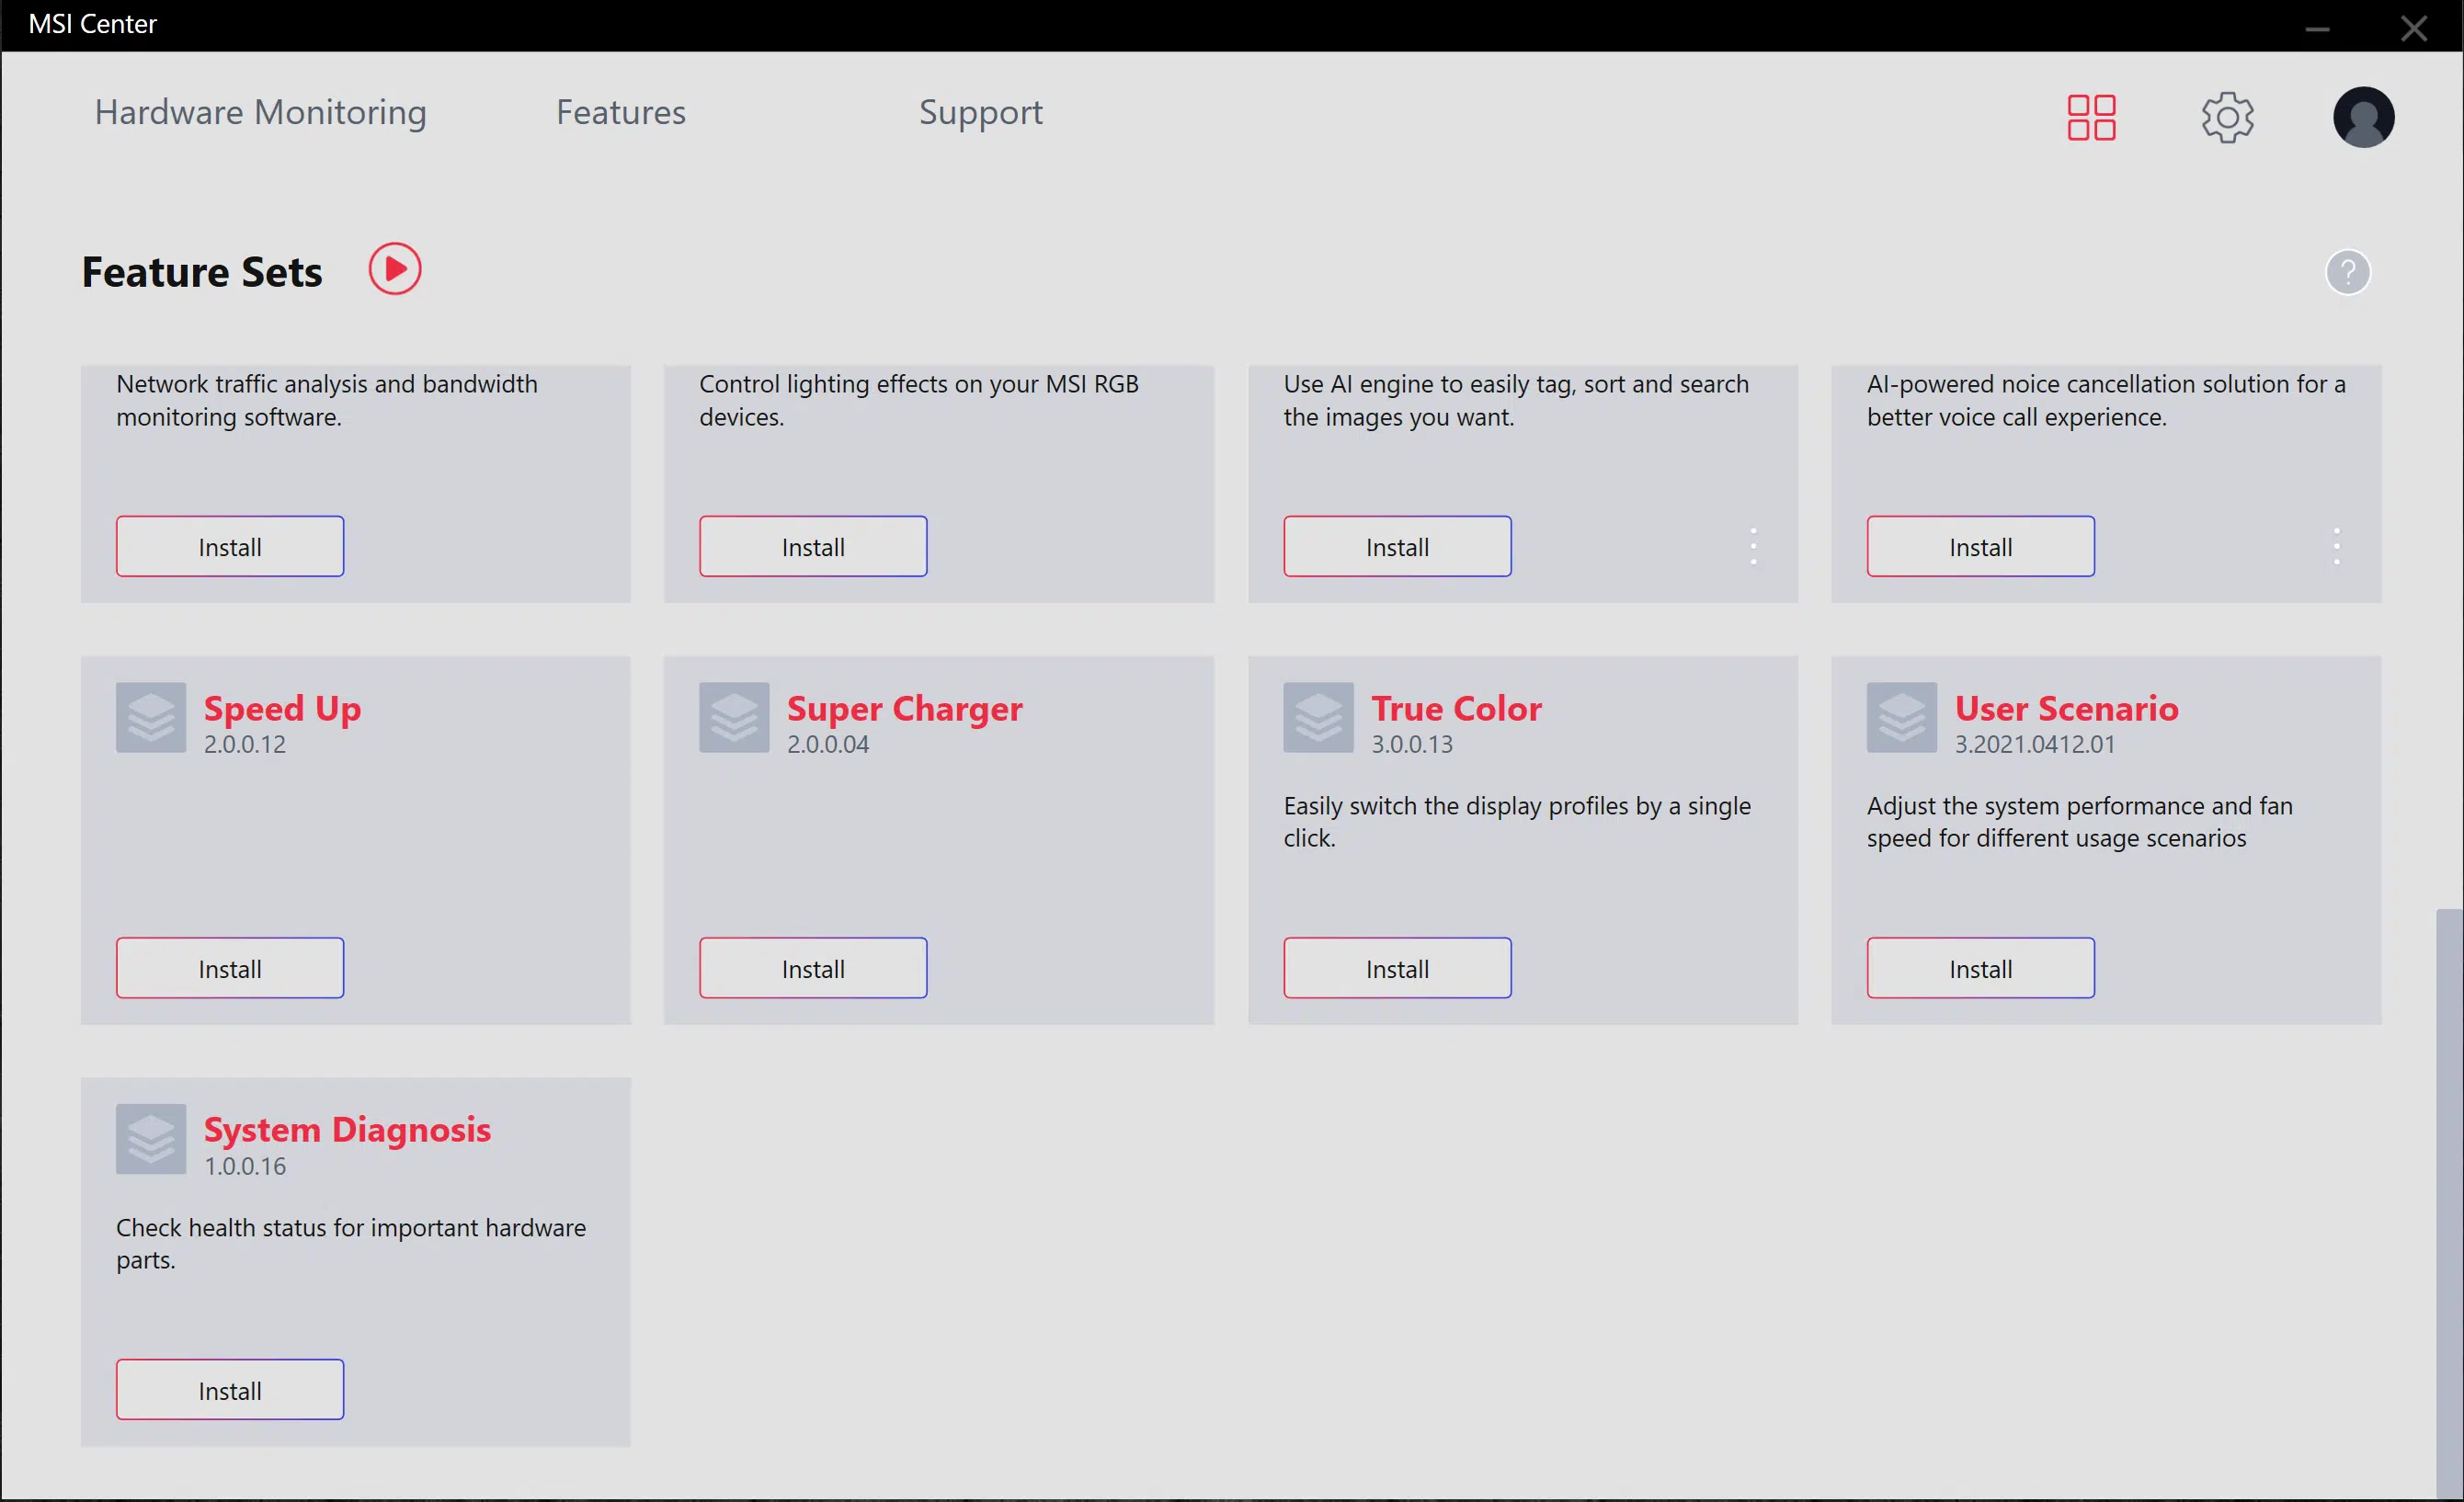

MSI Center can be downloaded as a Windows app from the Windows Store. Once you download the main program, there are optional modules that expand the capability of the software and really open up the features of the motherboard. Basic options are to be able to monitor your CPU Usage, Frequency, and Temperatures as well as motherboard Voltages. We can also control our MSI CORELIQUID 360 AIO here and set the fan profiles to 100% for all of our testing. Installing System Diagnosis lets you manage your storage devices, here it lets us restore and backup, as well as clean up disk and free memory.
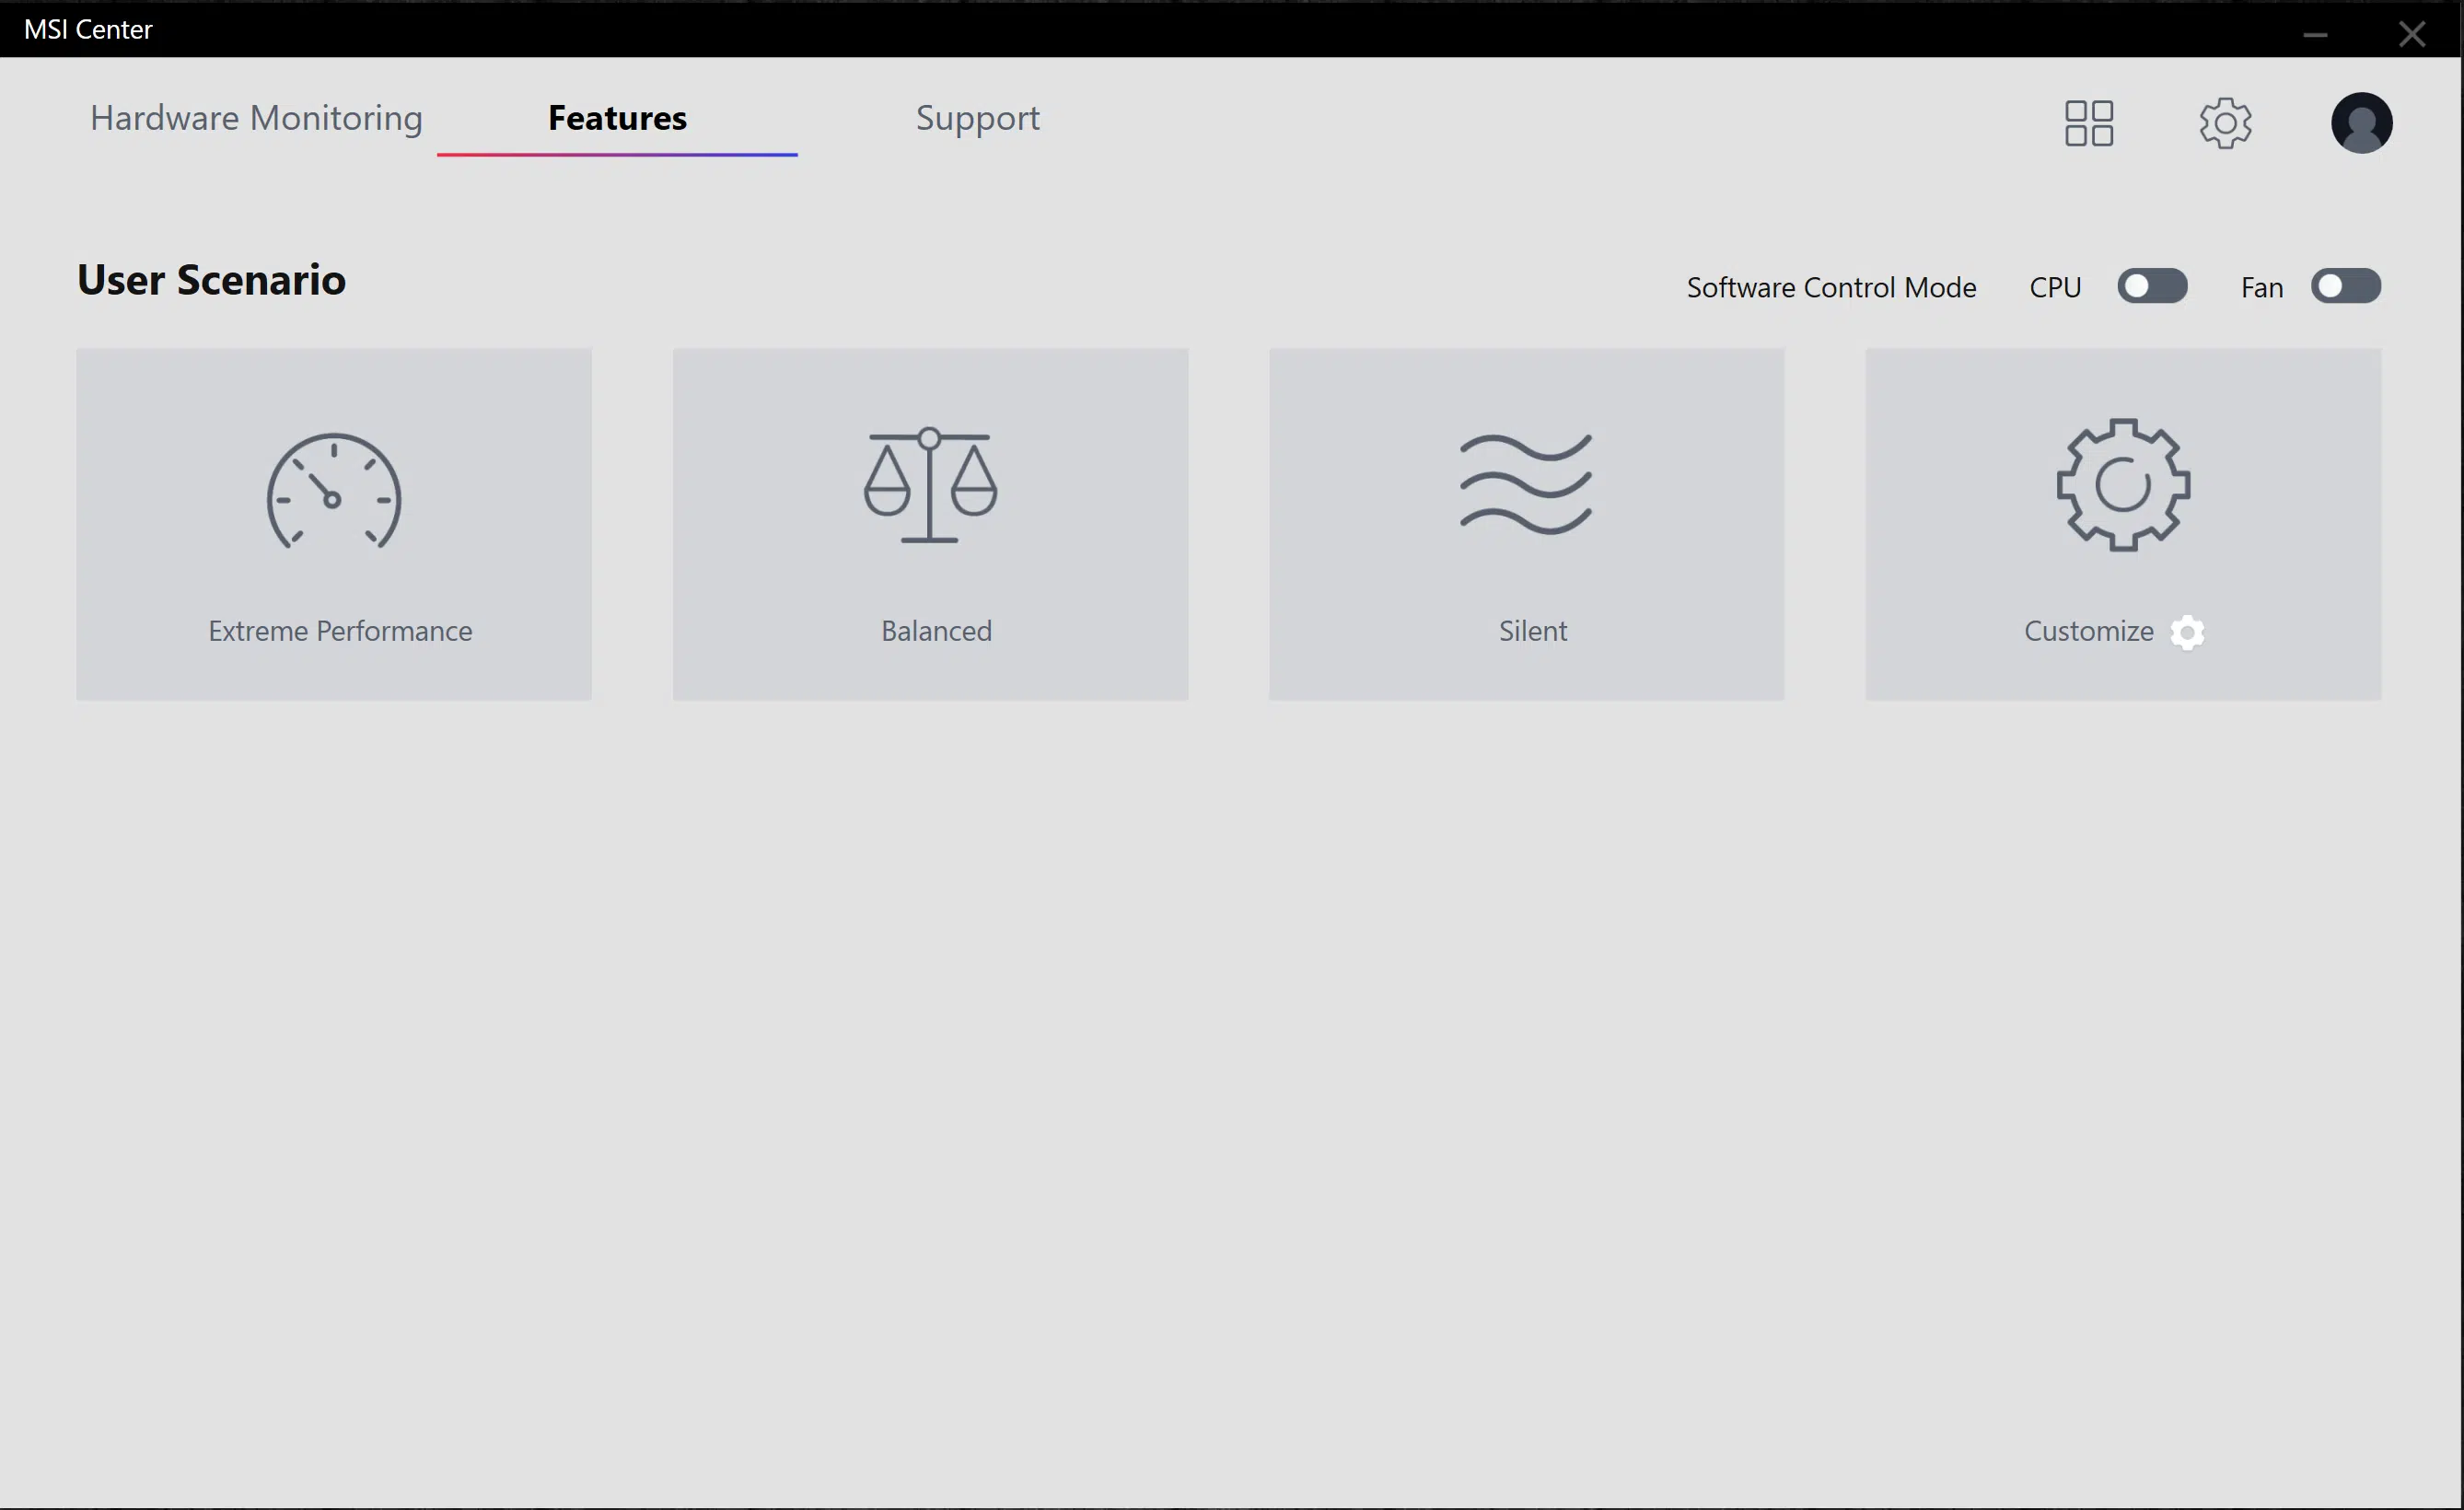
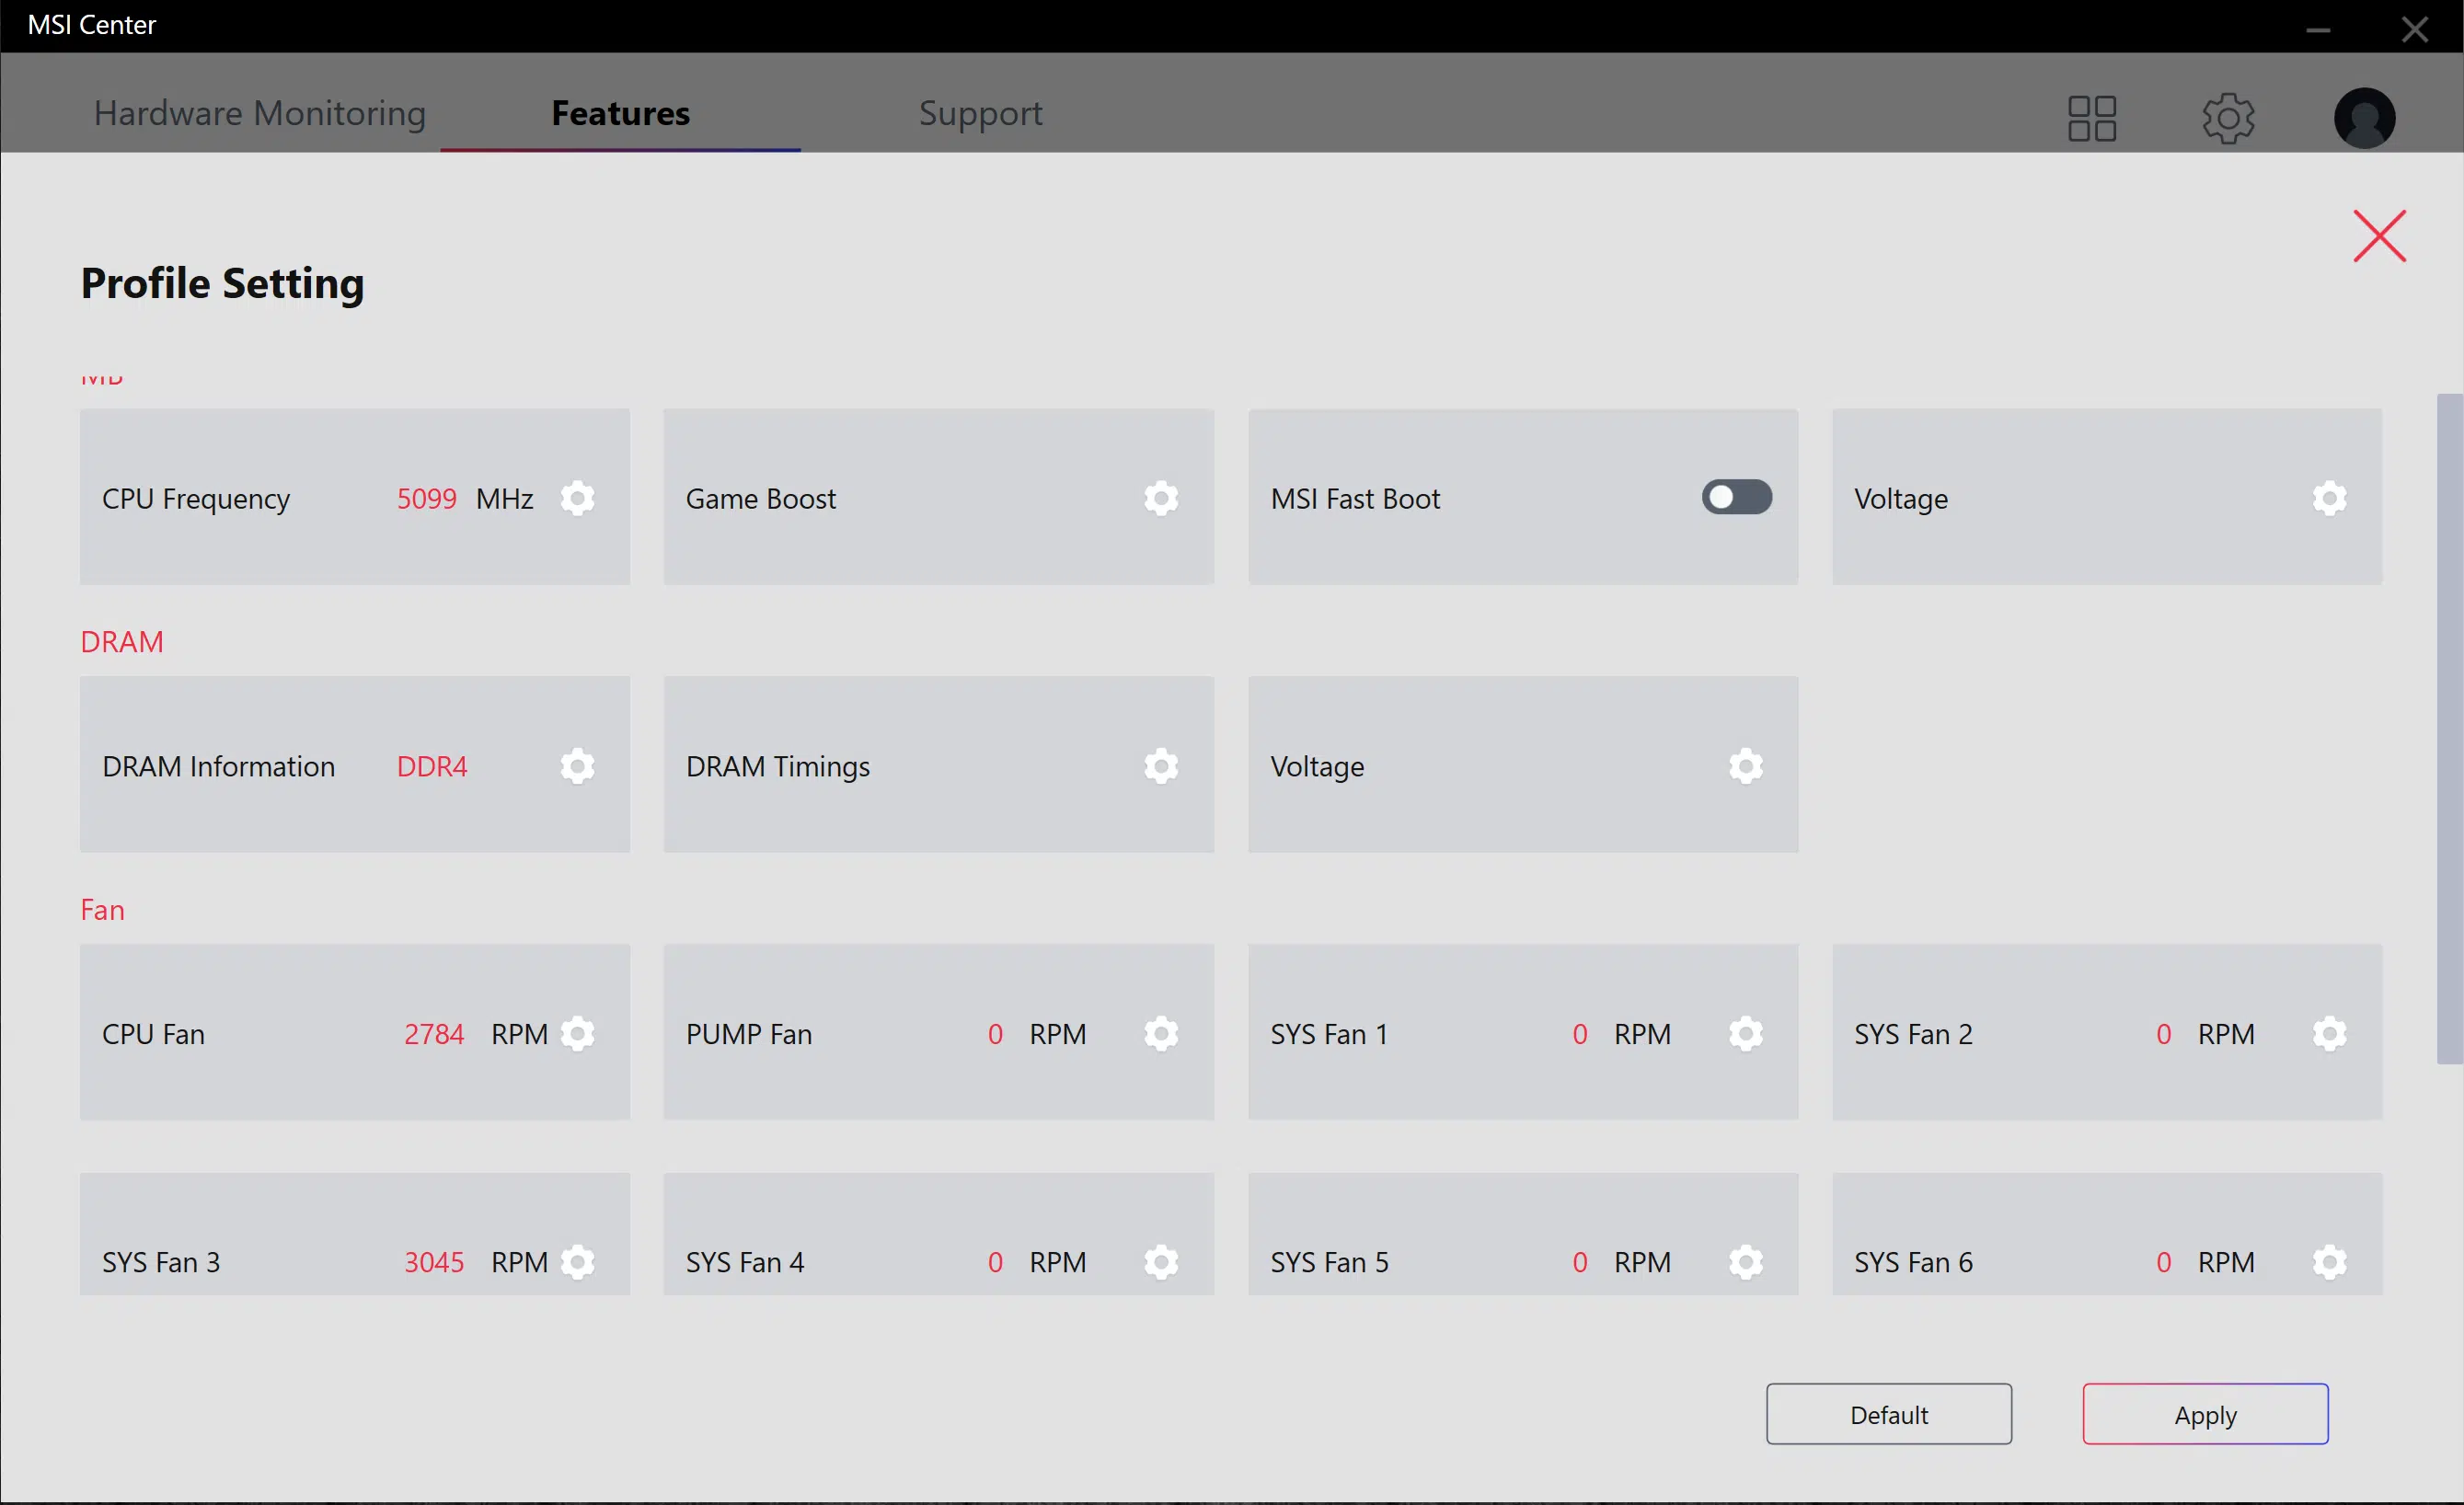
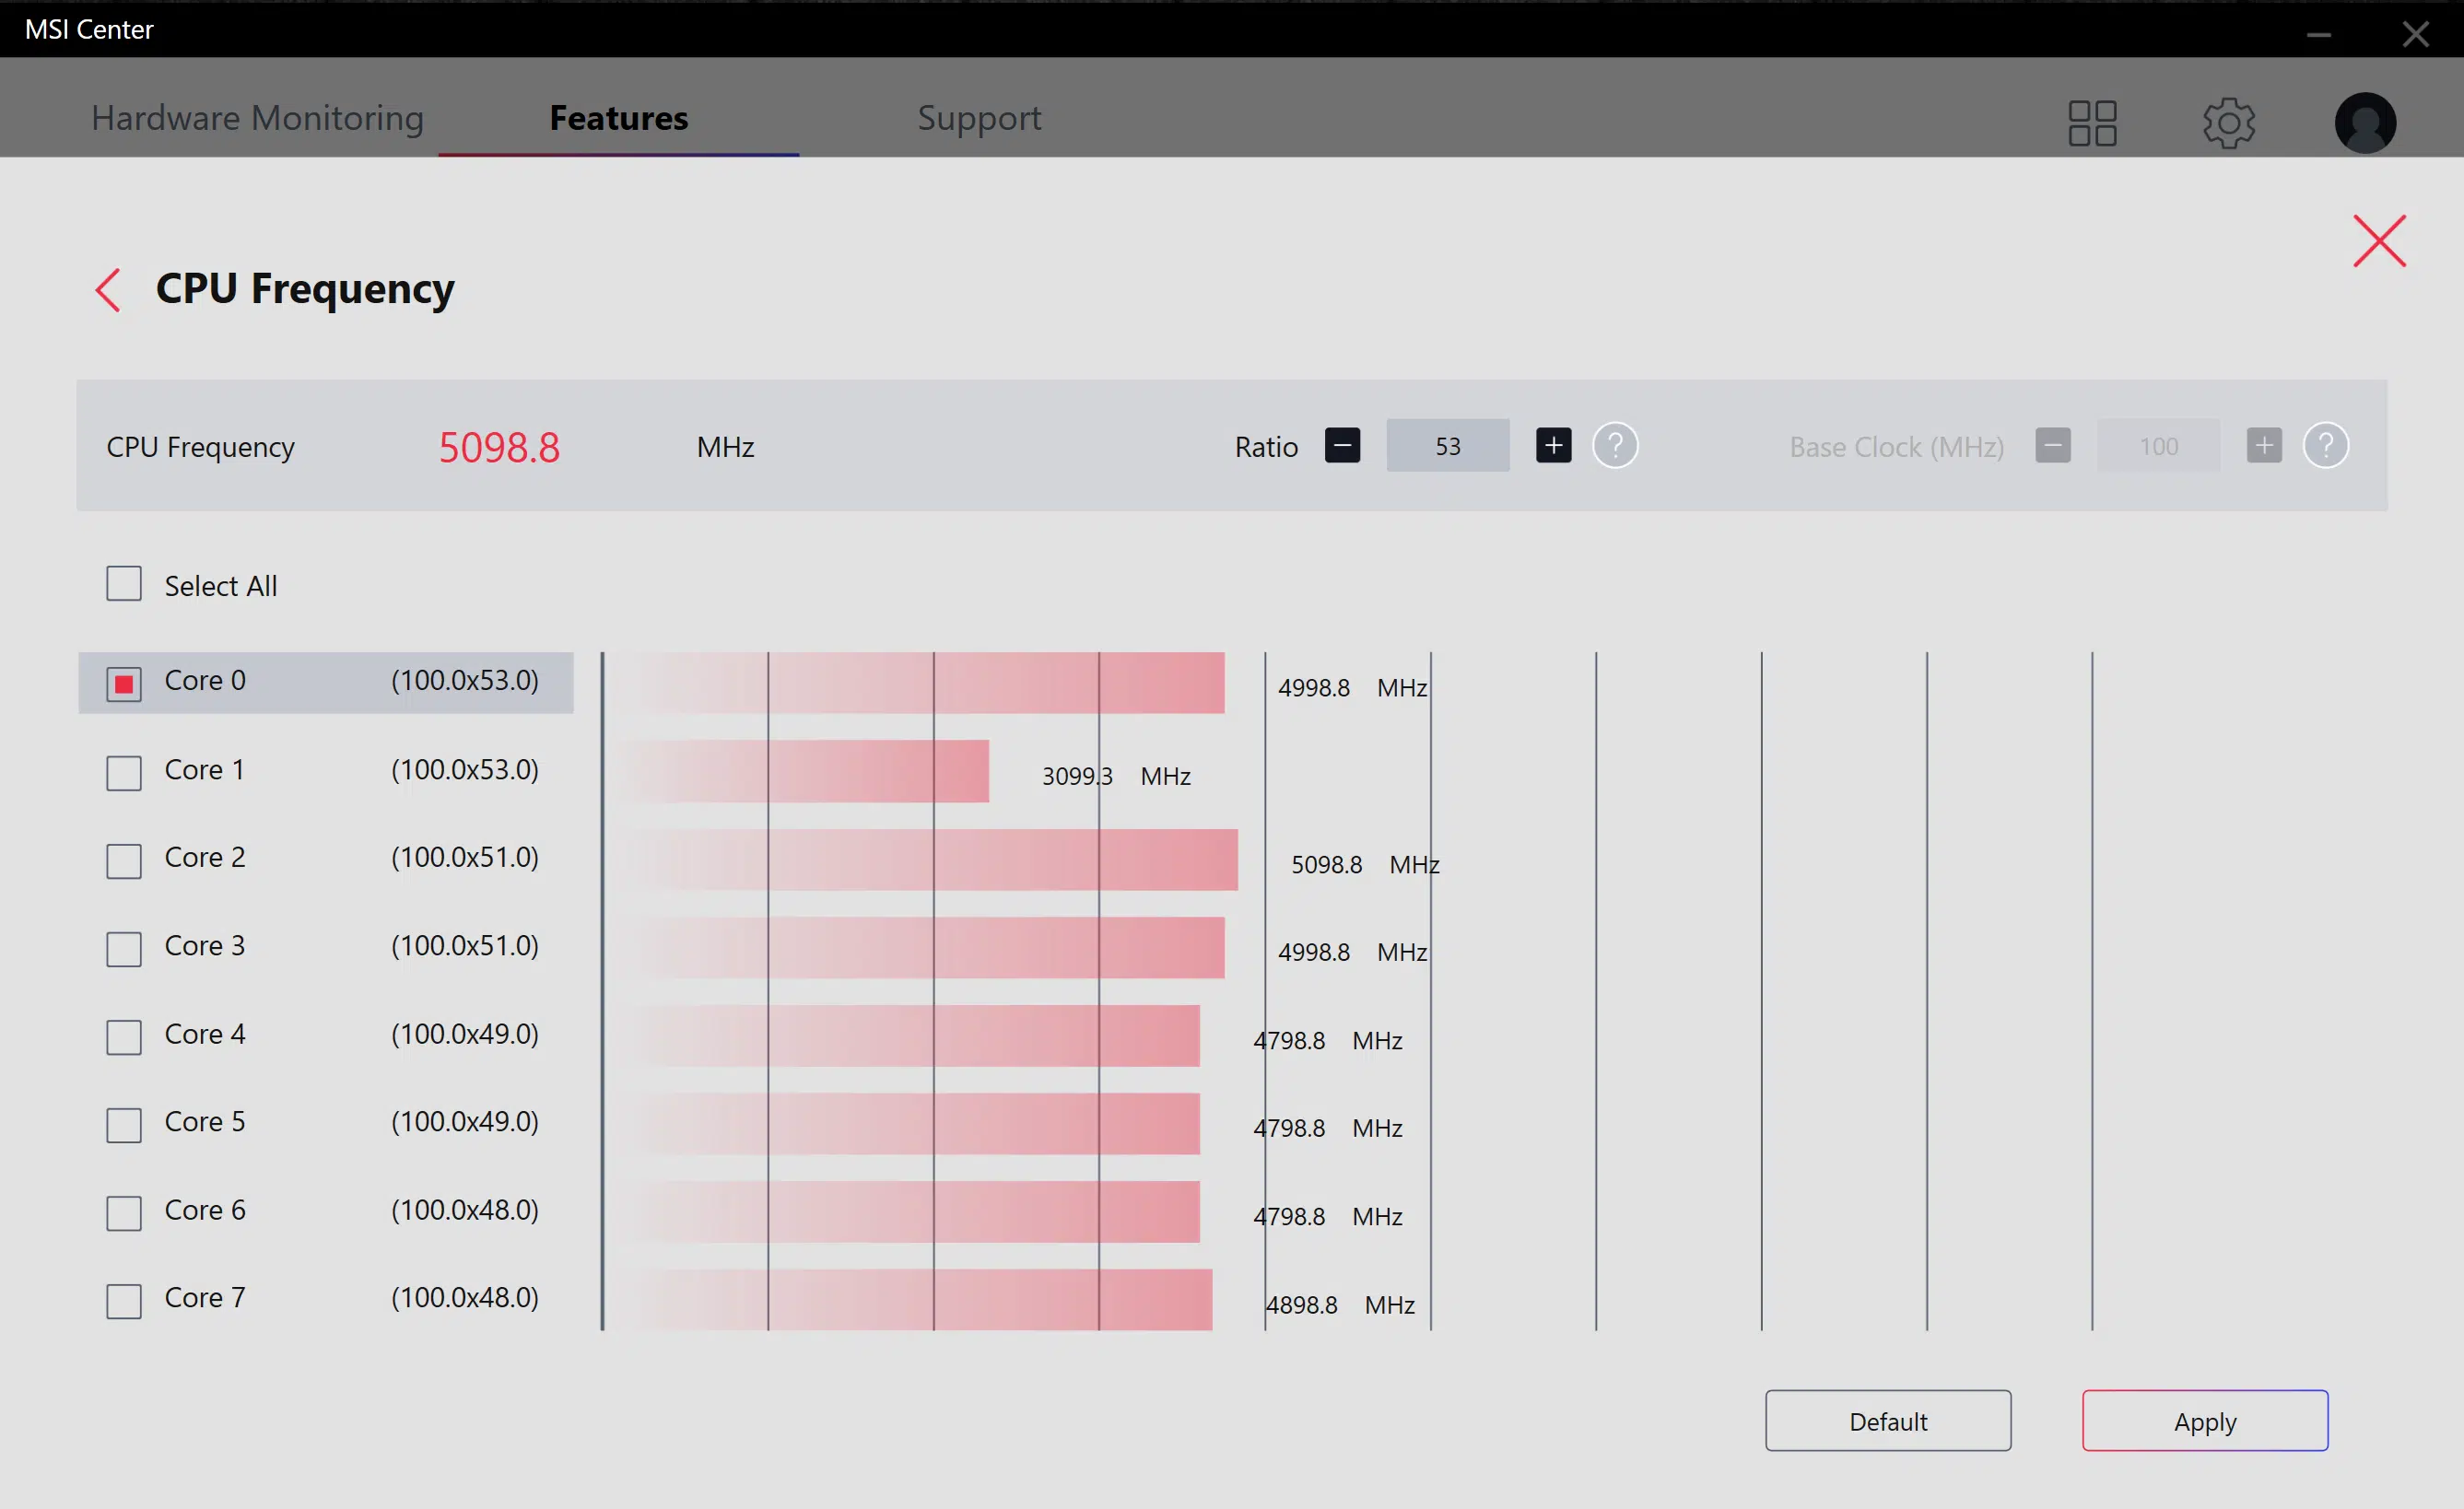
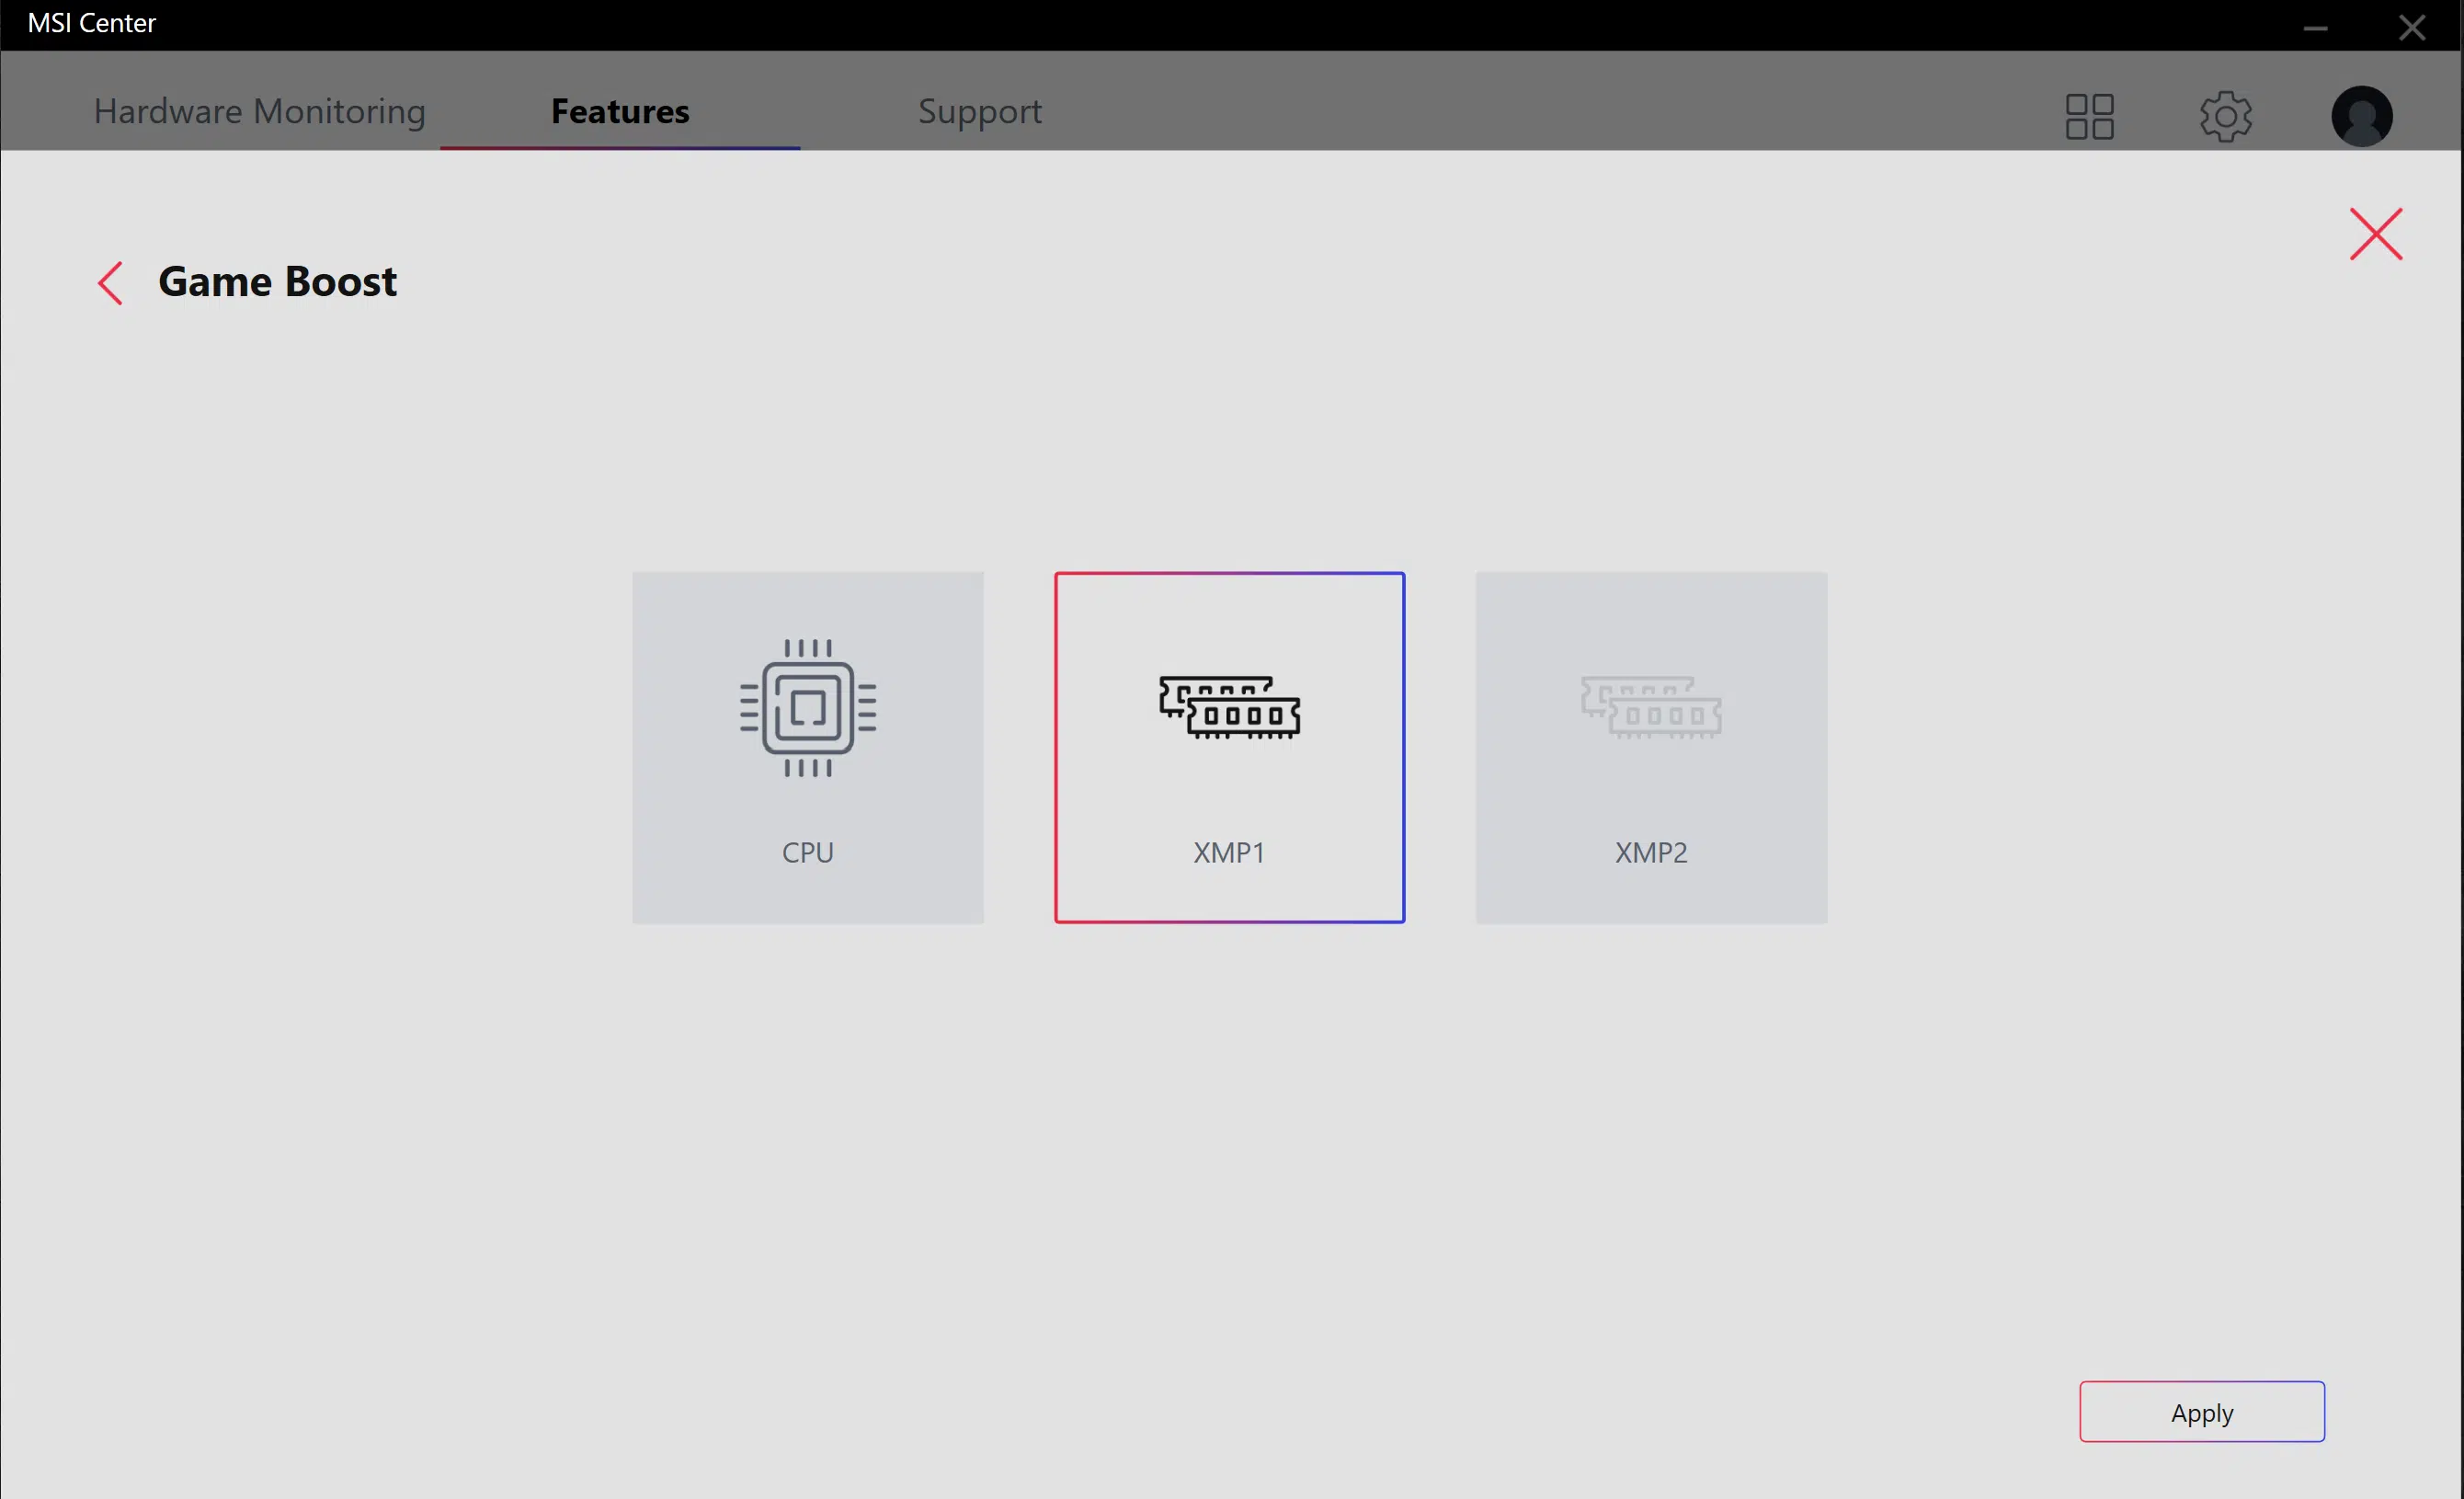
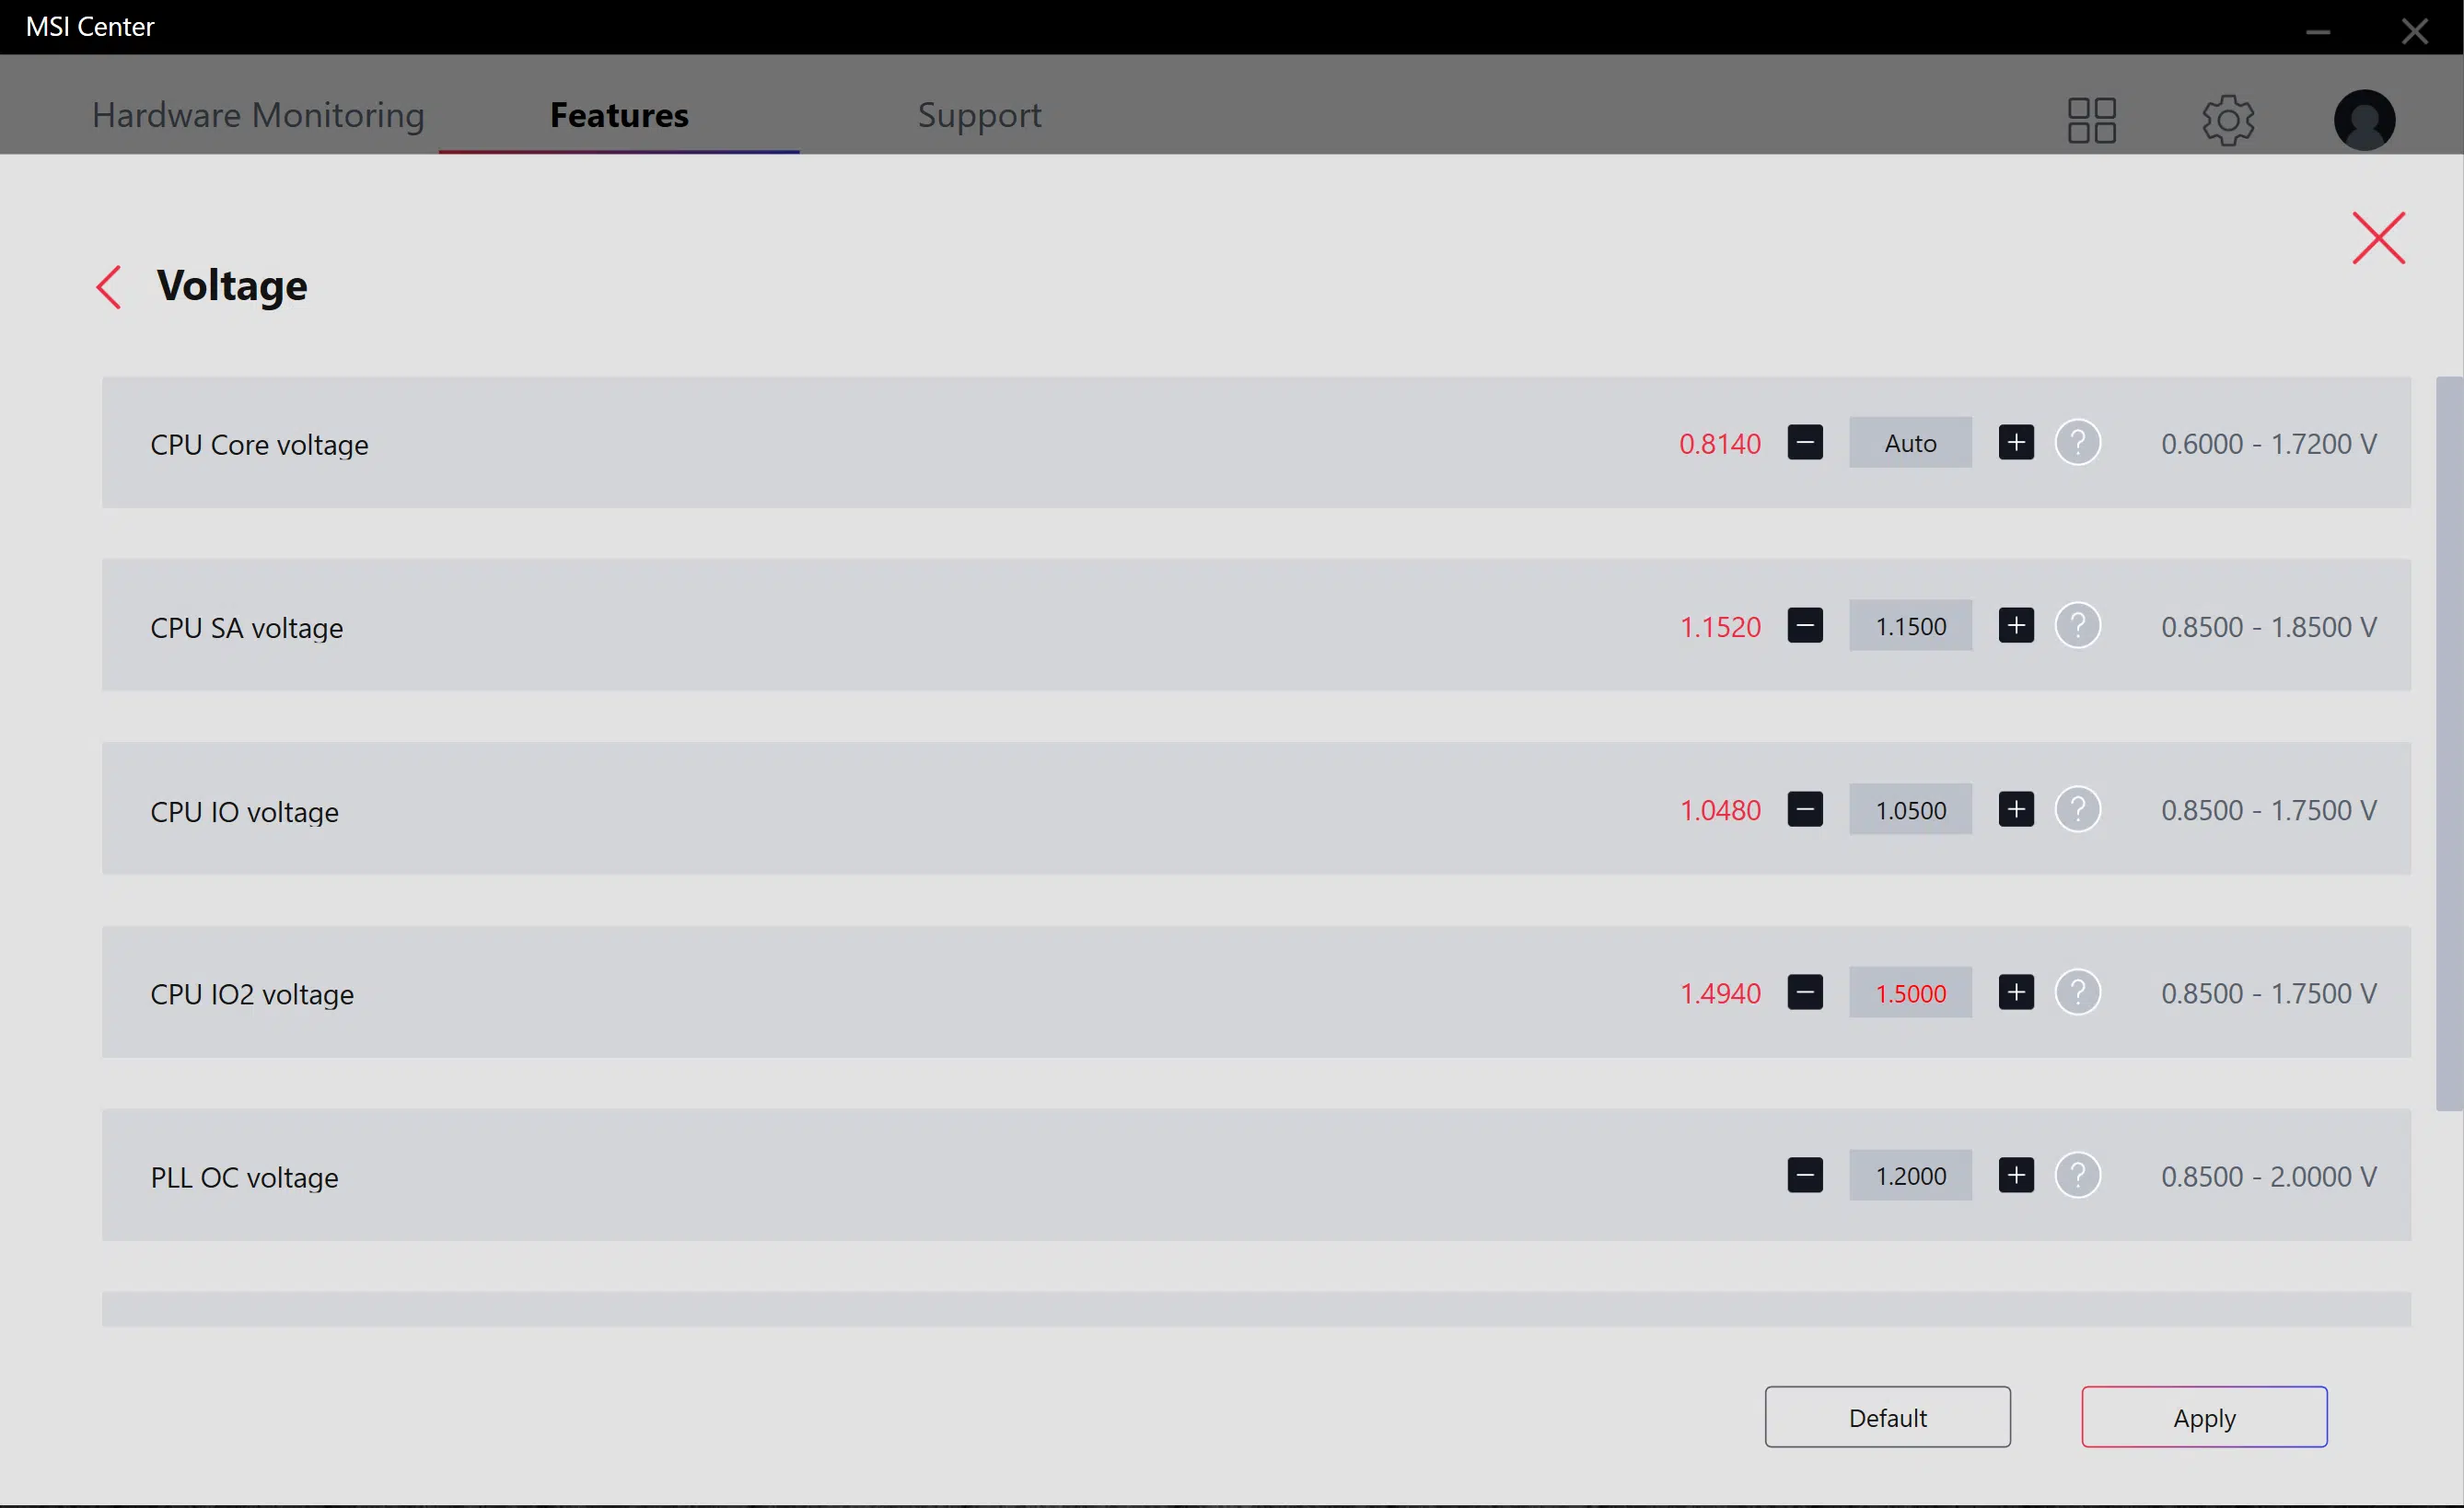
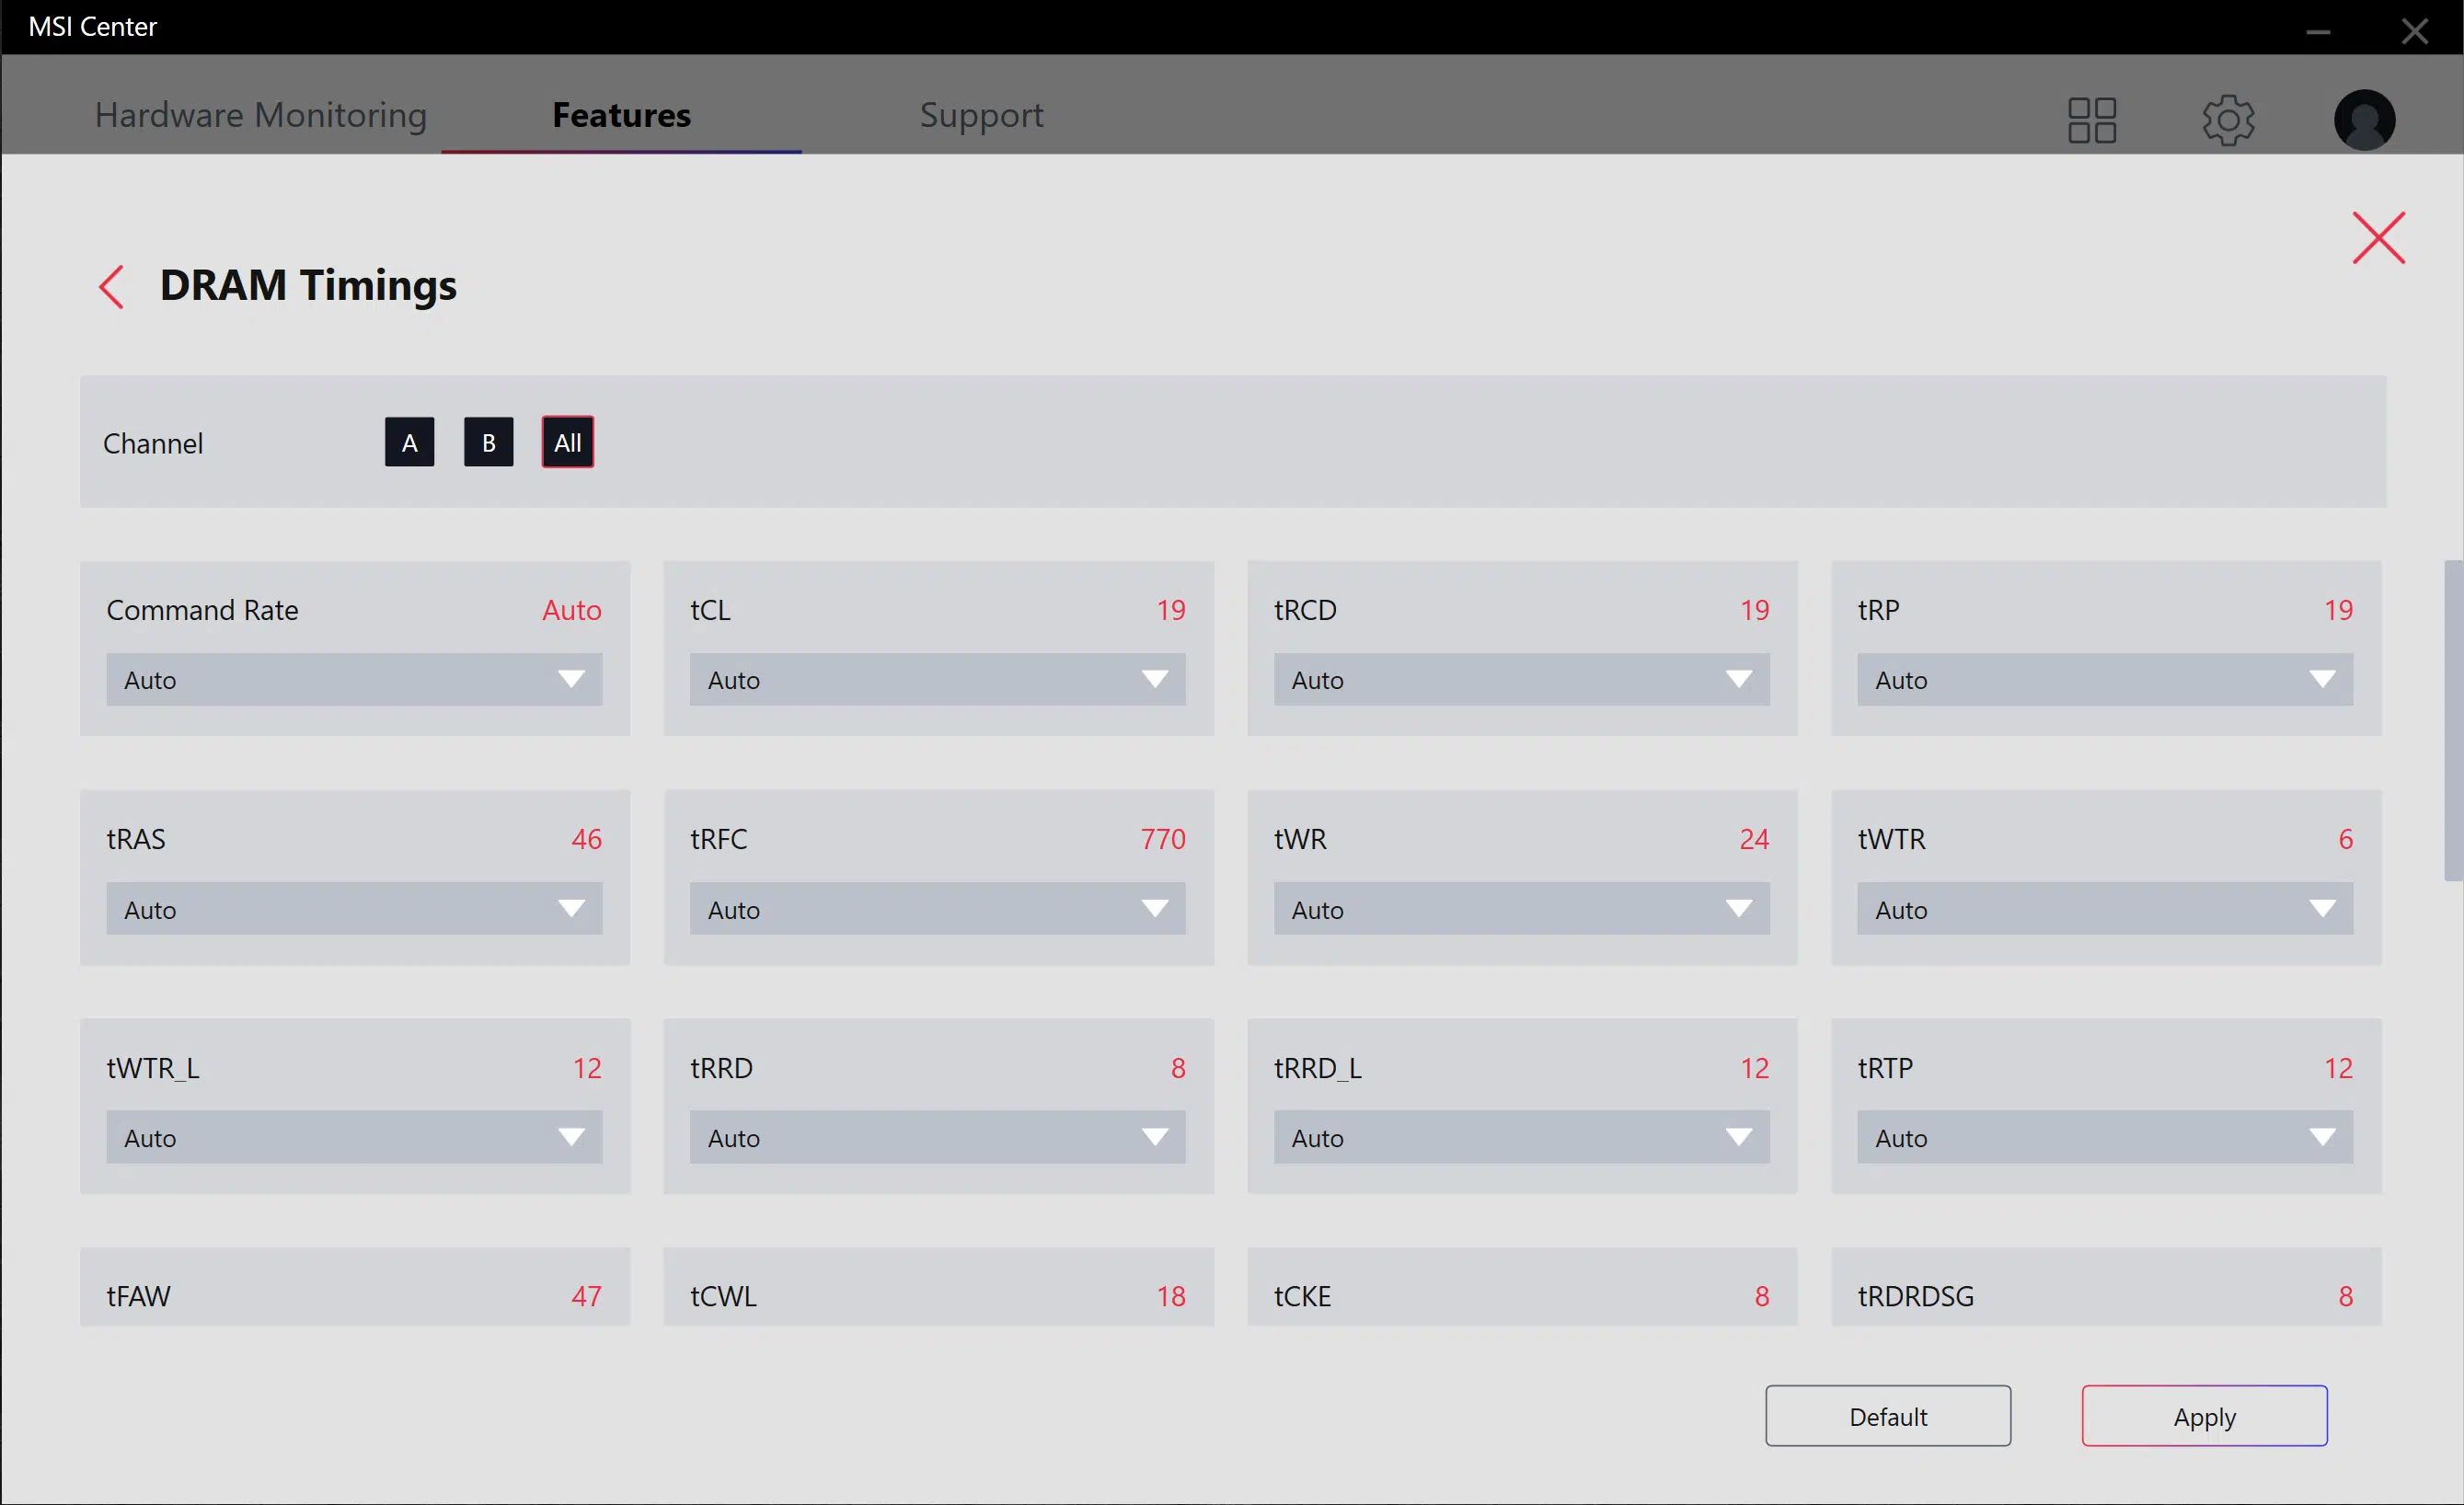

The real fun begins when you install the User Scenerio module. Here you can select some pre-set options, or customize manually. When you customize manually, you can click each of the options shown above that have a cogwheel and customize those settings individually on this motherboard. For example, above you can change the CPU ratio and see real-time how it affects each core frequency. You can select XMP modes. You can individually change CPU and DRAM voltages and timings all in real-time within Windows.
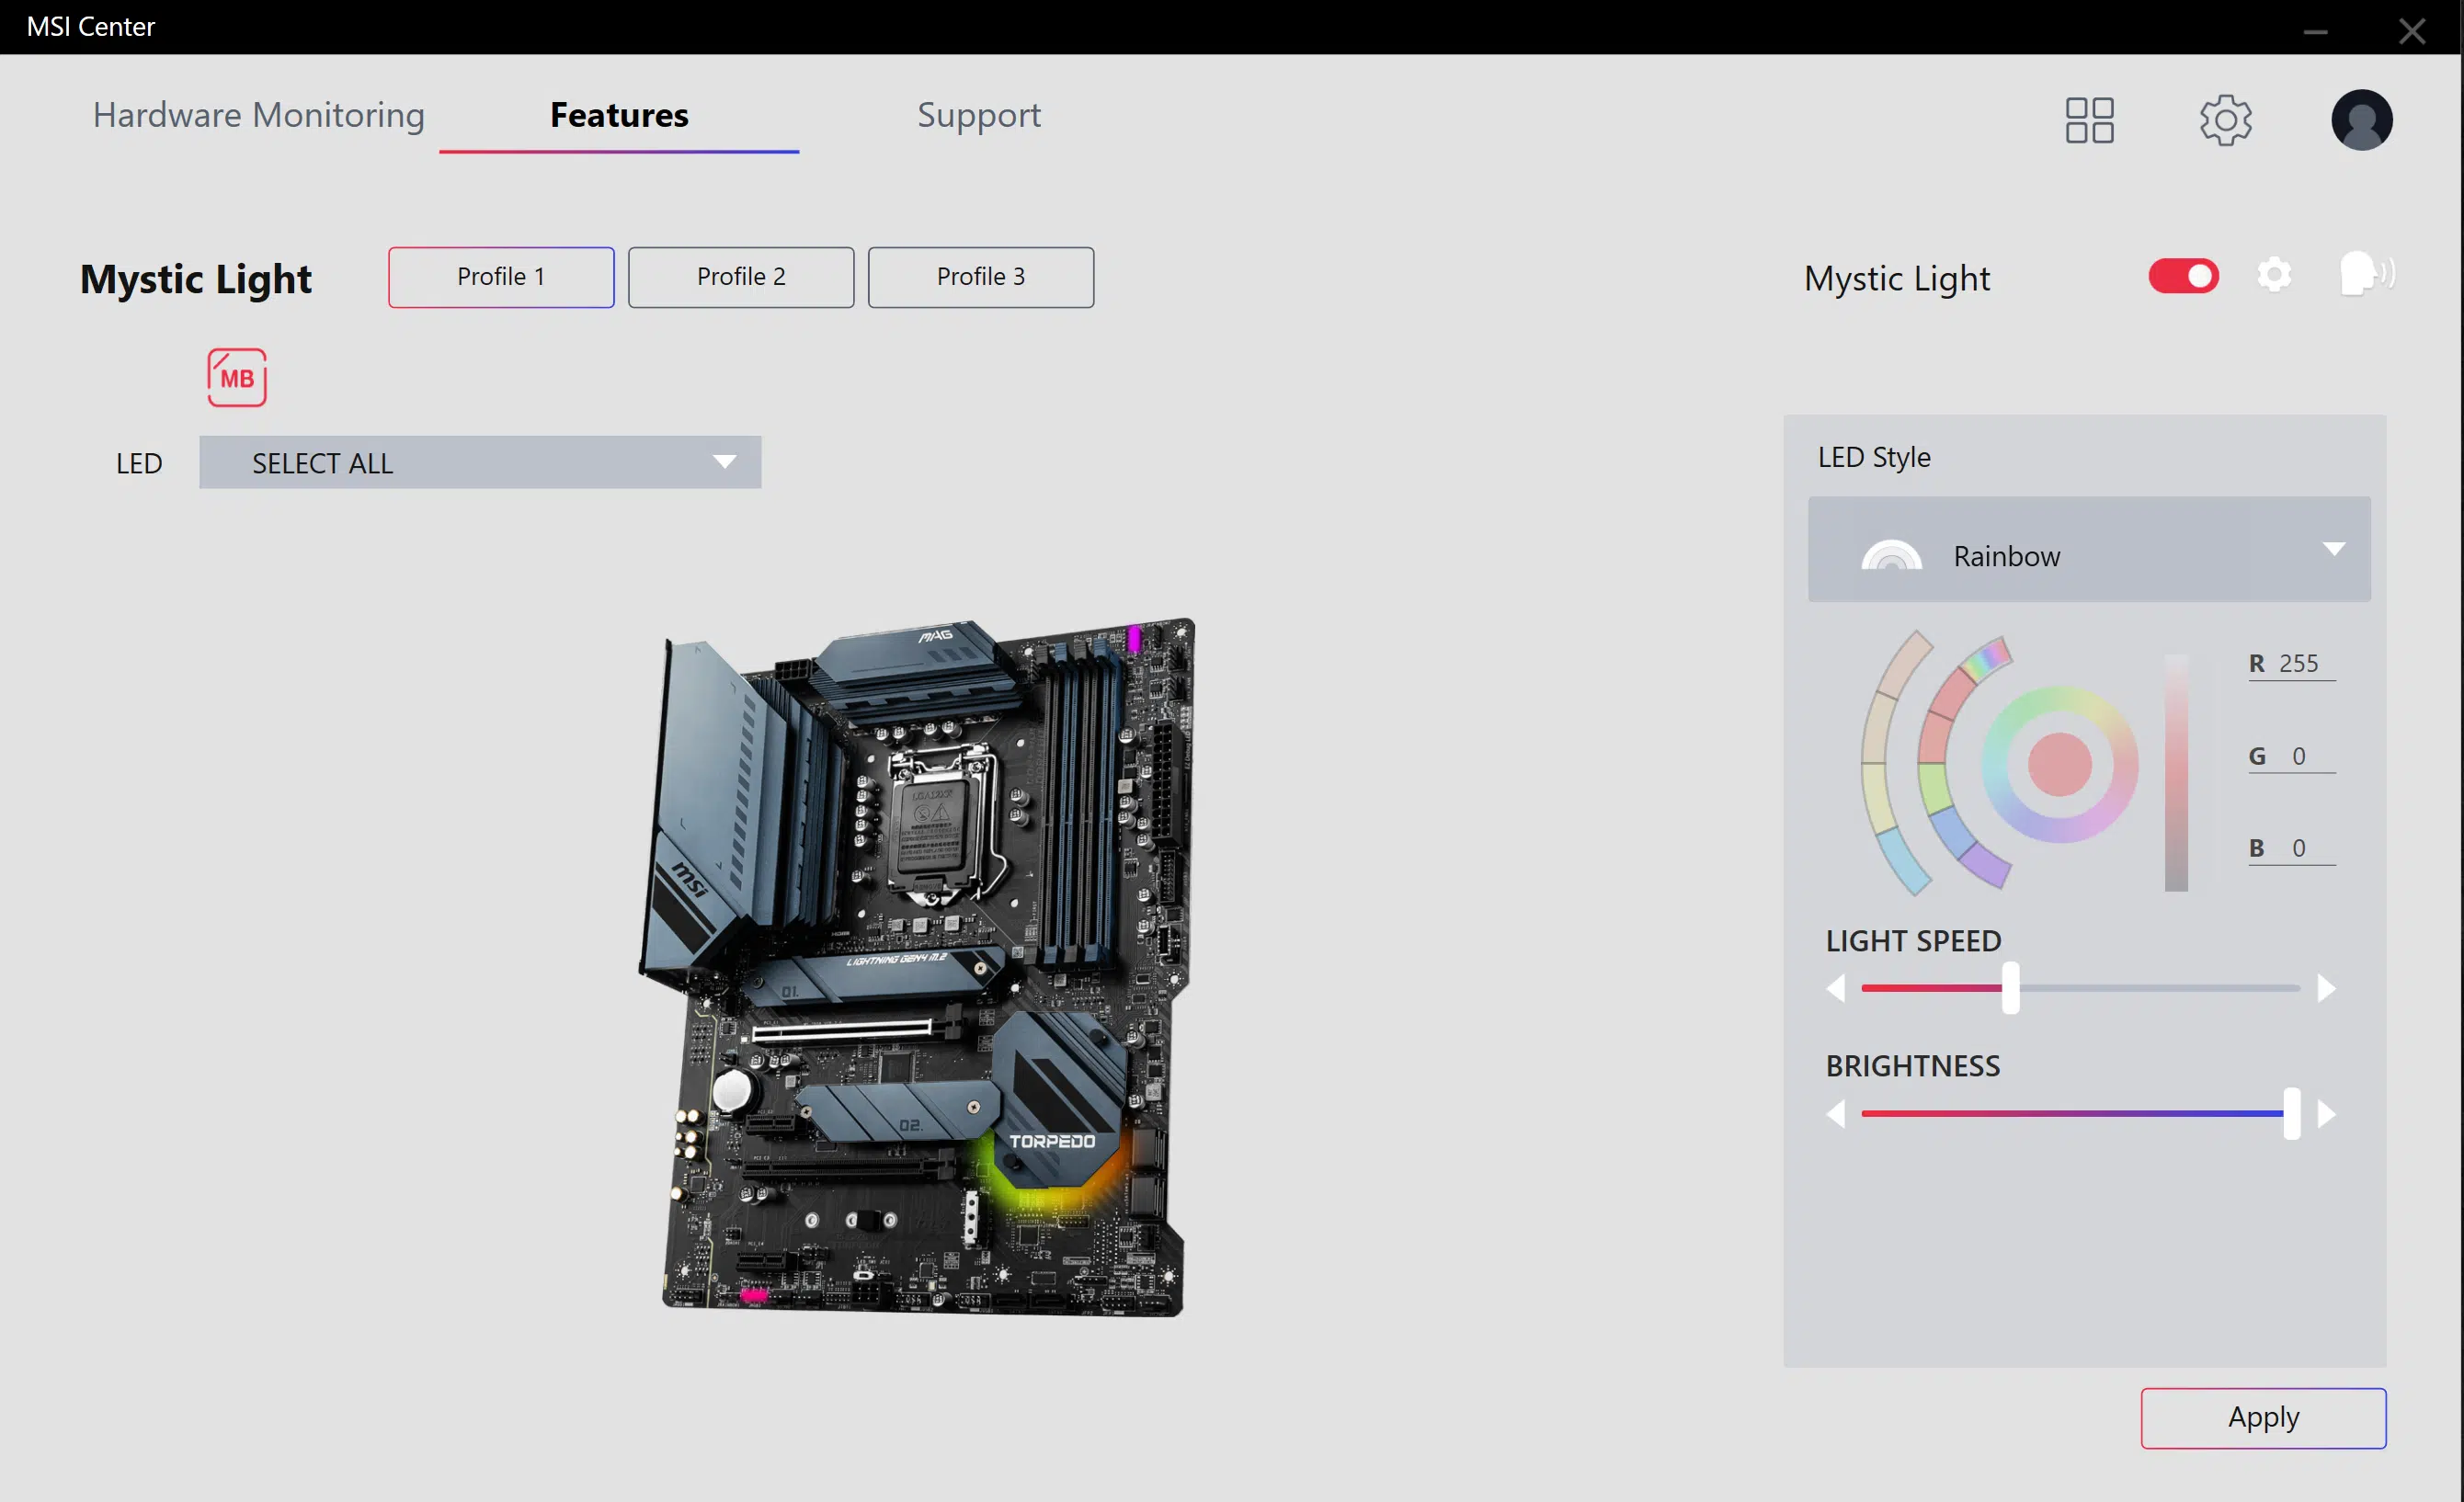
You can also change the fan settings for every fan header on this motherboard and let it use Smart Fan or set custom temperature control points in Windows. Downloading the Mystic Light module allows you to control all the RGB headers and RGB on this motherboard. You can control each individual RGB header including PCH, JRGB1, JRGB2, JRAINBOW1, JRAINBOW2.