Build Process – Monitor and Case
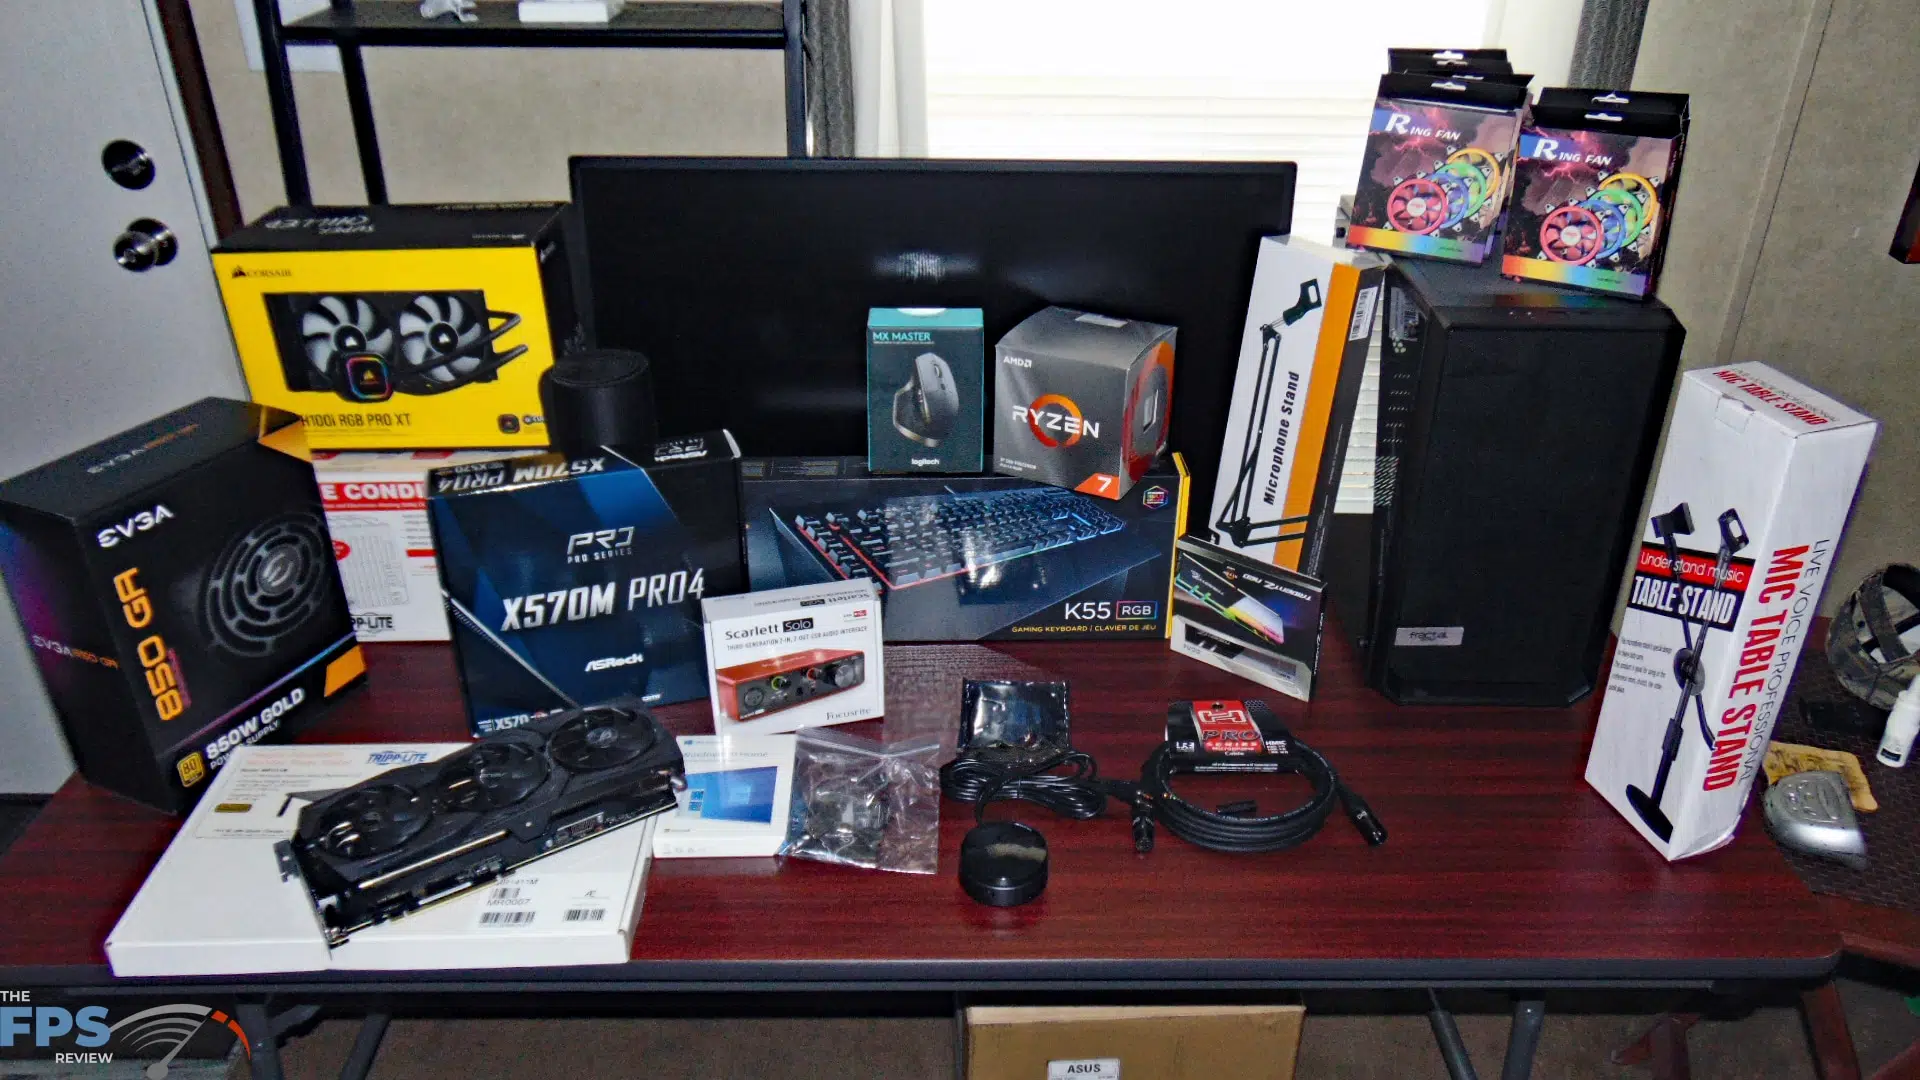
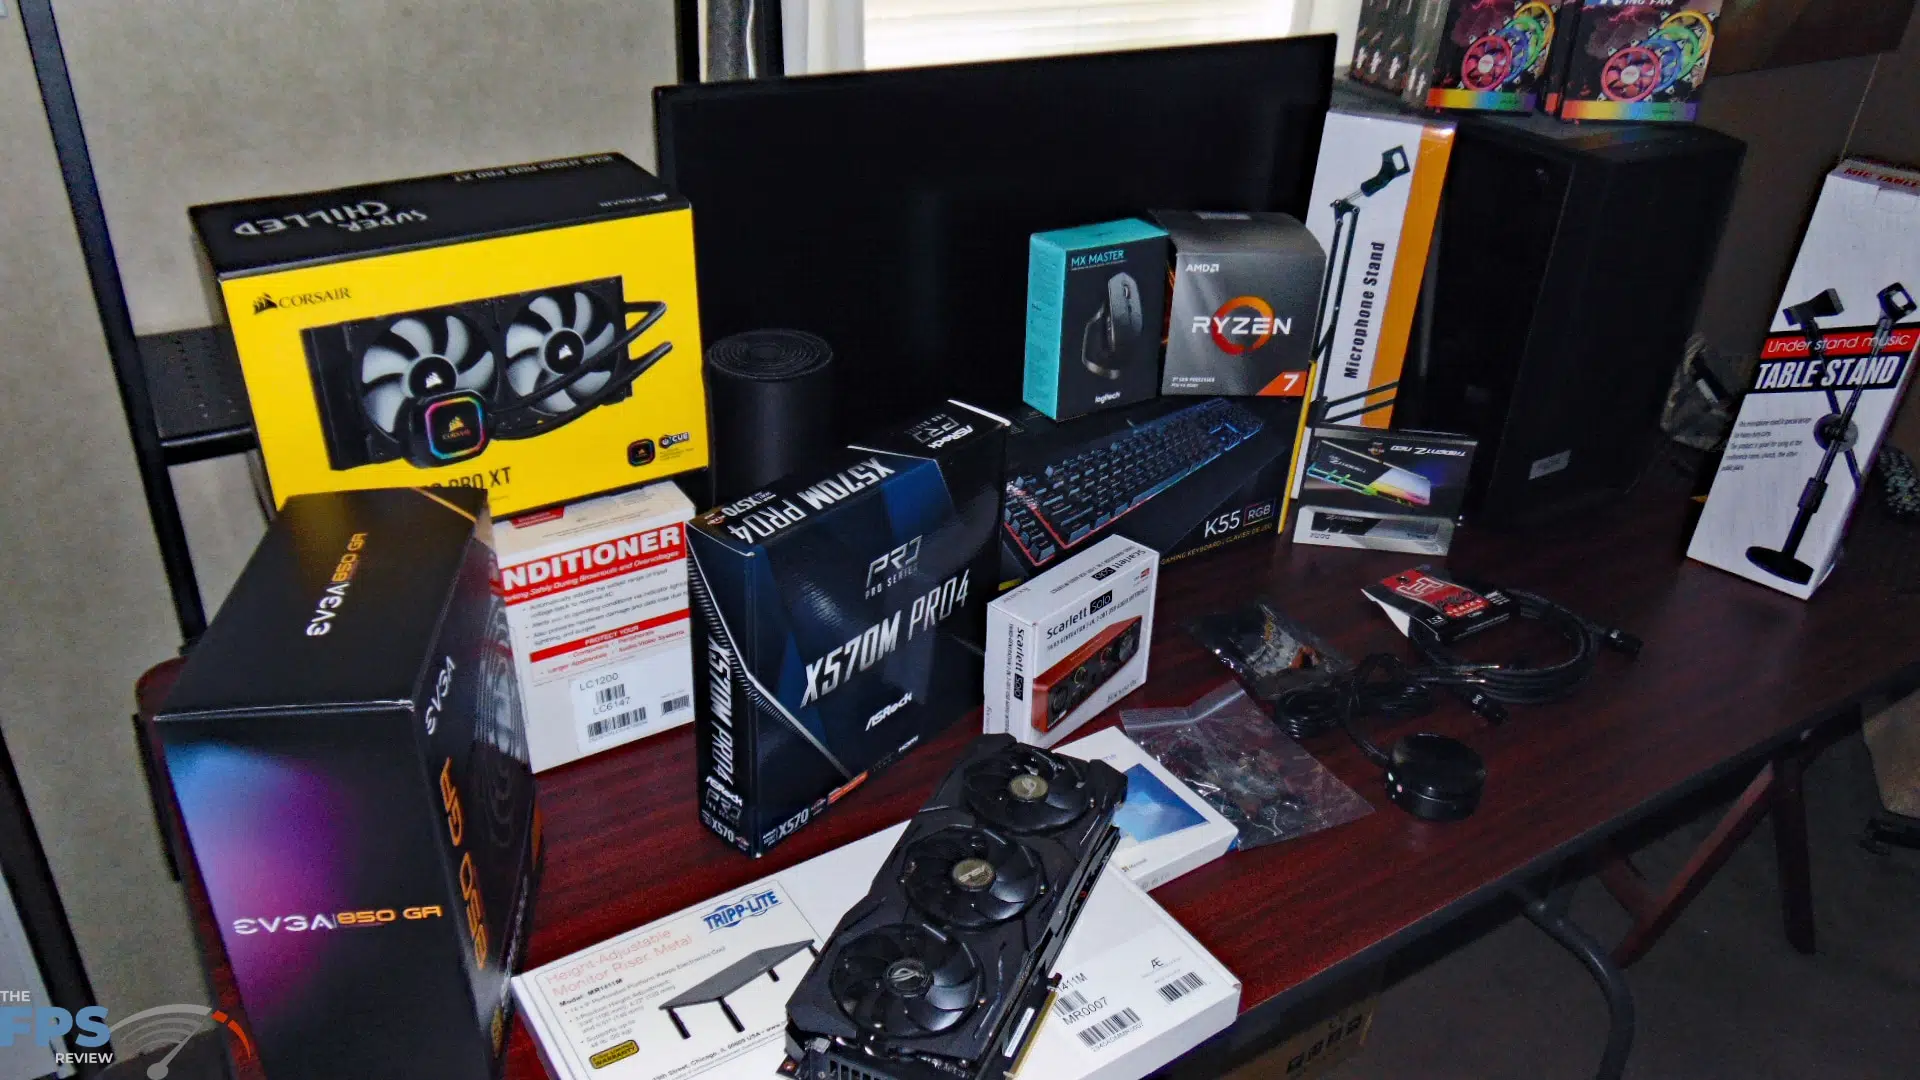
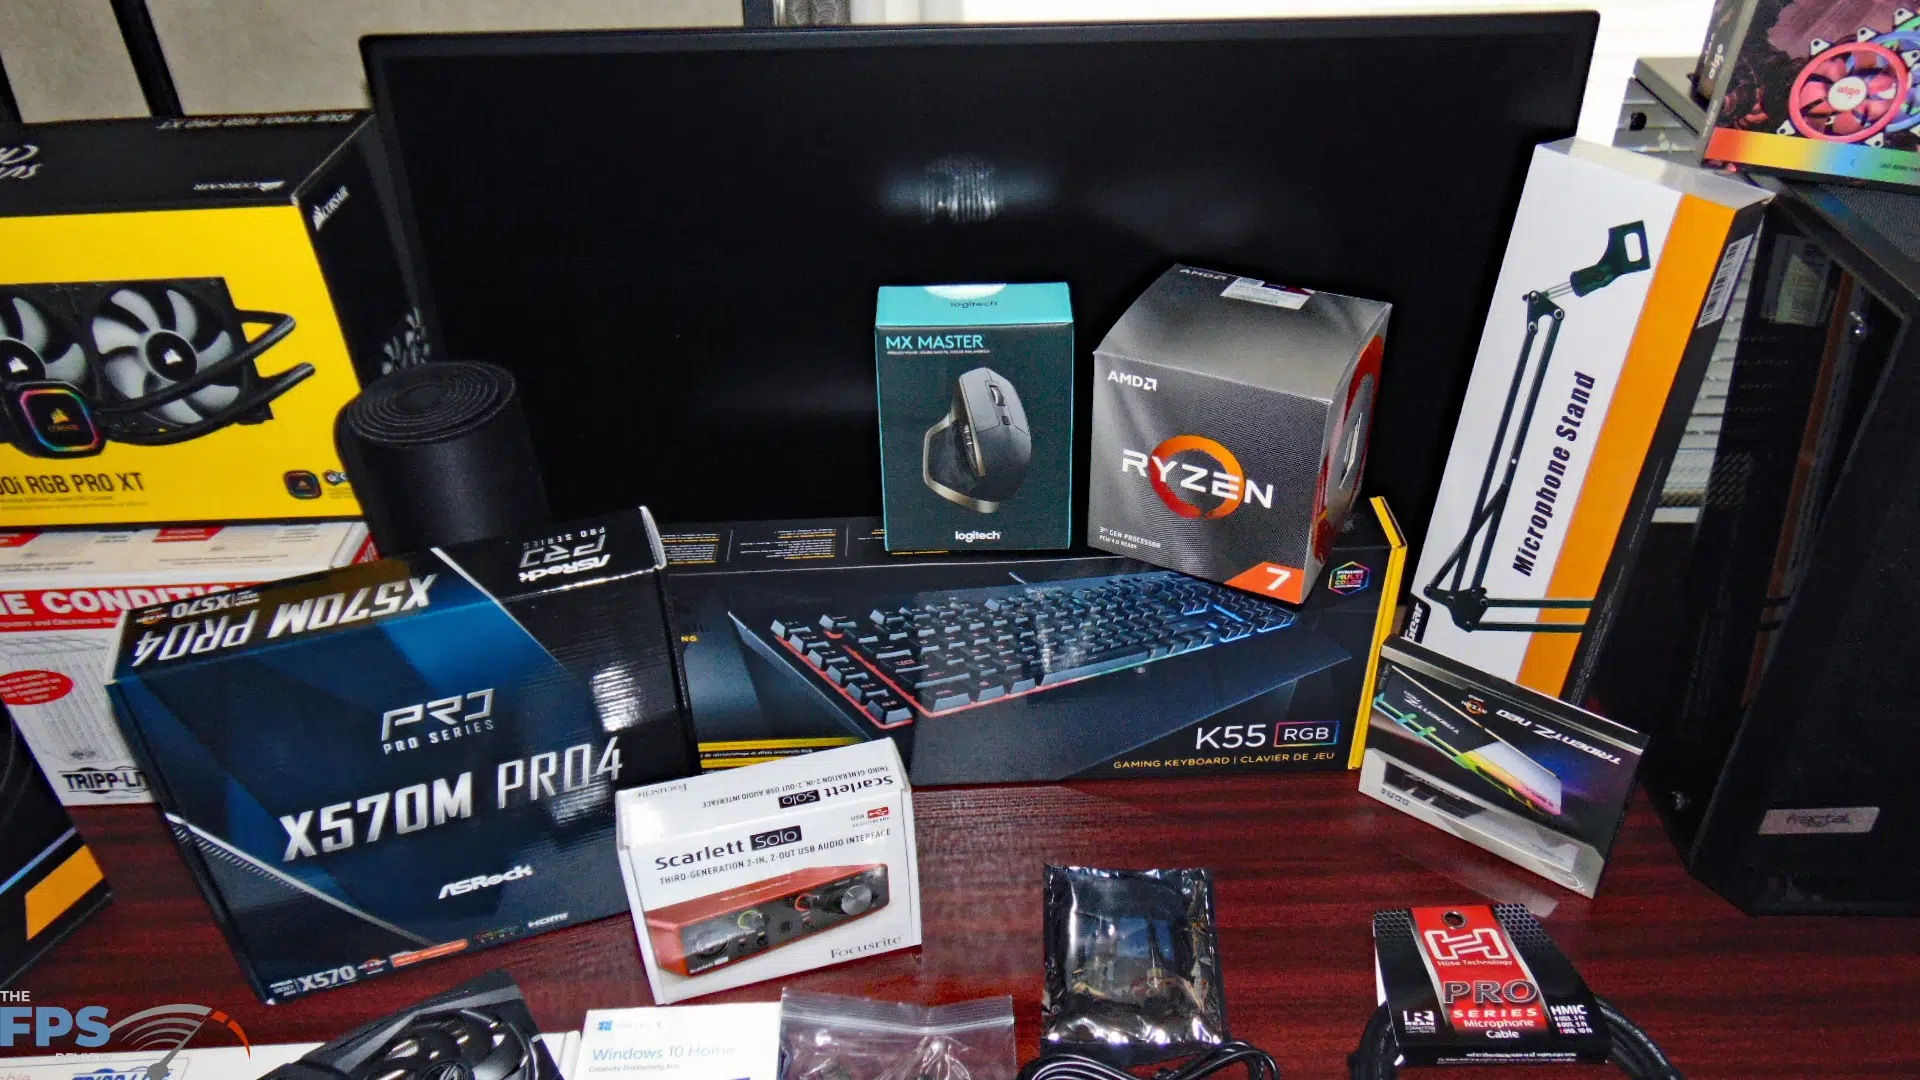
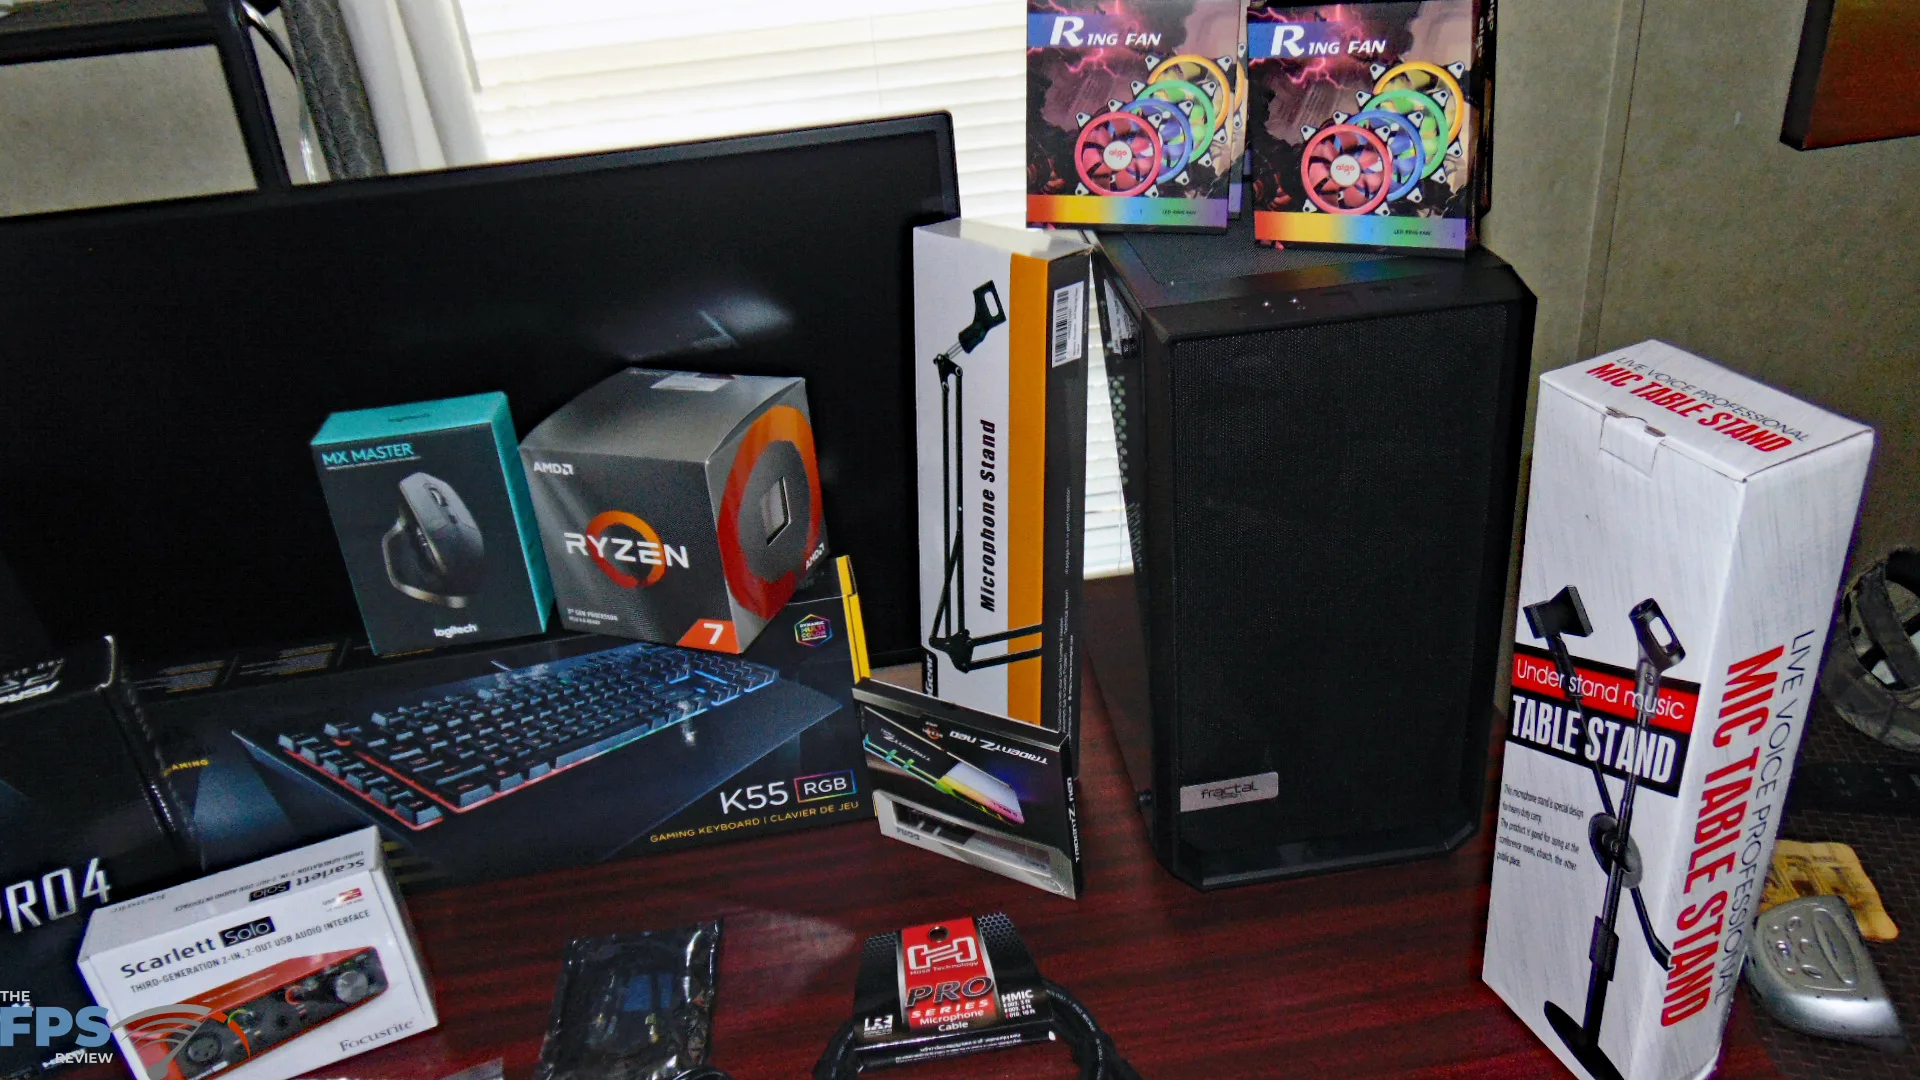
Here is everything, these are all the components ready to be put together.
Monitor
[Link to Webpage – HERE] [Link to Buy – HERE and HERE]

Let’s start with the monitor, as I described my goal is 1440p 60FPS/60Hz gameplay. I wanted a large monitor in physical size as well, the larger the more immersive the game. The largest 16:9 aspect ratio 2560×1440 displays are at 32” right now. I would have liked something a little bigger, to be honest, but that just doesn’t exist in 16:9 aspect ratio 1440p. However, this is at least much bigger than a 27” screen, which just wasn’t going to work for me, for me, the bigger the better.
I wanted an IPS screen with high brightness. Input lag was a concern, but not a huge one; I would simply look for one with the lowest input lag I could get affordably. For me, it’s about the game immersion, and relaying that on-screen for viewers and comfortable gaming experience for me. I also didn’t want to have to take out a loan for a really expensive monitor, heh, the budget was a high concern.
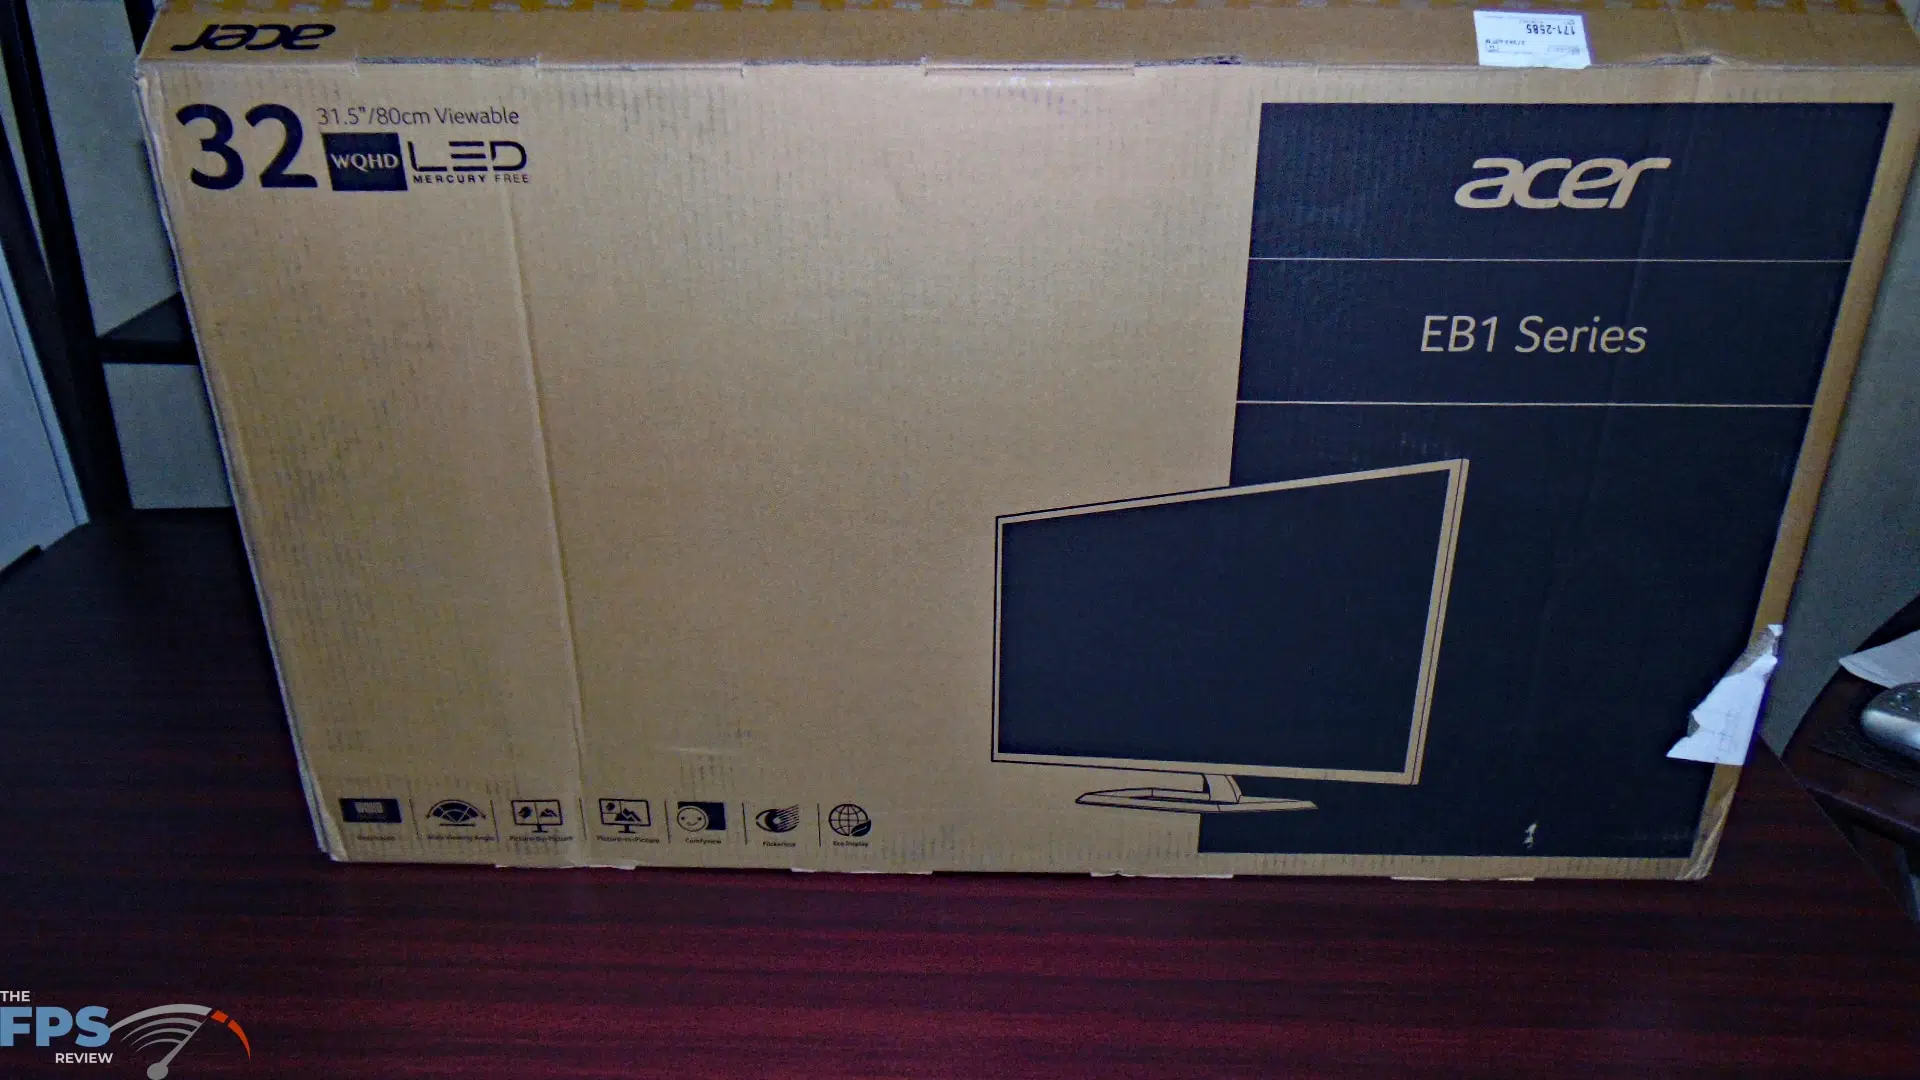
The monitor I ended up going with was an ACER EB1 series 32” WQHD LCD. The specific model I chose was EB321HQU Cbidpx UM.JE1AA.C01. Key features that I liked about this monitor, number one is the price, I got it for $269.99. It is an IPS display with a brightness of 300 Nit. The response time is a 4ms GTG response time. It runs at 1440p native 60Hz and has DisplayPort and HDMI.
Case
[Link to Website – HERE] [Link to Buy – HERE and HERE]
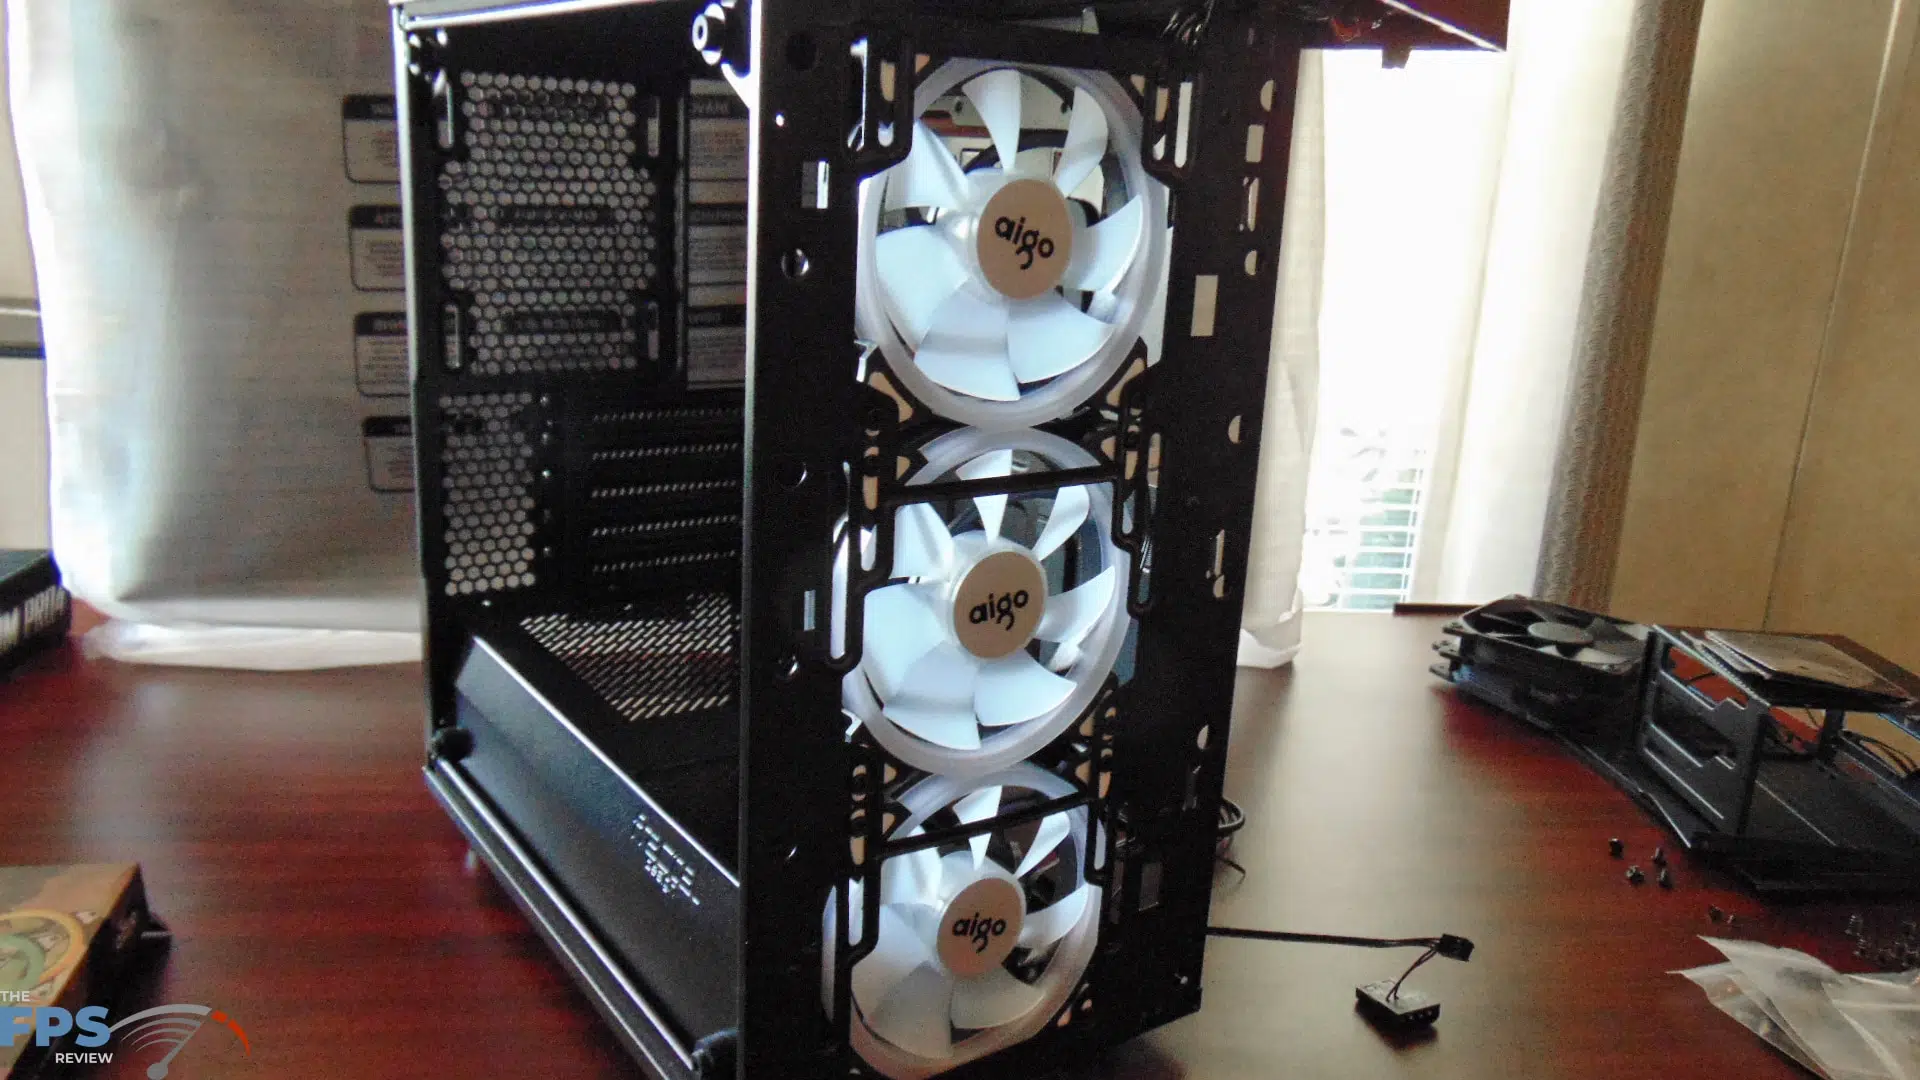
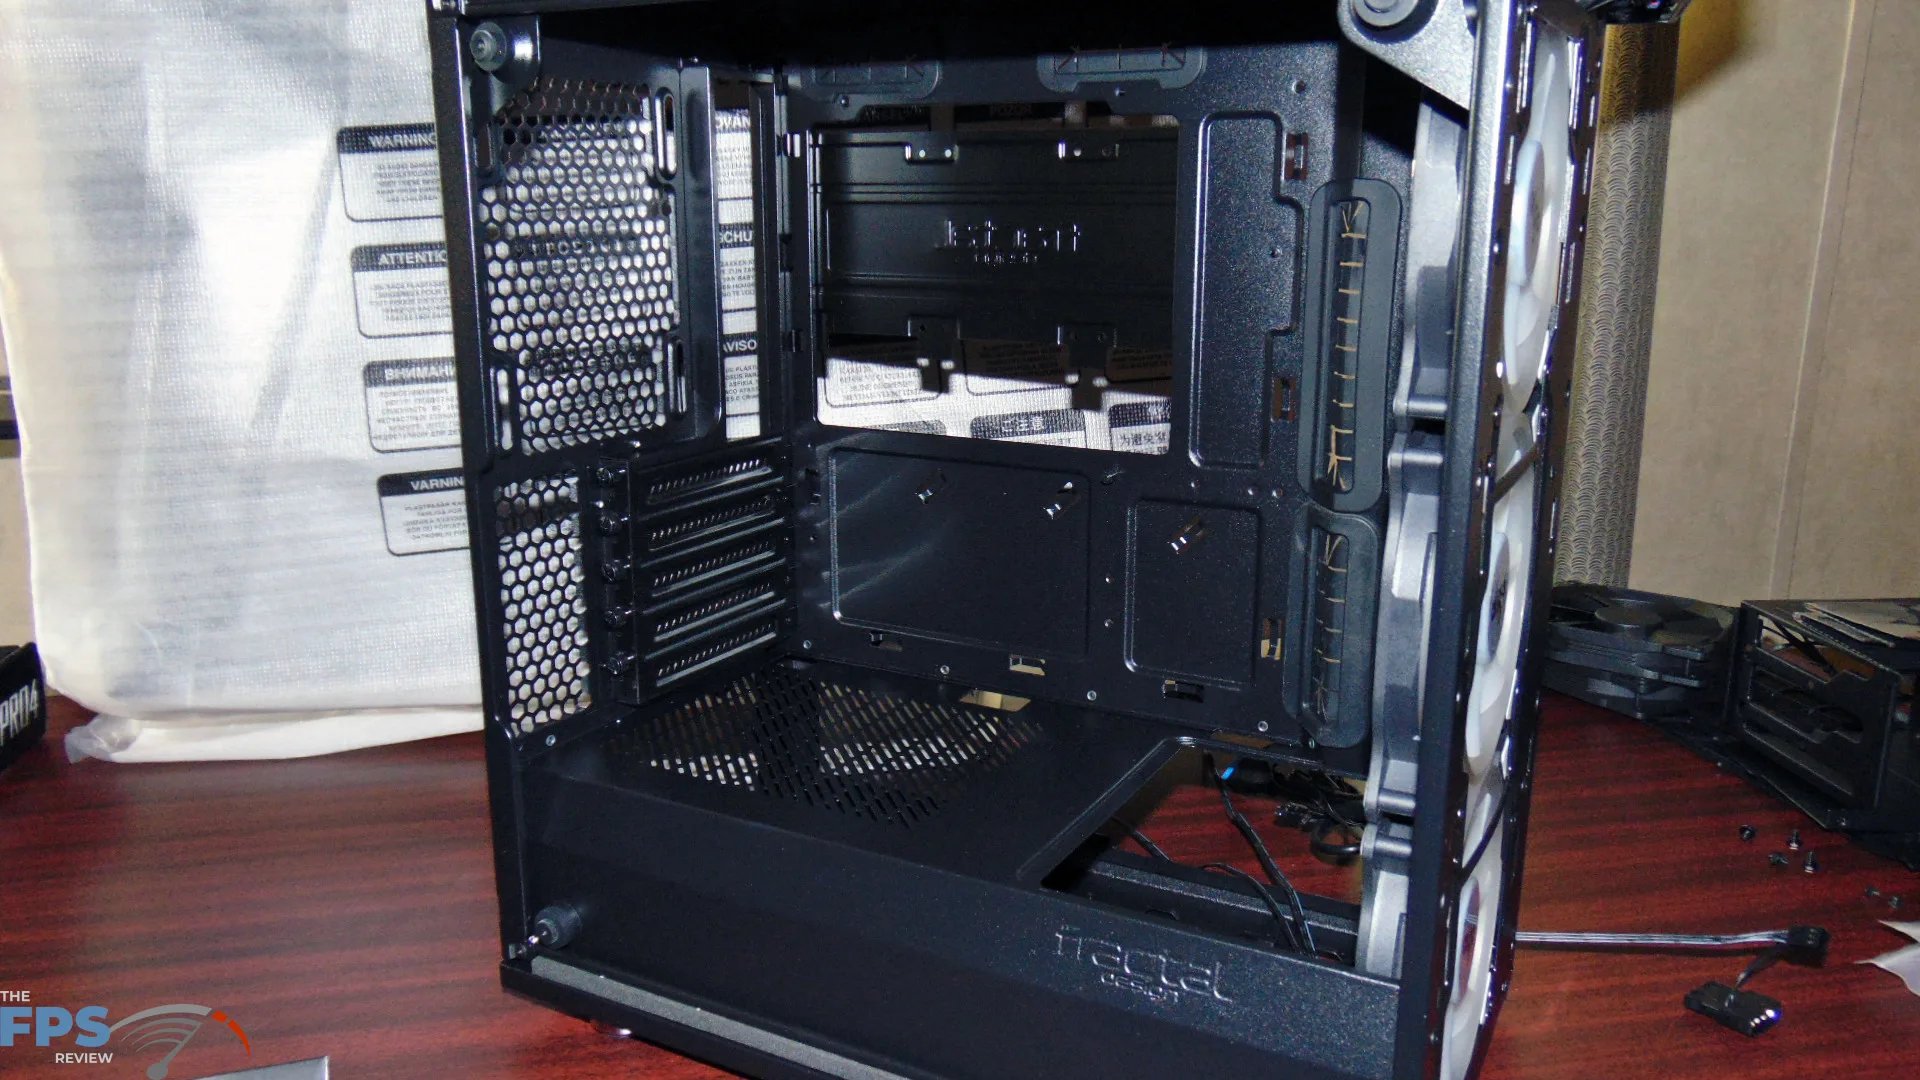
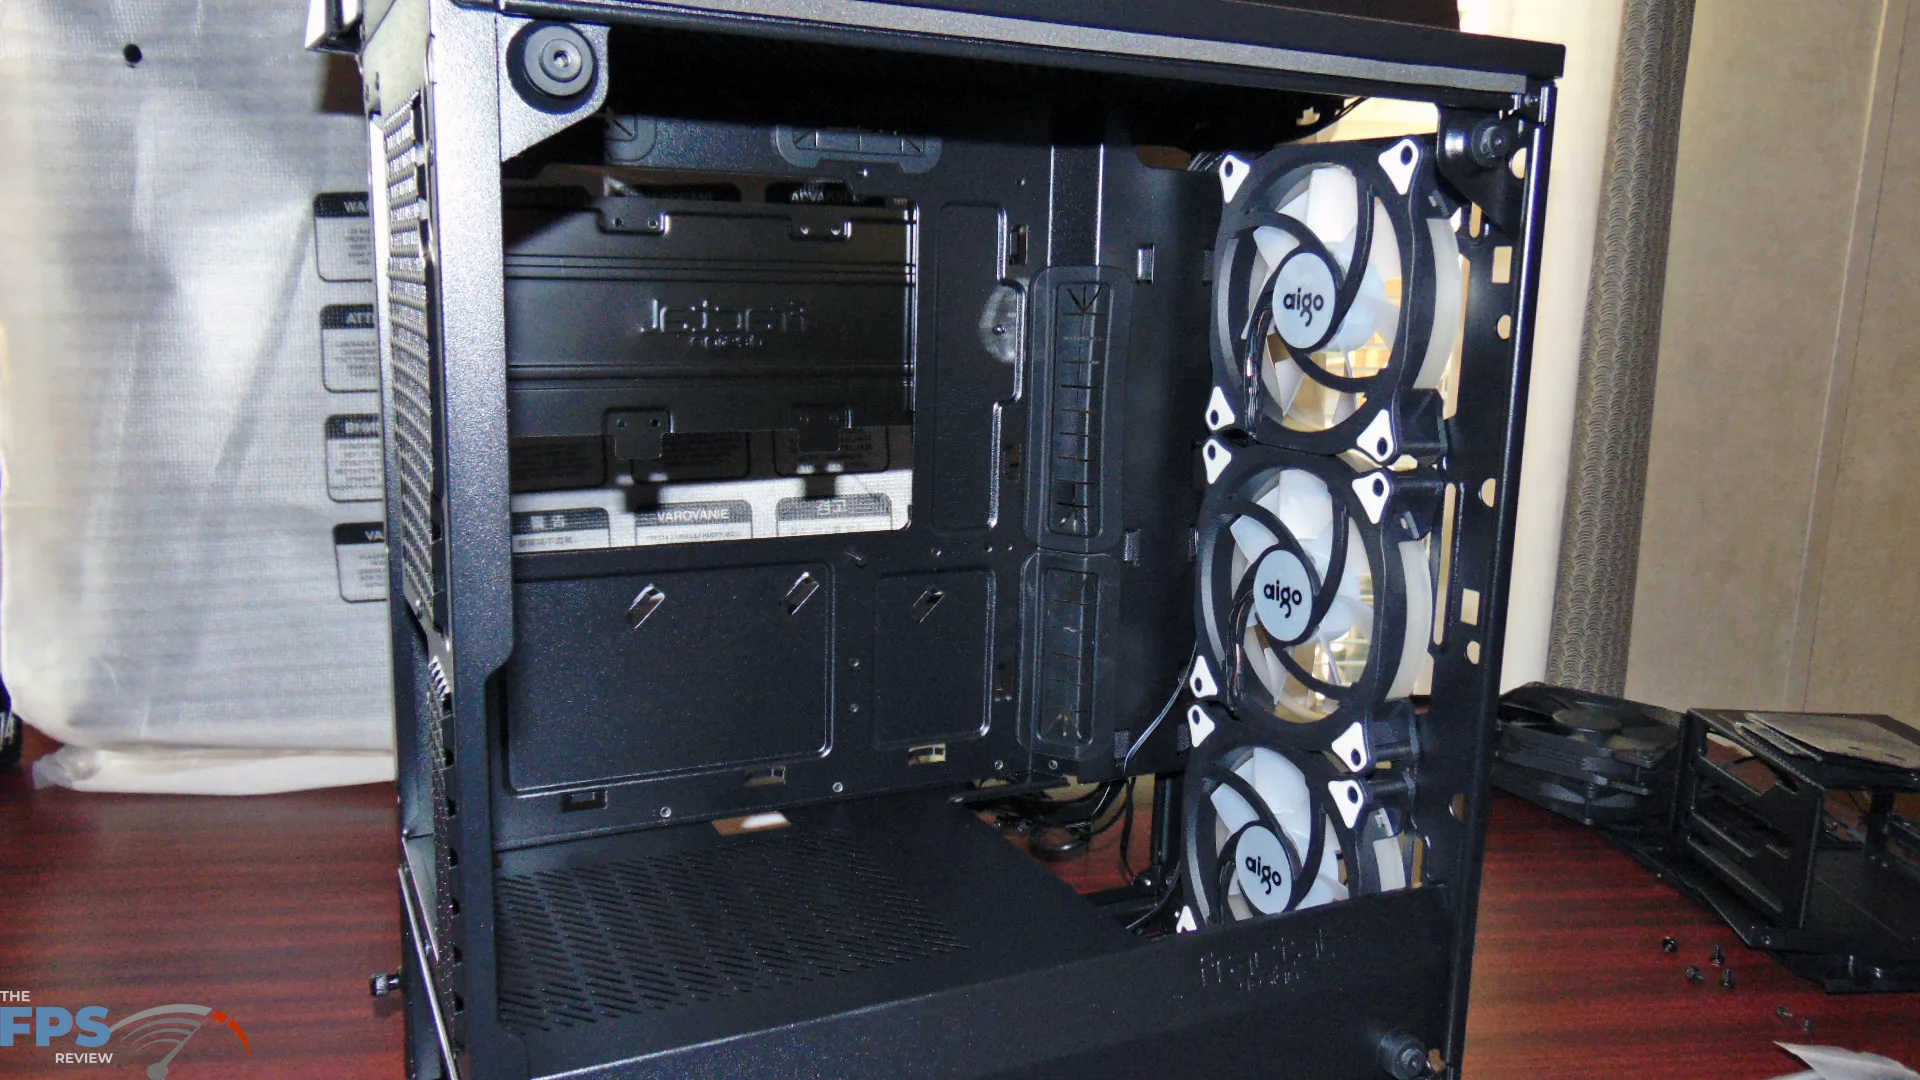
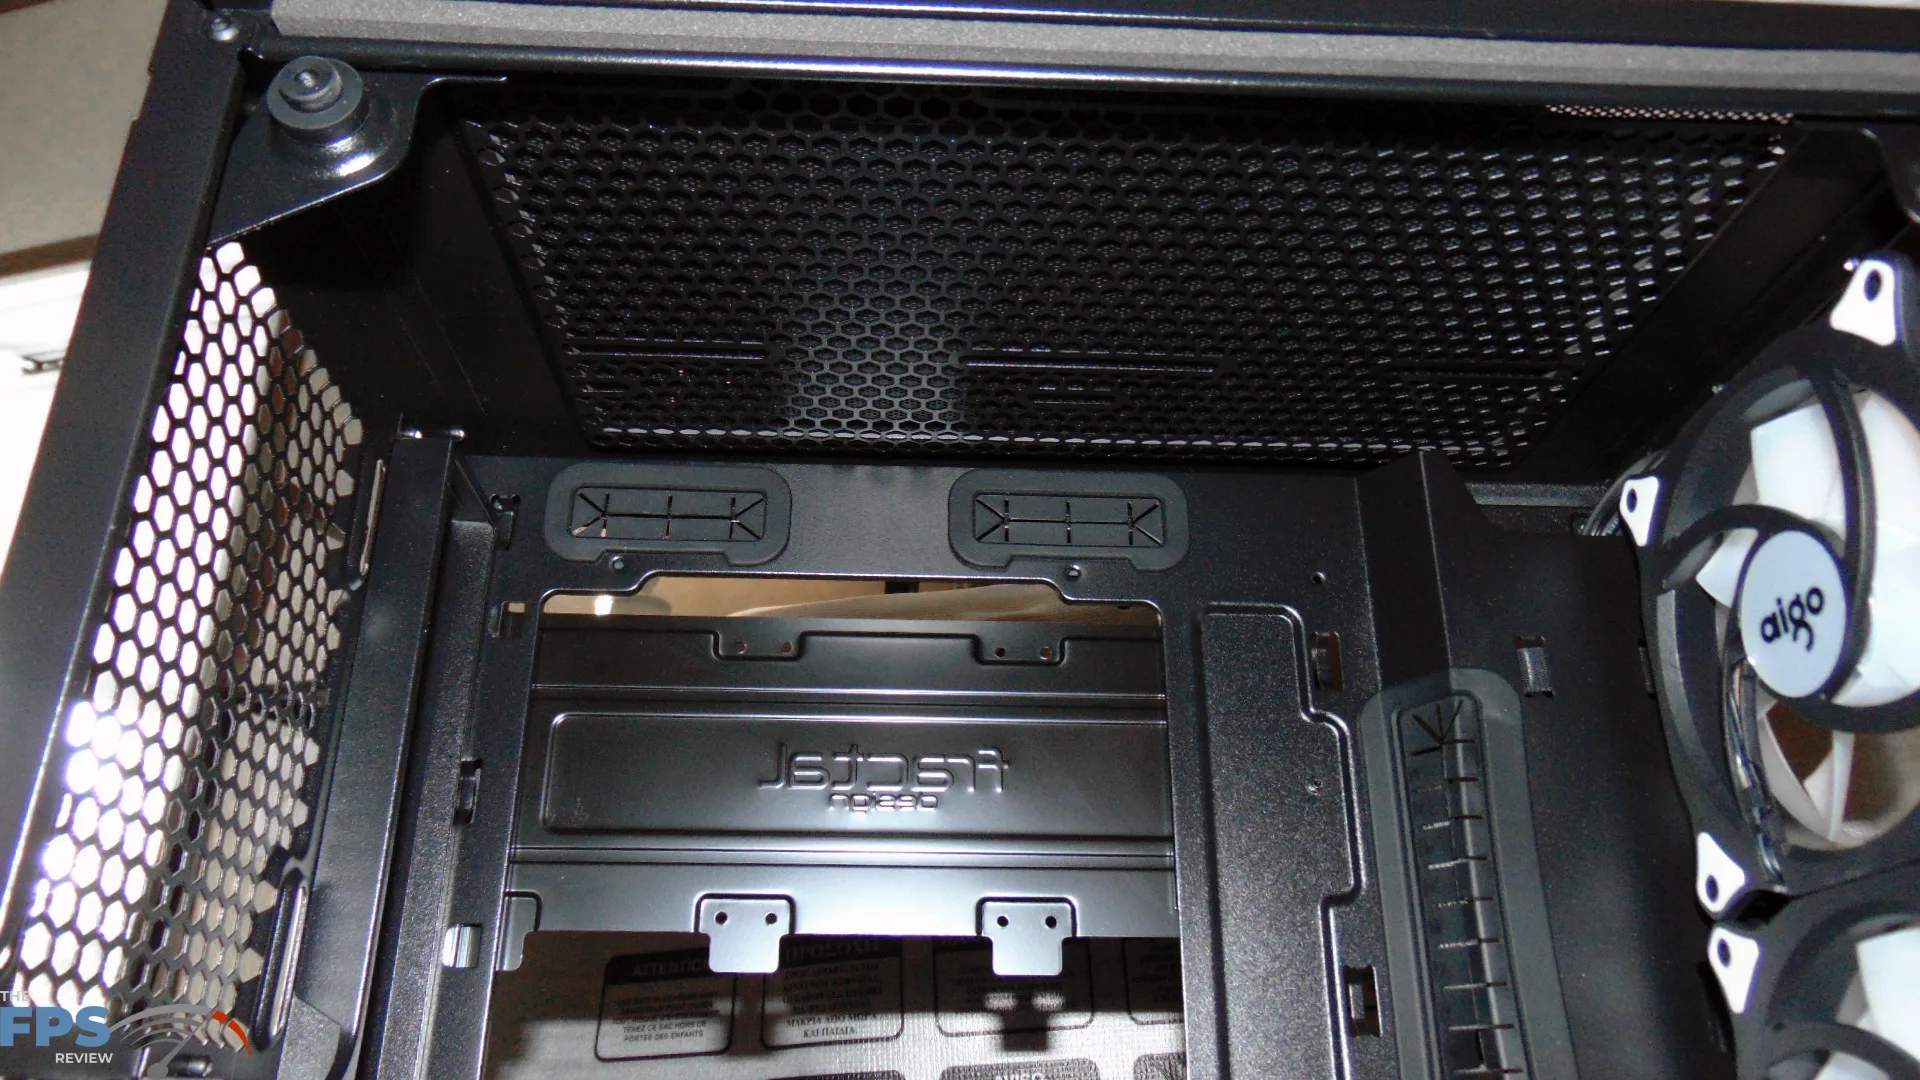
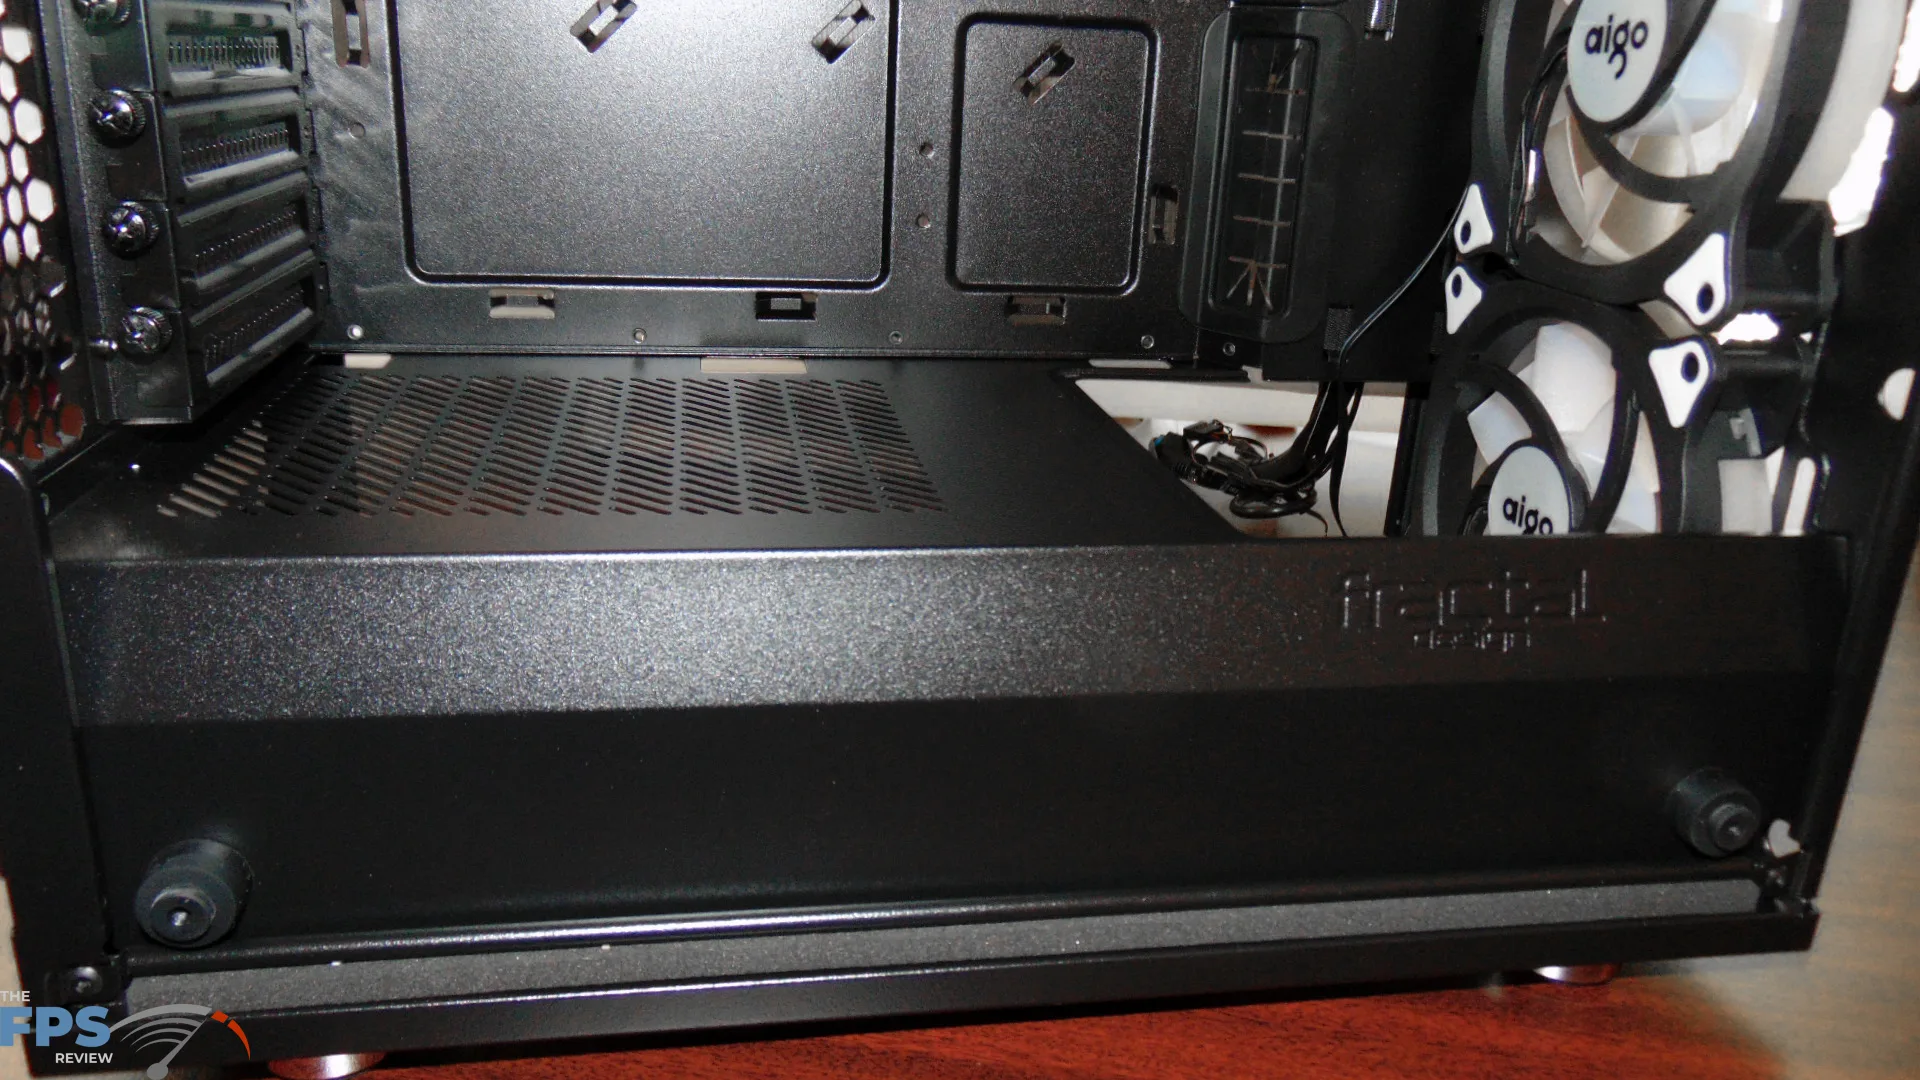
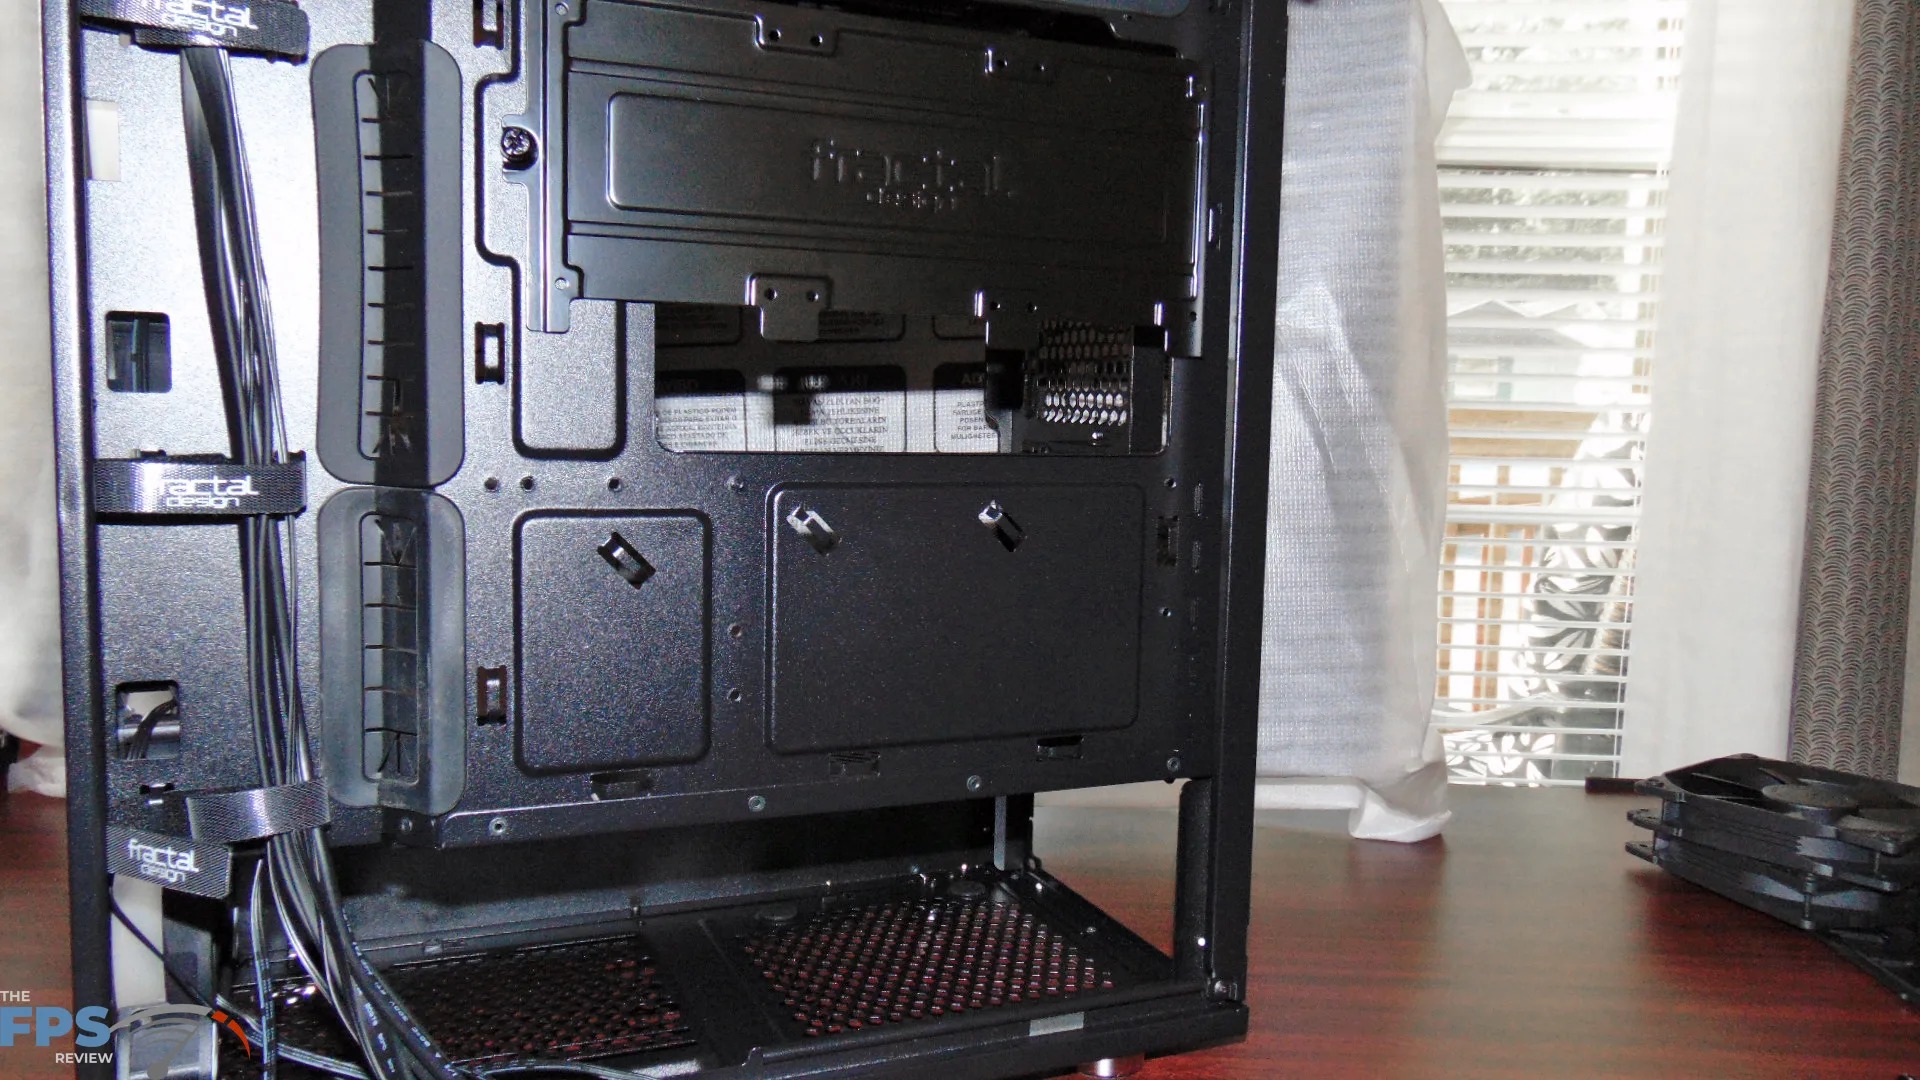
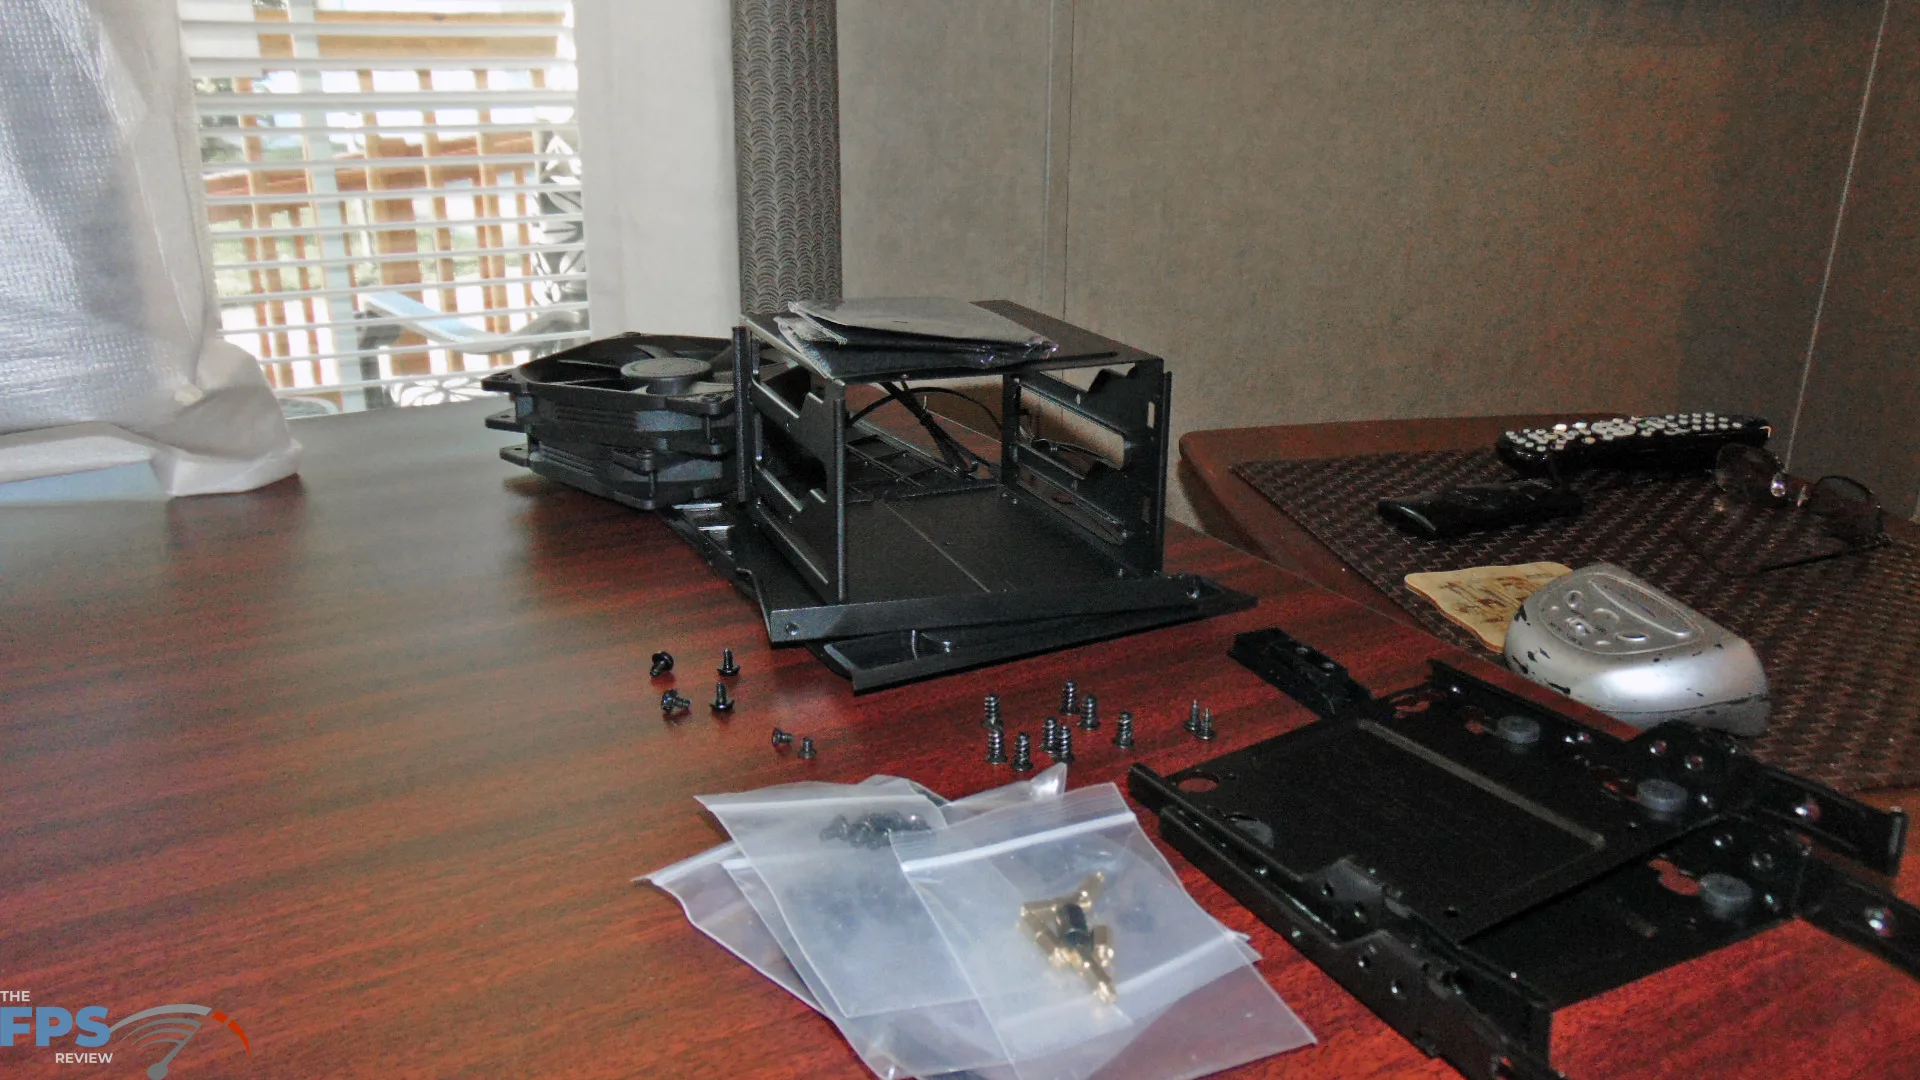
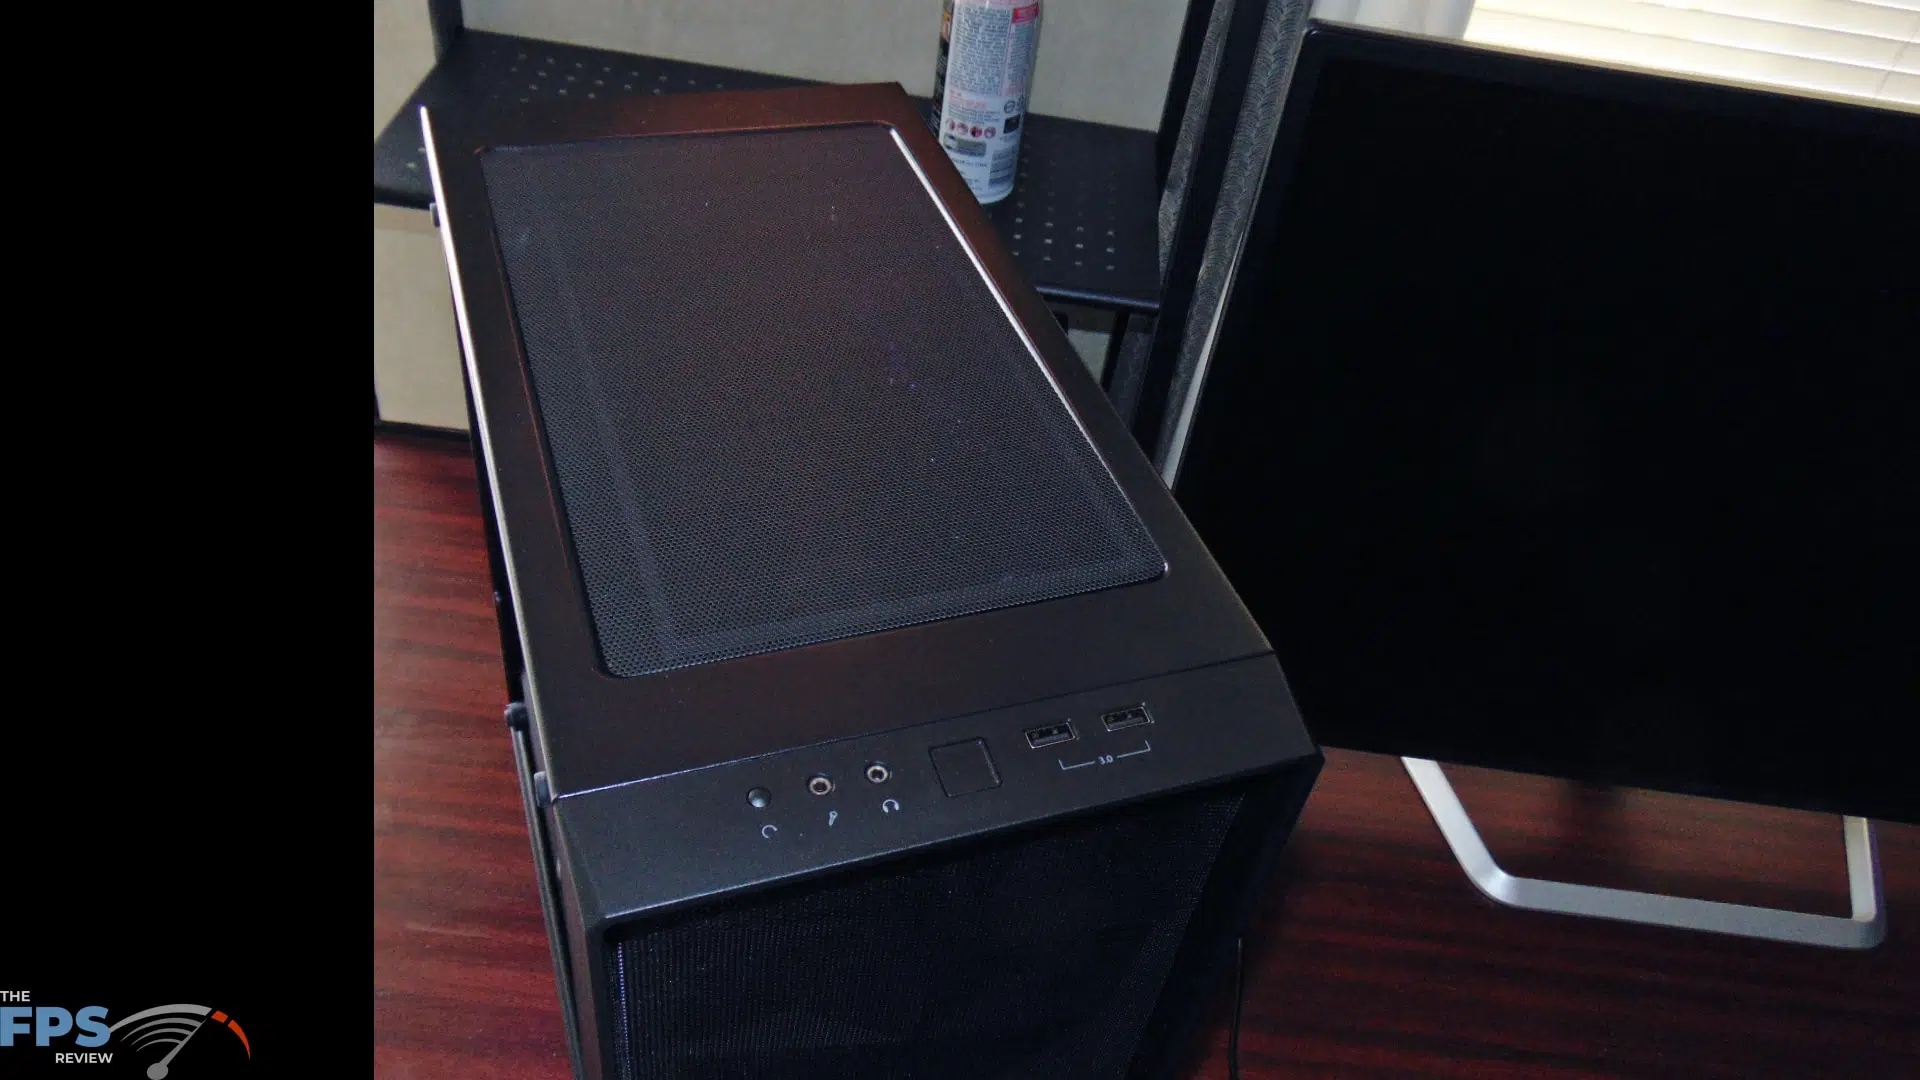
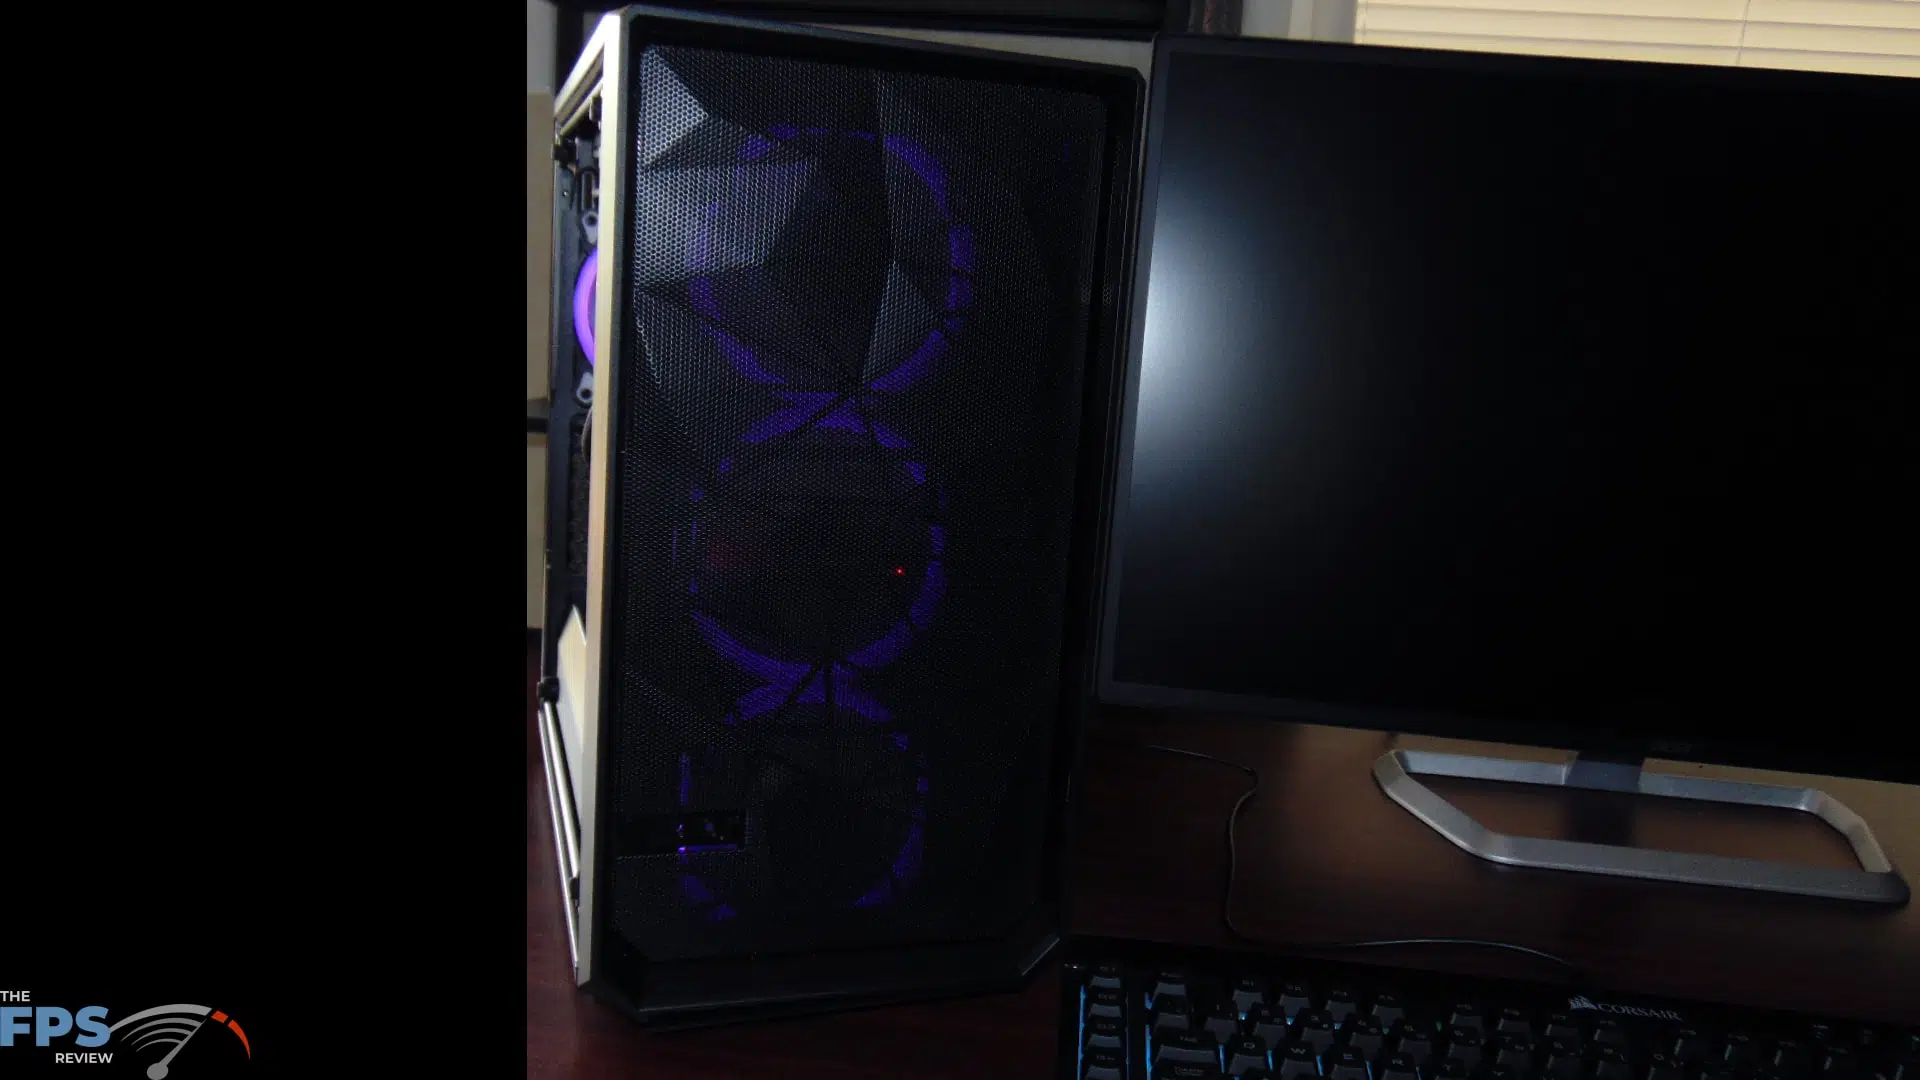
As I mentioned, I wanted a case that could fit an mATX motherboard but also had enough room to handle a full-sized video card. In addition, I wanted it to support an AIO for the CPU, and have plenty of cooling and look visually appealing as well. My eyes quickly turned to an older case that fits the bill absolutely perfect in every single way. The Fractal Design Meshify series, specifically the Meshify C Mini Dark Tempered Glass.
First of all, the case looks great with its Meshify front panel and dark tempered glass. It also cools extremely well since the entire front is a mesh opening with filter, so there is no impeded airflow. The top is also open with a filter, a great place for the AIO. It supports three front fans, and one on back. Better still, it allows a full-sized video card to be installed. It fits the ASUS ROG STRIX GeForce RTX 2080 Ti O11G video card that is going in this case perfectly. The price is also not bad, I got mine for $109 when I bought it, but it’s actually down to around $93 now on Newegg.
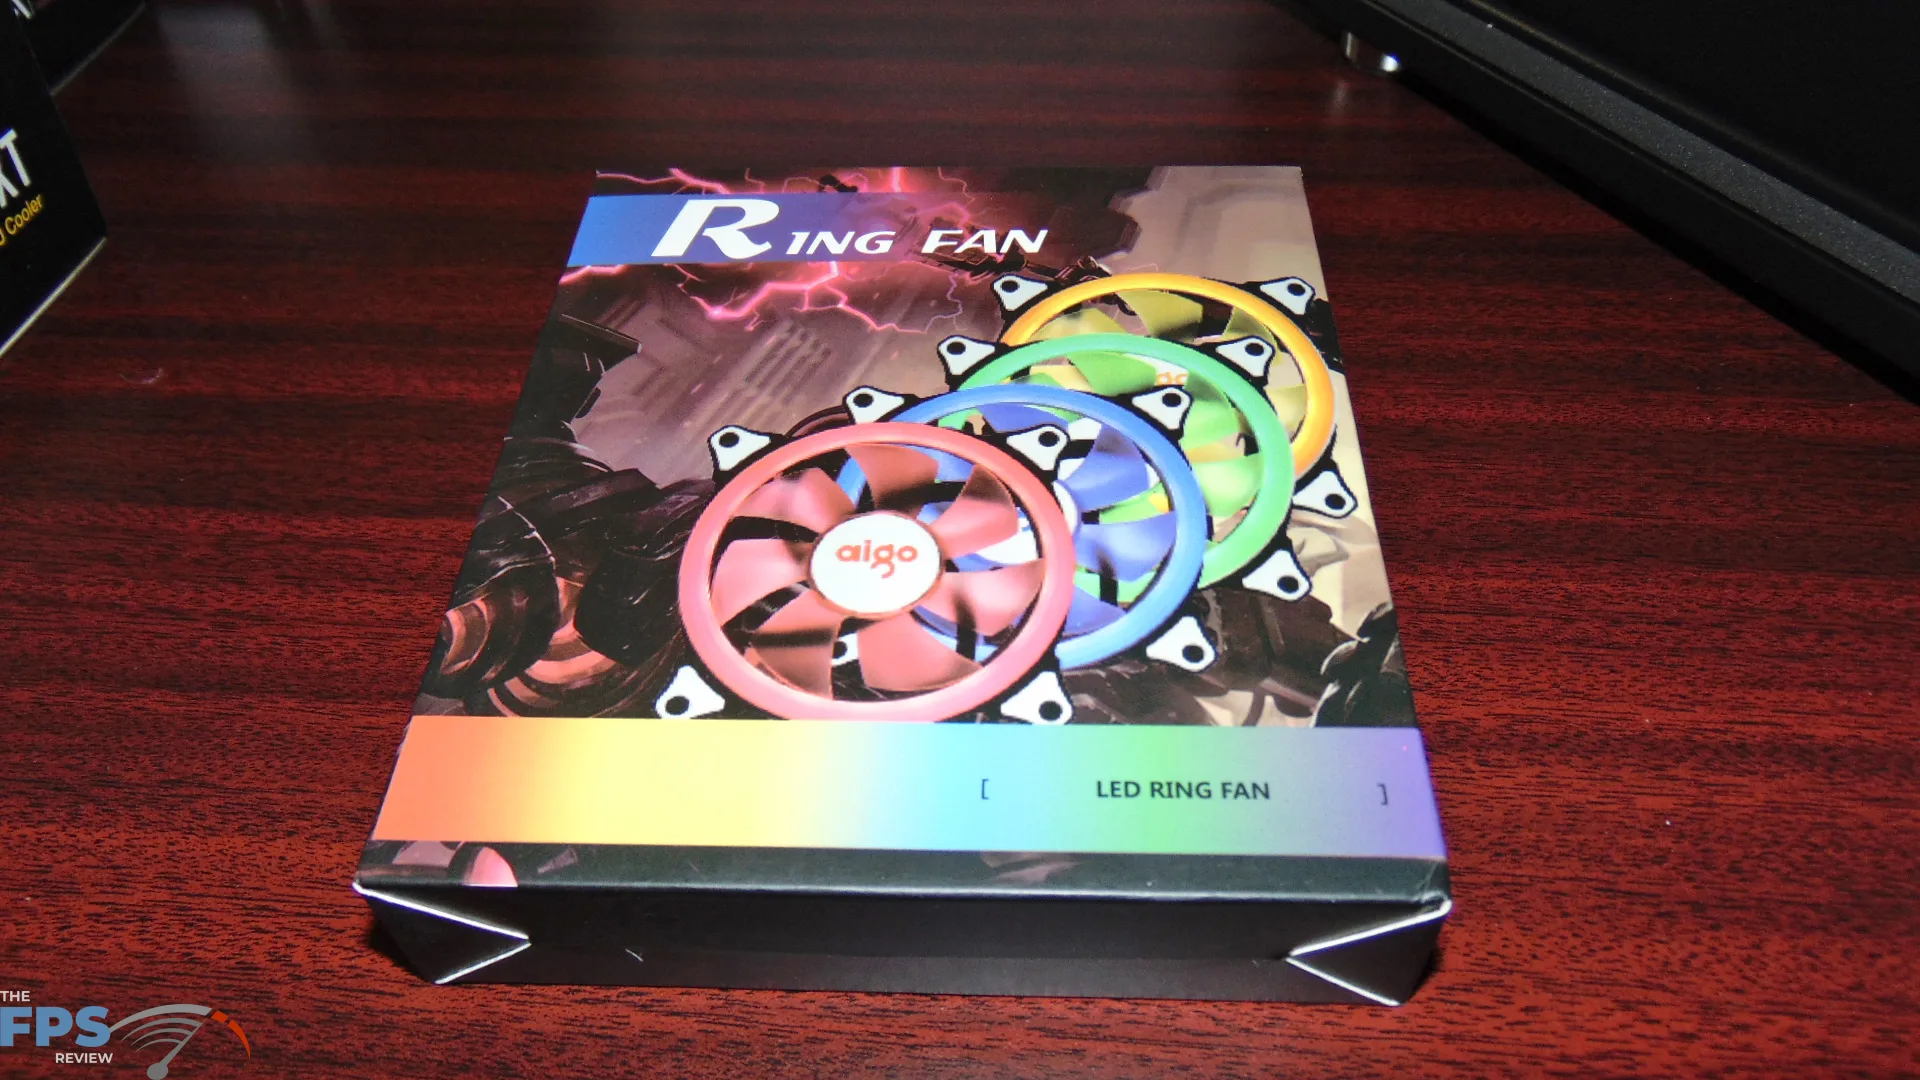
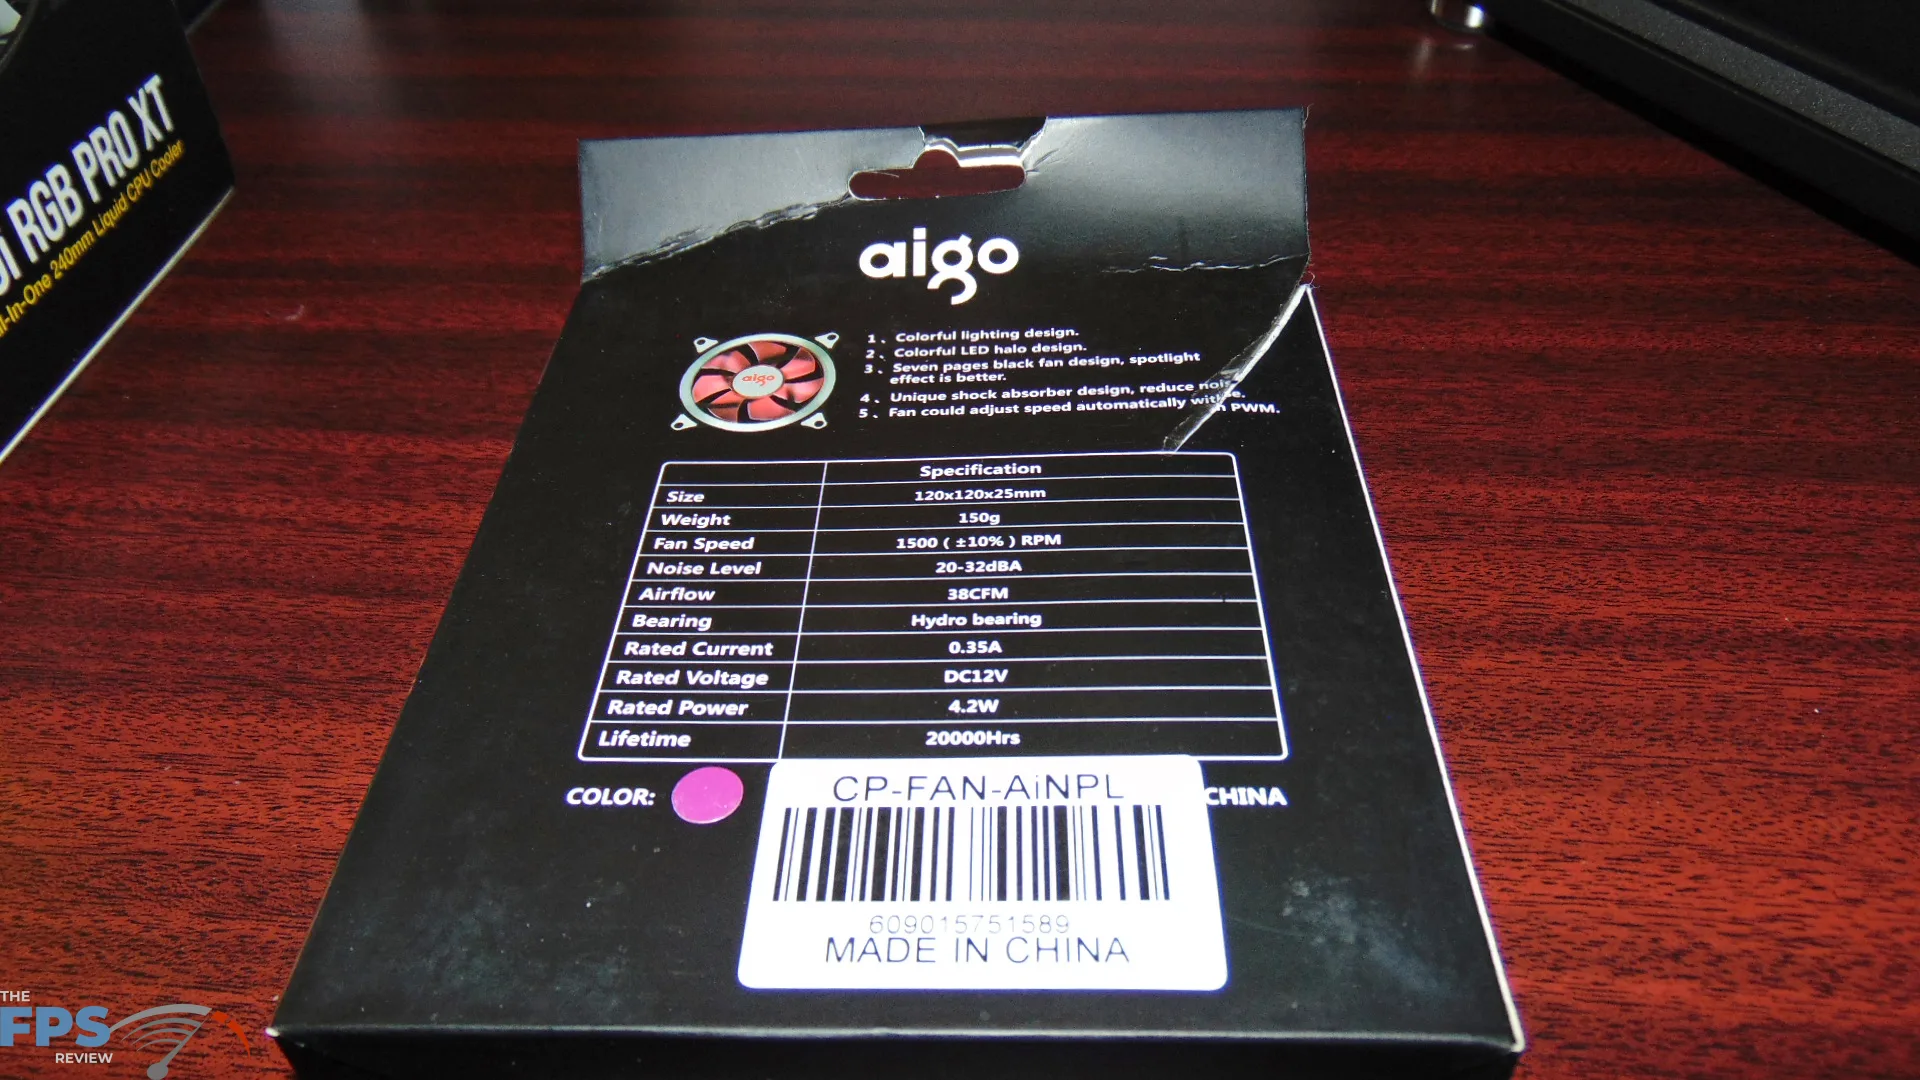
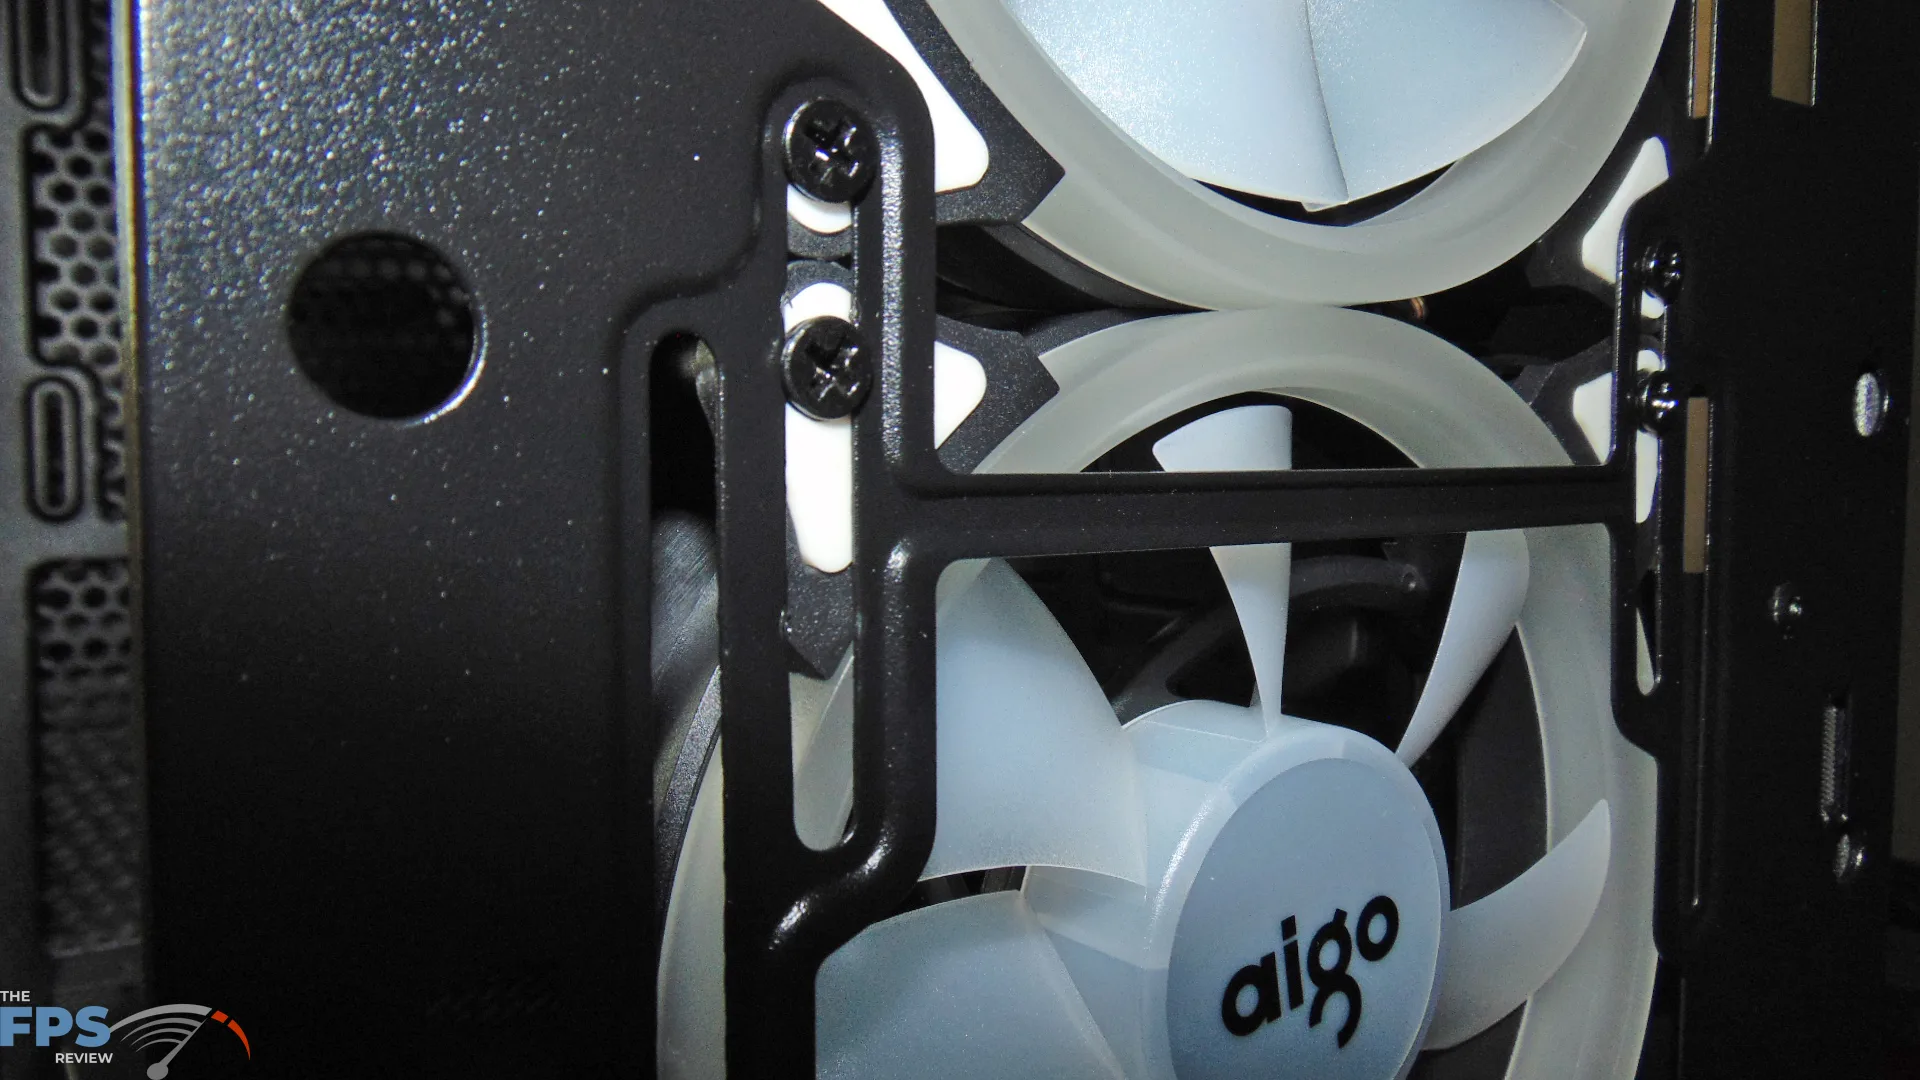
I went ahead and installed my own fans that I wanted in the system for a specific color scheme. A long time ago I had found these AIGO LED Ring Fans. I’ve been using them in my personal builds for a long time now. I love them because they provide great airflow, and both a 3-pin power connector and a Molex power connector. They also have rubber fittings on the screw mounts to provide no rattle or vibration.
The big plus though is that these are color lit fans and you buy the color you want; they aren’t RGB, but they are LED fans. The ring lights up whatever color you buy, and I wanted purple for my build. On the front of the case, I installed 3 of these fans straight away. I am going to end up having six of these fans in this build. Here is where I bought the fans on Newegg. When I purchased them, they were $18 for a pack of 2.