Build Process – CPU Cooler, Storage, Video Card
CPU Cooler
[Link to Website – HERE] [Link to Buy – HERE]
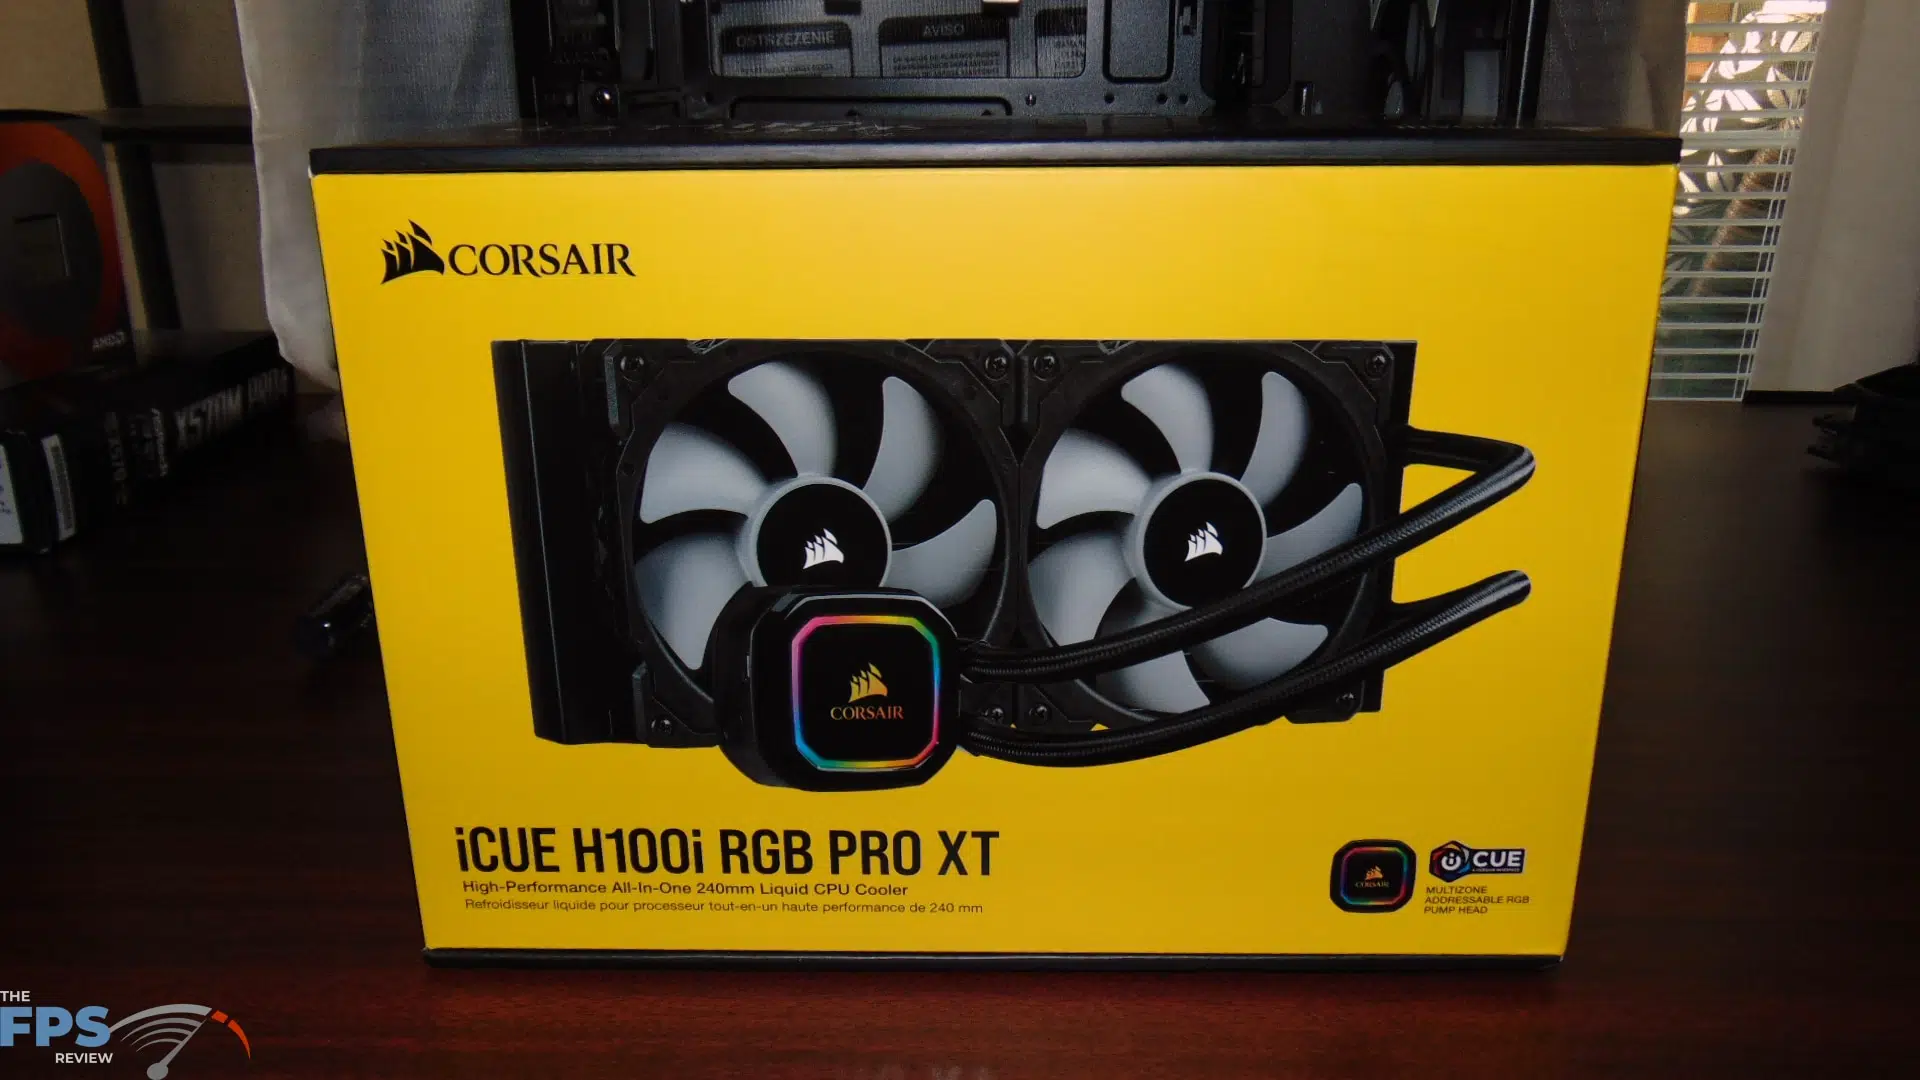
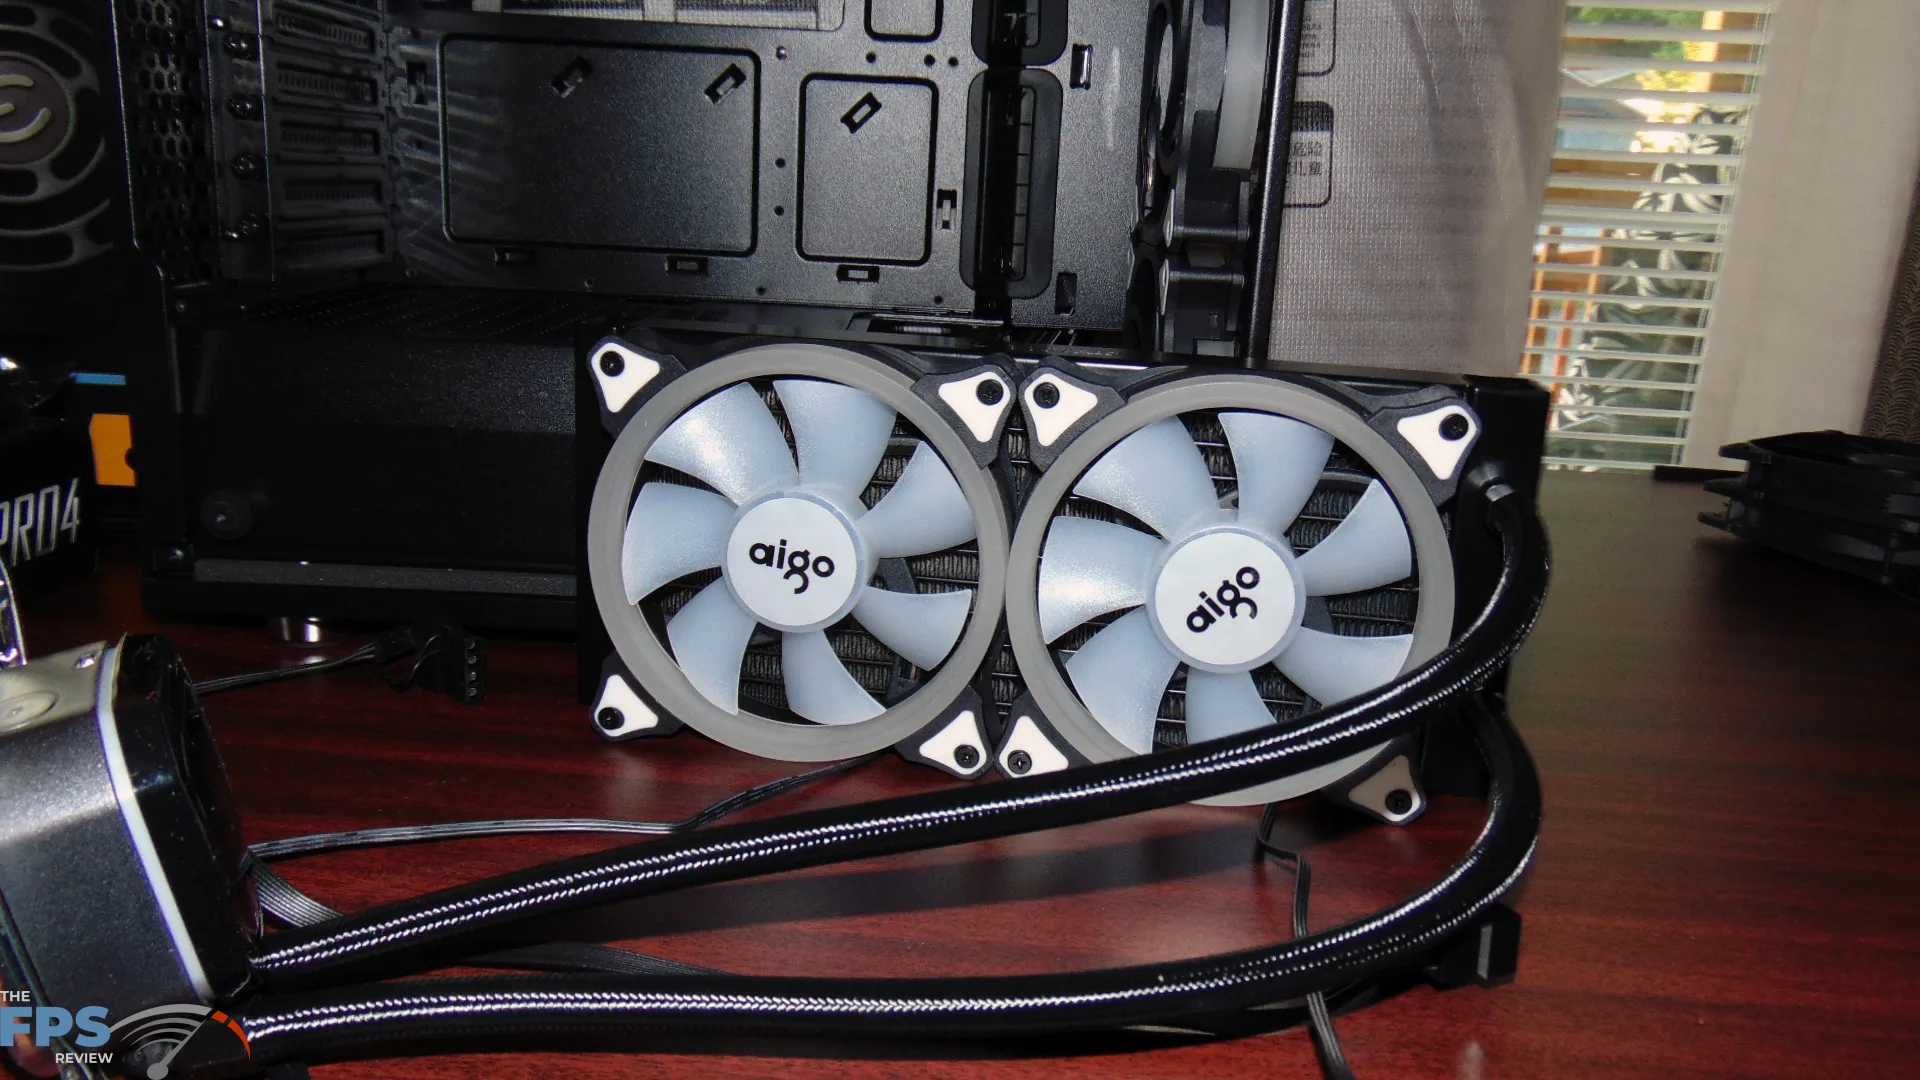
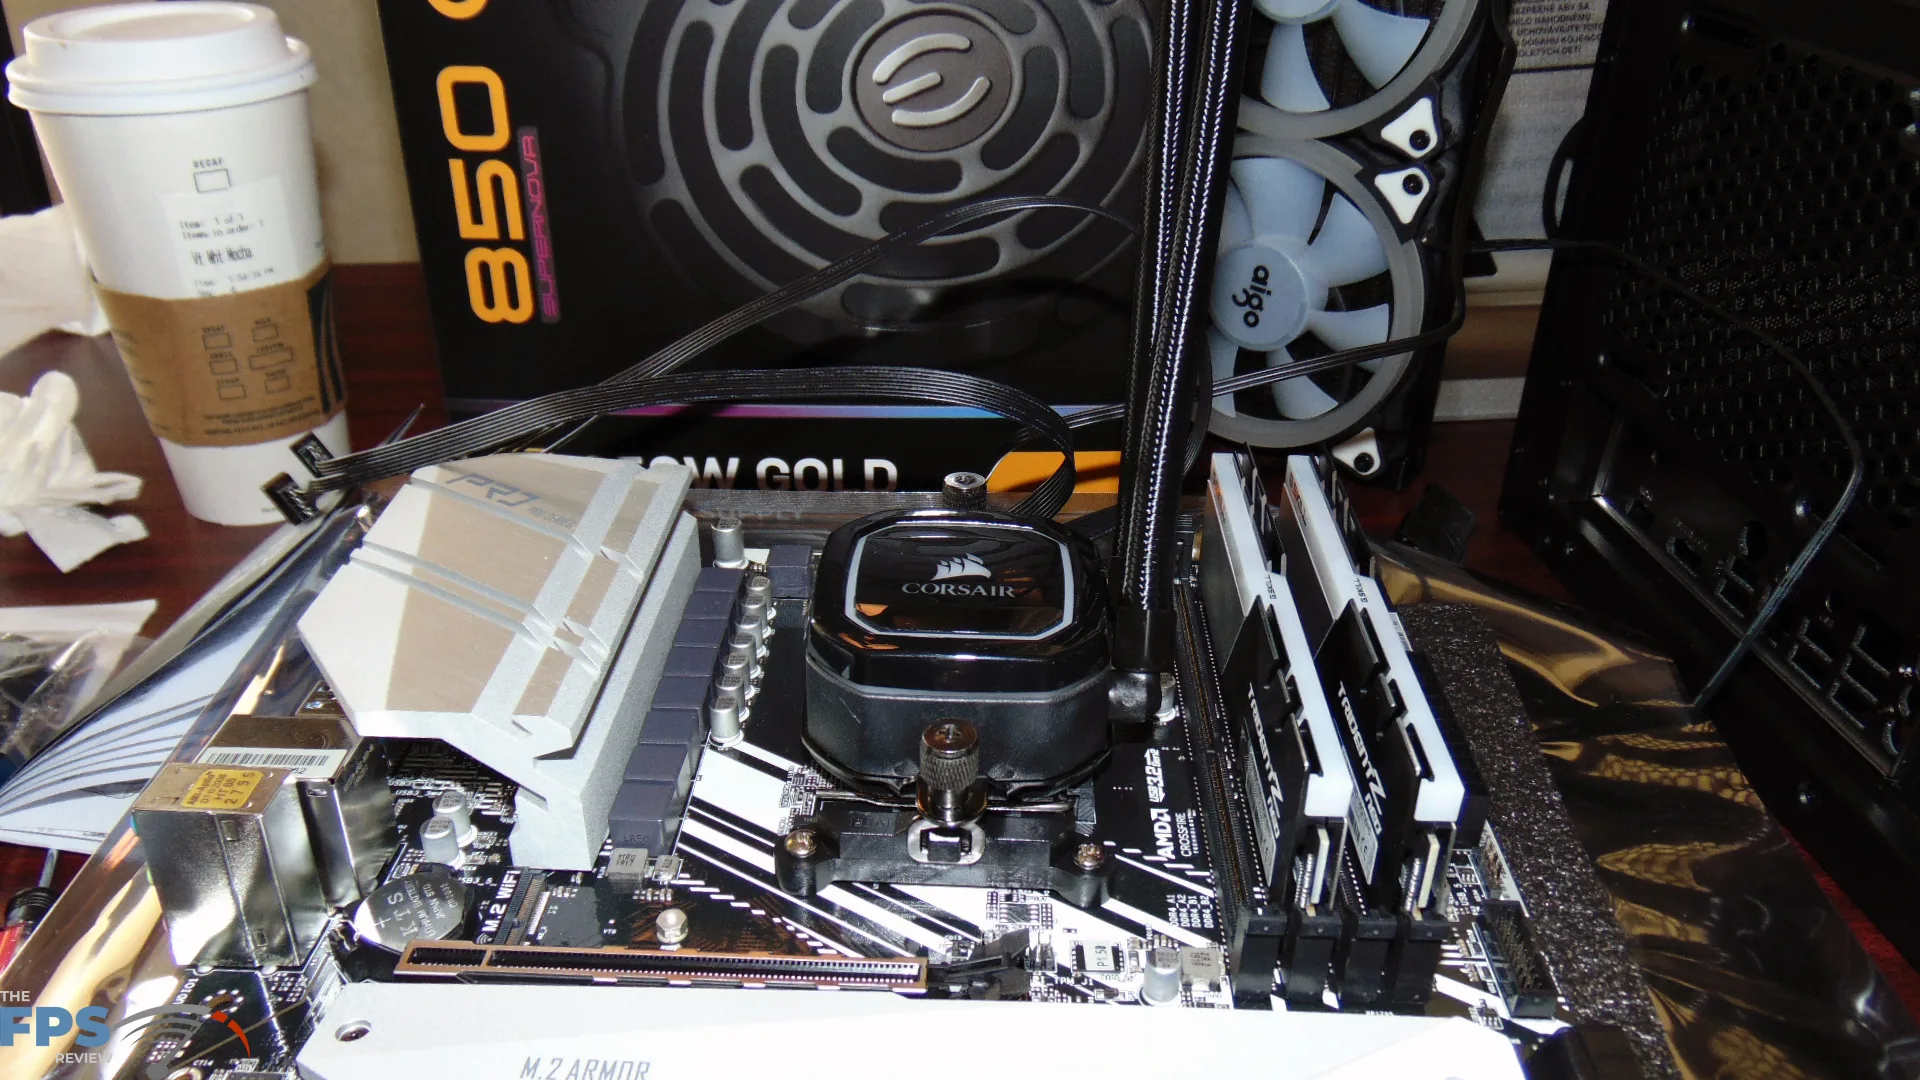

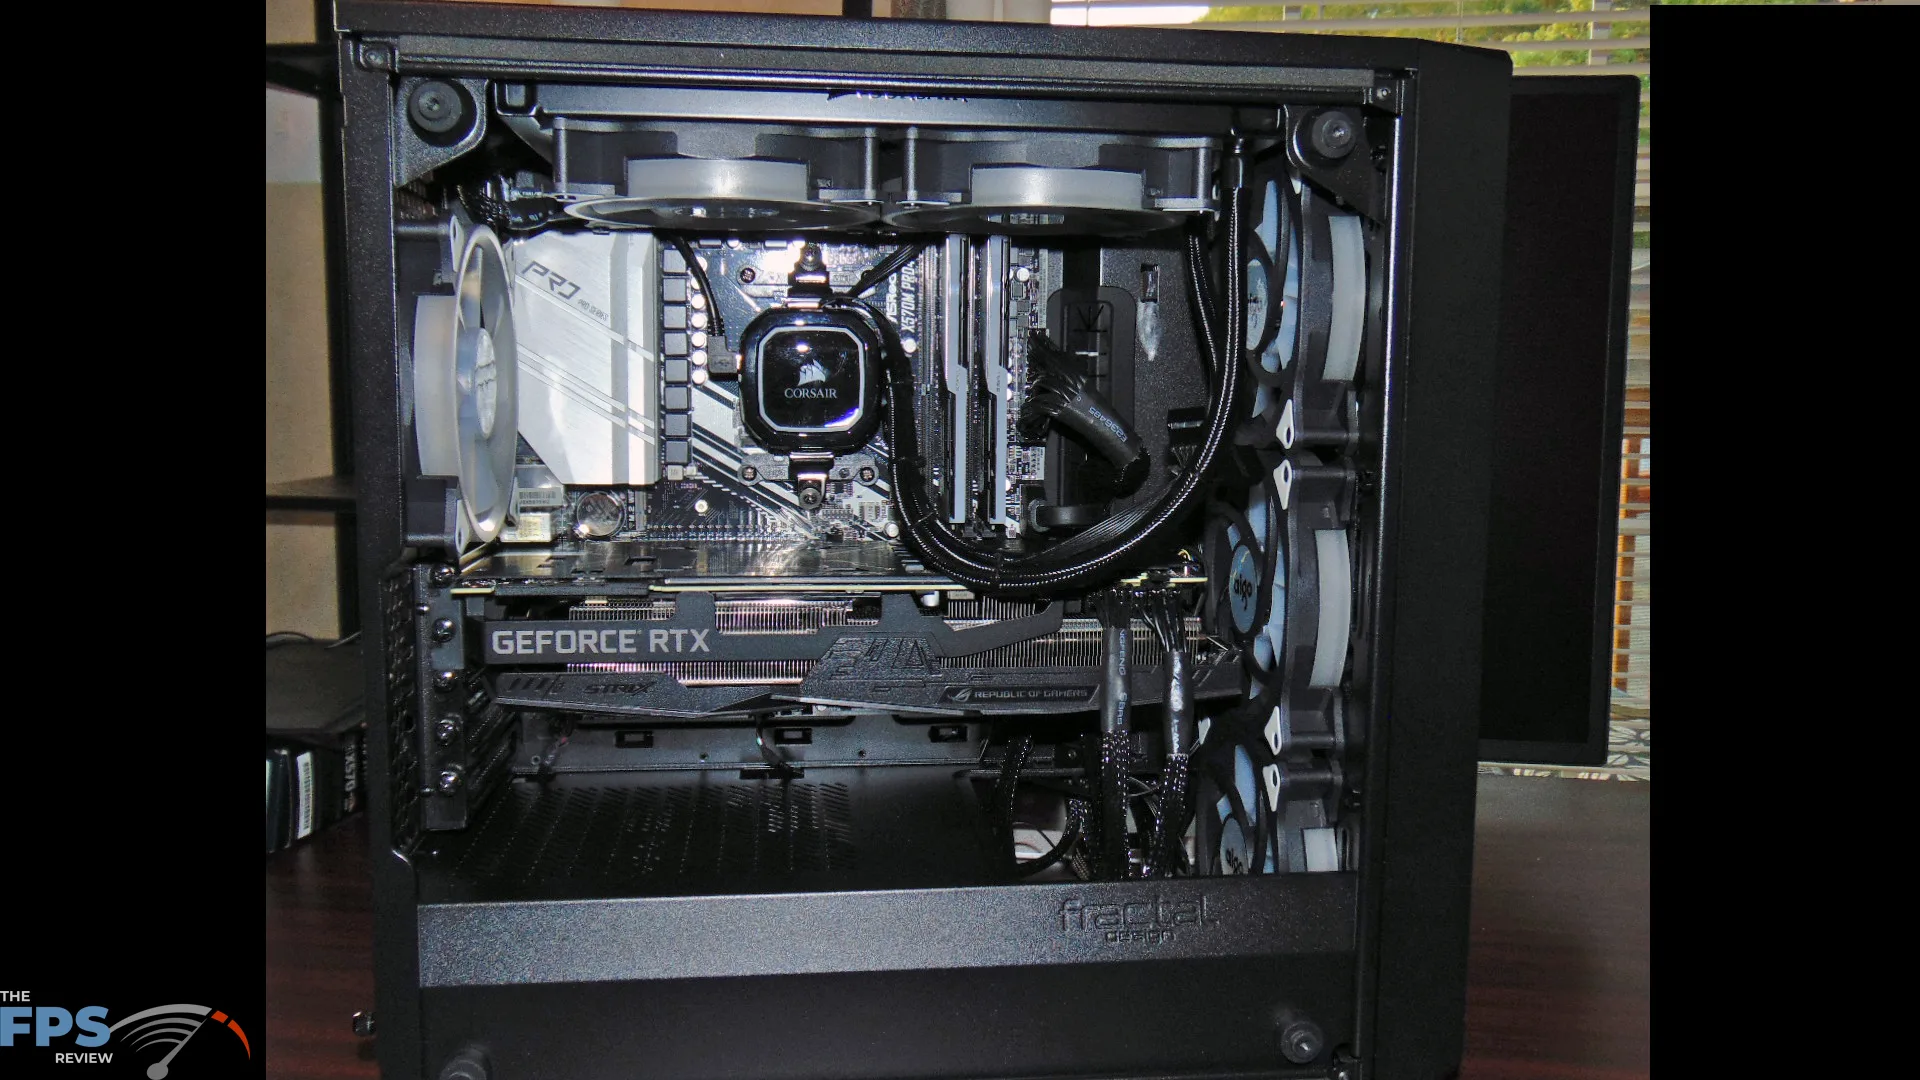
Next is the CPU cooler. I went with an easy option and one that is common and well known and popular. I put the Corsair H100i RGB PRO XT AIO cooler on here. It came with the appropriate AMD AM4 mounting hardware so no extra mounting was necessary. This is a 240mm AIO and it fits perfectly in the Meshify C Mini. The radiator attaches to the top of the case with room to spare. This is plenty of cooling for the Ryzen 7 3700X and keeps things quiet and cool. I did replace the fans on the radiator though with the AIGO LED purple ring fans I am using for this whole build so they light up purple. I purchased this for $120.
Storage
[Link to Website – 970 EVO HERE and 860 EVO HERE and Mushkin 2TB SATA HERE] [Link to Review – 970 EVO HERE] [Link to Buy – 970 EVO HERE and 860 EVO HERE]
On storage, I did not end up having to buy any SSDs. I scavenged from what I had here at home, these are used, but I had them free to use for this build. These are not exactly what I’d prefer to use, but will still work great anyway, to be honest. Large TB sized SSDs can be expensive, and using what I already had saved me a lot of cost off this build.
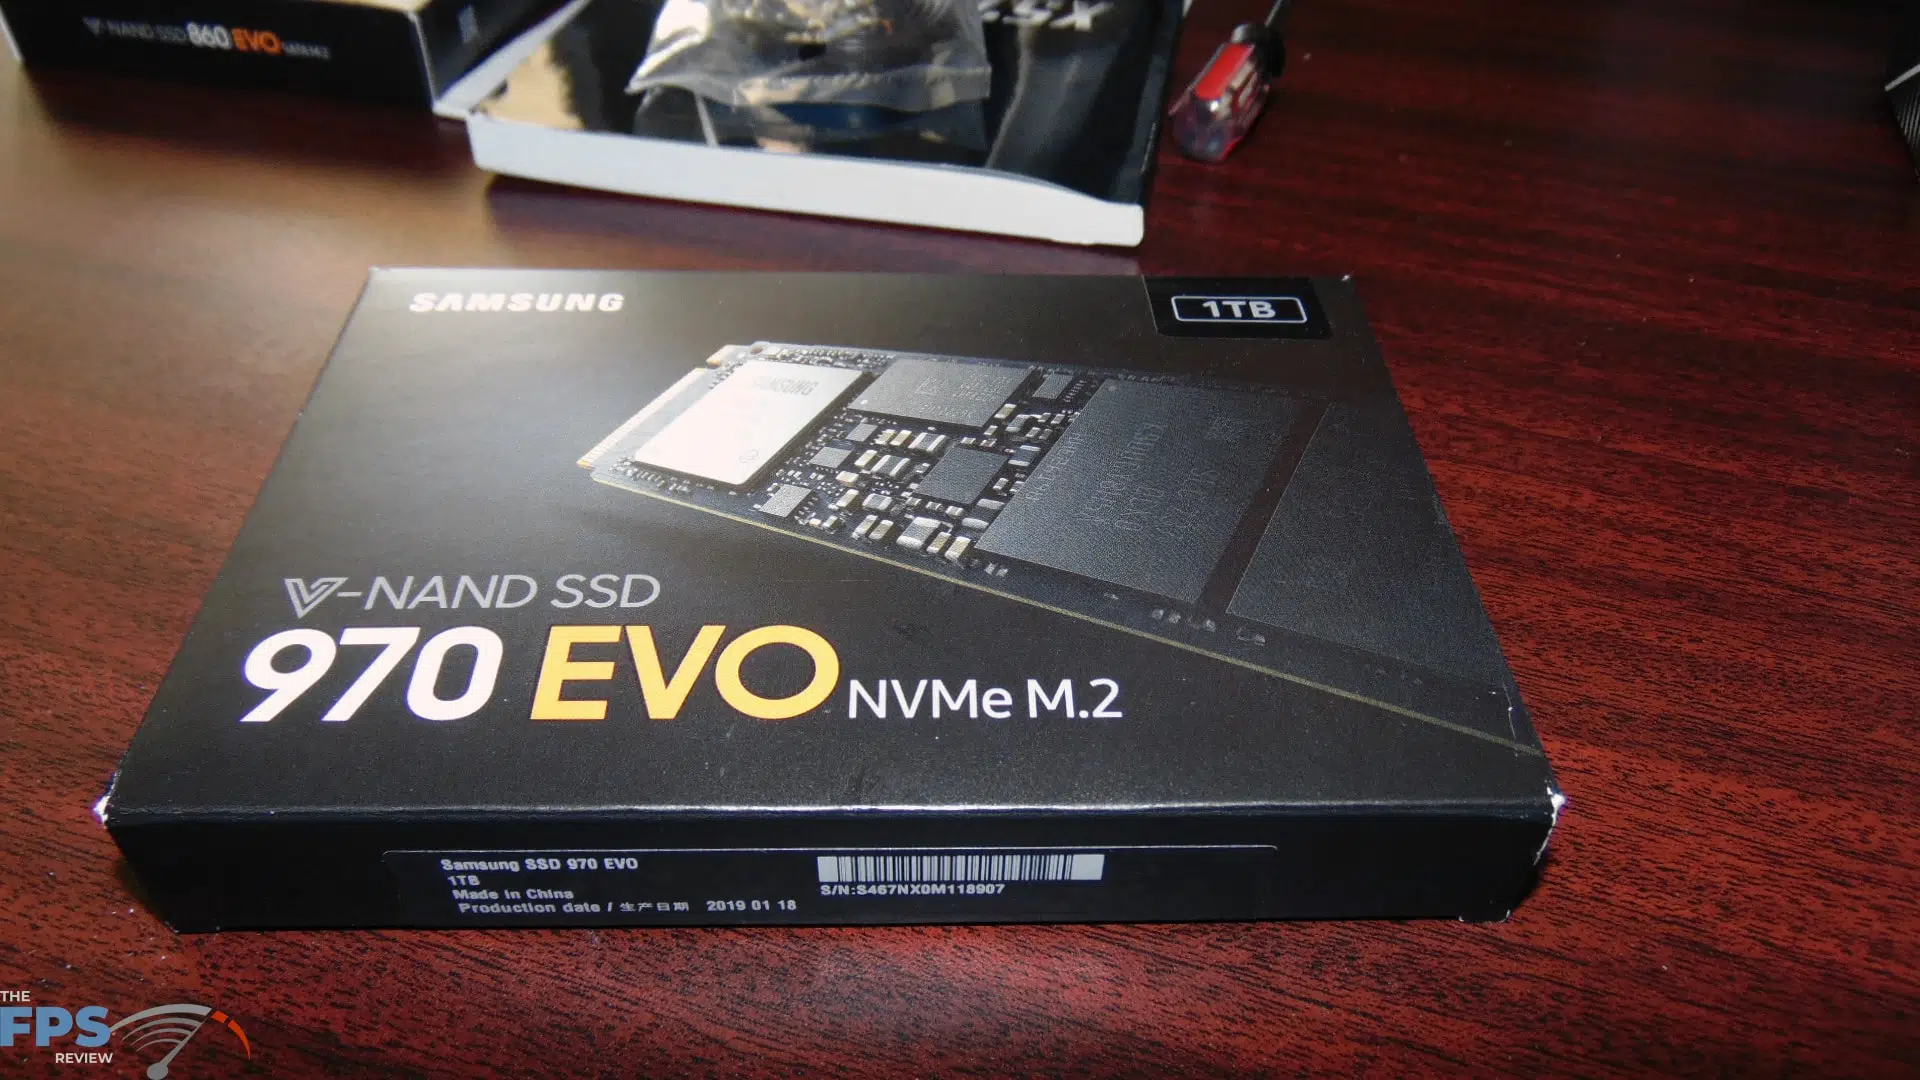
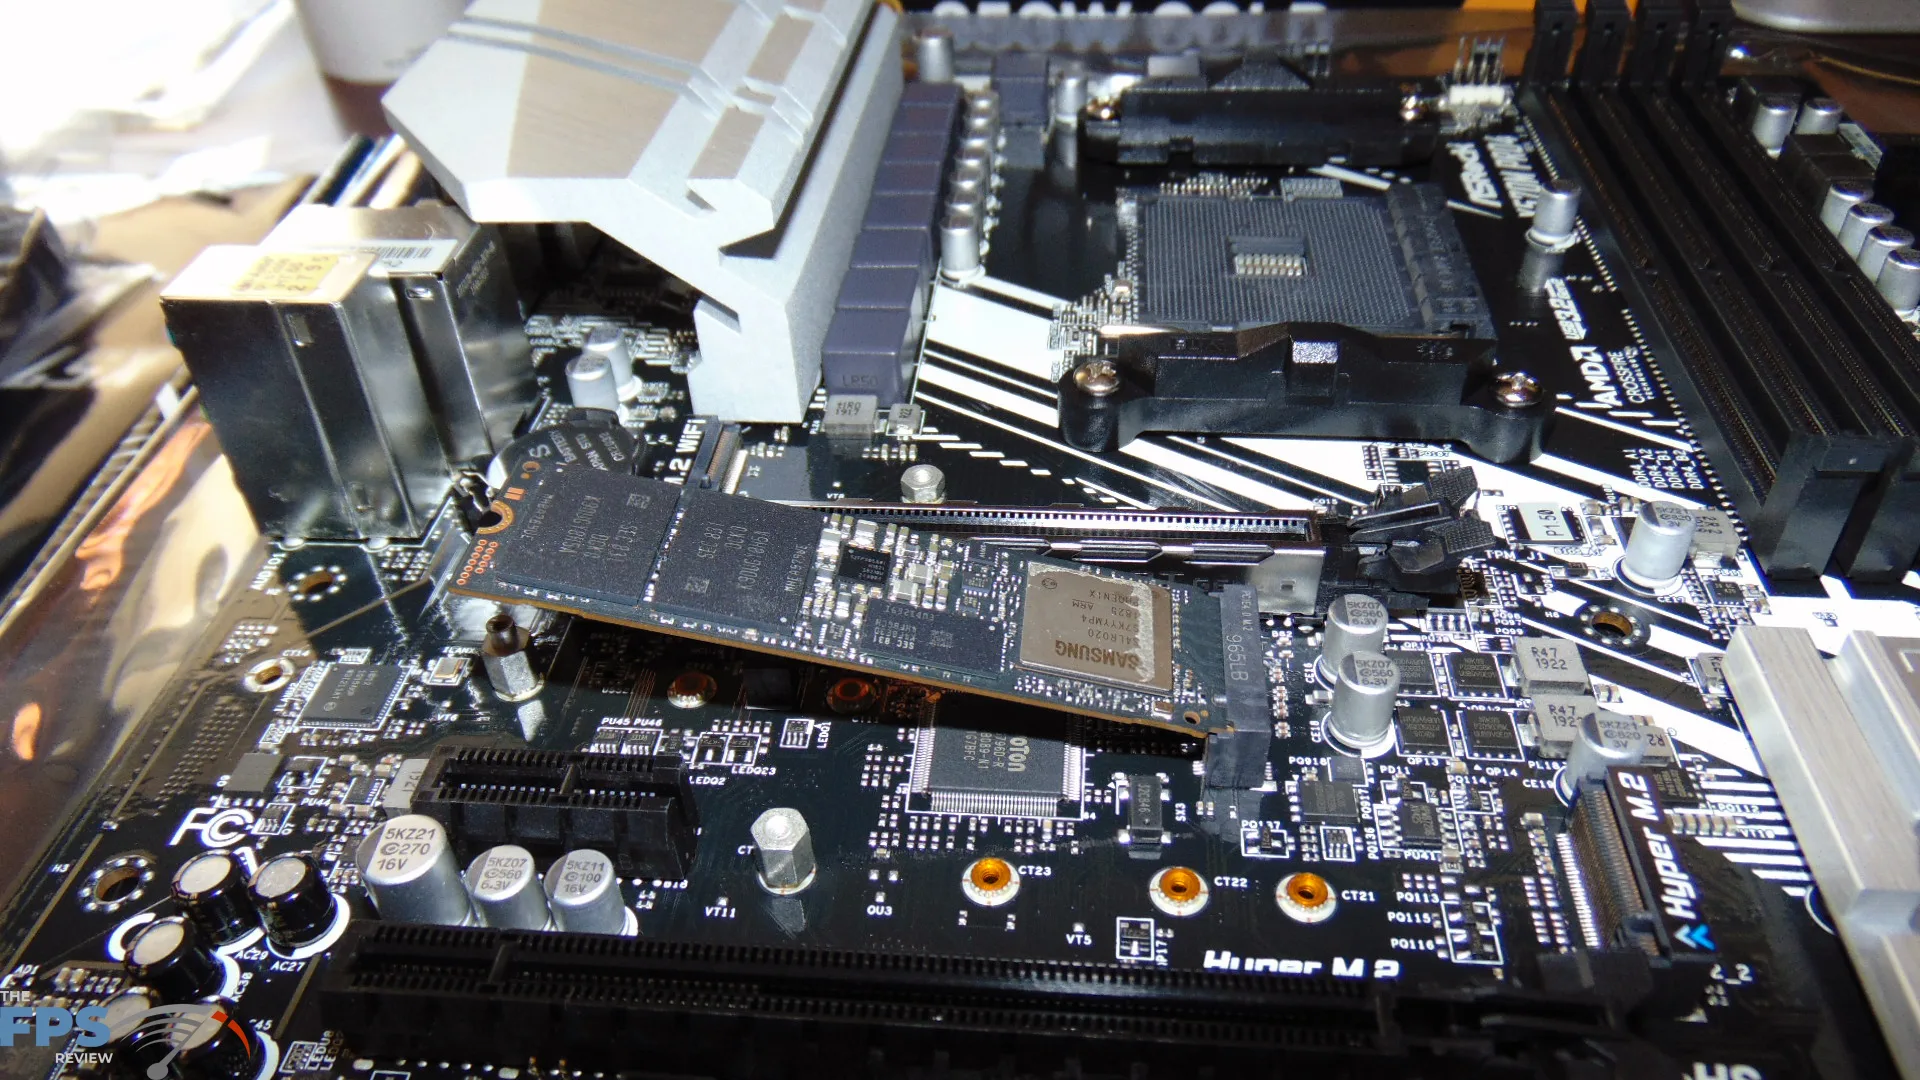
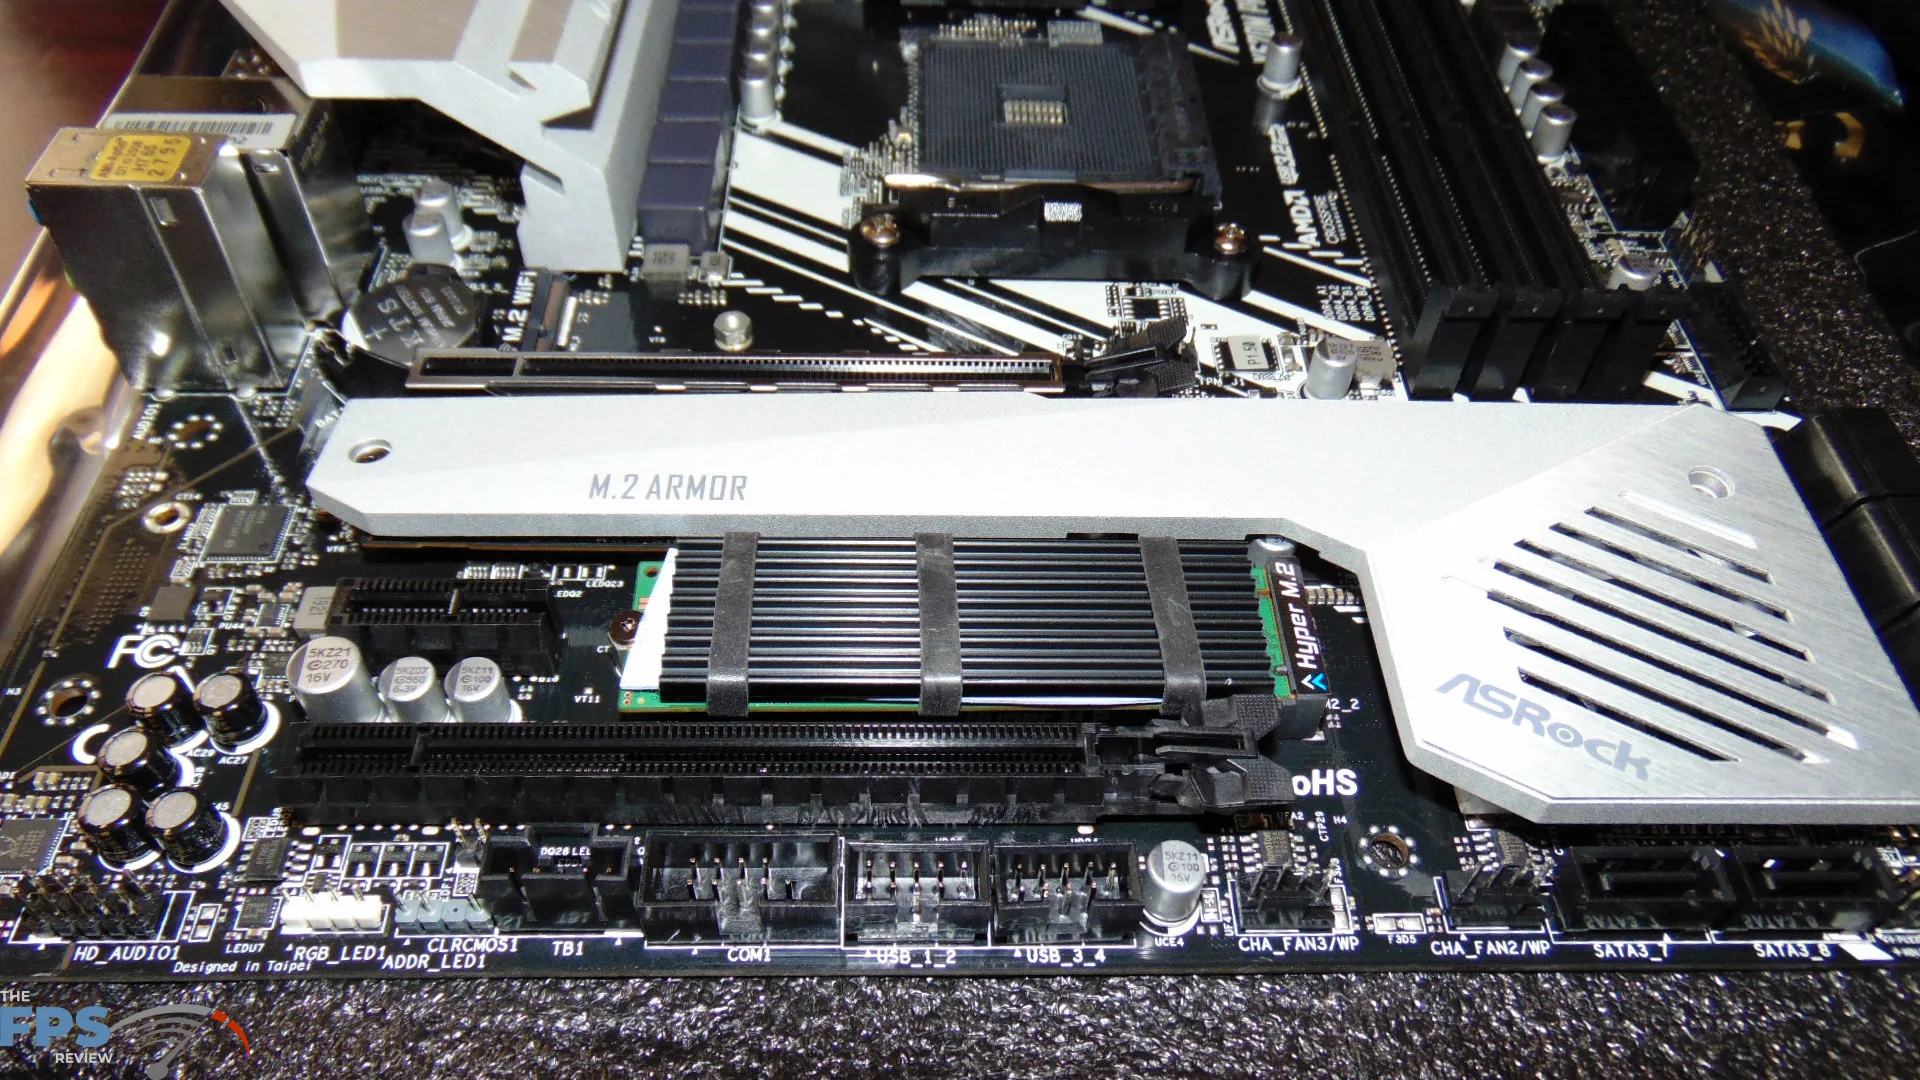
For the primary drive which will have all my games installed, I am using a Samsung 970 EVO NVMe M.2 1TB SSD. I did want an NVMe drive as the primary drive where all the games are installed. This will ensure fast game boot times, and reduce any disk loading during gaming, and improve level loads and so forth and game asset loads as I move through the game. I would have preferred 2TB to store more games, but 1TB is all I had so that will work. This is a very fast SSD, so I’m not worried about the speed, it’s plenty for a gaming build. Though, in the future, I could upgrade to PCIe 4.0 NVMe if I wanted thanks to this motherboard.
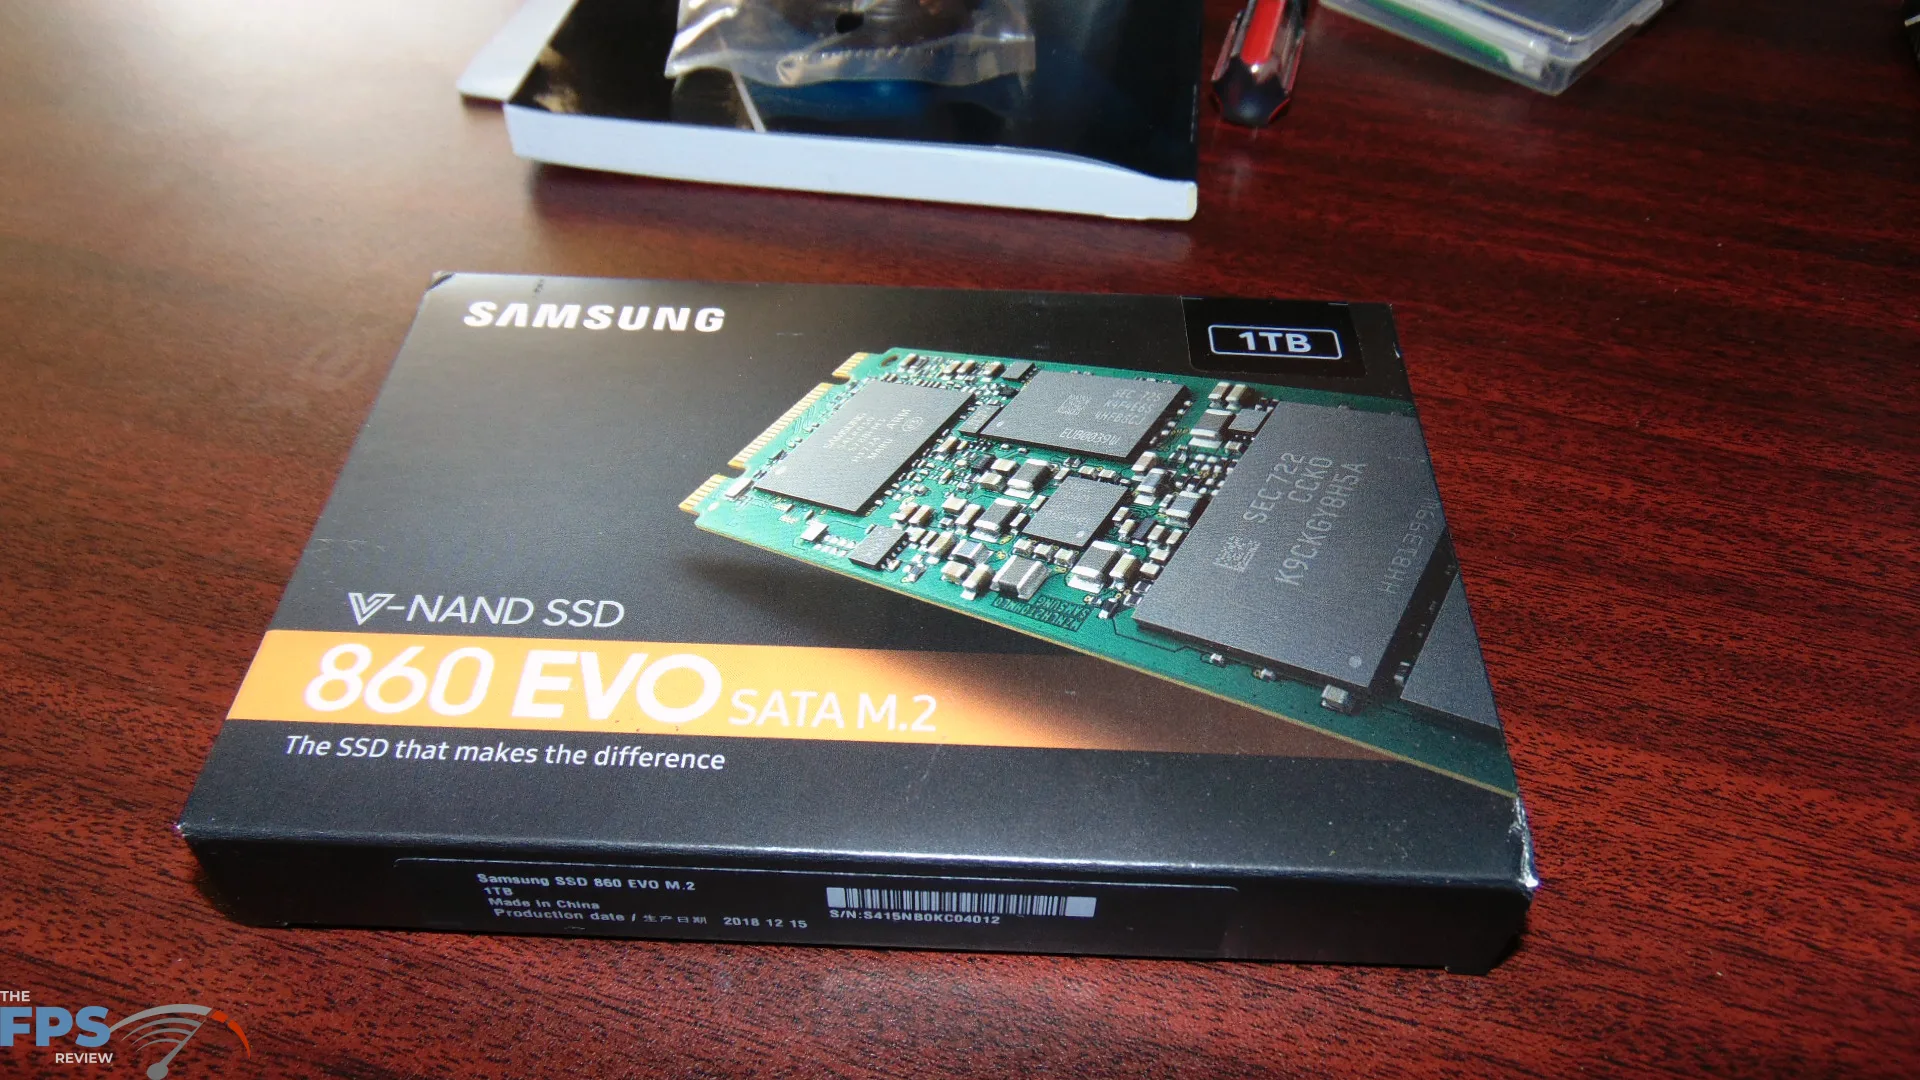
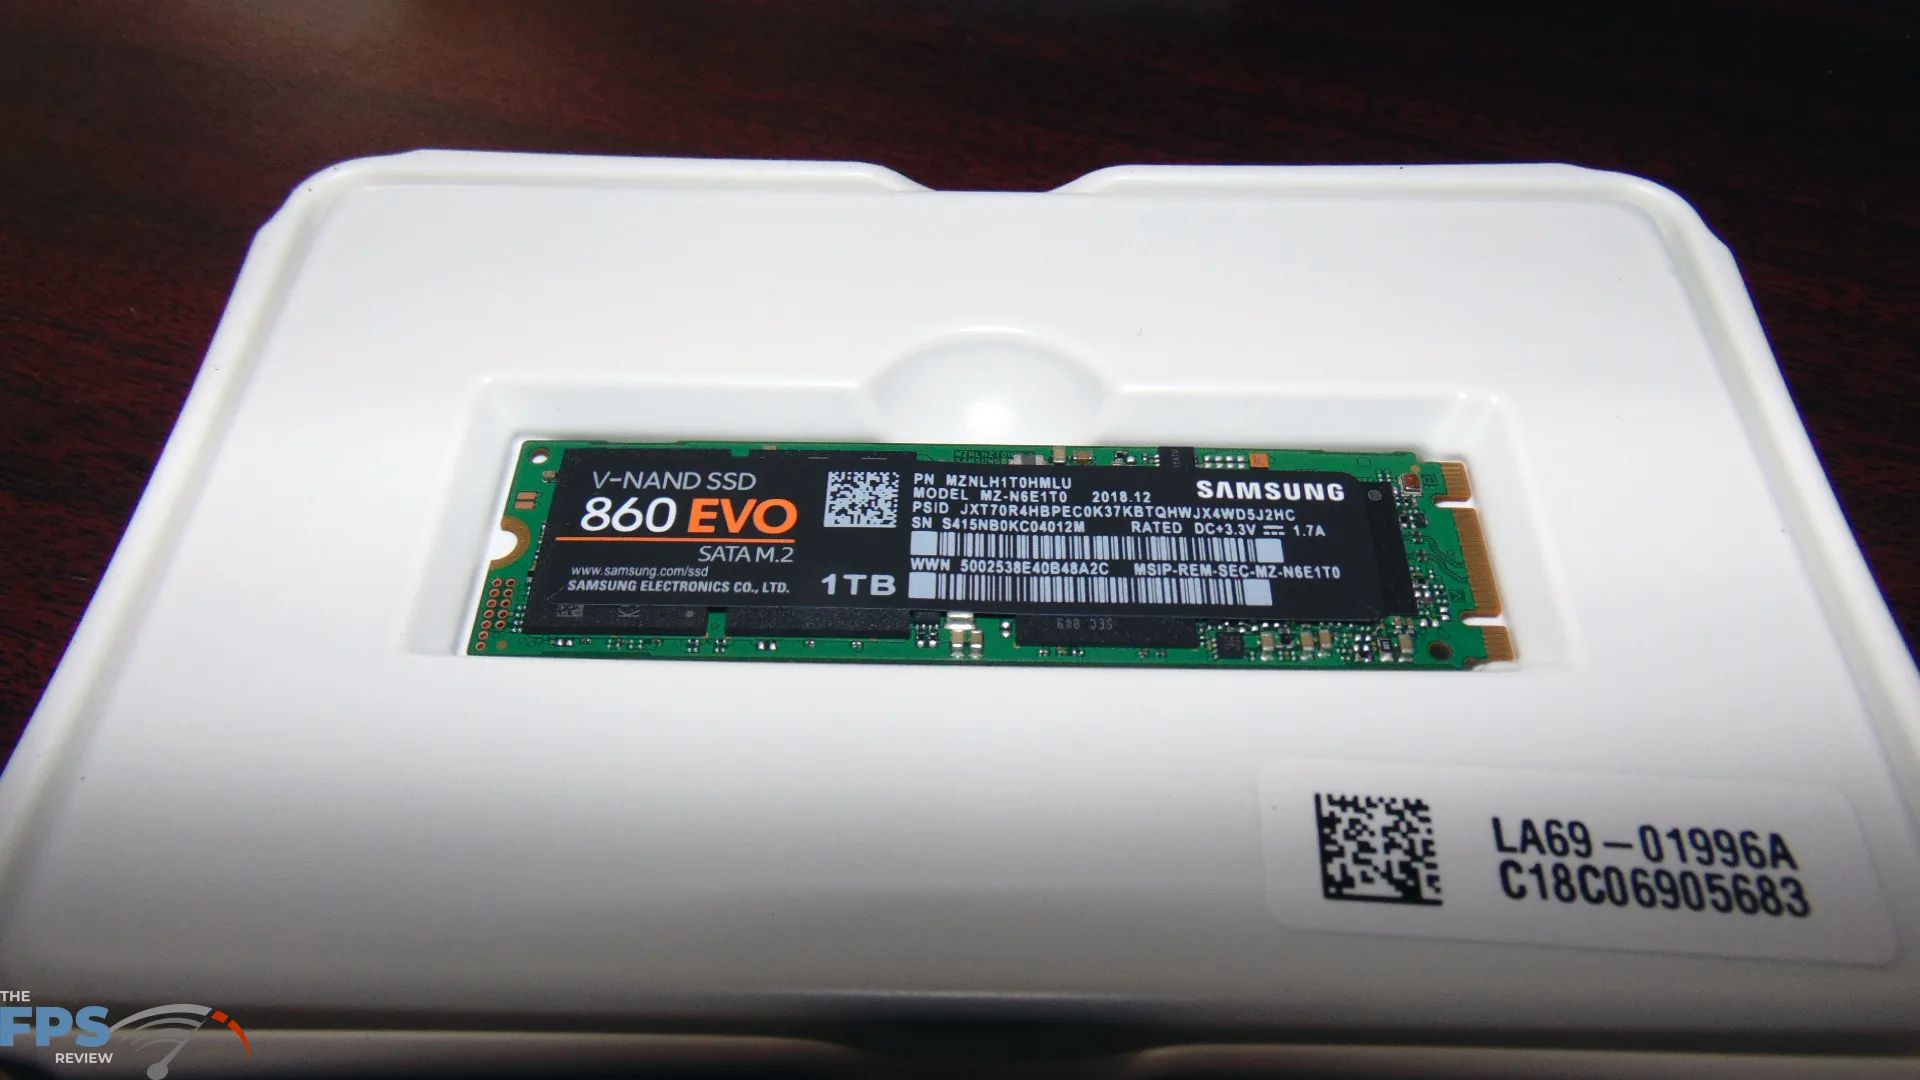
For the secondary M.2 slot I am using a Samsung 860 EVO SATA M.2 1TB SSD. This is another SSD I had that I had here already. This will be the drive that I record my games to. It being SATA SSD is fast enough for this and will ensure the hard drive doesn’t slow down my gameplay. Ultimately, I would have preferred at least 2TB here as well.
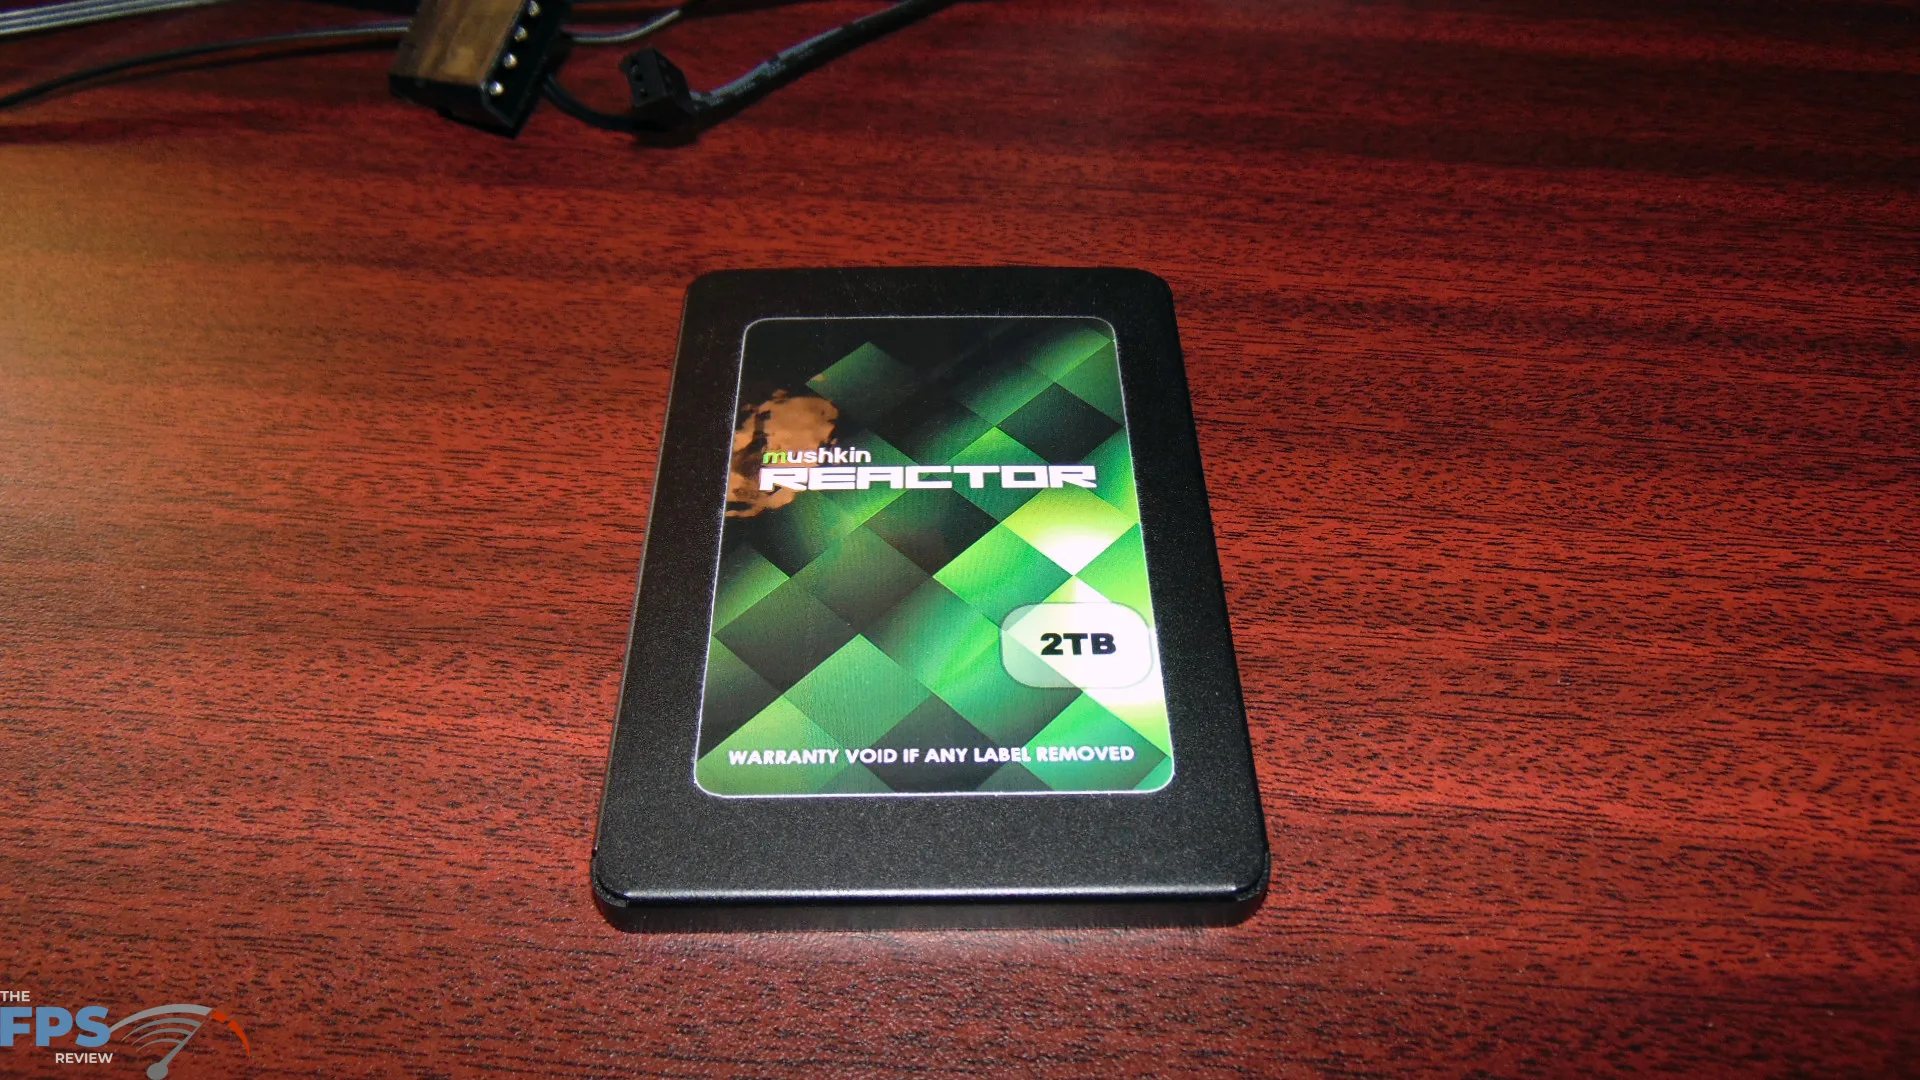
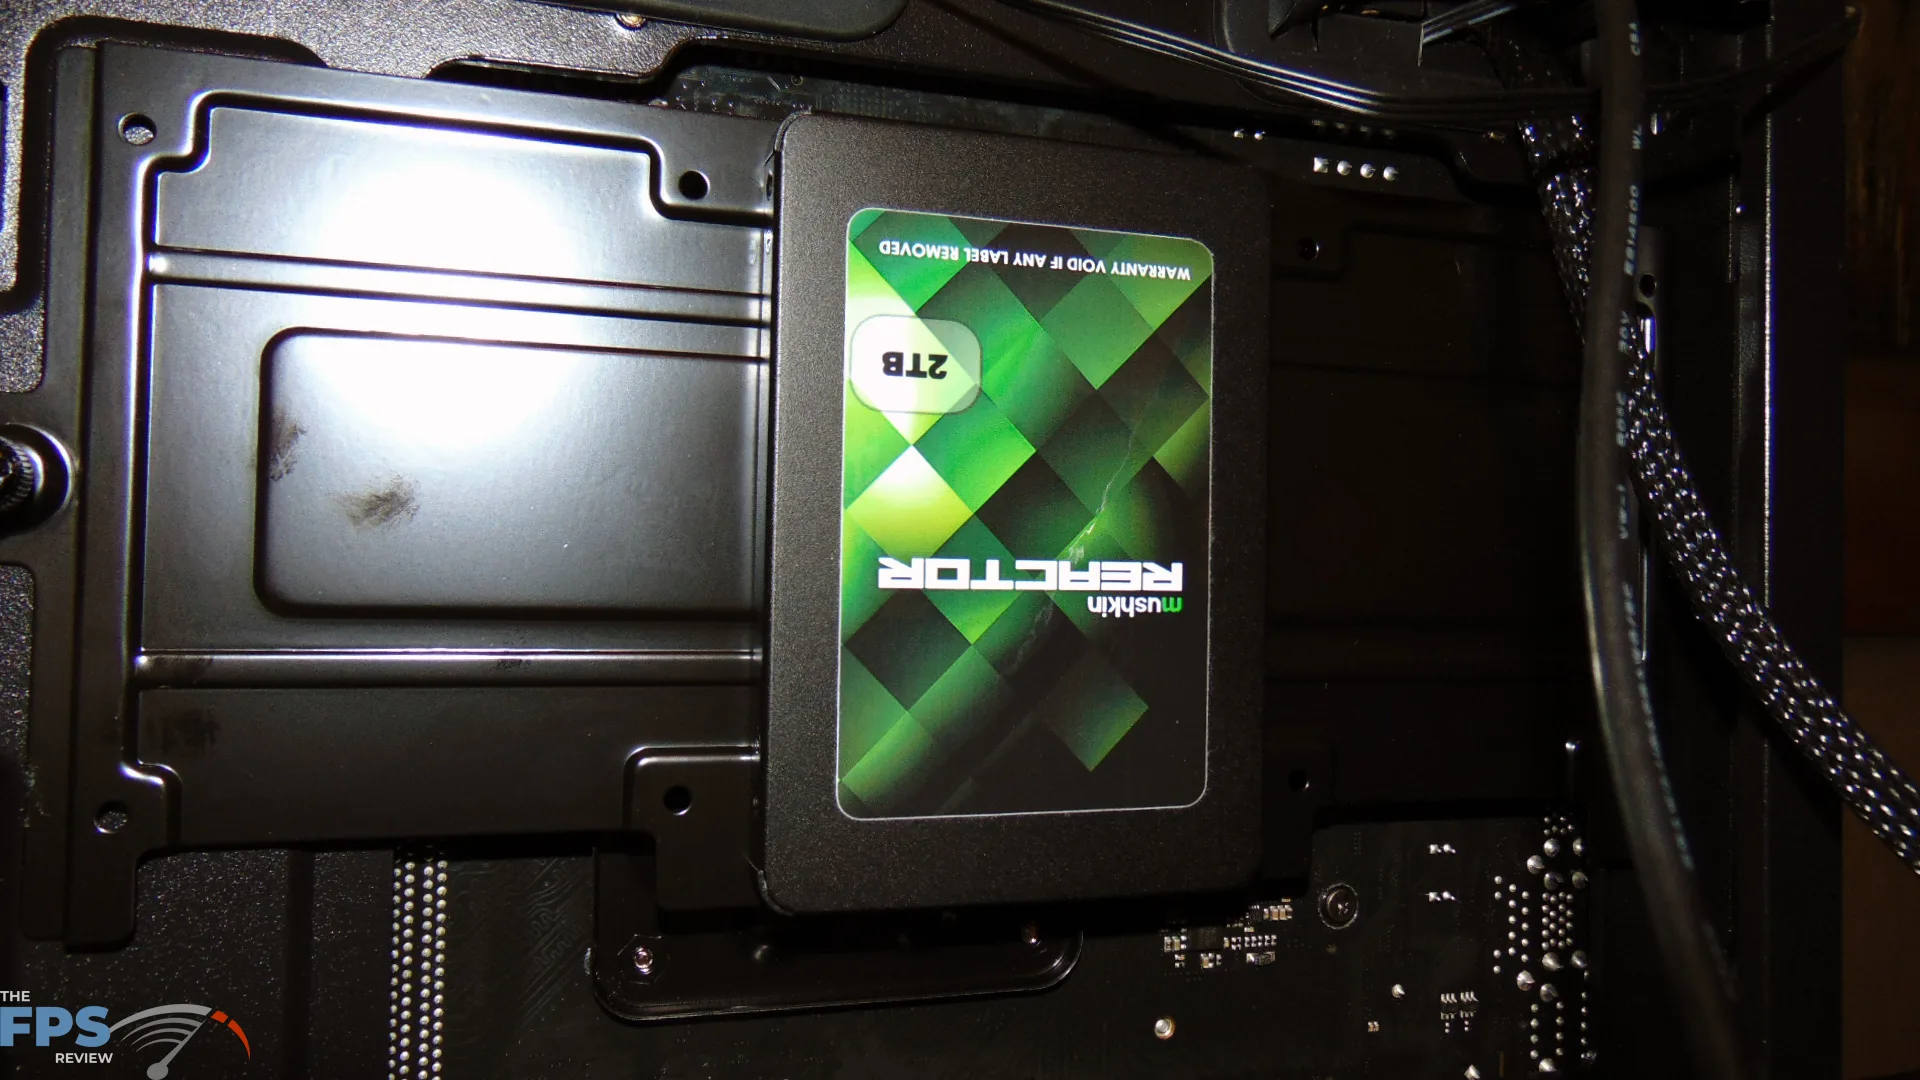
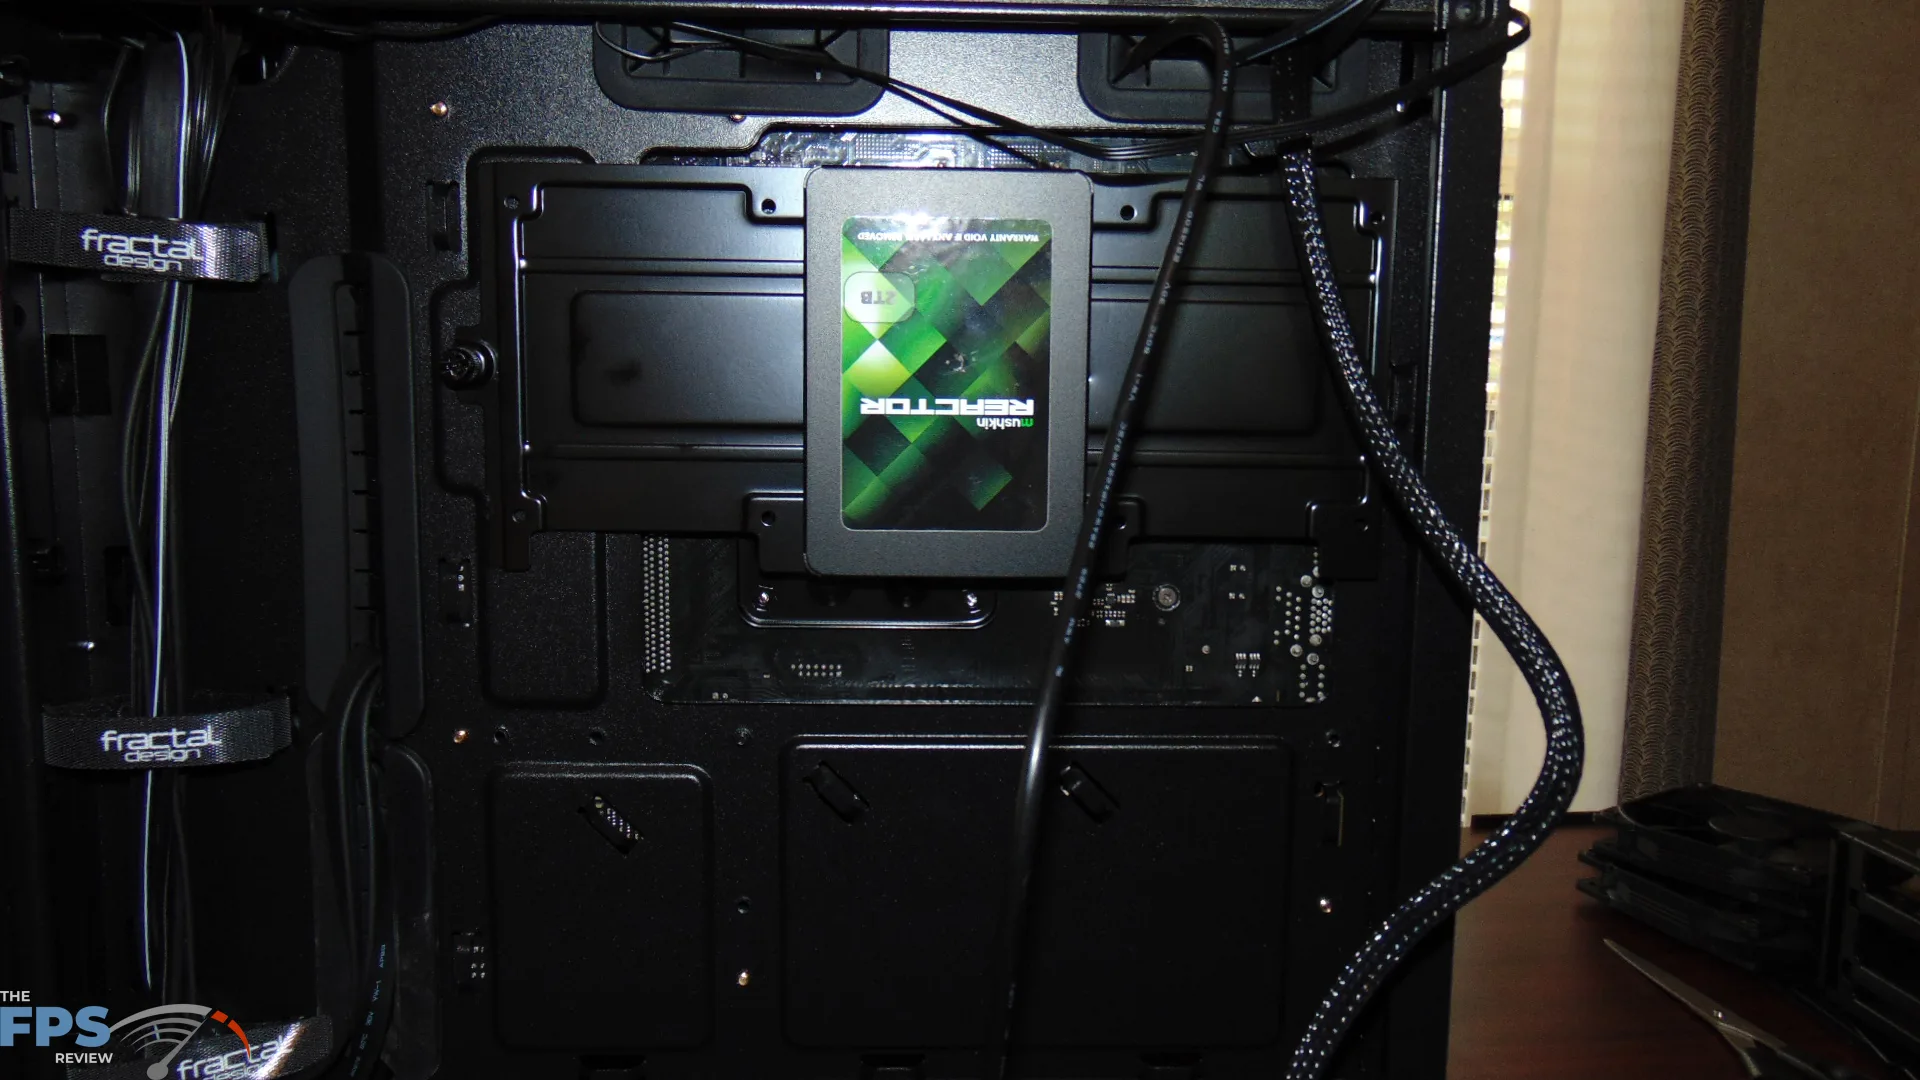
I also installed a third SSD, it is a Mushkin Reactor MKNSSDRE2TB SATA 2TB SSD. My intention was to use it to record the games to since it is larger in size. However, I am not 100% sure of its reliability over time, it has been used a lot and could lose performance or reliability. This is a very old SSD I’ve had here a while. That’s where the 1GB 860 EVO comes into play, it is newer, and will be a backup incase the Mushkin fails. This storage setup will work fine. My major goal of having NVMe on the game install drive is satisfied so that will run smoothly, and SATA SSD is plenty fast enough to record video onto without slowing things down.
I was able to install this SSD directly on the back of the case, there is a mounting area for SSDs and that worked perfectly. I was able to put the back door on just perfectly.
Video Card
[Link to Website – HERE] [Link to Review – HERE] [Link to Buy – HERE and HERE]
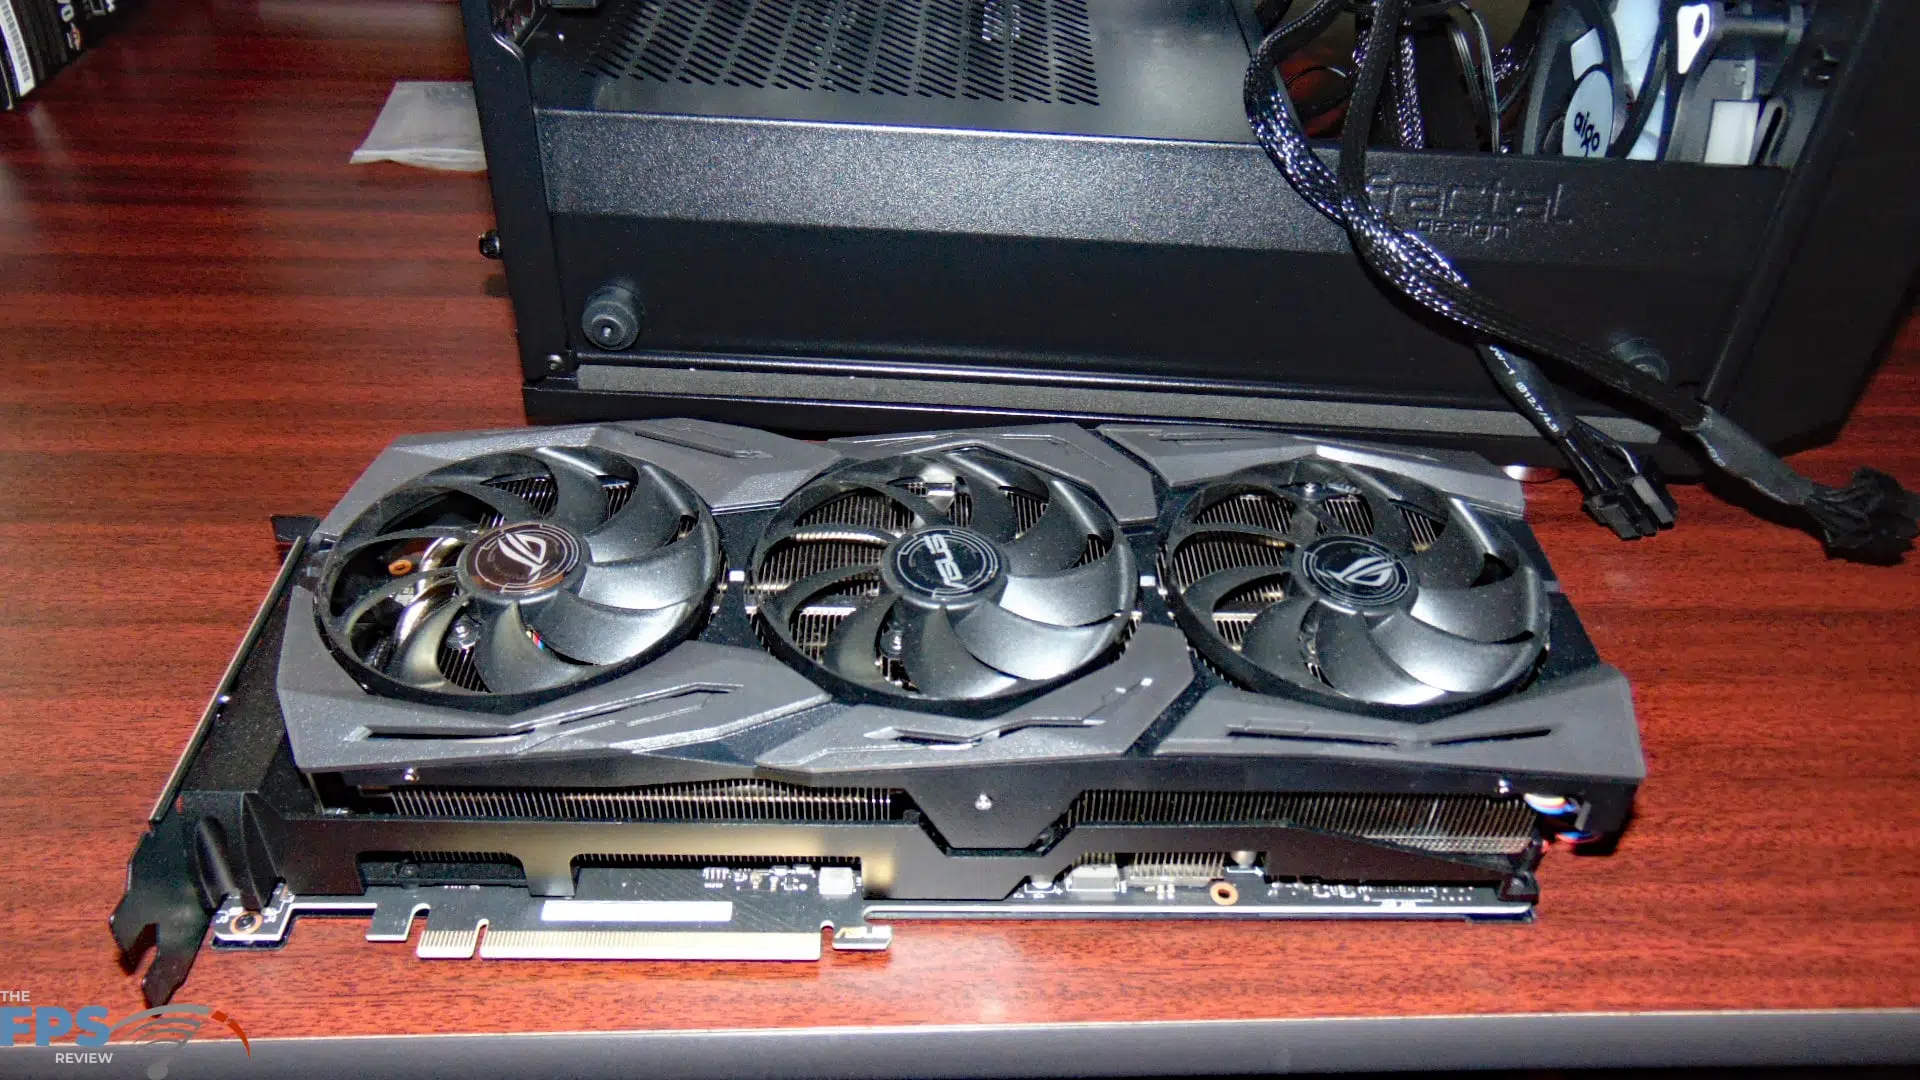
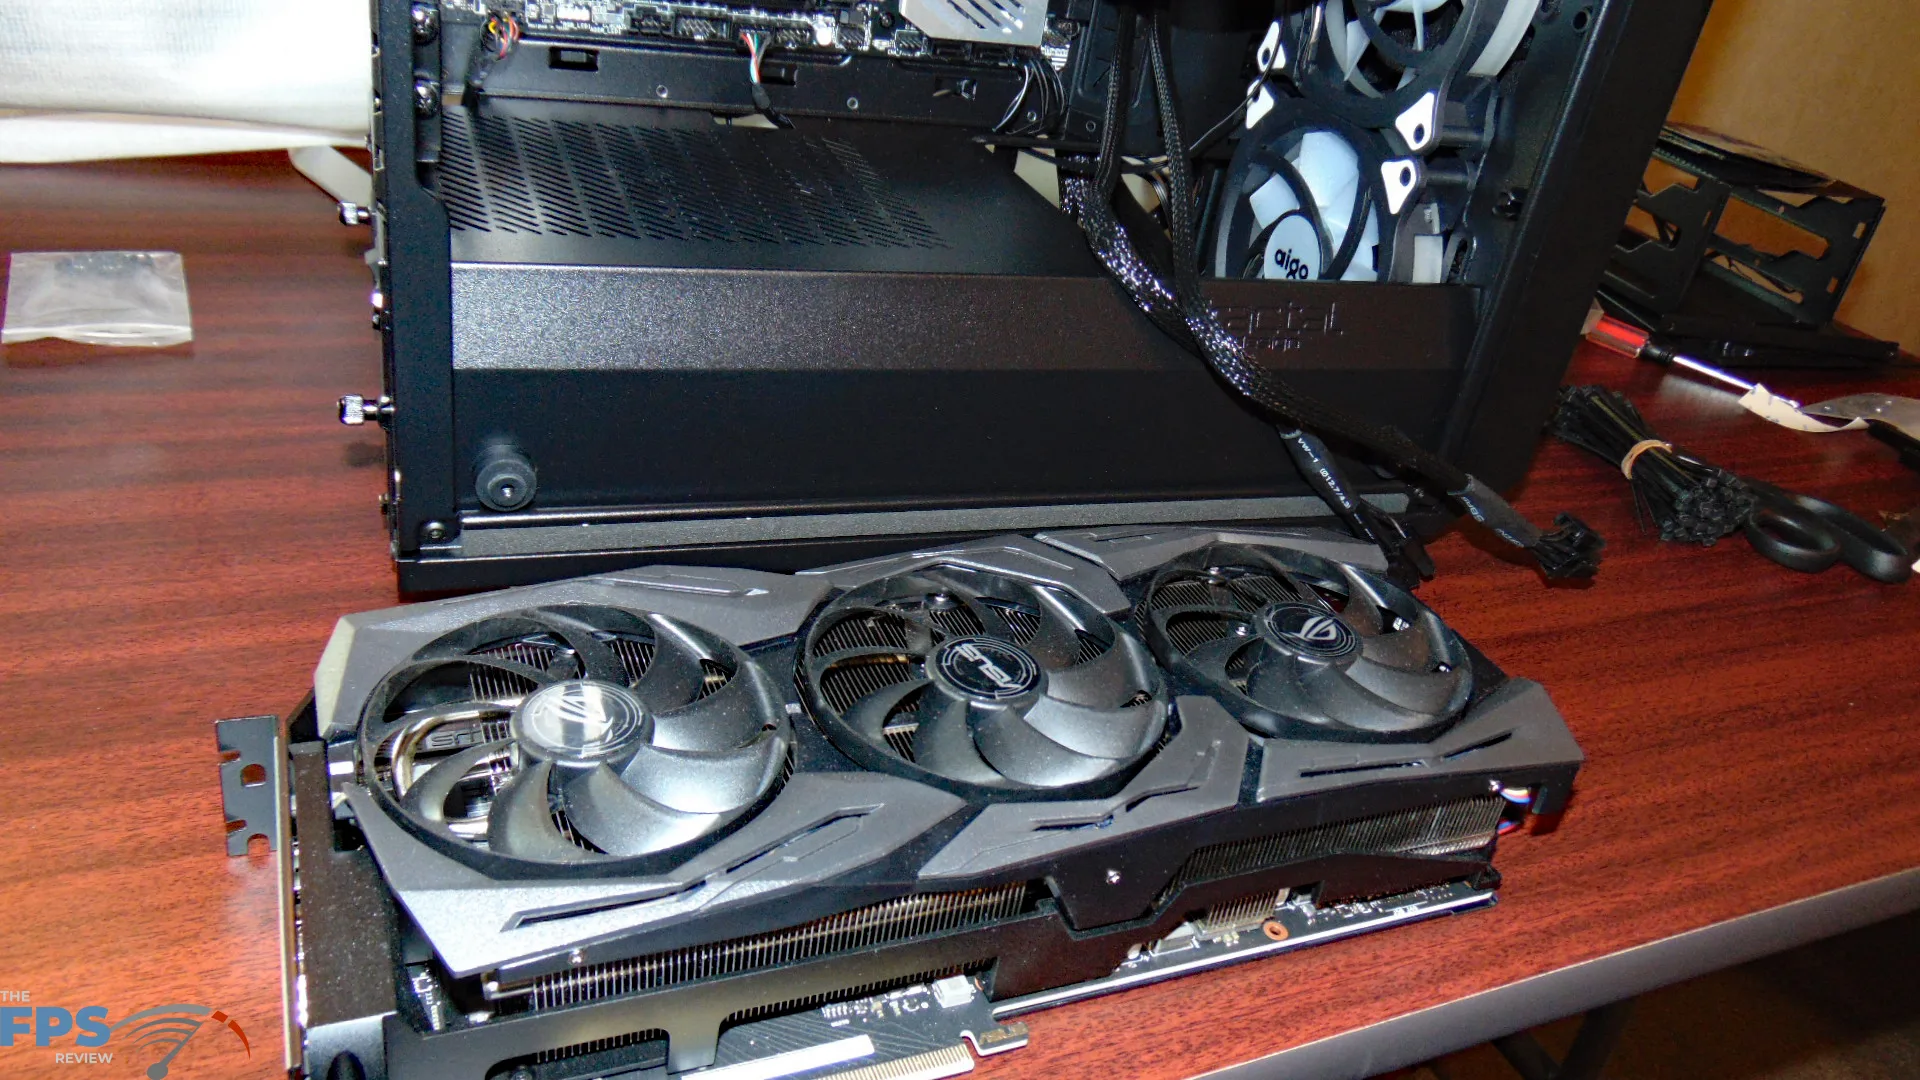
Now to the thing that makes games go, the video card. This is a gaming PC, flat out, so nothing less than the fastest video card would do. I am after 1440p 60FPS with maximum game graphics. Therefore, right now the GeForce RTX 2080 Ti is the best performing video card for games, period. It also supports NVENC for hardware-accelerated encoding while I’m gaming and capturing the game to reduce CPU utilization and speed that process up. The price on this is no joke of course and will add the most significant cost to your build here. Even at its cheapest, you are still looking at around $1300 for it.
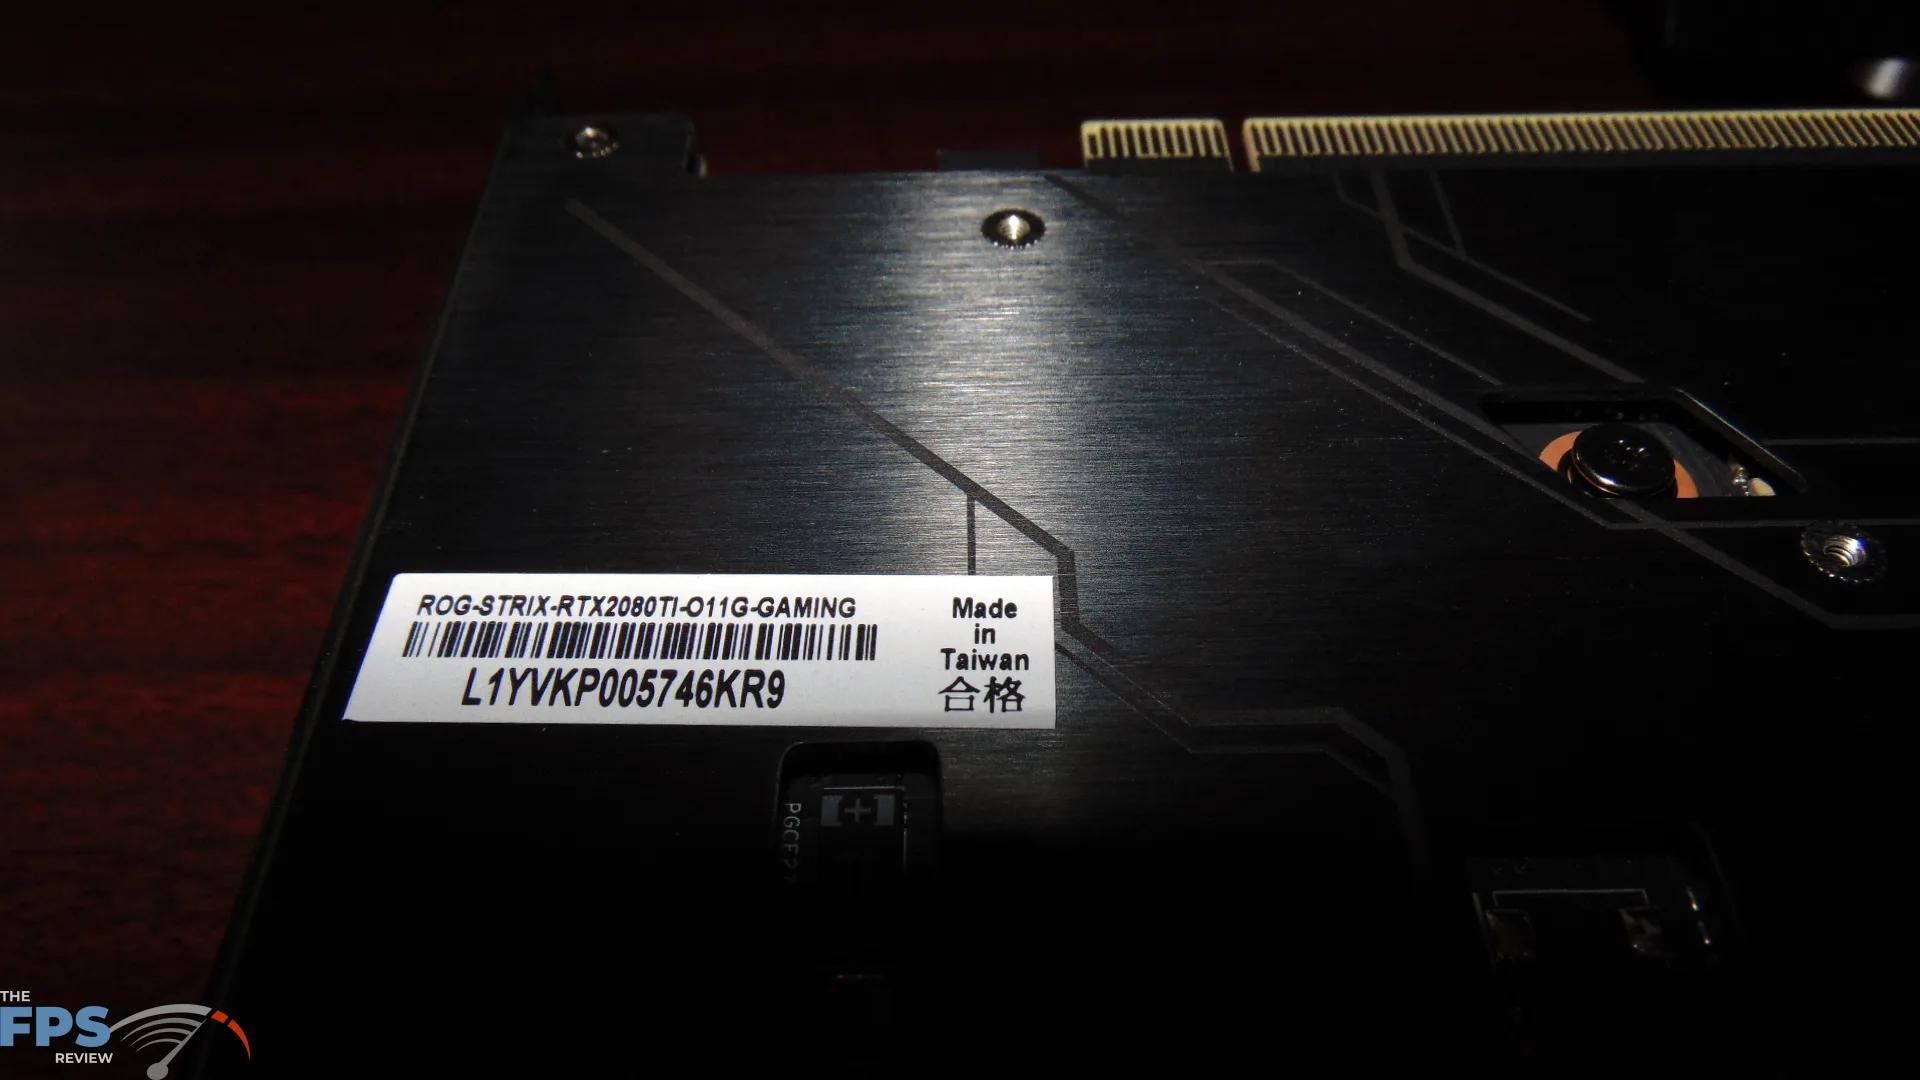
I went with a full-sized custom AIB retail factory overclocked video card, the ASUS ROG STRIX GeForce RTX 2080 Ti O11G GAMING. The ASUS ROG STRIX GeForce RTX 2080 Ti O11G GAMING has a factory overclock at the default gaming mode. The GPU Boost Clock in gaming mode (default) is 1650MHz. Therefore, the GPU Boost Clock is higher than the Founders Edition Boost Clock of 1635MHz and of course higher than the base model at 1545MHz.
As you can see, this video card does fit our case. With the front fans installed it almost touches them, but there is a little wiggle room between the end of the card and the fan. Without a fan installed you could put an even longer video card here. The fan will surely help keep the video card cool as it blows directly across the heatsink.