Build Process – Power Supply, Line Conditioner, Fan Hub
Power Supply
[Link to Website – HERE] [Link to Buy – HERE and HERE]
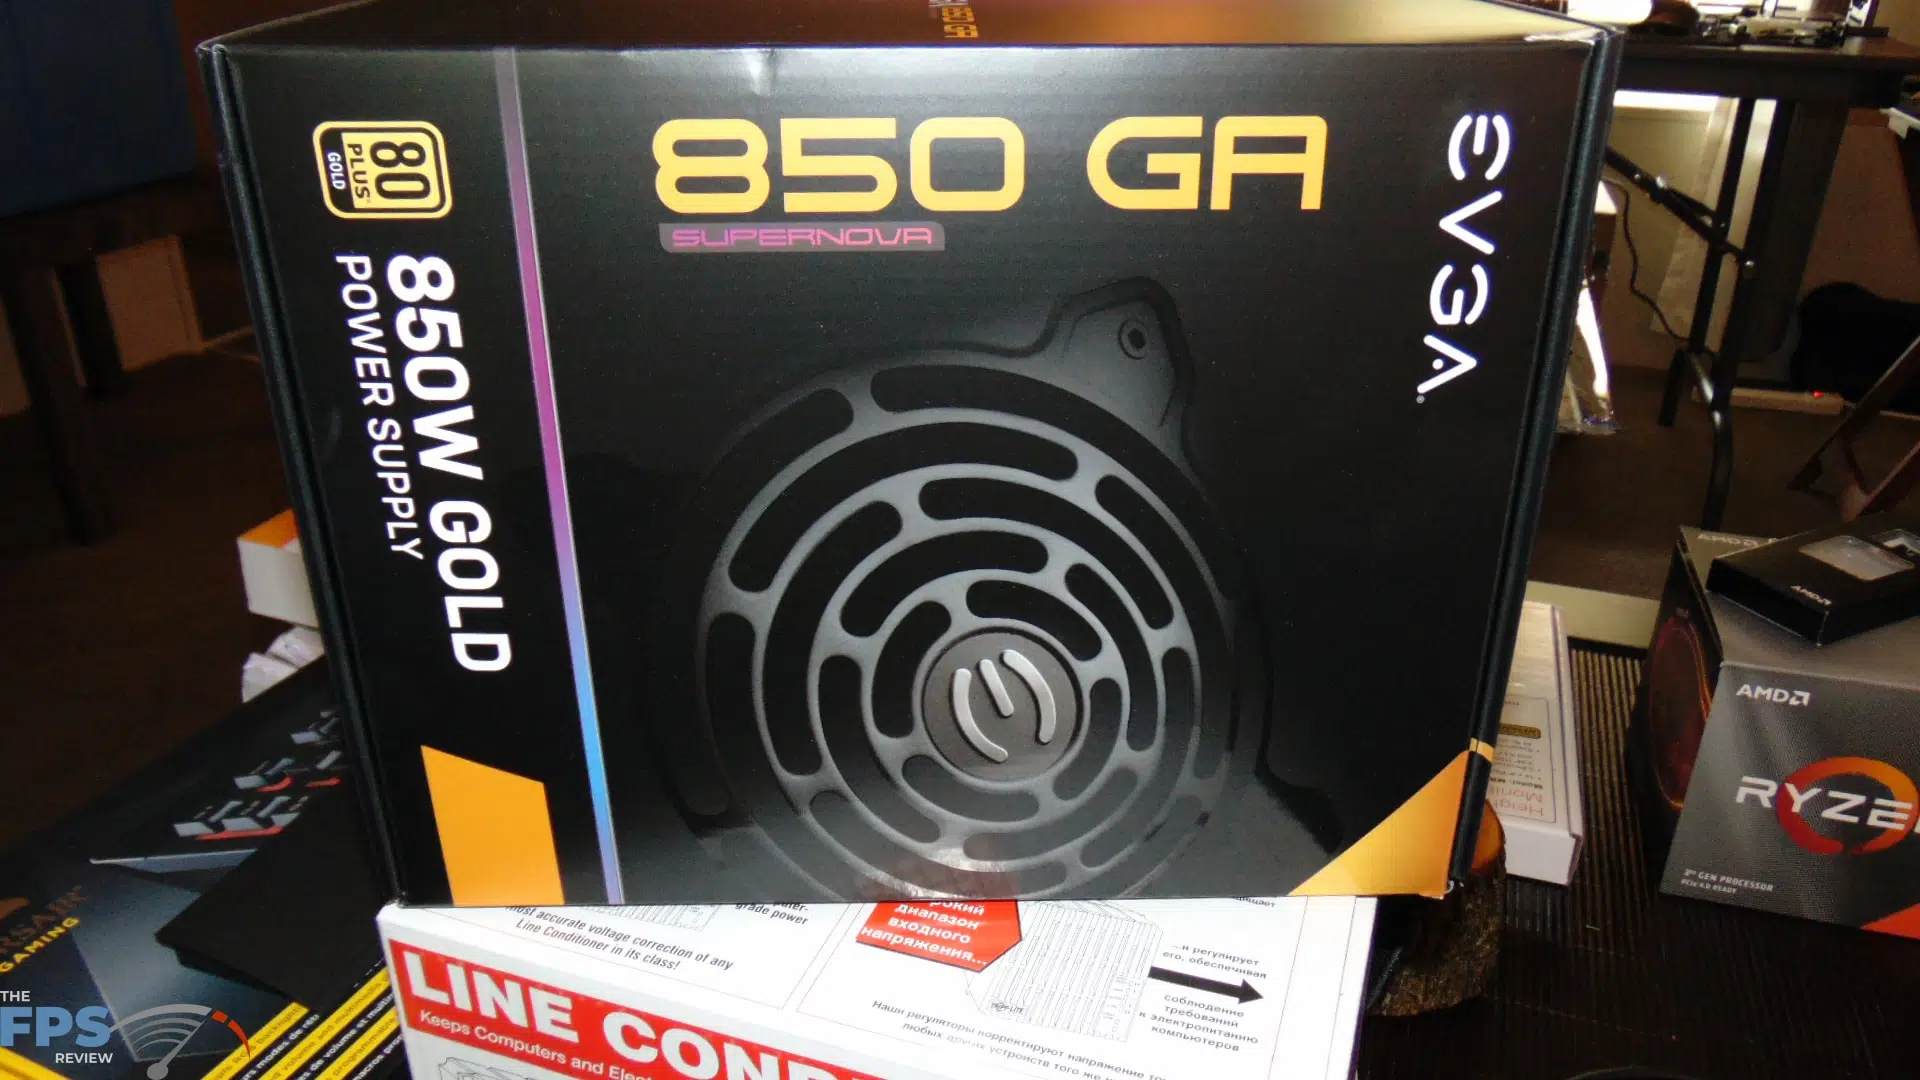
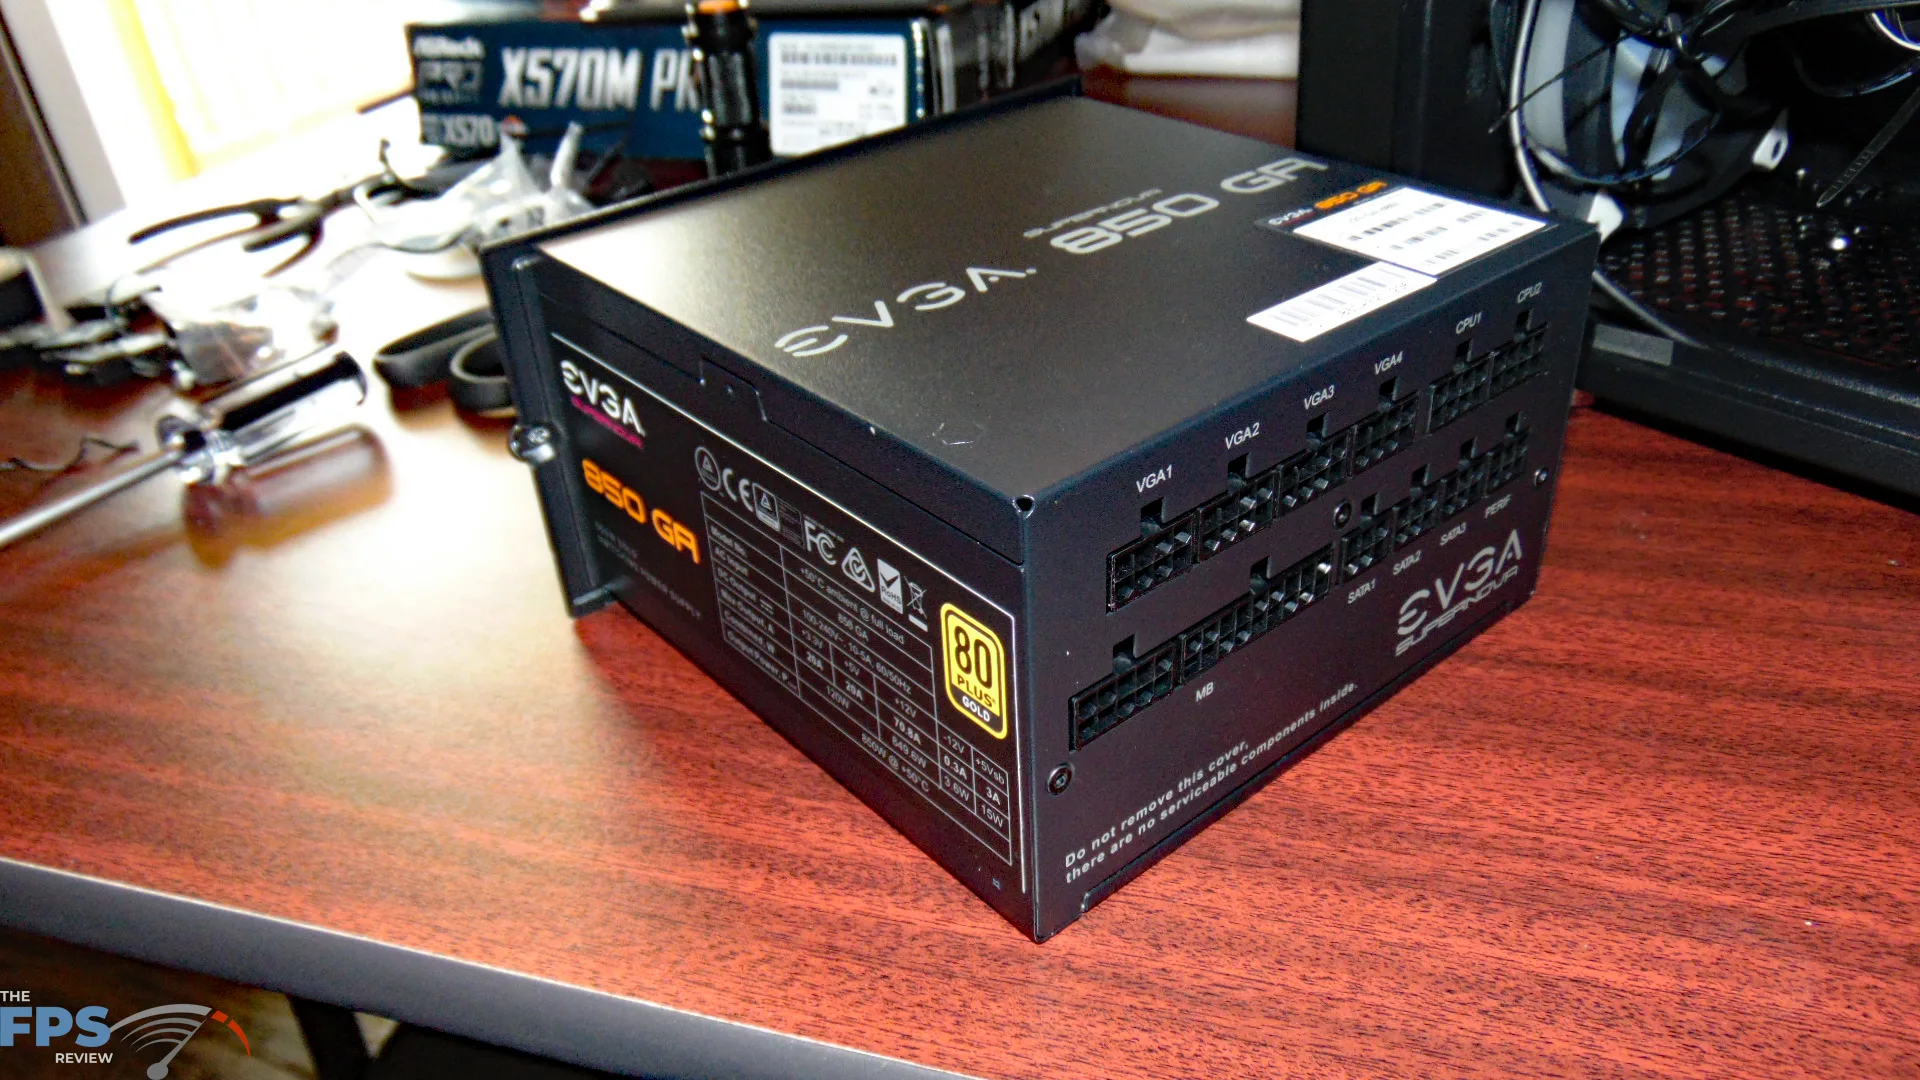
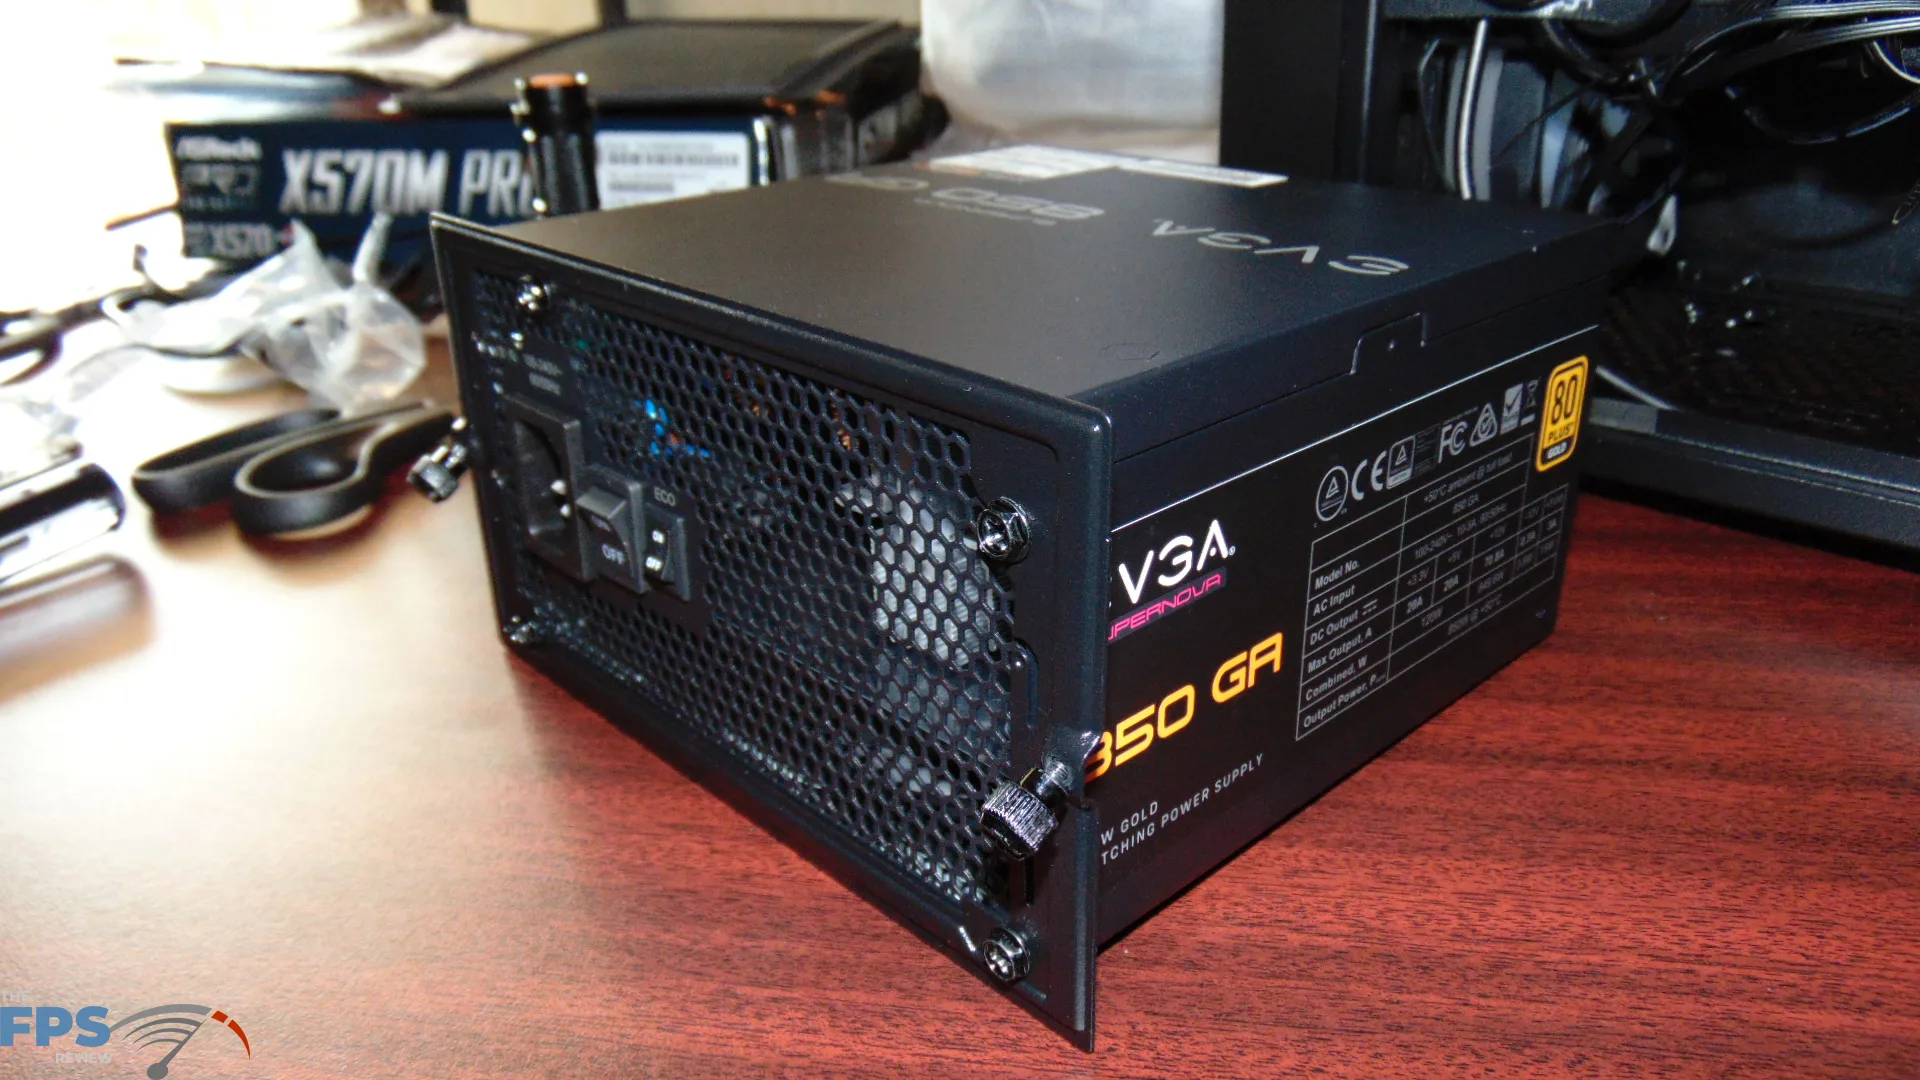
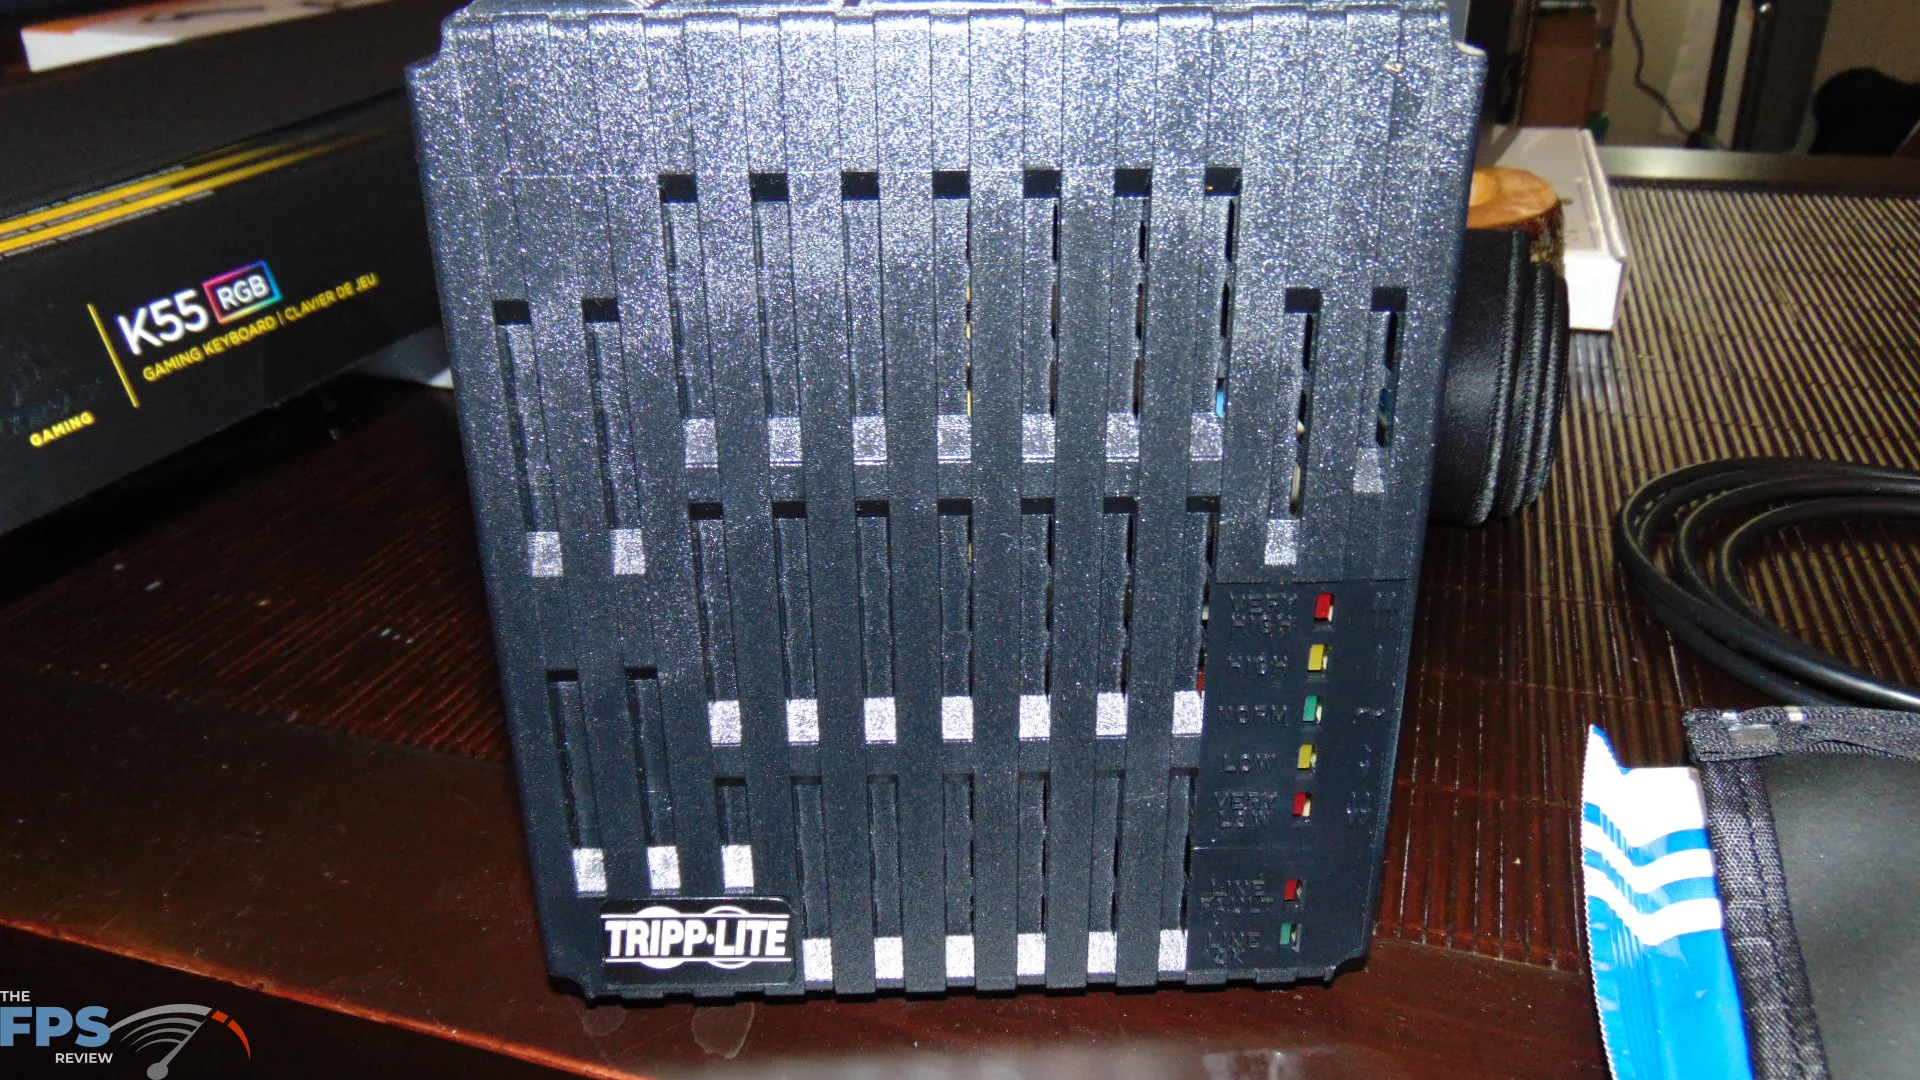
For the Power Supply, we are seeing a bit of scarcity lately on the availability of good PSUs. I wanted to get a Seasonic Titanium level PSU, but availability was very poor and prices were through the roof when I needed to get it. Therefore, I found a good price at the time on this EVGA SuperNOVA 850W GA 80 Plus Gold PSU.
This is a compact PSU, but honestly, the case can support large power supplies as well. This will do the job nicely, 850W is probably more than I need, but I always like to have leftovers for future upgrades. I was able to purchase this PSU at $149 when I bought it. The Gold rated nature means very good efficiency, and EVGA is a well-known brand with quality components. It has modular cables so I install just what I need to.
Line Conditioner
[Link to Website – HERE] [Link to Buy – HERE]
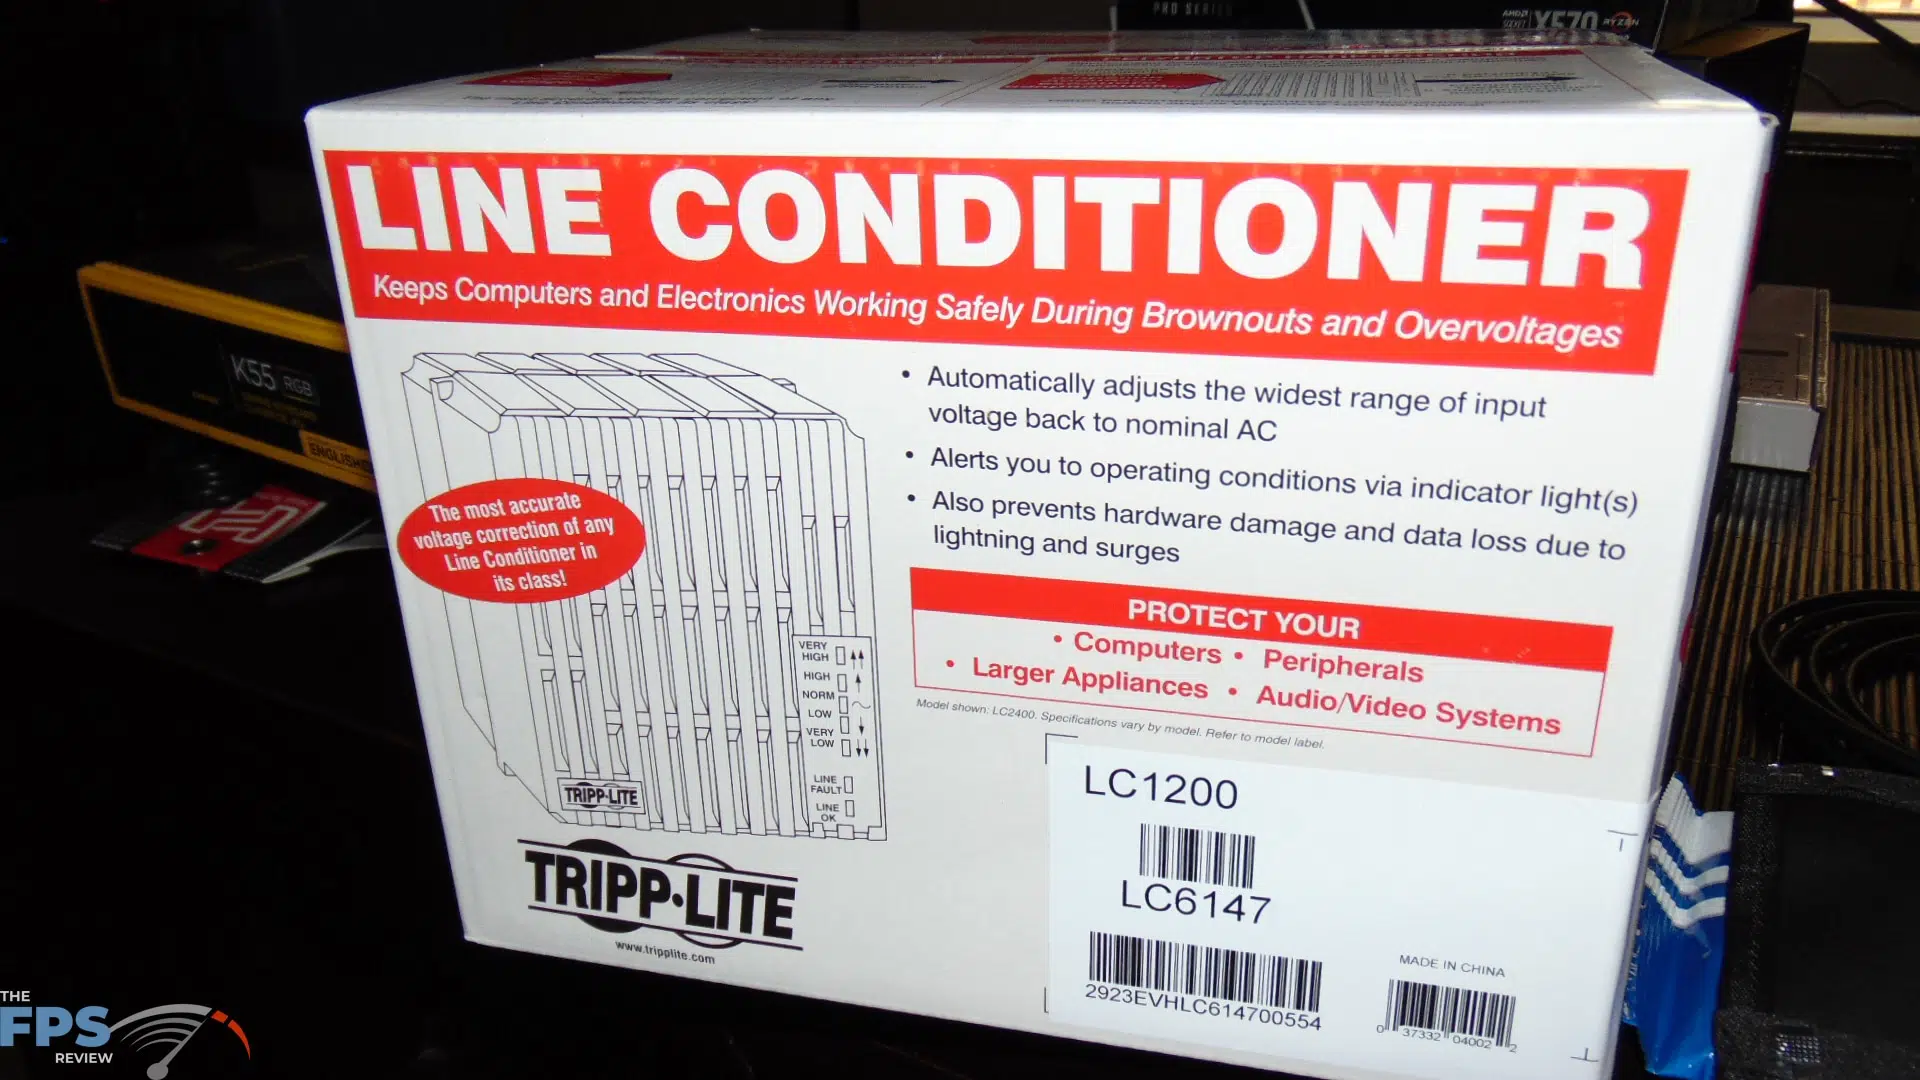
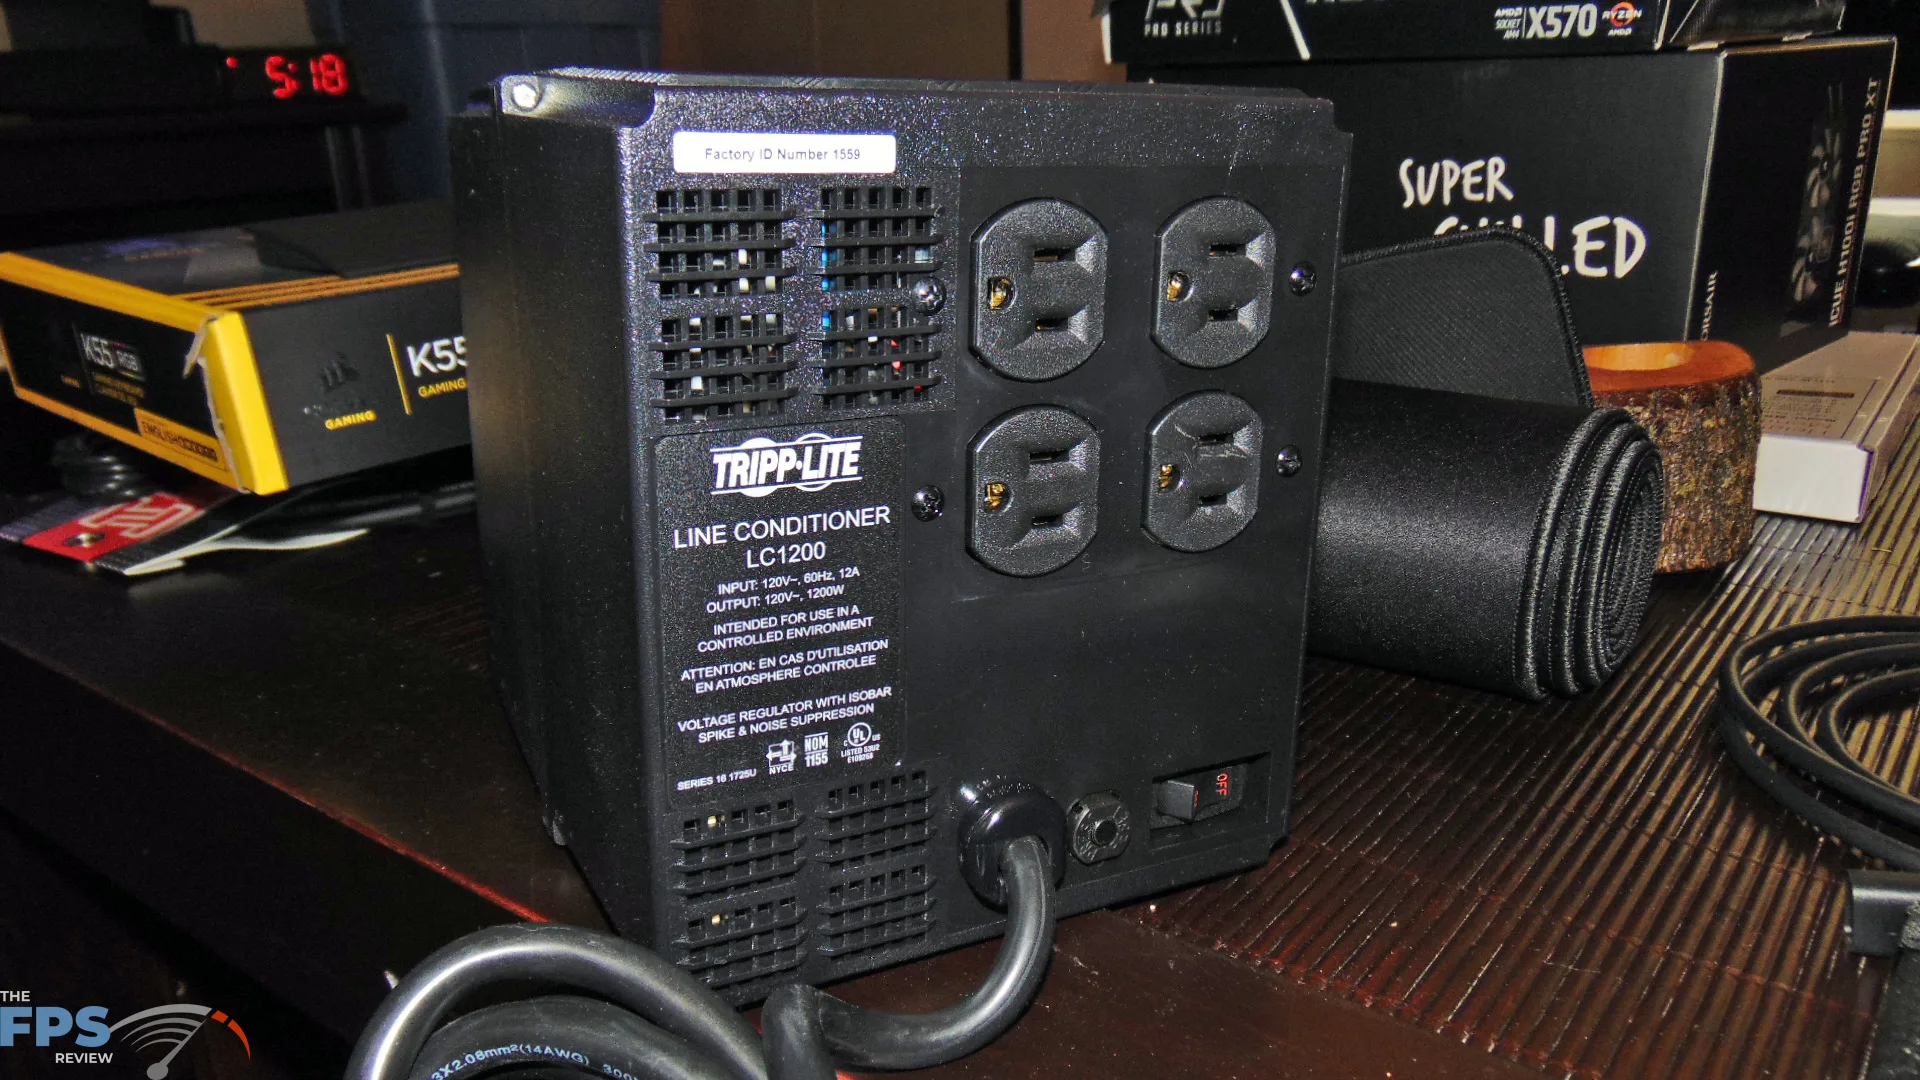
Another component I always use with any computer in my house is the TRIPP LITE Line Conditioner units. The one I am using is the TRIPP LITE LC1200. What a line conditioner does is provides stable power to your computer with active voltage regulation. It provides clean power and stabilizes the voltage from the power coming through your wall. I always use one of these on any computer I’m plugging in, this model supports 4 outlets so I can plug the monitor and computer in, and a couple more things like my router.
It supports up to 1200 Watts, so plenty for everything. I purchased mine at $115 when I bought it. I currently own four of these with three currently in use, one for my main system, one for my review system, and now one for my new gaming computer build.
Fan Hub
[Link to Website – HERE] [Link to Buy – HERE]
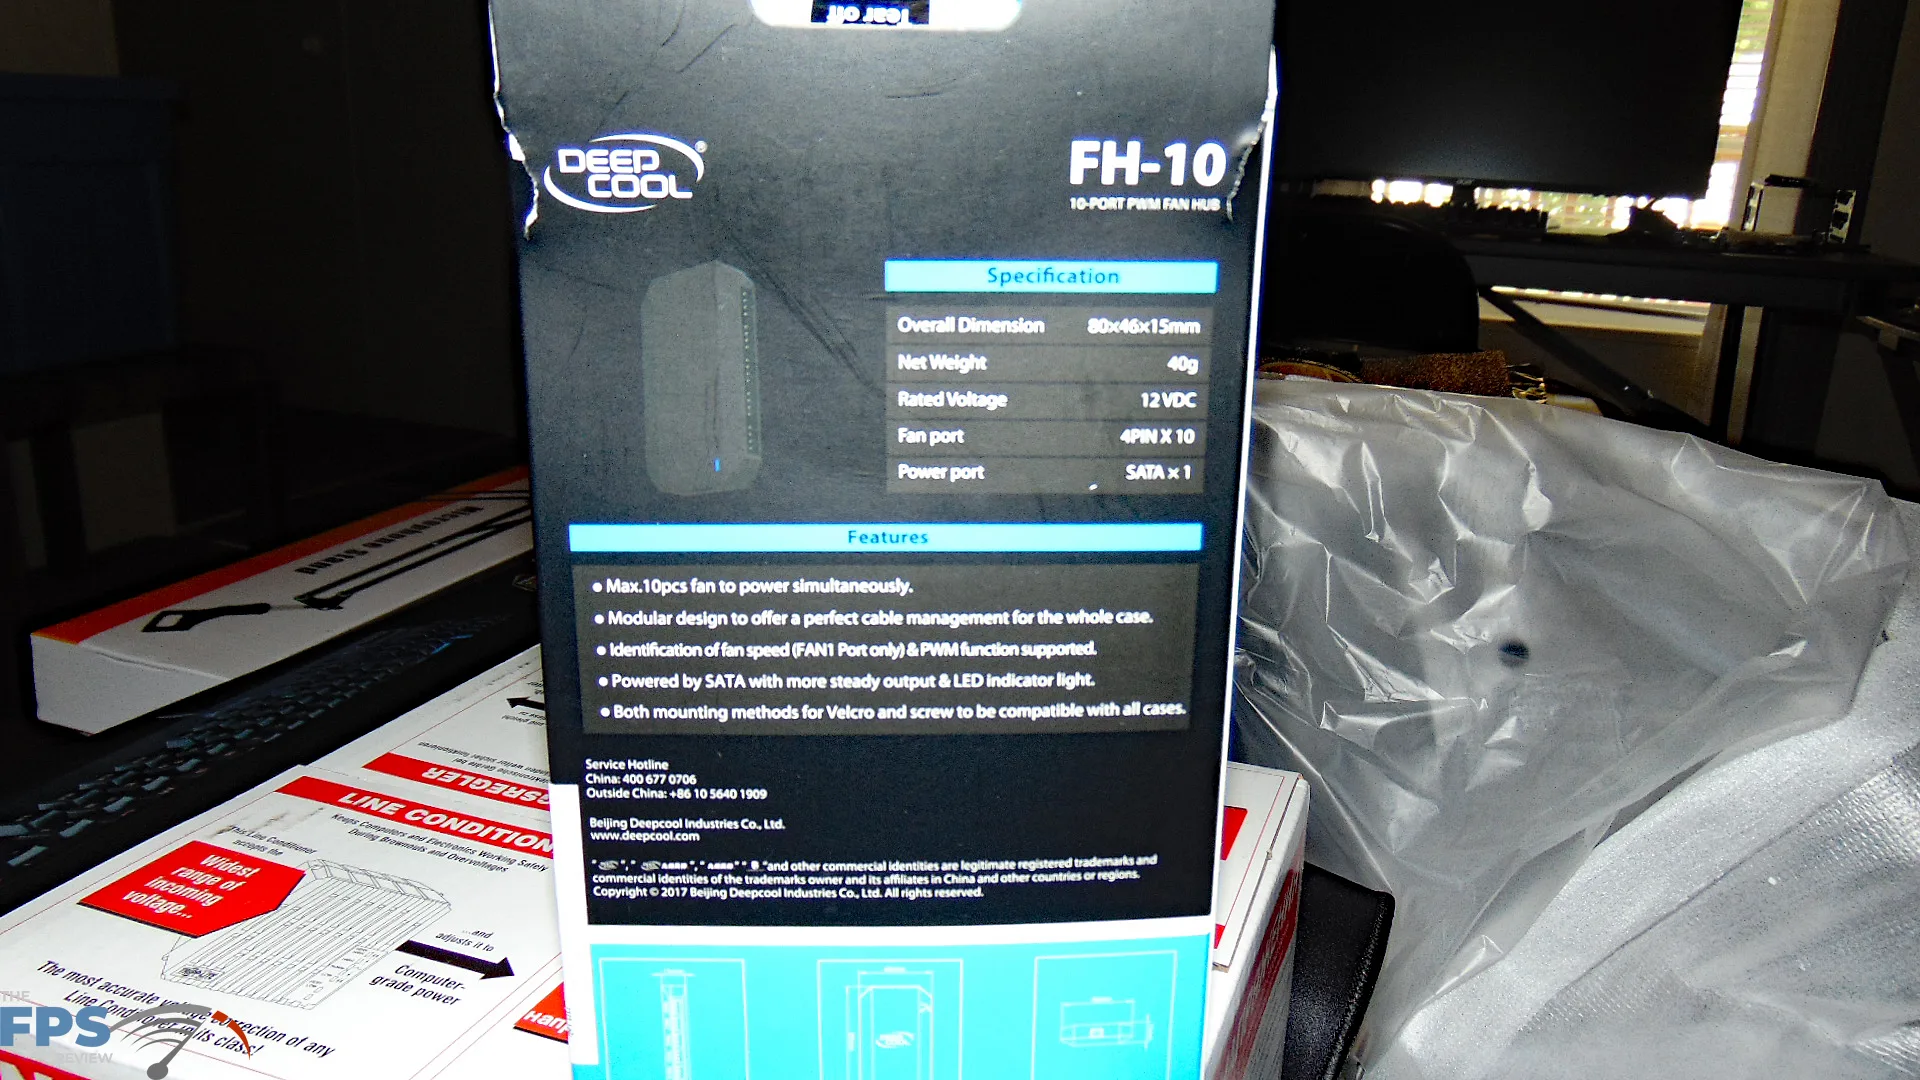
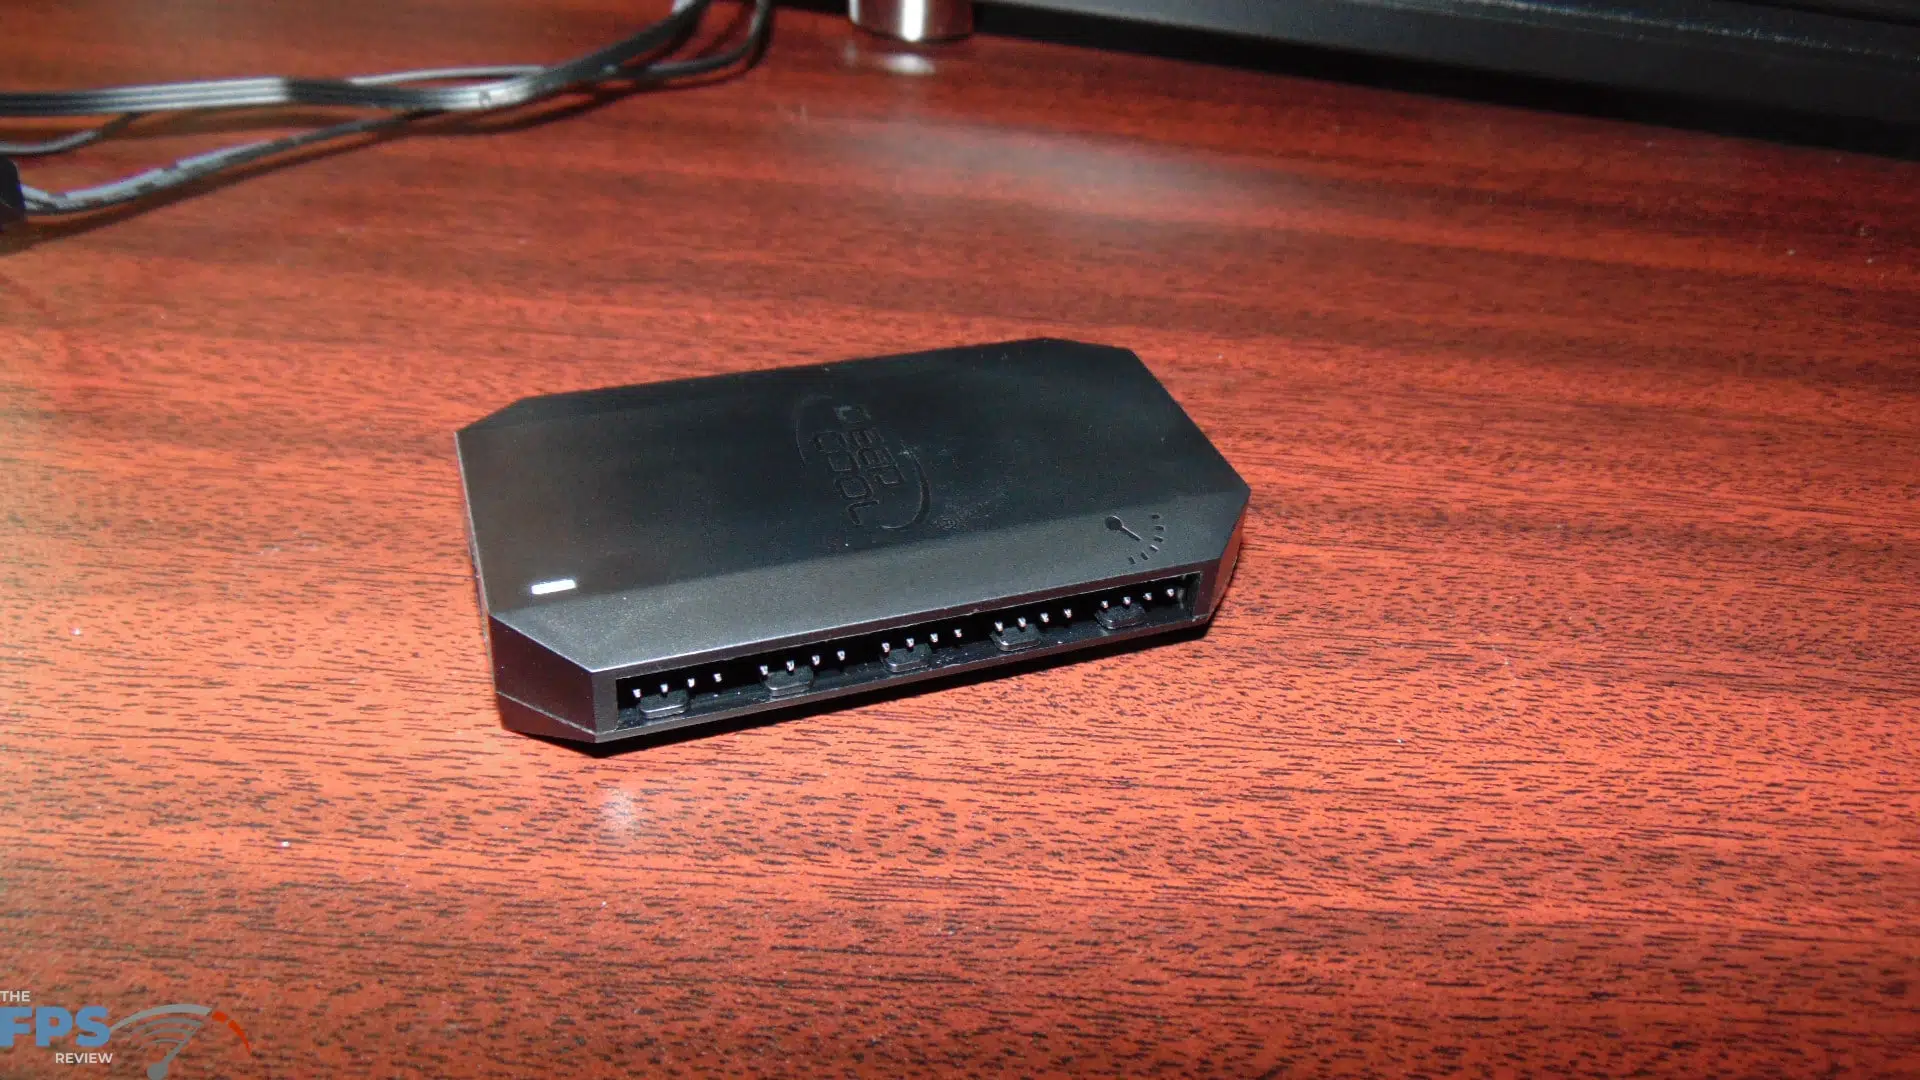
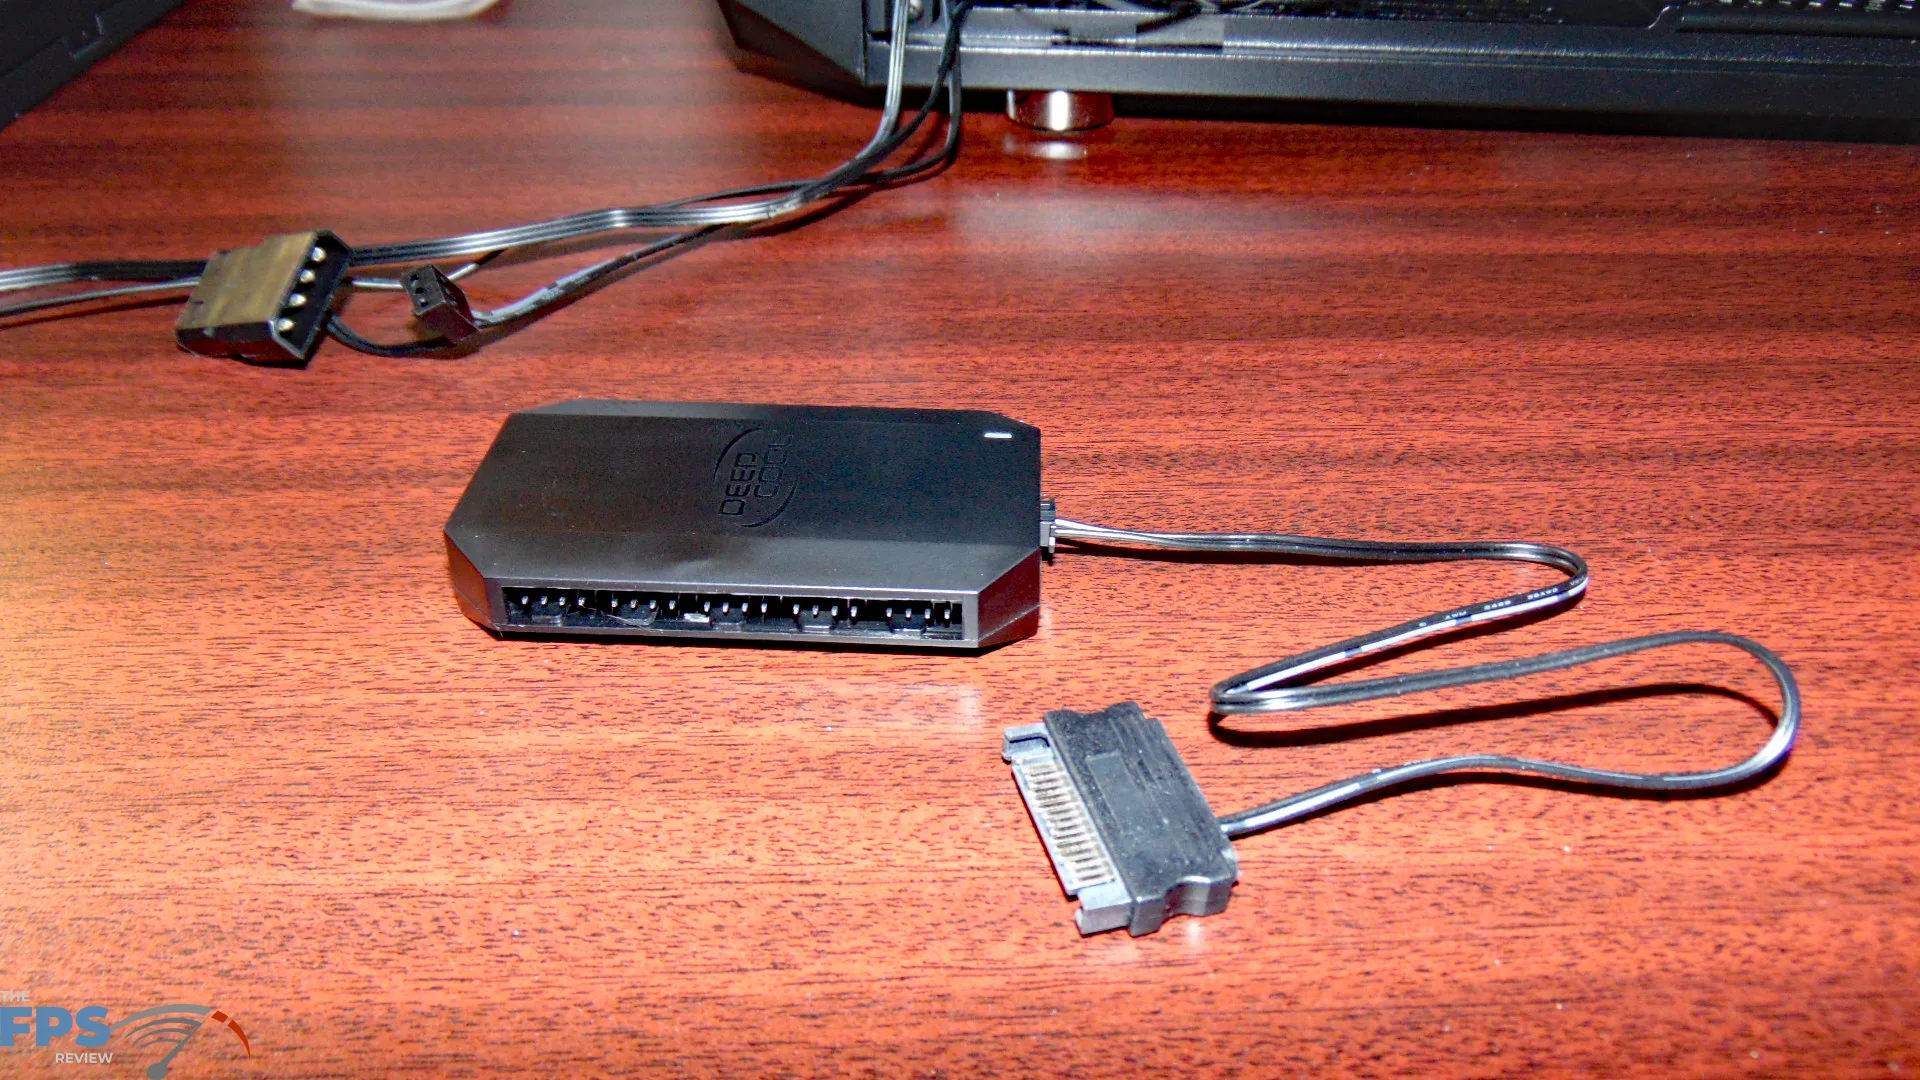
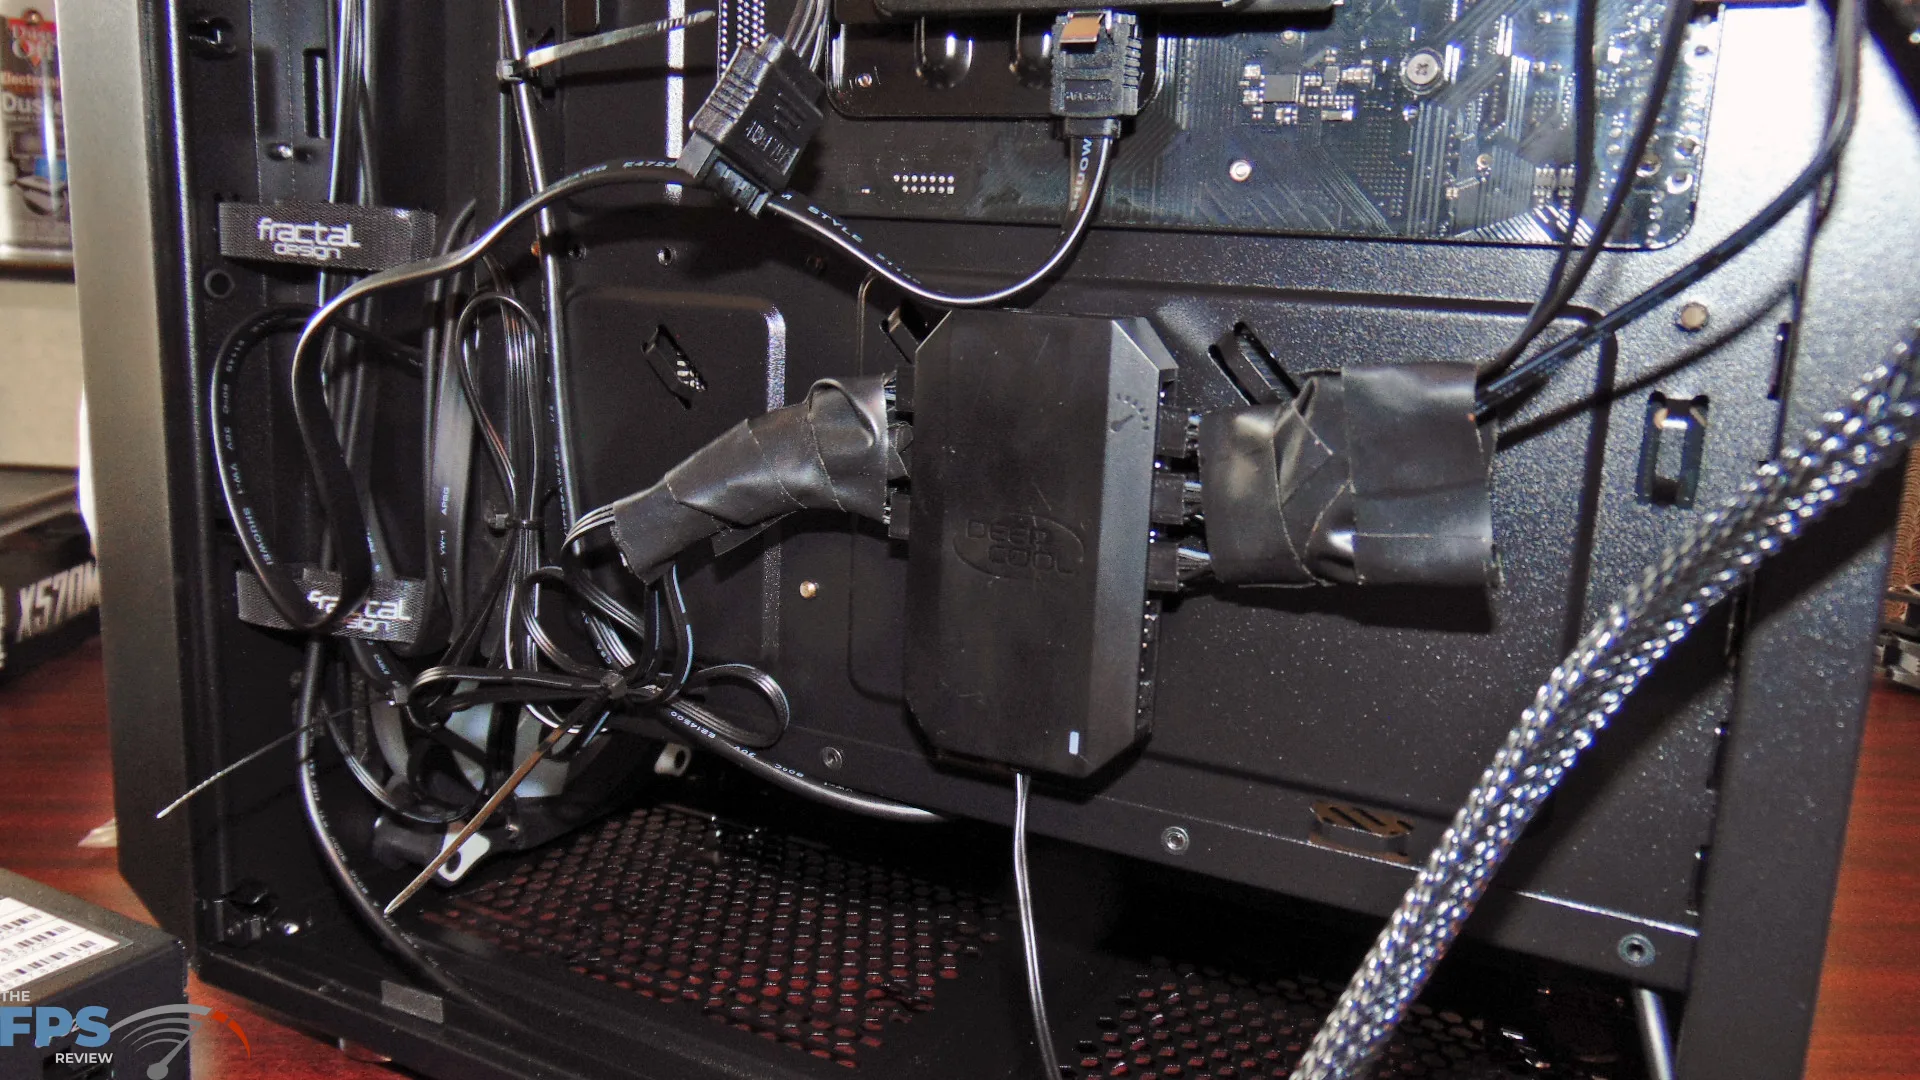
Now we come to a crucial component, the fan hub. Ok, it is not exactly crucial, but I have found them to be very convenient. They allow you to connect all your fans into one place, power them properly, and control them all at once. I have six total fans in this computer build, so plugging them into one location helps with cable management, and powers them all very well with proper power and allows me to control them together. It is just a little thing that adds a lot of convenience. This is also important because this ASROCK mobo is limited on fan headers.
I was able to attach it to the back of the computer just fine and there is plenty of room to put the back panel on. You’ll notice I put a lot of electrical tape on it. The reason for this is because I cut off the Molex connectors on the fans, I didn’t need them and they were taking up space. I just used the 3-pin connectors, so I taped up the part I cut off.