Recording Hardware – and Accessories

Now it is time for the recording hardware. Remember, this is after all a YouTube Let’s Play gaming computer, not just for gaming. I need recording equipment for my voice.
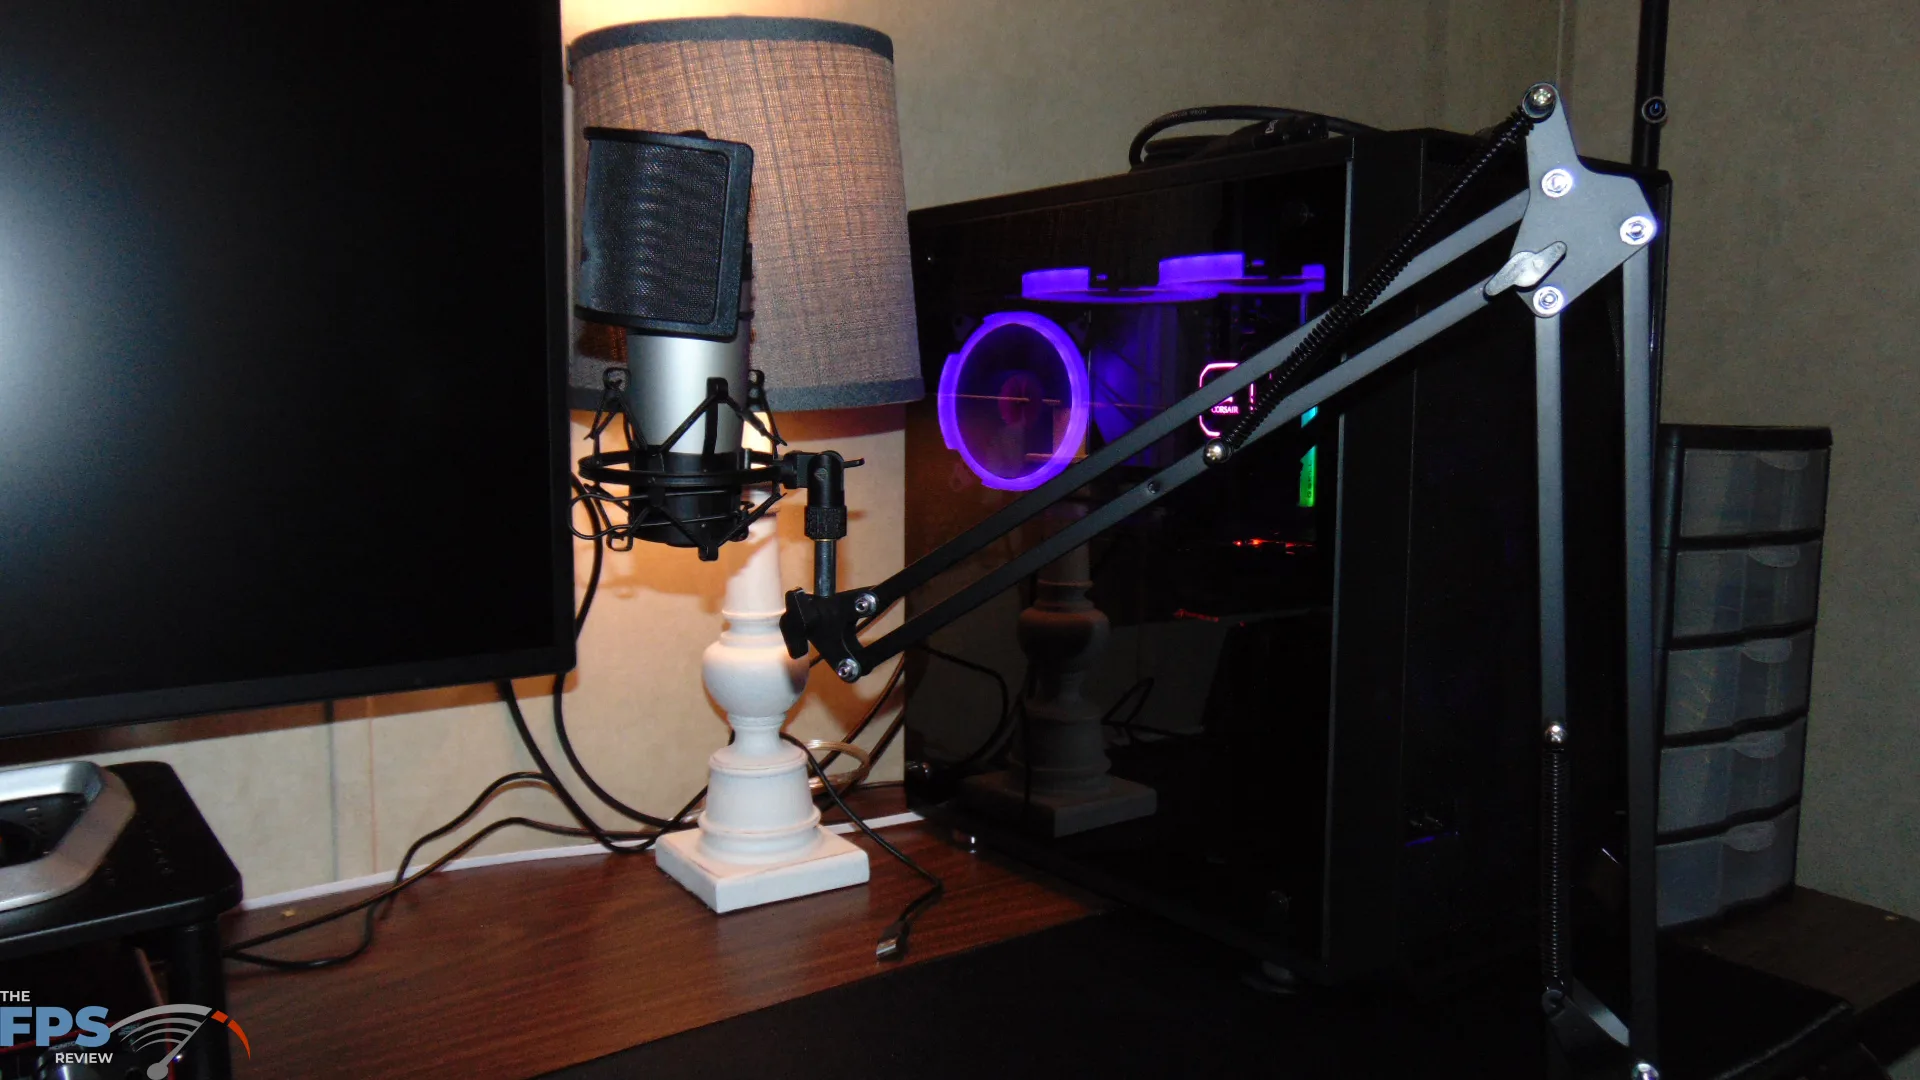
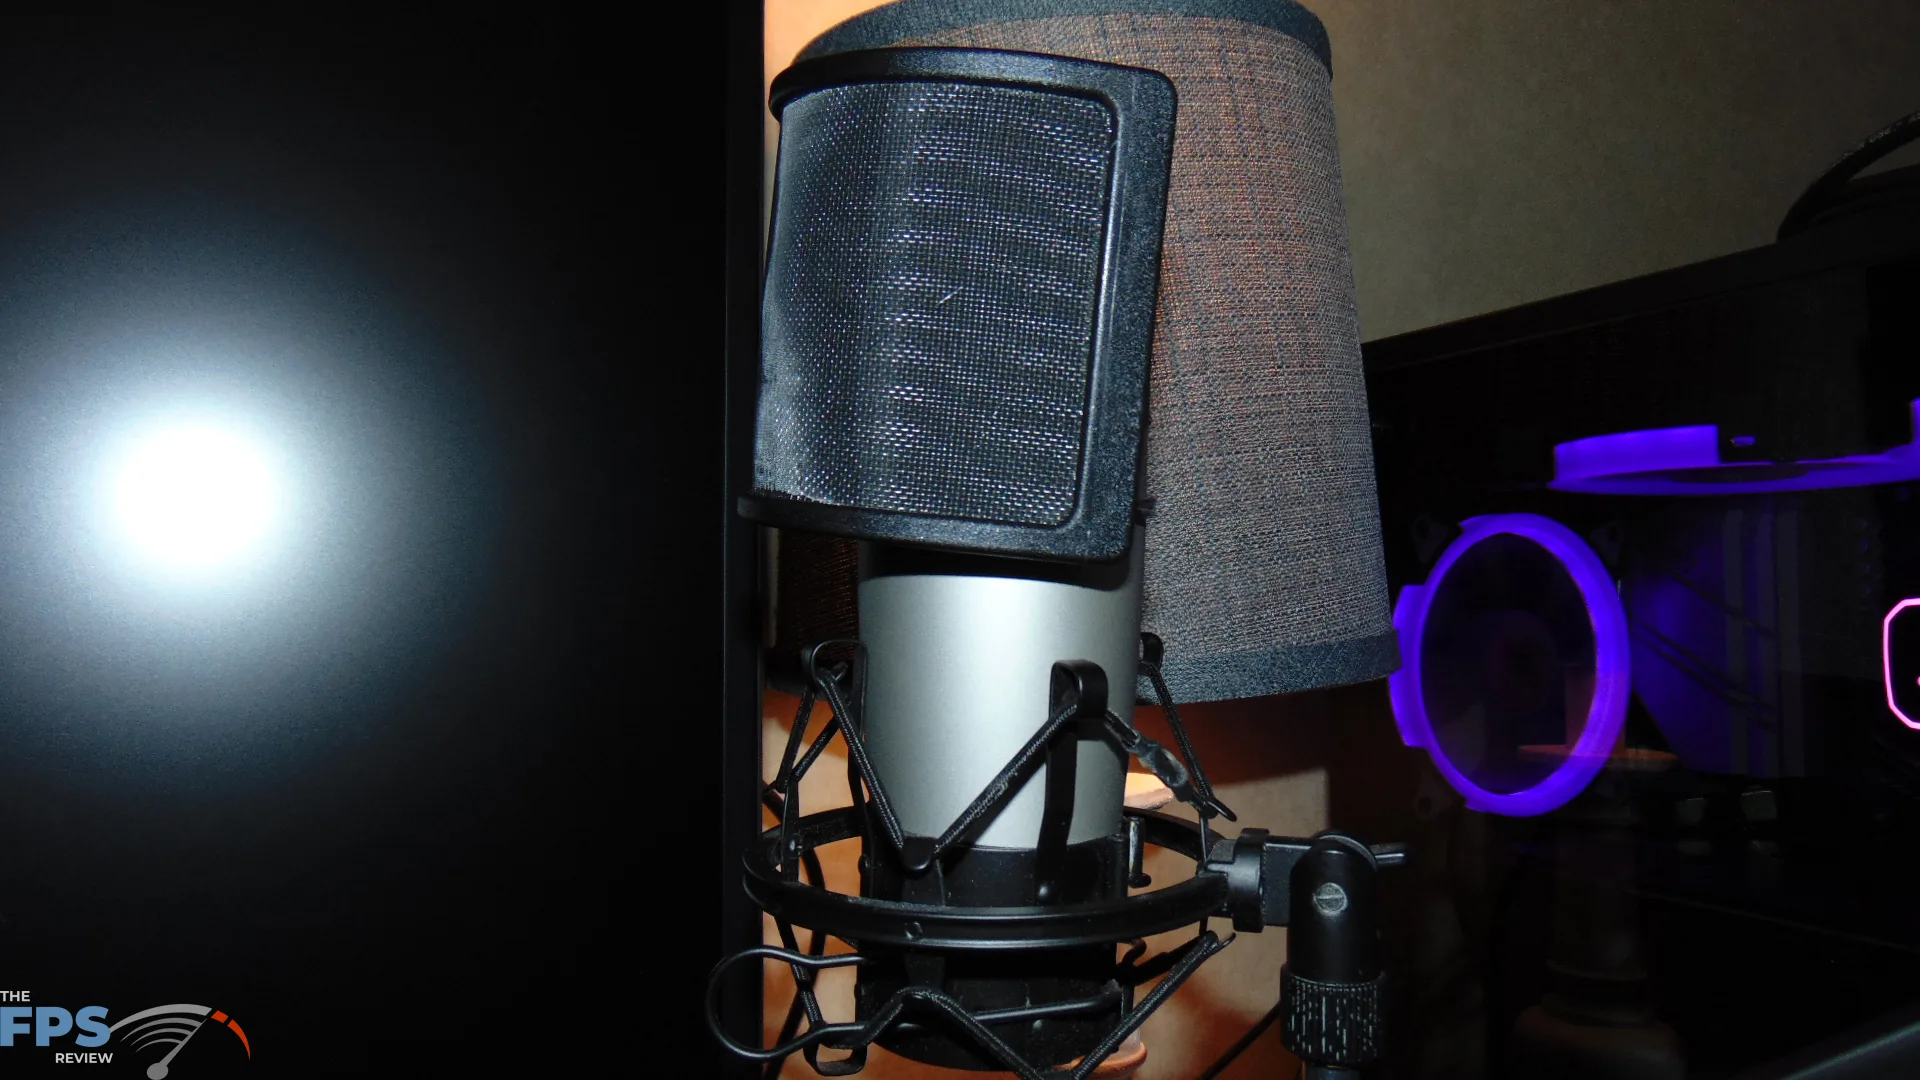
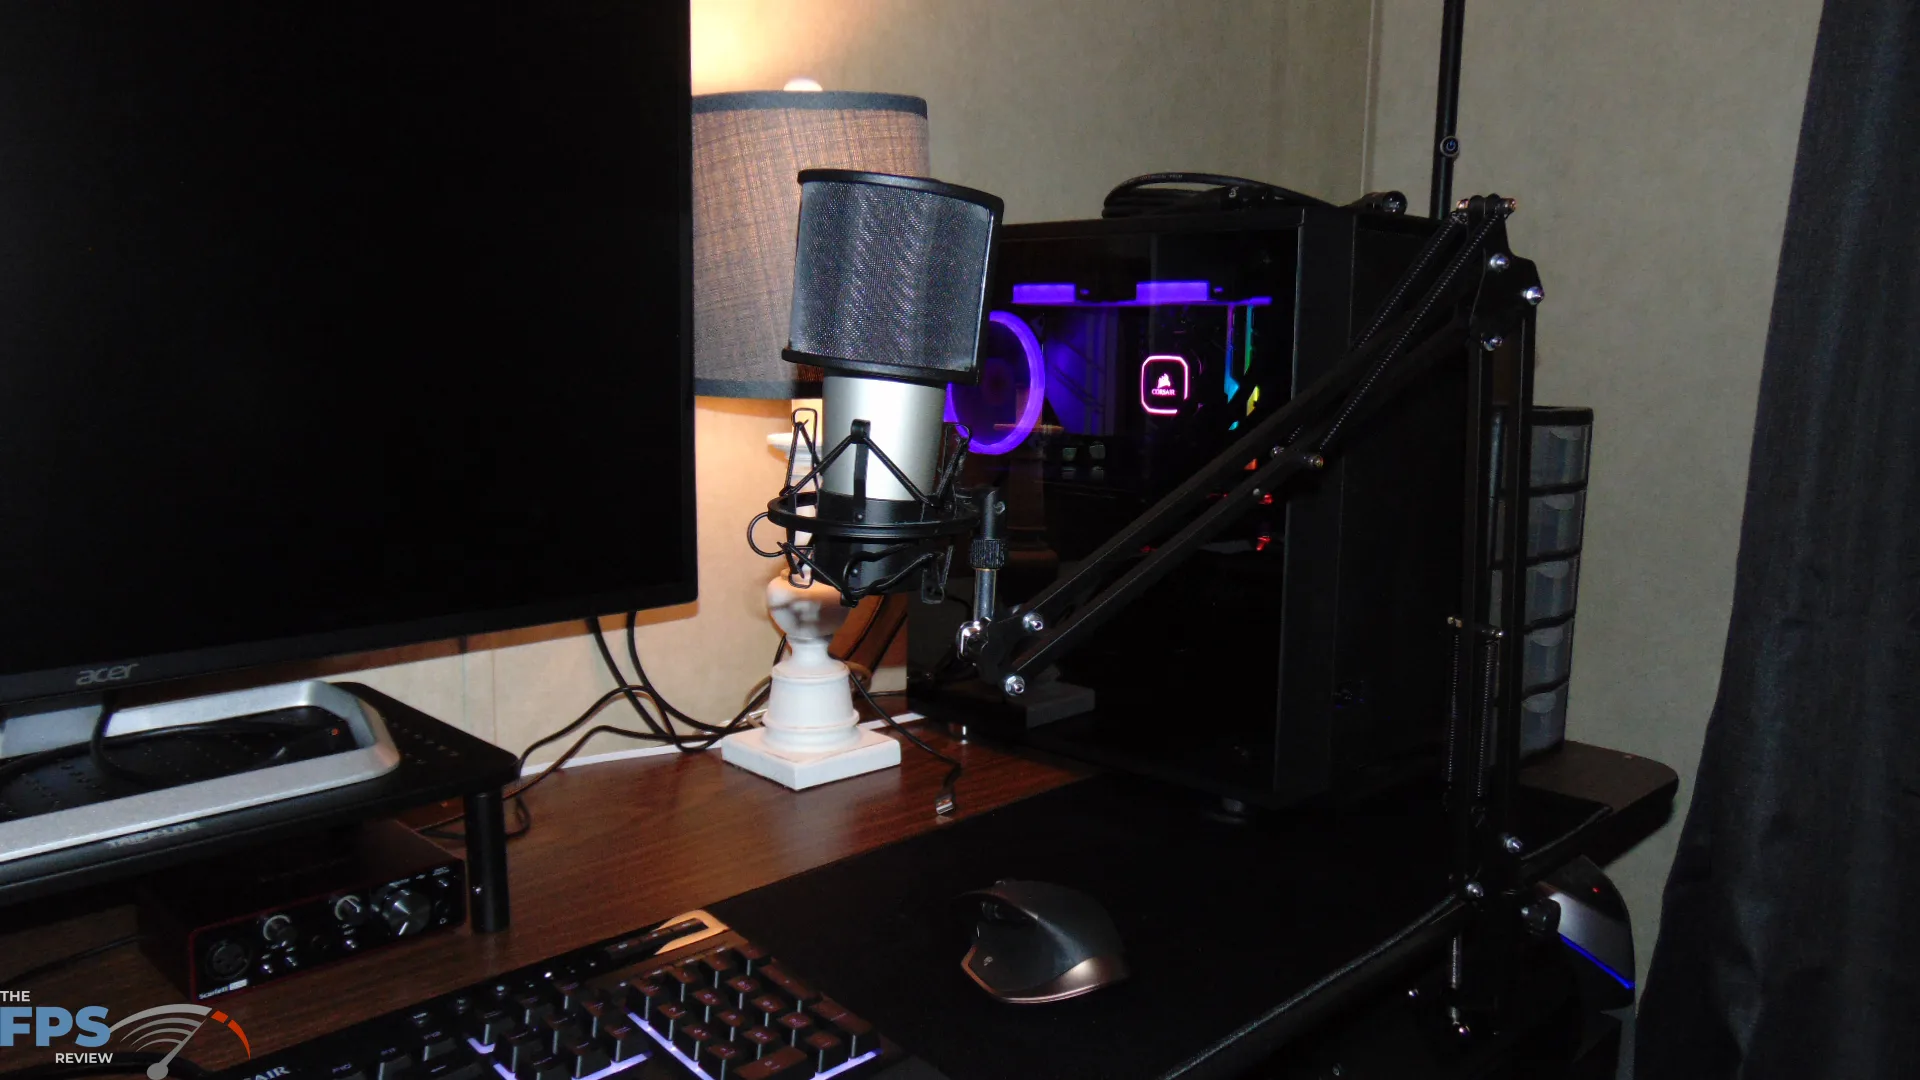
Luckily, I already had a spare condenser XLR microphone to use for this build. If you do not have one, that will be an added cost. I recommend a good one, and that means a couple of hundred dollars at least. The one I am using is a Samson C03 XLR Condenser microphone. If you purchase this microphone on its own it is right at $200.
Another item I already had also was a shock mount. I am using one like this, plus that pop filter shown here as well. It is a cheap combination for a shock mount plus a pop filter.
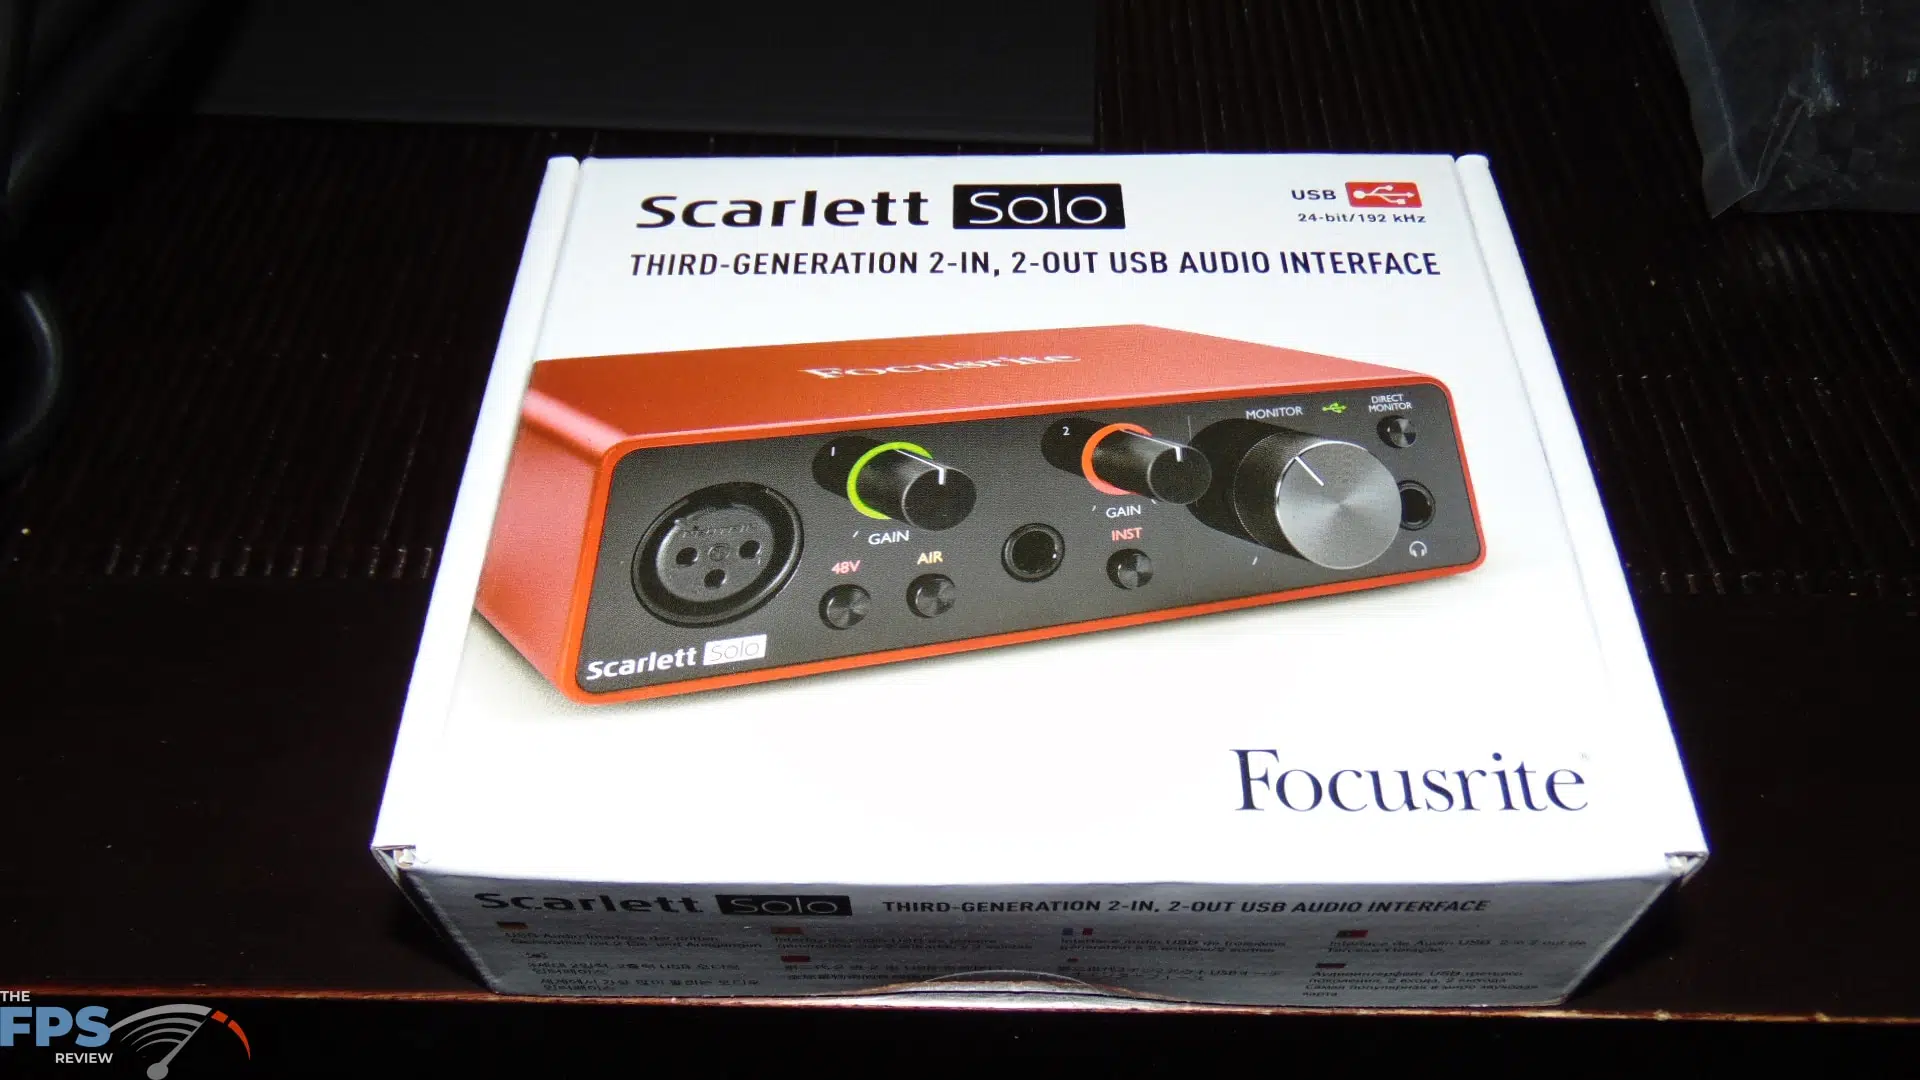
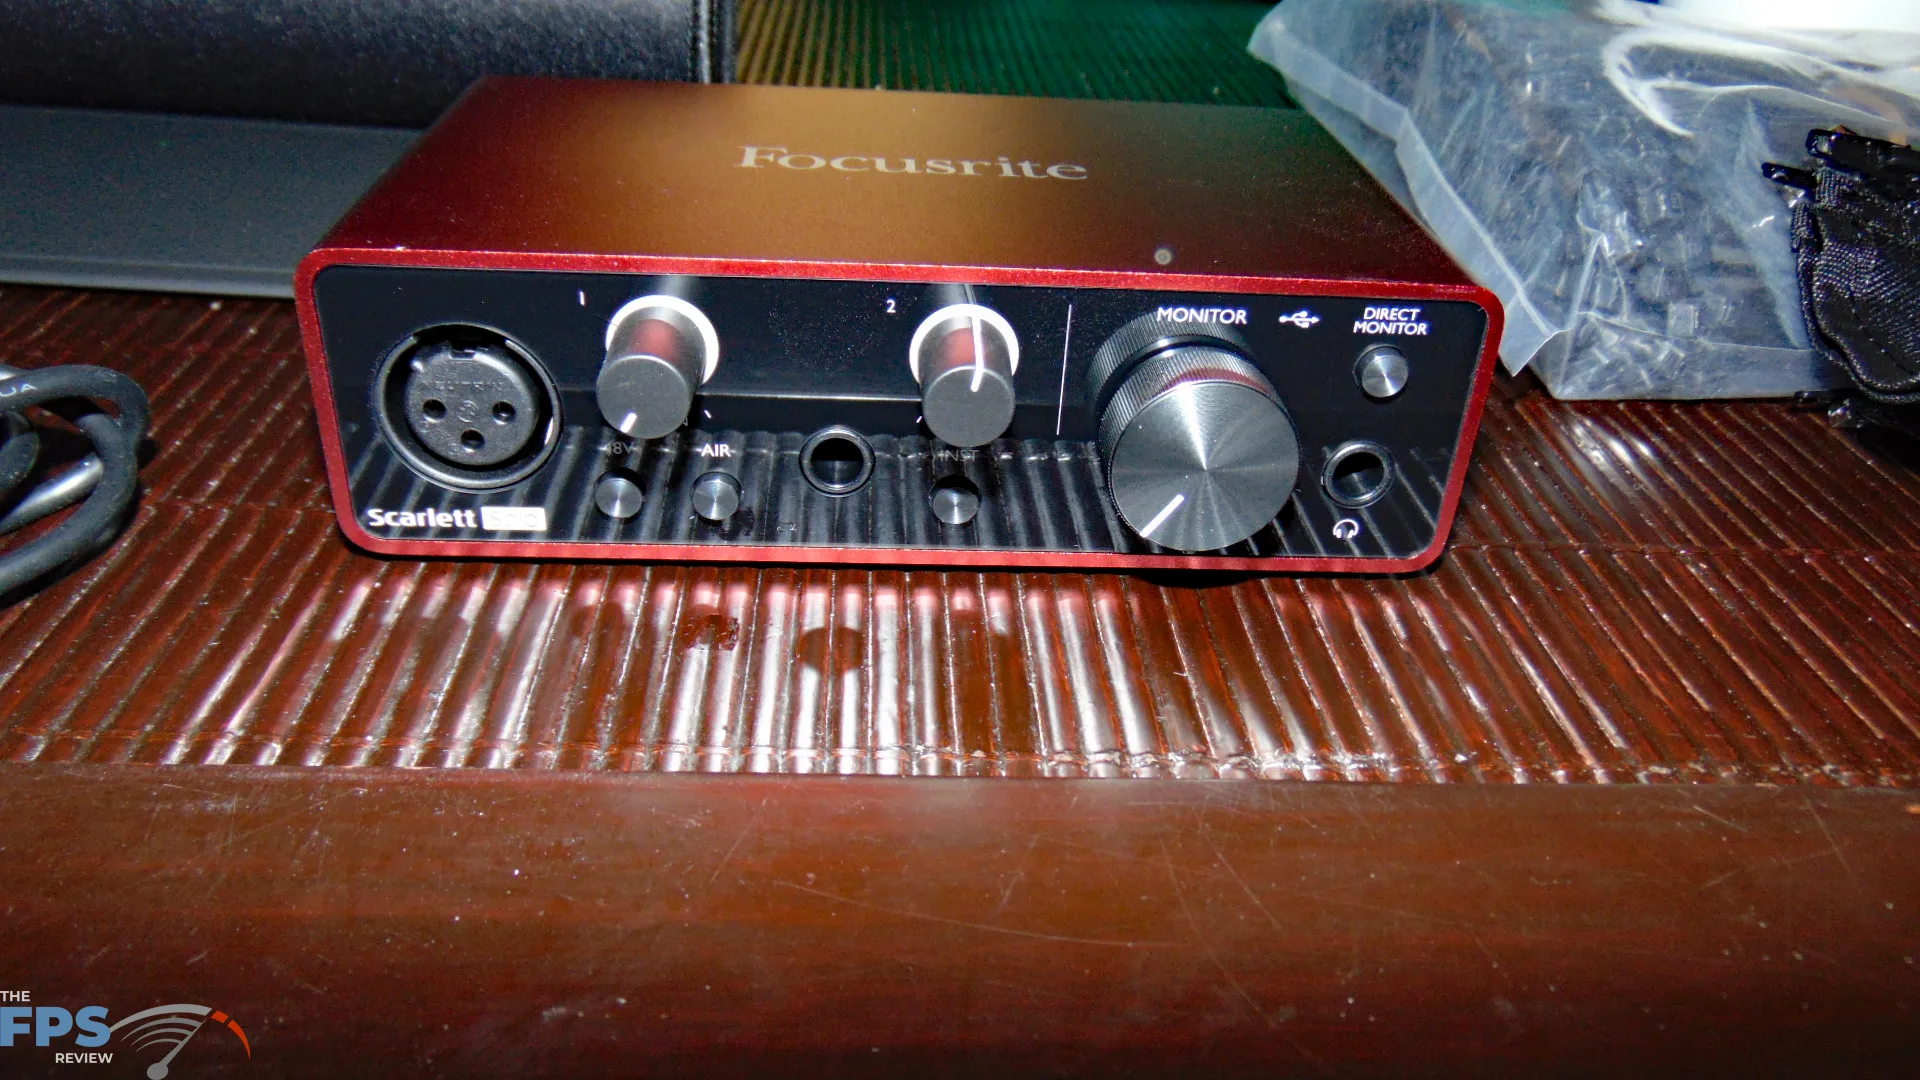
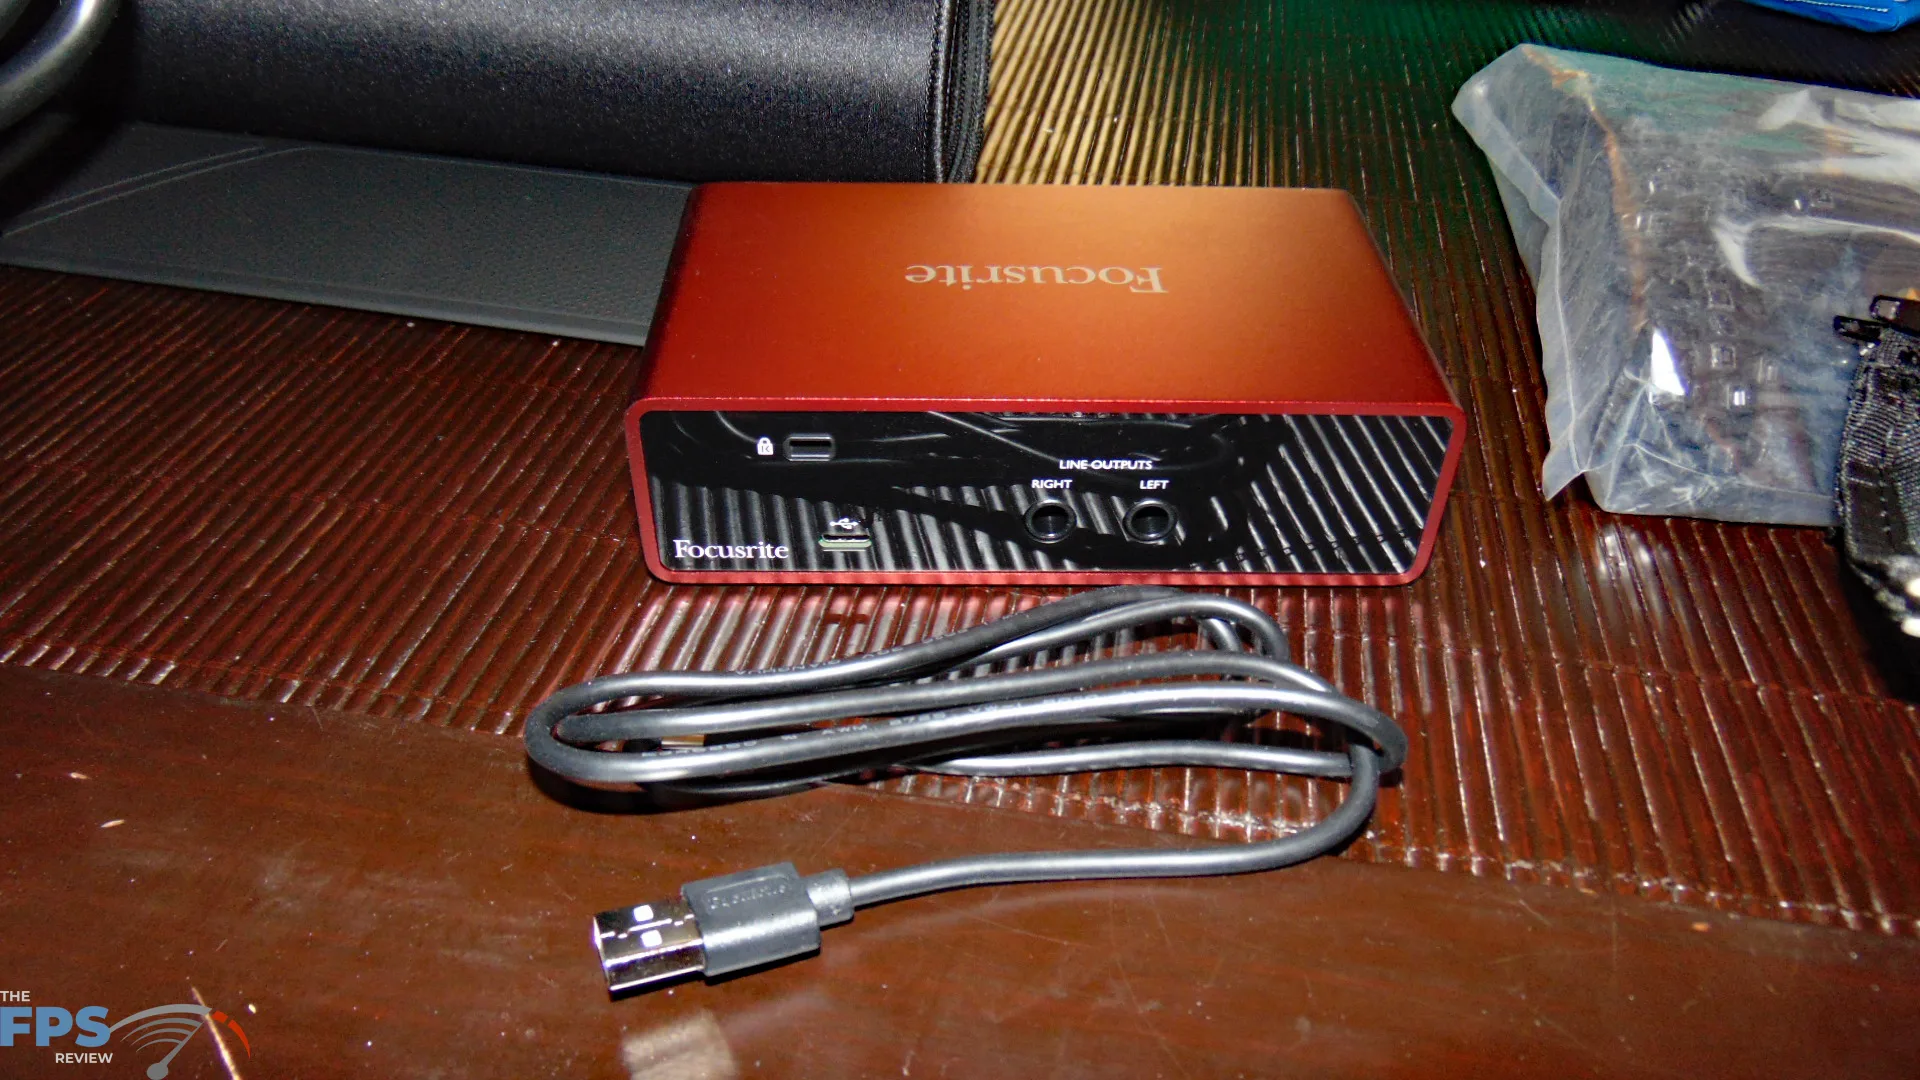
For my interface, I am using the Focusrite Scarlett Solo 3rd Gen USB audio interface. I have found these interfaces to work very well, I use one on my main system as well. This one is about $120 right now. When I bought mine it was $109 on sale.
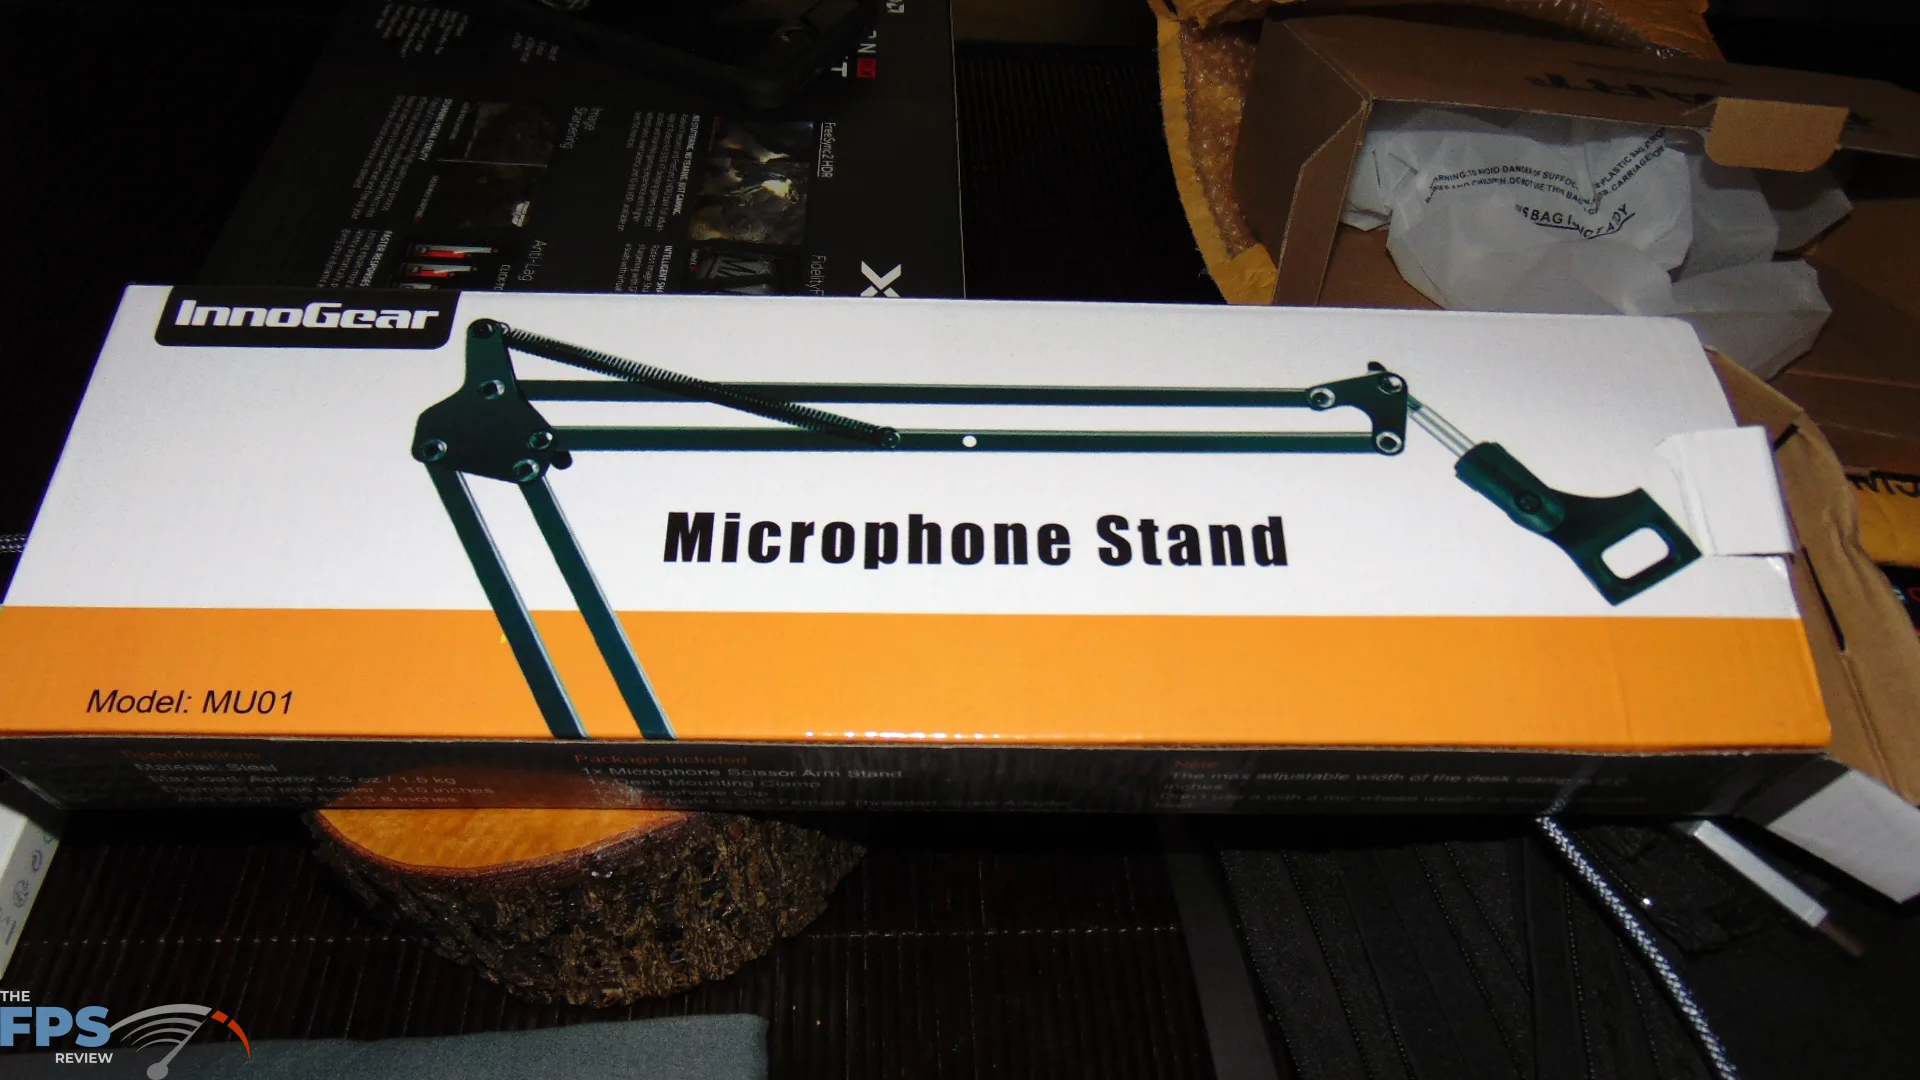
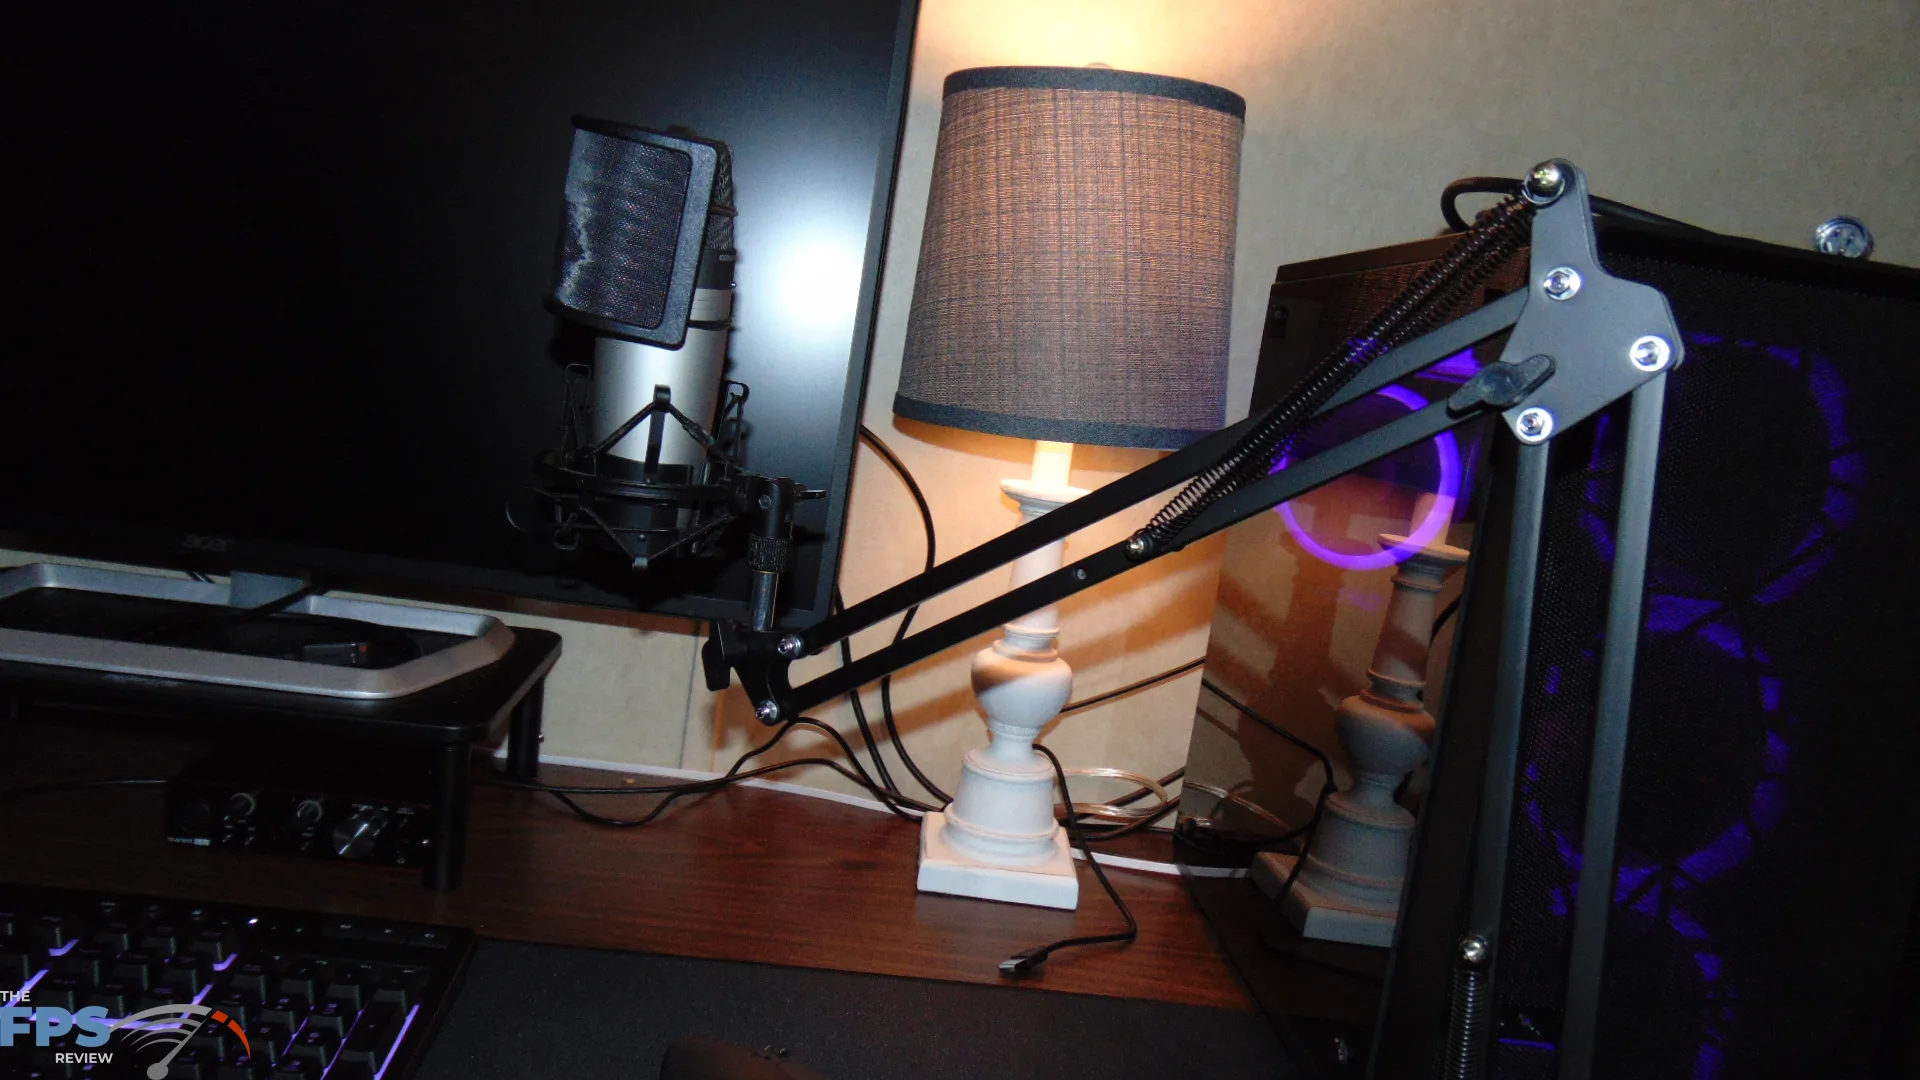
Last, but not least, I am a fan of the microphone boom arms for great articulation and positioning. These are really cheap, I picked up this InnoGear one for $14. Alternatively, you could use a desk stand type.
Accessories
A computer build isn’t finished without the accessories. These kinds of things are necessary if they are necessary, not everyone will need or want these various things, but for this build I did, so here they are.
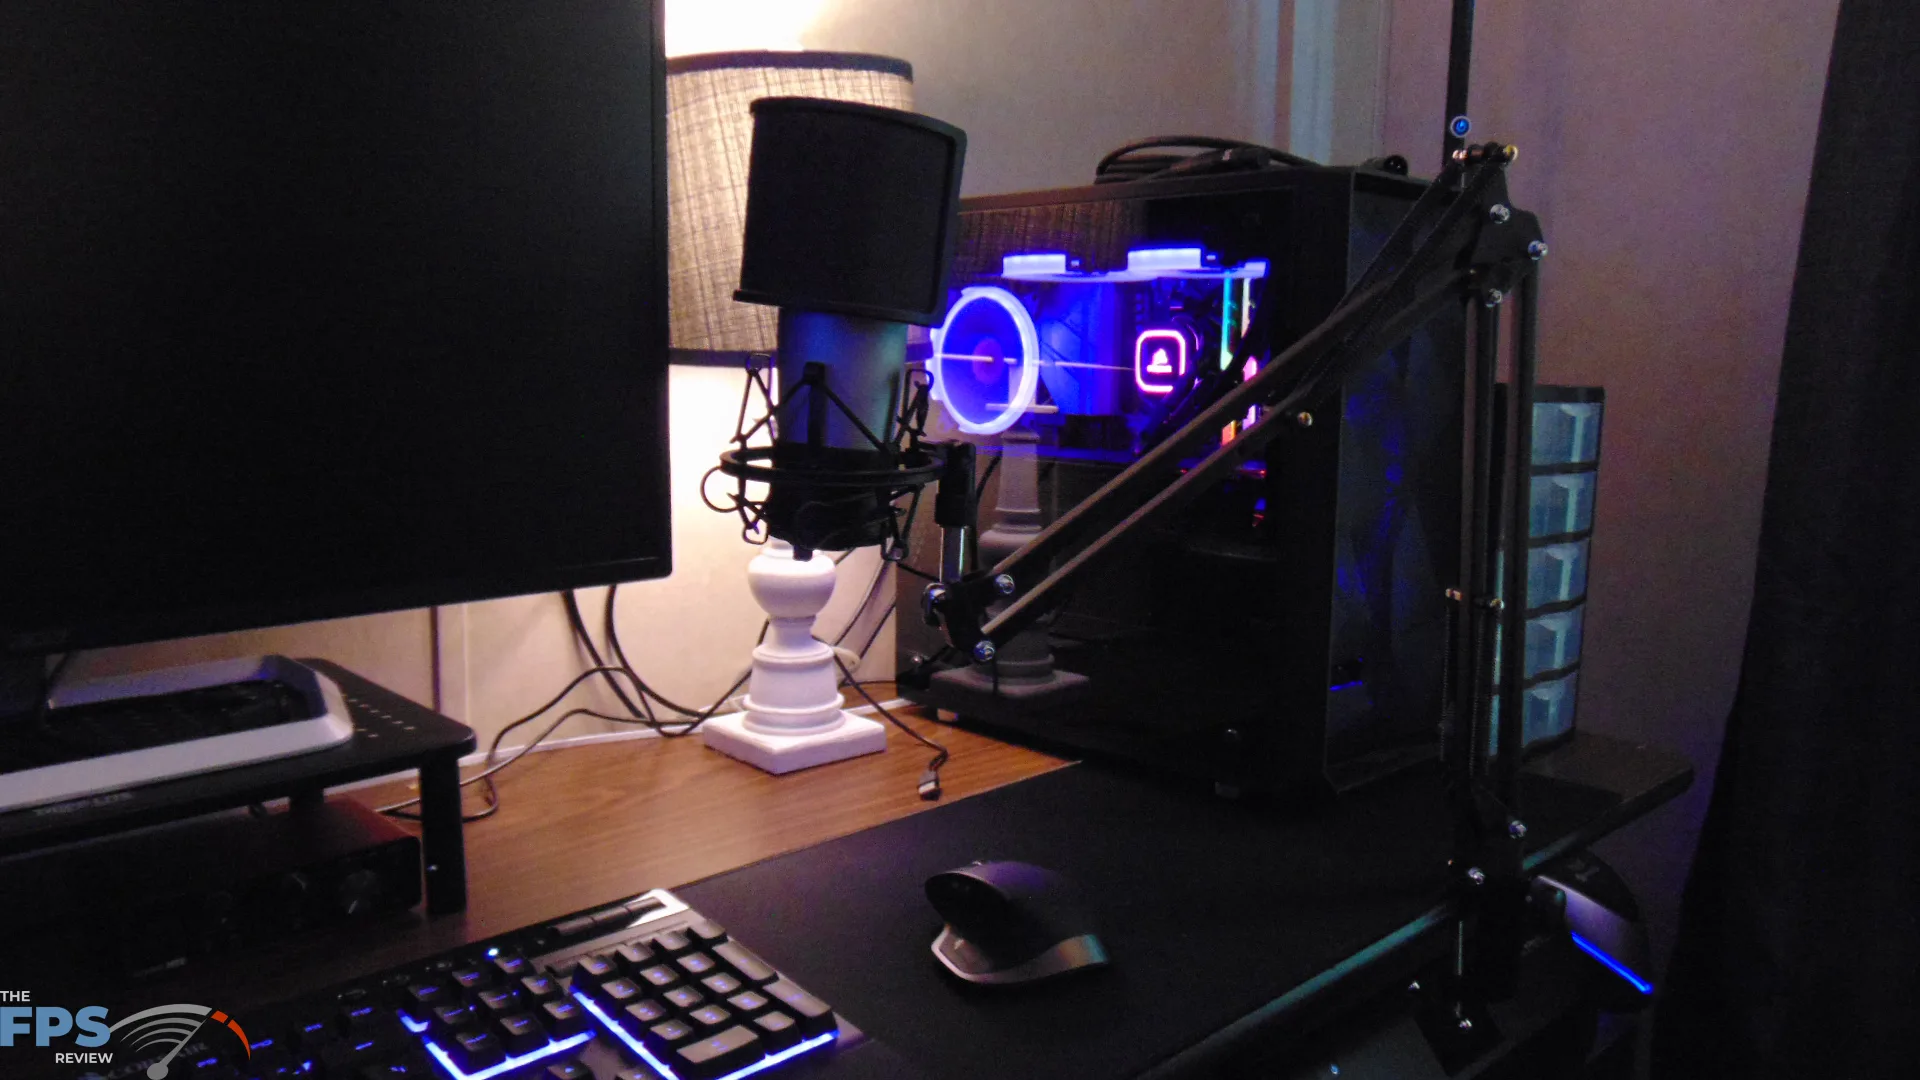
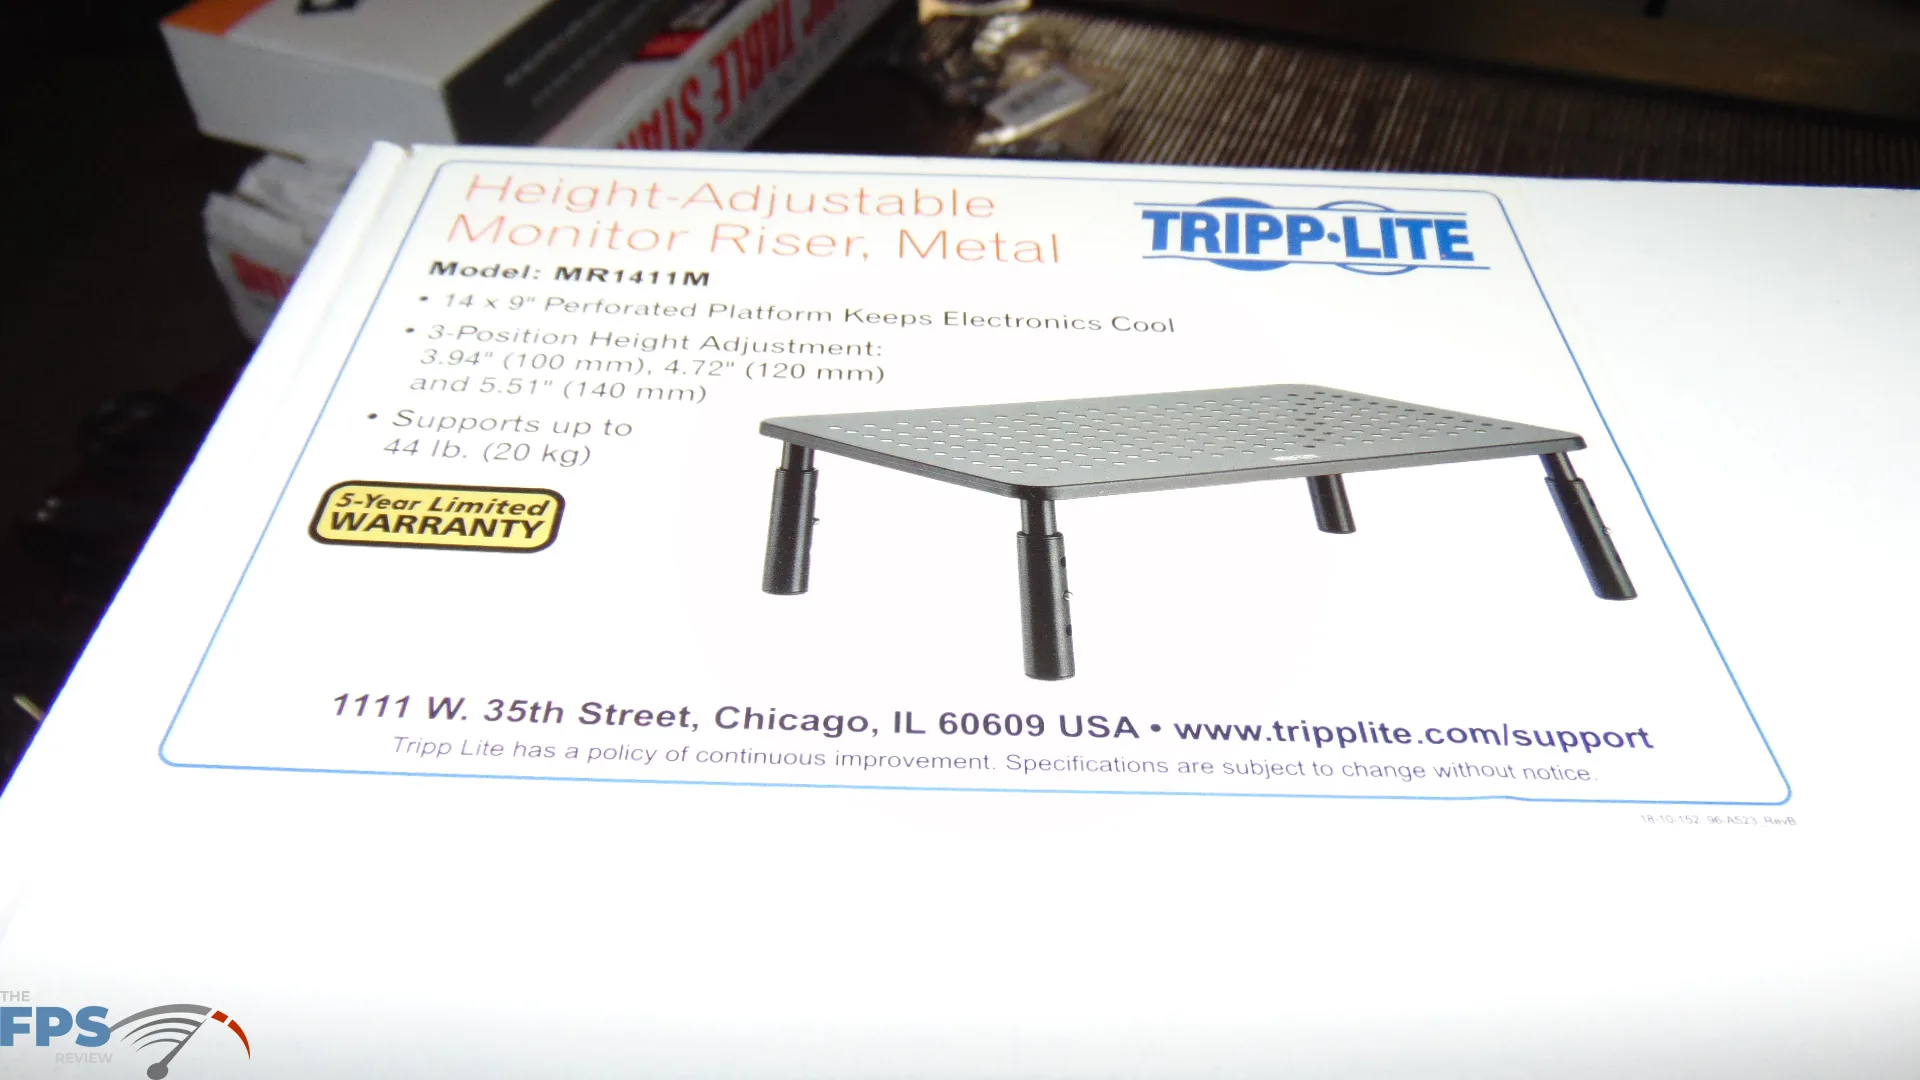
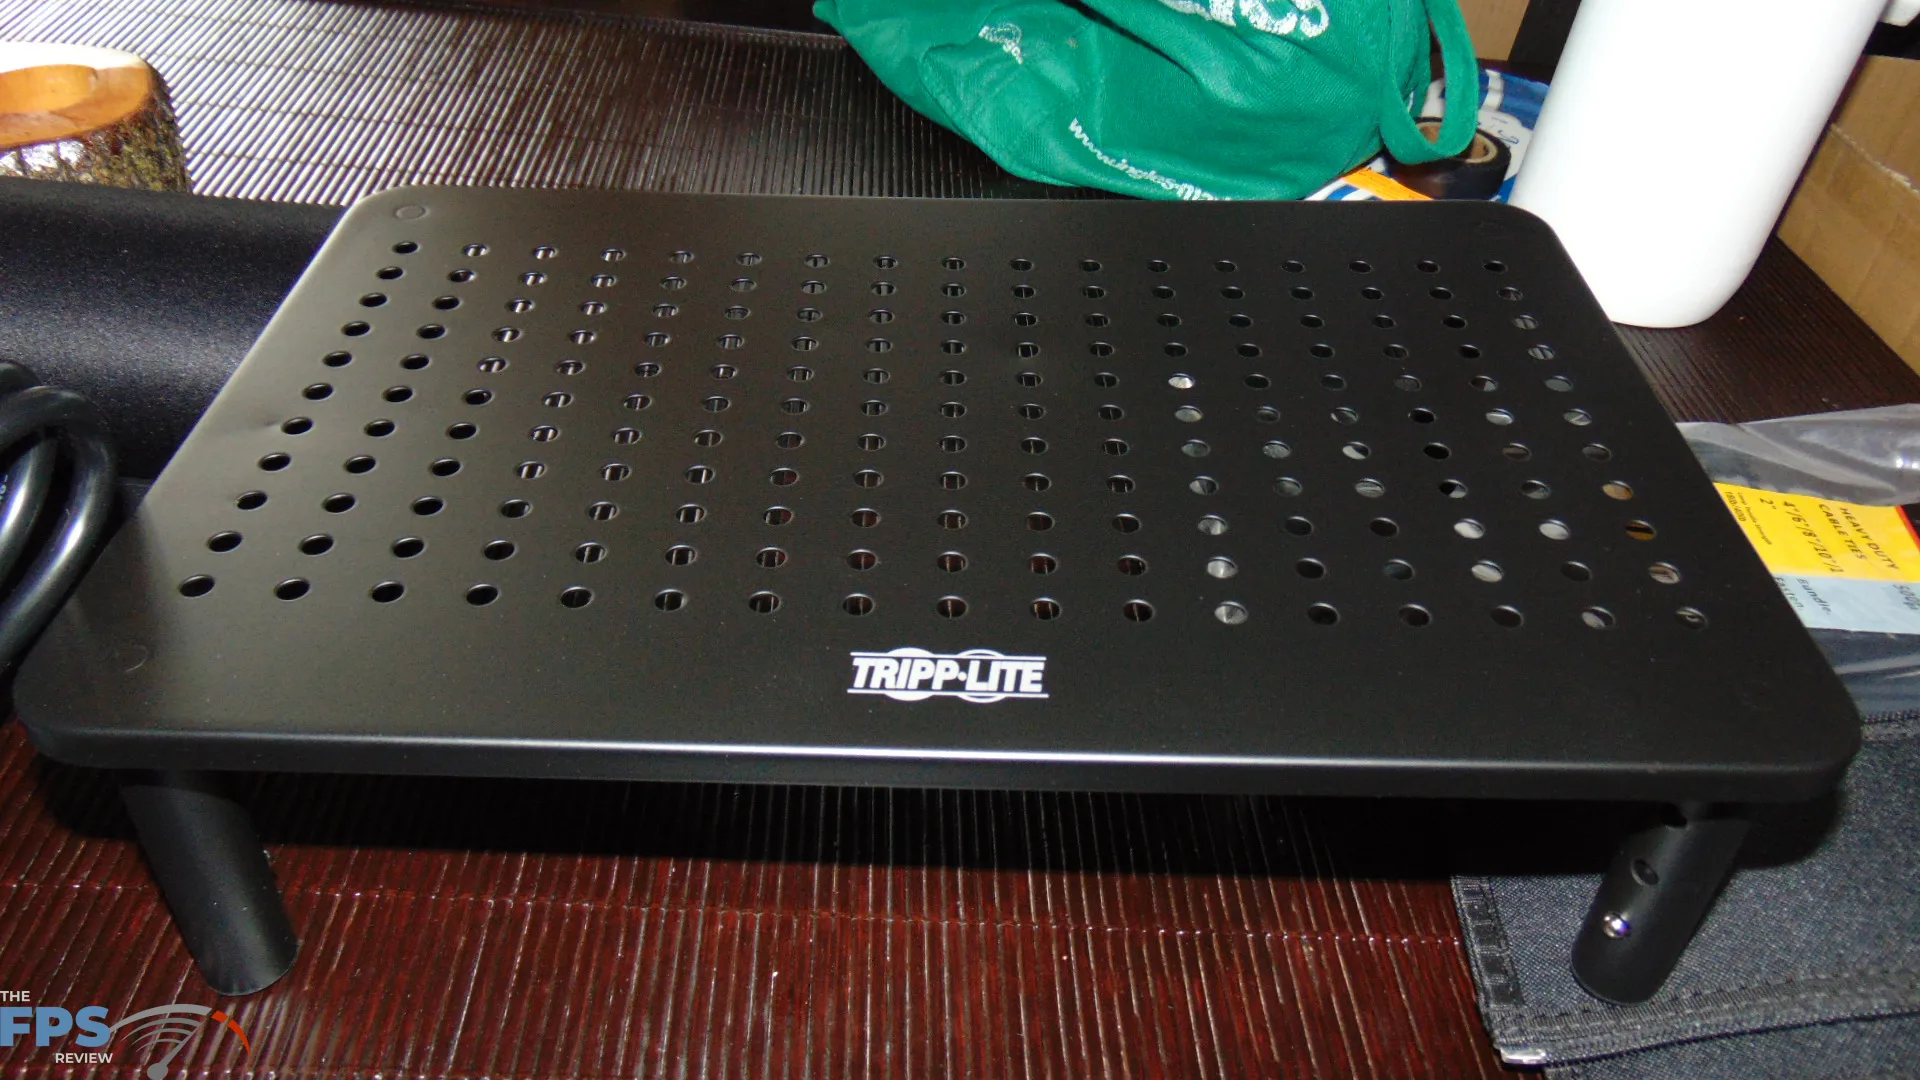
One of the things I needed was a monitor riser. The monitor I bought doesn’t travel vertically, and it sits too low on the desk. Therefore, I purchased this TRIPP LITE metal riser for monitors. It has adjustable legs and can be adjusted in height. It’s perfect to complete my build.
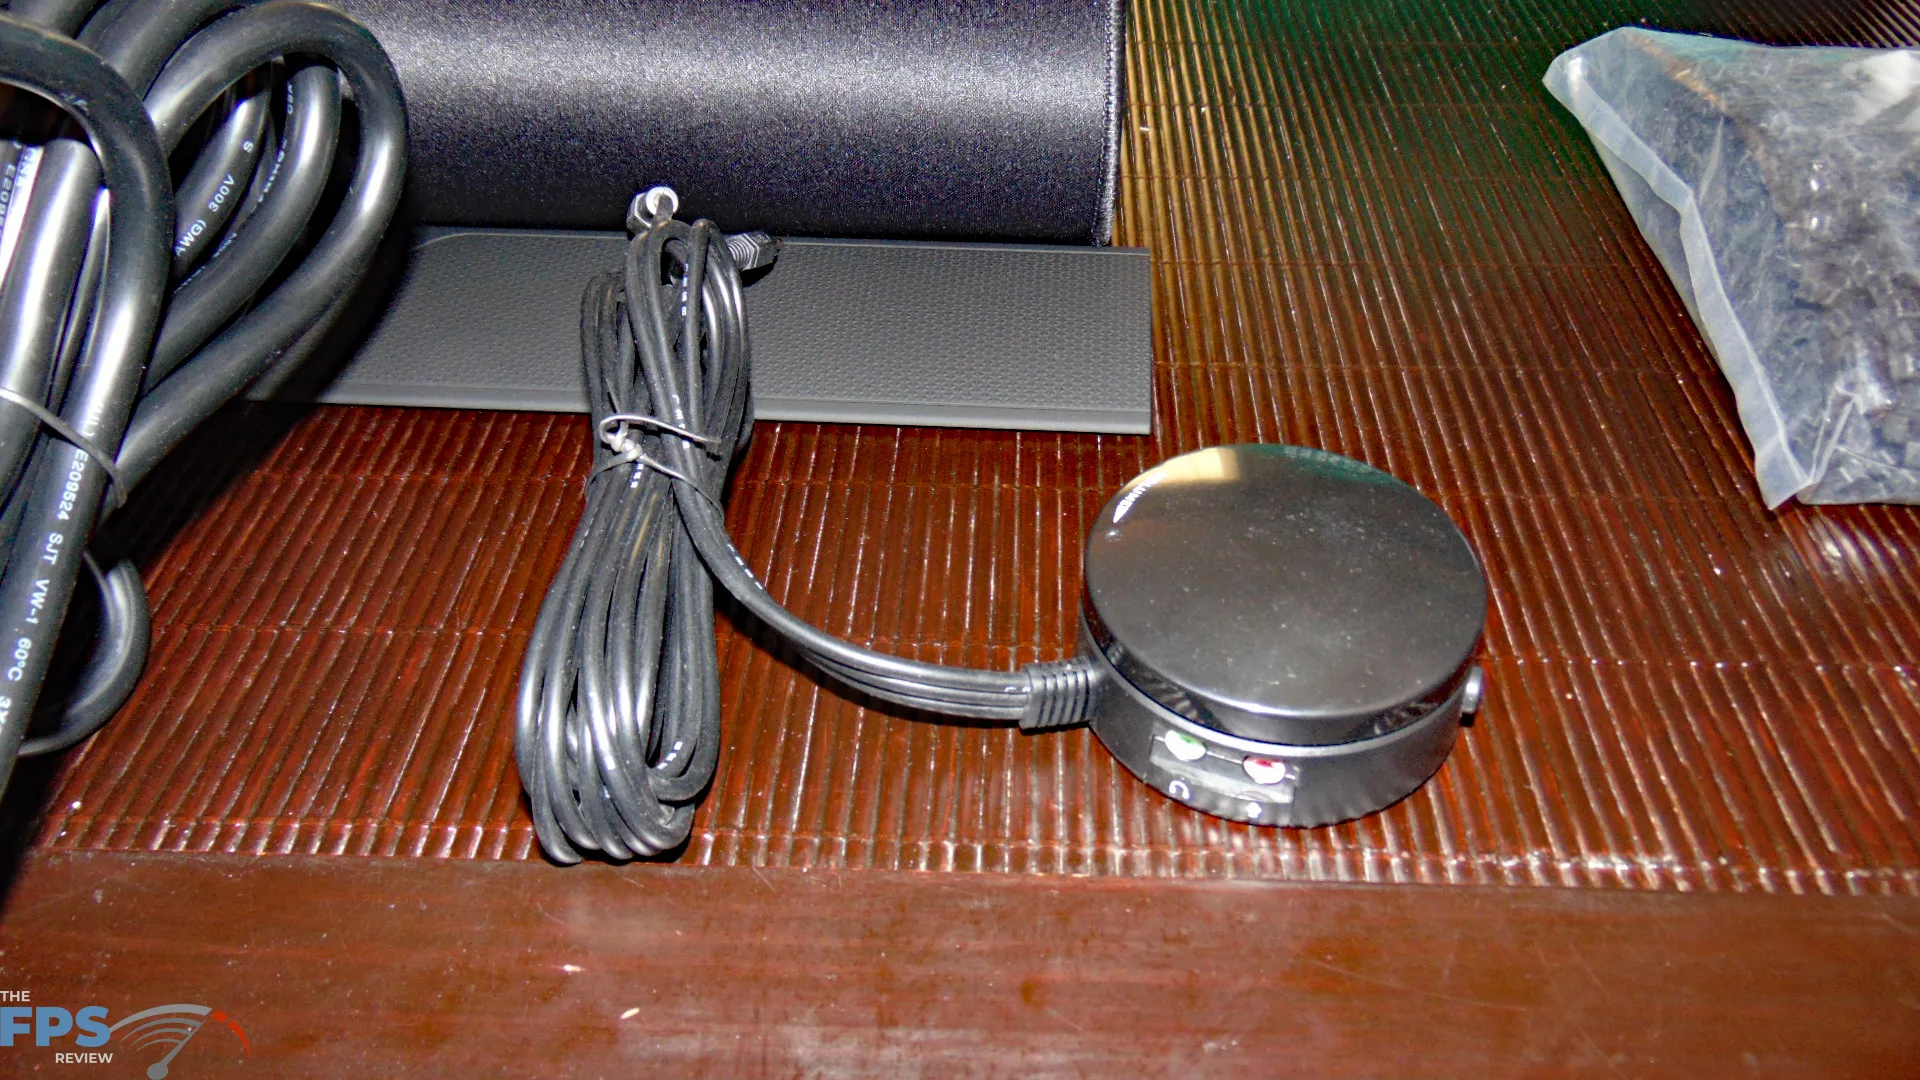
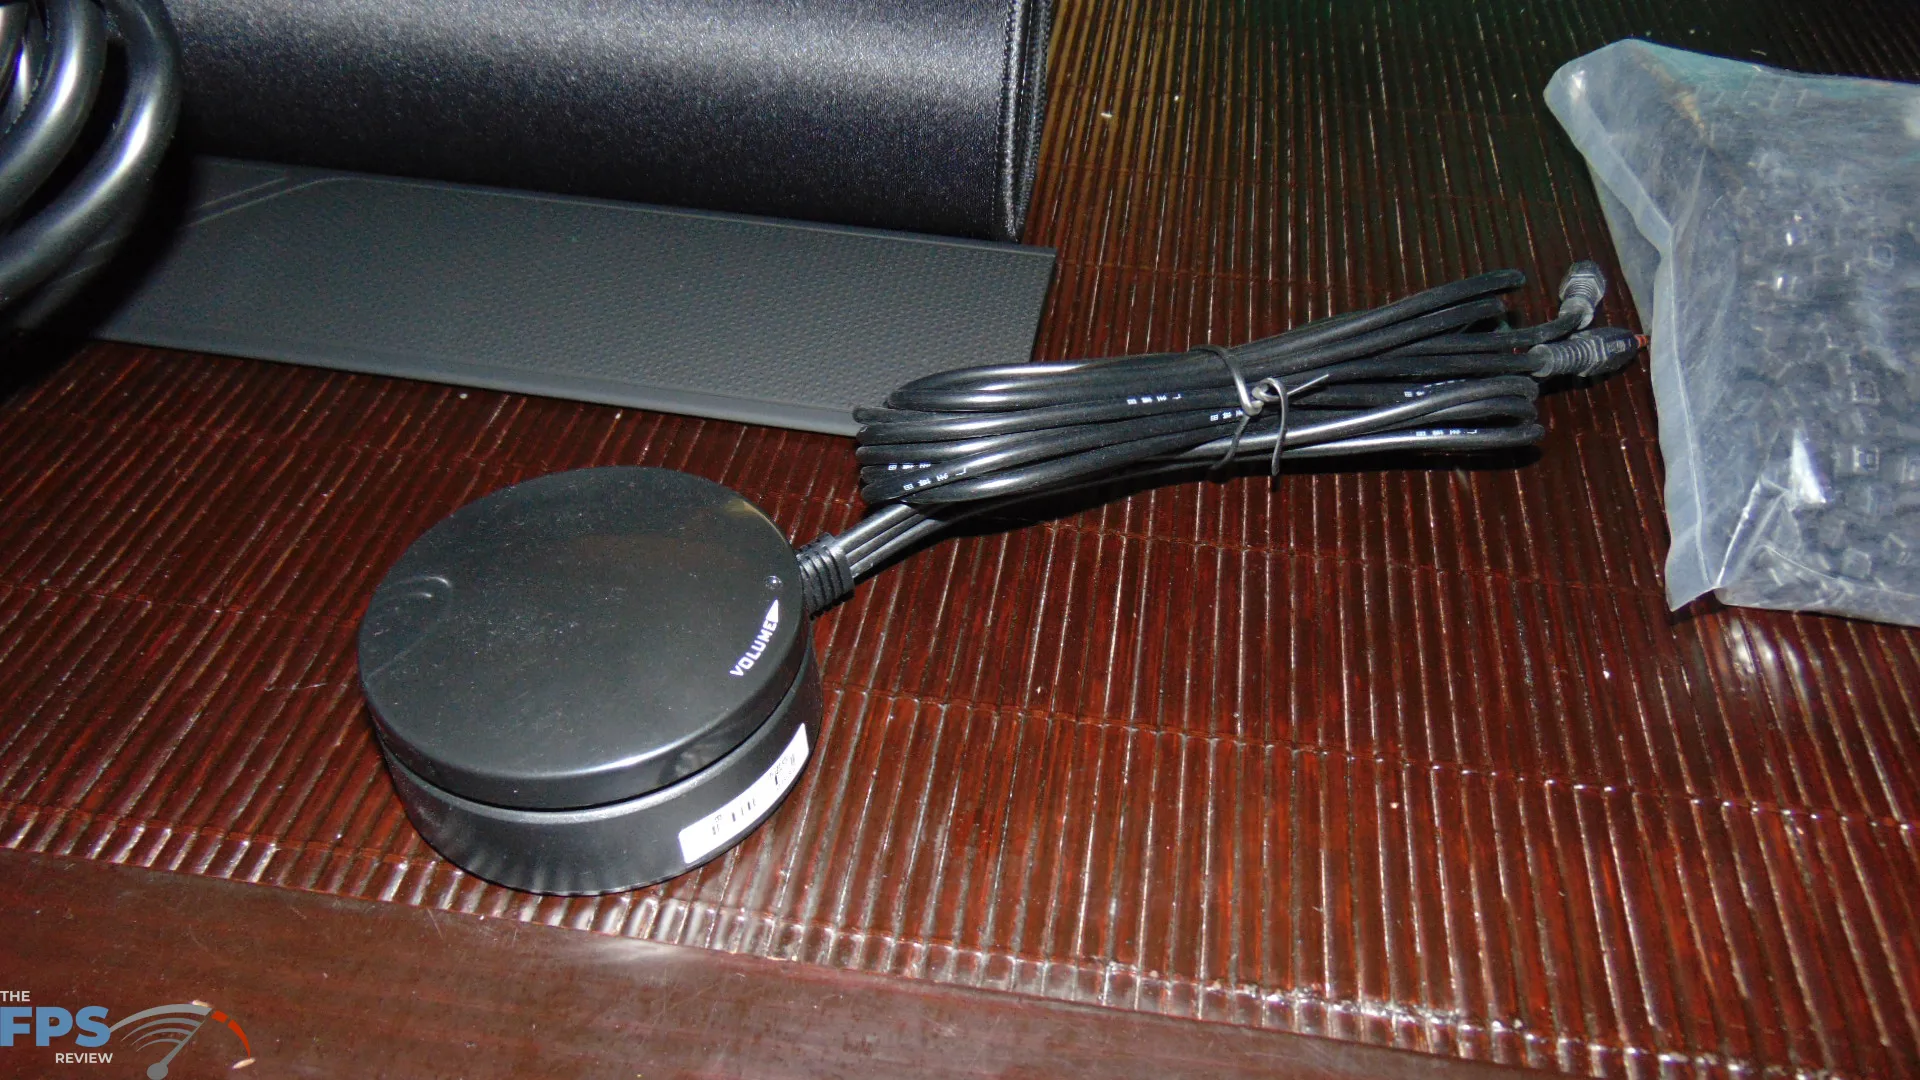
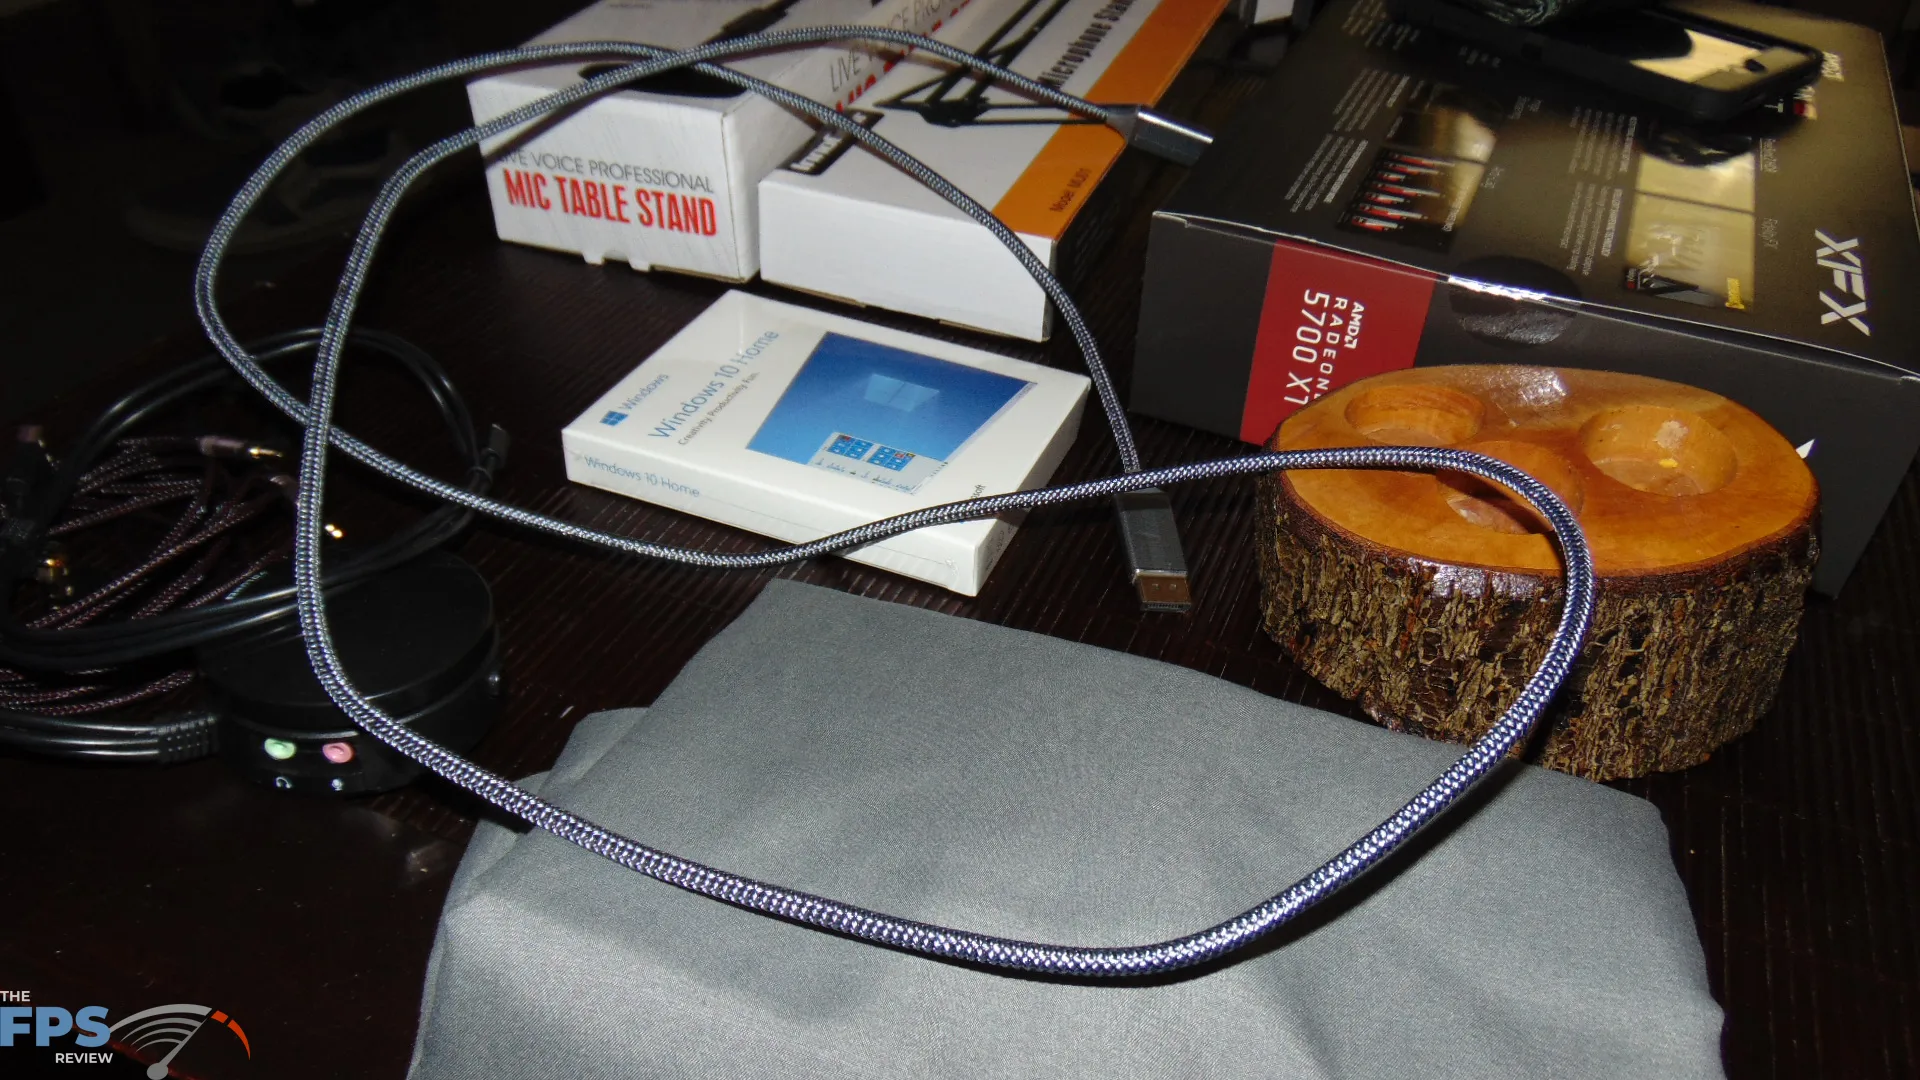
I also got a USB extension cable to plug the transmitter for the mouse into. I place it directly under the monitor so the mouse has a direct line of sight to remove connection dropouts and issues. This other thing is very cool, I got a volume control knob. It may sound odd at first, but this little hockey puck device lets me control the sound volume. My headphones, you see, do not have a volume control, so having them plugged into the computer meant I have no means of controlling volume on the fly while in-game. With this control know I connect it to the rear output on the integrated sound, then plug my headphones into it. I am able to then turn the volume up and down while in-game as needed.
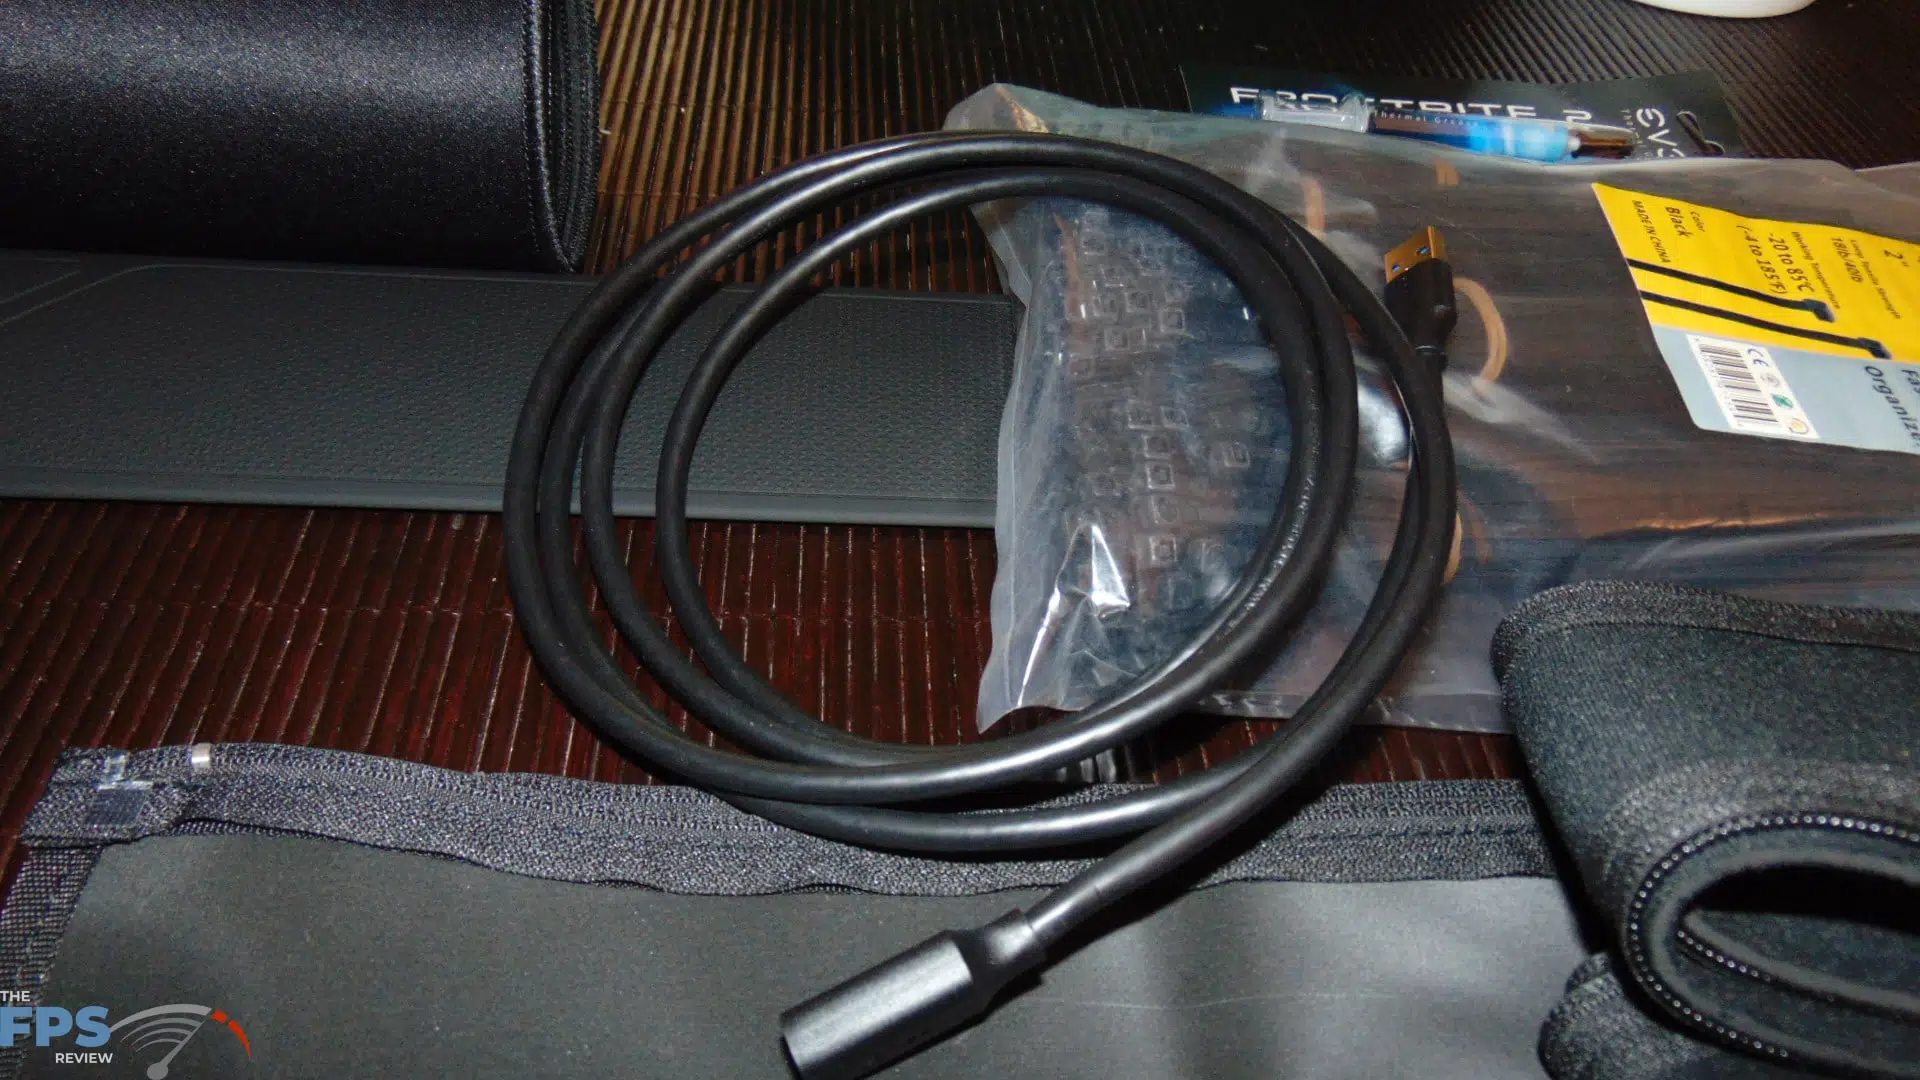
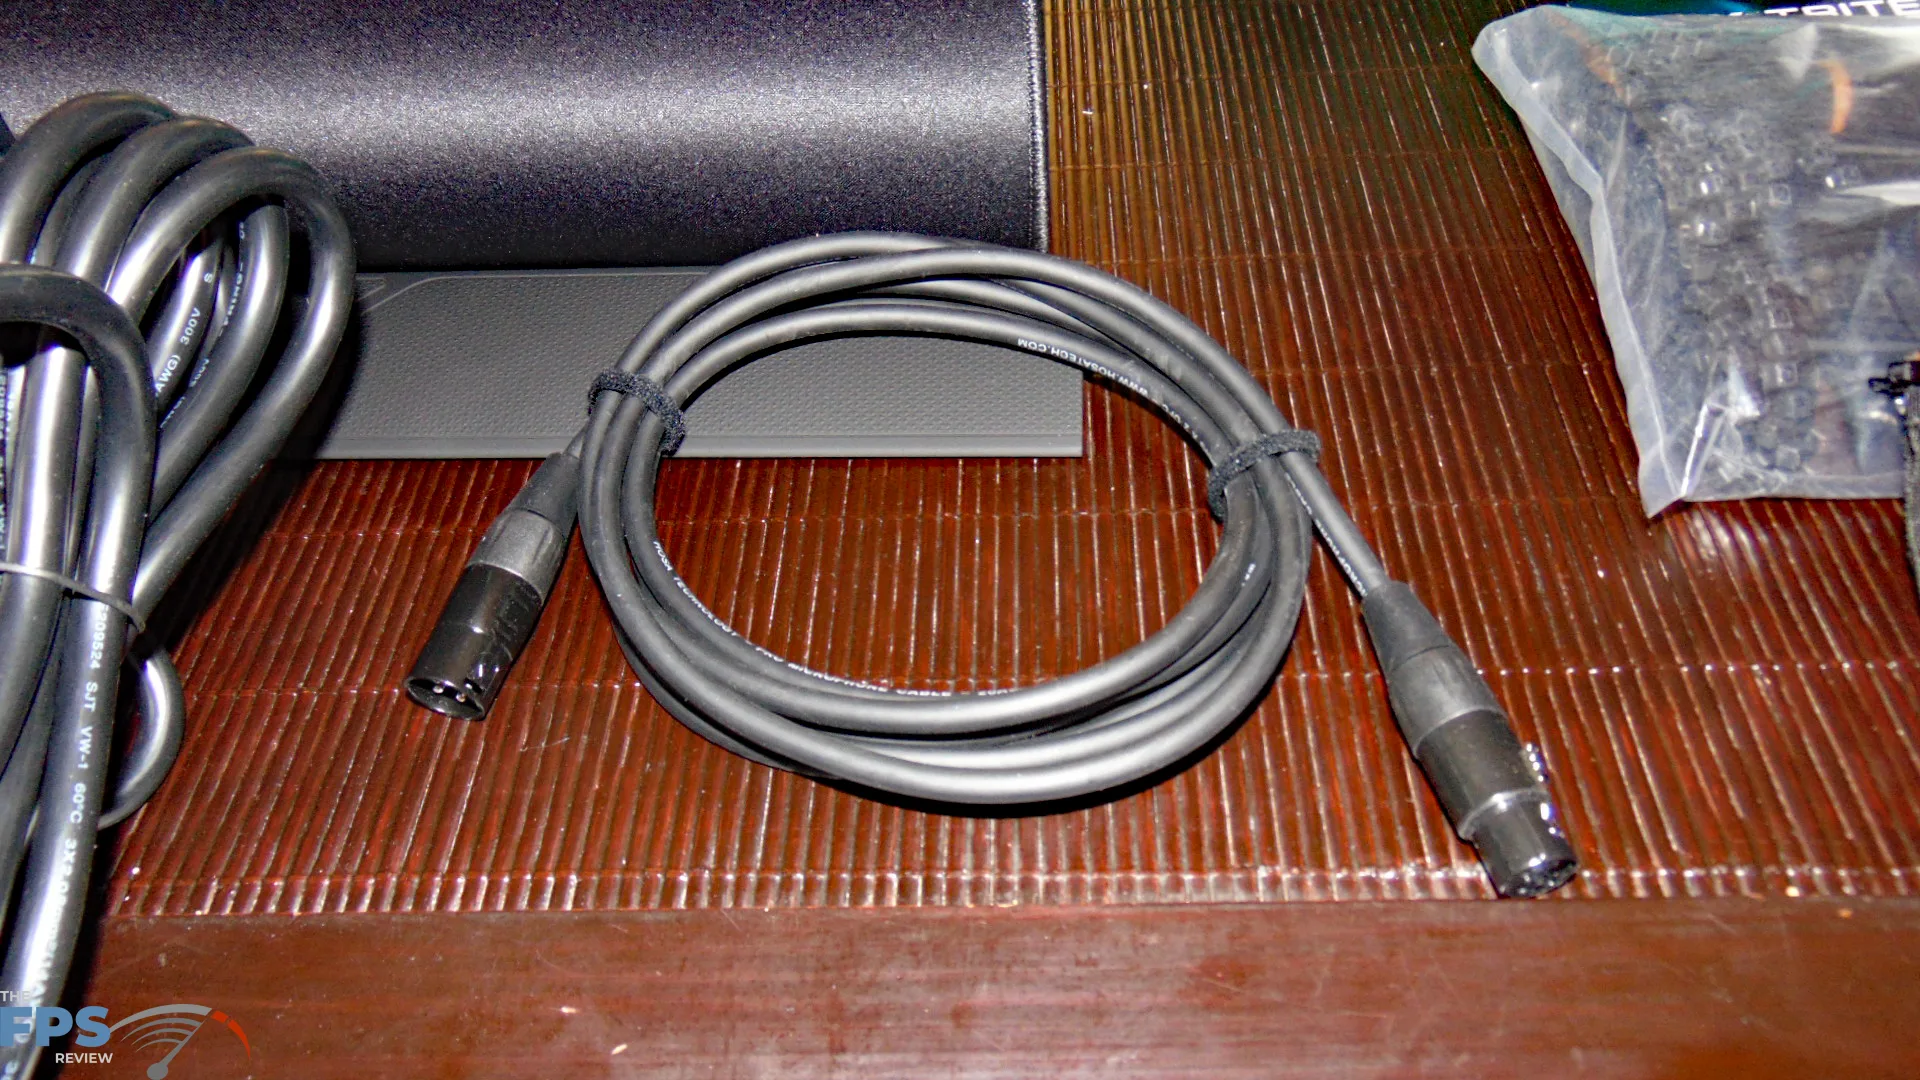
Next, I did need an XLR cable for my recording setup since I’m using an XLR microphone. I’ve always liked these Hosa cables.
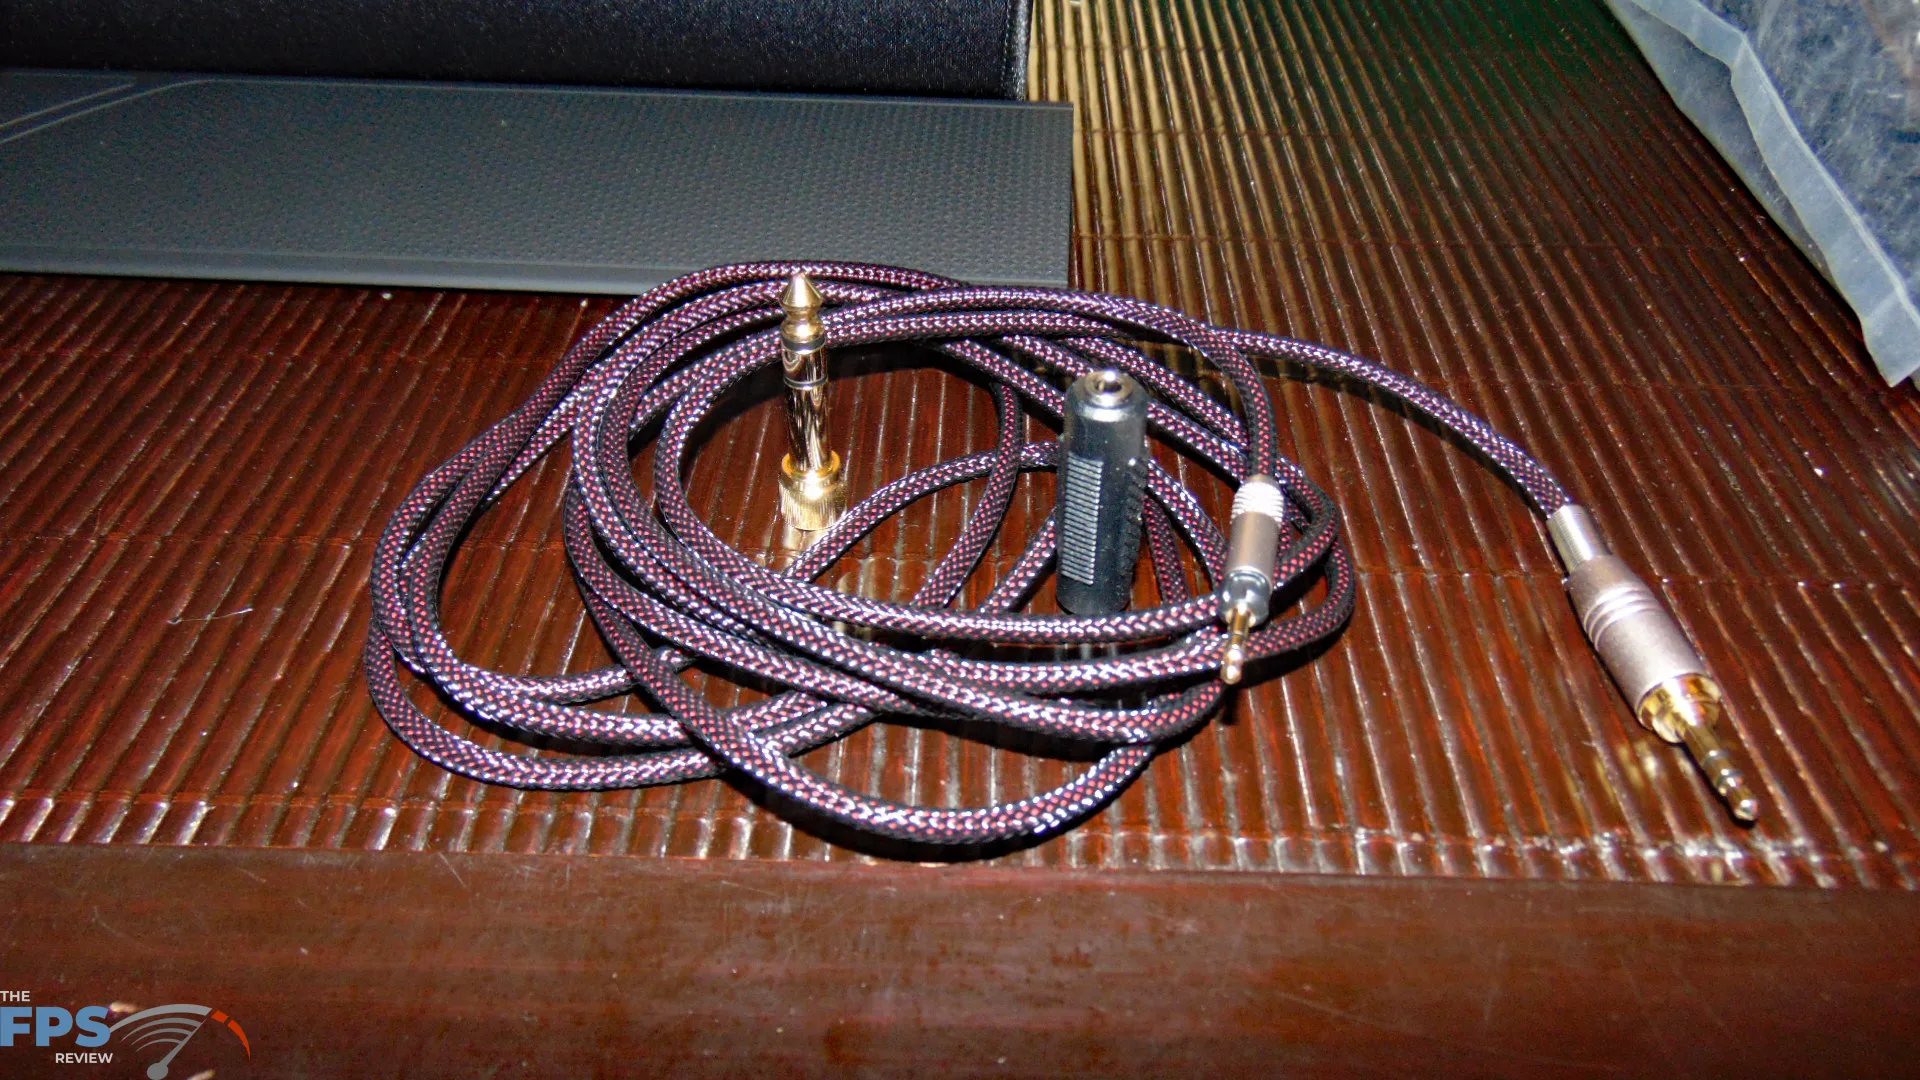
I also got an audio cable for my headphones. I’m sharing the same headphones between my main computer and this new gaming computer. The cable detaches from it and I can just plug them in with this cable always connected. I use Sennheiser HD598 headphones.
I also ended up picking up a DisplayPort cable because the monitor came only with HDMI, and I wanted to use DP.
The last accessory I got is a very large mouse mat. It literally spans 4 feet across for my desk. These come in various sizes and prices, and can even be custom made. It surely helps to have a large mouse mat.
Lastly, it goes without saying really, I got a genuine Windows 10 Home installation for the OS.