Installation – and Keyboard and Mouse

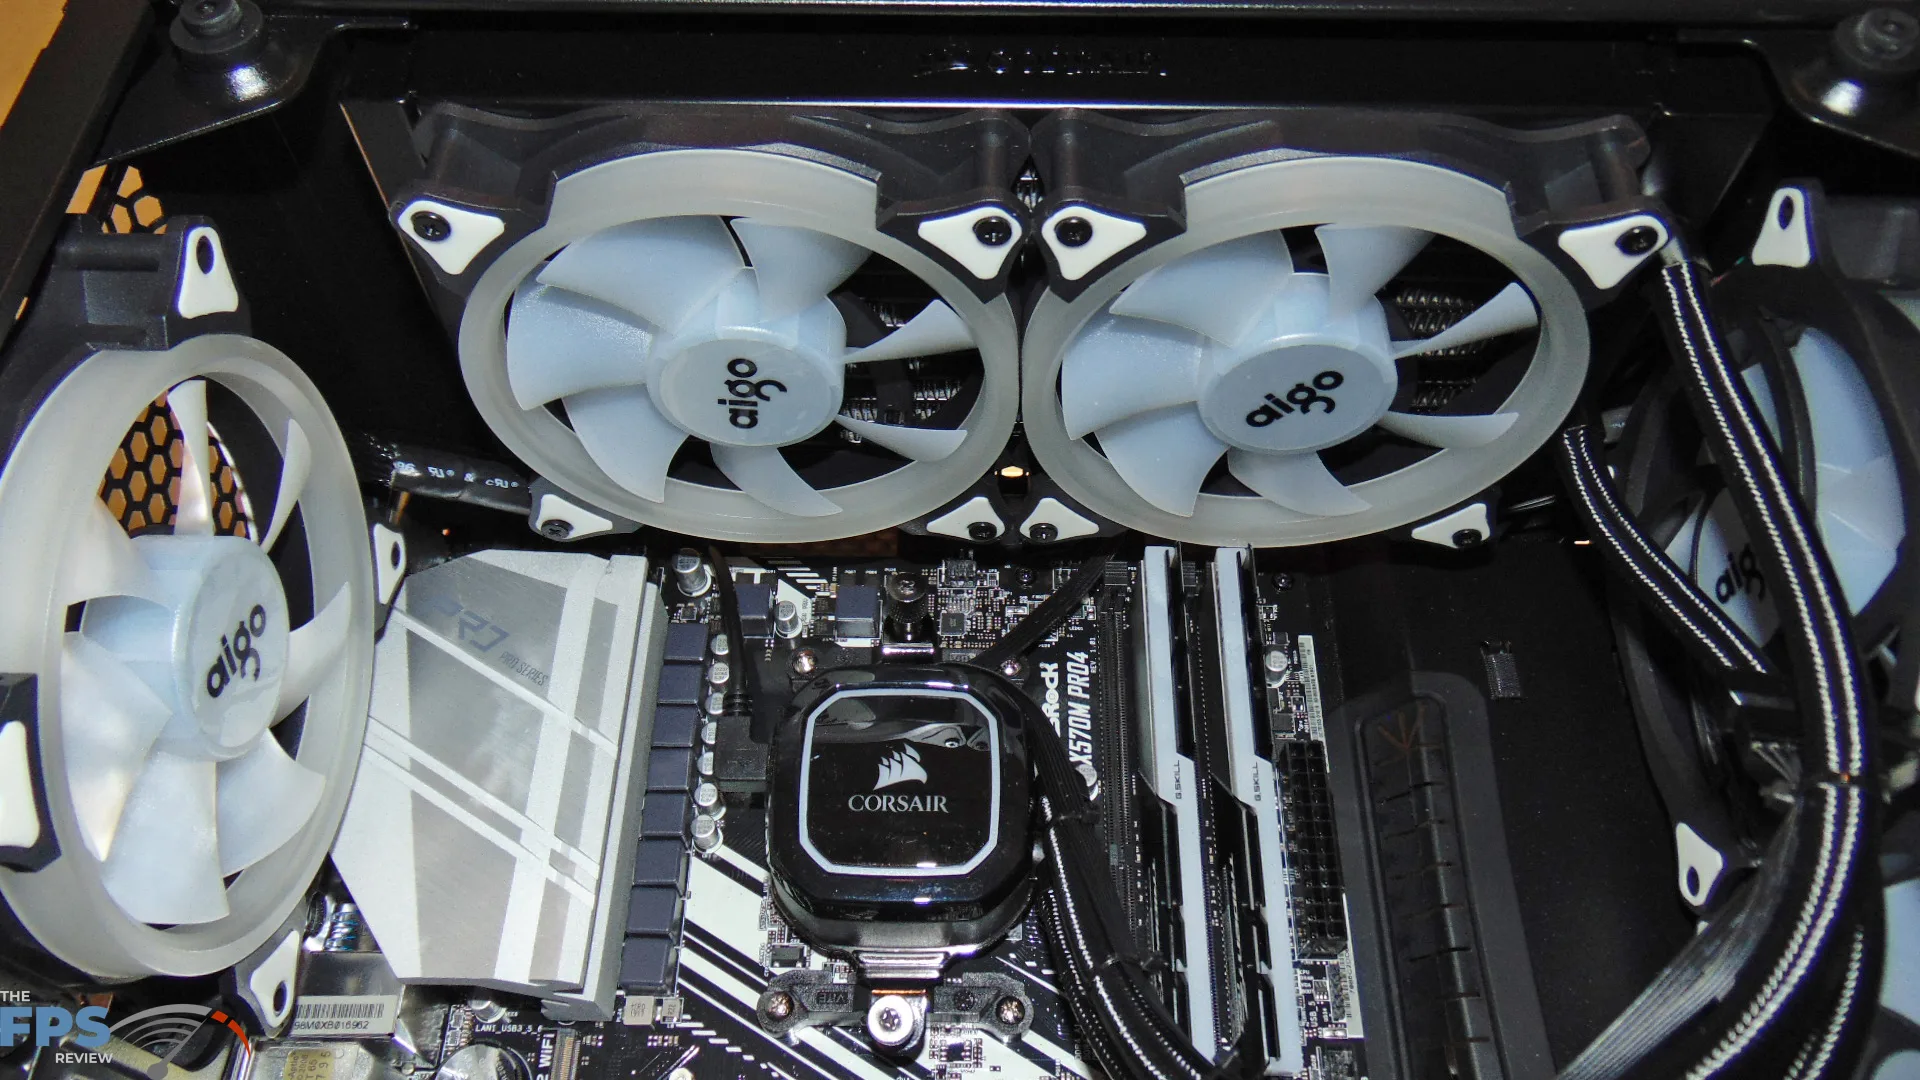

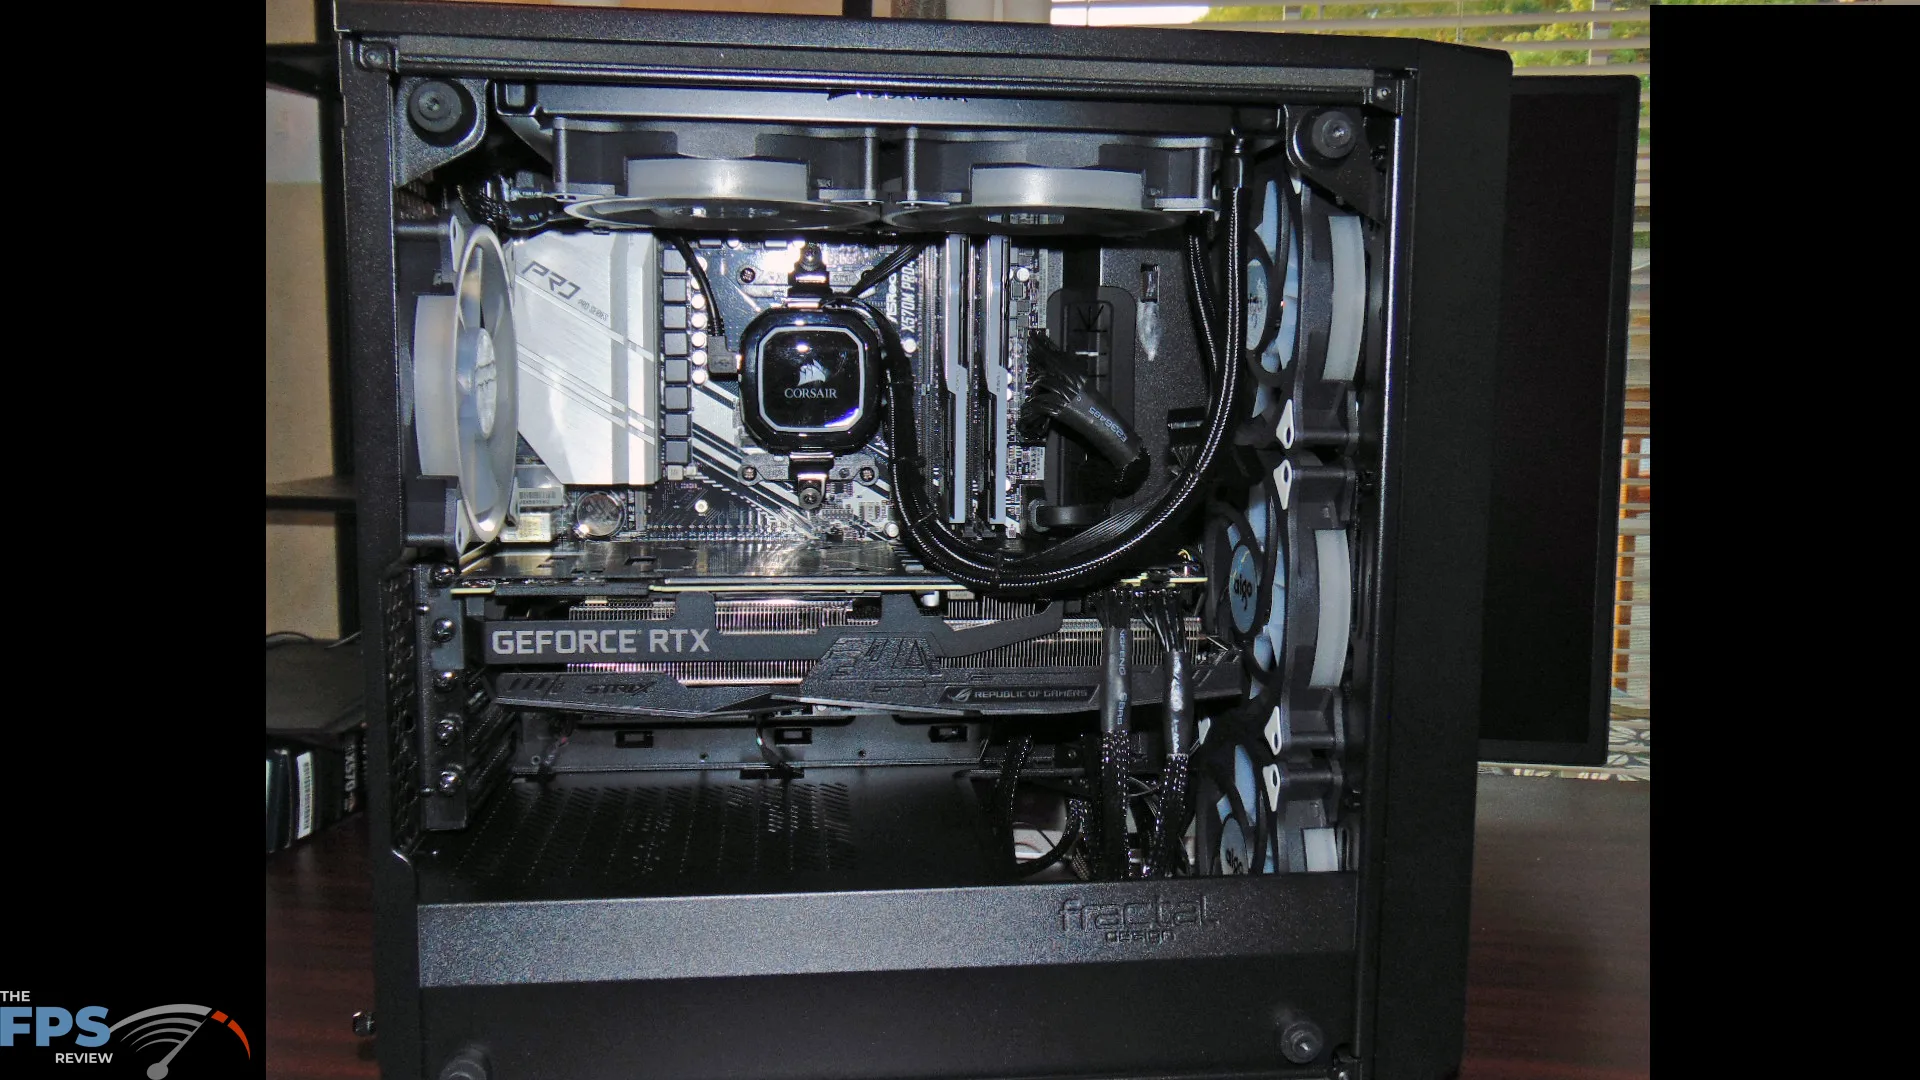
Before we hit up the accessories and recording equipment, let’s take a look at the build in-progress. You will note the motherboard fits perfectly and the H100i radiator fits perfectly on top with room to spare. You are able to pull it out the edge toward the window, leaving room on the other side for your VRM heatsinks and power connectors between the radiator and the case. This is quite a roomy case for mATX.
We only had one minor issue; the height of our RAM is touching the LED ring of one of the fans on the radiator. This could be solved with lower profile RAM, or different types of fans on the radiator, or slightly different positioning of the radiator on the top. It ultimately wasn’t an issue for us anyway, and this config that you see worked fine.
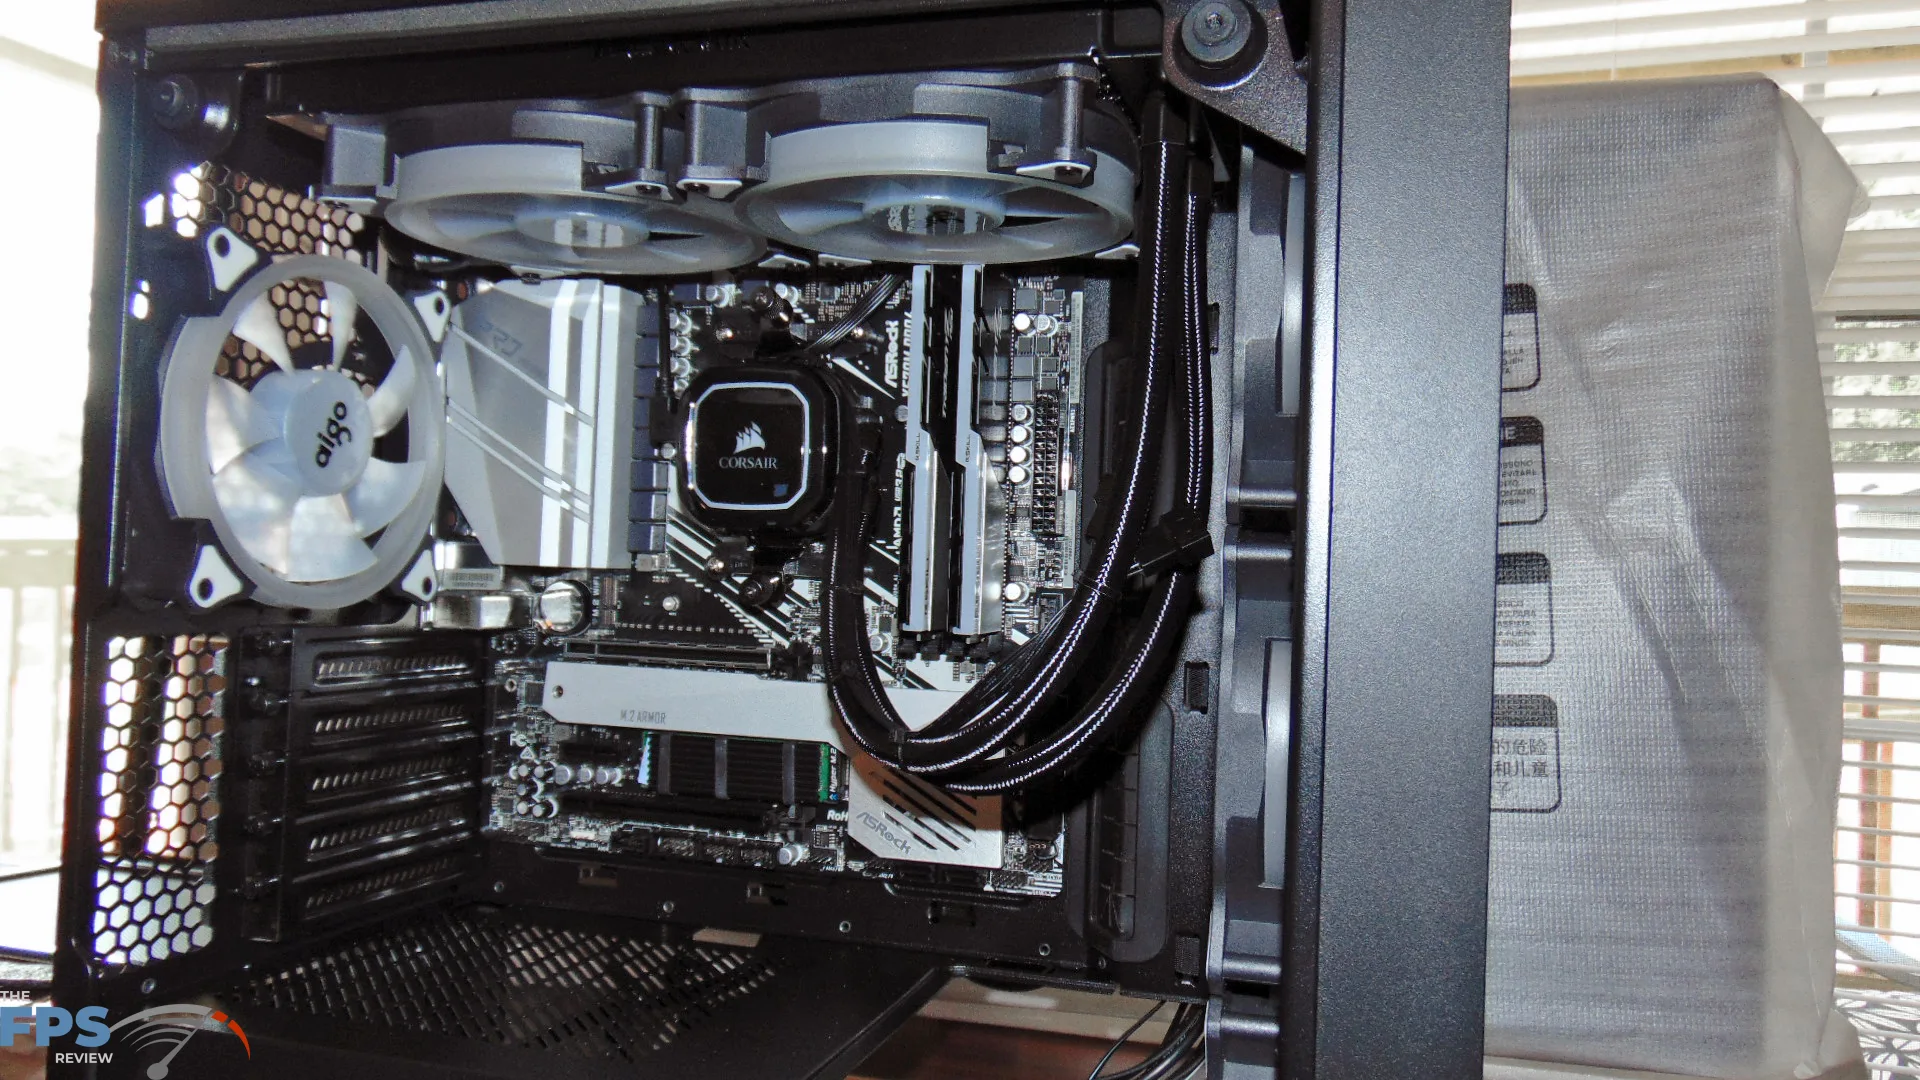
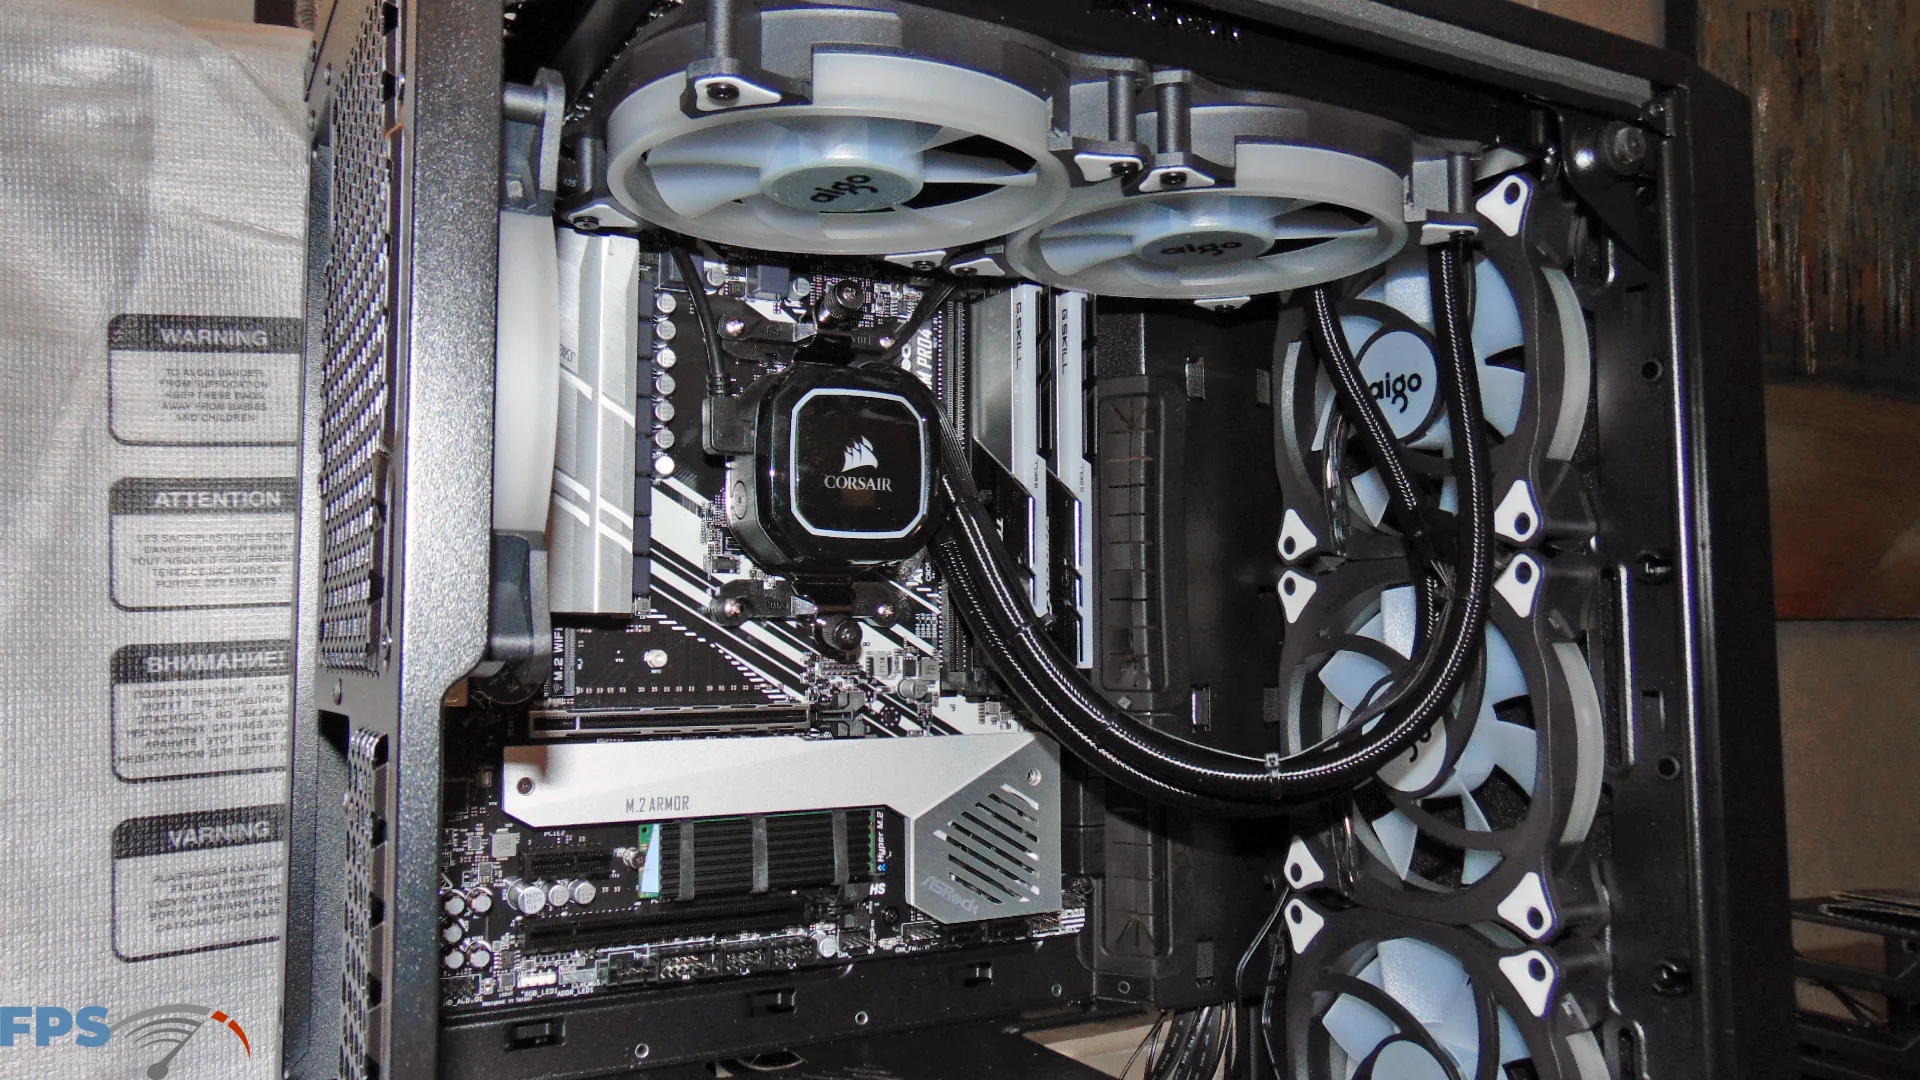
This case has really great cable management, there are tie-downs everywhere. Plus, there is one main tie-down of cables along the left side with Velcro. It is indented so you can really cram a lot of cables on the left side and still put the back door on. Also, without the hard drive trays installed, which we removed, you can stuff a lot more PSU cables in there that are not seen because of the PSU shroud. We ended up turning our SSD sideways, it just fit the cable management better that way. The cables come through the front in a way that is nice and clean through the grommets. The only eyesore is the tubing of the H100i, but there was really no other way to orient this, it was either going to be this way or toward the back flipped around.
Keyboard
[Link to Website – HERE] [Link to Buy – HERE]
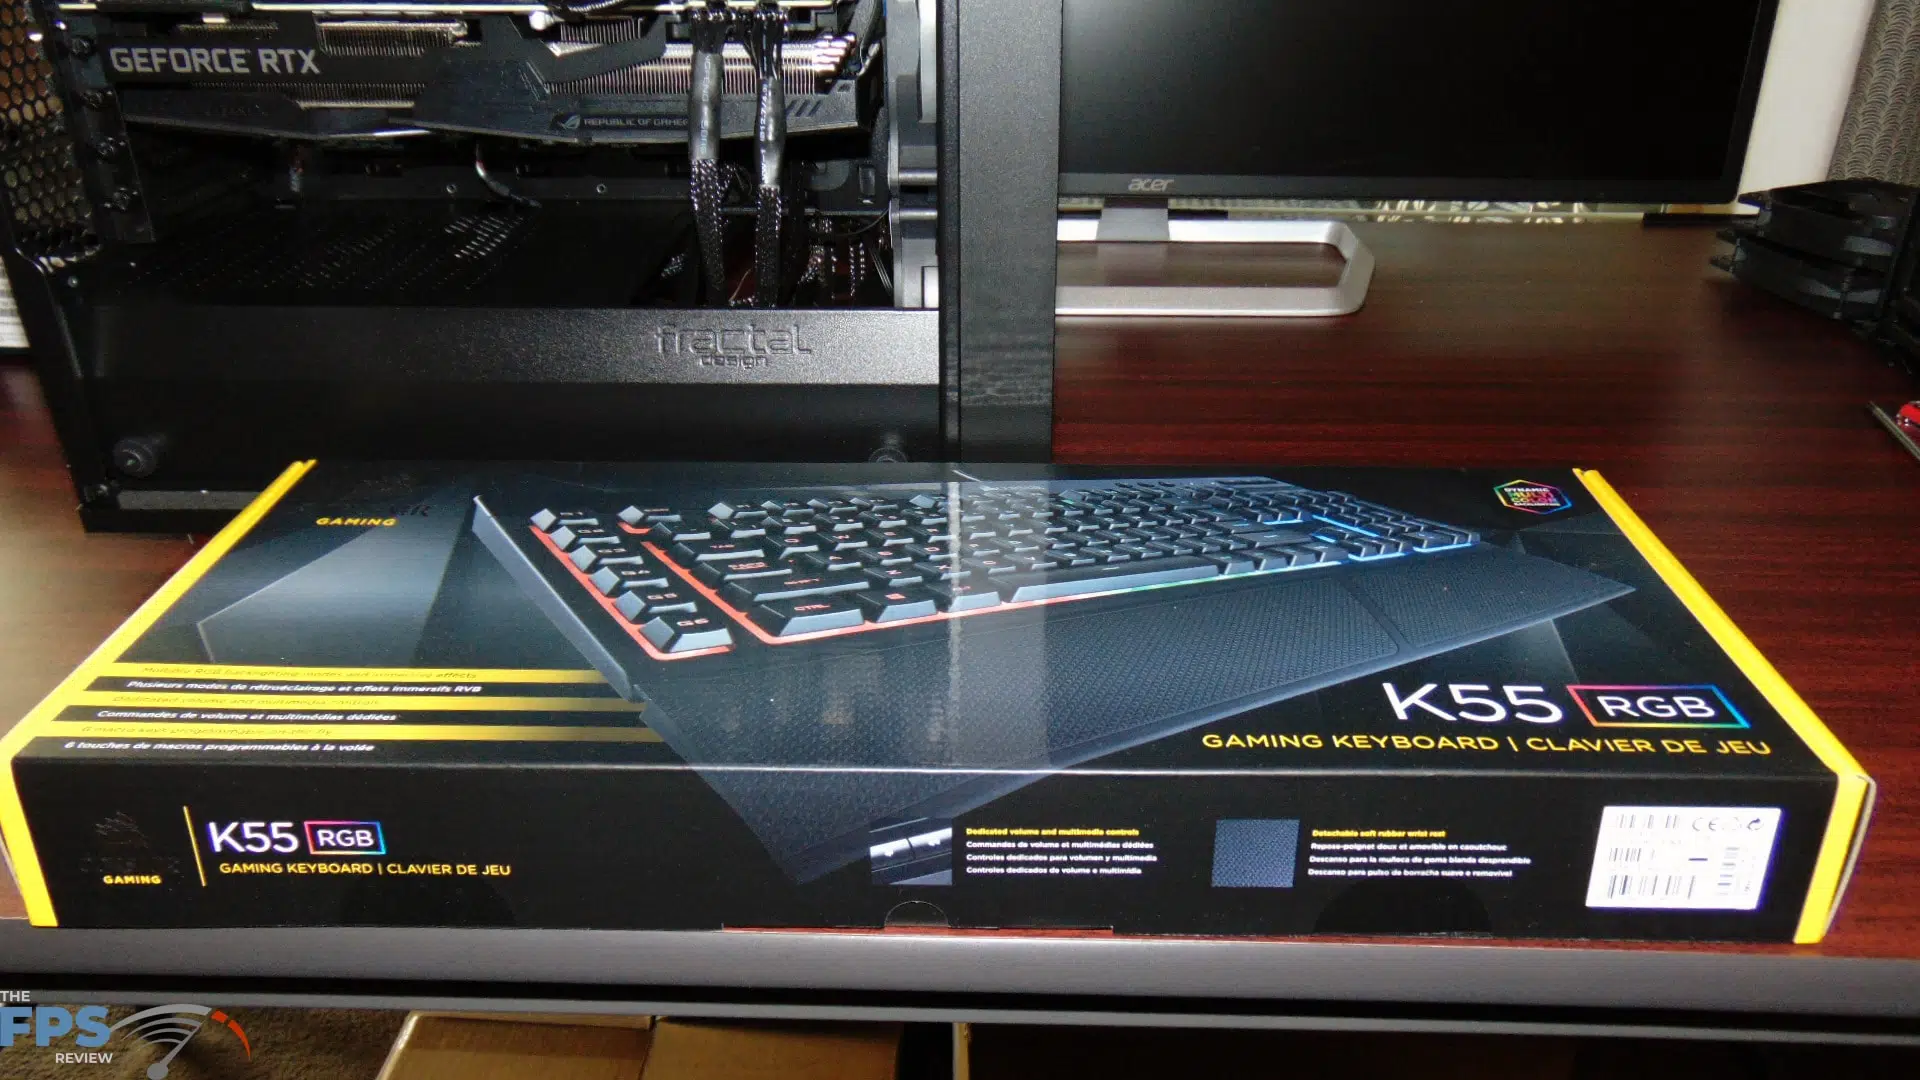
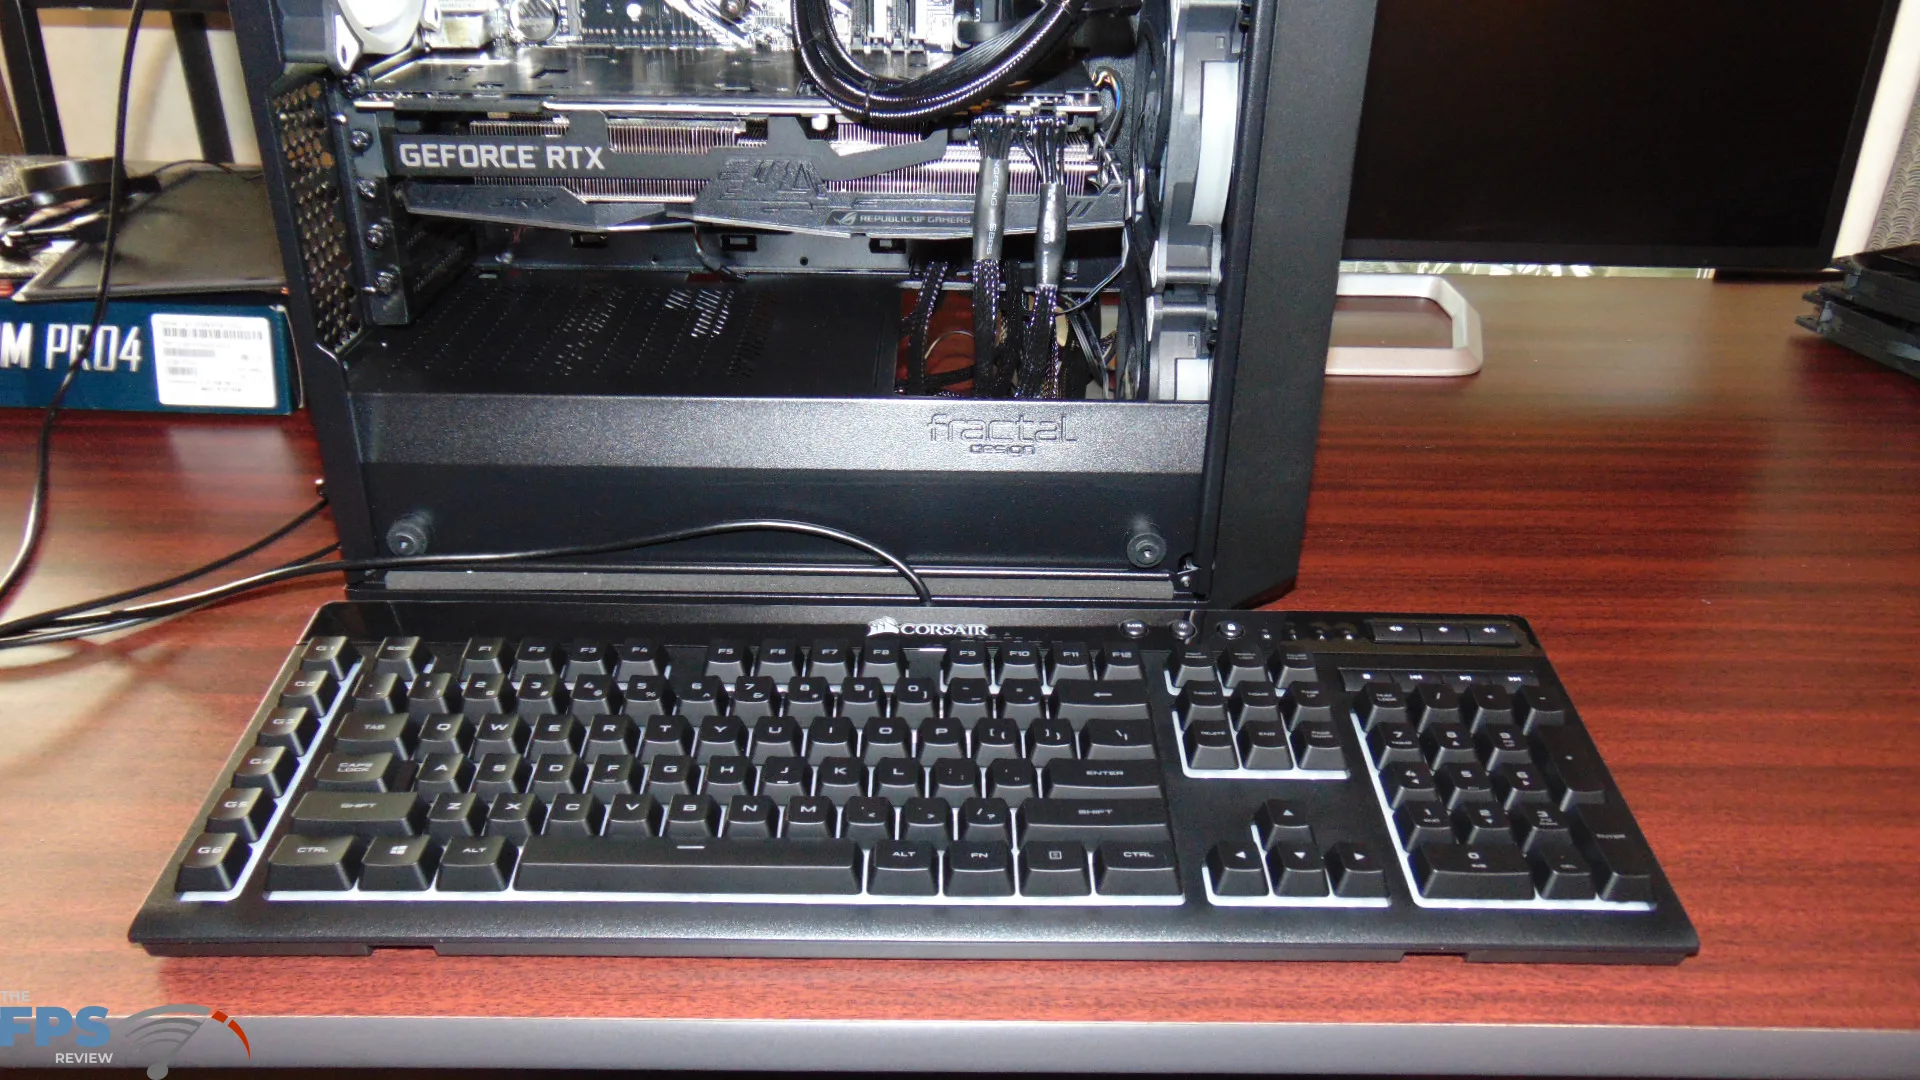
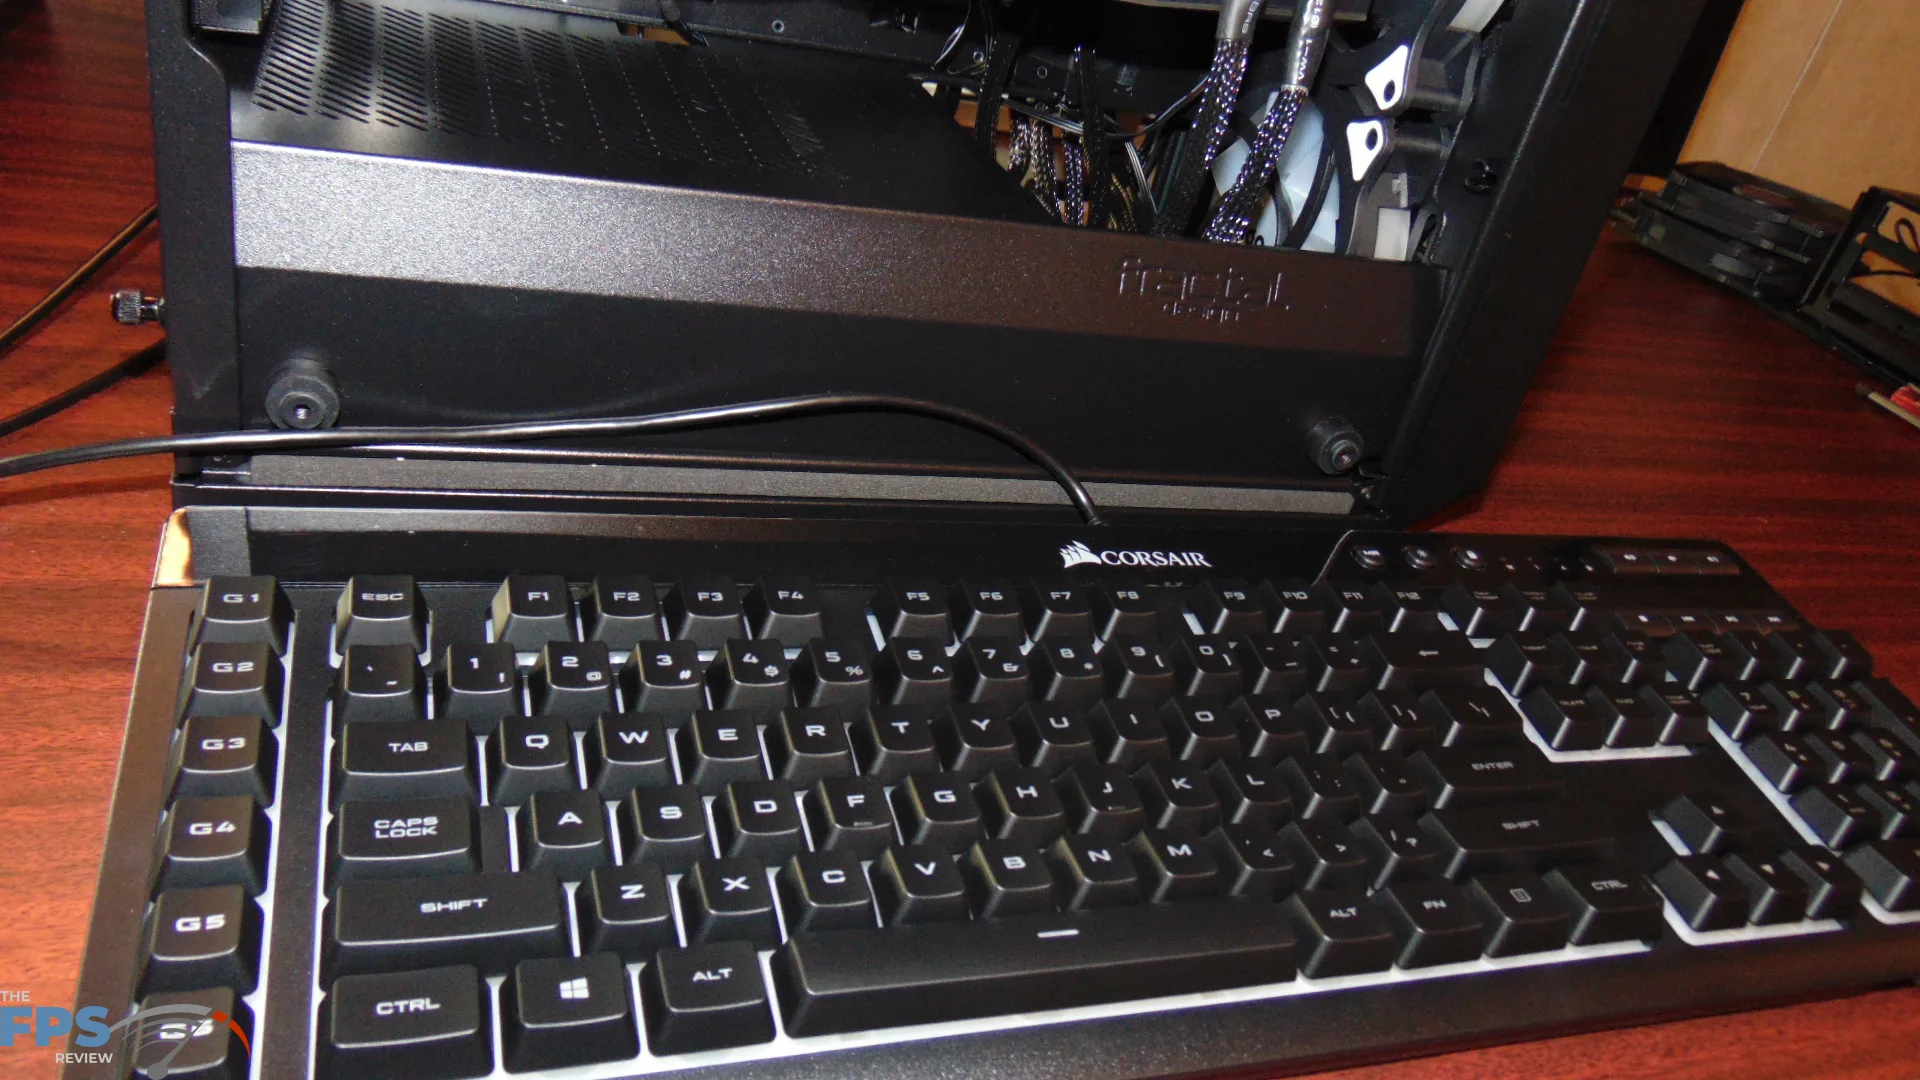
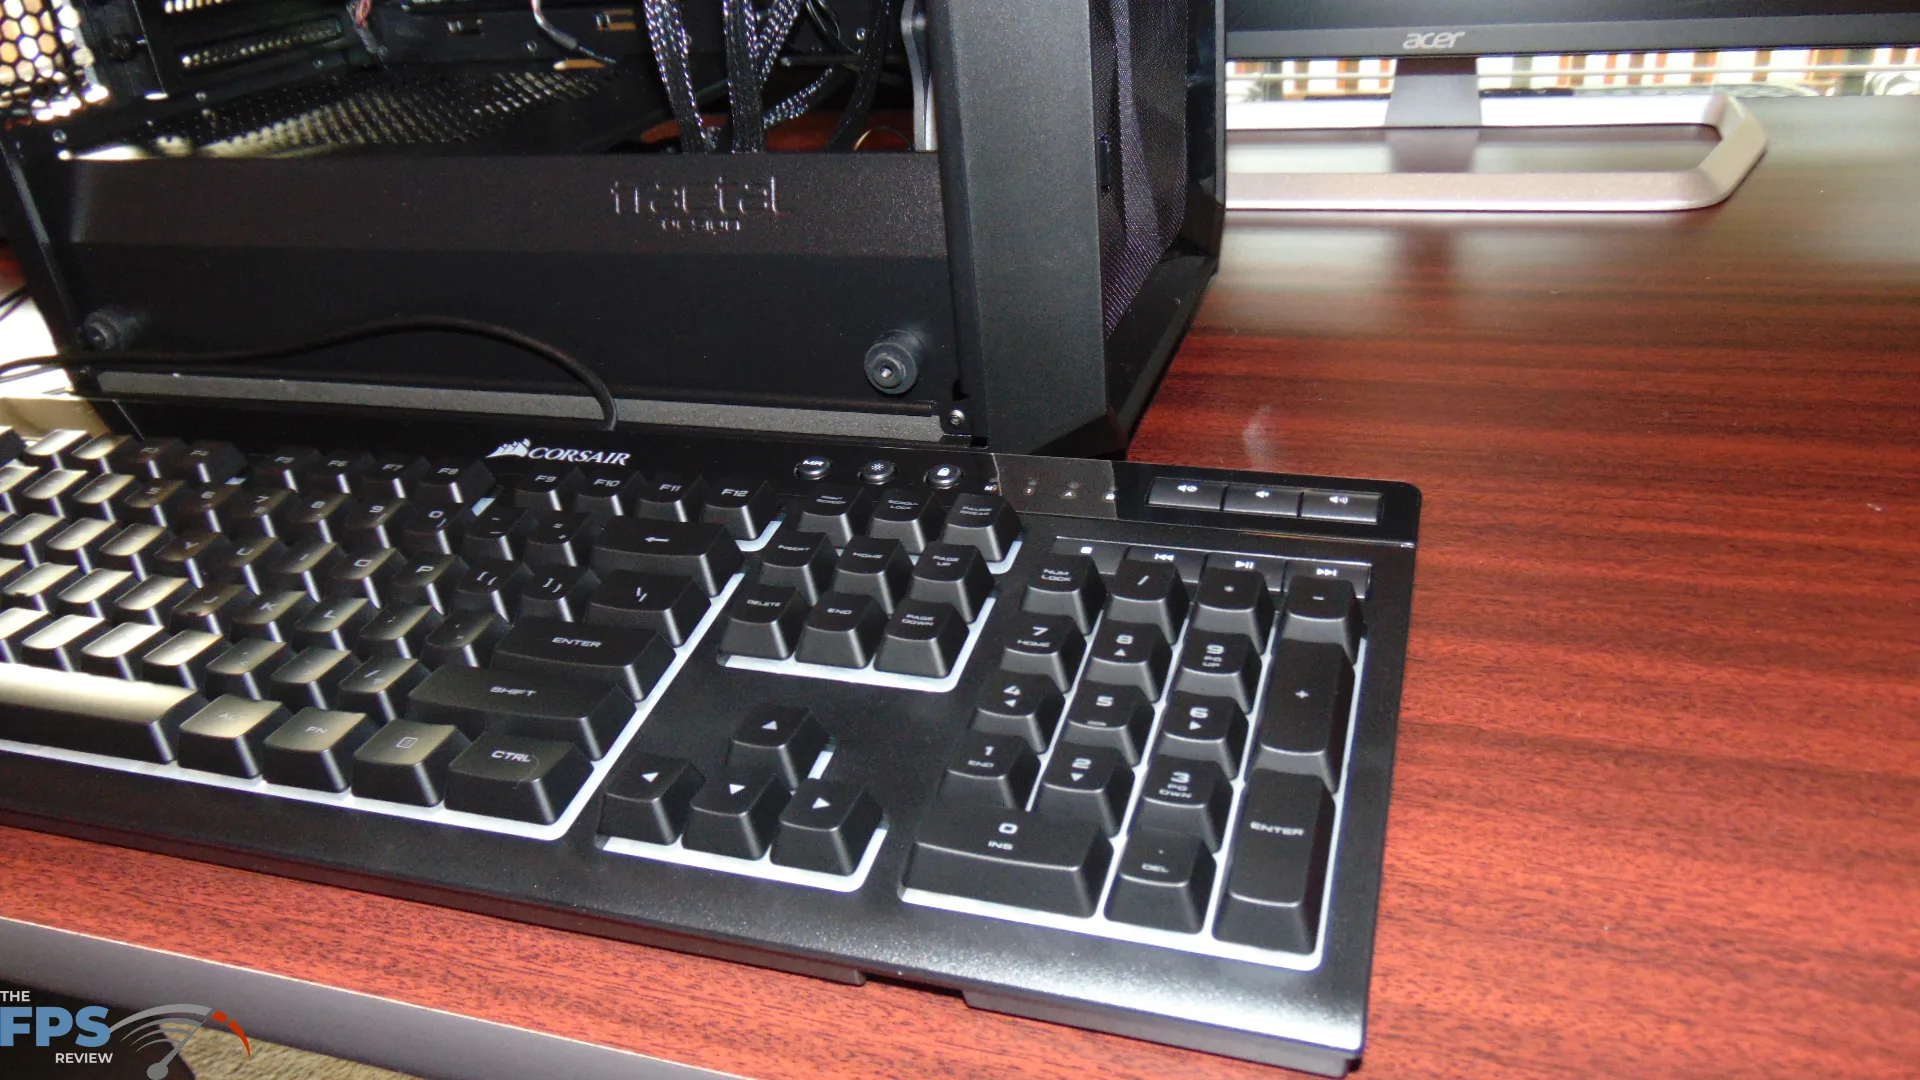
The keyboard is naturally one of those subject components. Everyone likes what they like, so you may want something that fits you here. For me, it was the Corsair K55 RGB keyboard. Price was a major consideration; I did not want it to be expensive. Second, I wanted RGB so I could see the keys gaming in a dark room at night. Third, I wanted something that was quality, robust, and had soft quite keys, but still with a gaming slant. This keyboard fits the bill perfectly for me. It does use Rubber Dome keys, but that is perfectly fine for me personally, I wanted it to be quiet. These are the best Rubber Dome keys I’ve ever pushed. Plus, it has a lot of programable buttons. This cost me $50 and is worth it.
Mouse
[Link to Website – HERE] [Link to Buy – HERE]
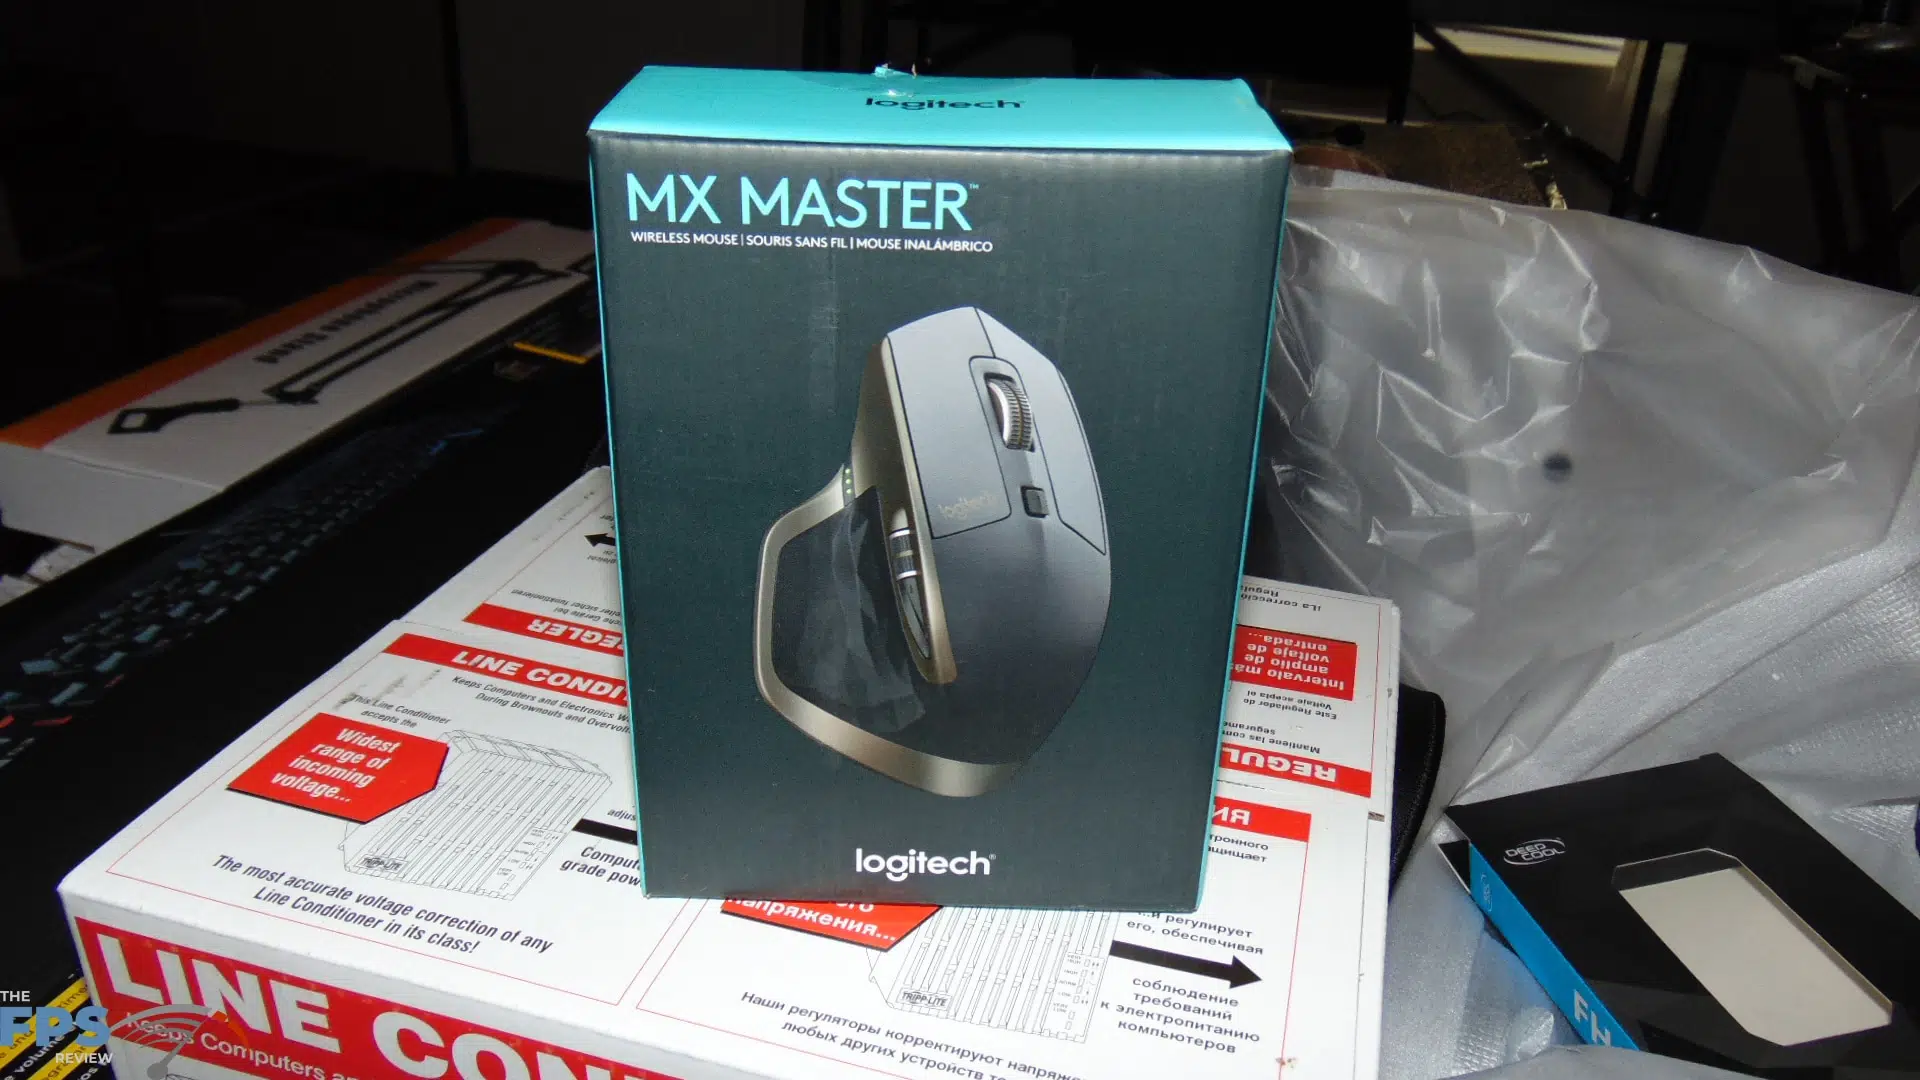
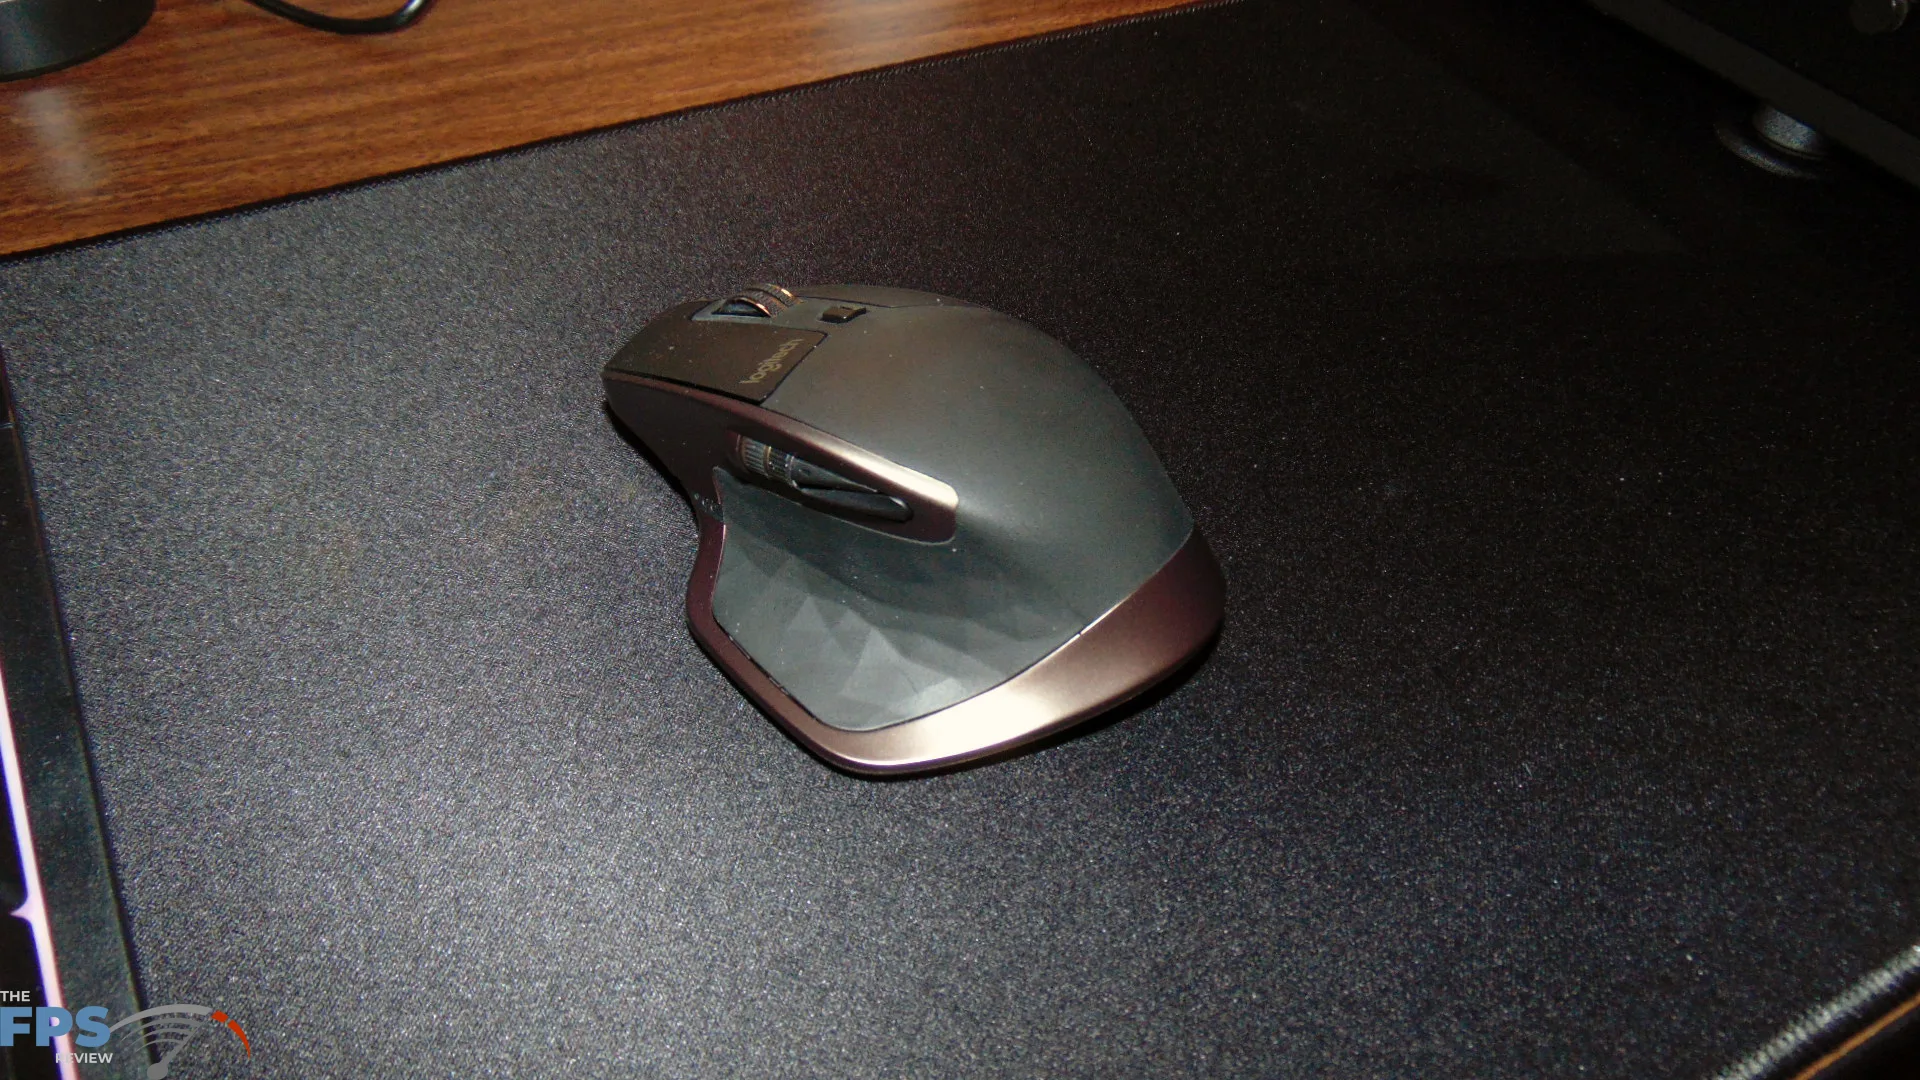
The mouse is another component that is quite personal. For me, I wanted to go wireless so I didn’t have to let the cord snag me. A mouse I use on my primary computer is the Logitech MX Master, and well I just got another one. This mouse fits my hand very well and is comfortable for long hours of usage. It’s smooth, has plenty of programable buttons, and just works well for me, so that’s what I went with.